
 I am sure that most of you have heard the word “bokeh” before. If you aren’t sure what it is, in simple terms it is basically when the light in your photo is out of focus. Let’s talk about how to capture bokeh and also lens flare! These elements can happen on accident, but we’re going to learn more so we can be in control of our photos. Let’s start with bokeh.
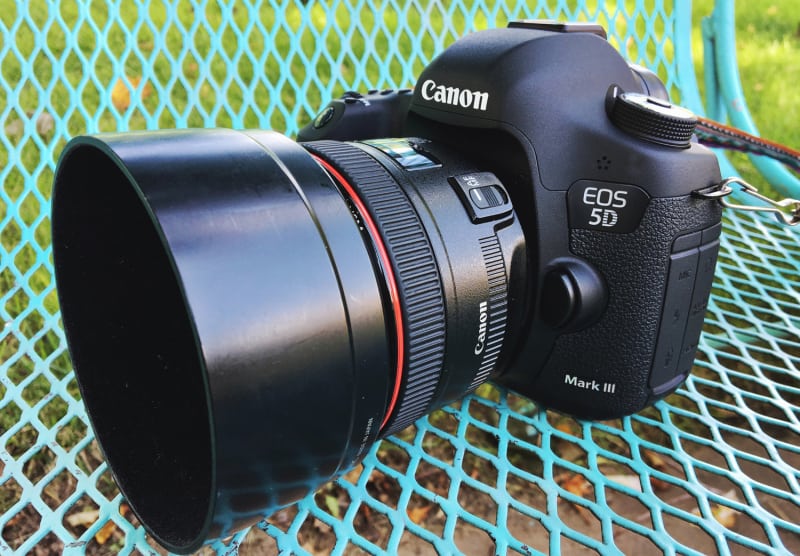
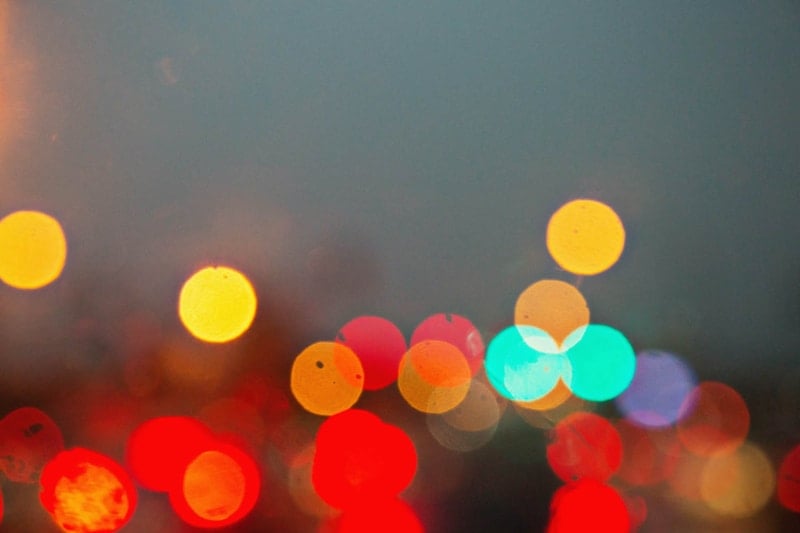 Where and what to shoot: My favorite time to shoot great bokeh shots is at night, especially city scenes! The best part of being in a busier city or even on a busy road is that you have plenty of lights to use for your bokeh. Let’s say it’s nighttime and you have some great city lights … now what? Your lens choice is really the key to unlocking great bokeh. You will want the lens with the lowest aperture or biggest opening. Some great lenses for bokeh include the Canon 1.8, 1.4 or 1.2.
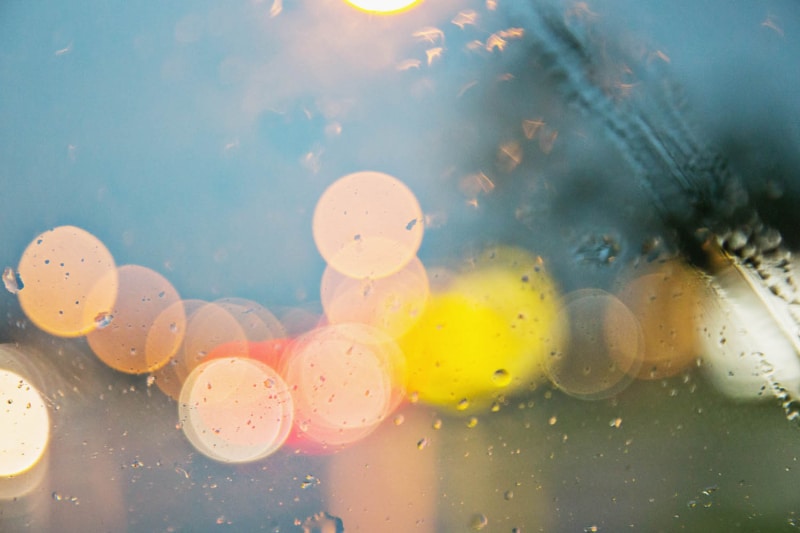
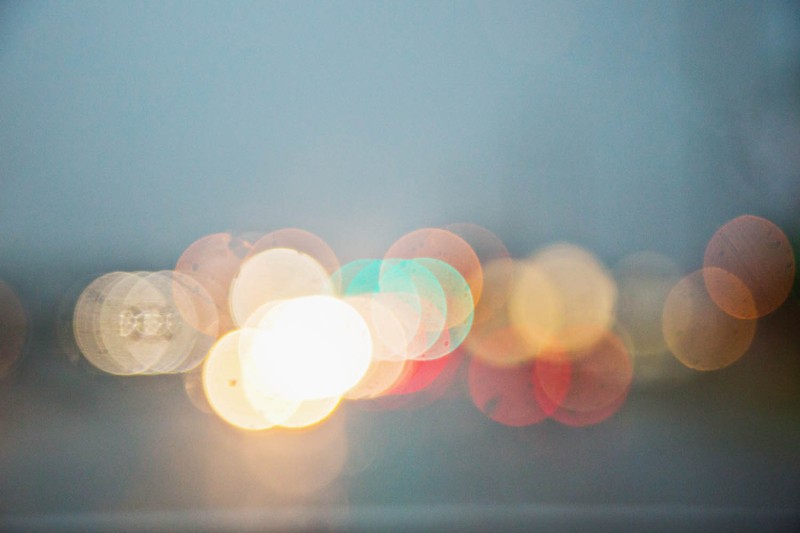
Once you have your lens ready to roll, look for lots of lights. The more lights the better! Also look for a range of colors so that your bokeh is visually interesting with lots of contrast in colors! In the photos below, I decided to shoot my bokeh on a rainy day through glass because it added an extra dimension to the photo, making my final images feel very abstract (this also protected me and my camera from the rain, added bonus!). Try shooting through a window or some kind of glass to capture a reflection, raindrops or just to give your photo added interest.
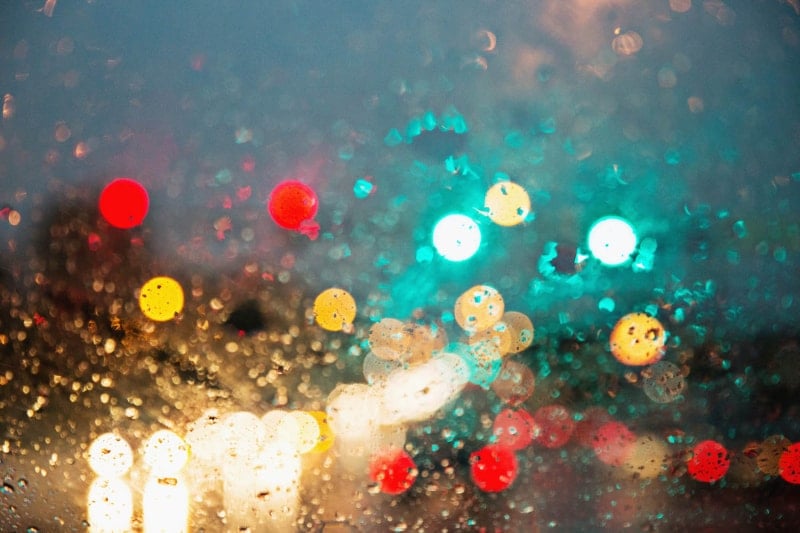 In the above photos, I wanted to create an abstract type photo, so my bokeh is technically not in focus. It sounds a bit funny, but you can actually make your blurred lights out of focus. Try taking photos of your bokeh really sharp and then some with them slightly out of focus. I wrote a post on creating shapes in bokeh that might challenge you to get creative! You can also find more instructions for how to get bokeh in general on that post. You can also put an item between you and your lights. Focus on the item while keeping your aperture at a very low number (larger lens opening) and by having low depth of field then you will have bokeh created from the lights in the background. I find that keeping your lens on manual focus instead of automatic focus is really helping in getting sharp and distinct bokeh shapes.
 Next up is lens flare. Who doesn’t love a beautiful light beam streaming through a photo? That glowy feel can make any photo SO much better. A lens flare happens when sun hits your lens. Lens flare can be your worst enemy or your best friend, as they are beautiful, but if you don’t know how to control them, they could block your subject or ruin a photo. Knowing how to manipulate lens flare can be a huge asset to your photography. When you learn a few tricks, the lens flare can be a tool that enhances your photos instead of a pesky thing that ruins them.
How to stop lens flare: Sometimes lens flare can utterly ruin your photo! The strong light coming into your lens can wash out the whole image, creating a muddy, low contrast photo. Even though you might have a gorgeous beam of light flowing through your frame, your image as a whole can be very poor quality. You can diminish lens flare by blocking it! In order to block lens flare, you need to block the sun from flowing directly into your lens. This can be achieved by using a lens hood or even your hand.
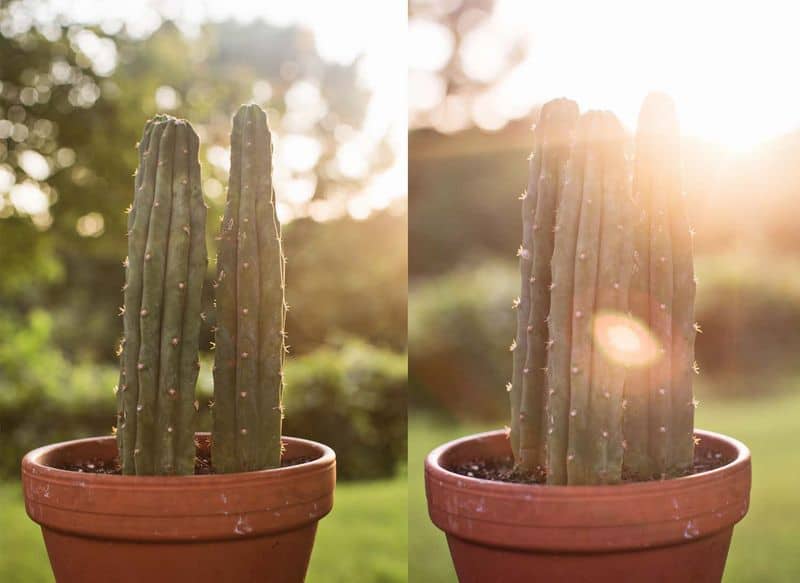
 Simply put on your lens hood and the plastic hood will block the flare! If you don’t have a lens hood, place your hand above your camera. Look into your viewfinder and move your hand above your camera until the lens flare is gone. Be careful not to get your hand in the frame. A blurred thumb in a photo is definitely a possibility when you are using your hand to shield the light. Another way to prevent lens flare is move around until your lens flare is gone. I know this sounds so very simple, but it is quite effective! In the photo below, I had no lens flare, but just great golden hour light pouring onto the cactus. By simply moving slightly to the side, I caught the sun’s light in my lens. The direct light flowing into my lens created a strong lens flare. Do you notice how a lot of the detail in the right photo is lost due to the lens flare?
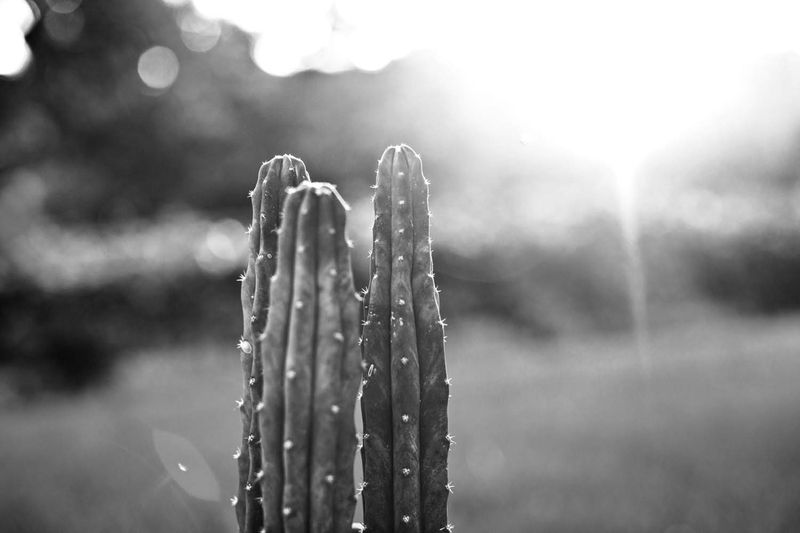
 In the photo below, I lowered my camera a bit so that the sun was hidden behind some bushes. The bushes created a diffuser to the sun and made the lens flare not as harsh. I am still getting that great flare while maintaining detail in my photo!
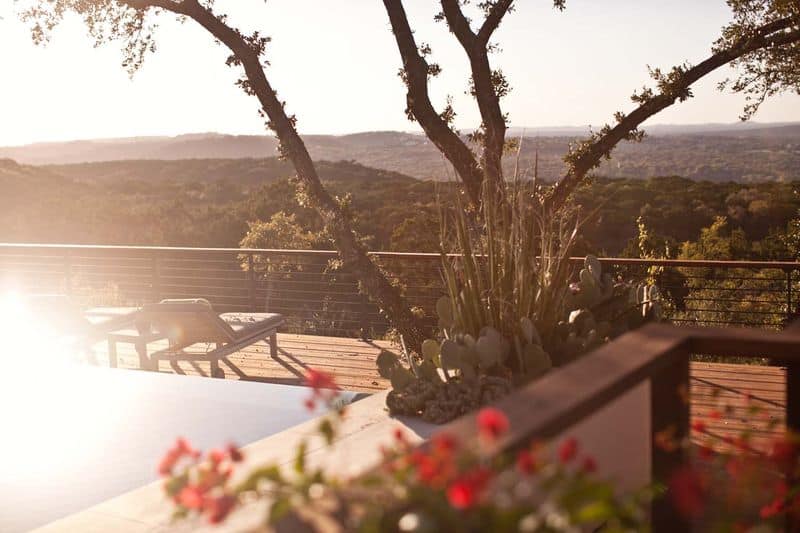
 Always use a diffuser if your lens flare is too harsh. A diffuser could be a tree behind your subject or a tall building, anything that will block the light a bit to lighten the strength of the lens flare.
You can also use the maximum lens flare to your advantage. In the photo below, I wanted the little girl’s skirt to be really light and airy. I didn’t care about detail in the skirt that much, as I wanted to capture more of a feeling than a clear representation of what was present. I wanted the glow from the sun to take over my whole frame. In this photo, I did not use my lens hood, and I really love the results.
Your preference of whether or not to use lens flare comes down to what you like. Every photo, model and lighting situation is different. So just play around with lens flares until you like what you see.
 Happy shooting! – Janae
5 Comments
Thank you for the guide! Your photos are beautiful. I love the bokeh effect, it makes everything look that much better! So whimsical! 🙂
Charmaine Ng | Architecture & Lifestyle Blog
http://charmainenyw.com
Good tips! I’m still trying to master the bokeh effects myself. 🙂
Thank you – that is super helpful! I have experimented with bokeh a little bit, and also (I am a bit afraid to admit that…) just added overlay bokeh in Photoshop when I wasn’t able to achieve the effect I was going for through photography. I will implement your advice 🙂
Thank you, for the best tips ever!
Blog: https://hausarbeit-agentur.com/blog/eine-zusammenfassung-richtig-schreiben
Why anyone would find several circles of light in an image appealing is beyond my comprehension. Blurred backgrounds, yes but honestly I would delete any image that has the kind of broken shown here.