 So, sometimes you try a new hair method or style and it’s nice enough, but other times you try something new and it is life changing. My hairdresser would always curl my hair at the end of my hair-refresh sessions, but she did it with just a hairdryer and a brush—no curling iron required. I guess I always just figured that it was something only a real hairdresser could do on someone else, so I never really asked about it until one day when I just said, “So, how do you do that?” and she showed me! The great thing about having a method that curls my hair without a curling iron is that I feel like it lasts better than a curling iron does, with less touchups, and since I’m going to be drying my hair anyway, it’s less heat on my hair overall.
 Supplies:
-boar bristle and nylon brush (I like this round one and this brush as well for this)
–hair dryer with a concentrator nozzle
-a smoothing leave-in conditioner (optional, but I like this one a lot)
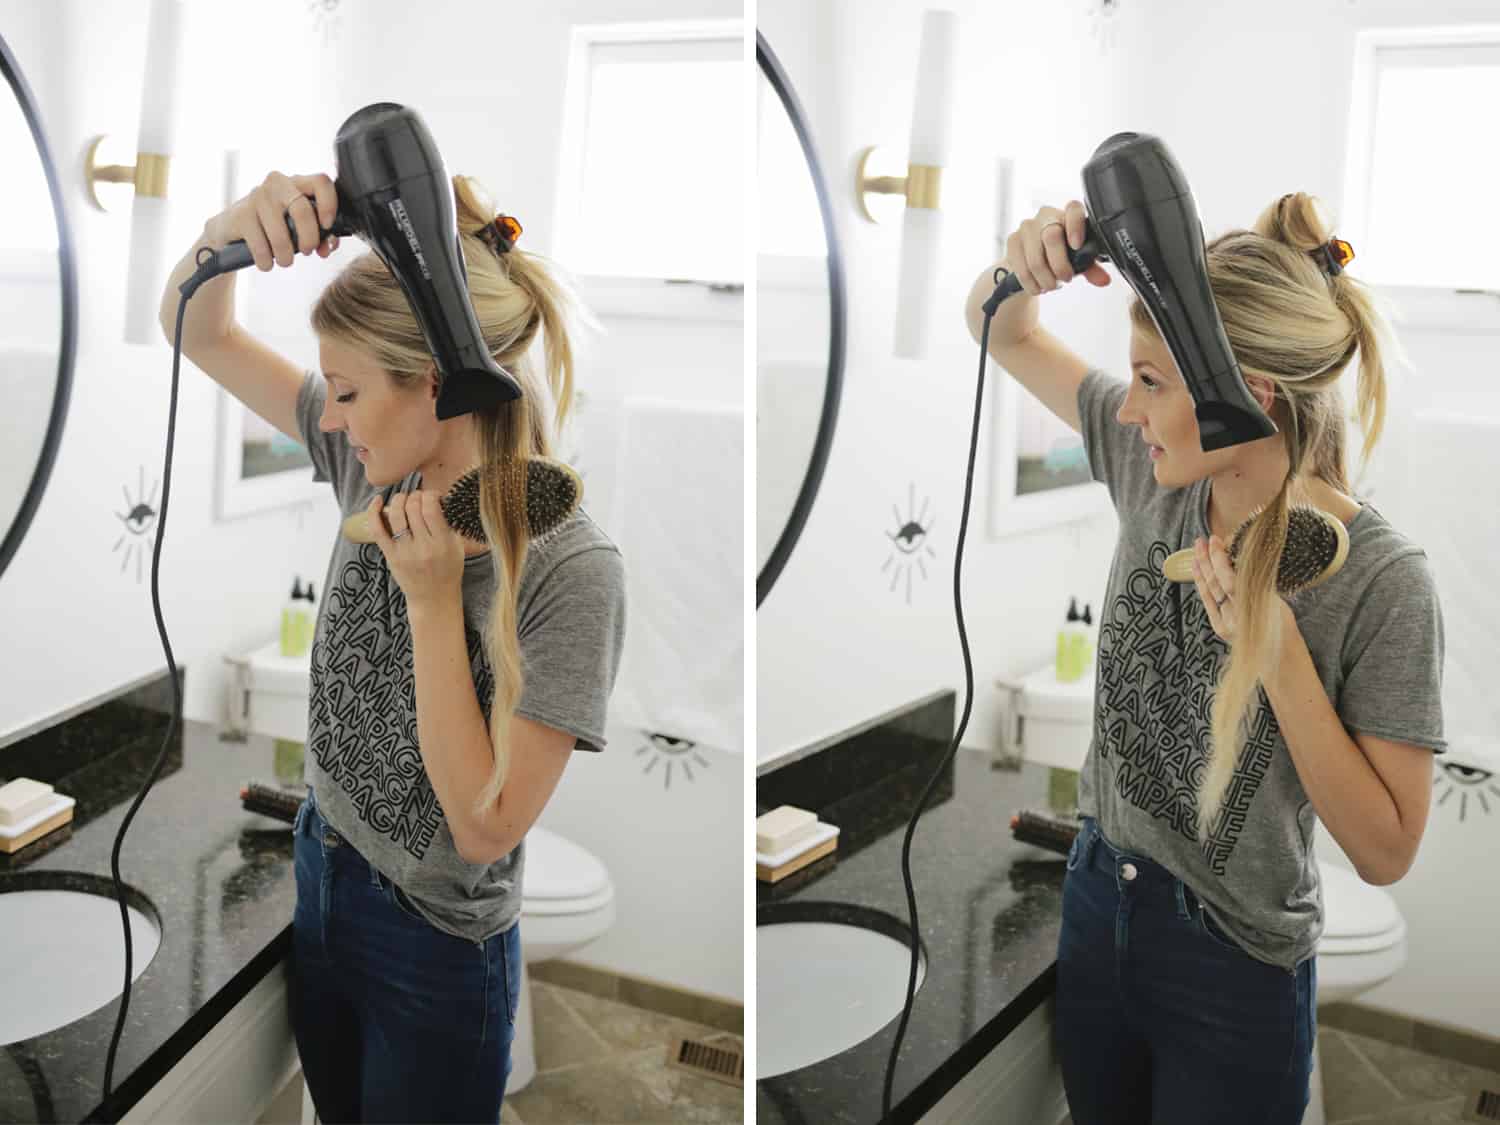
If you just washed your hair, add a smoothing leave-in conditioner and dry your hair to the point where you roots are dry but the rest of your hair is still a little wet (so dry your roots to 100% dry and the rest of your hair to 90% dry). If you are starting with dry hair, use a spray bottle to mist your hair (avoiding the roots), making it slightly damp. Clip up the top 2/3 of your hair, leaving just the bottom section that starts below the top of your ears. Working in 2″ sections (which depending on your hair thickness may be too much or too little, but you can start there) firmly wiggle the top of your hair section into the brush with the hair on top and the brush underneath. Hold the brush with the hand that’s on that side of the body (so on the left side, hold it with your left hand and your right hand on your right side) and hold the dryer in the other hand (so you’ll have to switch hands to do this on the opposite side). Pull the brush slowly downward though the hair a few inches with the dryer closely behind it so that it feels like the dryer is pushing the hair downward. After you’ve gone about 3″, rotate the brush 360° so you are twisting the hair towards the back of your head.
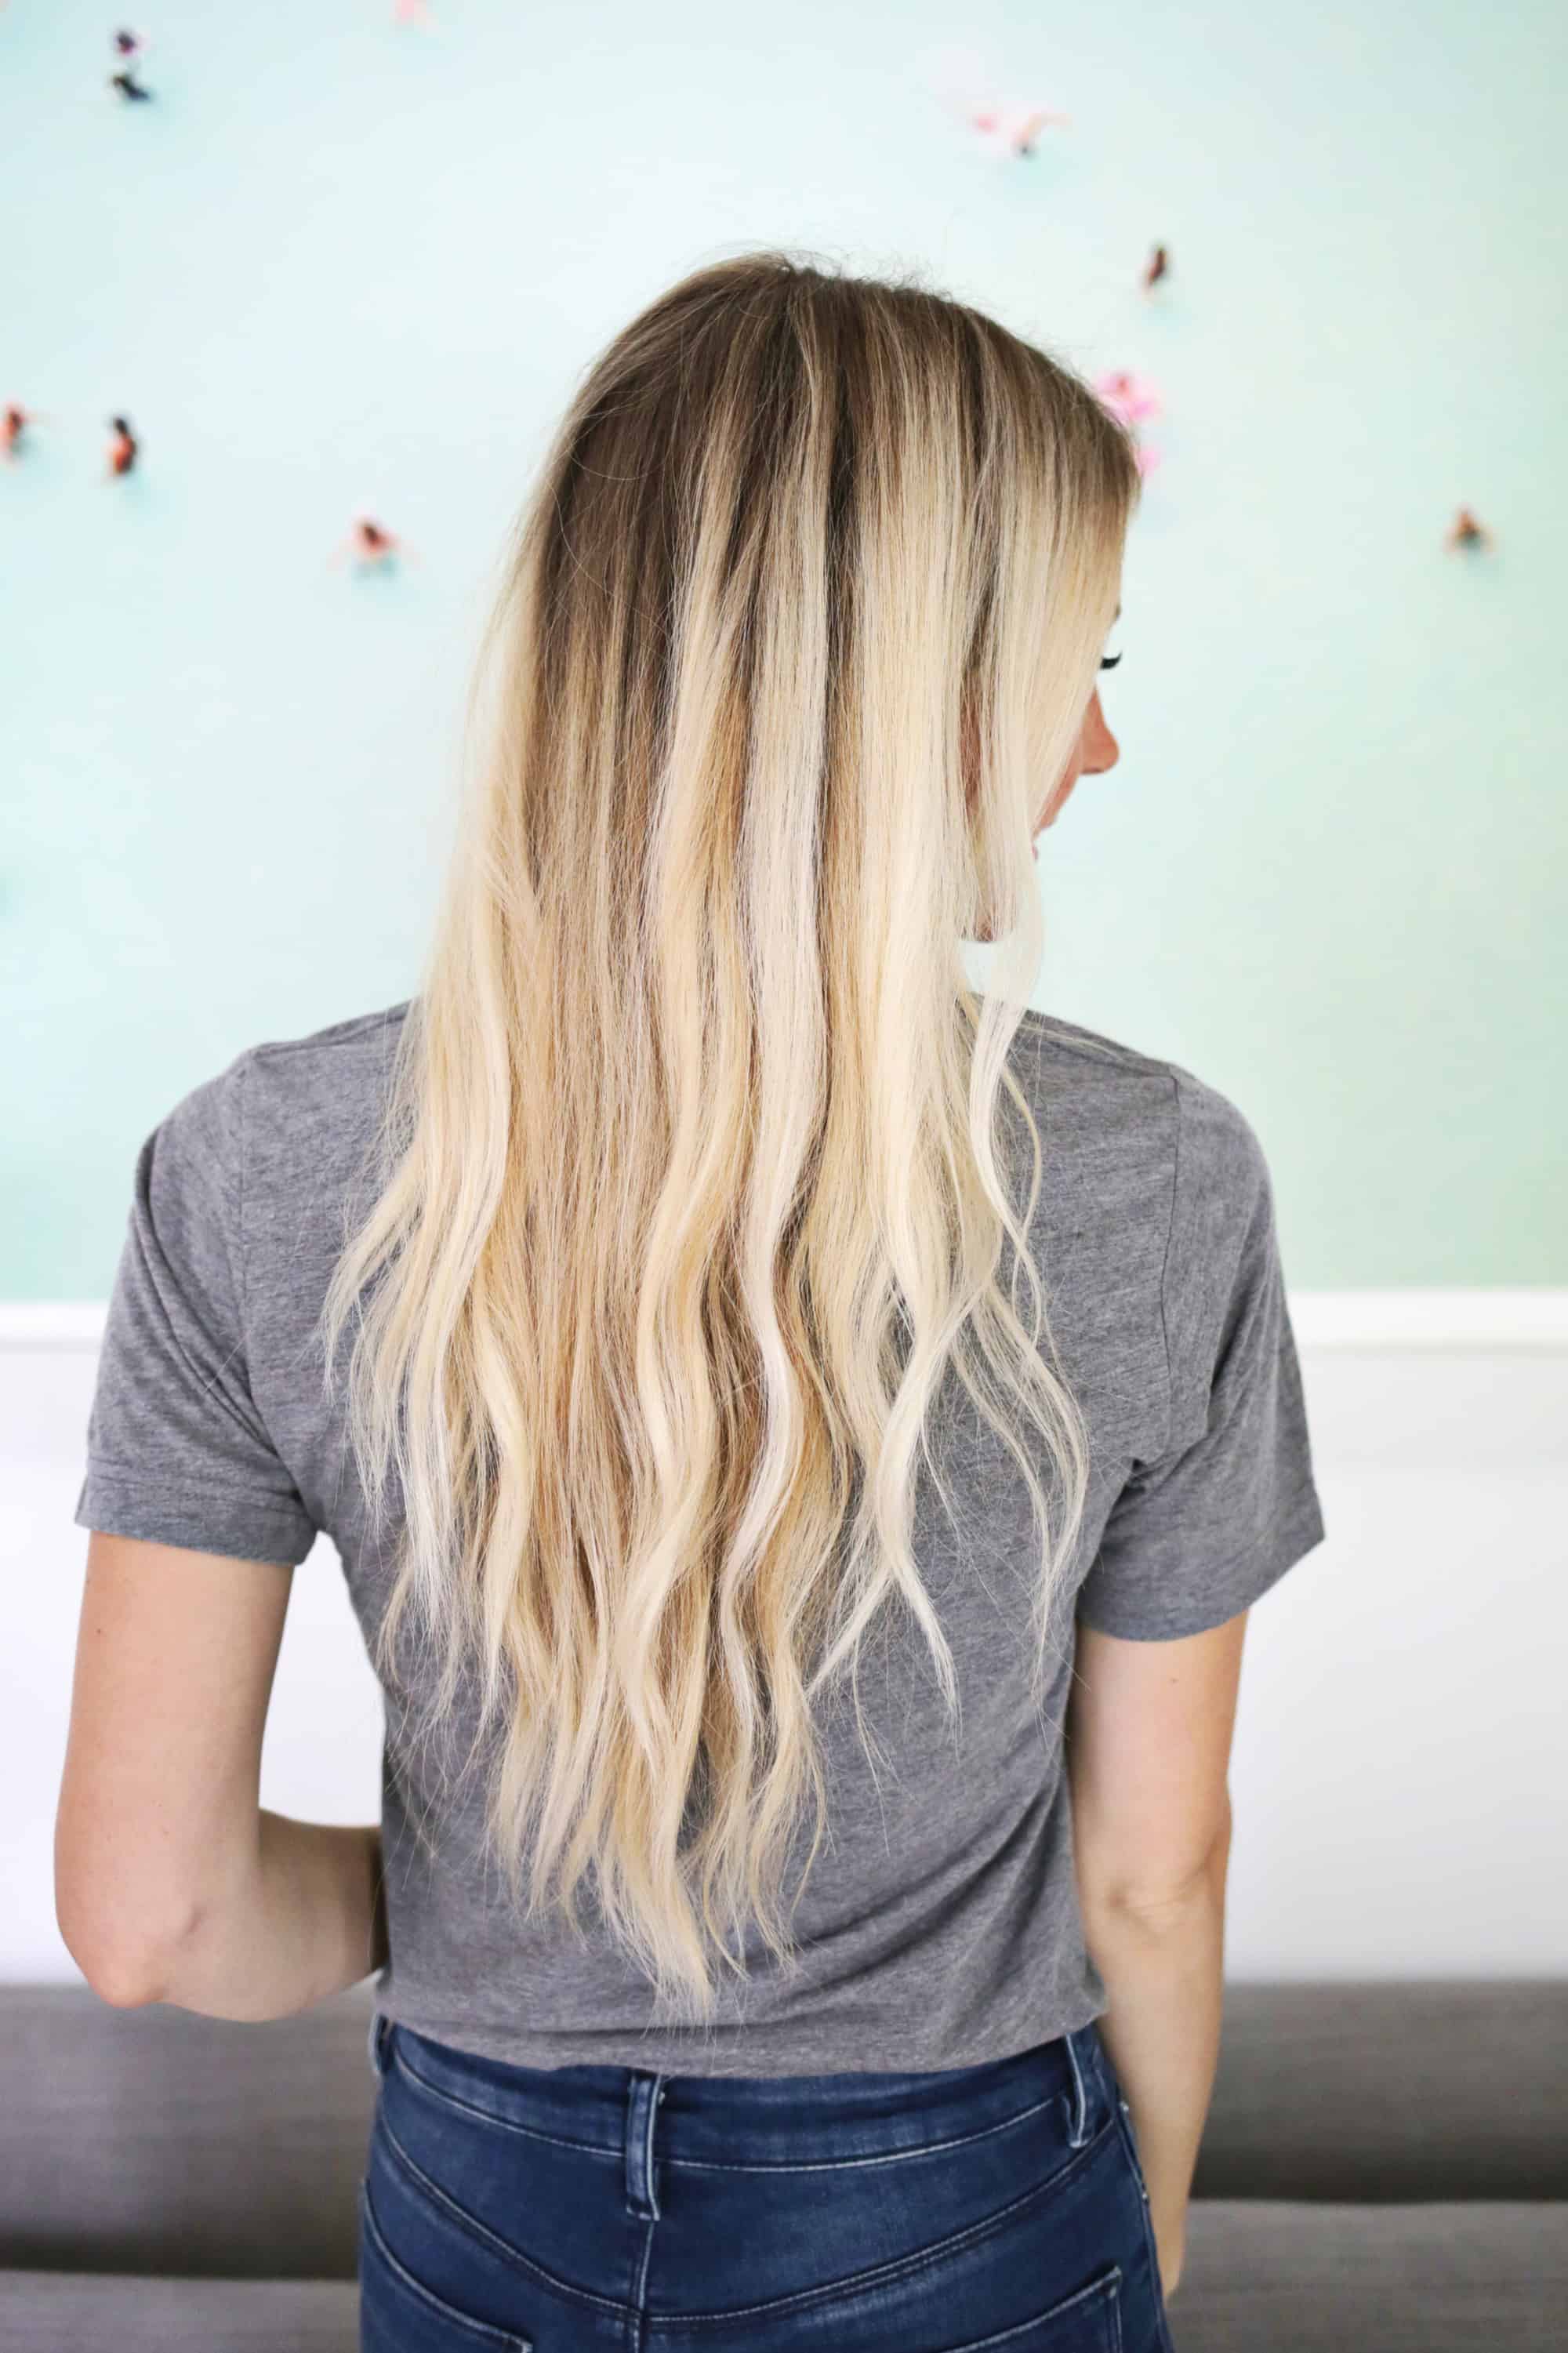
When you get back around to the front again, you’ll have just twisted the hair section above the brush one full rotation. Keep pulling the hair through the brush with the dryer pushing behind it and rotating the brush every 3″ so that by the end of the section your hair has been twisted a few times and it looks like a little loose dreadlock. Set down the brush and the dryer for a second (I leave the dryer on and set it on a heat safe countertop) and use your fingers to “fluff up” the twist by either rolling it between your fingers or by holding the end with one hand and pulling at sections of it with the other. Fluffing it up a bit before it cools will give you a bigger and looser wave overall. Don’t brush through the twist yet though; leave all the twists until your whole head is done. 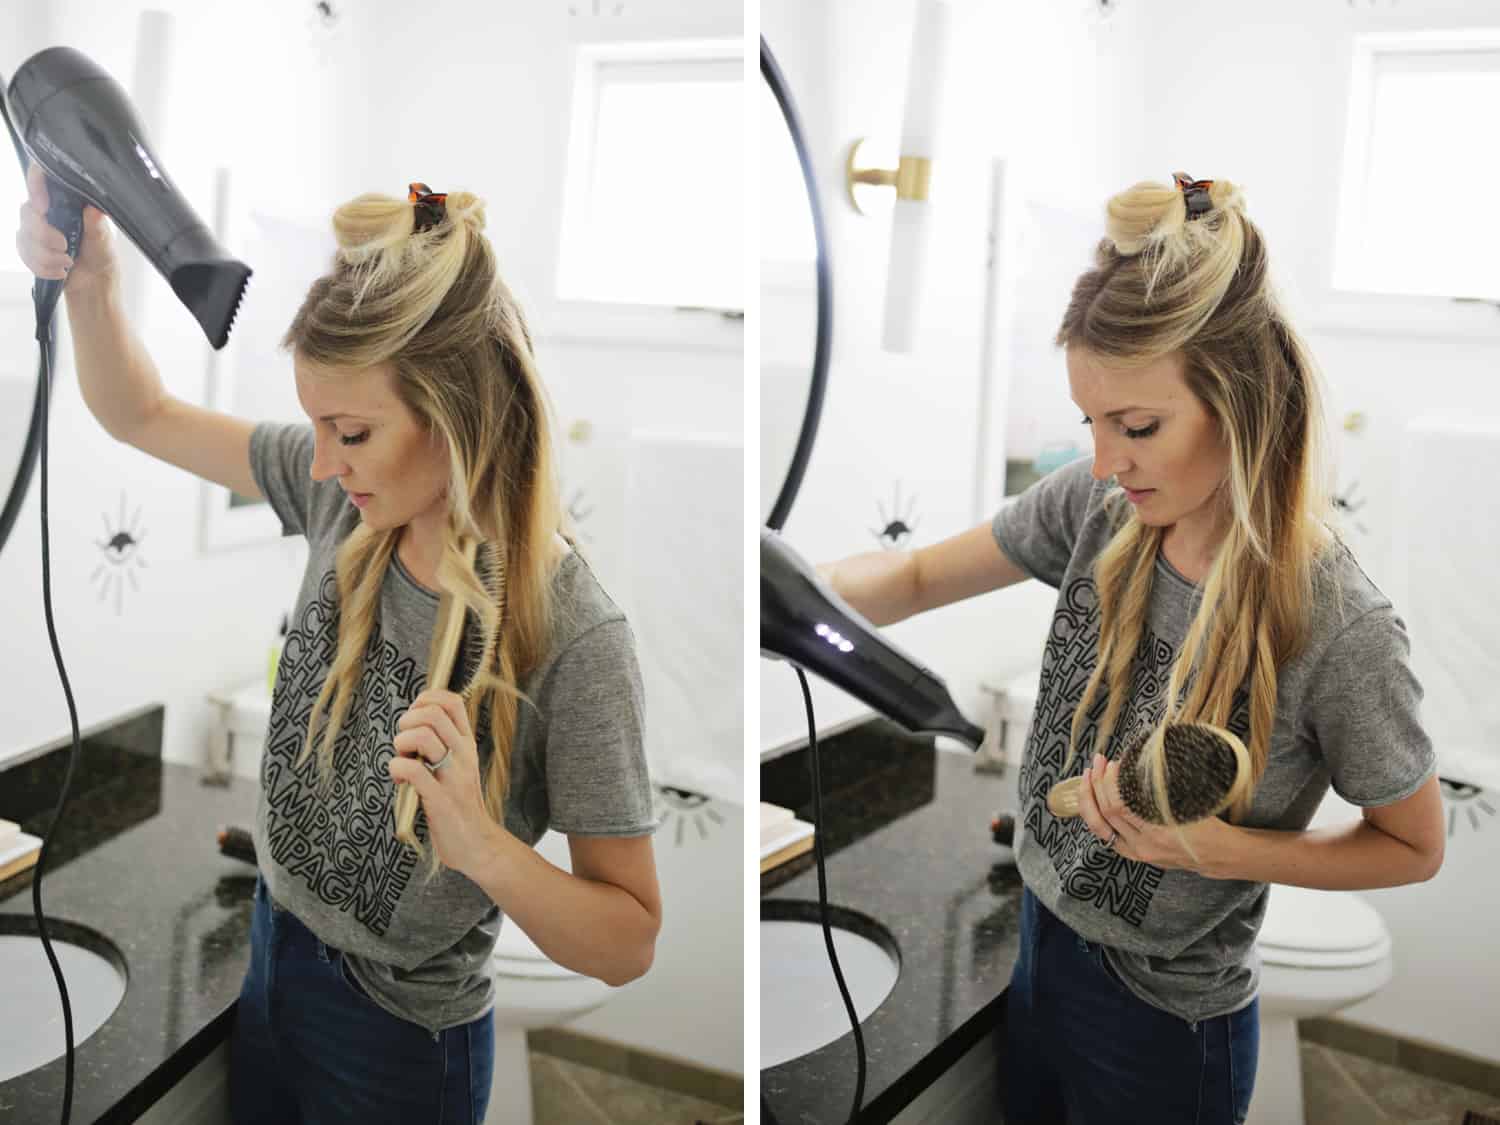
 Let down the next 1/3″ of your hair and repeat the process and finish with the top 1/3 after that. Depending on your hair type, you may get a smoother curl by drying and twisting each section twice before fluffing it, so try that if it’s not as smooth as you would like. As a side note, you want to use a brush that will hold your hair in the bristles during the brush turning process, so if yours falls right out, you probably need a different type of brush (maybe with course bristles or more densely packed bristles). The hair not staying in could also mean you are trying to do too much hair at once, so try a smaller section and see if that helps too.
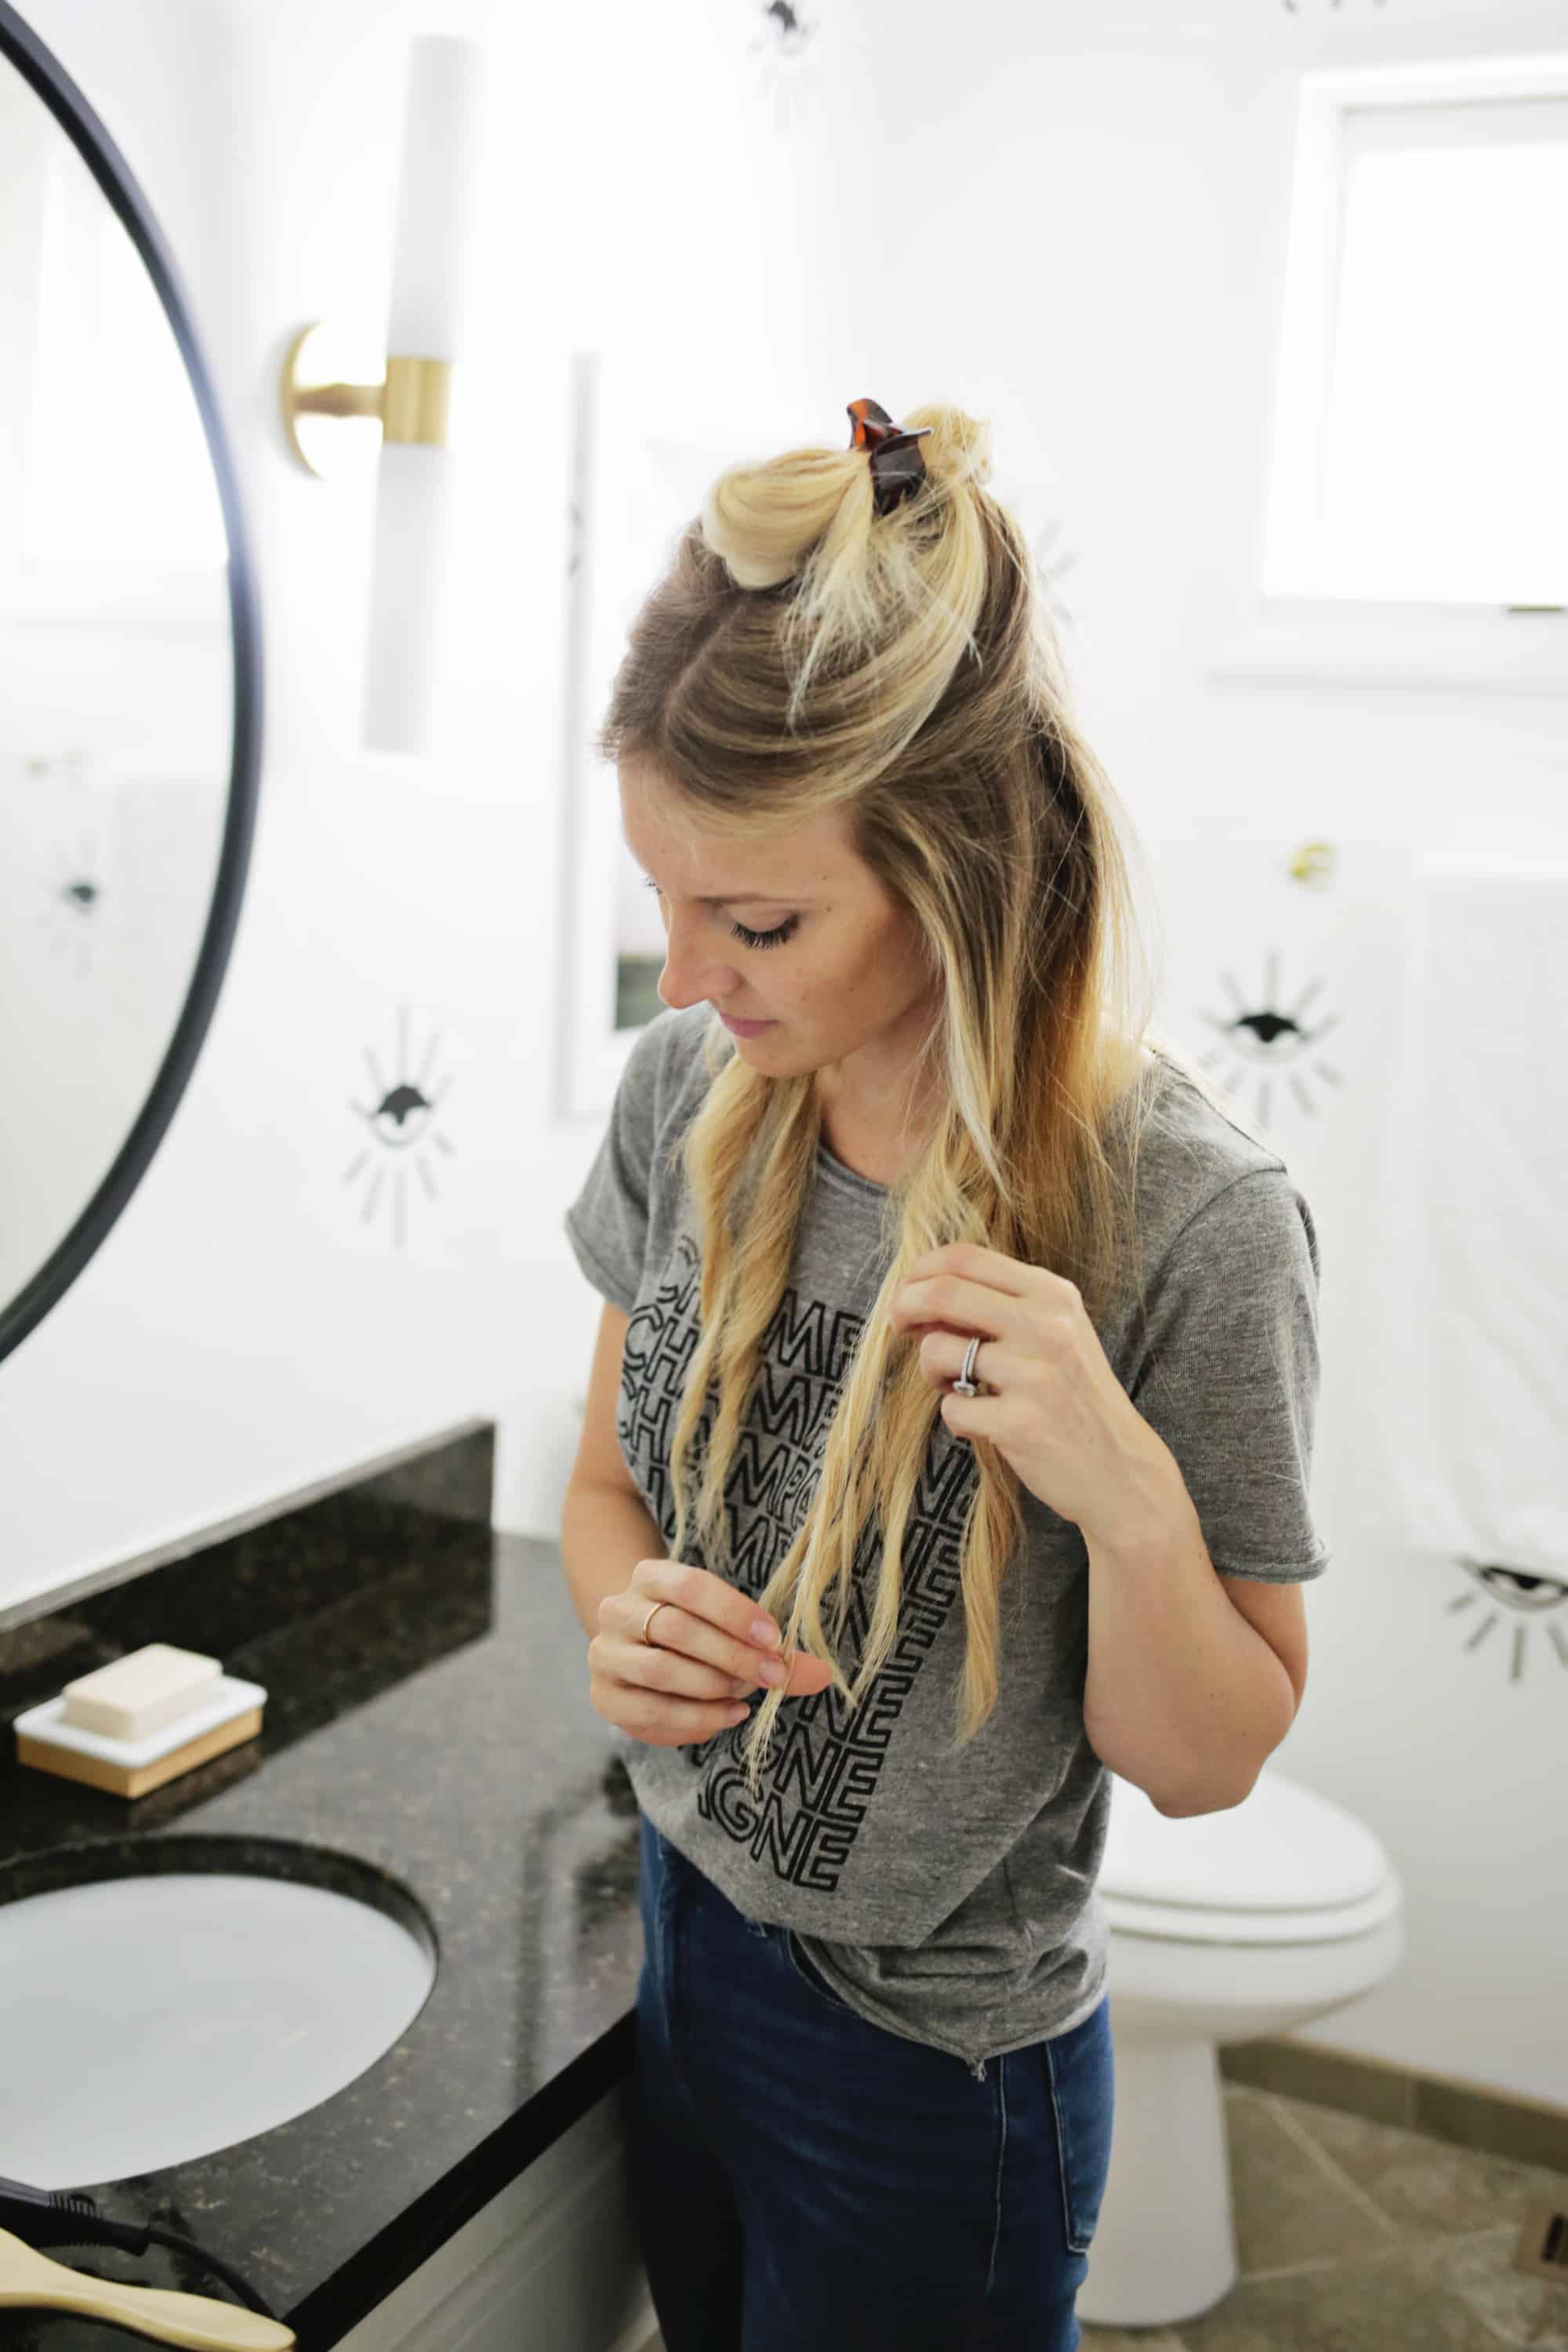
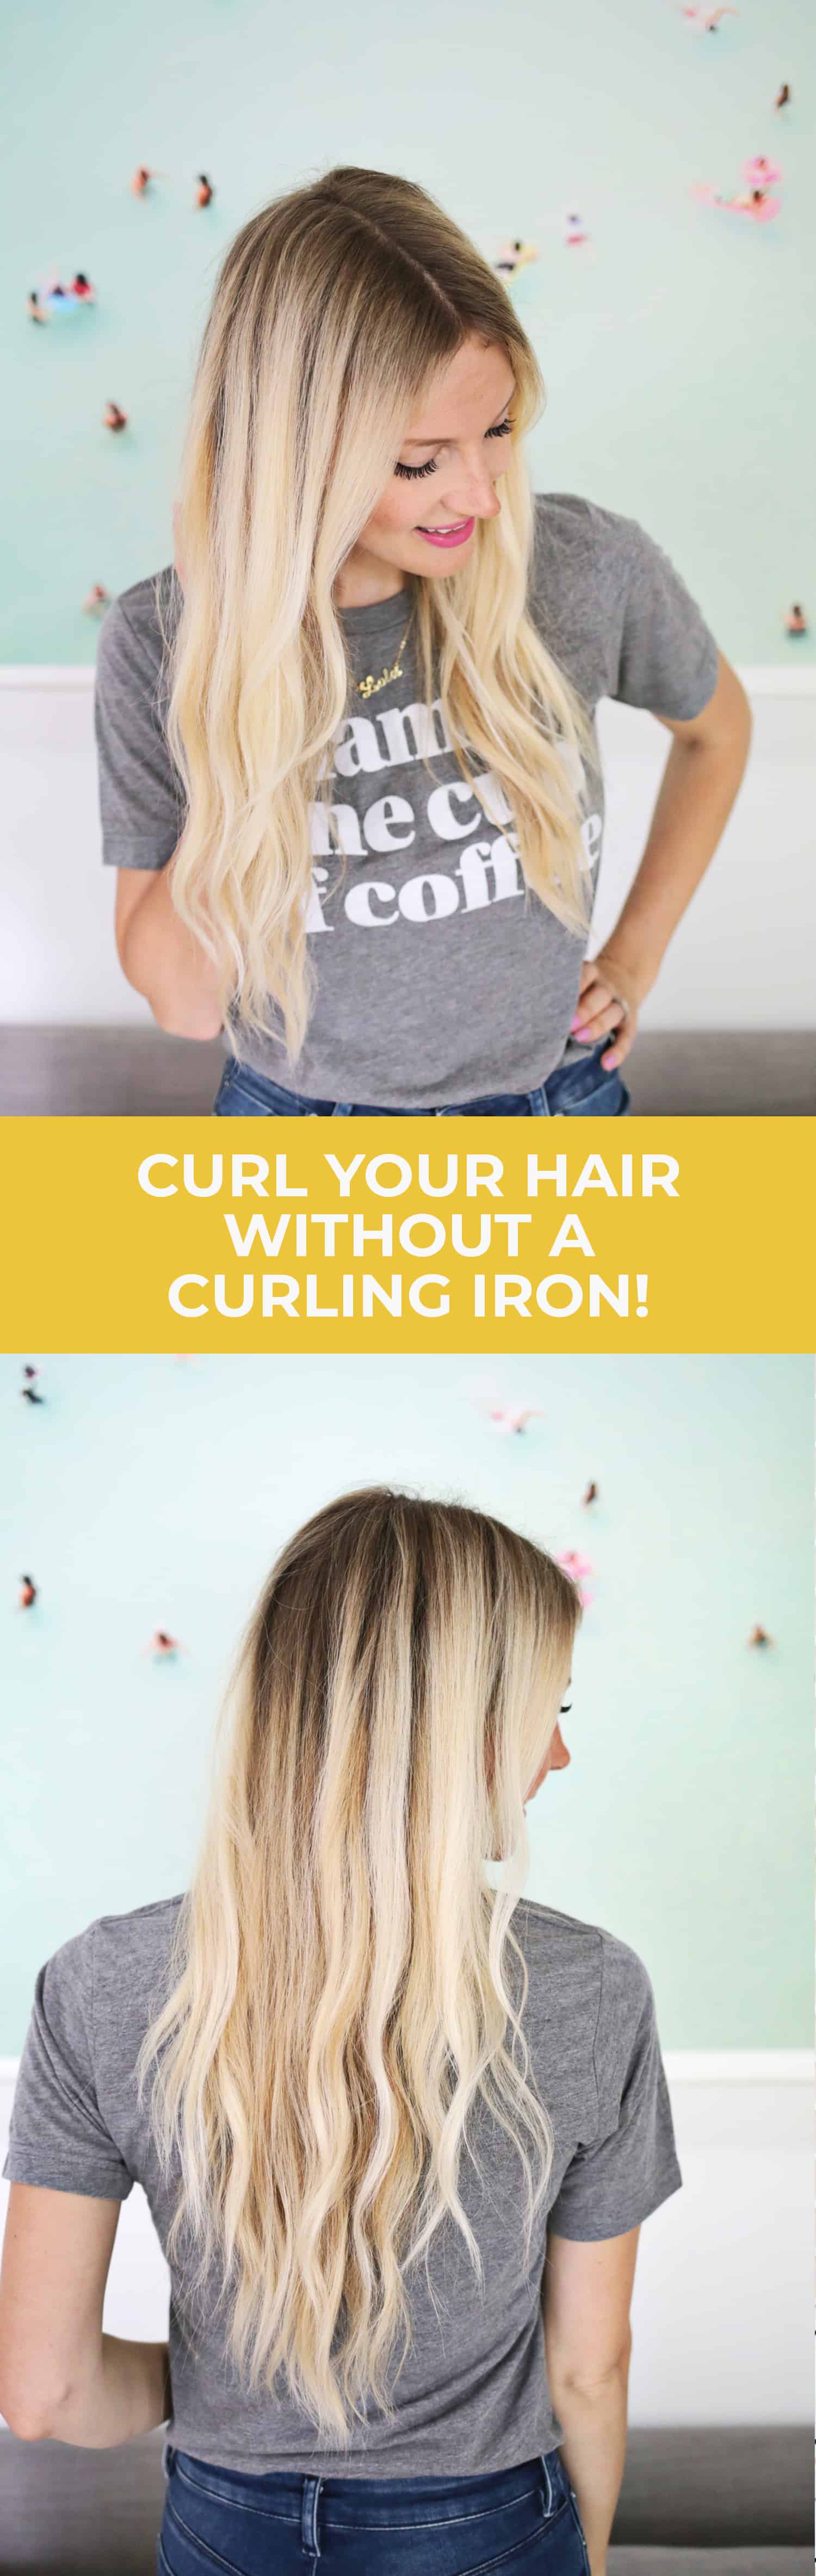
 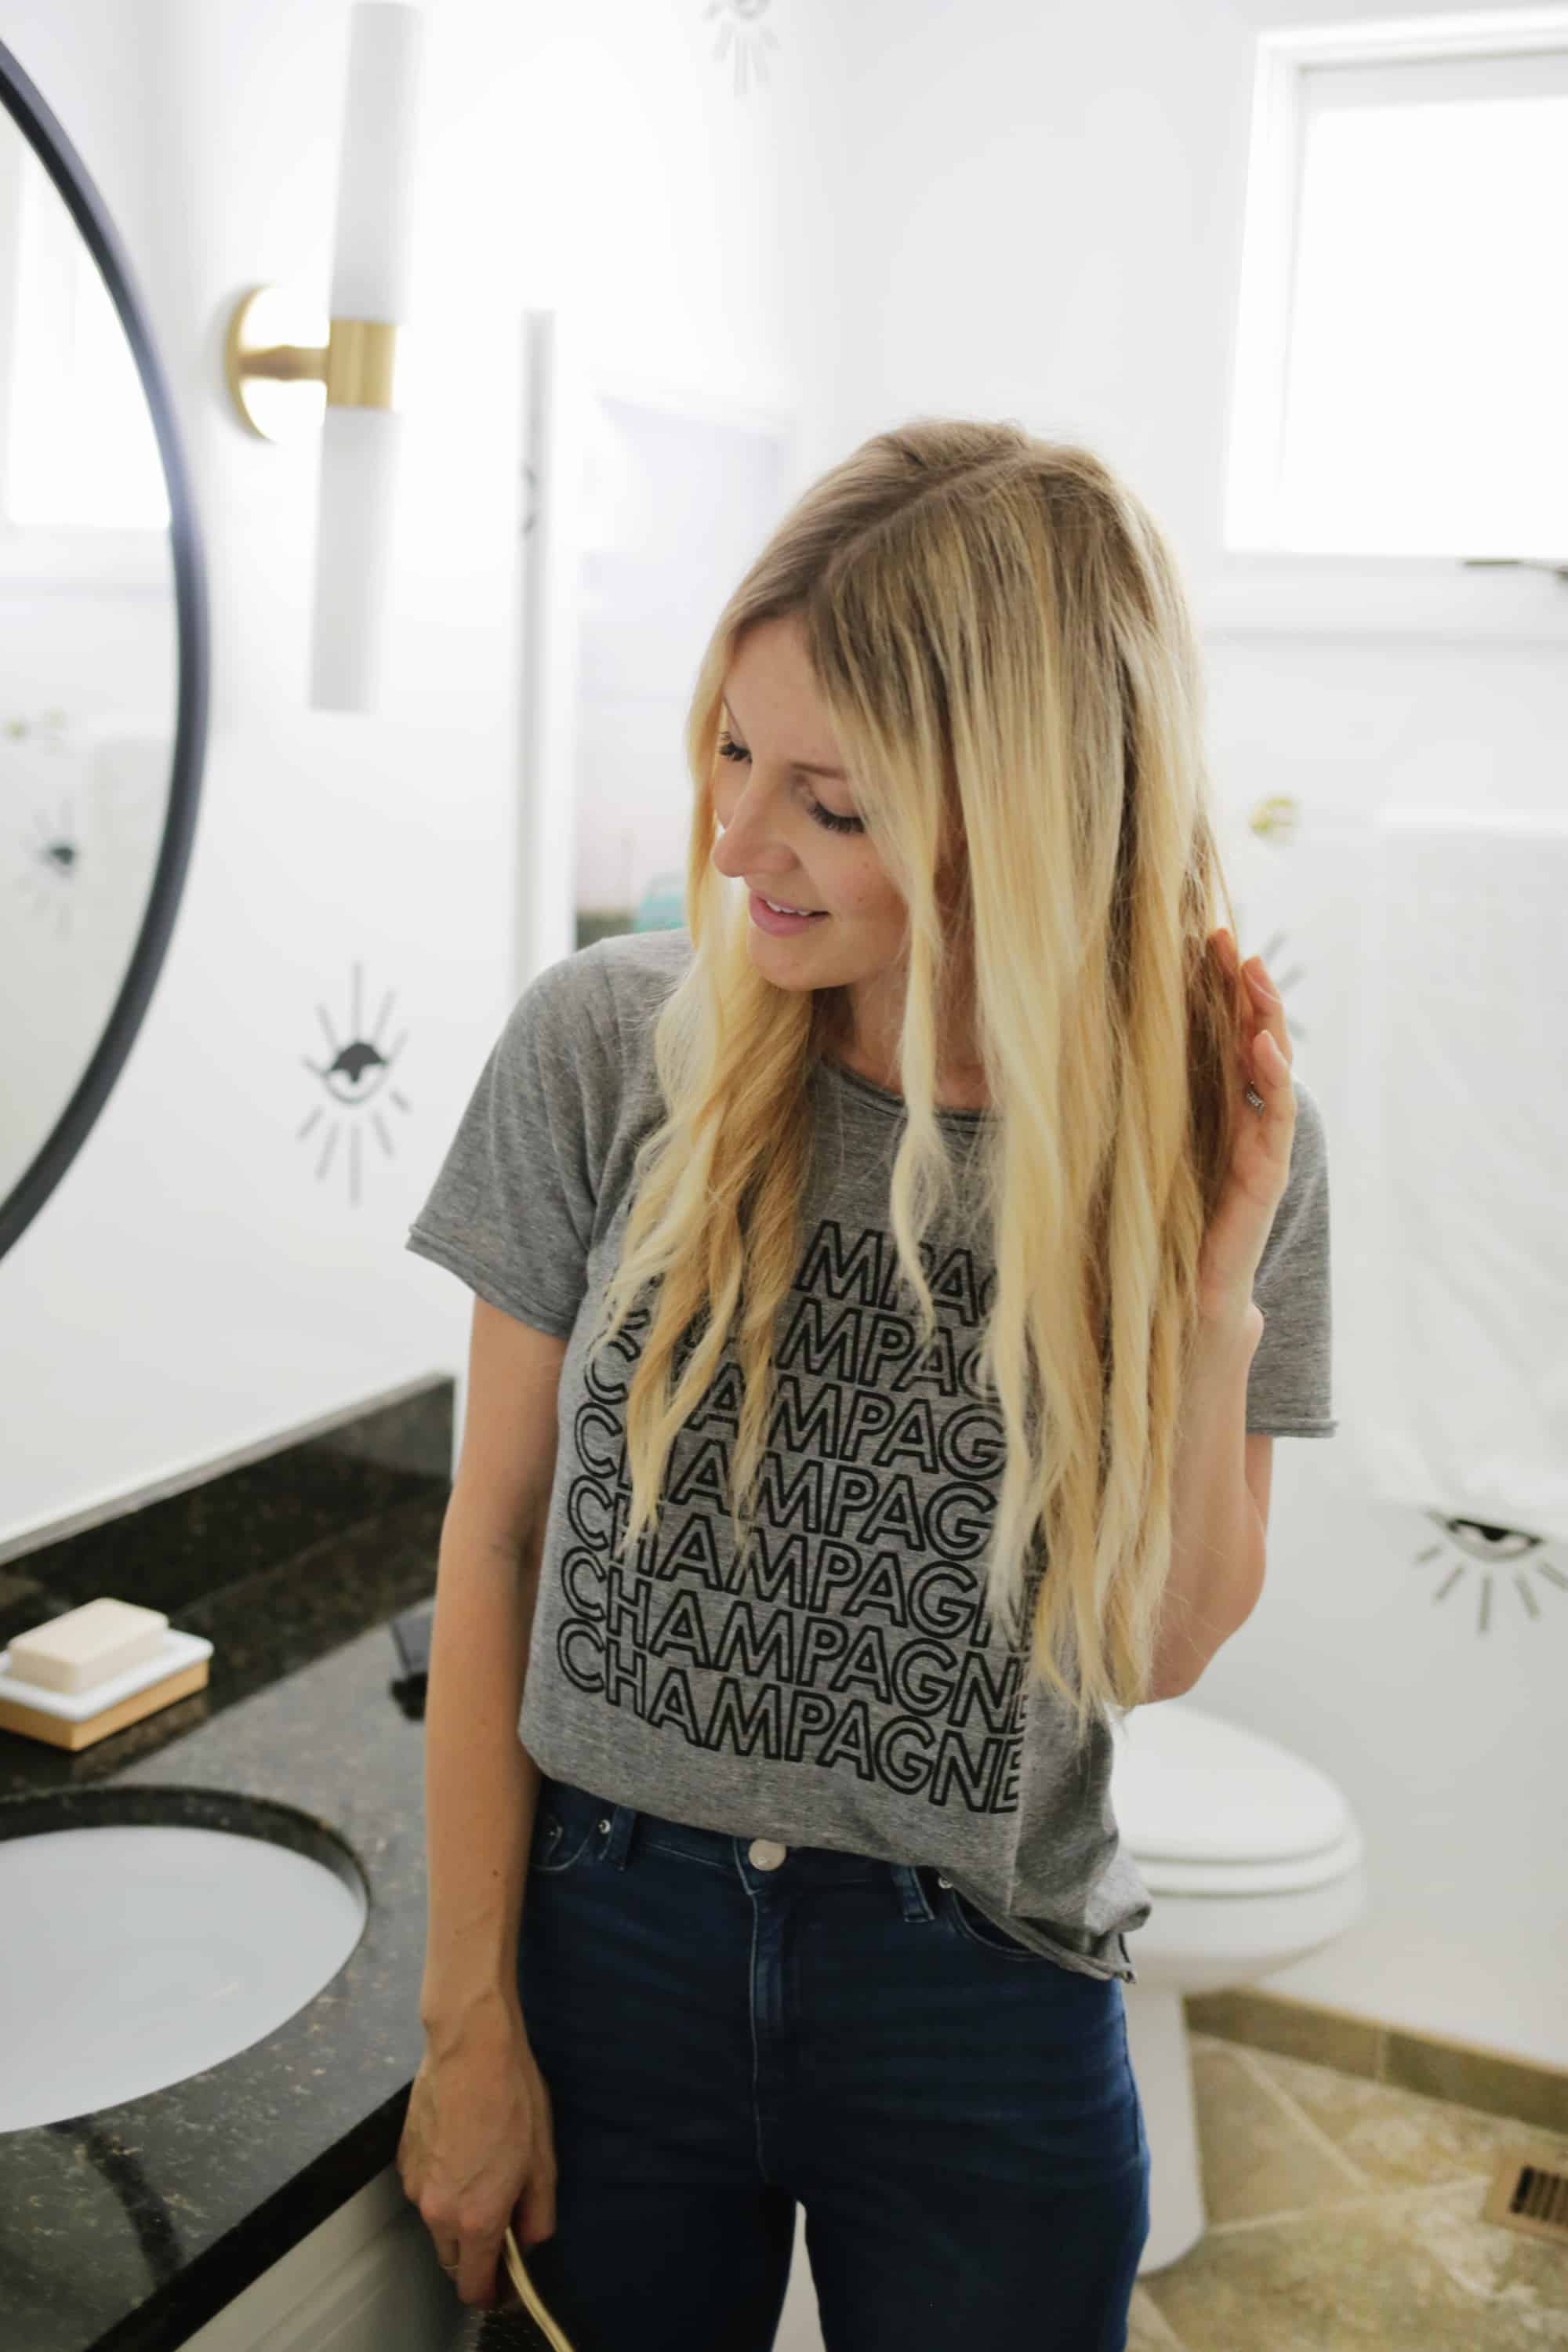 Once all your sections are twisted, fluffed, and cooled (like the photo above), use your fingers to comb out your twisted locks and enjoy the waves! If you have one section that didn’t curl as much as you wanted, you can always mist that section and redo it to make it wavier. Sometimes I leave it without product, but I’ll also spray a bit of this on my fingers and run it over the ends to keep them from getting frizzy. I like how well my hair keeps the wave after sleeping on it for a few days, so I usually only have to do my whole head once. But sometimes I do touch up a section or two a few days later to add some new life.
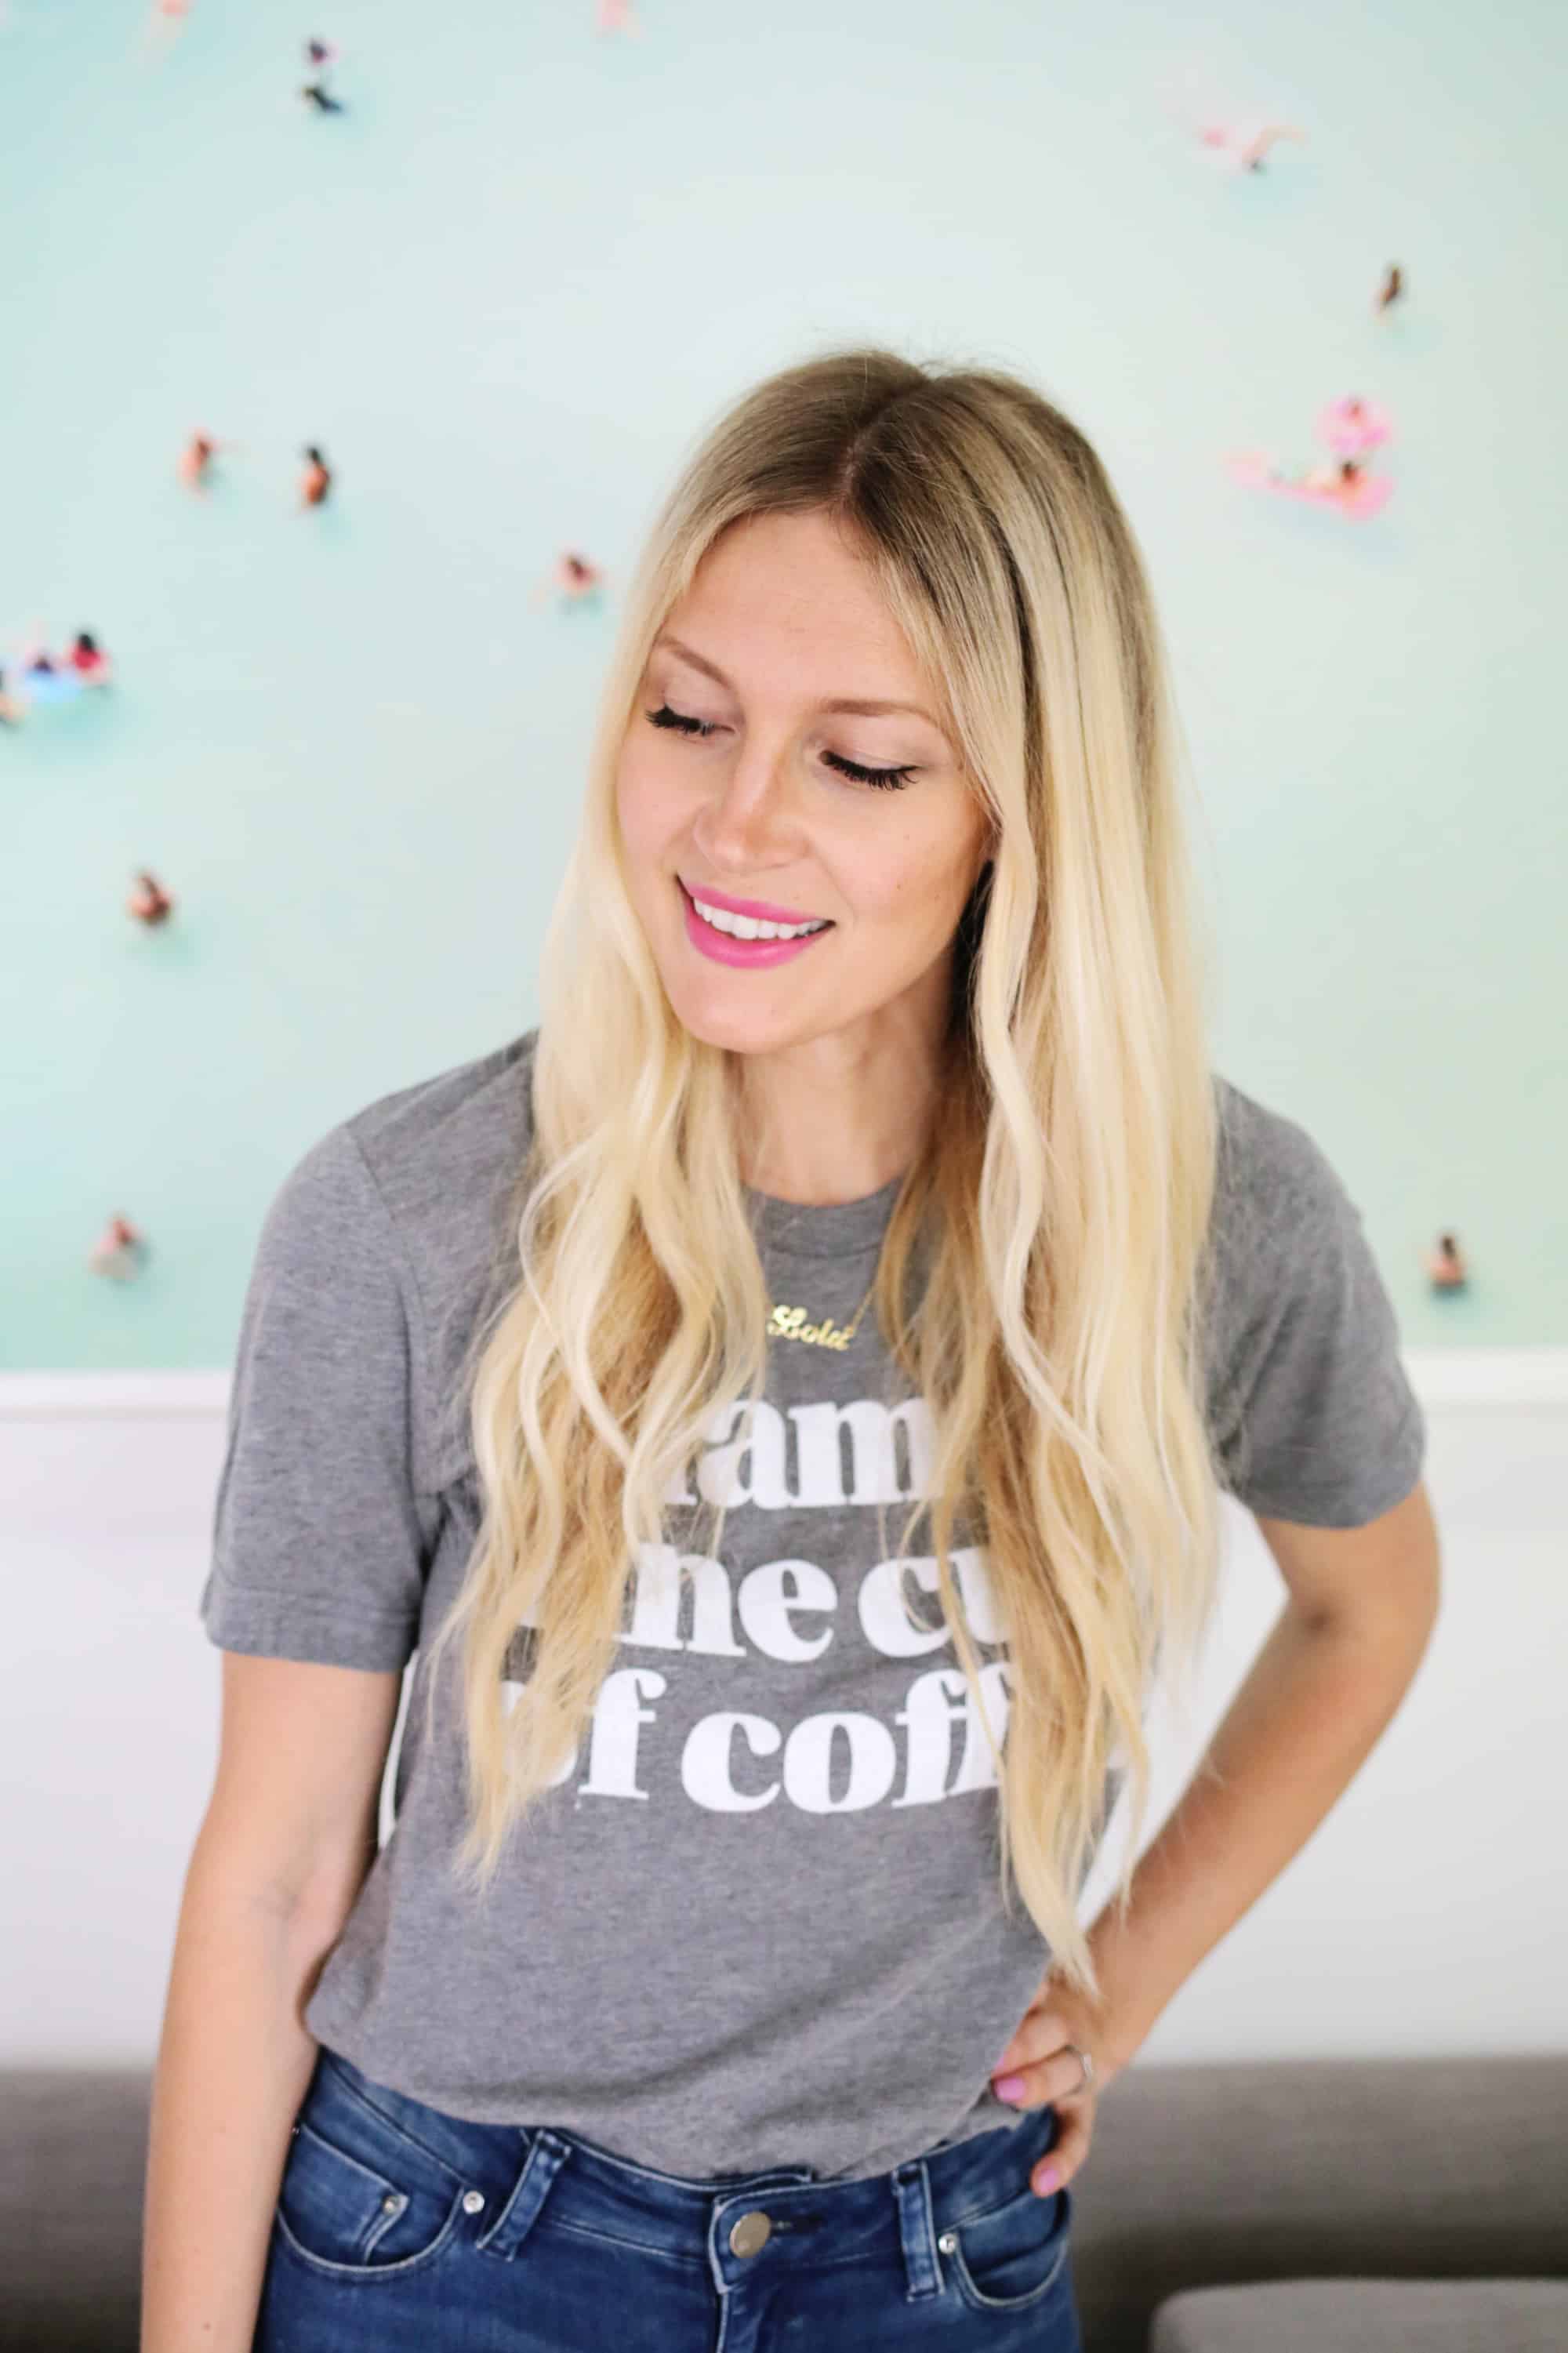
 This definitely took me 3-4 times before I felt like I was really getting the hang of it (especially on my less-dominant hand side), so don’t give up if it feels hard and takes too long the first time! You can see a little video of what the brush flip should look like here if you are still a little confused on how to twist the brush. You’ll get a lot faster as you practice and it’s the main way that I style my hair now even though I wasn’t sure I could do it at first. If you’d rather stick with your curling iron, you can also try my mermaid waves method, but since this method uses less heat, I think it’s one that I’ll use most of the time to be a little gentler on my hair … xo. Laura
17 Comments
I love the gentle soft waves! I’ve got to try this since I don’t actually have a curler. 🙂
Charmaine Ng | Architecture & Lifestyle Blog
http://charmainenyw.com
I love this idea! Especially on the mornings when I don’t want to blow dry and curl, just one and done!
Paige
http://thehappyflammily.com
Any thoughts on non-appliance methods for adding some curl? Like twisting & pinning or braiding while damp?
Yep! Here’s a tutorial Elsie shared — http://abeautifulmess.com/2017/04/elsies-everyday-flat-iron-curls.html 🙂
Hi Winter. Try the headband curl method! There are a lot of “how-to’s” for this method. I have very fine hair and find that it works well for me. I don’t usually leave it overnight, I just wrap my hair for about an hour and end up with soft waves:-)
This is really awesome! Thanks! I try to dry my hair without heat, but I tend to lose the wave. I’ll definitely give this a try this weekend! <3
Eva | http://www.shessobright.com
you must have magic hair! my stylist tried this on mine a few years ago and the first section fell out by the time she picked up the second! my hair doesn’t hold any curl except from a flat iron.
Very interesting post, I like it!
Ah man! Every time I see a tutorial like this I’m so envious! You see my hair does not curl, no matter what I try. It is not genetically predisposed to do so. It’s thin, fine and straight as an ironing board. I cannot do anything with it. And recently (in the last year) I’ve developed a bald spot right in the middle of my forehead where my hair line starts!!! I’m 31, what the heck!!! So now I look at your hair and I’m thinking…..why can’t I get that? Anyway, great tutorial, will try it just for fun….it will not work but at least I can say I tried!
Thanks for adding the little video on your Insta. I feel like you gave great instructions but I wasn’t totally following until I saw the clip!
Where did you get the champagne t shirt? ☺️
Hi Anne! It’s from Amazon (https://amzn.to/2snXM1I)
It does look really nice! I have so much hair though it would take me so long.
To get curls I often put my hair into twists and sleep with it. So kind to your hair and no heat required 🙂
Debs @ https://tiger-mint.com
I curl my hair this way regularly, but I use a hot air brush instead of a blow dryer. I let my air dry for half an hour or so and then use this: https://www.amazon.com/Revlon-Brush-Styling-Frizz-Control/dp/B00022WA9K/ref=sr_1_6_s_it?s=beauty&ie=UTF8&qid=1527695890&sr=1-6&keywords=hot+air+brush
My hair is slightly wavy, but thin and very fine and this does the trick.
lil late to the party but I love this tutorial! will definitely be using it for graduation! please check out my blog I’m a new blogger!
Paige is right!
If you don’t want to blow dry and curl your hair this is the perfect solution.
Beautiful!
i want more of breads and also messy buns