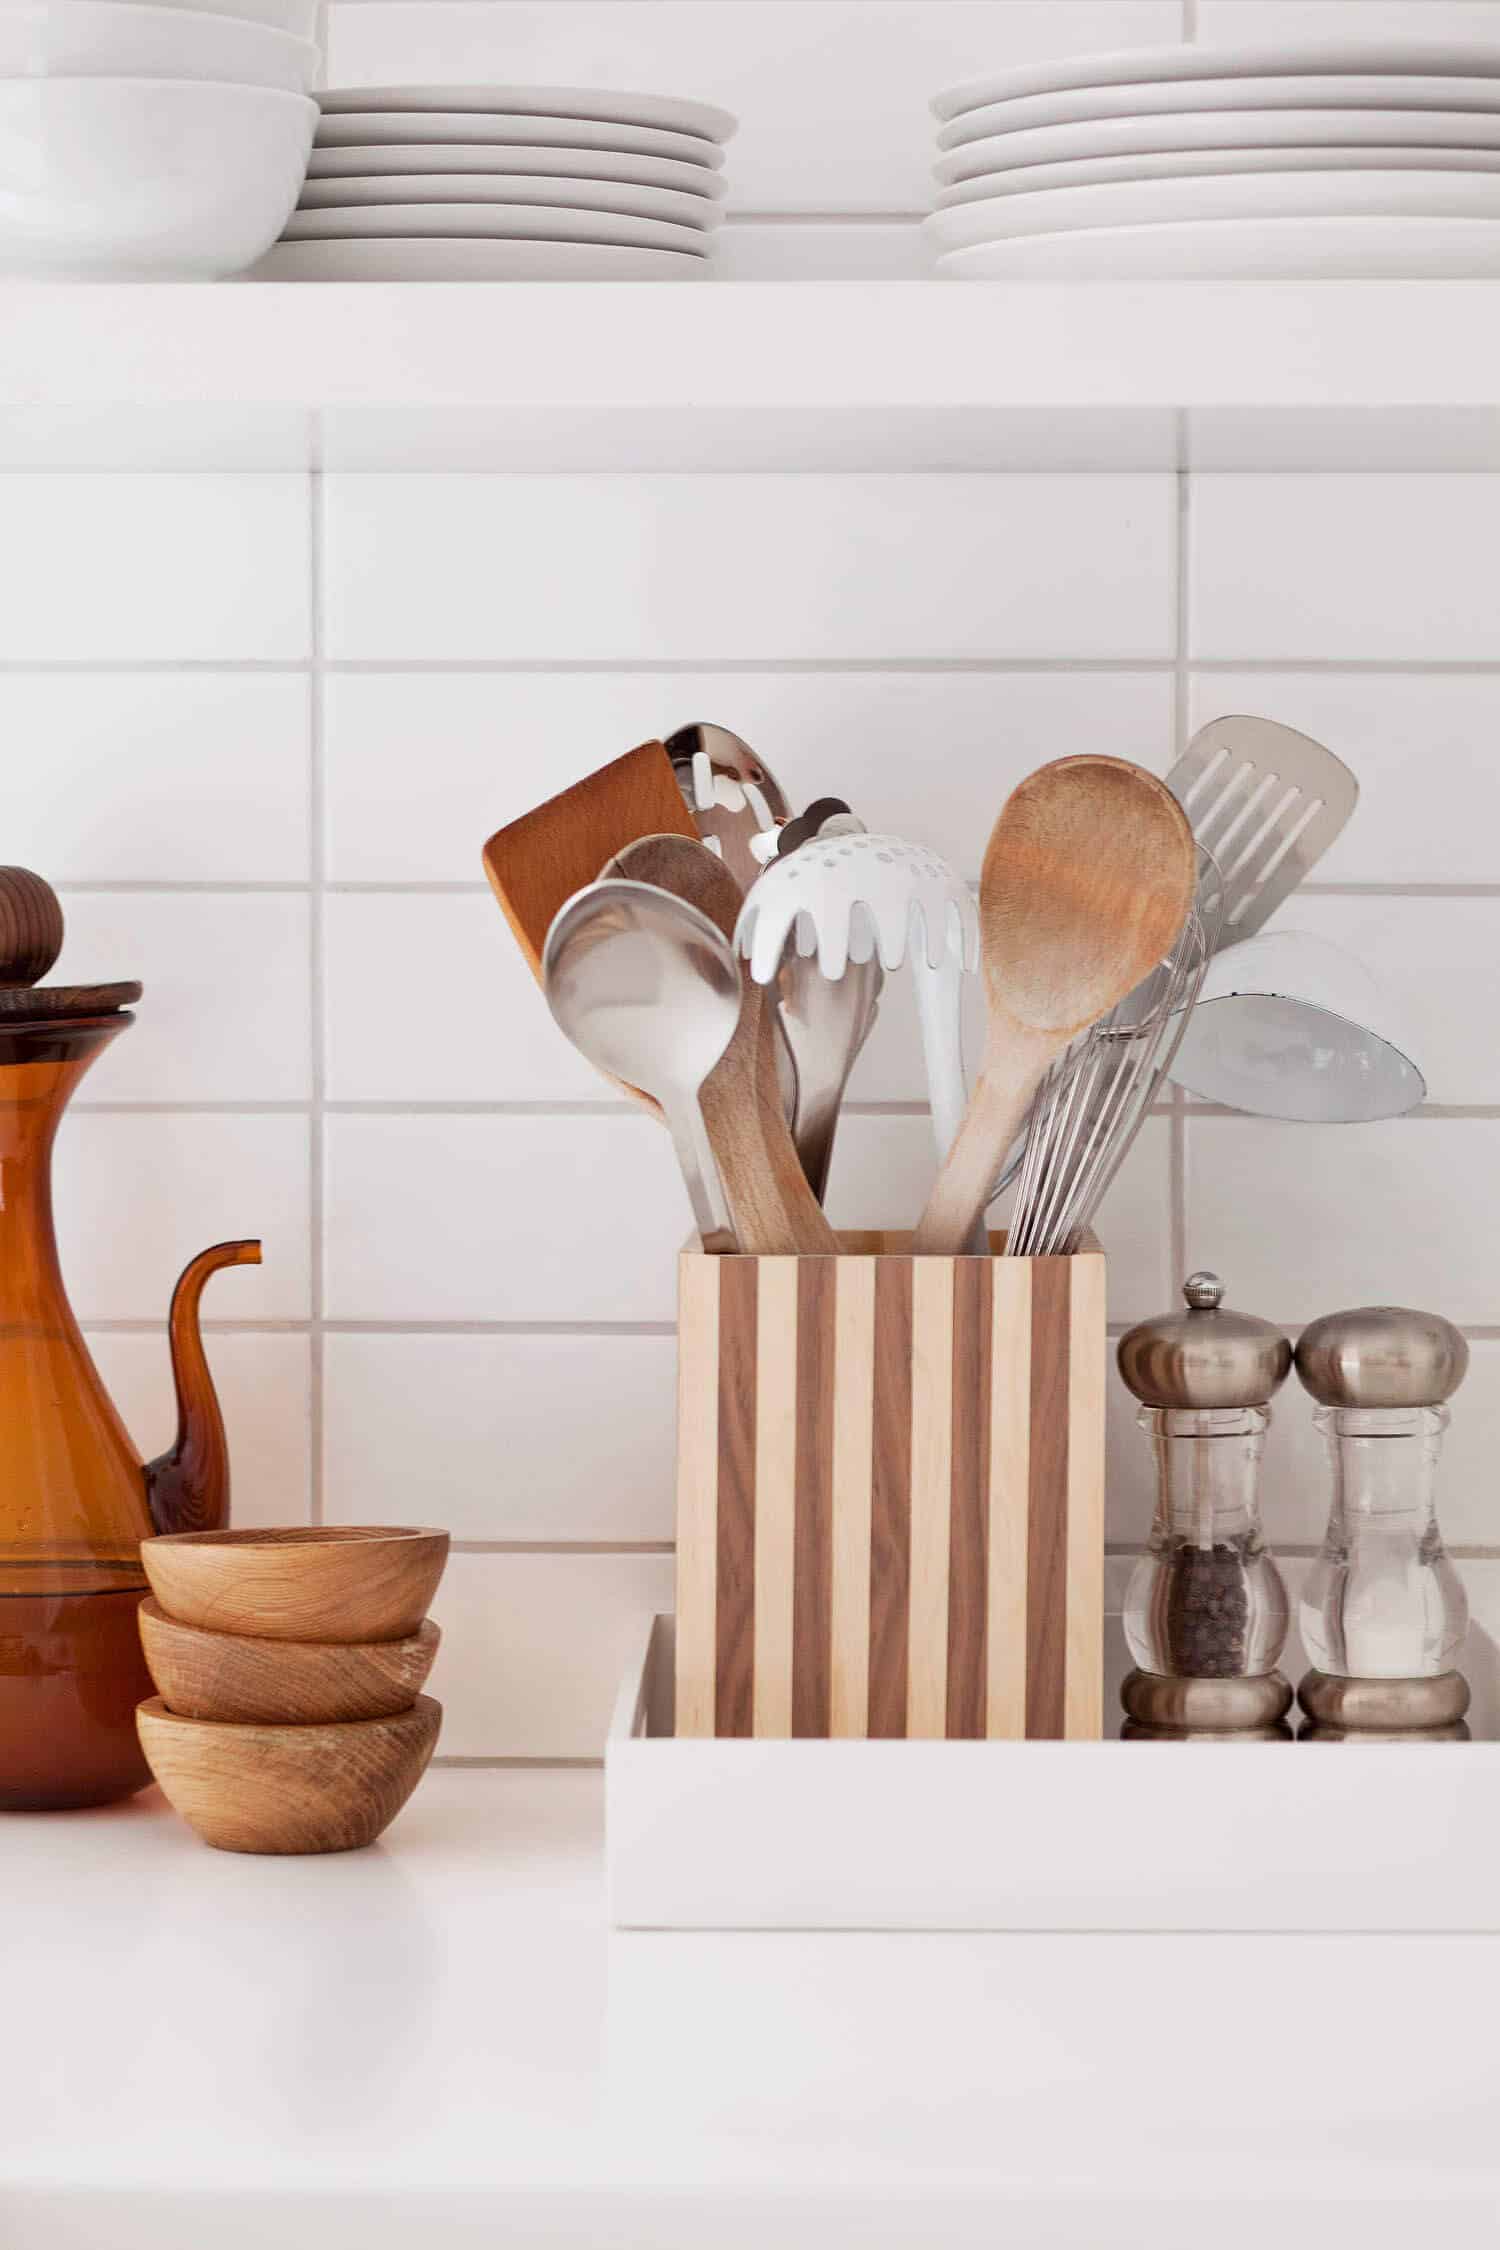
 I love a bright, white kitchen, but mostly because a neutral kitchen is a nice backdrop for fun textural kitchen gadgets! Kitchens can feel bright and clean as well as cozy and welcoming. During my recent bright white kitchen renovation, I did away with an entire cabinet full of drawers, which meant I needed to use a utensil holder for the first time ever. I thought this could be the perfect opportunity to add a quirky yet sophisticated decorative element to our countertop. And here is the result!
To make this utensil holder, you’ll need to know how to use a hammer and glue. Oh, and an iron. I promise it’s a simple craft that will feel really satisfying when you can display the fruits of your labor on your kitchen countertop, next to your actual fruits.
 Materials:
-1 small sheet* of 3/8″ pine wood* (actual dimensions would be 1/4″)
-wire brads (I used 3/4″ length)
–wood glue
–duct tape
-sandpaper (120 grit)
-wood sealer (I used Minwax satin polyurethane)
-pre-glued wood veneer banding in 1″ width or 3/4″ width in two contrasting wood tones (like walnut banding and birch banding)
Tools:
–craft blade
–iron
–steel ruler
–cutting mat
*I purchased a 3/4″x6″x36″ craft board at Lowes for $4.22. You will need it cut both length-wise and width-wise, so if you’re unable to cut them at home, I recommend bringing your dimensions to the store and asking them to cut them for you.
 Step One: Cut out the wooden pieces for the box.
You’ll need:
two 4 1/2″ wide x 6 1/2″ tall pieces
two 3 7/8″ wide x 6″ tall pieces
one 3 7/8″ x 4 1/2″ piece.
It is very important that your wood is the thickness 5/16″ thick, or you will need to adjust the sizes of wood pieces so they will fit together nicely. I cut mine out using a chop saw at home, but you can have your wood cut for you at the store as well. If you have the wood cut for you, be sure to do a dry fit before you leave! You want to make sure it’ll all be copacetic when you get home to glue it together.
Step Two: Glue together the pieces to make the box, making the small piece be the bottom of the box. Wipe away any glue seepage immediately and use duct tape to hold the pieces together as the glue dries. After the glue has dried, hammer the wire brads into the butt joints to make the box more secure. Don’t forget about the bottom, which you can see in the below left image.
 Step Three: Cut out 7″ strips of veneer tape, then you have the option of cutting them into 1/2″ widths, as I did, or if you purchased 3/4″ width banding, you can leave them at their full width for a chunkier stripe. A ruler and cutting mat is helpful for this because your cuts need to be very precise.
 Step Four: Use a dry iron on the cotton setting and run it over a pre-glued veneer banding which has been positioned on the wood box you made. Work with one strip at a time. As soon as the wood is hot, use a wood block to push the strip into place against the adjacent strip. Then use the block to press down on the wood strip, making sure it has adhered to the block.
 Step Five: Use a very sharp craft blade to cut away the overhang of the veneer banding.
 Step Six: Use 120 grit sandpaper to smooth the cut edges.
Step Seven: Seal the finished utensil holder with your sealer of choice. I like to use polyurethane win applications where there will be water and grease, because I can clean it easily without messing with the finish.
 Now all you need to do is fill ‘er up! I must admit, I am rather enjoying having a utensil holder handy. It’s much easier than rooting around a drawer to find what you’re looking for, or trying to figure out how to get the potato masher to lay nicely so the drawer will close. This is much more convenient, and cuter too!
 I did want to let you know that I scaled down the size of the utensil holder a bit in the directions, because I made mine a bit larger than I thought was necessary. So if you want yours to be extra wide like mine, add 1″ to the width of the wood pieces you cut out in step one. This project would also work nicely for any other storage boxes you need in your home! Just add length and width for the size box you’d like. Please let us know if you make any, we’d love to see them in your home! – Mandi
10 Comments
Love the natural wooden pattern to the holder. Very cute and natural looking. 🙂
Charmaine Ng | Architecture & Lifestyle Blog
http://charmainenyw.com
Love this so much!
Very cool utensil holder! Love the striped look.
I love this! It’s so different from the typical utensil holder!
Felicity | http://oliverandmoose.com
What a beautiful idea! This reminds me of a lot of things that my husband makes and sells on Etsy out of hardwoods (cutting boards and wall art right now). Heads up, pine can be pretty soft and easily dented, so it may end up showing a lot of wear and tear on the inside which might affect the durability of it long term. <3
xo
Kristina
eyreeffect.com
Wow, this is such a gorgeous and unexpected project! Love it!
Eva | http://www.shessobright.com
That looks super expensive, how cool that you can make such a utensil holder yourself!
https://www.makeandmess.com/
very cute!
Such a life hack, thank you for sharing. Can’t wait to try this out! It’s always such a treat to be able to work with my hands to create something I can see and use everyday! Thank you 🙂
I’ve seen this in other peoples’ kitchens so often and I always wanted one. Guess I’ll just make my own!