 Have you ever sewn with lace? It’s not as hard as it may seem! This non-traditional kimono project is the perfect starter project to get you acquainted with the fabric. In the end, you’ll have a lightweight outer garment that is perfect for a spring and summer layer. So maybe this is my way of wishing spring was already here. Anyone else with me?

 This tutorial creates a simple and loose non-traditional kimono with no waist tie, although you could easily add one if you desire. Are you ready to get started?
 Supplies:
-lace *I bought 2 yards and had extra left over (be sure not to buy slick/polyester lace–cotton is great for this project)
-a size 9/65 needle especially for lace
-scissors
-pins
-iron
-measuring tape
-your sewing machine
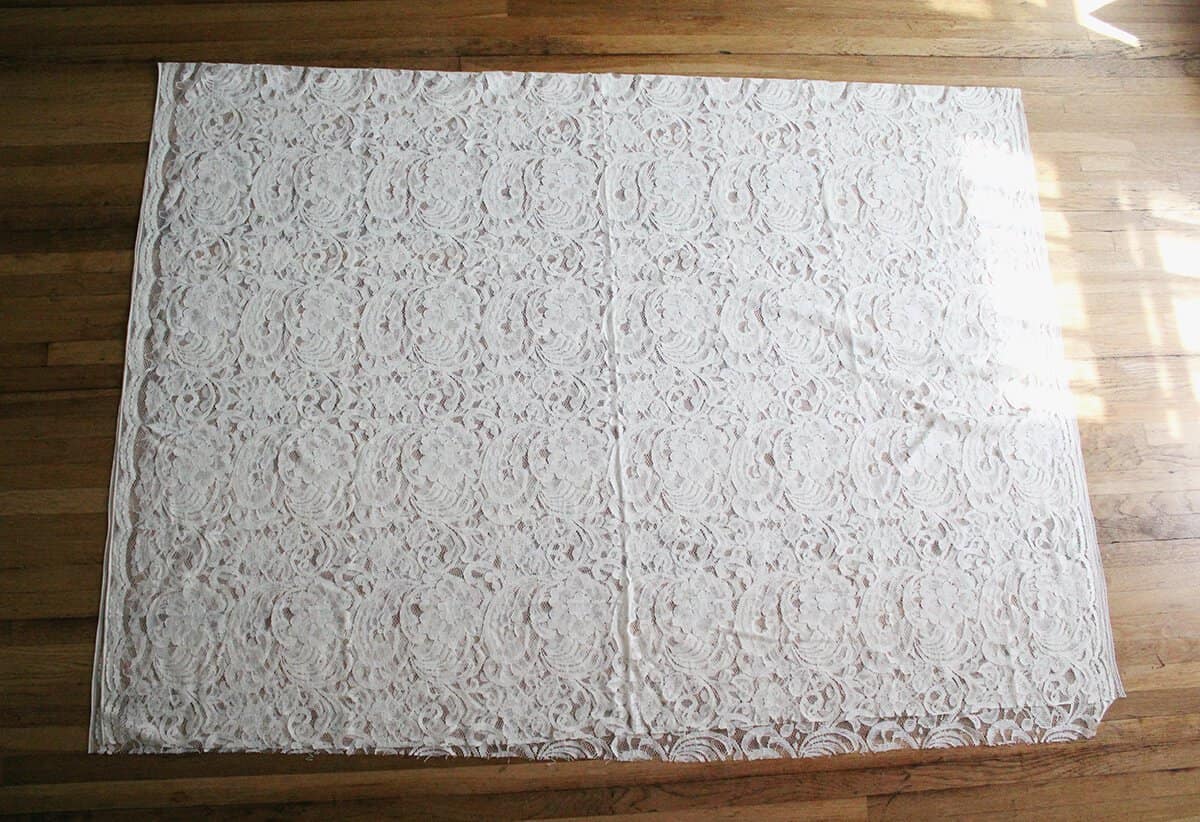
Step One: I know I said I *always* cut with a pattern, but I’m skipping it today. To get started on your kimono, open up your piece of lace completely and then fold in half lengthwise.
 Step Two: After you’ve folded your fabric once, we’re going to fold it again. Take your top right corner over to the top left corner so your fabric is split in half again.

Step Three: Let’s figure out some measurements, shall we? You can tweak this project many different ways by changing measurements here and there. Measure your arm length from the center of your neck down one of your arms and decide where you’d like your sleeves to hit. Do the same thing from your neck to your waist or thighs (or wherever you’d like your kimono to hit), and measure your bust. Here are the measurements for my kimono pattern:
-neck to elbow: 22″
-width of armhole: 18″
-top to bottom: 32″
-width of body: 14″
 Once you have your measurements, add 1/2″ to sides for seam allowance. Add an additional 1/2″ to arm holes and an additional 1″ to the bottom for hem allowance. Measure out your fabric and mark (feel free to create a paper pattern for this if desired).
 Step Four: Once you cut your fabric to your measurements, your piece should look like this. Now it’s time to start folding and hemming!
 Step Five: We’ll start our sewing with the armholes. Fold the edge over 1/4″ and fold again. Pin in place. Take your sleeves to the sewing machine. (If you’d like a wider hem, feel free to adjust your measurements to whatever you’re comfortable with.) Be sure you’re using a needle on your machine that is designed to work with lace as mentioned in the supply list above. This will save you a lot of frustration with snags! If it feels like your presser foot is catching under the lace a lot, try slowing your stitching down and carefully guiding it under as you stitch.
 Step Six: Now that your sleeves are hemmed, go ahead and pin the sides and under the arms. Take this back to your machine and stitch it up with a straight stitch! Add a zigzag stitch next to your straight stitch along the edge to keep your lace from pulling or fraying.
 Step Seven: Okay, now that we have the sides and arms stitched up and the armholes hemmed, let’s create an opening for our bodies to go in. Lay your kimono out flat and use your measuring tape to find the center of the body. Cut only the top layer from the bottom to the center neck.
**If this makes you really nervous, feel free to cut three different pieces with a pattern and stitch the shoulders together. Remember, there are always several different ways to tackle a project. Do what makes you the most comfortable.
 Step Eight: You have just cut down the center of the top piece of your kimono. Measure your neck opening and cut only that at the top fold (see above photo). Fold the pieces over to create a smooth transition from neck to chest and cut those off.
 Step Nine: Roll, pin, and stitch all along your edge all the way around (fold 1/4″ and fold 1/4″ again). Once you have finished this, go ahead and stitch up the hem on the very bottom of your kimono. Once you make it through that, you’ve reached the end! Flip that pretty kimono right-side out and wear it proudly!

 Don’t you feel incredibly accomplished? The thing about sewing pieces of your wardrobe is that they feel WAY more special than a store-bought this or that. Plus, when you receive a compliment about your super darling outfit, you get to respond with a sweet, “Thank you. I made it myself.” – Katie

21 Comments
A lace kimono was one of the very first pieces of clothing I ever made for myself. It was so simple, yet the result seemed so polished and intricate! I’m happy to see a tutorial for it. 🙂
Wow, your lace kimono looks gorgeous! I love it. It reminds me of a piece I had a few years back. Now I want to dig it out of the closet again! 🙂
Charmaine Ng | Architecture & Lifestyle Blog
http://charmainenyw.com
I would love to have one!!!! There is a place with relatively cheap fabrics that usually have TONS of options for lace, but I never had any particular project to buy them for. Now I will finally have an excuse to buy some and make something for myself <3 You are such an inspiration, Katie!
You definitely made this look so simple to do! Honestly the end result is absolutely gorgeous. <3 Well done!
Joanne | With Risa: A Lifestyle Blog
Love this! Now excuse me as I run off to the fabric store…
This kimono is absolutely gorgeous! I love kimonos they are perfect for cooler summer days, and I really love this lace one! xx
http://zoe-ware.blogspot.ca/?m=1
Lace kimono is beautiful and looks easy to do. I envy people who know how to sew. I don’t know how to use a sewing machine, so I only sew by hand. I want to be able to make simple clothes like this.
This is beautiful! Thank you for sharing this, I imagine you could make it out of so many different kinds of fabrics!
https://www.makeandmess.com/
This kimono is beautiful!
Paige
http://thehappyflammily.com
Awesome, love this tutorial! This would be a really nice addition to my closet 🙂
This is gorgeous. I love the way the arms drape. Can you recommend other materials besides lace?
That actually is way simpler than I expected, thanks for the tutorial!
On a side note – your booties are amazing – where’d you get them?
I love this project! But frankly, I was a little confused by the supply description. It says “lace *I bought 2 yards and had extra left over (be sure not to buy slick/polyester lace–cotton is great for this project).” Read that last part again. Do NOT buy slick/polyester lace-cotton is GREAT for this project…what??? To me, there’s a contradiction. This is why grammar and correct punctuation is so important. I believe you mean to say “Do not buy slick/polyester lace. Cotton is great for this project.” You incorrectly used a hyphen, unintentionally creating the word “lace-cotton.” That’s confusing. Please edit your posts.
Oh my gosh I am totally making one of these! Clothes are hard to make, but this one looks fairly simple and gorgeous!
This kimono is absolutely gorgeous! good job.
gorgeous! i love the look of the kimono. i need to get a sewing machine!
This is adorable and I can’t wait to make one! How do the measurements you have us taking relate to the pattern measurements? Where did you get the armhole measurement? Where did the 14” body measurement come from? Thanks!
I followed a link on Sew Can She and am thrilled that I did! I have been wanting to make a Kimono for quite awhile now and even though there are quite a few tutorials I have found. I just did not feel secure with my small amount of Garment Sewing to understand their instructions and give it a try. I understood every step of your tutorial and am looking forward to trying it soon, finishing up a quilt first. Thank you so much and have a great day!
beautiful and so easy thank you
It’s ok, her grammar. She is writing to her audience in an informal way. It might take the reader a couple of times to re-reread that part of the instructions, but it’s all good!!
I like this pattern.I will make mind longer and probably ad some embellishments!I had been looking for a pattern and now I found one!