 Oh, maxi skirts. I have such a love/hate relationship with you. If I find a good maxi, typically it’s either too long or too short. Do you have this issue? Well, I’m going to show you how to make your own, so all of your skirts will be the perfect length all the time!

 When you are choosing your fabric for this project, I suggest using a medium weight cotton or limited-stretch velvet. This type of fabric will offer a great fit but it’s still super easy to work with (as opposed to stretchy fabrics which are awesome but a little more tricky to sew with).
 Supplies:
-2 yards of fabric of your choice
-elastic
-scissors
–pinking shears (optional)
-pins
-safety pin
-measuring tape
-sewing machine
–graph paper (optional, but recommended)
–pattern paper and marker
 Step One: Find your waist measurement and your waist to floor measurement with a measuring tape and jot those down on a piece of paper. Decide how wide you’d like the bottom of your skirt to be (I like a lot of flow to the skirt, so mine was 44″ wide), and write that down as well. Since we will be inserting elastic into our waist, the waist will need to be much wider than your actual waist size. For this specific skirt, I like to take the width of the bottom of the skirt and divide it by two to find the waist measurement. That gives the skirt a nice a-line shape and also allows for plenty of ruching around the elastic. Obviously, you can tweak this as much as you like.
**Here’s a shortcut: If you currently have a maxi skirt you love, you can just take measurements from your existing skirt. You can add or subtract inches where desired, and that will help speed up the process of creating a pattern from scratch.
 Step Two: Now that we have some numbers, let’s draw out a little plan to help keep things in perspective. These are my skirt measurements. Remember, since we are cutting on the fold, the waist and bottom measurement will be divided by 2. I plan on a 1/2″ seam allowance, so I would add that to each side. I’m also adding an additional 2″ to the top for the waistband casing, and an additional 1″ on the bottom for hem allowance.
Step Three: I always like to work with paper patterns when cutting fabric, even when it seems simple enough to cut from measurements. This helps me eliminate the risk of wasted fabric due to movement or measurement errors. So, get out your pattern paper, and let’s draw this out on a larger scale. Once you have your pattern, cut a front piece and a back piece from the fabric, both on the fold.
Step Four: Once you have your fabric cut, it’s time to lay it flat and pin the sides. Once you’ve done this, let’s take it to the sewing machine.
 **Notice I used a straight stitch up the side, but also used a zigzag stitch next to the edge to prevent fraying.
 Step Five: Now it’s time to make the casing for the waistband! Fold your waist down (again, mine was 2″) and pin. Let’s take it back to the sewing machine. Make sure to leave an opening large enough for your elastic to fit through.
**I used a universal point needle because my velvet wasn’t very stretchy, but if you are using something with more stretch, be sure to use a ballpoint or stretch needle.
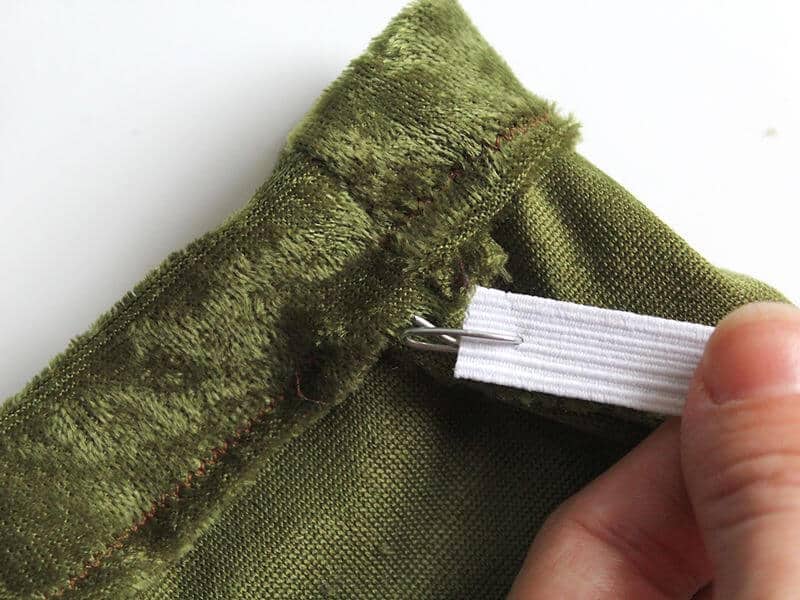 Step Six: Once you have your waistband stitched with the opening, pin a safety pin to your elastic and thread it through your waistband. When you have reached the end, stitch the ends of the elastic together and sew the hole in the waistband closed.
 Step Seven: Our last step is hemming the bottom! I always like to try on my garment before hemming, just to make sure I mapped out my measurements correctly. Once you have hemmed the bottom, put that baby on and take it for a spin!
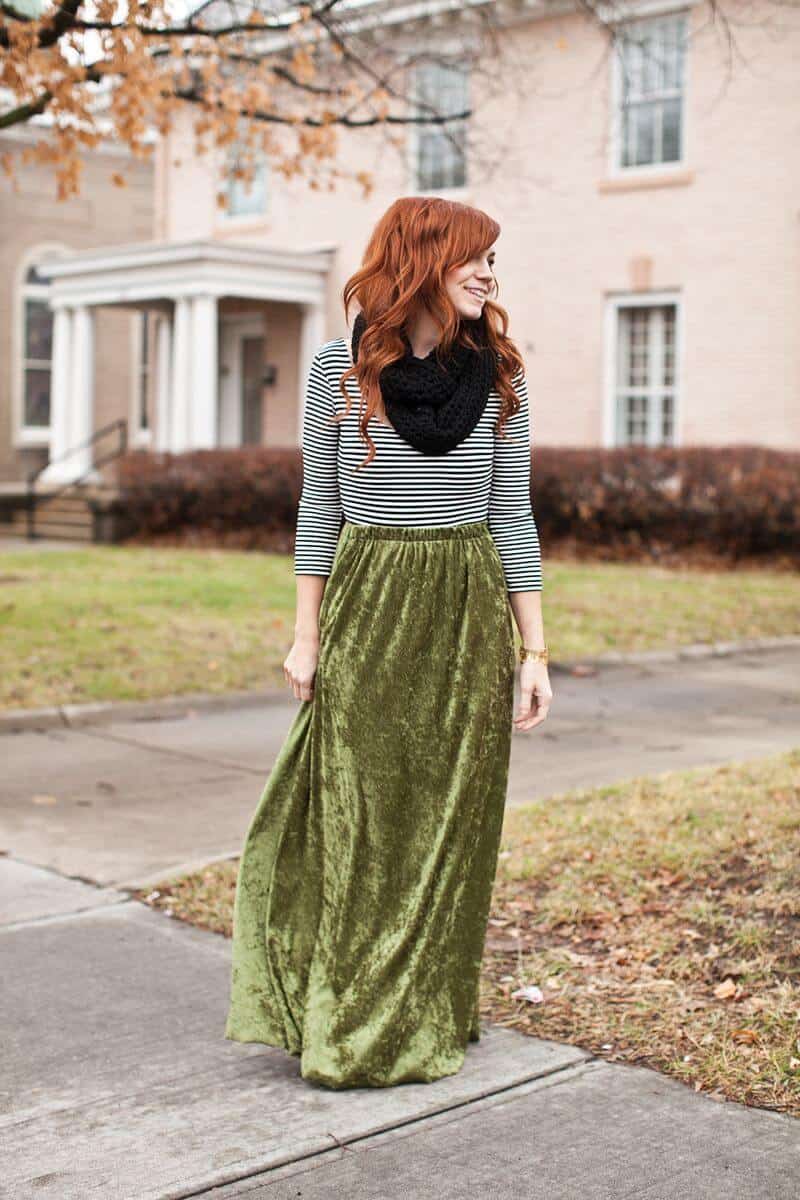
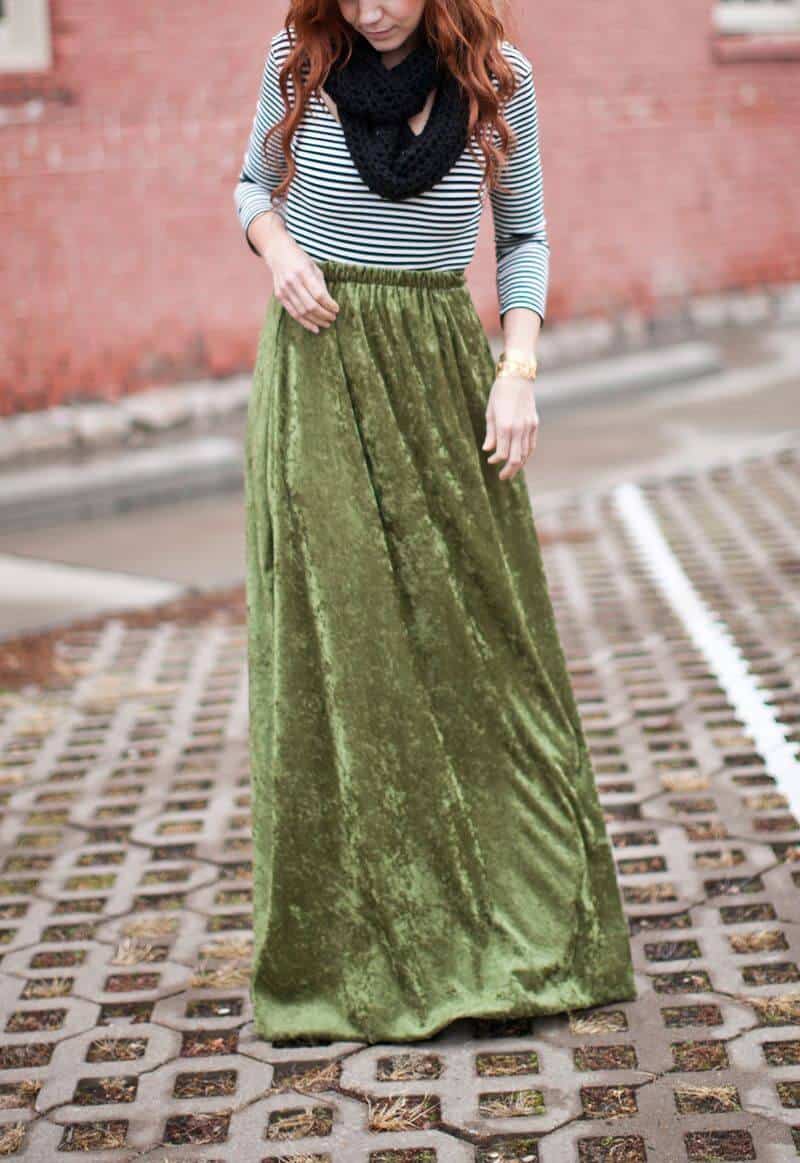 I just love the way this skirt turned out! If you have issues with your elastic twisting inside the casing, you can use a zigzag stitch to tack it down. Just be sure to stretch your elastic as you go. Now it’s time to make five more! – Katie

14 Comments
The skirt looks gorgeous on you – absolutely adore the colour and material, too! Thank you for the DIY! 🙂
Charmaine Ng | Architecture & Lifestyle Blog
http://charmainenyw.com
Maxi skirts are ALWAYS too long on me, so this is perfect. Love the velvet!!
I came across this by accident…I’ve had surgery five times on both legs and now the scars are so ugly. I want to wear a skirt again and this looks like an answer to a prayer. I will try this pattern but just in a different material. Wish me luck ????
Katie, your sewing tutorials have been amazing! I’m so inspired to get my sewing machine out and make some fun babydoll dresses and maxi skirts.
I agree, loving your tutorials lately. Just out of curiosity, how tall are you?
Thank you! I’m 5’5!
That’s really cute. Please show me how to make one with a wide elastic waist band.
That skirt is so pretty! Totally making a couple of these for spring!
Paige
http://thehappyflammily.com
That skirt looks so beautiful! I’m not a big fan of the fabric, but I definitely like the simple pattern!
https://www.makeandmess.com/
I love how you make this look so easy, thanks for all the photos and instructions 🙂
How much wider than your waist did you cut the fabric?
When I use actual waist measurement ( which is also 1/2 of skirt bottom measurement, it doesn’t seem to leave any room for gathering orotund top elastic. Your math just led me back to original waist measurement.
I love the skirt! I want to know though- if you made the waist 22 inches- is that your actual waist? What is your actual waist so that I would know how many extra inches to add for the elastic? I want to make one!
To clarify, were your final measurements 11.5″ (seam allowance) x 47″ (44+ 2in for casing and 1 in for hem) by 22.5″ (seam allowance)?
I wanted to try this pattern out but I’m confused as to how you fit this on only 2 yards of fabric. I’m about the same size as you so I’m using the same measurements and can’t figure out how you used only 2 yard.