
 With all the babies making their appearance as of late, I, Kara, thought an easy sewn waterproof diaper clutch (it’s both a changing pad and diaper and wipes carrier) would be the perfect gift for all the new moms. Whether you sew the clutch for yourself or for a friend or family member, it is a simple sewing project that will get tons of use! The best part is that you can use any fabric you want and with the simple addition of iron-on waterproof vinyl coating, can turn it into an easy-to-clean surface. So grab your favorite fabric and I’ll show you how to sew a waterproof diaper clutch.
 Supplies:
– 1/3 yard exterior fabric (any pattern you like, but quilting weight cotton works best)
– 1/3 yard interior fabric (any pattern you like, but quilting weight cotton works best)
– 1/3 yard fusible fleece (to give the clutch structure and changing pad padding)
– 1 roll of iron-on vinyl
– magnetic snap
– 12″ gold trim (optional)
– sewing machine and supplies (pins, needle, thread)
– scissors
– teflon sewing foot (makes sewing over the vinyl fabric easier)
Step One: Begin by cutting out all your fabric pieces. You will need the following: 1 piece 11″ by 34″ exterior fabric, 1 piece 11″ by 34″ interior fabric, 1 piece 11″ by 34″ fusible fleece, 2 pieces 11″ by 34″ iron-on vinyl.
Step Two: Iron the fusible fleece onto the back of the exterior fabric using an iron on the front of the fabric.
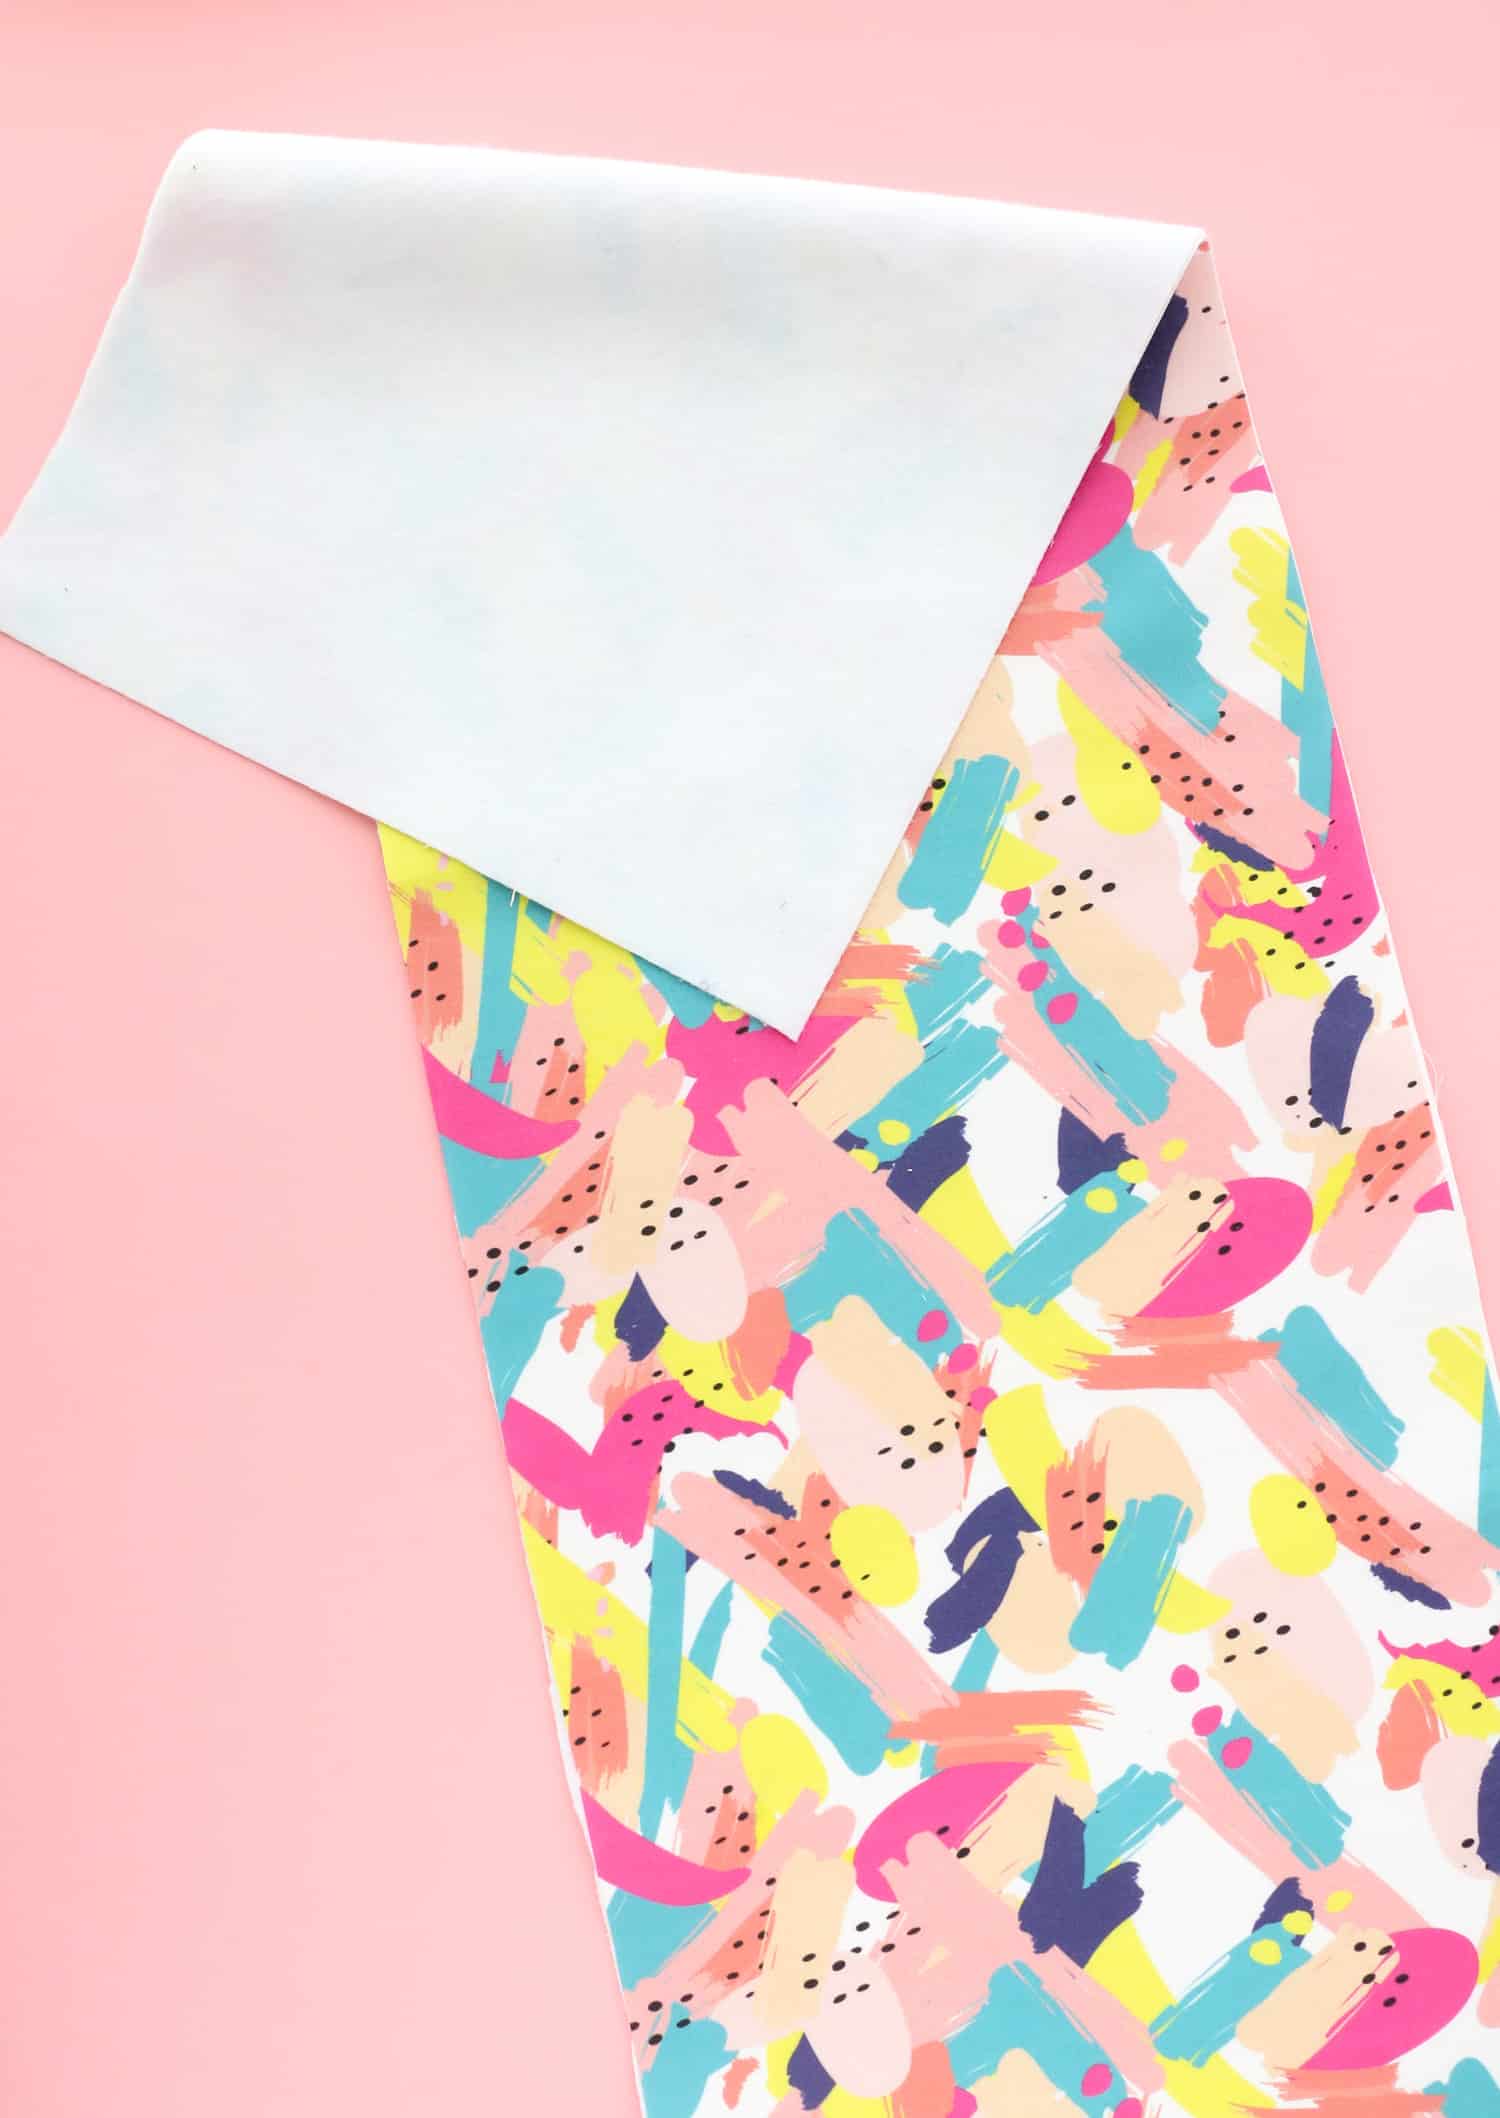 Step Three: Next, peel off the paper backing from the fusible vinyl and lay the vinyl tacky side down onto the right side of both the exterior fabric and the lining fabric. Cover with the paper backing (waxed side down onto the vinyl) and iron over it with an iron on the medium heat setting to adhere the vinyl to the fabric. Let cool and then remove the paper to reveal the vinyl coated, waterproof fabric.

 Step Four: Lay the interior fabric and the exterior fabric with right sides together and pin along the bottom edge. Sew across this edge and then flip over and top stitch the seam.

 Step Five: Fold the bottom of the clutch up about 6″ to create a pocket as shown above. Then flip the exterior fabric around and over the folded pocket so that the right sides are together once again. Pin up the sides and across the top, leaving the bottom pocket folded area unpinned. Sew along the pinned area, leaving a 4-5″ gap in the top seam so that you can turn the clutch right sides out.

 Step Six: Turn the clutch right sides out through the opening in the top of the clutch. Iron out any wrinkles using the paper backing from earlier. You don’t want to iron directly over the vinyl coated fabric as it will melt onto your iron.
 Step Seven: Mark the placement for the magnetic snaps on the inside clutch flap and the bottom of the clutch and use scissors to snip to small holes to insert the snap. Add the metal stabilizing ring to the back of the snap and fold the metal bars down to secure.
 Step Eight: Top stitch the opening of the clutch closed and stitch on the gold trim, if desired.
Now the clutch is ready to stuff with diapers and wipes and can be unfolded to create a clean diaper changing pad and headrest for the baby.

 Not only is this clutch functional, but it is totally fashionable too! My kids are way past the diaper stage, but I might need to make a shorter one for me to use as an everyday clutch! If you have any questions on the tutorial or get stuck in a spot, feel free to add a comment or message me and I will try my best to help! It really is a simple sewing project once you get into it. xoxo. Kara
25 Comments
It’s so cute and no one would even think it was a diaper clutch! How useful!
Charmaine Ng | Architecture & Lifestyle Blog
http://charmainenyw.com
There are a whole bunch of new babies in my social group and I’m always looking for a thoughtful gift that is a little more personalized than a target onesie! This is perfect!
Great idea! My son outgrew our travel changing pad quickly (big boy!) and I never even thought of making my own.
What a fantastic idea! Definitely bookmarking! As one slight note, continually introducing yourself in posts as “I, Kara” seems strange and distracting. I understand you are a relatively new poster to ABM, but your name and link to your blog is at the bottom of the post. Just a very superficial thought!
I actually love it when the authors introduce themselves at the beginning of the post, that way I know who’s “voice” to read it in. I wish all the posts had the authors tagged at the top! I find myself scrolling to the bottom of the post to find out who is writing and then scrolling back up to read.
Yes, yes! Toatally agree! I like that we get to “know” the authors here at A beautiful mess, and I always scroll down to see whos “voice” I am hearing in the post.
Thanks for the input! I have had several readers who like to know who is writing each post, so that is why I add it. I personally want to know who each person is that wrote each post just like Claire said. I totally read the posts differently based on who the writer is!
This is so cute that I want one for myself!! I didn’t even know you could do this with the vinyl.
Fun! It reminds me of the Oh Joy for Target diaper clutch!
Okay, I just want to buy the one you made. Those fabrics are too cute!
I love it! Where can I get those fabric patterns you used?
The brushstroke fabric is one I designed and sell on spoonflower. The turquoise one was a shower curtain from Target.
https://www.spoonflower.com/fabric/6293615-abstract-art-spoonflower-by-karawhitten
1/4 yard of fabric is only 9″ by 44″ (or whatever the width of your fabric is). How would you cut a piece that is 11″ by 34″?
You are so right! I totally spaced on that! You need 1/3 of a yard. Sorry about that!
Hi! Do you have a source for the cute fabric you used? Also, I’m not sure on the point of including fusible fleece. Is it just for thickness?
The fleece is just to add padding and structure for the clutch and changing pad. Both when it’s in use as the changing pad and so it’s not floppy when holding it.
The brushstroke fabric is one I designed and sell on spoonflower. The turquoise one was a shower curtain from Target.
https://www.spoonflower.com/fabric/6293615-abstract-art-spoonflower-by-karawhitten
This is so fun and cute! I totally need to make one of these!
Paige
http://thehappyflammily.com
LOVE the fabric. So, us weirdos who use cloth diapers are “left out” of a lot of diaper-related products at major retailers and DIYs (usually too small to fit! And I don’t use diaper covers because her little fluffy bum is so cute in all the different patterns I have! Plus regular pants sometimes don’t even fit on her!)…have you or anyone on your team thought of doing something for us? The ABM aesthetic is beautiful and I’m sure I’m not the only reader who is on the lookout for that next cute project for a cloth diapered cutie. 🙂
You should try it with some PUL fabric, they come in fun prints and that is what they use for diaper clutches – at least that is what all my clutches are made of (I cloth diaper my baby). It even comes in white, so if you want to keep the pretty exterior fabric, you certainly can opt for white (or other simple colour)
That is the cutest little clutch! It would come in so handy for all our travels. Makes life so much easier to change our little bubba’s bum in those tiny airplane cubicles!! Thanks for the easy to understand tutorial too 🙂
My baby’s 5 months old, and I just finally got round to making this! Thank you so much for the tutorial! I’m a novice at sewing, and I’m well chuffed I’ve made it. I did make mine slightly longer because I want to be able to lie my baby on it, and he’s quite long. I also added some batting because the places I find myself going to regularly locally with other new Mums have awful changing tables that my baby screams on, so I wanted the extra padding. I am now obsessed with two new magic phrases you’ve introduced me to Kara, i.e “Iron-on vinyl” and “fusible fleece” – I now want to plasticate and comfy-fy everything!
Adore this! I am a middle school teacher and I could totally teach my kids how to make one of these!
Katie | http://www.sunshinestyleblog.com
Looks amazing! Where do you find your fabrics?
Oh my, this idea is adorable! We fly a lot and I can see us using a little clutch like this on the plane – those toilet cubicles are so small and I can’t fit my diaper bag in there!!! Thanks for the beautiful inspiration!
It’s really cute!
finally decided to gift this to my 2 years old niece.
Thanks for the idea 🙂