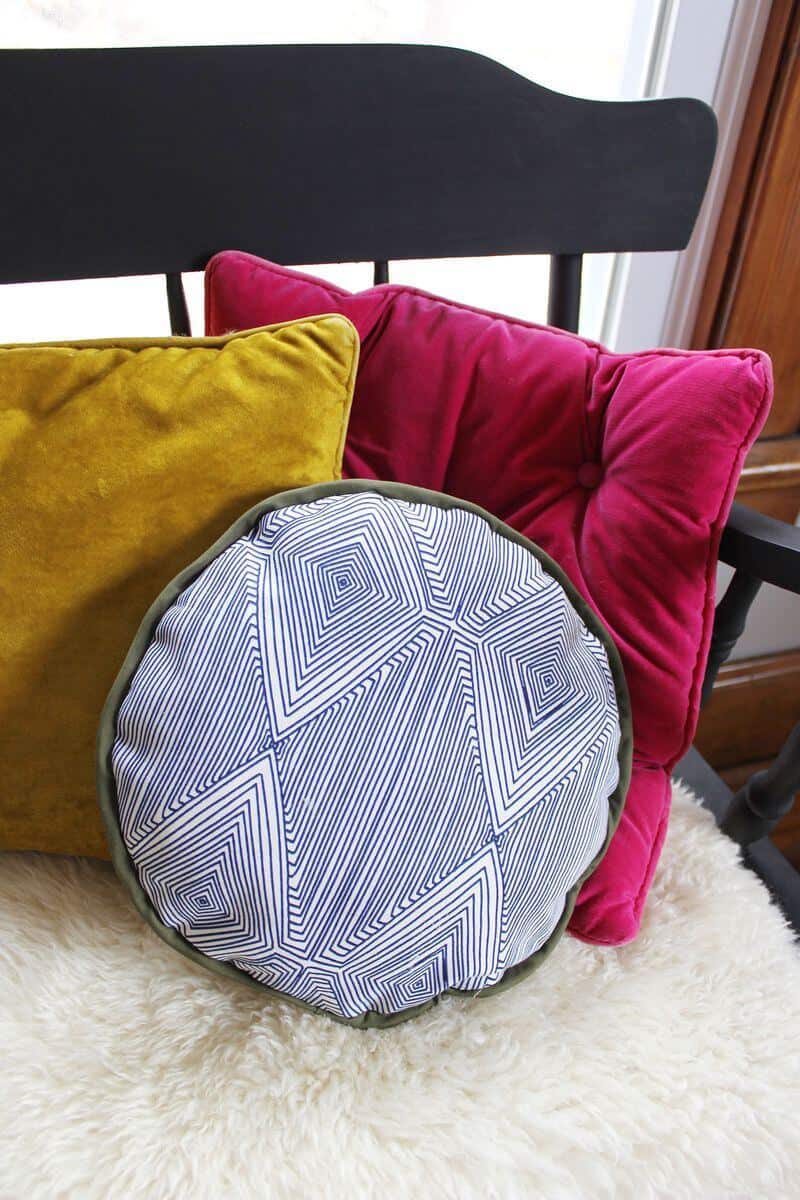
Sewing a round pillow isn’t very tricky if you’re consistent with the spacing between your stitches and the edge of your circular fabric. I like to take it slow and pay special attention to my curved lines, but when all is said and done, adding piping to your curved pillow is going to take its style up a notch no matter what. Piping gives everything a more finished look, and this particular project is a fun way to give a nod to the ’60s while keeping things fresh with a current fabric. So today I’m going to show you a few tips and tricks for sewing on a curve as well as making and adding your own piping to a throw pillow.

Supplies:
-1/2 yard of upholstery weight cotton fabric for pillow front and back
-1 yard of cotton fabric to make your own piping
-paracord or cording long enough to fit about 4″ longer than the perimeter of your pillow
-Poly-fil stuffing
-straight pins
-scissors
-12″ plate to use as template
-pencil or chalk
Note: If you don’t want to make your own piping, skip the 1 yard of fabric and paracord and purchase pre-made piping at your local fabric store. You will be limited to the colors available, but you won’t have to worry about those few extra steps.

Note: I’ve cut a smaller piece of fabric to show you how to fold your piping fabric so that you can see the whole piece in context.
Step One: Fold your 1 yard of fabric so that the top right corner folds down in the direction of the bottom left corner. You will likely have a few inches left over at the bottom.
Step Two: Fold the top left corner down to meet the bottom right corner fold (not the bottom of the fabric) as shown.

Step Three: Place your folded fabric so that the two folded edges on the right side of your triangle are vertical on your self healing mat. Measure in about 1.5″ from the folded edge and use your rotary cutter to cut all the way down.
Step Four: This will give you one strip that measures about 3″ wide. If it’s long enough for your project, you’re done! If not, cut another strip on that same side of your triangle but this time cut 3″ from the last cut since it’s not folded anymore. It will be a shorter length but you will stitch it to the last strip.

Step Five: Trim off your odd edges for a right angle at each end.

Step Six: Place your two strips together at a right angle (right sides facing each other if that applies) and pin. I’ve marked the line with chalk where you’ll sew them together.
Step Seven: Stitch in the direction of the line as shown and trim off about 1/4″ seam allowance above that seam.

Step Eight: Lay your joined strips with the seam facing up and iron it flat as shown.

Step Nine: Wrap your strip of fabric around your paracord and pin the first 8″ inches or so around the cord.

Step Ten: Stitch down your strip about halfway between the edge and where your cord is resting. You just want to get this wrapped around your cord, but you don’t want this seam to show when you’re stitching it to your pillow. So don’t get too close to the cord underneath.
 Step Eleven: Using your plate or another circular item as a template, trace two circles onto your upholstery weight fabric and cut out. These will be the front and back of your pillow.
Pin the first 6″ of your piping to the right side of one of the cuts of fabric for your pillow so that the folded edge and cord are facing inside and the stitch line is near the edge of the pillow fabric as shown.

Step Twelve: Start stitching your piping to your pillow with your foot either resting on top of the cord or as close to it as you can manage. You can use a special piping foot for this kind of project, but they cost between $25-$40. So unless you’re using it often, I would just use your standard foot and stitch slowly. As long as you are consistent with the spacing between the stitching and the edge of your pillow fabric, you’ll have a nice circular shape.
Step Thirteen: Once you get about 4″ away from the place you started stitching, stop. Turn your machine off just to be safe and trim your excess cord so that it meets up exactly where the other end is for an almost seamless line. Your piping fabric will still need to be about 2″ longer than your cord, though. Tuck the end inside to create a neat fold. If you need to unstitch the original stitching on the outside from step ten, then go ahead.

Step Fourteen: Fold the beginning inside the ending so that the ending folds around it like a taco shell. It should overlap the beginning to hide the opening. If you need to take out a few stitches from where you started, go ahead.
Step Fifteen: Once the beginning is tucked into the ending, pin down and finish stitching. You’ll have a neatly folded faux hem where the start and finish overlap.

Step Sixteen: As we learned in a previous post, curved edges need some stretching room. Cut little v-shapes into your piping edge so that you are cutting almost to the seam you just stitched. You can cut through the original stitching that helped create the piping around the cord because that’s not what is holding things together. Cut every 1″ or so all the way around. If you cut through any of the fabric from the pillow, that’s fine. Just keep an eye on that seam you just stitched.

Step Seventeen: Place your other circular pillow cut on top of your first piece with the right sides facing each other. Line up your perimeter and pin in place.
Step Eighteen: Carefully stitch around the perimeter of your pillow fabric about 1/4″ from the edge. Be sure to feel for your piping cord through the pillow fabric as you go. You want to stay on the right side of the piping and as close to the cord as you can. Stitch slowly and check your work if you need to.
Step Nineteen: Be sure to leave about a 4″ opening. Cut v-shapes into the edge of your pillow fabric to mimic the ones in your piping. They’ll be much smaller since there is less fabric between the seam and the edge.
Turn the pillow right side out, press out your perimeter for a nice round line, and stuff it with Poly-fil.

Step Twenty: Blind stitch your opening and enjoy your new pillow!
If you want to take things a step further, you can add a tuft to the center of your pillow with a button (fabric-covered or not) and some embroidery thread. Make a pair for your couch or just add one as a special touch to your bed. You could easily enlarge it for a finished looking floor pillow or a fancy pet bed! – Rachel

7 Comments
Ha! Love this project. Sewing on a curve caused havoc for me when getting my sewing “licence” in home economics. It looks so easy now. Thanks for the refresher lesson!
I love the instructions on how to make the cording. I have been sewing for years but somehow I missed this part. Thanks.
I could never manage sewing a curve during my classes back in high school! I bet I still can’t do it now. Didn’t quite inherit my Mum’s craftiness!
Charmaine Ng | Architecture & Lifestyle Blog
http://charmainenyw.com
That is… way too advanced for a clumsy me.
That looks so good, but also soo complicated!
https://www.makeandmess.com/
Thank you for the curve piping instruction for making pillow coverings.the instructions for making piping is terrific for other projects. I wanted very much to learn how to make piping, and your tutorial was the easiest I’ve ever followed.THANK you…
Thanks for a great tutorial!
I have a vintage Russell Woodard patio set I”m trying to refurb in time for summer, and the chair seats are all round– I’d like to sew fairly thick cushions for these seats, sort of a round french mattress style, if that makes sense. This tutorial should help tremendously! Would you do anything different if the cushion depth is several inches high? Thanks!