 Double exposures happened all of the time before digital cameras, and most of the time it was because of a mistake or the camera not going to the next frame on the negative (the film). To do a double exposure intentionally, you just expose the same frame of film twice. It was really easy to do with manual film cameras. You end up with two pictures put together. But you can also do it with a digital camera and get exactly what you want without having to go through rolls and rolls of film.
Quick disclaimer: Only some digital cameras have the capability to do double exposures in camera. If you’re unsure whether your specific model will do a double exposure or not, just look at your manual. I know manuals can be tricky sometimes, so just google it and check if you’re having trouble finding out!
 First, let’s go over how to technically do a double exposure. Here are the steps for my camera, which is a Canon 5D Mark III:
-There is a little button on the back. It’s on the top left, and it looks like a little paintbrush and a rectangle. Press that button and it will take you to a menu.
-Scroll to the middle option, which says “multiple exposures” and select it.
-Now select “On: Func/Ctrl”. On the multi-expos ctrl, select “additive”.
-Next, on number of exposures, choose “2”.
-Next, on save source imgs, choose “all images”.
-Then, on continue mult-exp, choose “continuously” only if you want your camera to keep shooting double exposures. If you want your camera to stop shooting double exposures, select “1 shot only” and your camera will go back to normal mode after one double exposure is made.
-The very bottom option lets you choose the image for your base image. Since you need two images, you can choose one that you already took! So if you have a photo in mind that you’d like as a base image, select it! If you have a Canon 5D Mark III, you can turn on your “Live View” option and see both images together. This is called an overlay. With the live view option, you can see exactly how you want to frame and compose your second image on your base image.
Quick note: As with most things in technology, there are many options that you can choose/change. Here, I just give you the basic idea, but there is SO much more you can do! This tutorial is just meant to get you started and jump start your double exposure knowledge. Once you have a grasp on the basic concept, I would encourage you to dabble with your camera, read your manual, and discover all of the different options that your camera offers with double exposure. You can change blending options, how your camera saves the images, and much more.
 Once your options are selected in the menu, tap your shutter release to get out of the menu and hit your live view button. Now you are ready to go.
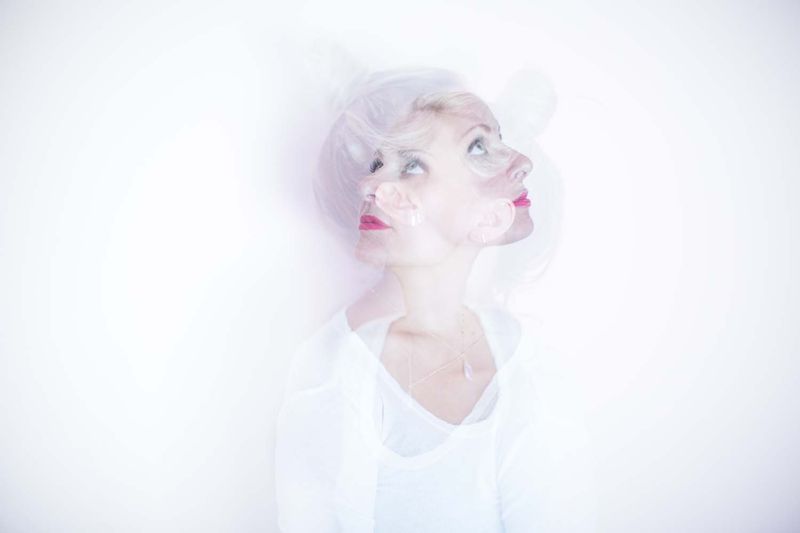
For your base image (if you didn’t choose one you previously shot), find your subject, focus and meter, then take the picture. Your camera will have a little icon that will flash once you take the picture because it is telling you that it is in multiple exposure mode. Now when you move your camera to take your next image, you will see what I like to call a ghost image of the picture you just took. Your camera keeps the hazy image on your screen so that you can see what your next image will look like on top of your previous one. Cool, huh? Once you have your second image framed, don’t forget to put your focus box where you want it, and your camera will focus on that specific part of your second picture. And again, this is what my specific brand and model does; your camera could be different.
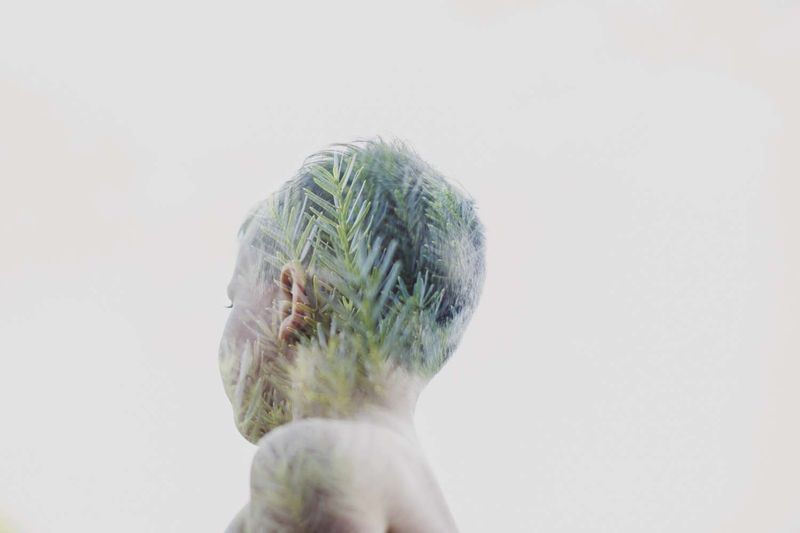
When you take the next photo, keep in mind that your SECOND picture will be seen in the dark areas of your first image. So where is a good place to start? Try taking a photo with negative space and only a minimal dark part. This could be a cityscape with the sky blown out or a simple silhouette of a person. Your second photo will now fill in the dark spots. Since you had negative space in your first photo, your second photo will kind of melt into the white nothingness.
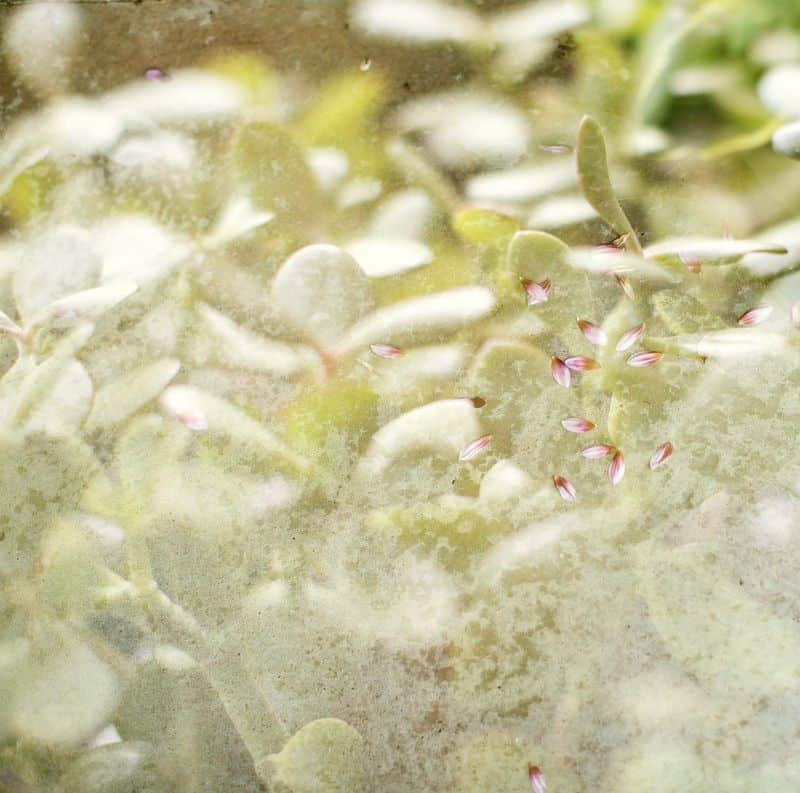
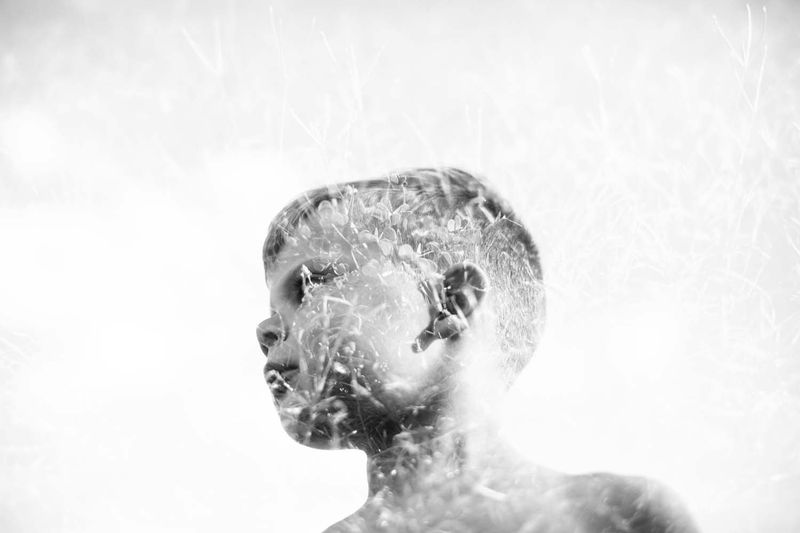 To practice this concept, make sure you keep your manual handy! It helps SO much when you are learning a new technical skill. Practice taking pictures with your base image being a really light background or blown out sky with a dark silhouette. For your second image, try capturing something with lots of detail and color! I hope you guys have fun with this and are able to create some really beautiful images!! The options are endless. Just create whatever your heart desires. It can be something abstract as well. The shot below is straight out of the camera. The image was turned for my second image and it created a right angle.
 *If you have done your research and your camera will not do a double exposure in camera, don’t lose heart. You can easily create a double exposure in Photoshop by opening the two images (use the same principles that we talked about above), and drag the second image onto your first (base) image. Once the pictures are on top of each other, lower the opacity of the second picture until you like what you see. Once the second picture’s opacity is lowered, you will start seeing the beautiful results. If this makes you feel totally lost because you have never used Photoshop before, you might consider taking our Photoshop for Bloggers course, as it will teach you all the basics, and then you can do this technique with ease! I just wanted to give you some idea of how else to achieve this in case your current digital camera does not have the capability. – Janae
8 Comments
Wow, these photos are beautiful! I’m a complete camera noob (I just use my iPhone) and this makes me want to go out and get an ACTUAL camera to do shots like these. Thank you for sharing! 🙂
Charmaine Ng | Architecture & Lifestyle Blog
http://charmainenyw.com
Wauww!! Nice this post is:-)
Super many thanks for sharing with us!
Thank you! Such a cool topic! And I had no idea about it (and do a lot of photographing)
Hello,
I did double exposures with my old cams and I actually did one the day before yesterday with the Bloodmoon. IT´s not perfect but you gave me new motivations to work on it. If you like have a look:
https://4alle.wordpress.com/2019/01/22/bloodmoon-2019-the-day-after/
Have a good time with creativity!!!
Juergen from Loy (PJP)
Wow, these are awesome photos! Thank you so much for sharing these helpful tips. I am going to give these a try!
I used to have fun with double exposures when I was doing Photography at college!
These photos are gorgeous.
Love Vicki ♡ victoriajanex blog
love this style of photography, very cool!! will refer to this when I next try this out!!
Tasha x
lovefromtasha.blogspot.co.uk
Now I know how to deal with my camera.