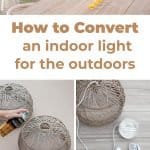
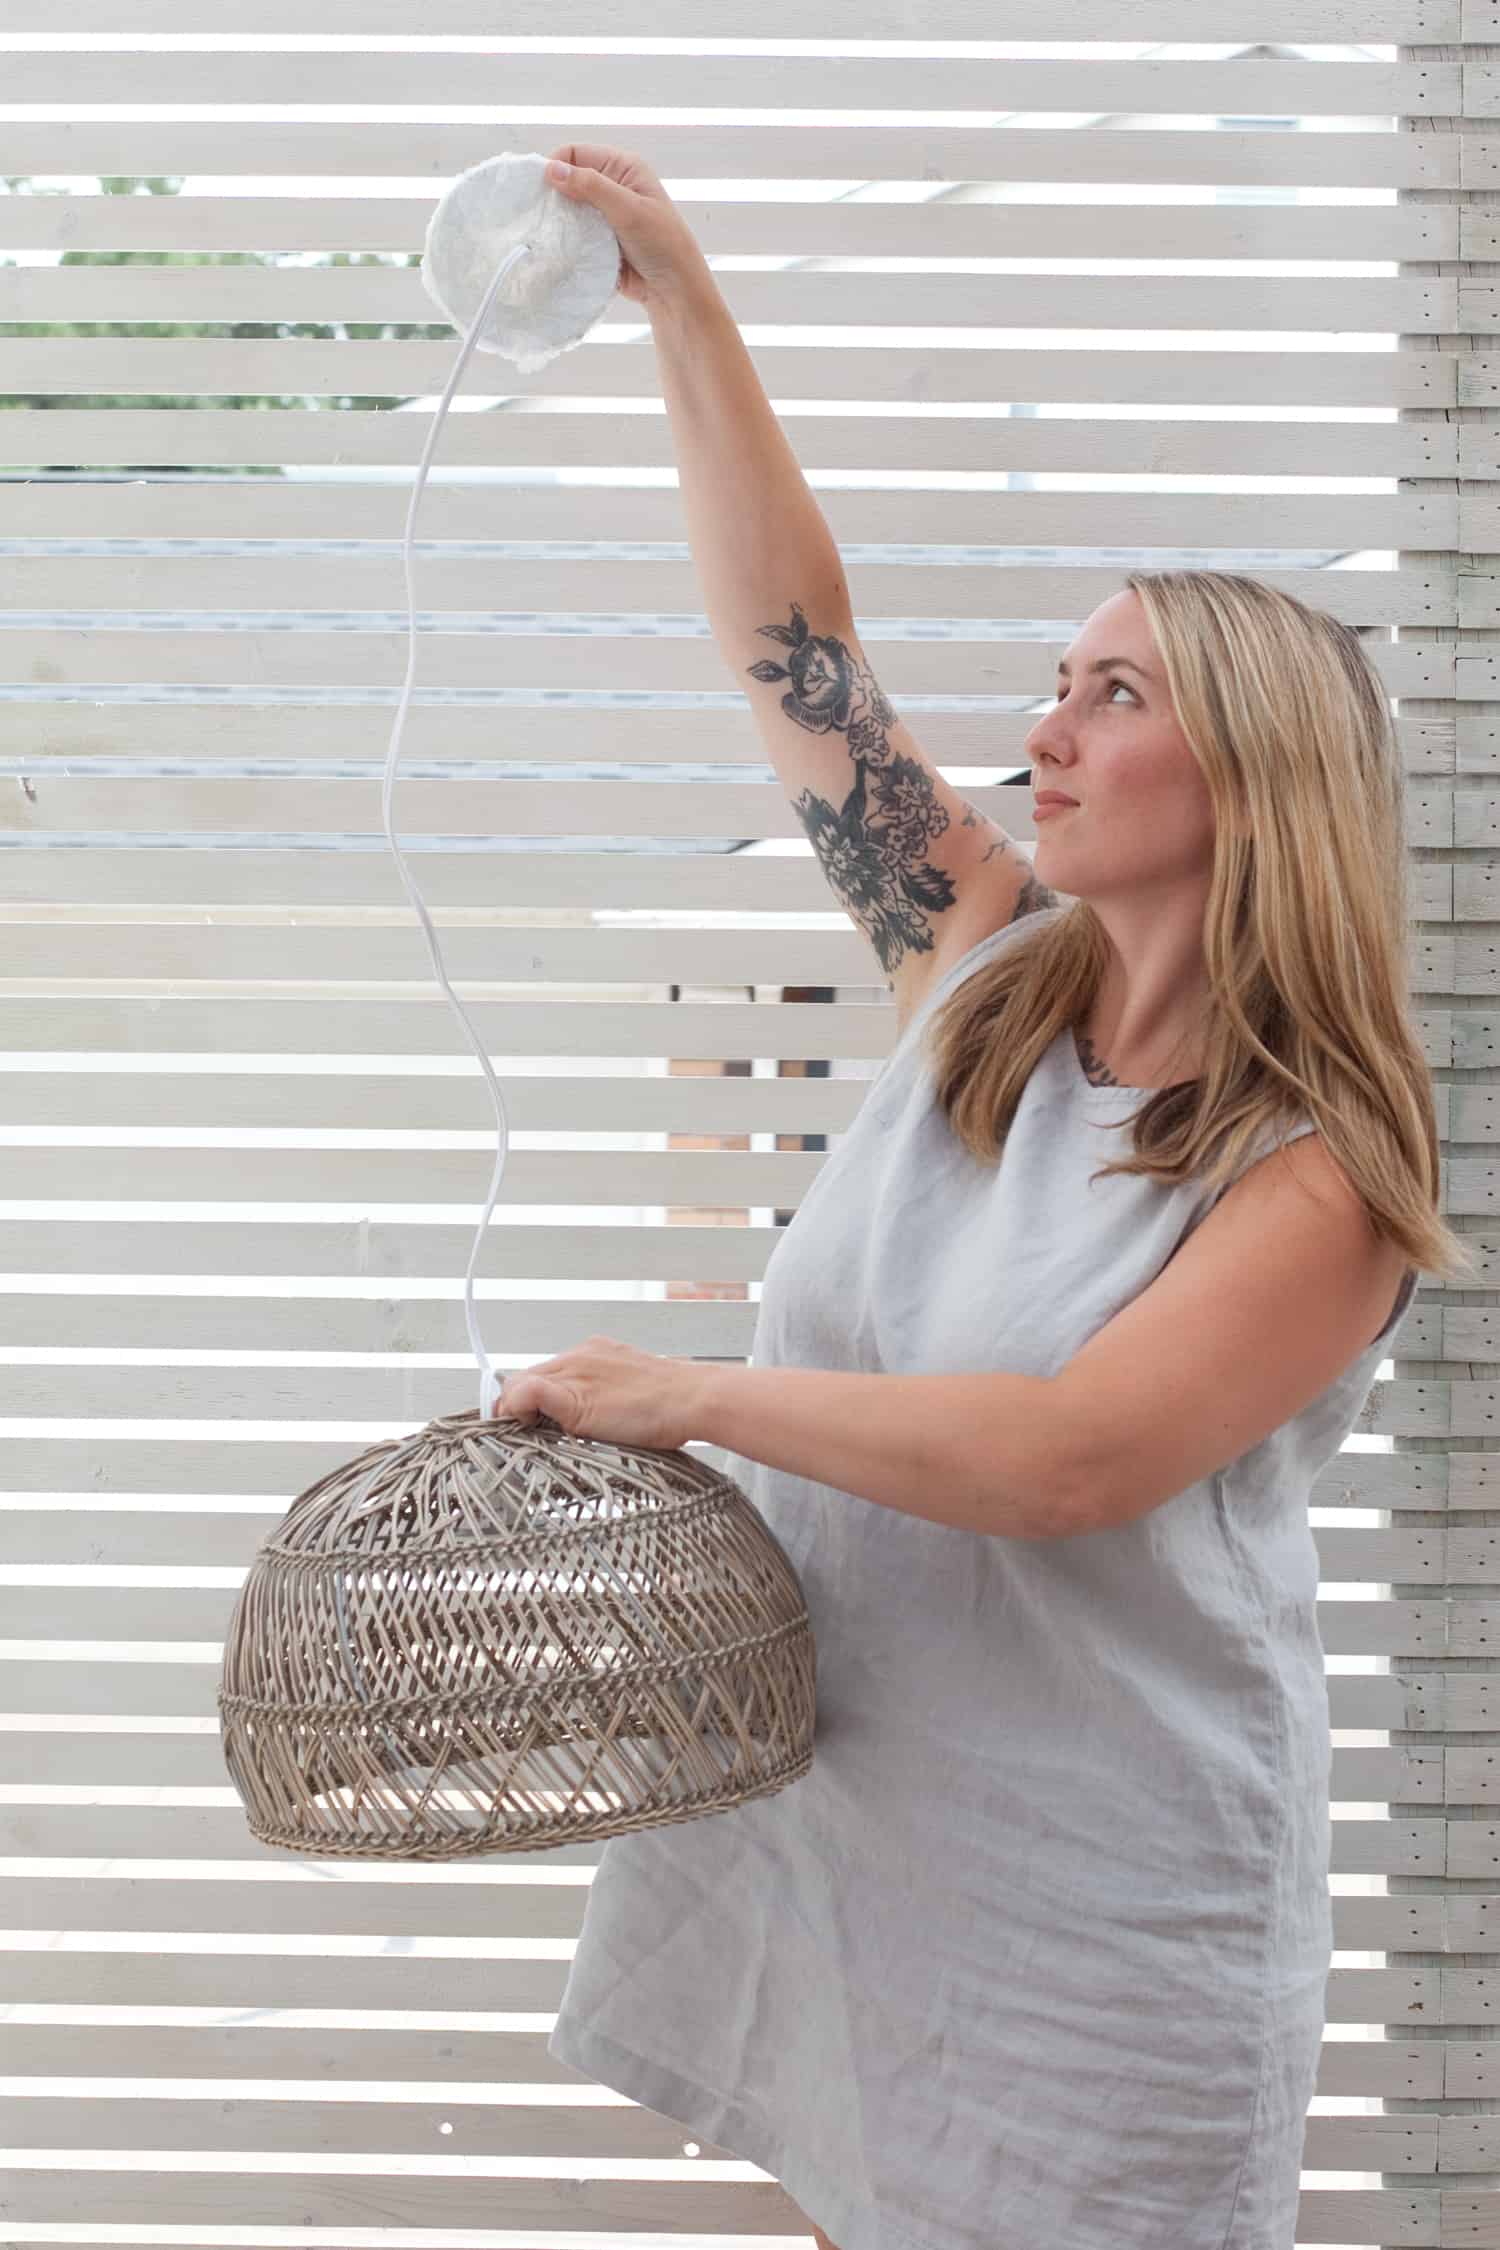
 When I began planning the decorations for our patio renovation, I knew I wanted a pair of outdoor pendant lights hanging over our new dining table. But I couldn’t find any outdoor lights that spoke to me. I checked out hardwired lights, plug-in lights, and solar powered lights. I just didn’t love what I saw. Finally, I happened upon the perfect light for my space—a basket-style pendant with a gray wash wicker material.
There was just one little problem. The light I fell in love with was an interior light designed to be hardwired. Okay, so that’s actually two problems. But other than that, it was the perfect light!
 I was very motivated to make a pair of these basket-style pendant lights work in my outdoor area. So after a bit of sleuthing I had everything I needed to make it suitable for outdoor use. Check out how I converted the light, and maybe you can do the same thing in your outdoor living space!
 Supplies:
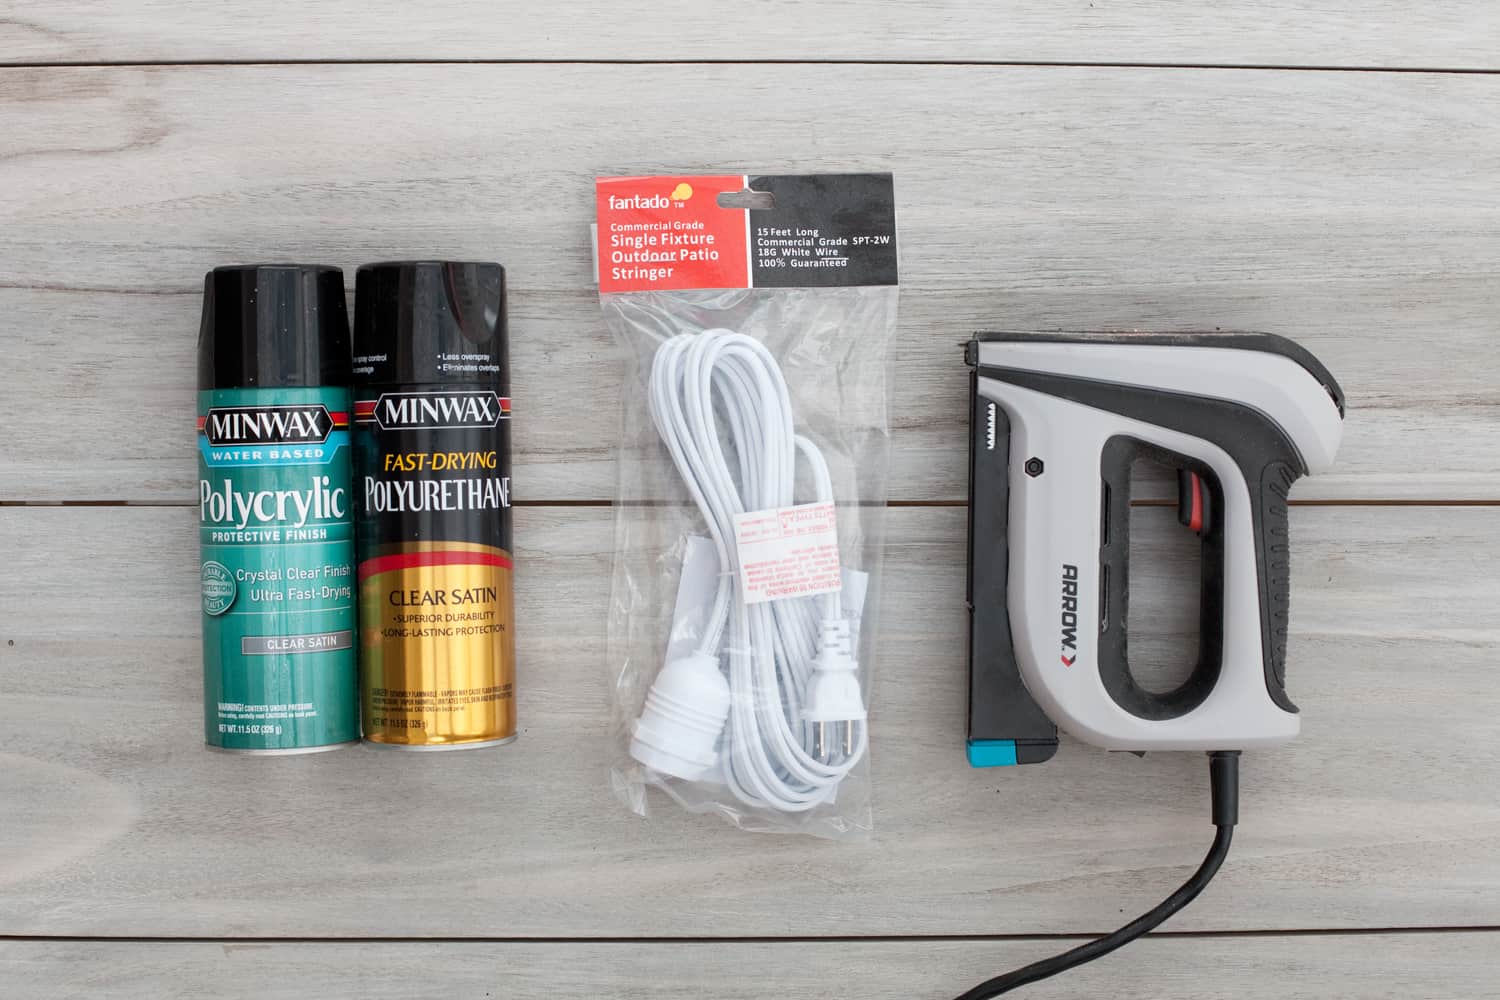
-Polyurethane (or Polycrylic if you’re spraying something white, as Polyurethane will slightly yellow)
–Weatherproof pendant light cord
–Staple gun or cup hooks
–Weatherproof extension cord (optional depending on your needs)
 My light came with a pendant kit meant to be hardwired into the ceiling. It would have been much more economical to just buy pendant shades that I liked, but alas. The heart wants what it wants. I couldn’t use the light as it was, because it wasn’t rated for outdoor use. An exterior light needs to be weatherproof, considering all of the electrical components. Additionally, the materials used on the shade were not meant to withstand rain and sun, so they needed attention too.
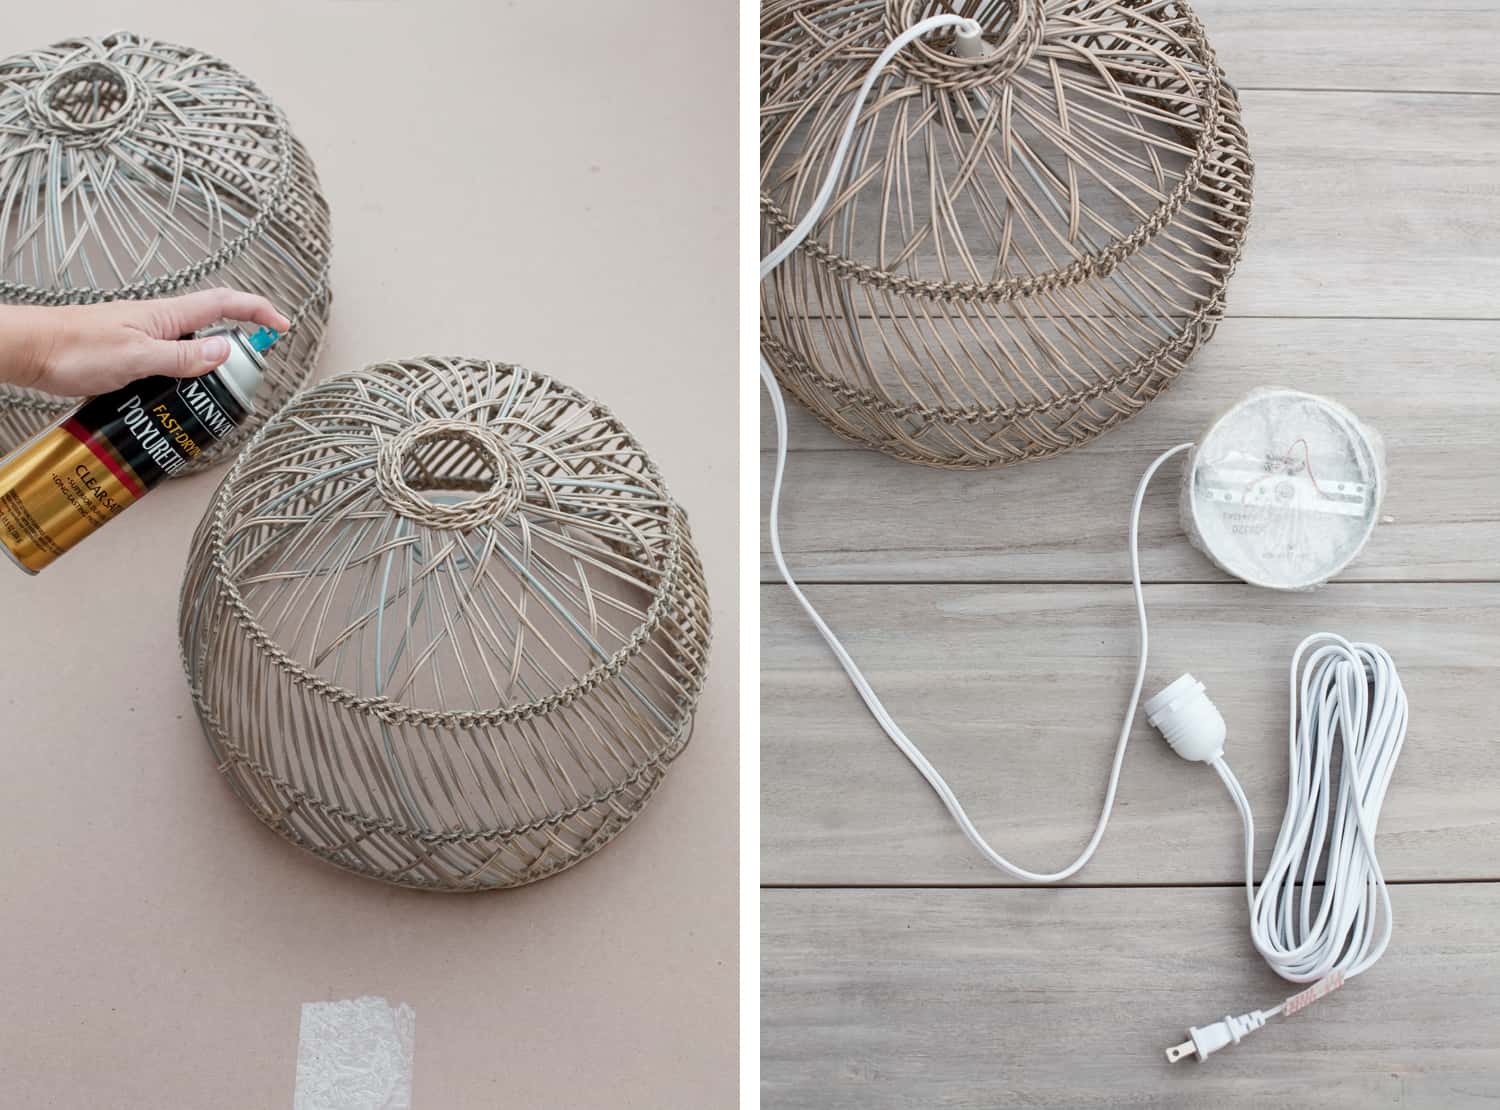 Converting Your Indoor Pendant Light to an Outdoor Pendant Light
Step One: Weatherproof your shade. If your shade is made of metal, it should be galvanized or else be powder coated to withstand moisture. Otherwise, it will rust. If it is fabric, you should waterproof it or it will mildew. My shade was made of metal and rattan (like a wood/reed material), so I needed to seal it with a decent coat of polyurethane to keep any moisture from soaking into it. I sprayed about four somewhat thick coats of polyurethane and allowed it to dry.
Step Two: Remove the pendant kit that came with your light. As mentioned above, this is a sadly wasteful move. So ask around and see if anyone has a use for the kit, rather than throwing it away! Replace the original indoor pendant kit with the weatherproof one.
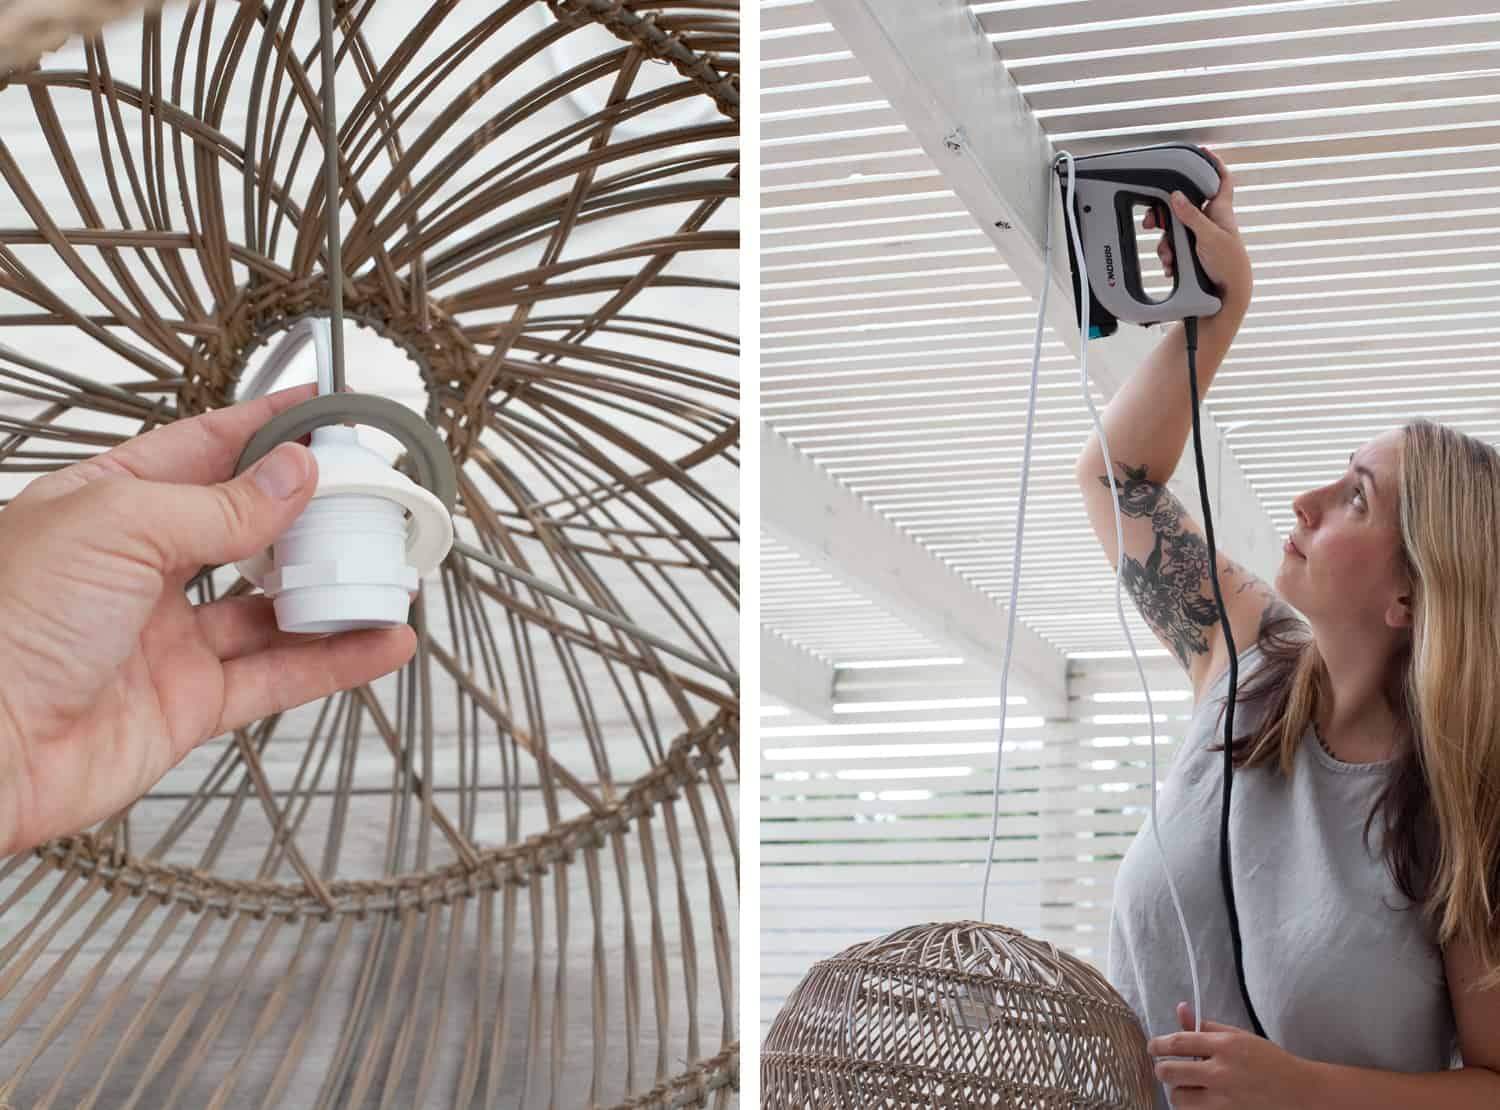 Step Three: If your new pendant kit doesn’t quite match the opening of your shade, some adjustments may be necessary. I used a screw ring from the old pendant kit and pushed it onto the socket to create a wide enough platform for the shade to rest on without the bulb slipping through the opening of the shade. There were no threads on my new pendant light kit, so I had to just squeeze the pieces together. You may have to look around the lighting department at the hardware store to buy parts that will help make your pendant compatible with the shade you are using.
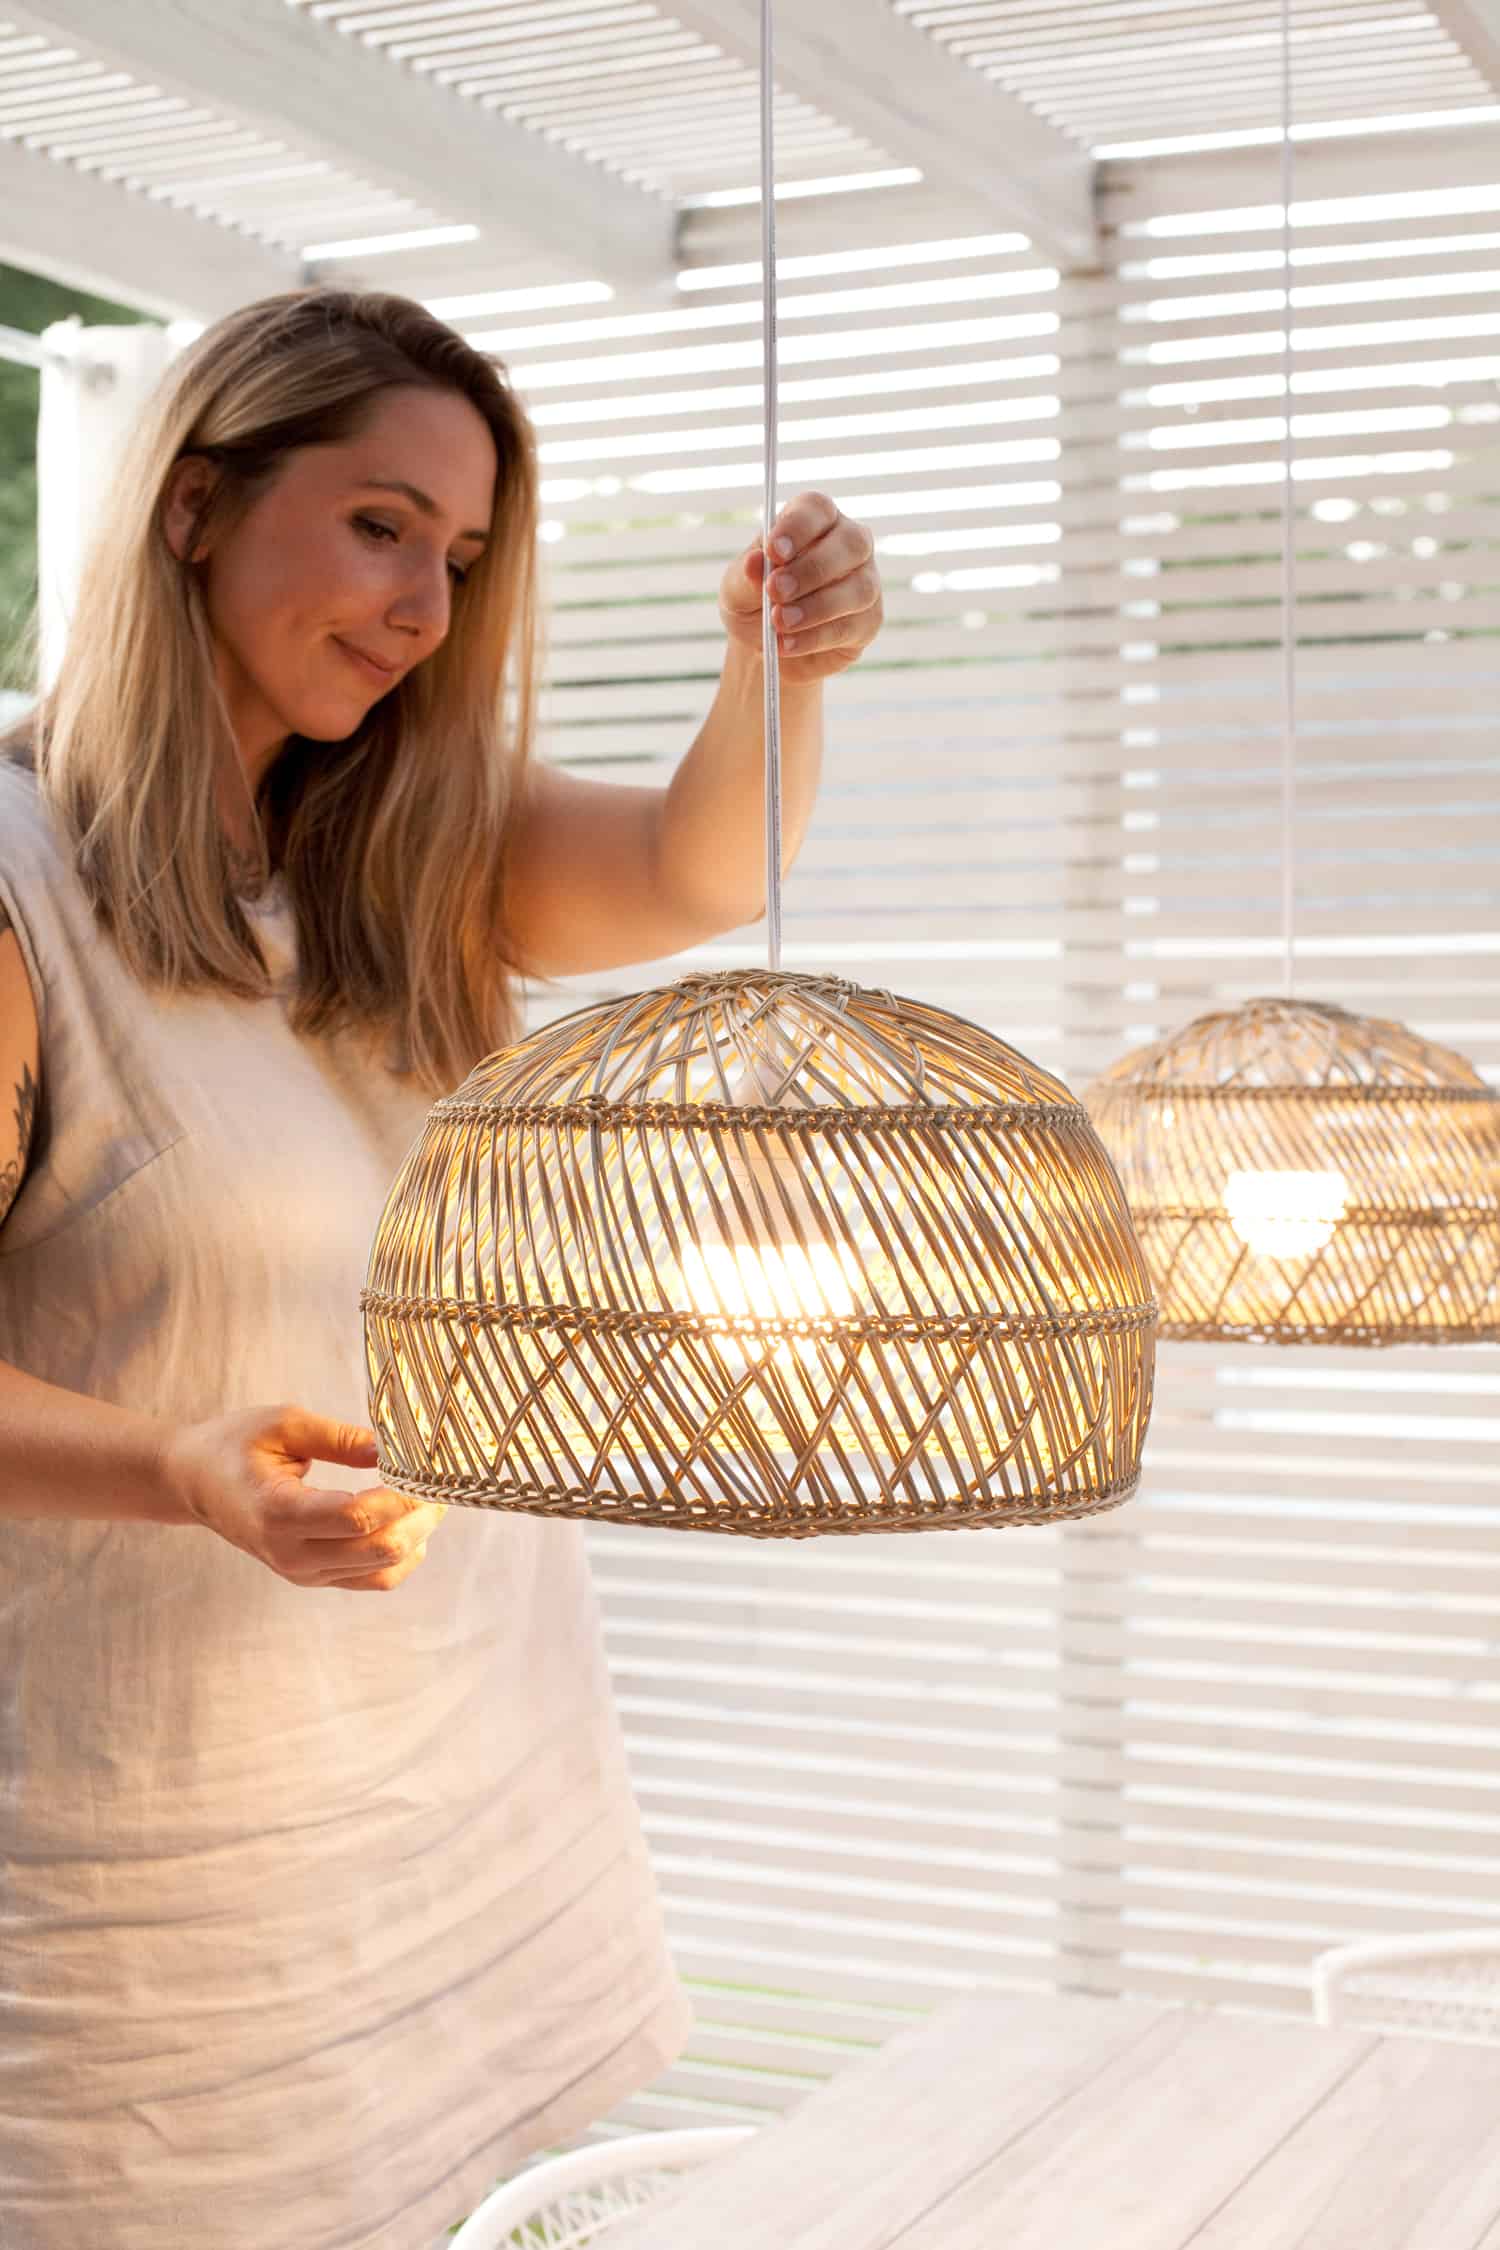
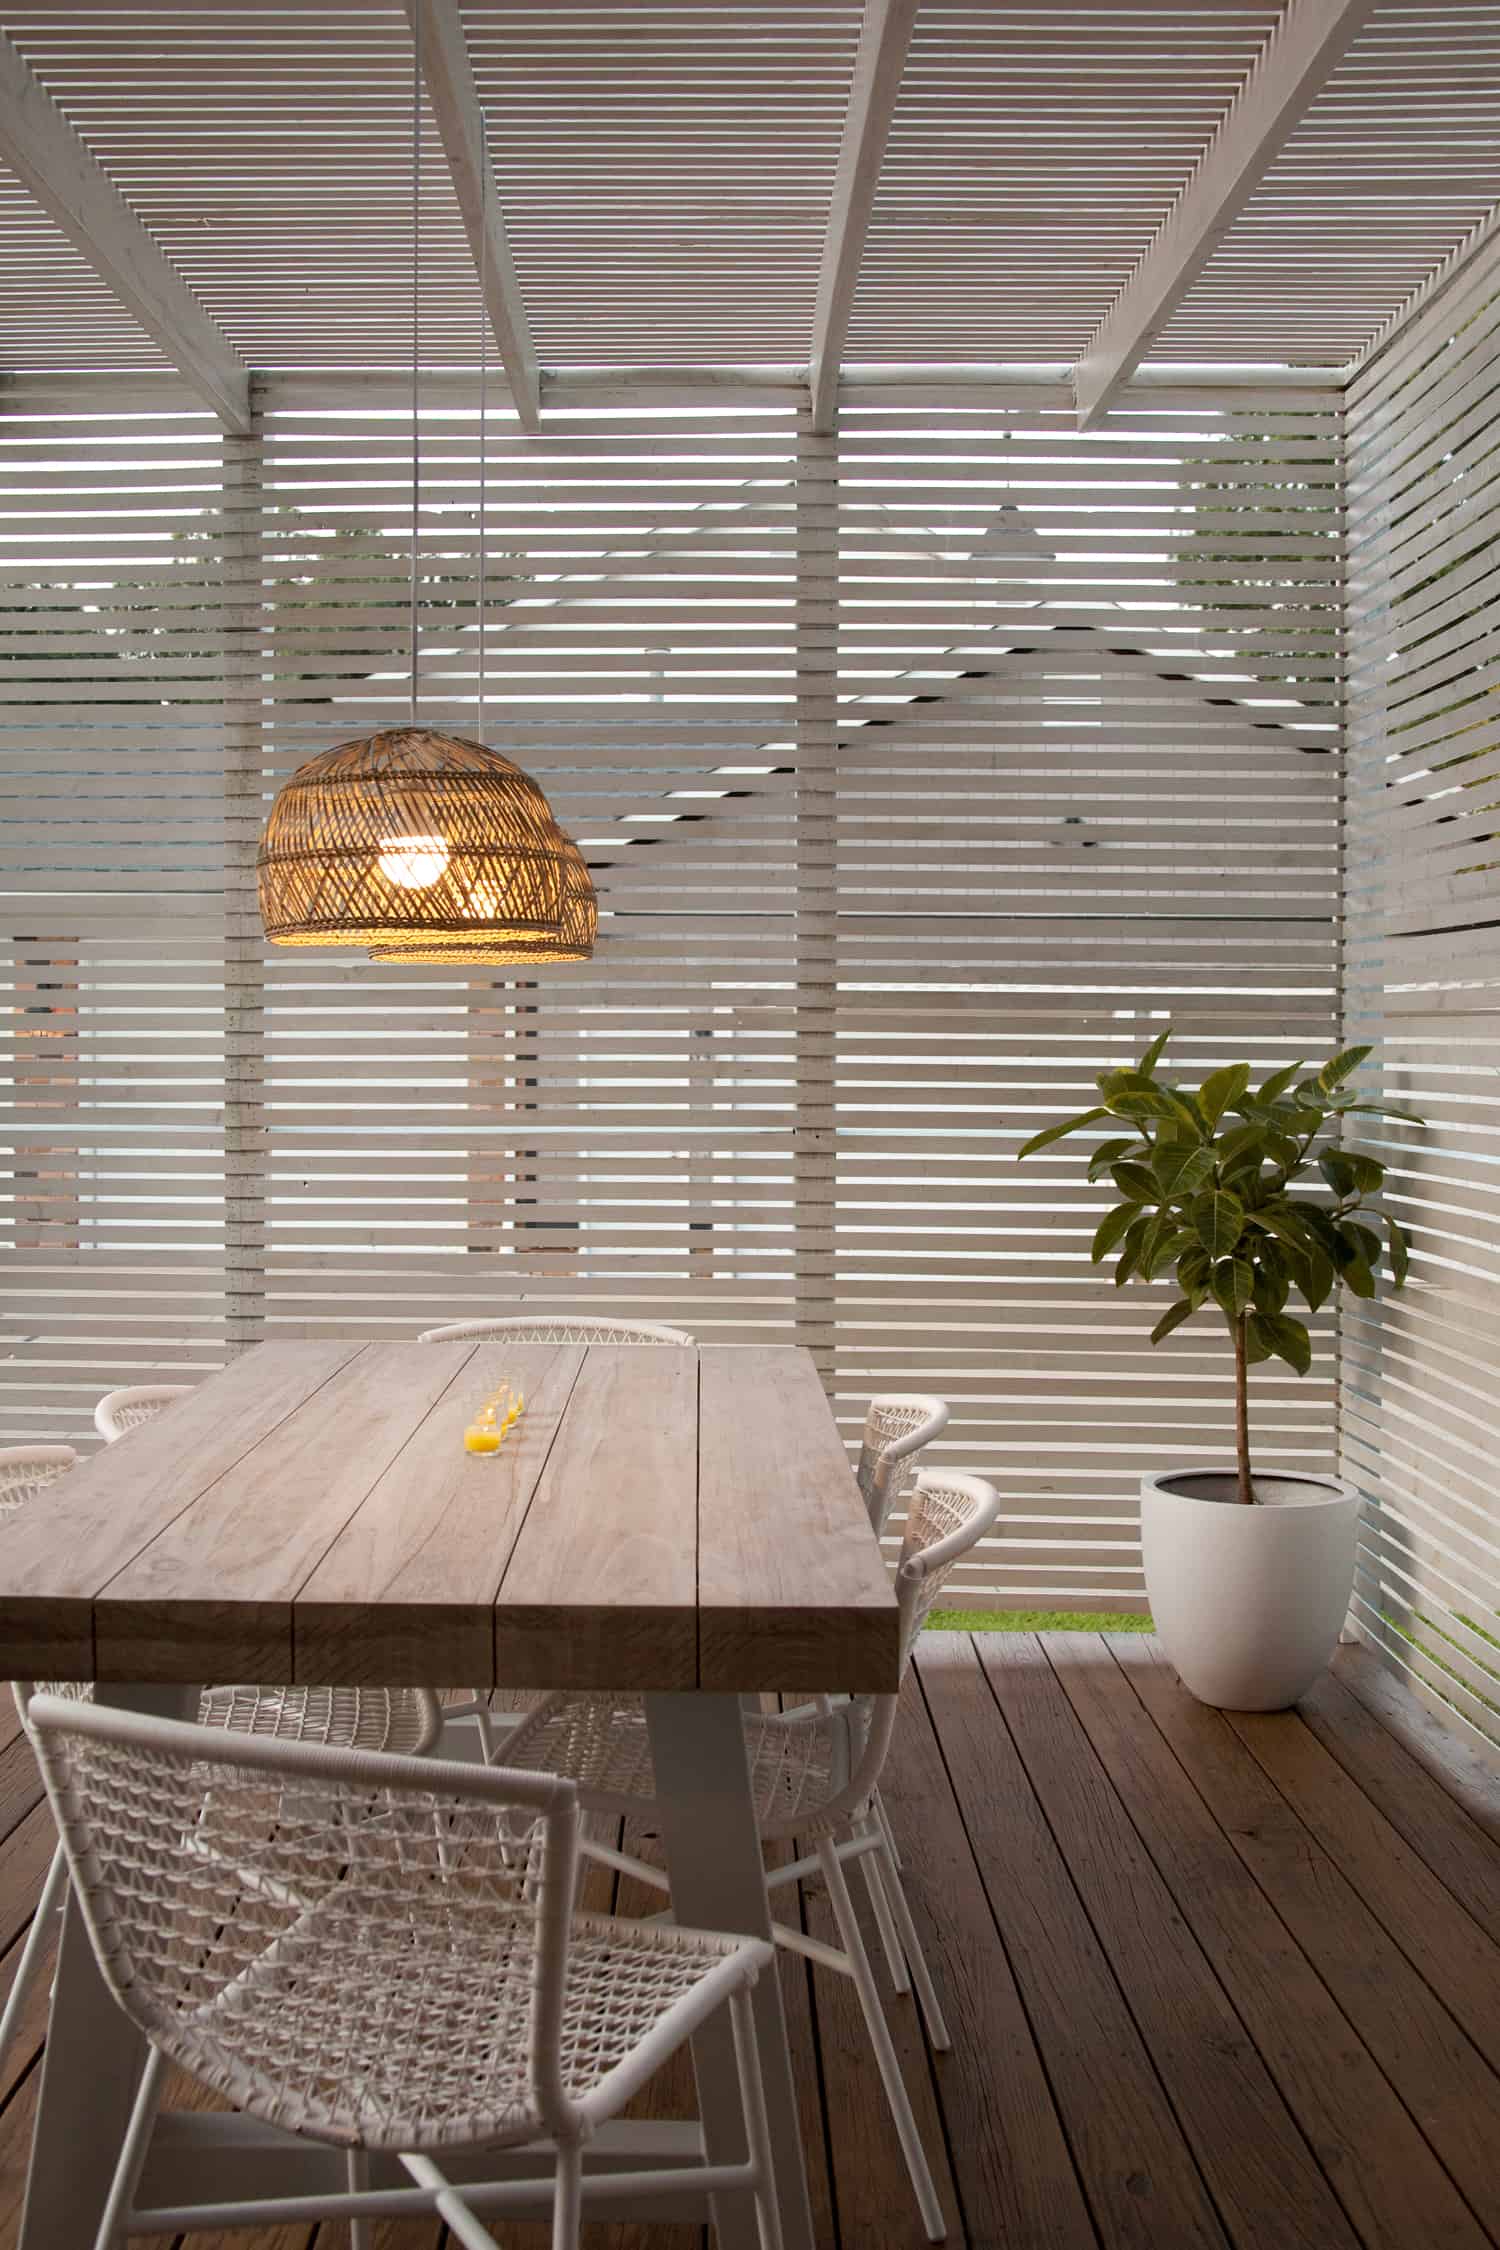
Step Four: Mount your outdoor pendant light by the cord. You can screw cup hooks into the ceiling beams or simply staple it into place as I did. Keep in mind that staples will eventually rust, so they will need to be replaced over time.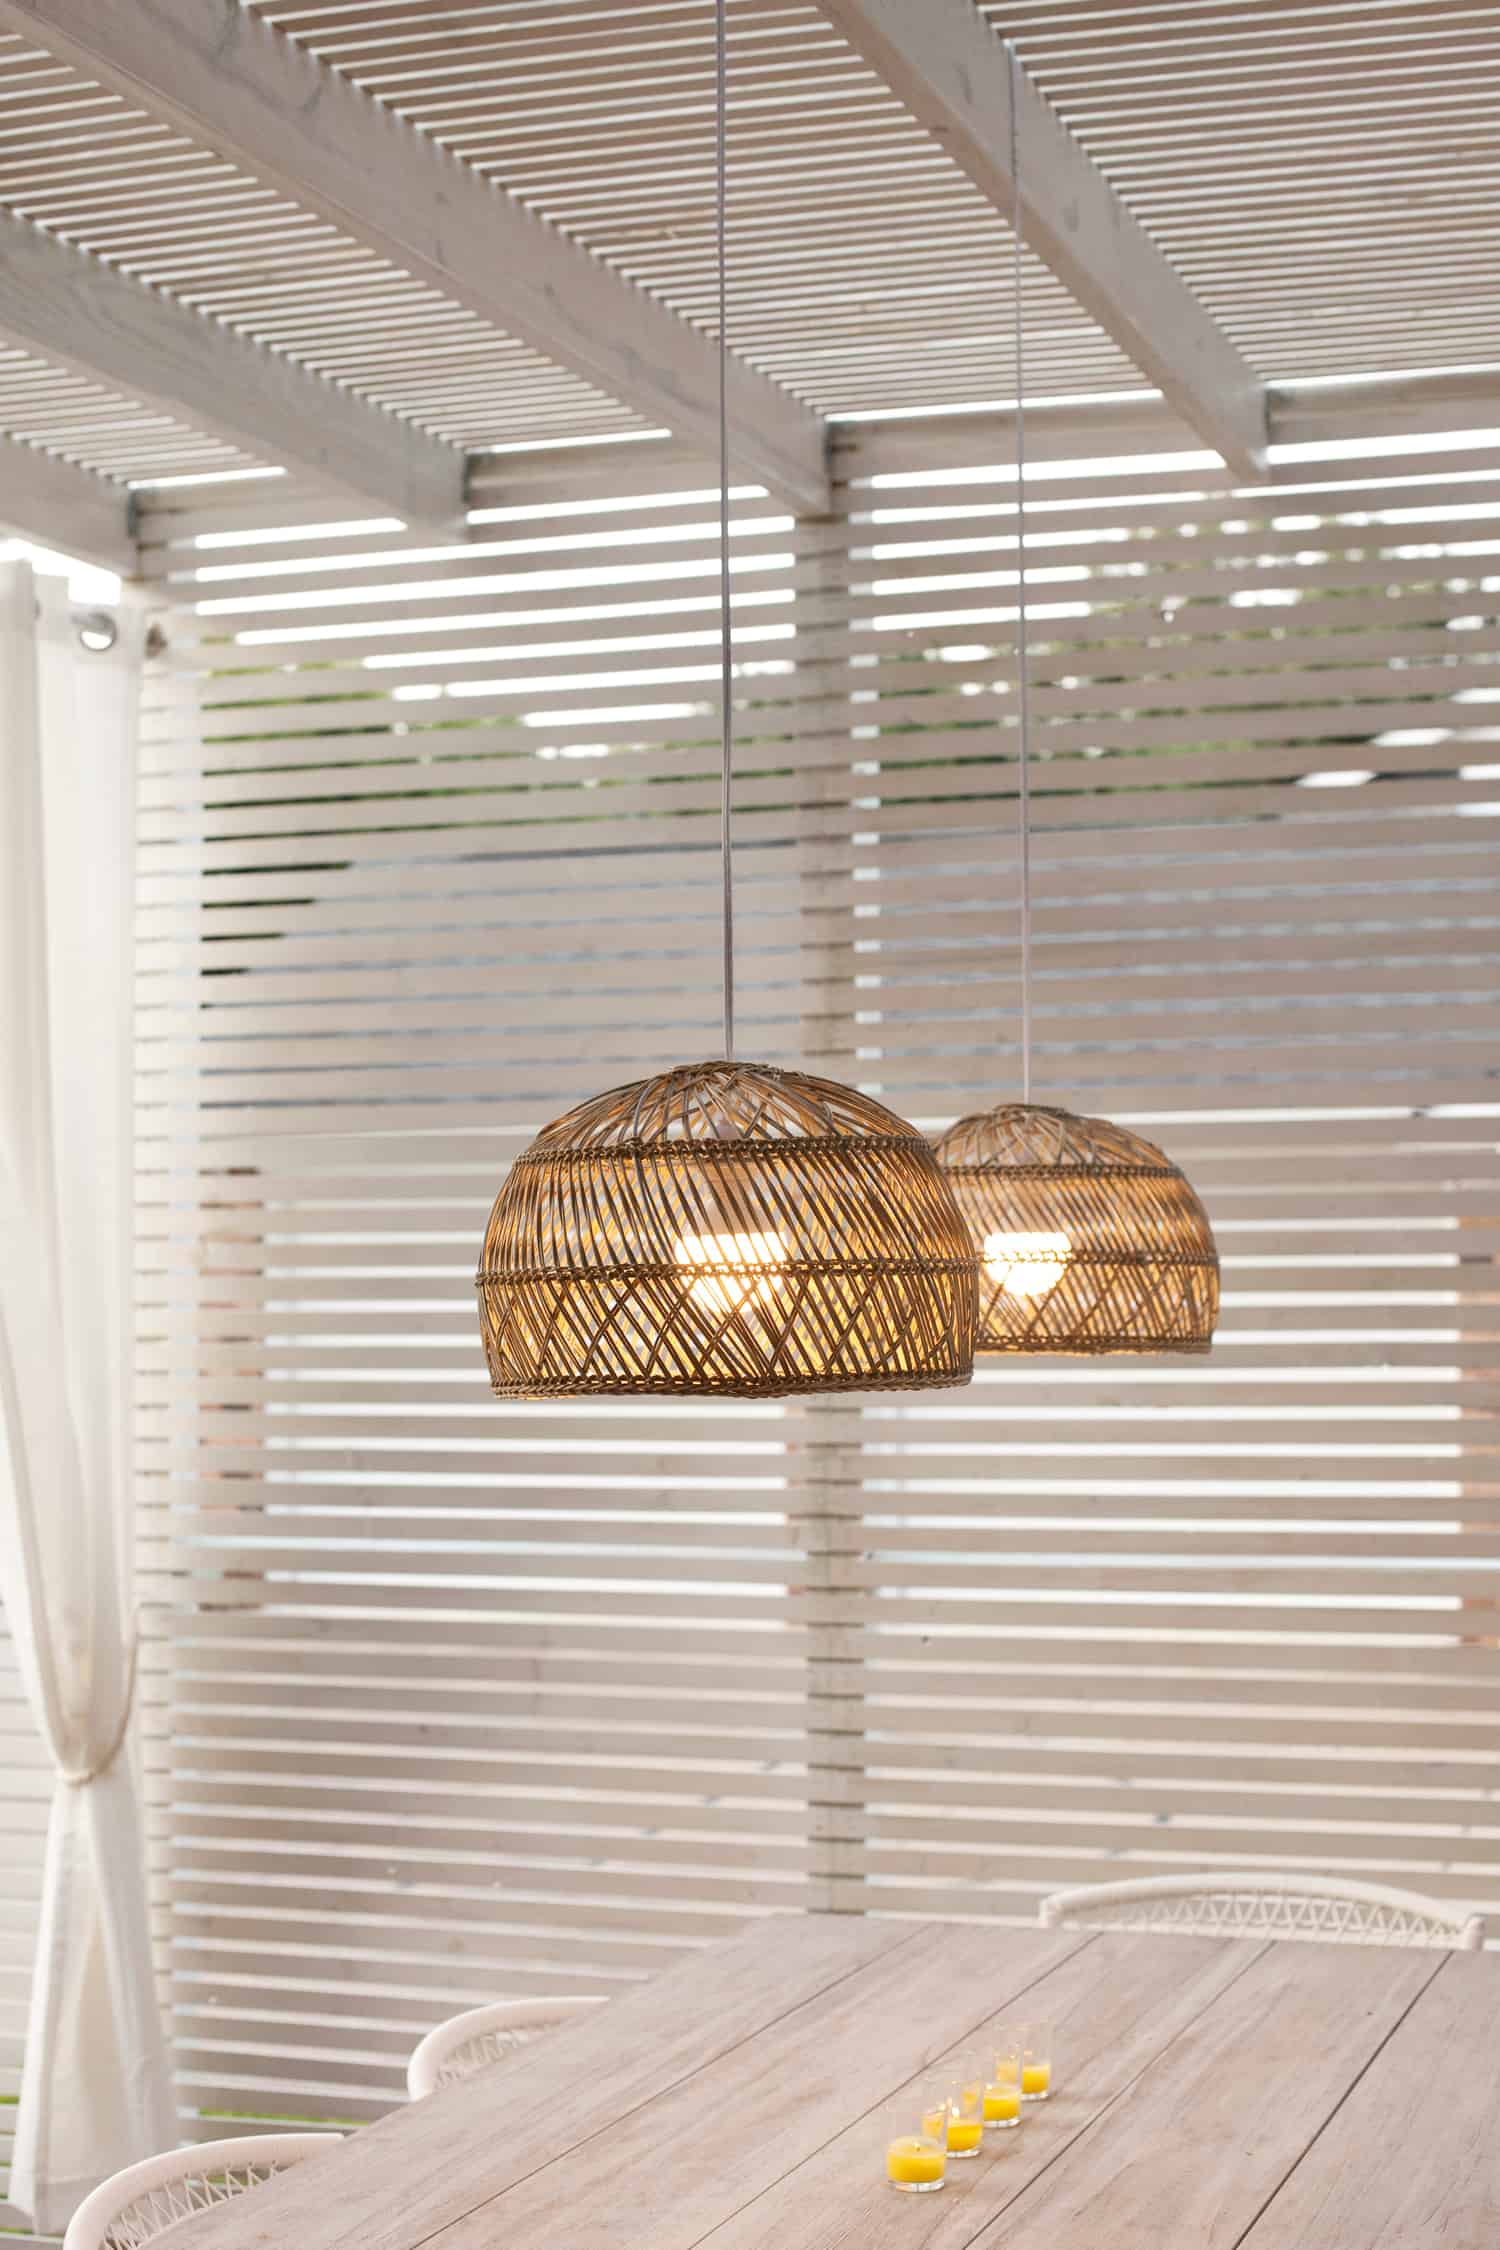 These lights were definitely made to be hung in my patio! I’m so glad I followed my heart and brought them home with me. After a few adjustments, they’re perfect outdoor lights. Just look at that peaceful glow! – Mandi
7 Comments
This is such a simple DIY with amazing-looking results! I really like it. I’d make it myself if I had an outdoor space for the lights! ❤️:D
Charmaine Ng | Architecture & Lifestyle Blog
http://charmainenyw.com
OMG I love these! Will definitely have to try this
Thanks for using our Arrow staple gun on this. For projects involving cords and low-voltage wiring, we always recommend a wire tacker like the T25, which shoots staples that are designed to protect wiring, cords or cables. Also, if you don’t want to replace the staples, we do offer corrosion-resistant stainless-steel staples and rustproof Monel staples for outdoor projects. Beautiful project! #MadeWithArrow
Man is Mandi cool.
Hands down always a consistent smooth, modern and stunning style suitable for a diverse audience.
Cant wait to see more great work!
Andie
These lights are gorgeous! I’m obsessed!
Paige
http://thehappyflammily.com
Just googled your tutorial page, fantastic tutorial. It was very informative and easy to follow. Thanks!!
Highly recommend you actually hire an electrician to properly install the lights with a weather rated junction box and proper cord support. Using a stapler to hang the lights violates electrical code as the cord is not designed to be installed in that manner, the staples will eventually cut into the wire, creating a shock or fire hazard. Also, with the cord you used, I can only assume you are then using an extension cord elsewhere, which likely isn’t outdoor rated and should not be used for permanent wiring means.