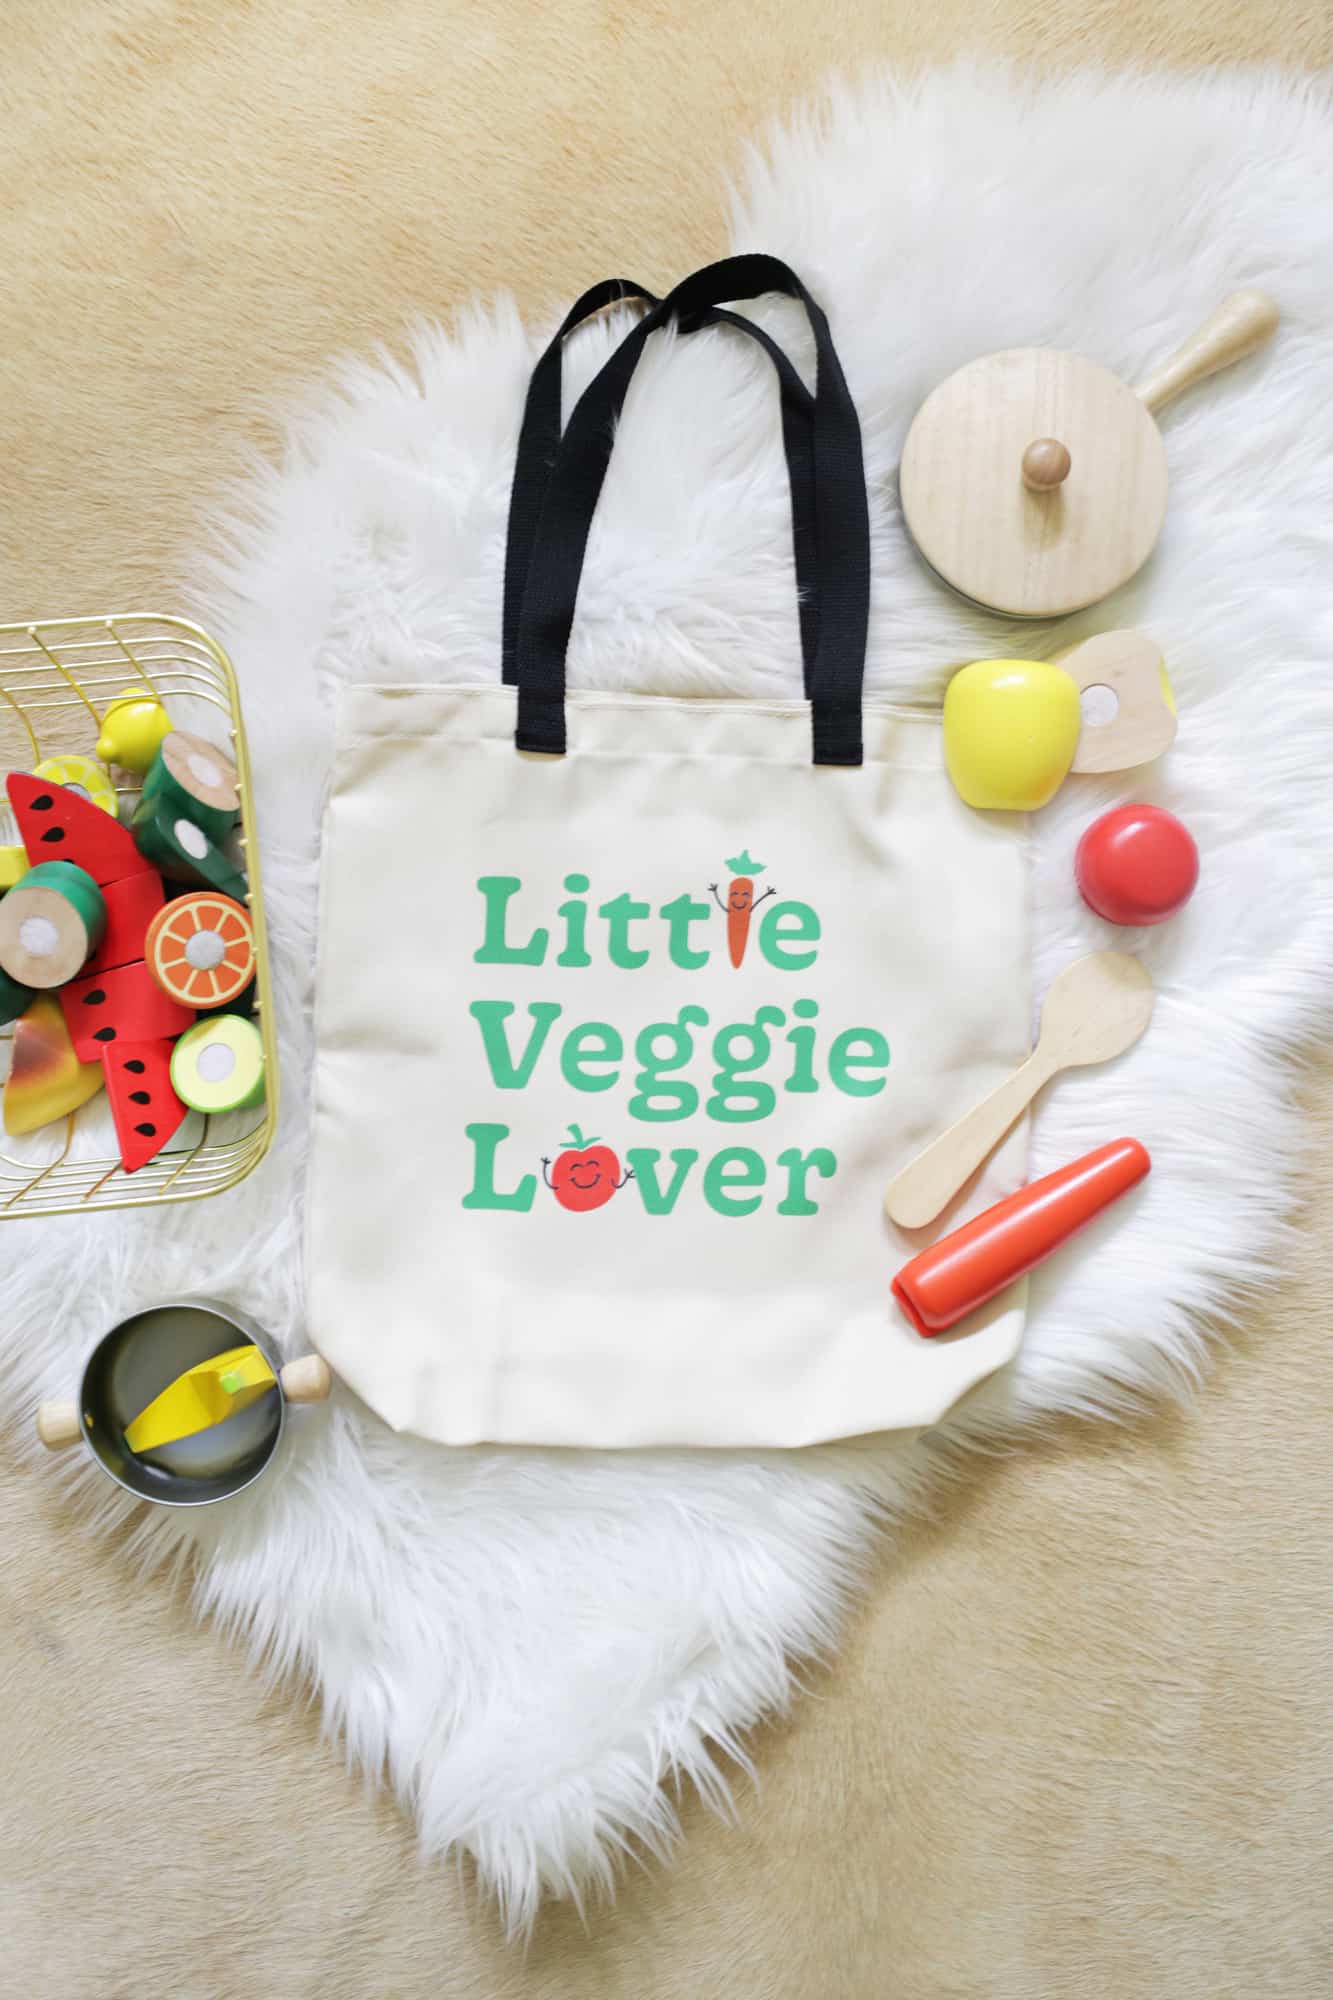
 If you’ve ever done grocery shopping trips with kids, well, then you probably know it’s not quite as efficient (or as fast) as shopping by yourself. So we partnered with Cricut to come up with a way to make it more fun! While there are some kids who are happy as pie to sit in the shopping cart or patiently toddle along with you, for others, it’s much more of a challenge to keep their little wiggly bodies occupied for the trip. One thing we’ve been trying to do more with our 2-year-old Lola is have her be involved in whatever activity we are doing (shopping, cooking dinner, etc.) and that usually helps everyone have more fun in the situation. I thought it would be cute to make her her own bag so she can feel special and I thought that Cricut’s new Infusible Ink would be the perfect tool for the job. The Infusible ink is different from the vinyl you may have previously used with a Cricut because it actually merges with the fabric. With an iron-on vinyl it’s a separate material, whereas the ink becomes a part of the product—so cool! The Infusible Ink projects come with their own bases, and are available for coasters, T-shirts and baby body suits in addition to the tote I used. You do only want to use it on the correct bases for the application to work correctly.
 Supplies:
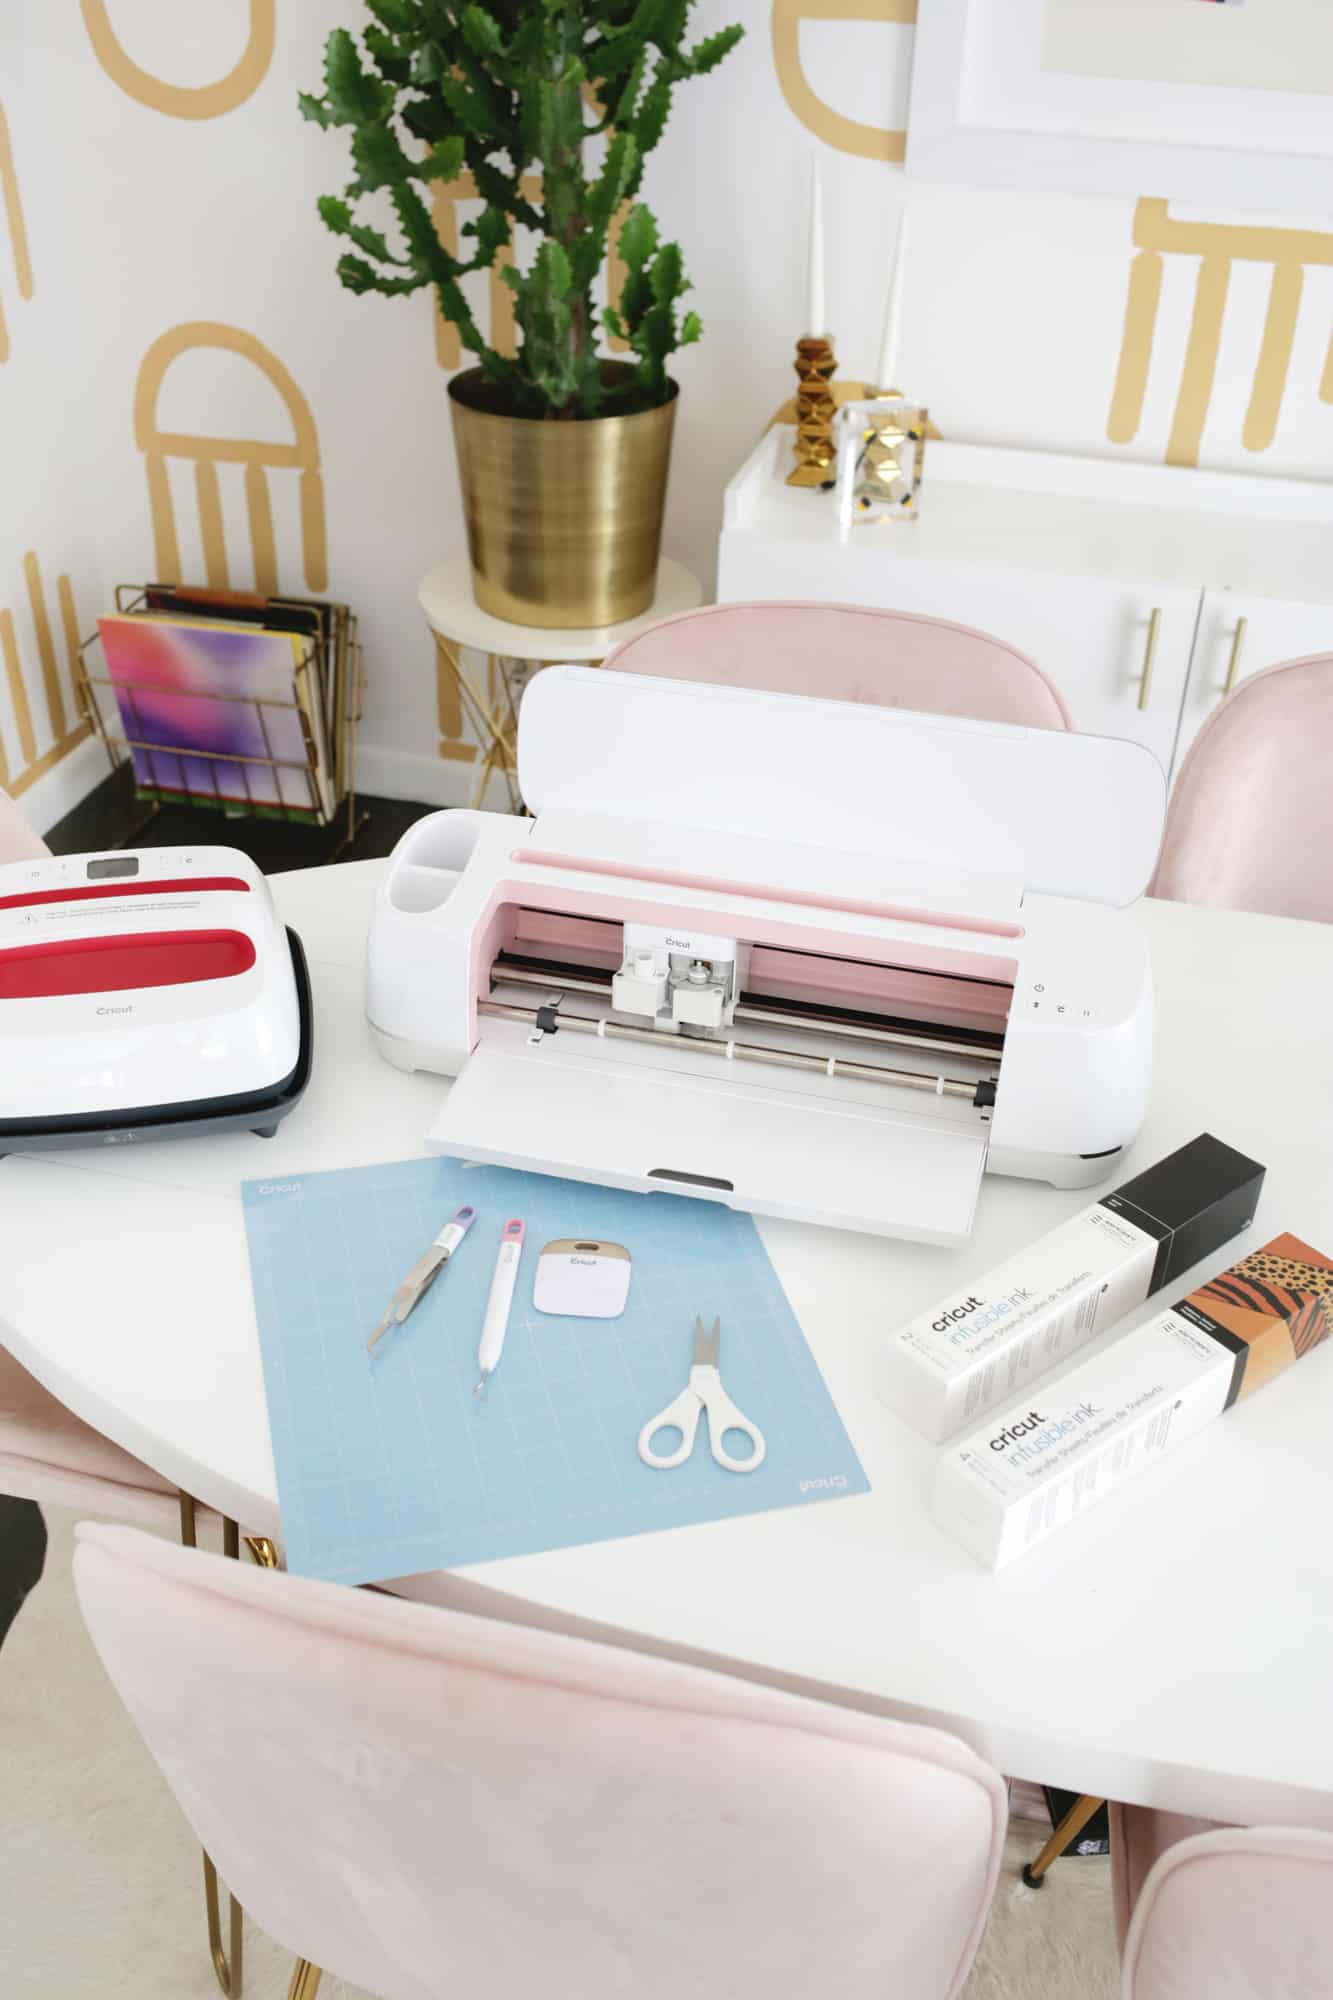
–Cricut Maker
–Cricut Easy Press 2
-Infusible Ink transfer sheets (I used Bright Green, Black, Cherry Red, and the orange sheet from Leopard pack)
–Infusible Ink tote bag
-Cricut weeding tools
–Veggie Lover tote download
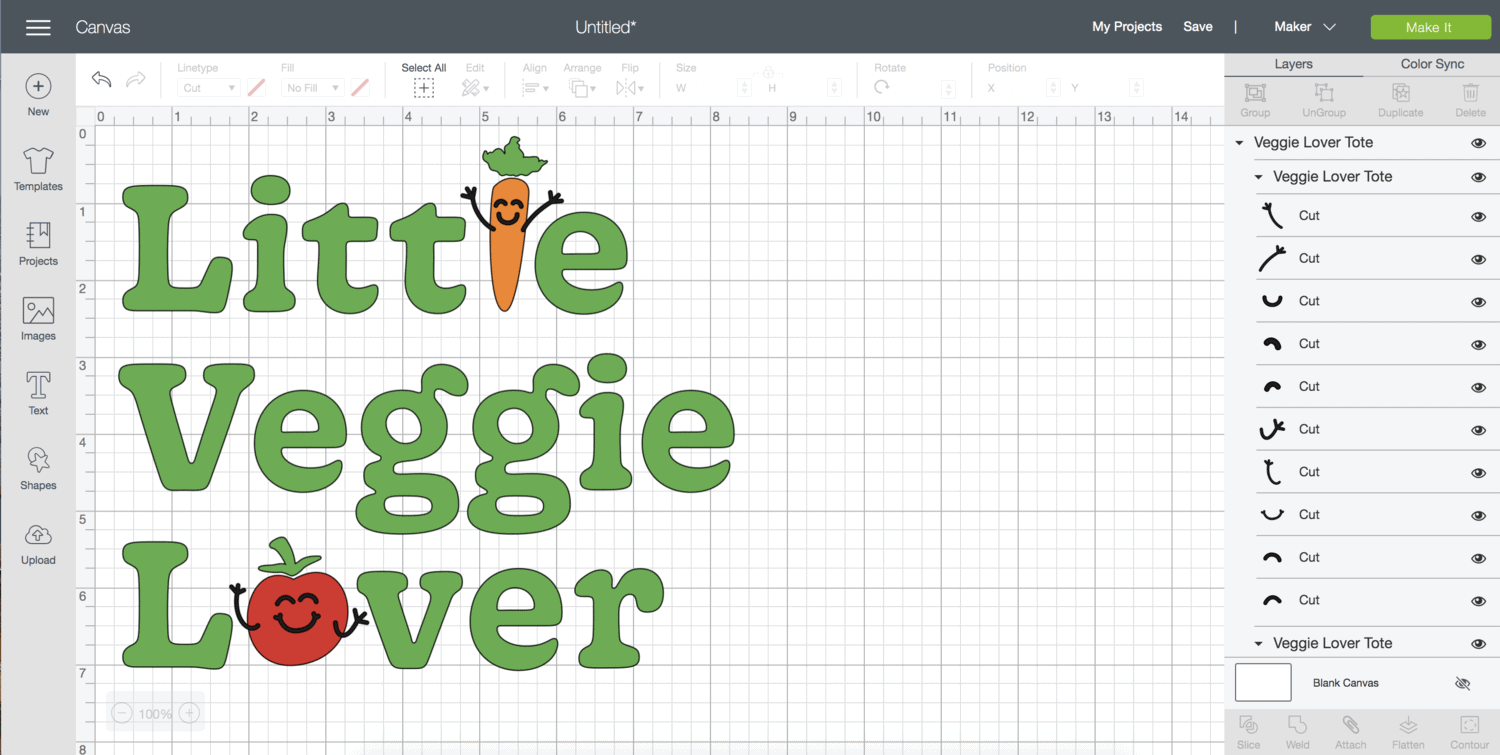
Download your veggie lover tote design onto your computer and open the file in Cricut Design Space. You’ll see that each color (red, black, orange, green) has its own folder in the layers section on the right side of your screen.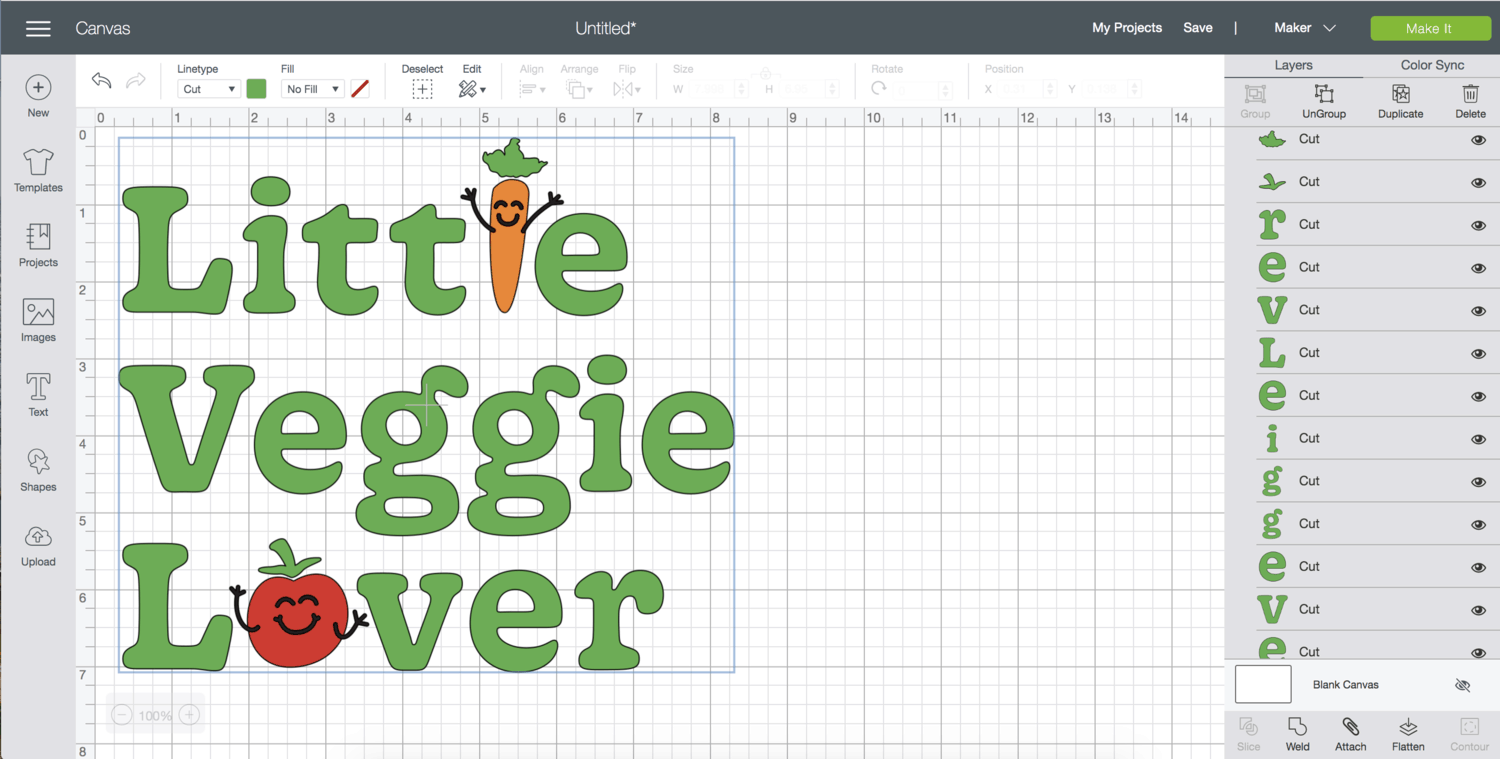
Go to the individual shape layers on the right side of the screen and select only the green layers while holding down the “shift” key. That will allow you to select more than one layer at a time so you can get all the green selected together.
 Once only the green layers are selected, click the “ungroup” option that appears directly above the layers and then on the “attach” option that will become available directly below all the layers. Basically, we are trying to keep all the green layers within that same proximity to each other, so we are unattaching them all from the larger group and then reattaching them together.
We only need to keep the green layers in the same proximity through this step, so once it’s complete you can click the green “make it” button in the right upper corner.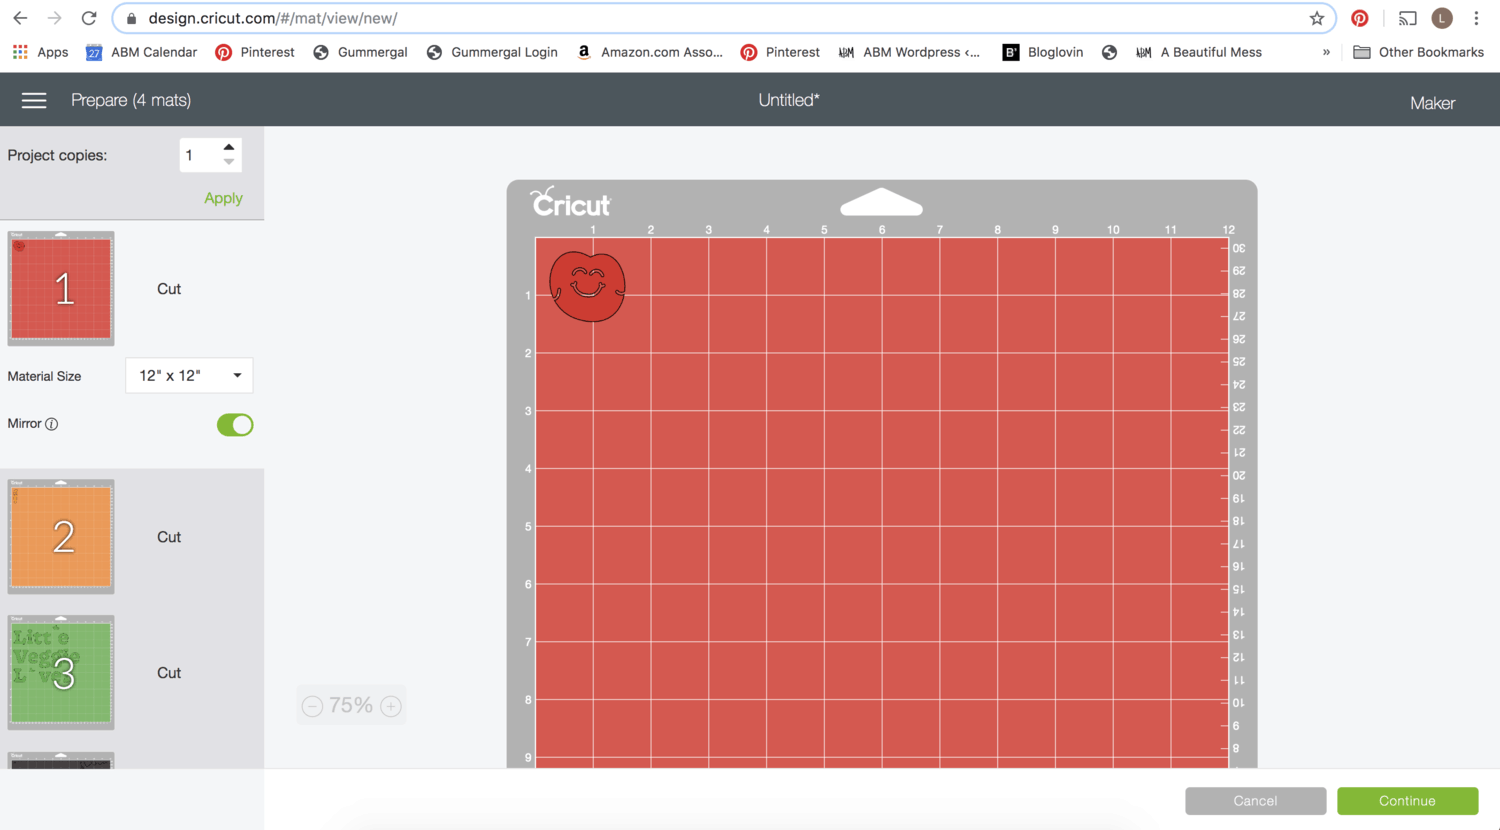
Now you’ll want to click on each color layer and check the “mirror” option so it cuts your shape out backward (that way it appears correct once you iron it on). Click the green “continue” button when done.

Choose “Infusible Ink Transfer Sheet” from the dropdown option in the first step. I set my pressure to “less” instead of “average” as the average option would cut all the way through the backing and you just want the machine to cut through the top vinyl layer, so it’s good to run a small test cut and see which option your machine needs.
Load your mat for the first cut with the correct color (red in my case) by pressing the blinking arrow on your machine and then press the blinking Cricut symbol to make your cut. Once the cut is complete, press the blinking arrow again to unload your mat.
Notice that in order to not waste material, I cut a square of transfer sheet that was just a little larger than the shape I was cutting and would align them in the top left hand corner of the mat. You can easily see when you look at the grid on each colored mat in Design Space how many inches wide and tall your transfer sheet will need to be to cover the shape you are trying to cut.
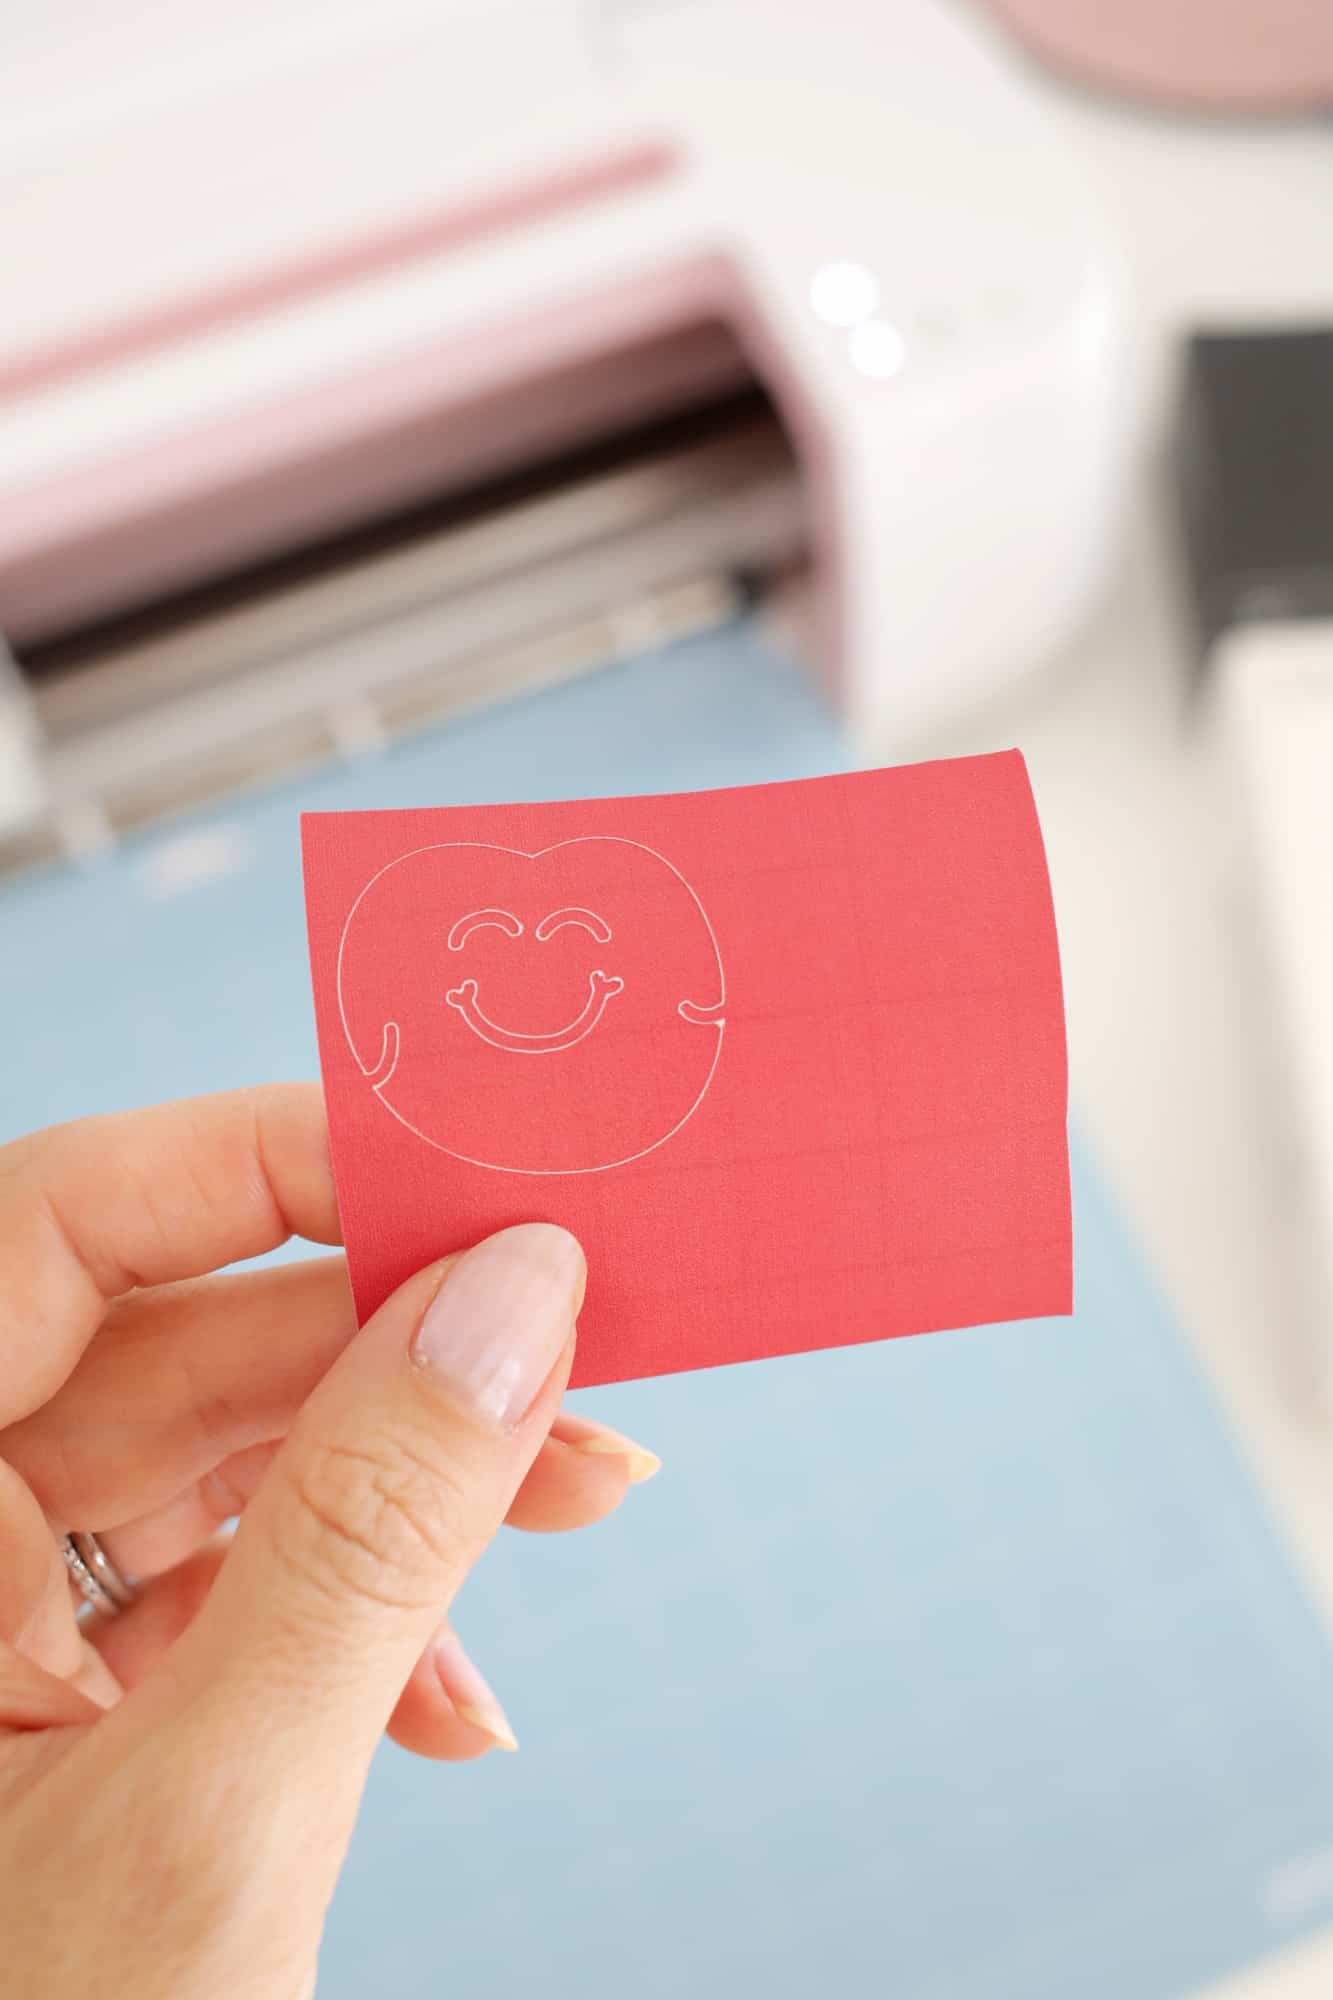
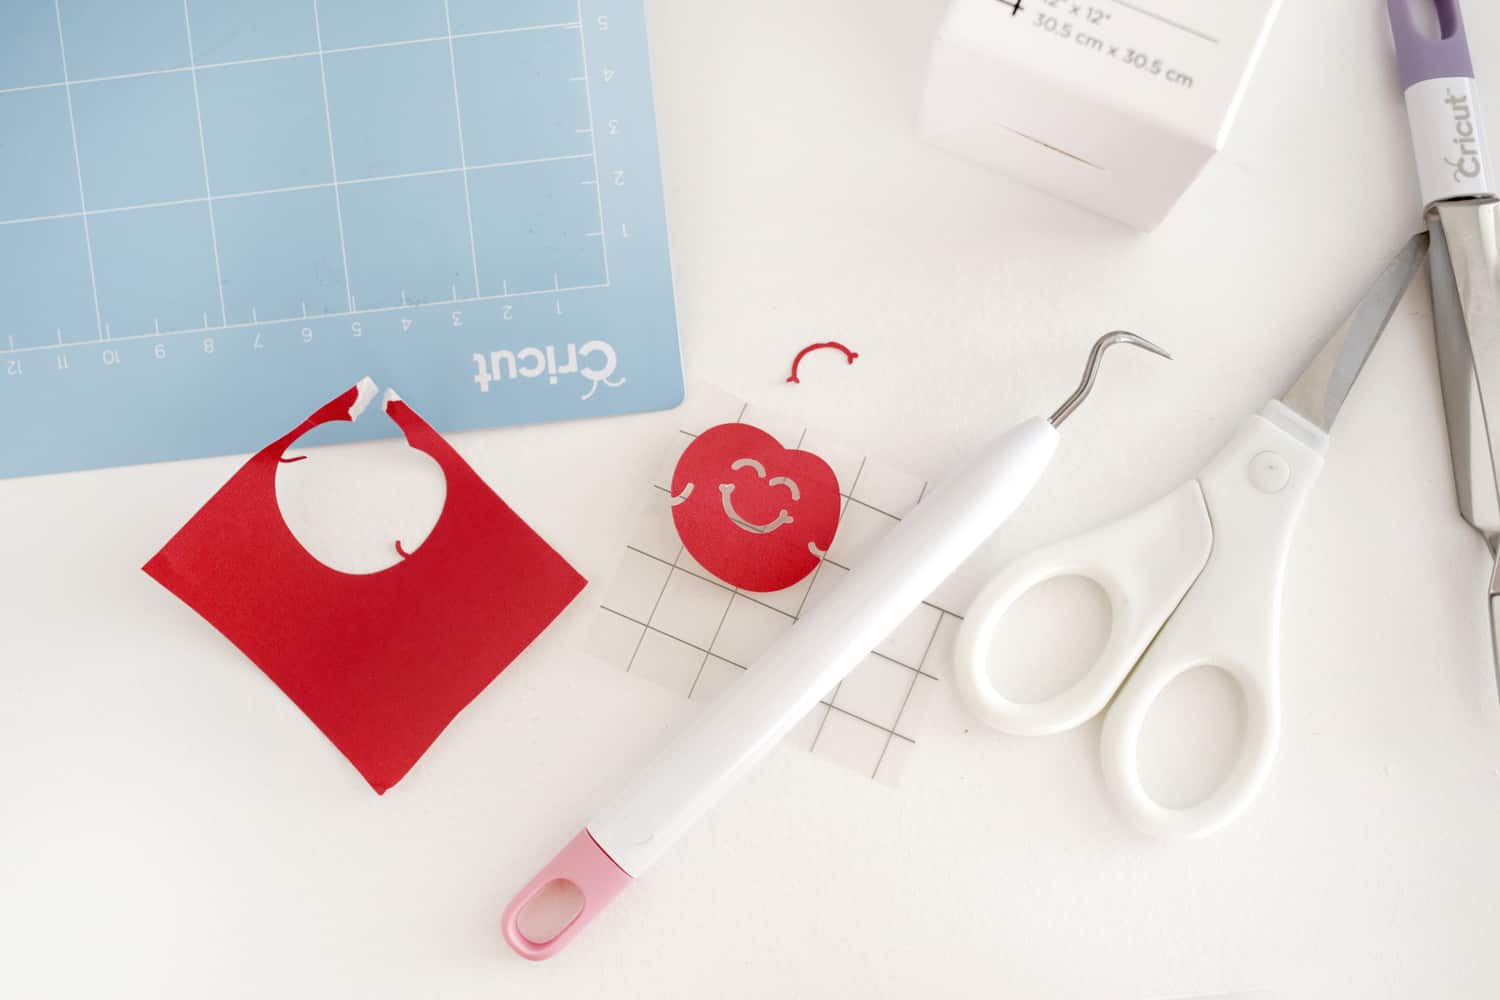 Once your first color is cut, you can peel away the areas you don’t need with your weeding tool and set your shape aside until all the colors are cut.
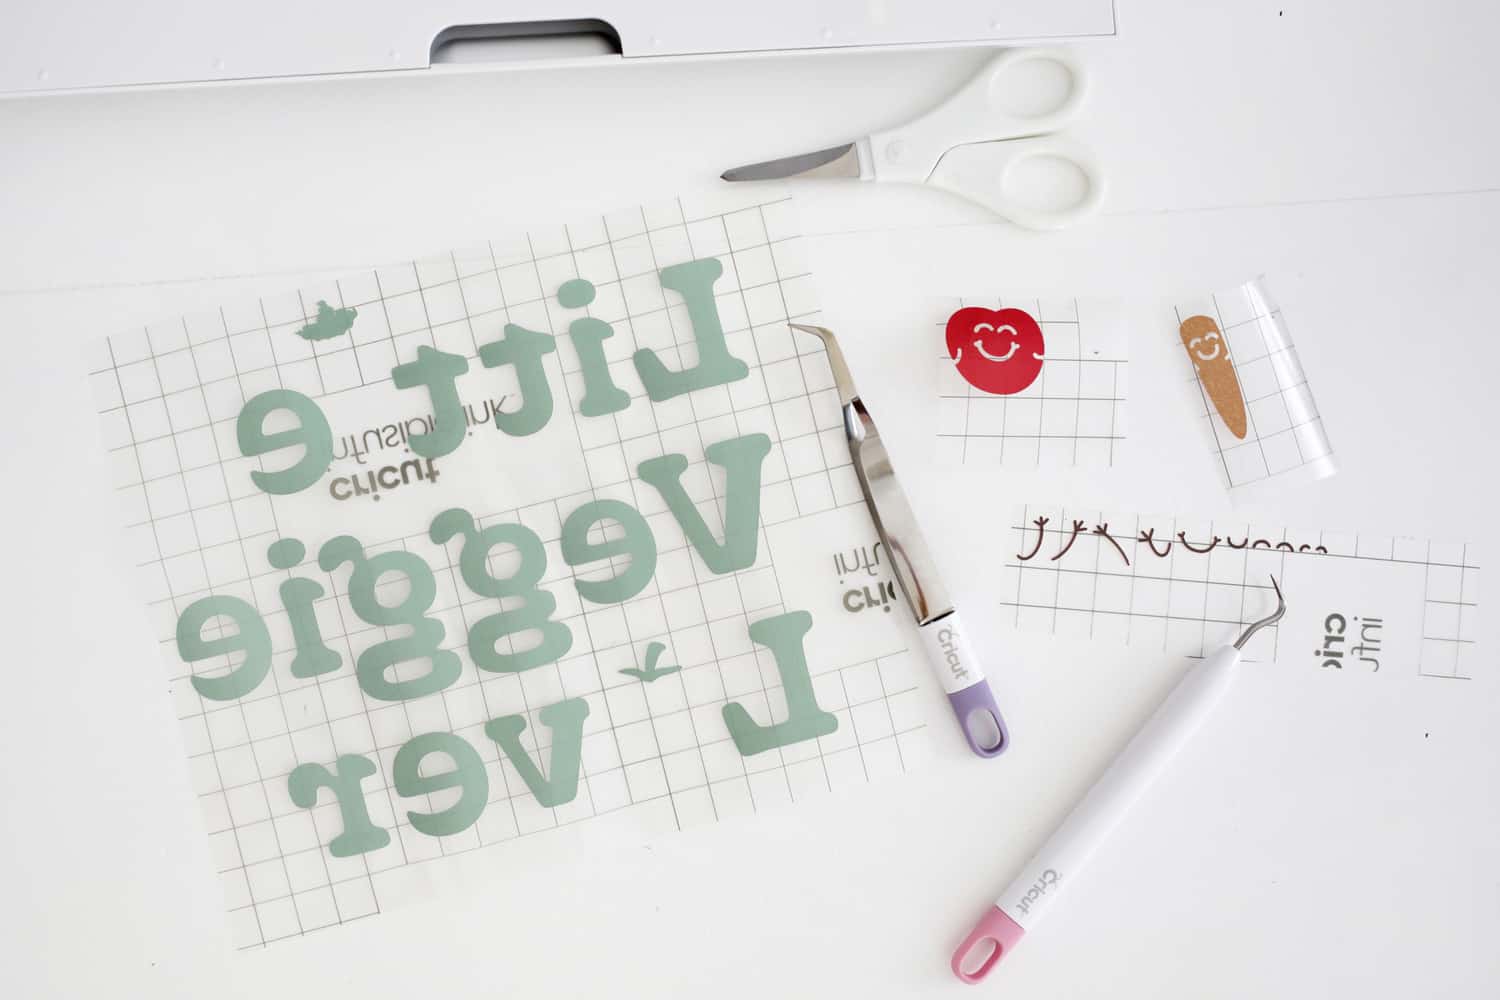
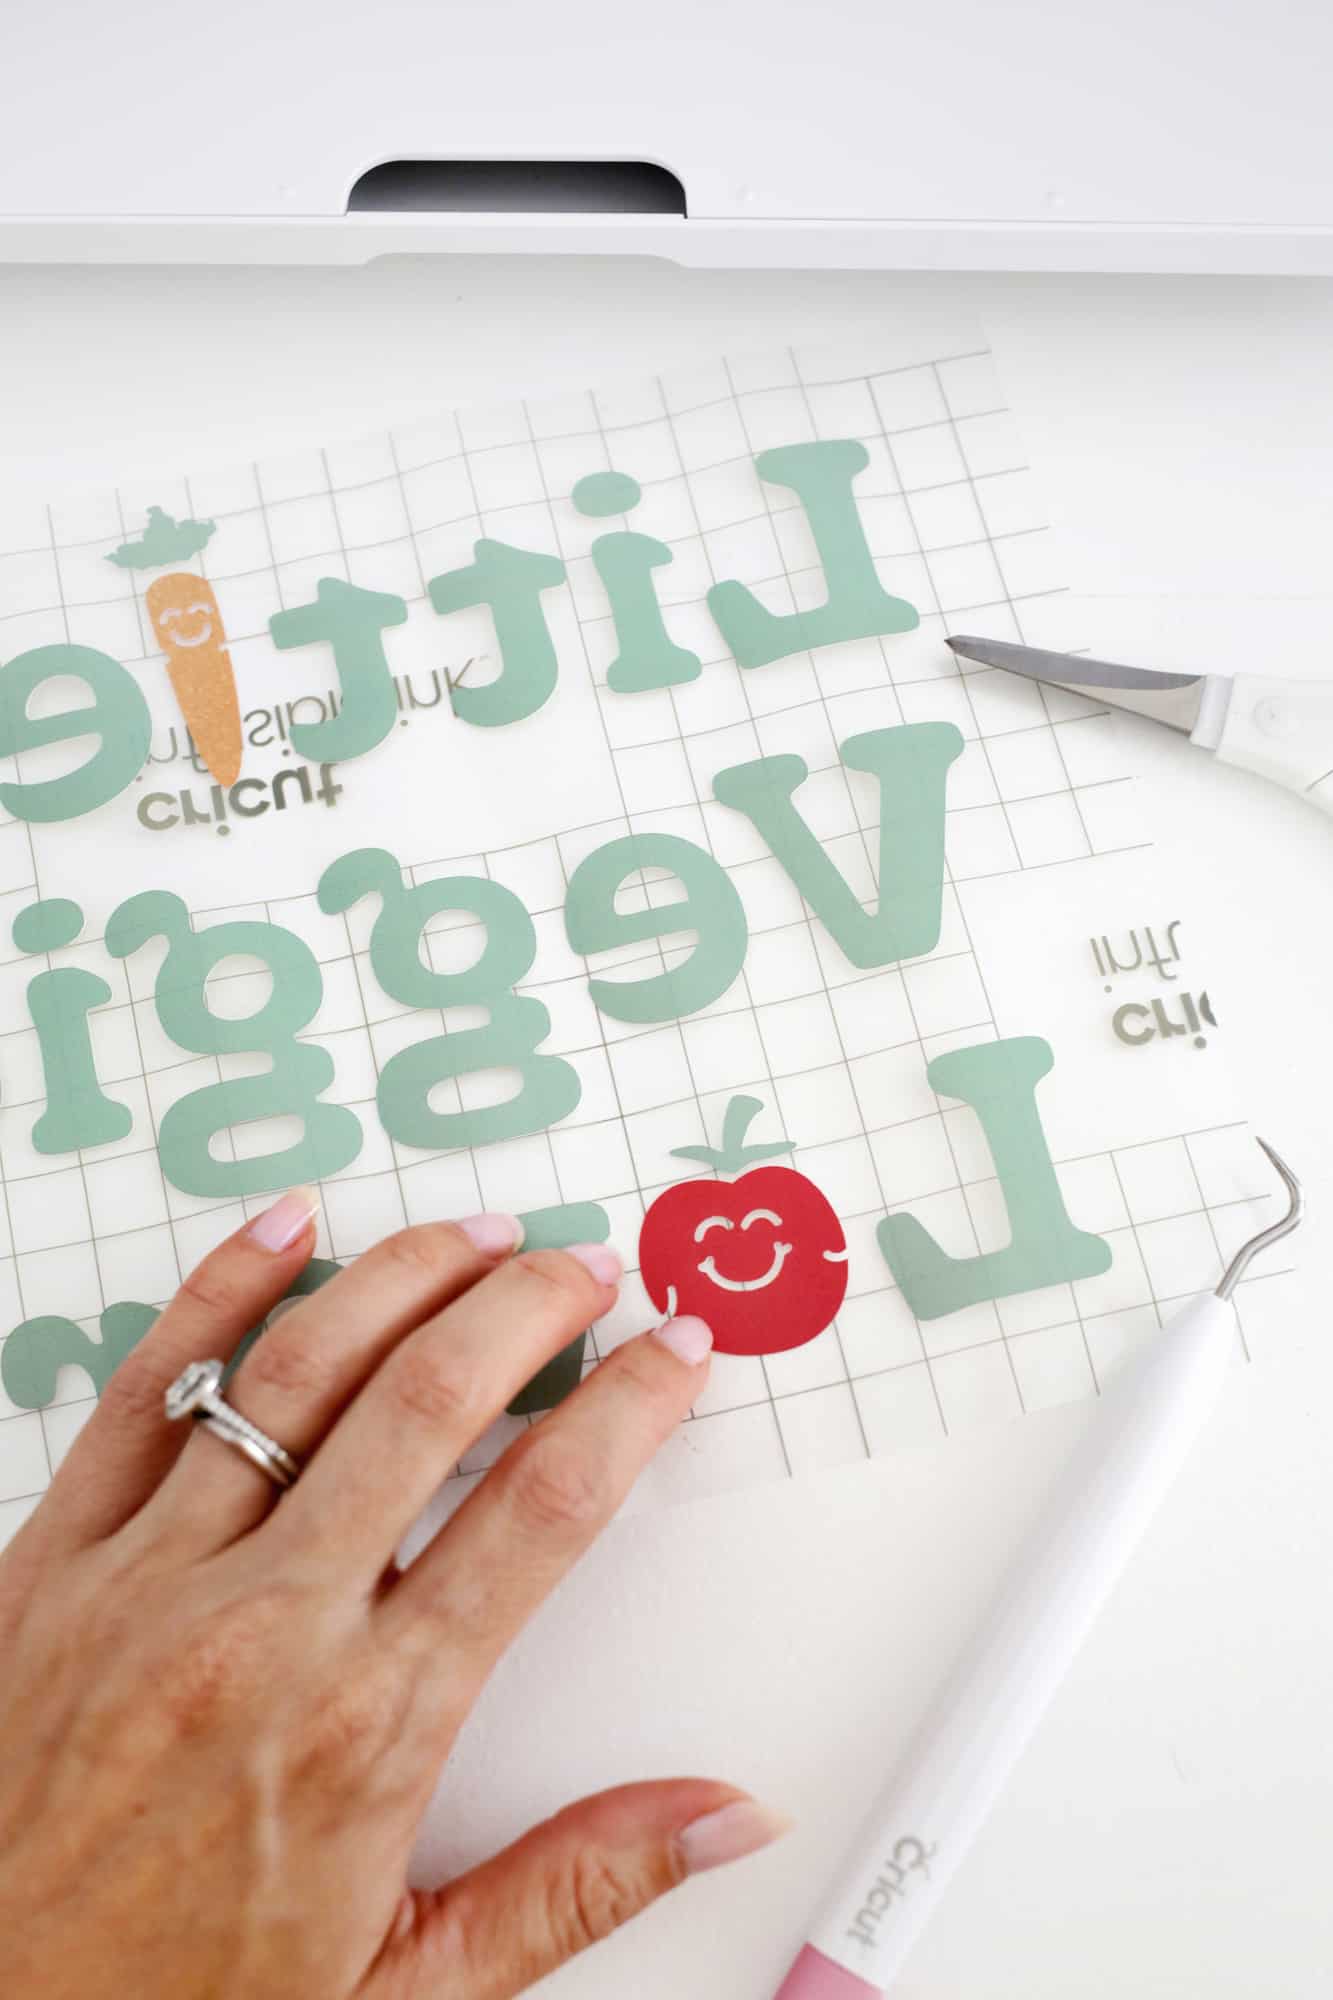
Once all your colors are cut and weeded, you can gently peel and place the red, orange, and black shapes onto the correct locations on the larger green type sheet (you can refer to the original design file if you can’t remember which part goes where). If you’ve used Cricut vinyl before, you may be wondering why you can’t just layer your shapes on top of each other like you normally would. But the Infusible Ink is a little different and you can’t layer the colors, so you have to have the shape underneath cut out so there’s only one layer of ink.
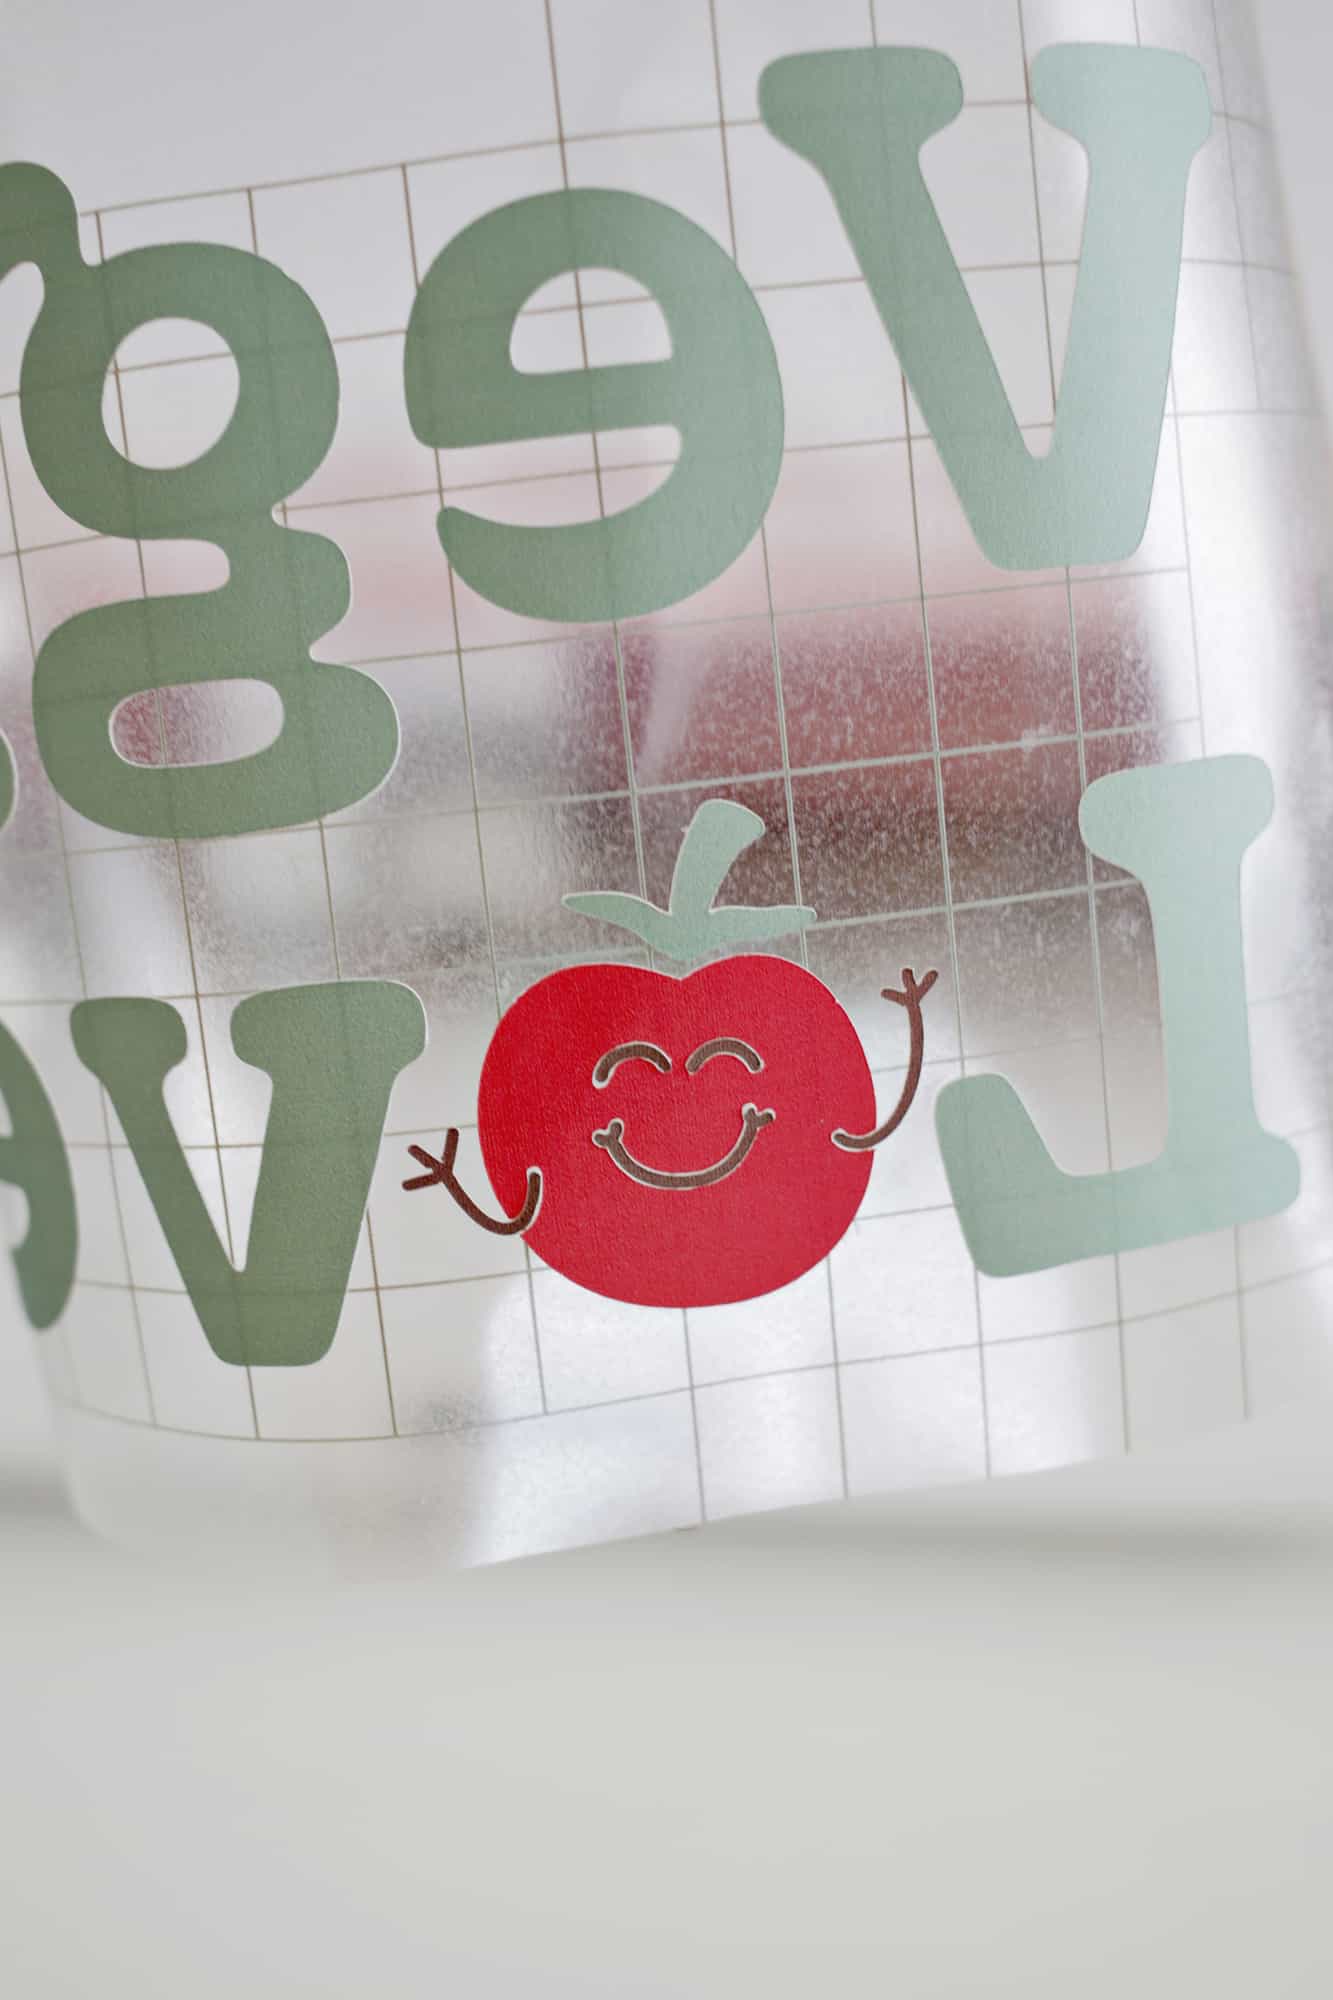
You’ll definitely want to use some tweezer type tools for placing the small arms and eyes, but look how cute they are with their little faces!
 To prep your tote, clean the surface with a lint roller and place some cardstock inside of your tote bag and grab a piece of butcher paper that comes with your ink transfer sheets. Set your EasyPress2 to 385° and 15 seconds, place your butcher paper on your tote and use your EasyPress2 to preheat your fabric where your design will go for 15 seconds. Allow the bag to cool.
Place your design ink side down onto the cooled bag and set your EasyPress2 for 40 seconds. Press your bag for 40 seconds with light pressure and then allow the bag to cool completely. 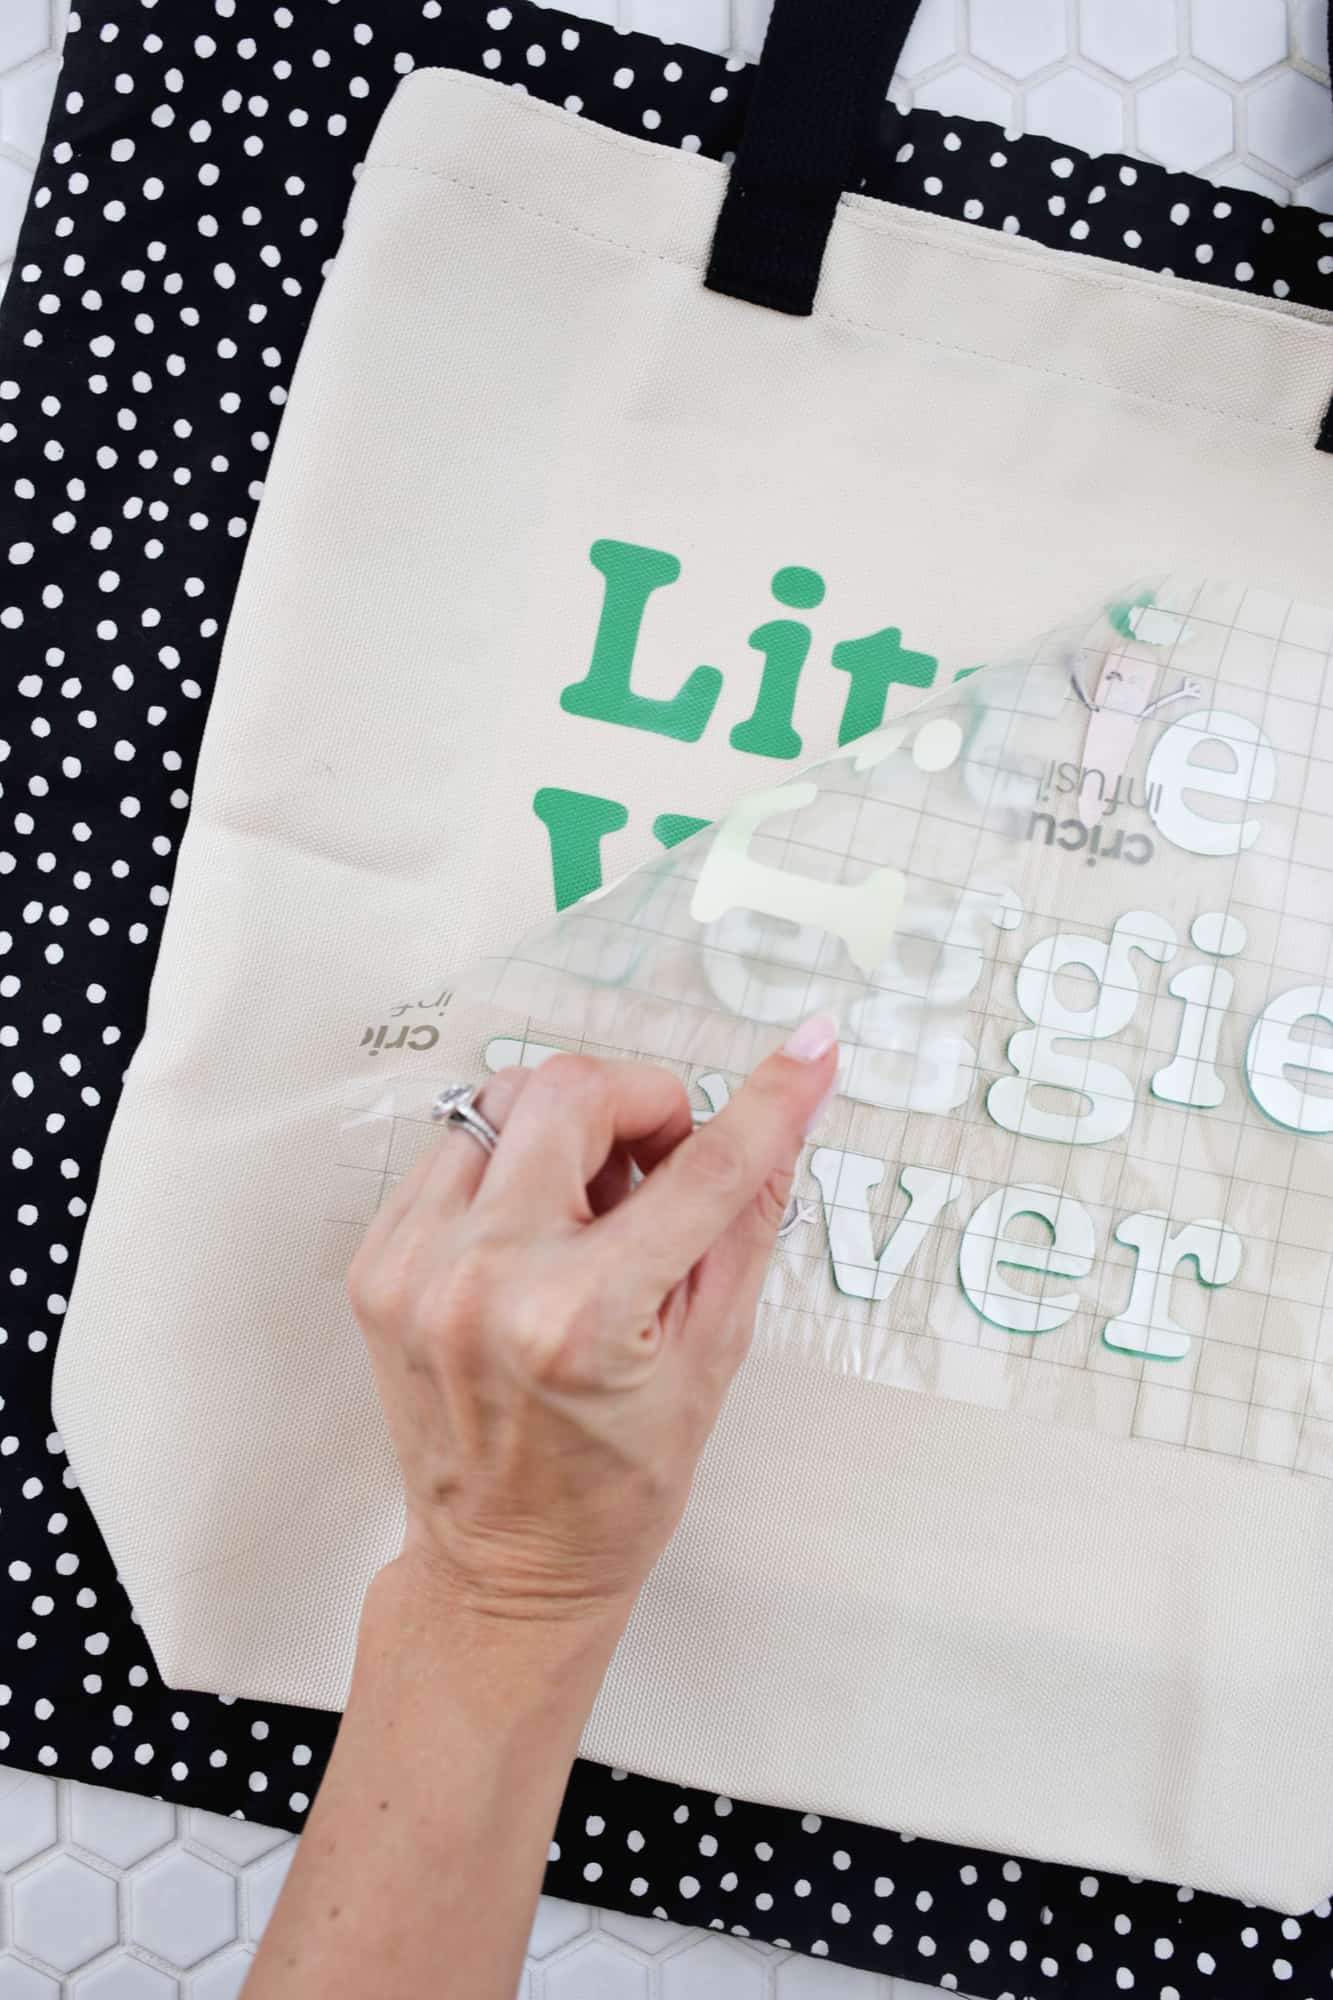 Once cool, remove the paper and peel off the backing to reveal your design underneath! If a piece sticks to the bag, remove it with tweezers rather than your fingers to avoid smudging the ink. Once your design is revealed, you’re done!
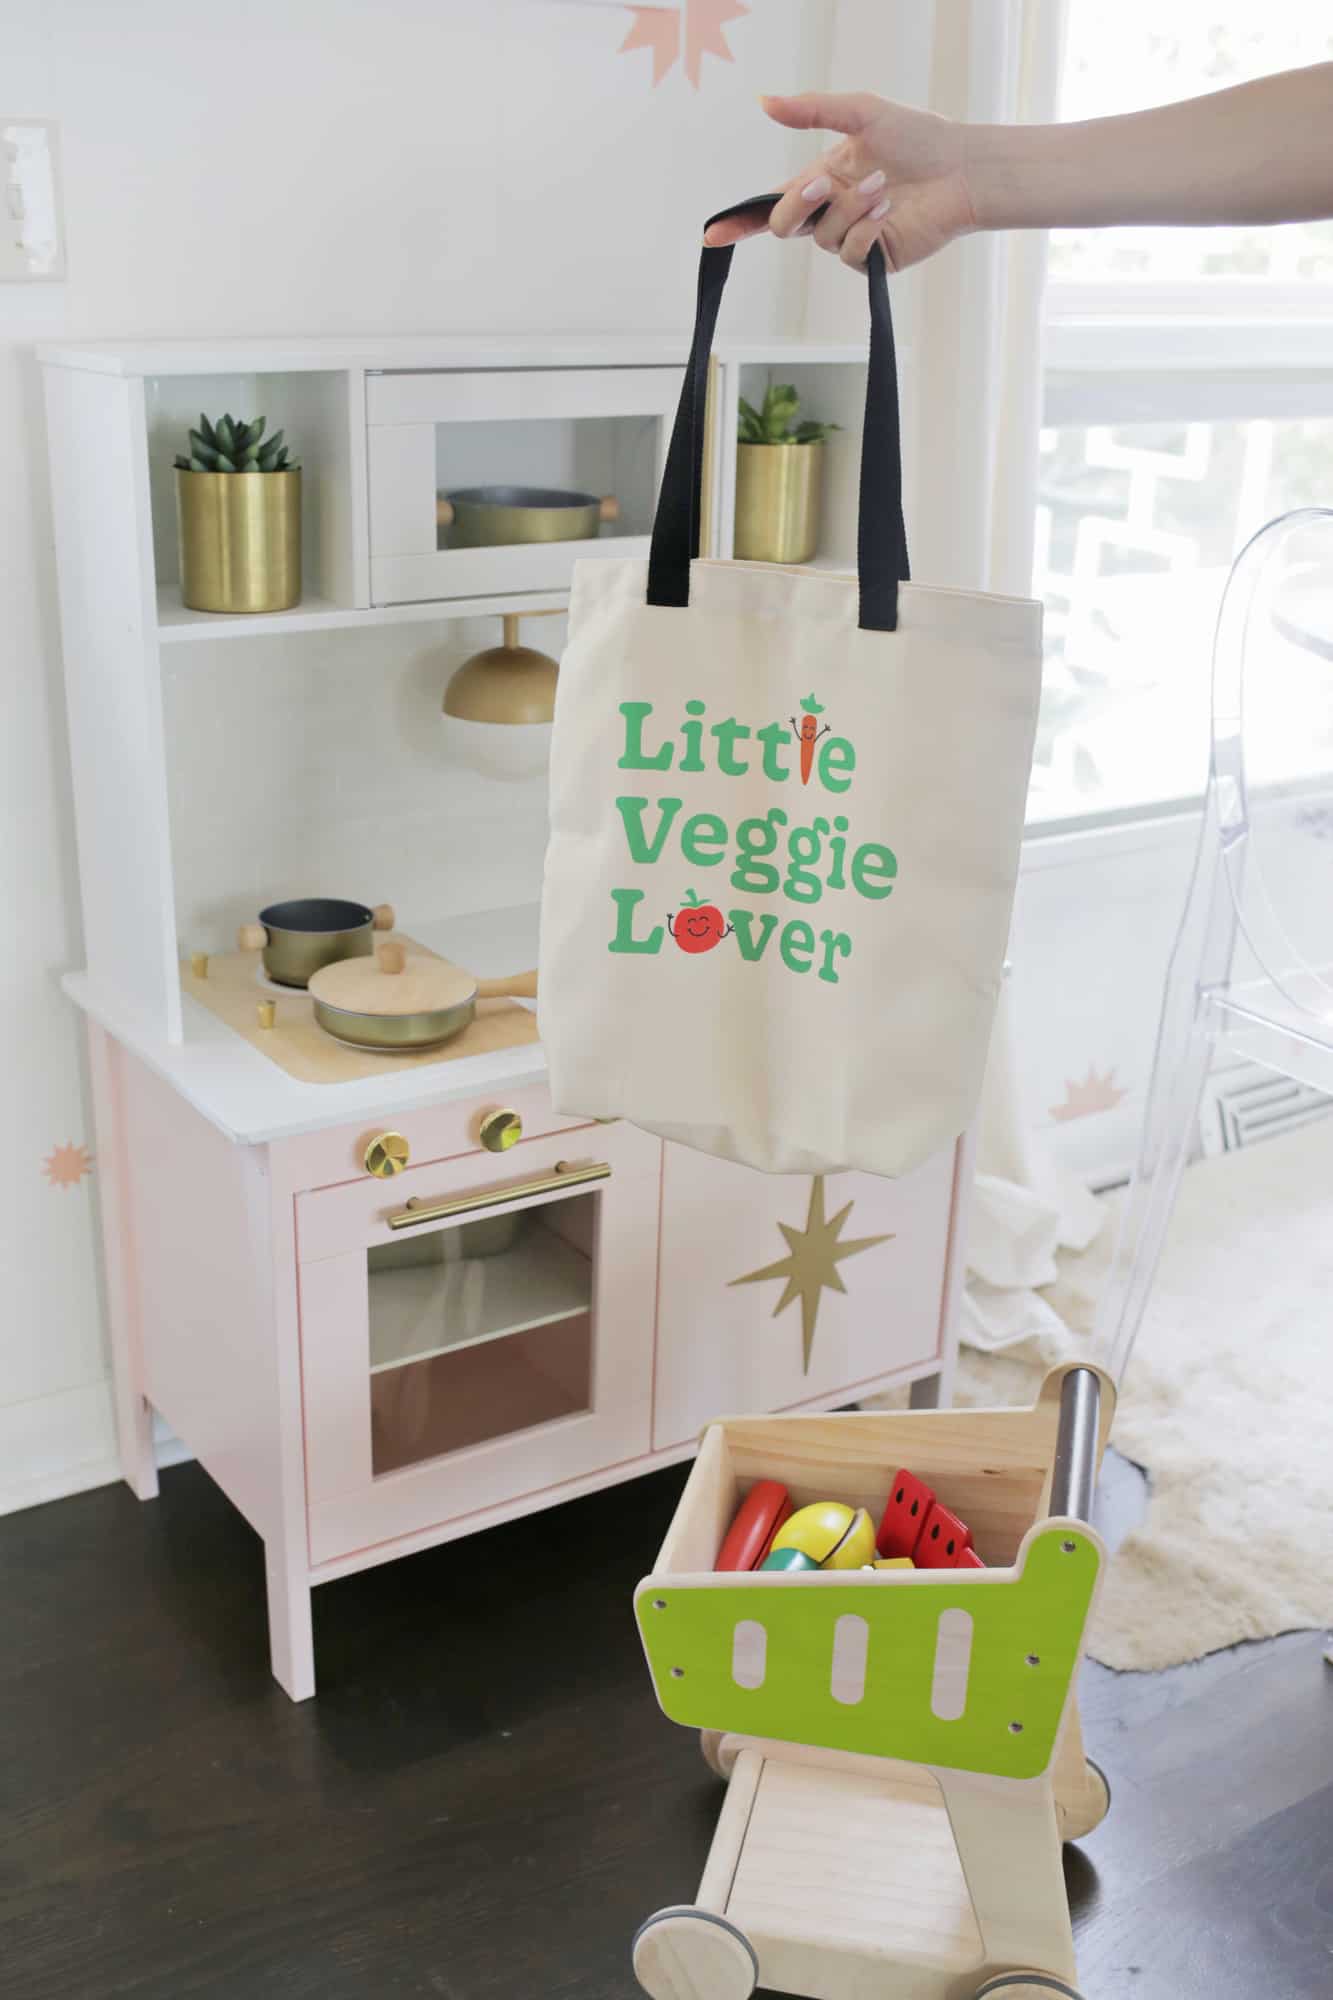
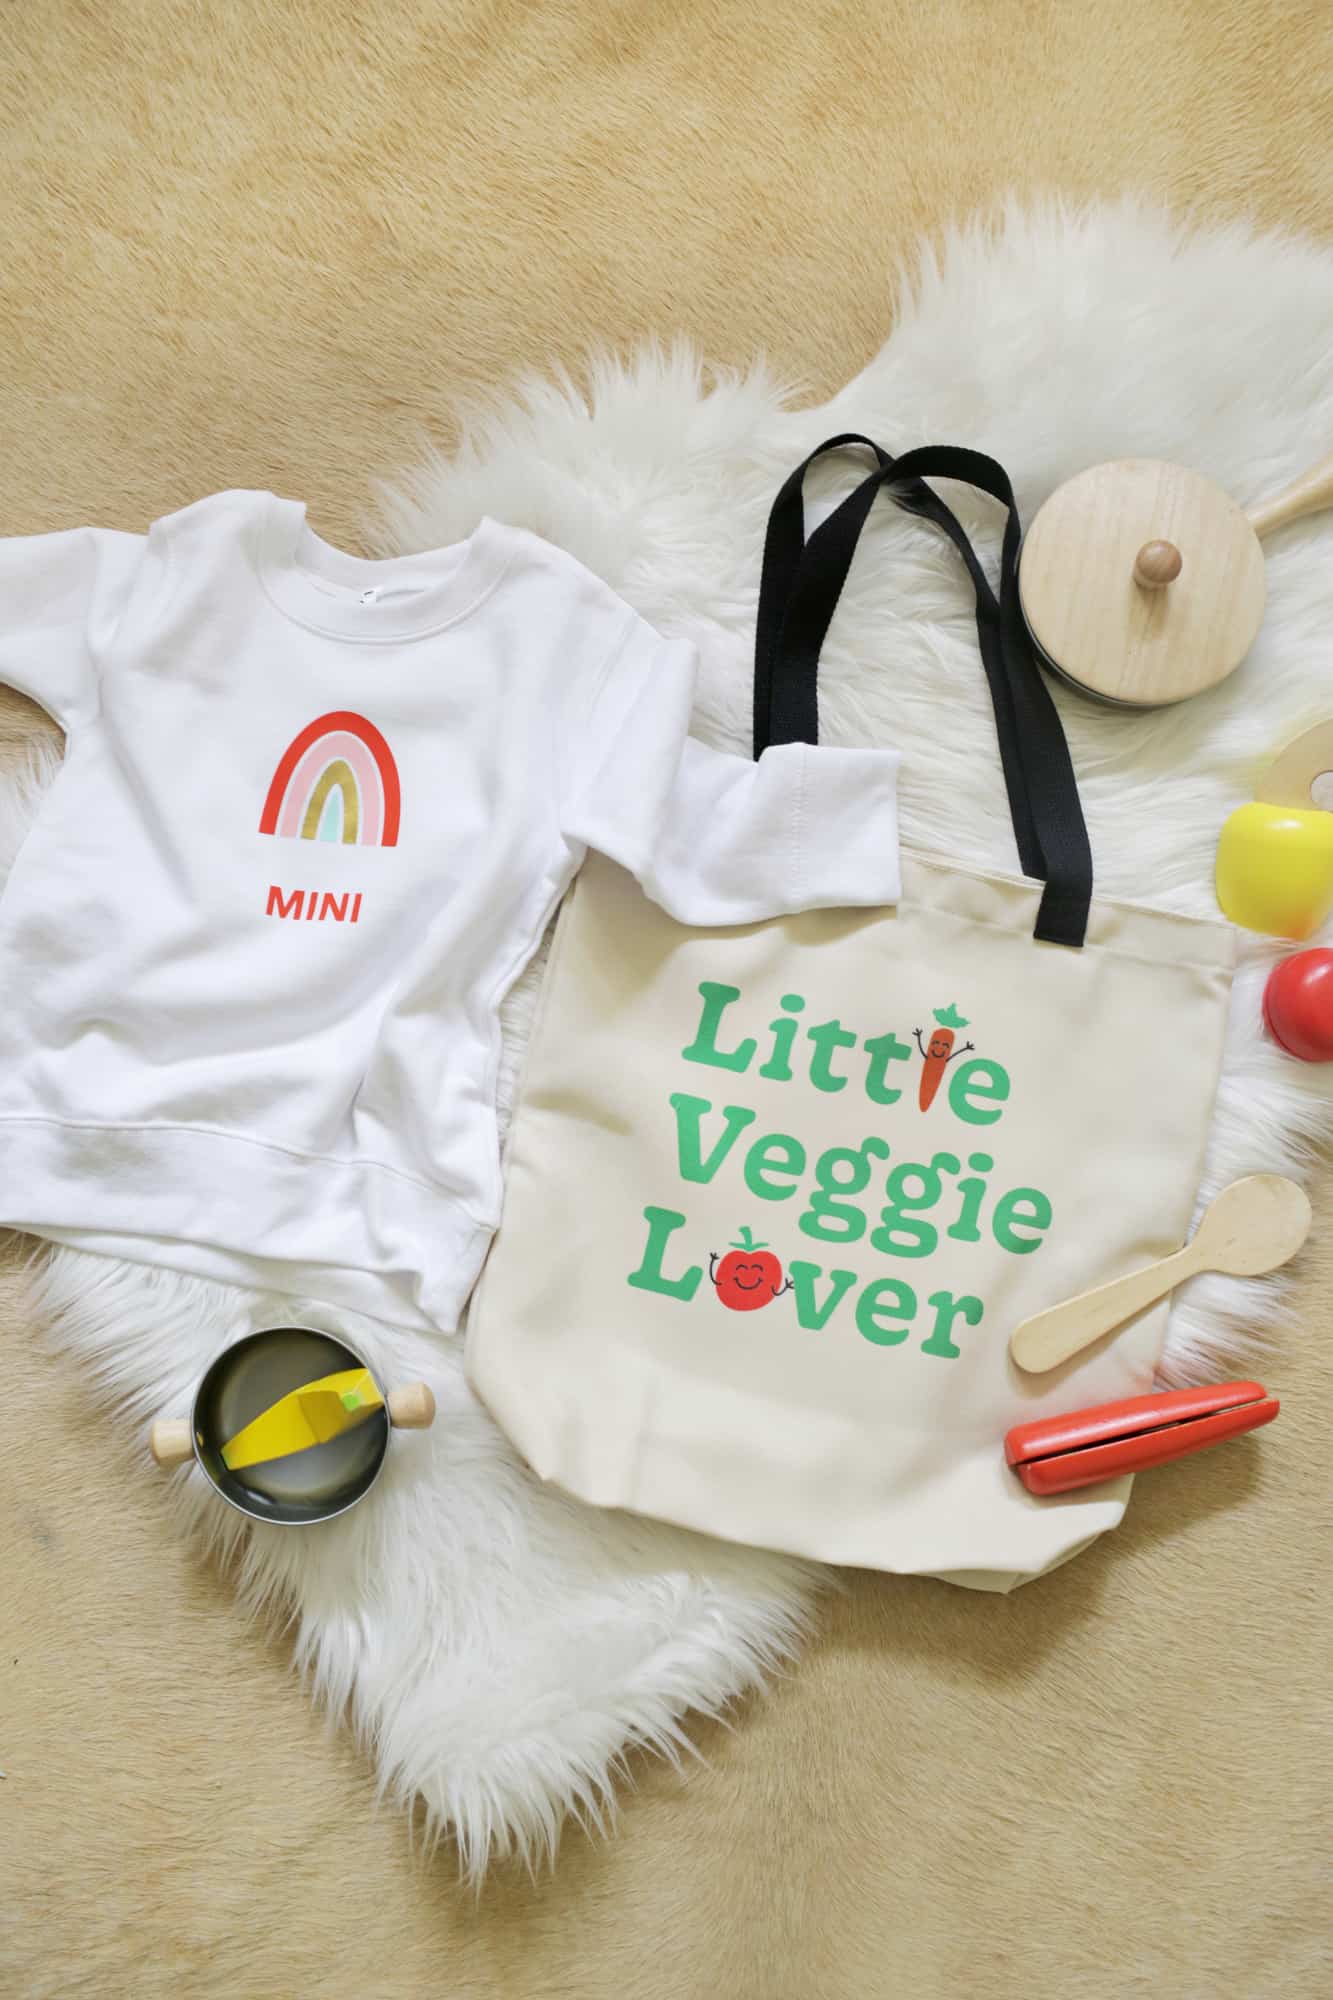
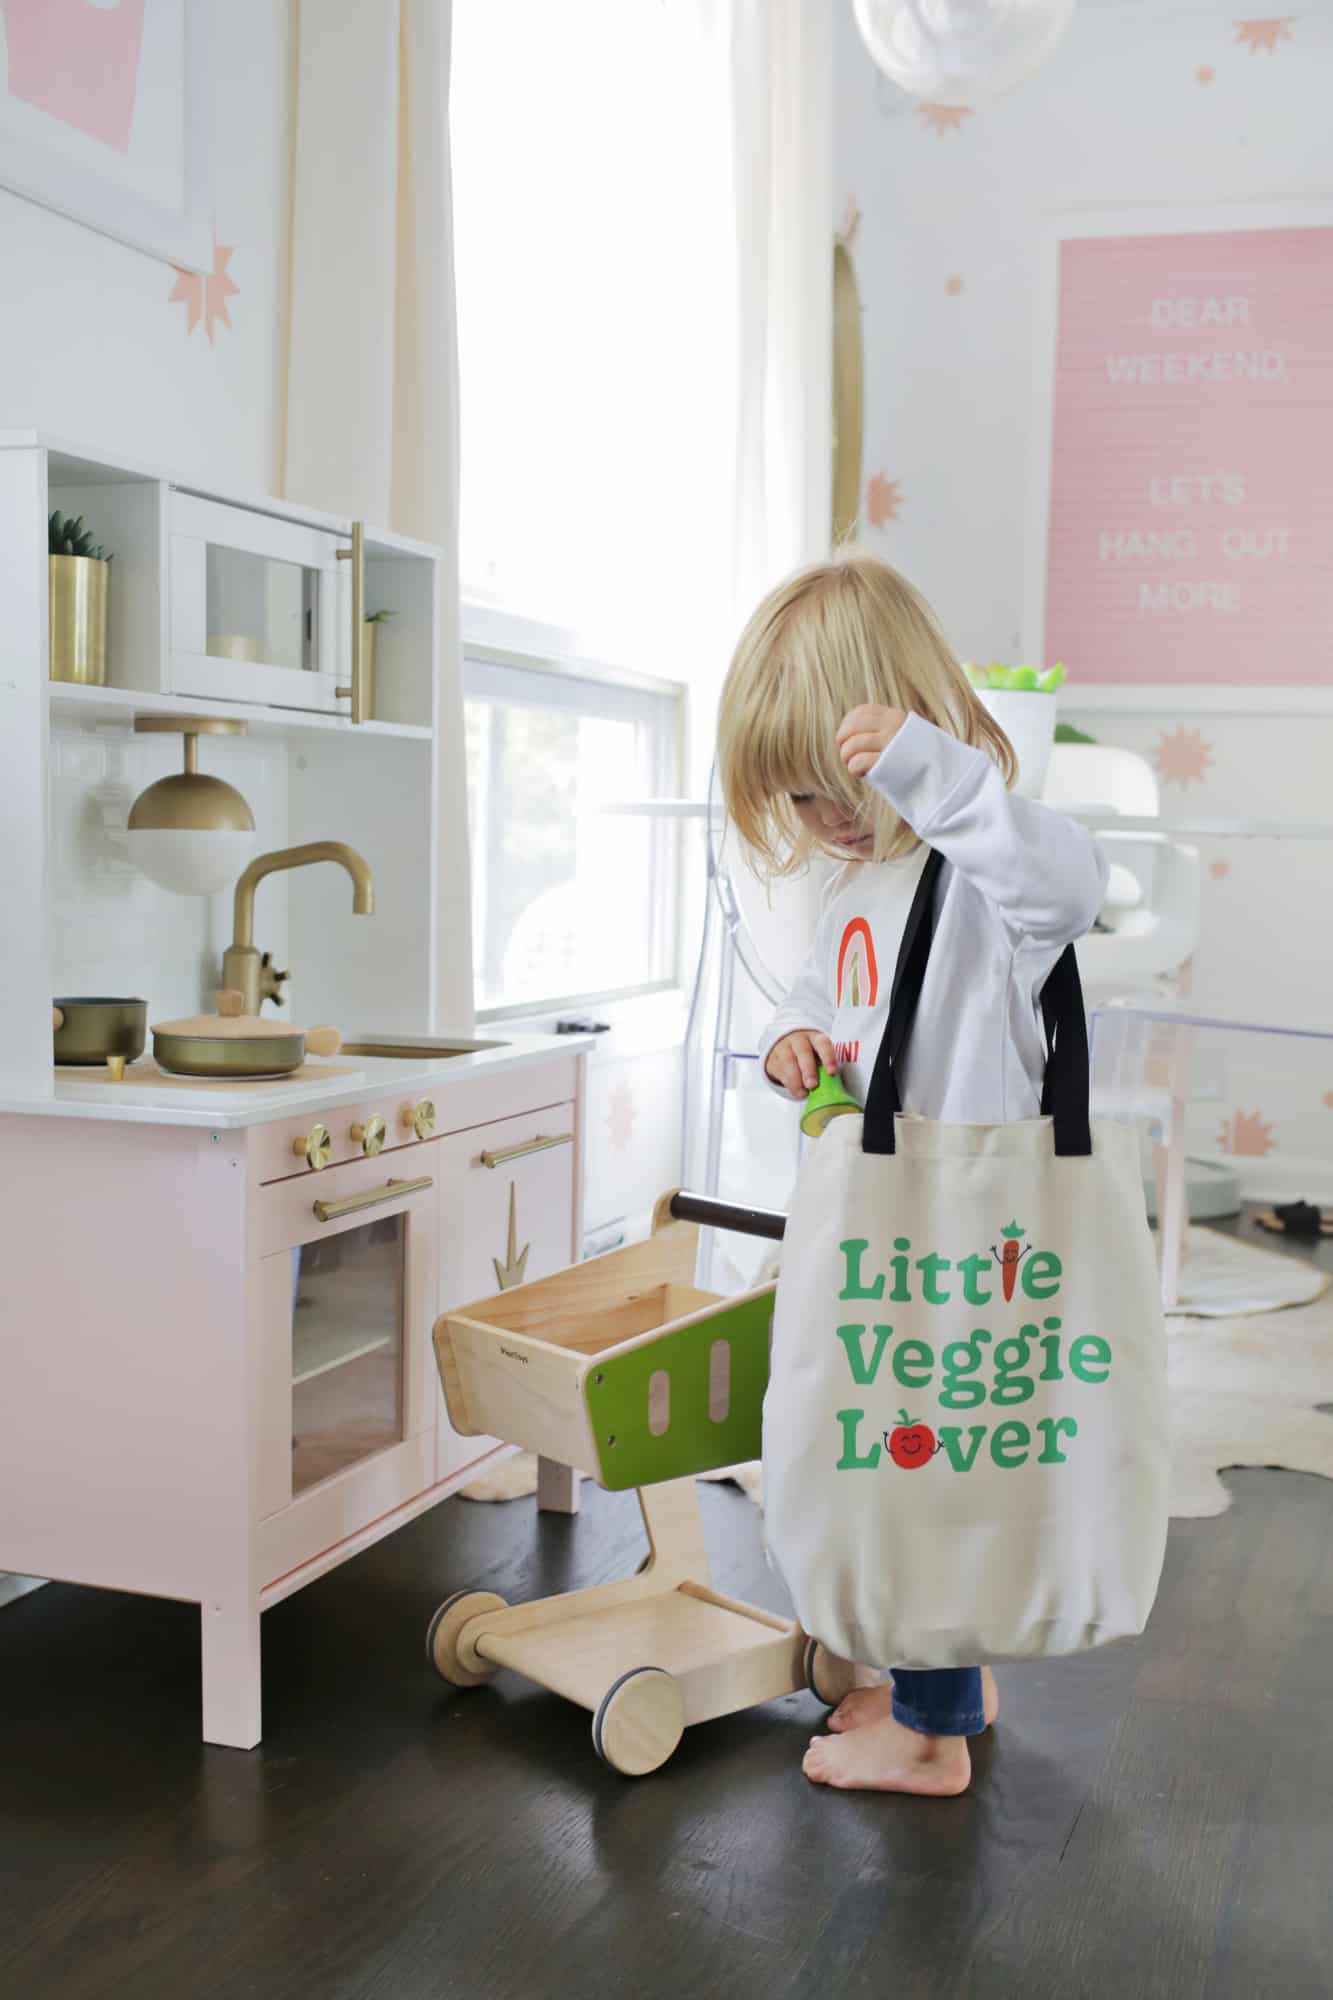
It really is amazing how the ink literally infuses itself into the bag and becomes a part of the material—it’s like magic! Since I had the Cricut out, I also made Lola a little sweatshirt with the design from our matching jacket DIY, which turned out adorable. For the sweatshirt I used an iron-on instead of the infusible ink- just to make sure the bases were compatible. I love that Lola now has a durable bag that she can use at the grocery store to help (or to play grocery store here at home) and that design with the happy veggies is juuuuust too cute! Here’s to happy shopping trips for all! xo. Laura
5 Comments
Awww, I love this! I never knew it was so easy to DIY a tote as well! ❤️✨
Charmaine Ng | Architecture & Lifestyle Blog
http://charmainenyw.com
This is such a cute project! I’ve never used a Cricut before, but now I think I need one!
Laura
http://www.laurelandfern.com
That Lola is too cute! My 14-month-old is at the age where she does not want to be in the cart anymore, but isn’t quite walking yet either. Still trying to figure out how to best deal with this new stage. Her own shopping bag seems like a great idea when she’s a bit older! Thanks for sharing!
Hope it helps keep her busy!
Laura
If you love this, but are a little shocked by the price of the infusable ink transfers, try making a freezer paper stencil with your cutter! I use heat-transfer tape when I make my stencil so I can iron on all the little, detailed pieces without a bunch of fuss. (Learned how from a bunch of glorious YouTube videos!)