 For some of you, scrunchies may be the new trend. But for others of us, it’s a pretty big blast from the past. Scrunchies did double duty in my day as you could either wear it in your hair, or wear it on your arm as a bracelet, just waiting for that big moment when you might actually need it for your hair. It’s fun to see the trend come back in a new way and one of the things that I’ve loved seeing (which were maybe around in my day—I just don’t remember having one) are the bow scrunchies! You can make your own and customize the fabric choice and also how wide a bow you want or how long you want the tails to be to suit your wardrobe and style …
 Supplies:
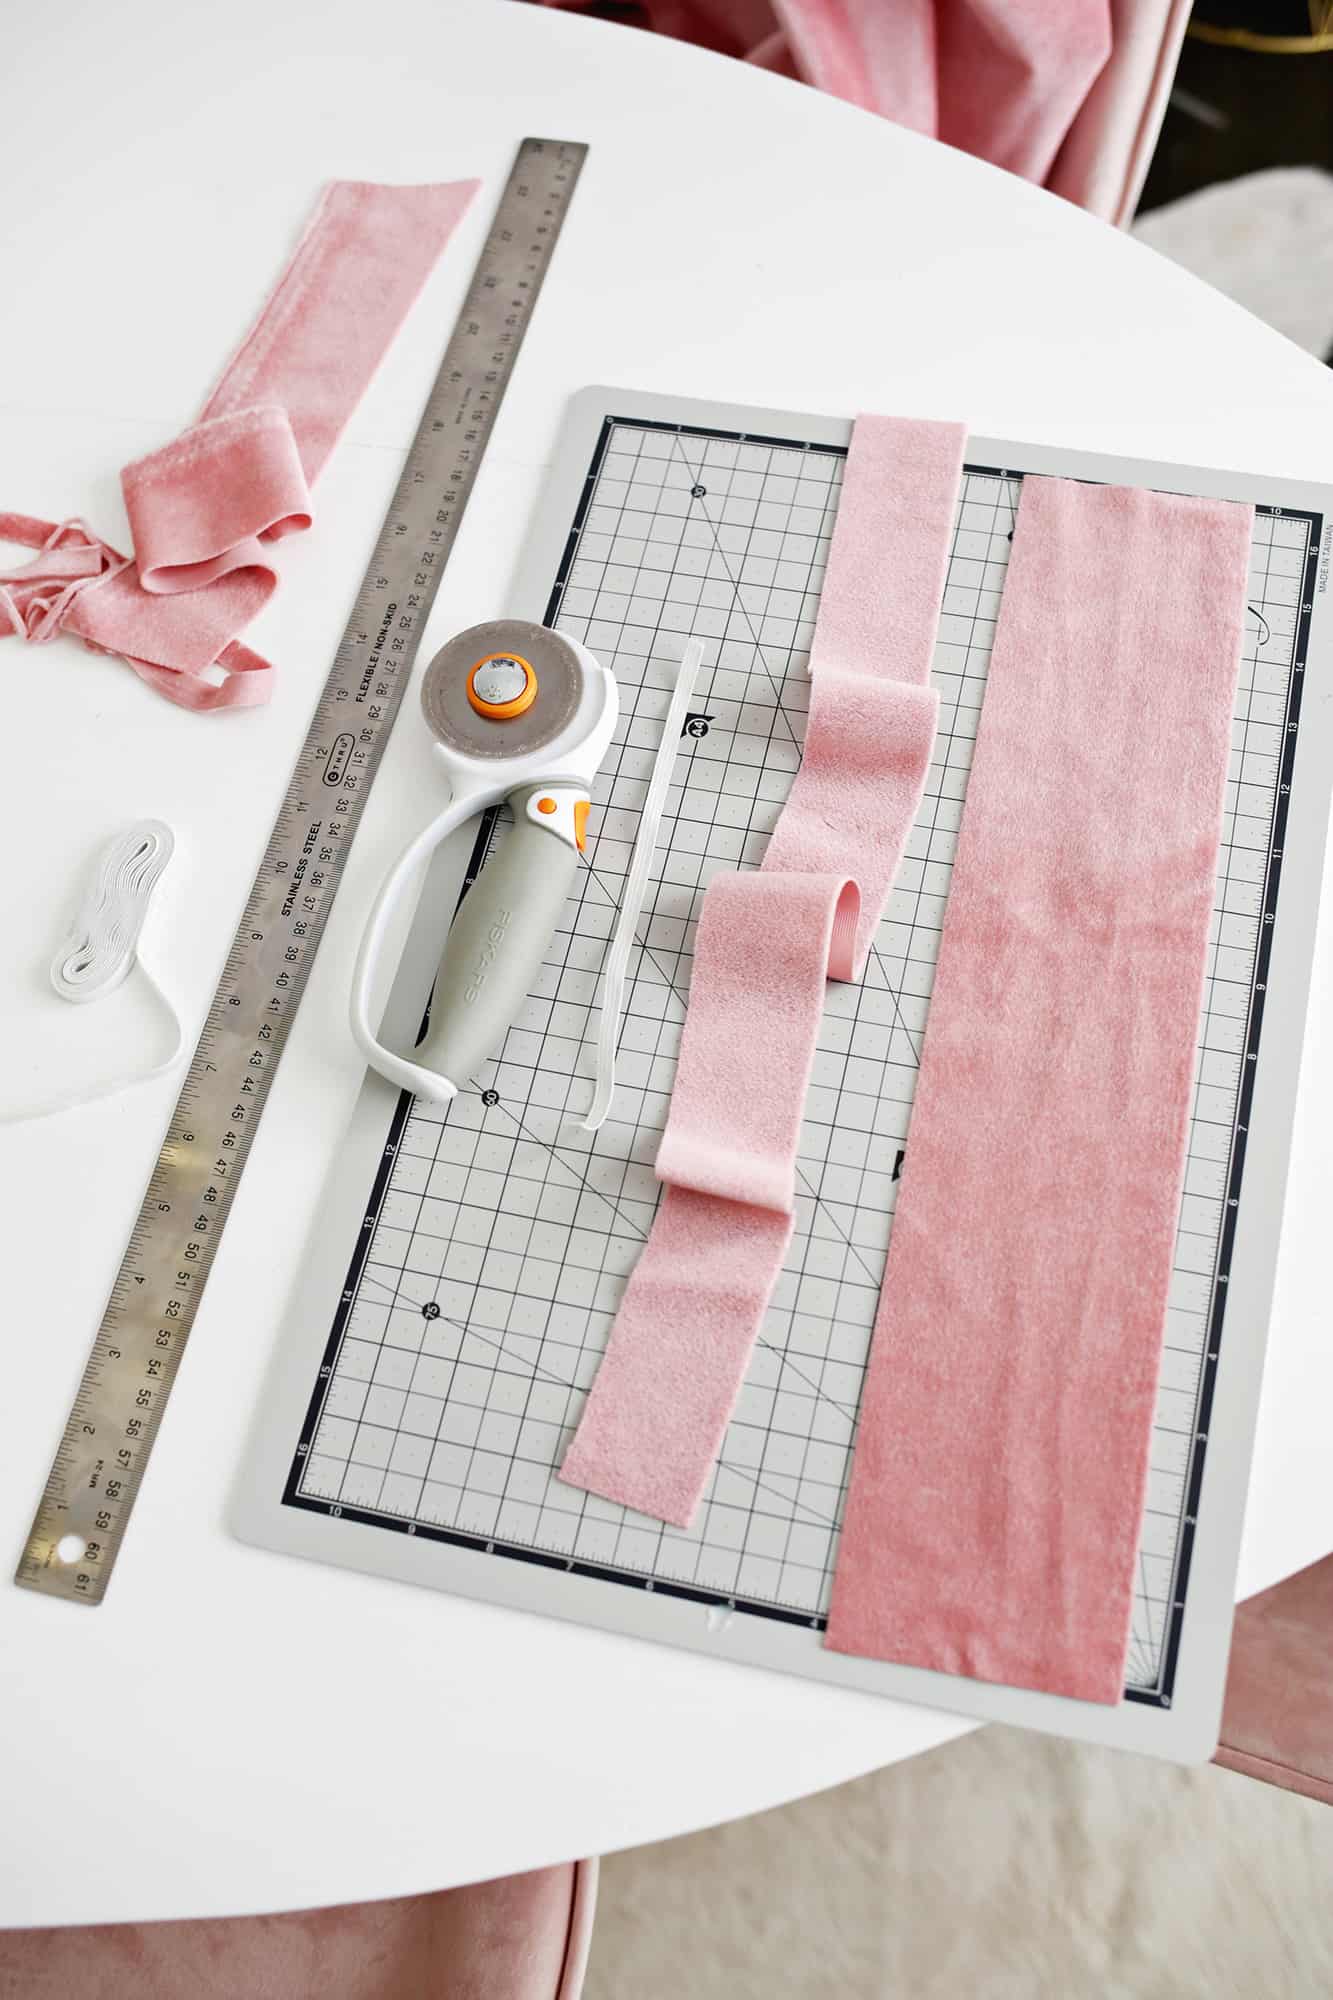
-small amount of non-stretch fabric (I used a non-stretch velvet)
-fabric scissors
-sewing machine
-straight pins
-1/4″ elastic
-safety pin
First, you’ll want to cut out a rectangle of velvet that is 3.5″ x 18″ for your scrunchie and another long strip that is 2.5″ x 25″ for your bow.
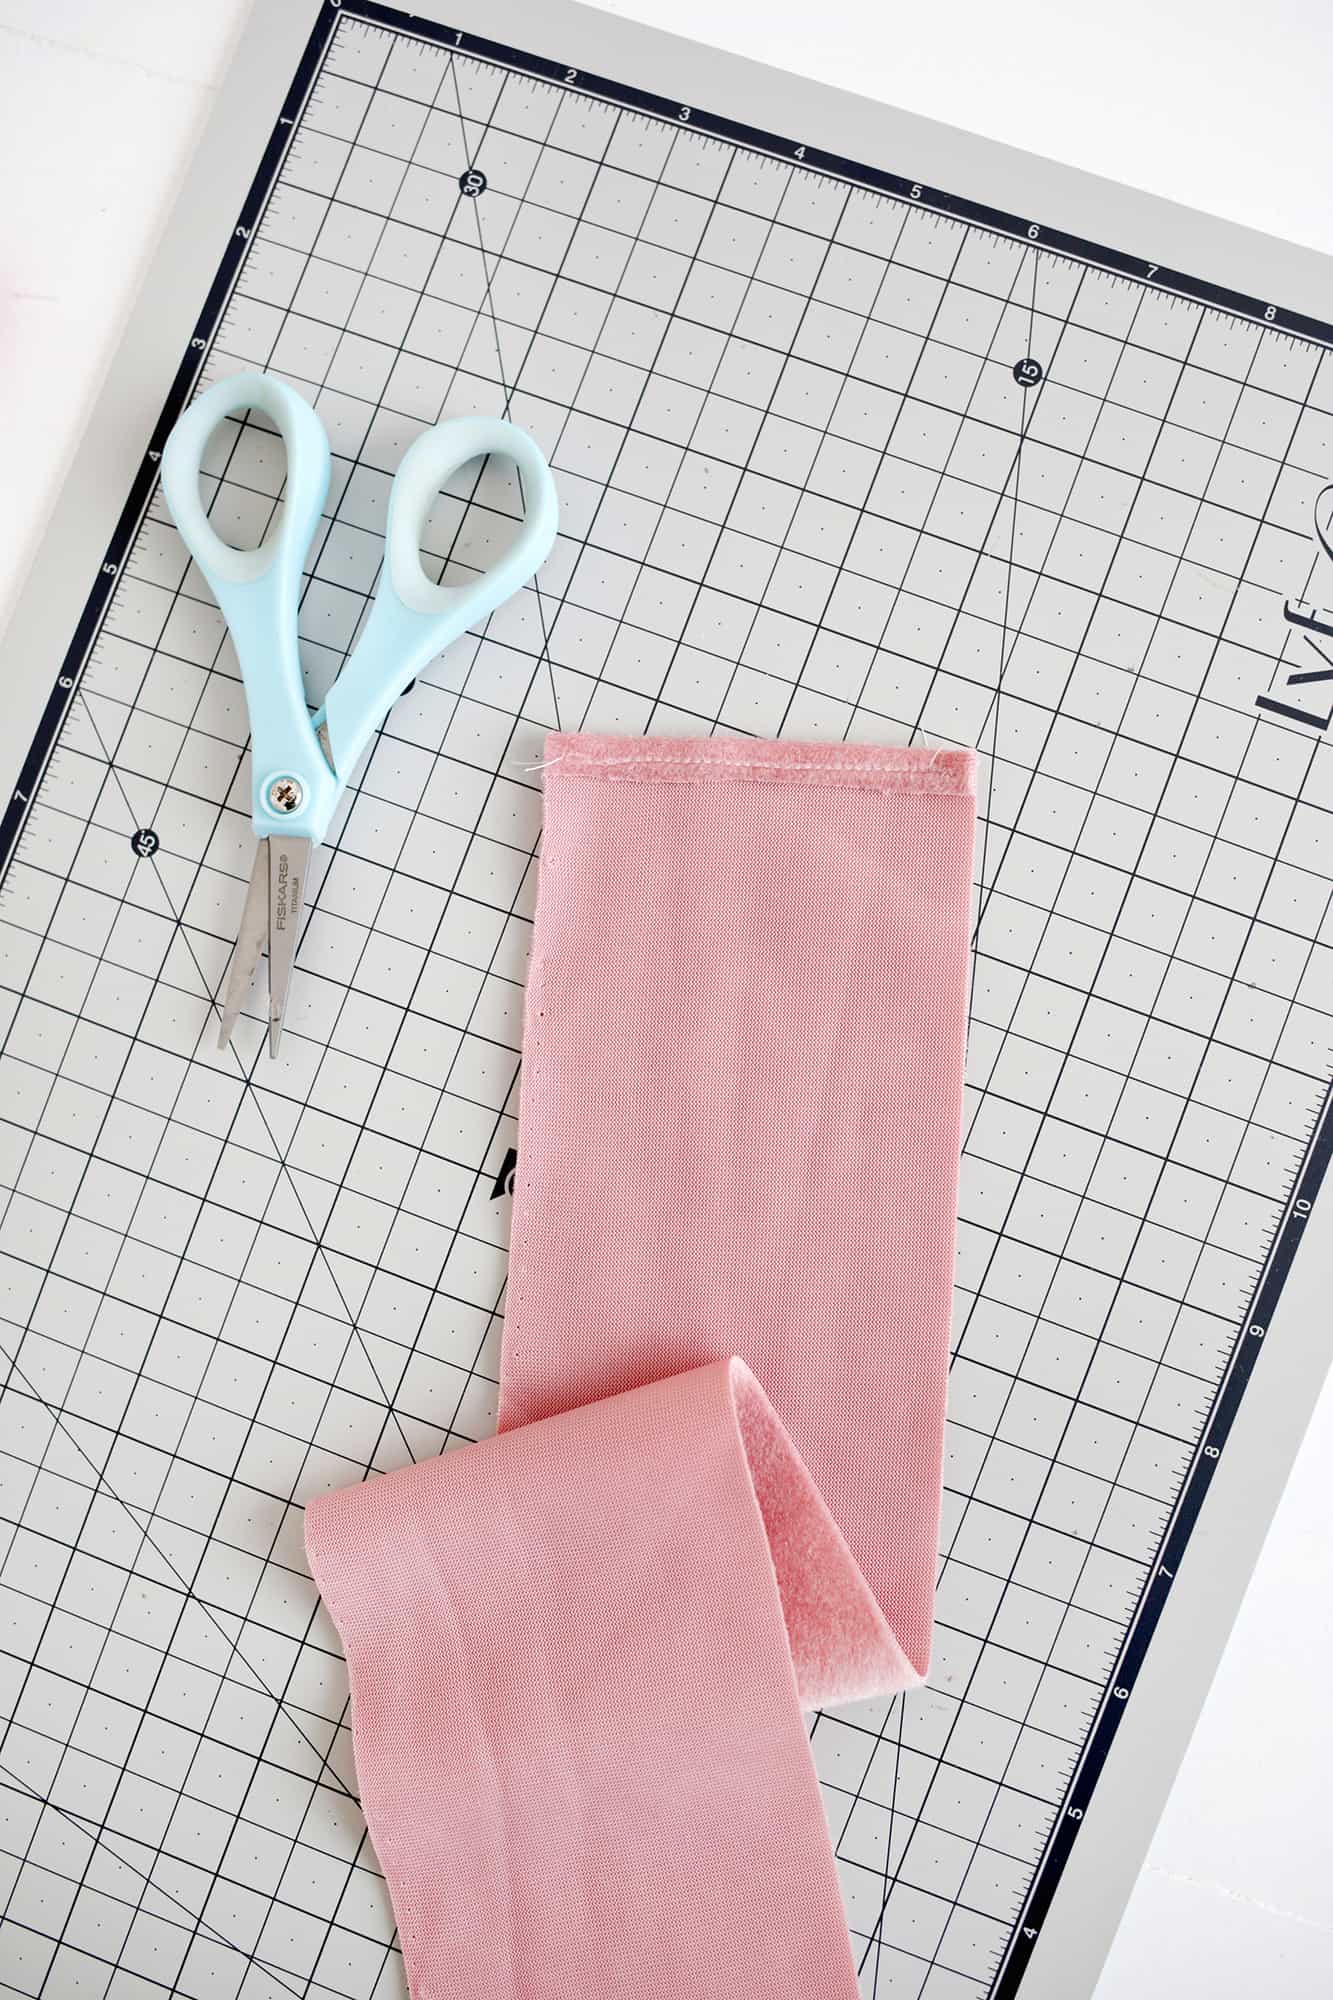 Fold over the top 1/4″ inch of your rectangle and sew flat to create a finished edge.
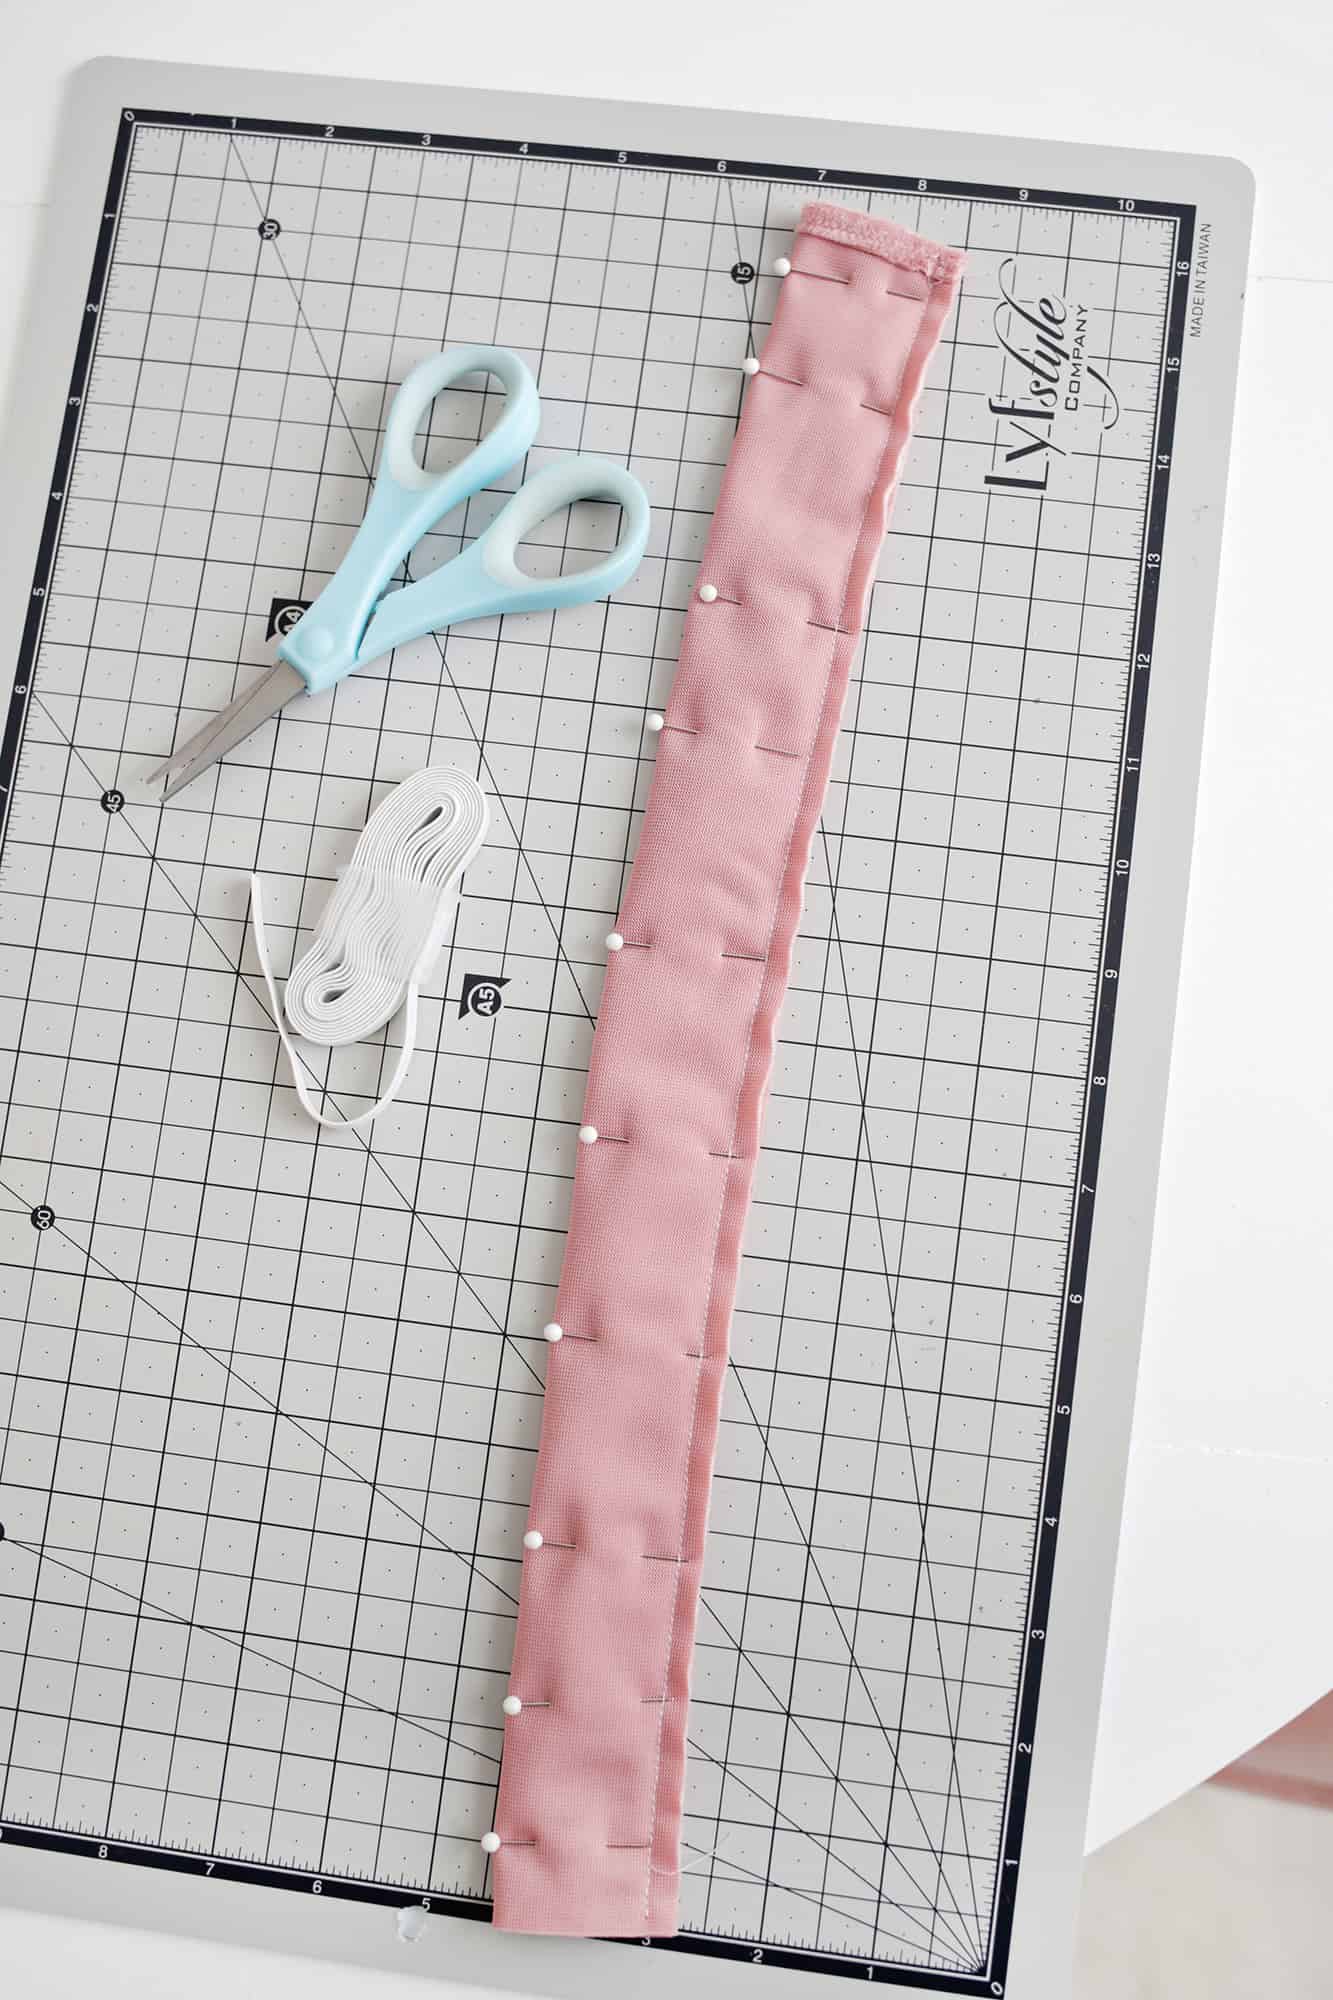 Fold your scrunchie rectangle in half lengthwise, right sides together, and pin the open side closed with pins. Sew down the open side with a 1/4″ seam allowance so that you create a tube.
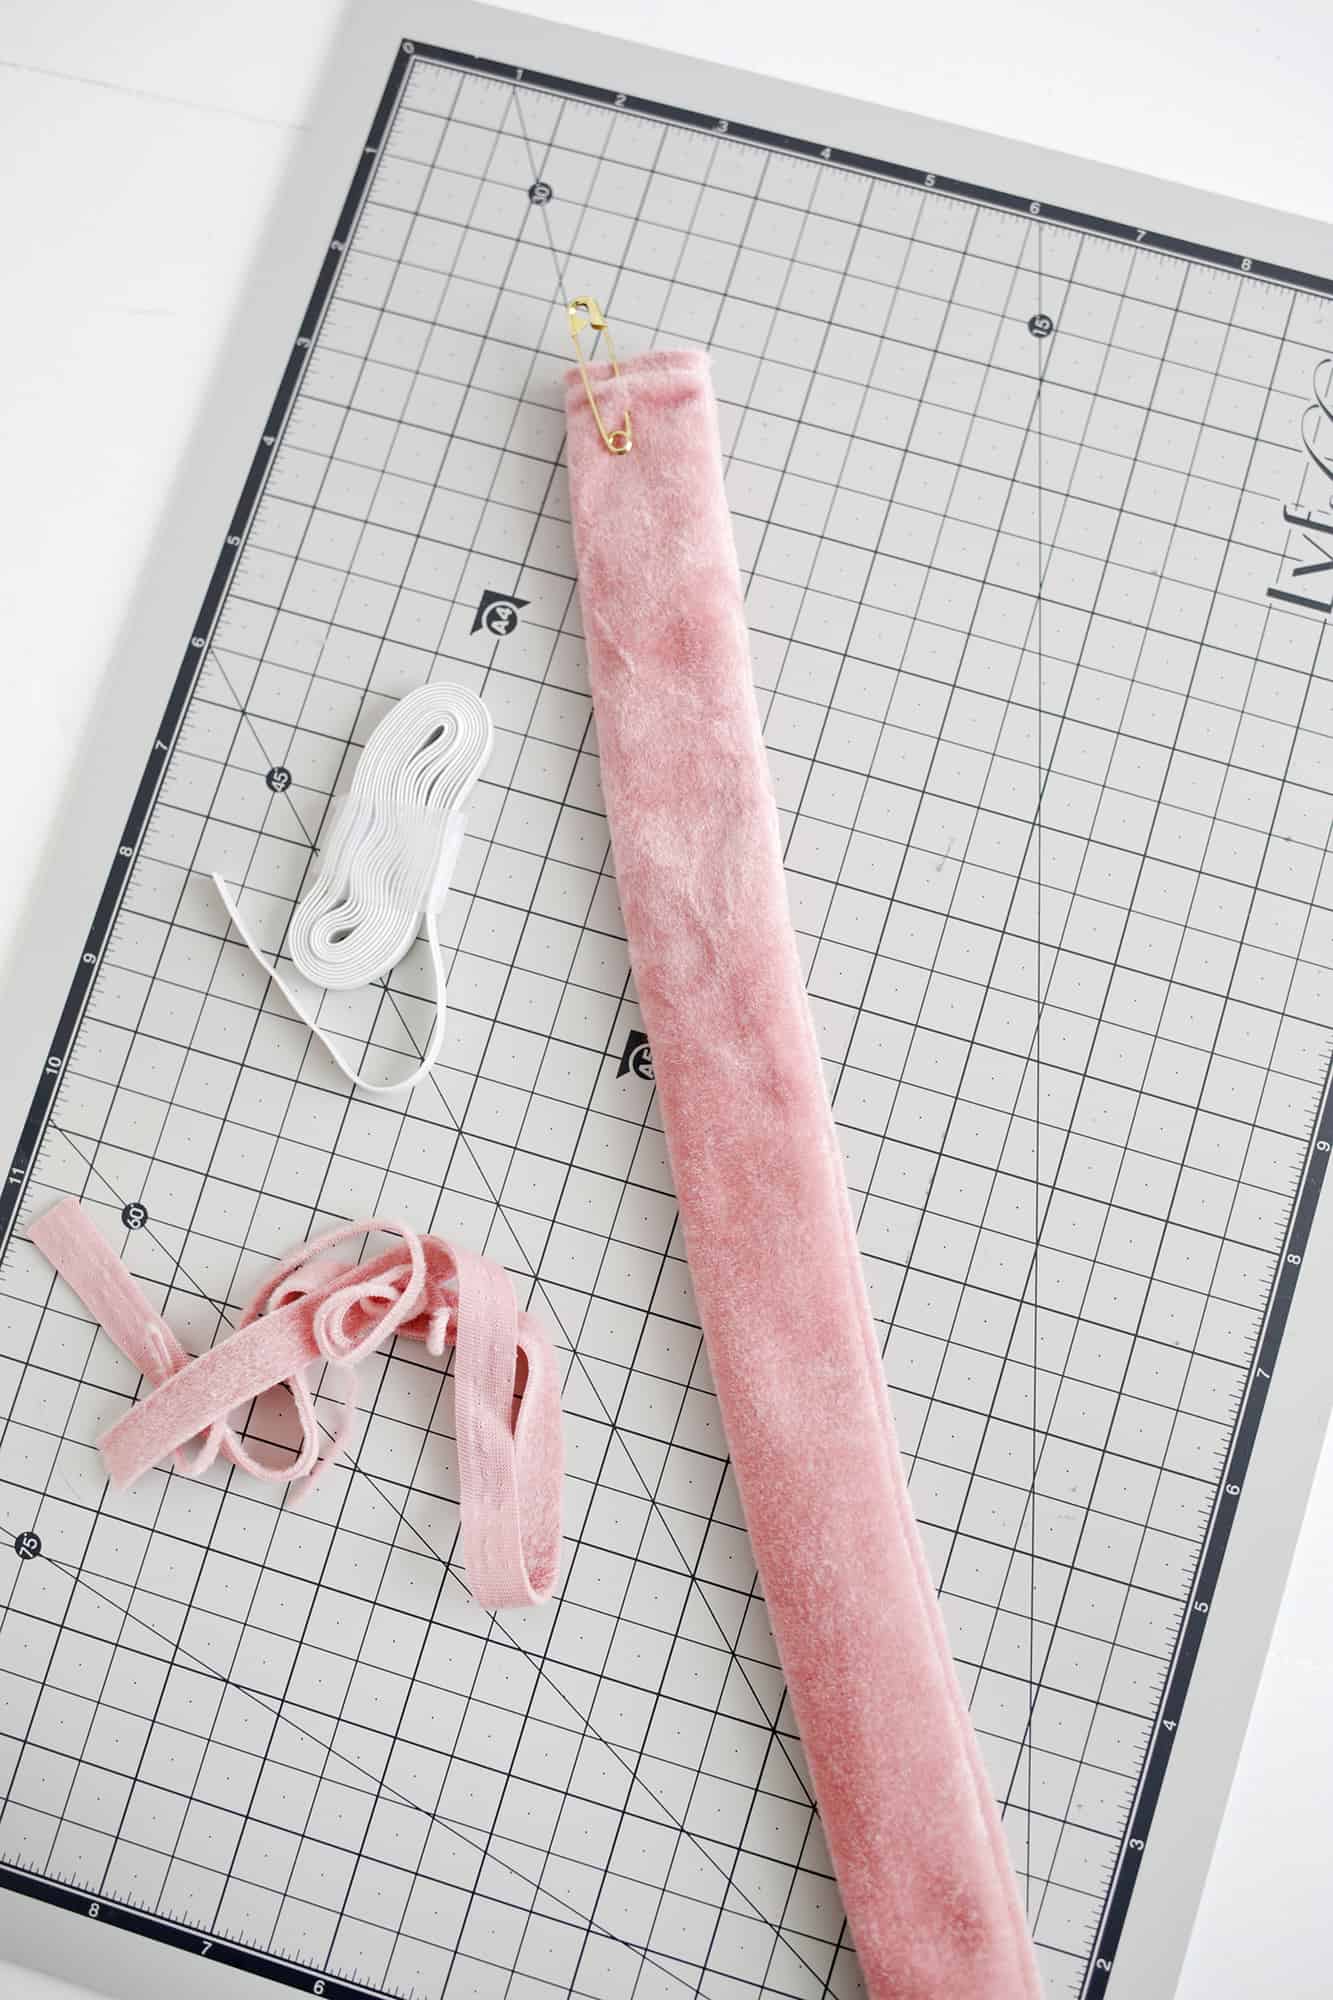 Turn the tube right side out by pinning a safety pin to one end and feeding the pin through the tube until it comes out the other end and your tube is right side out.
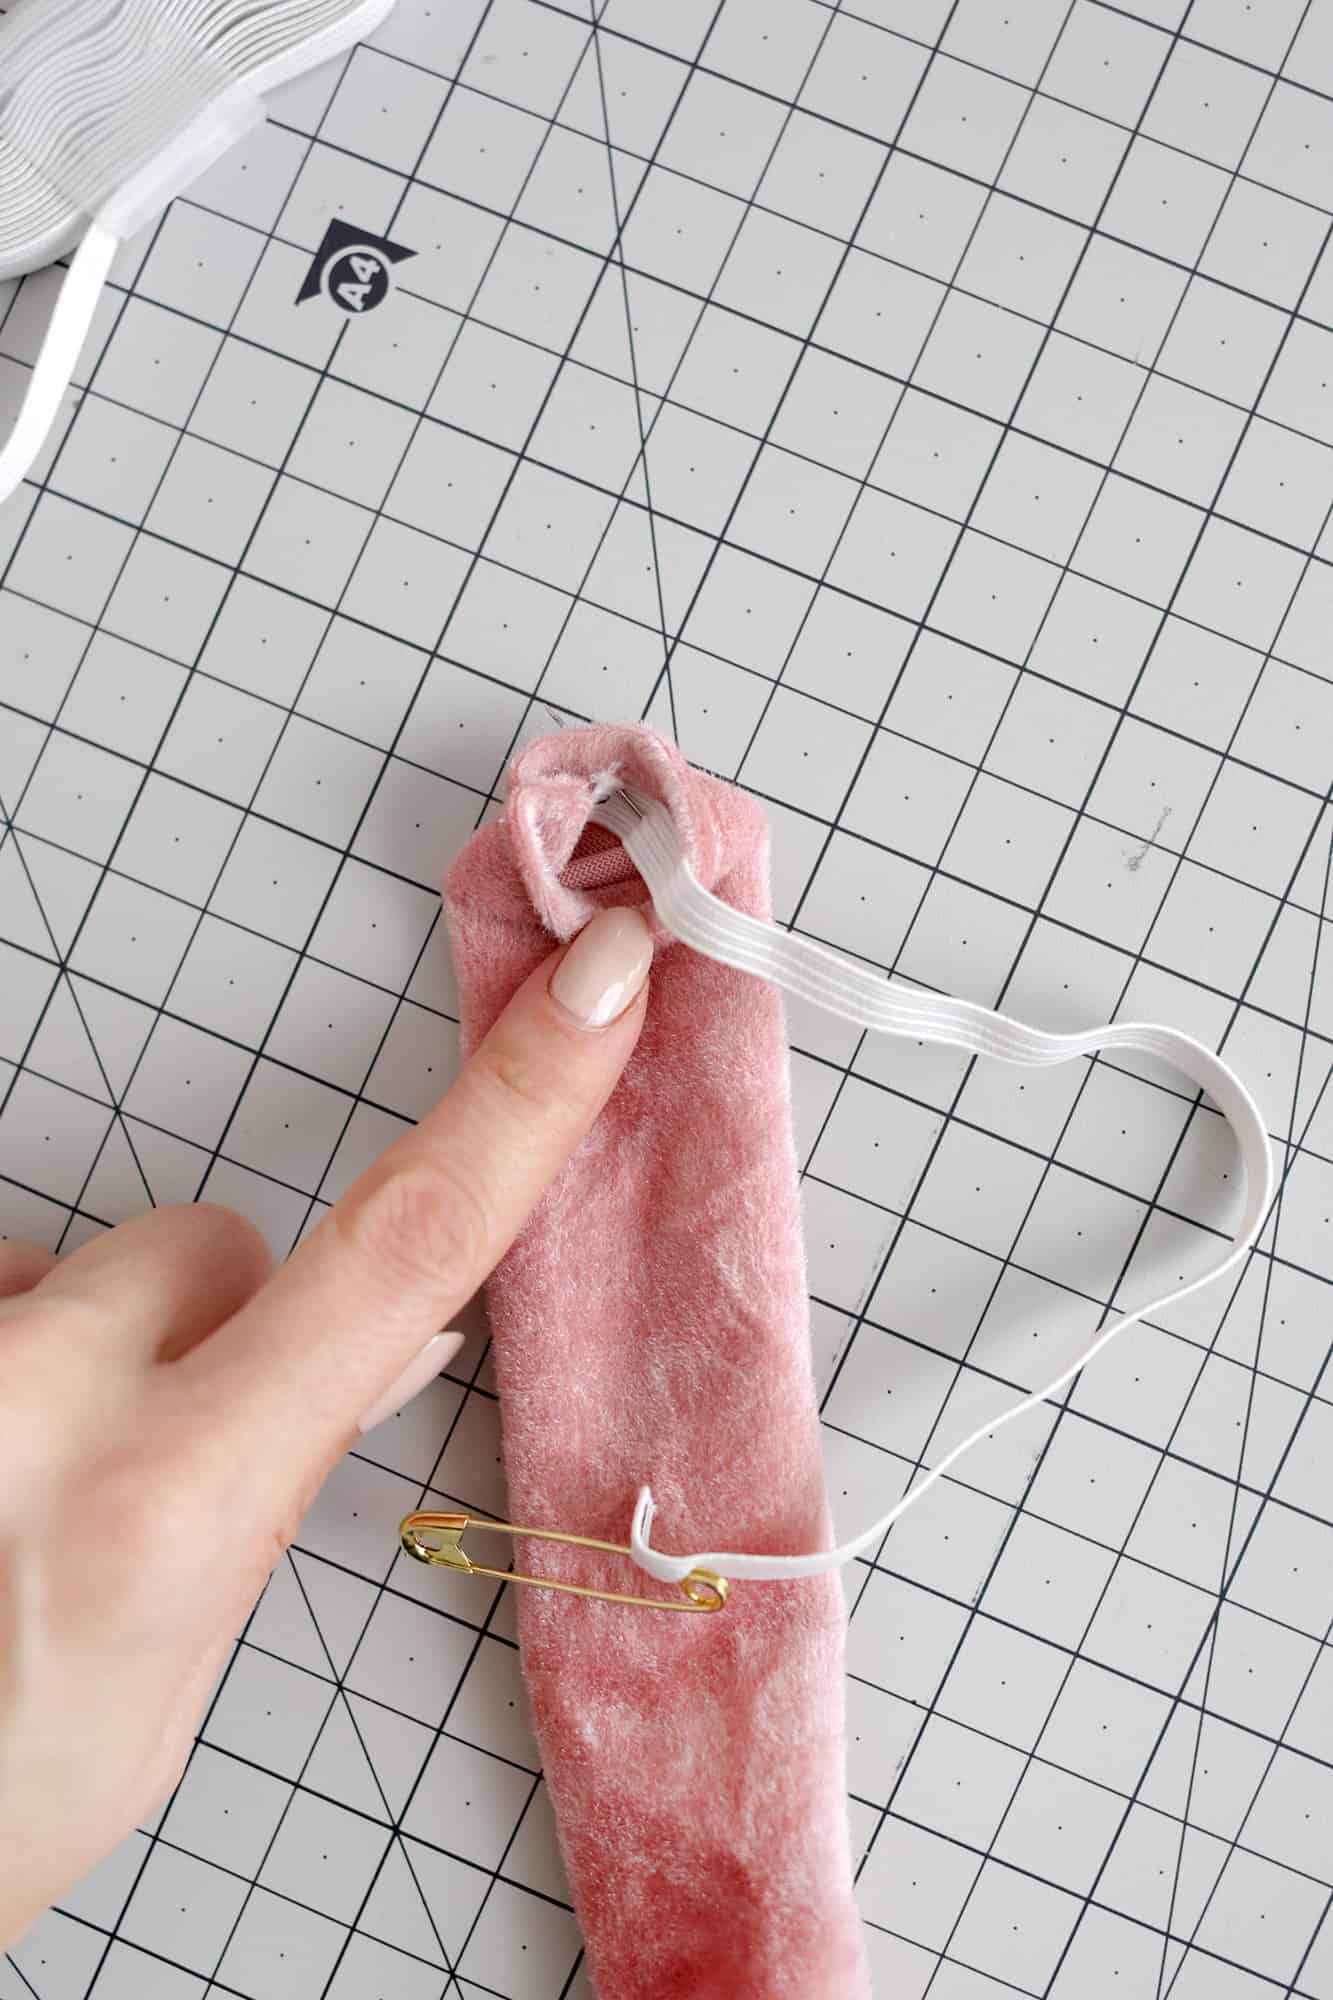 Cut a piece of elastic 8″ long. Use a safety pin at one end of the elastic to thread it through the tube and come out the other side (just feel around to make sure the elastic didn’t twist in the tube during the process).
 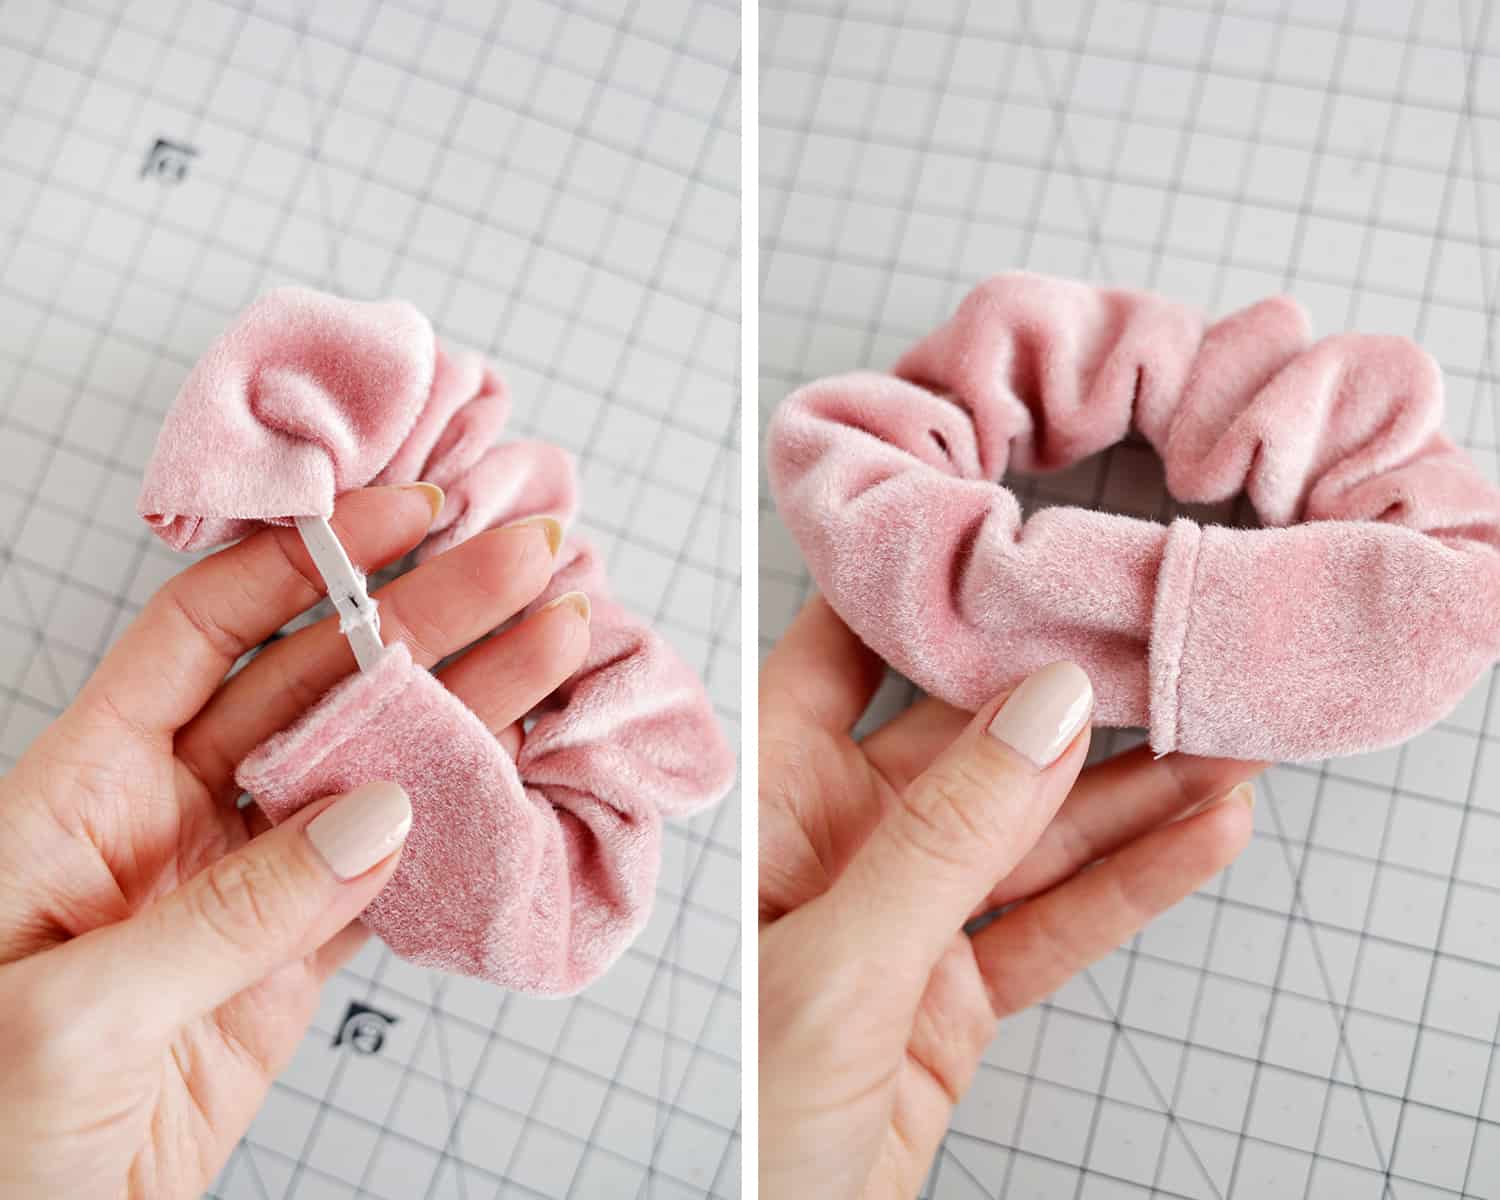 Sew the ends of your elastic together. Tuck your unfinished scrunchie edge into your finished edge and pin them flat together.
 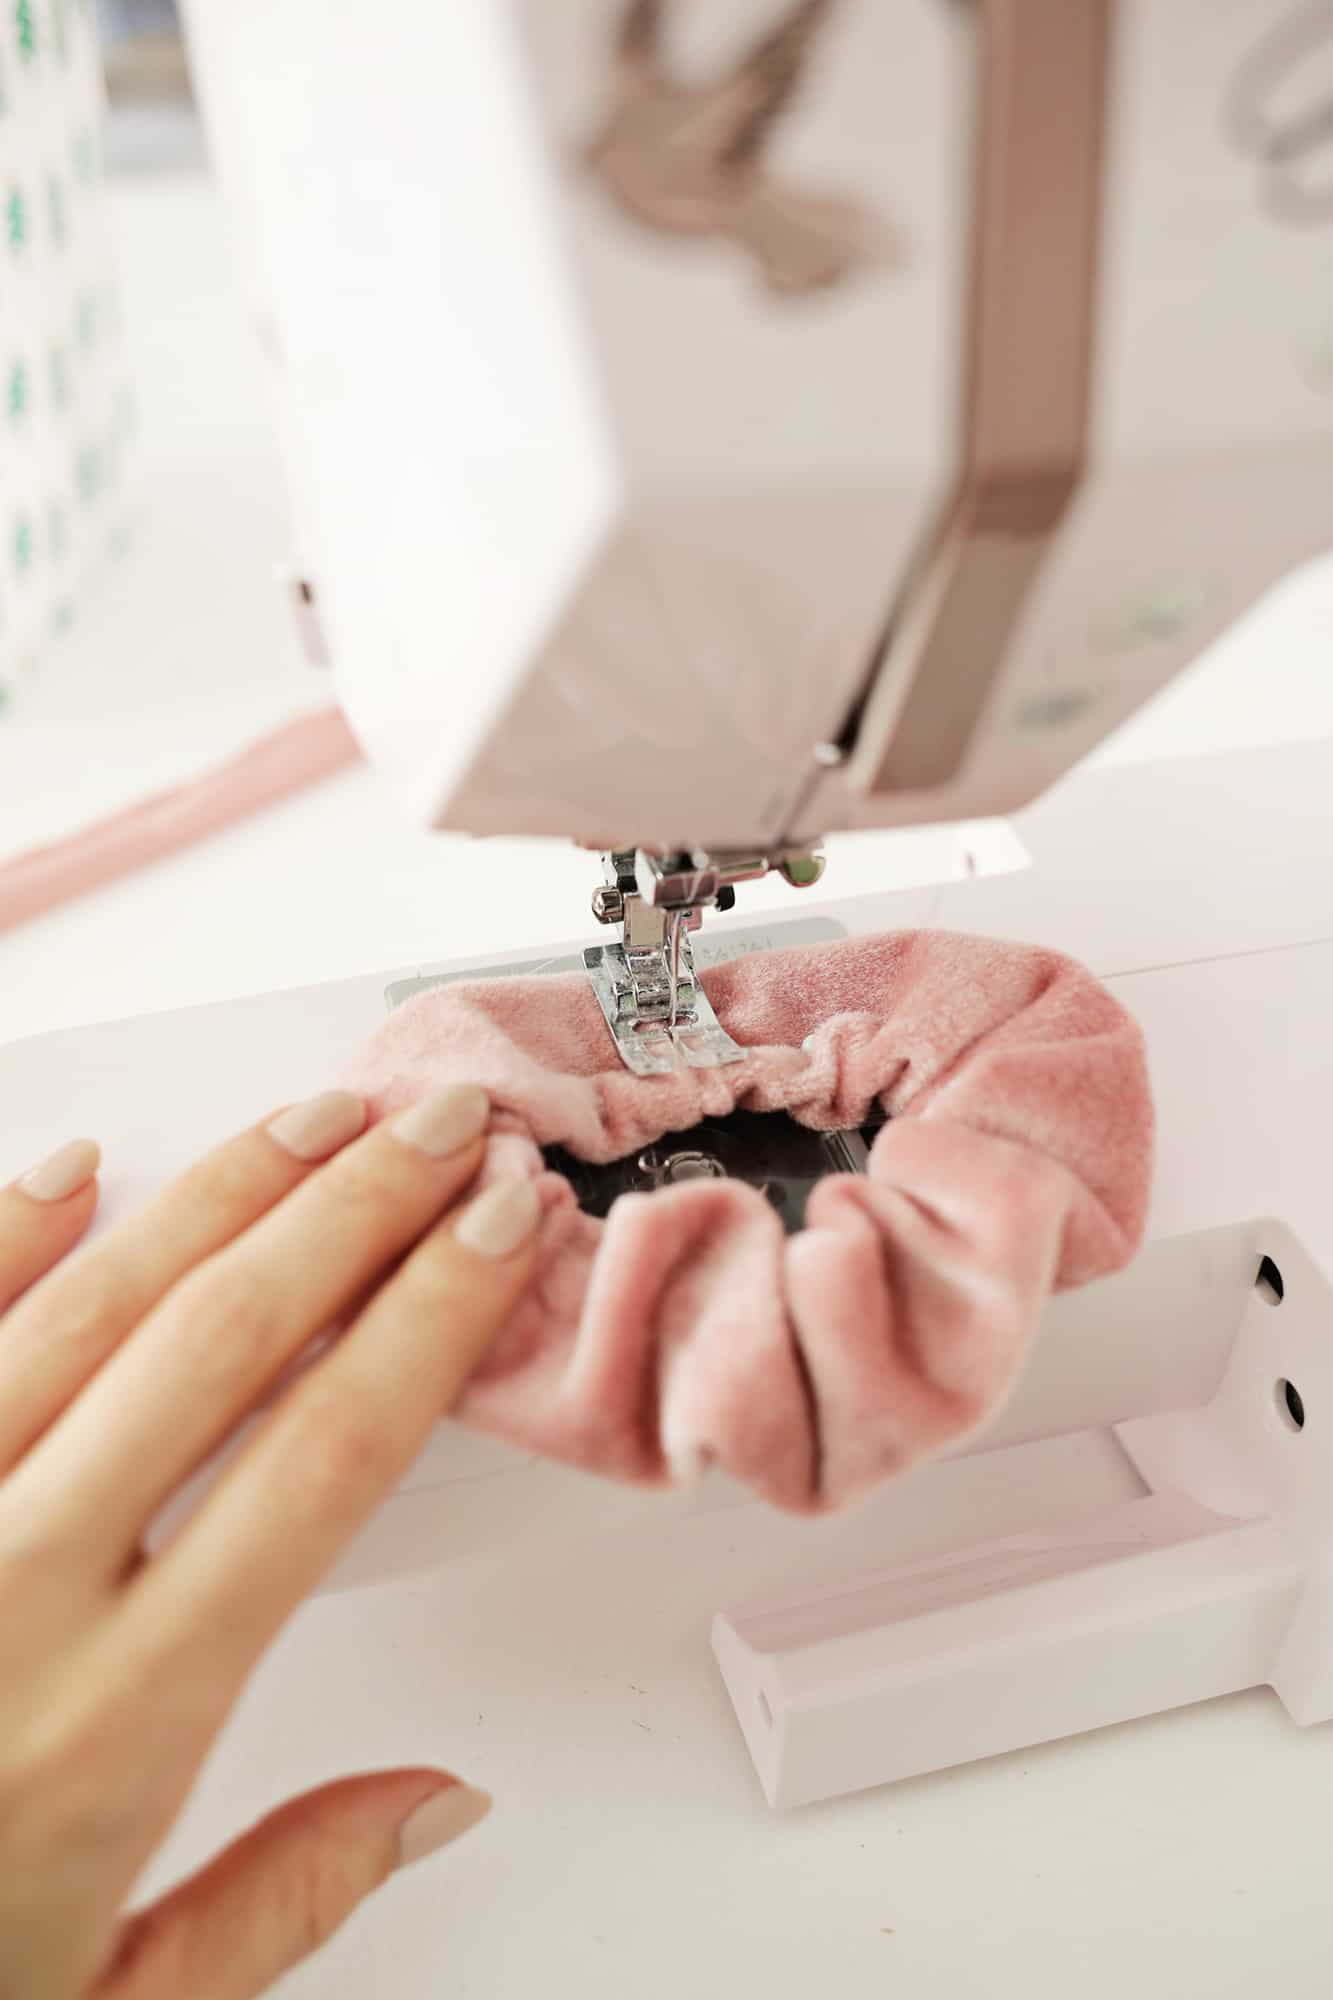 Sew down the finished edge line to secure both layers together with the elastic band between them. Don’t worry about that flat spot, as your bow will cover it!
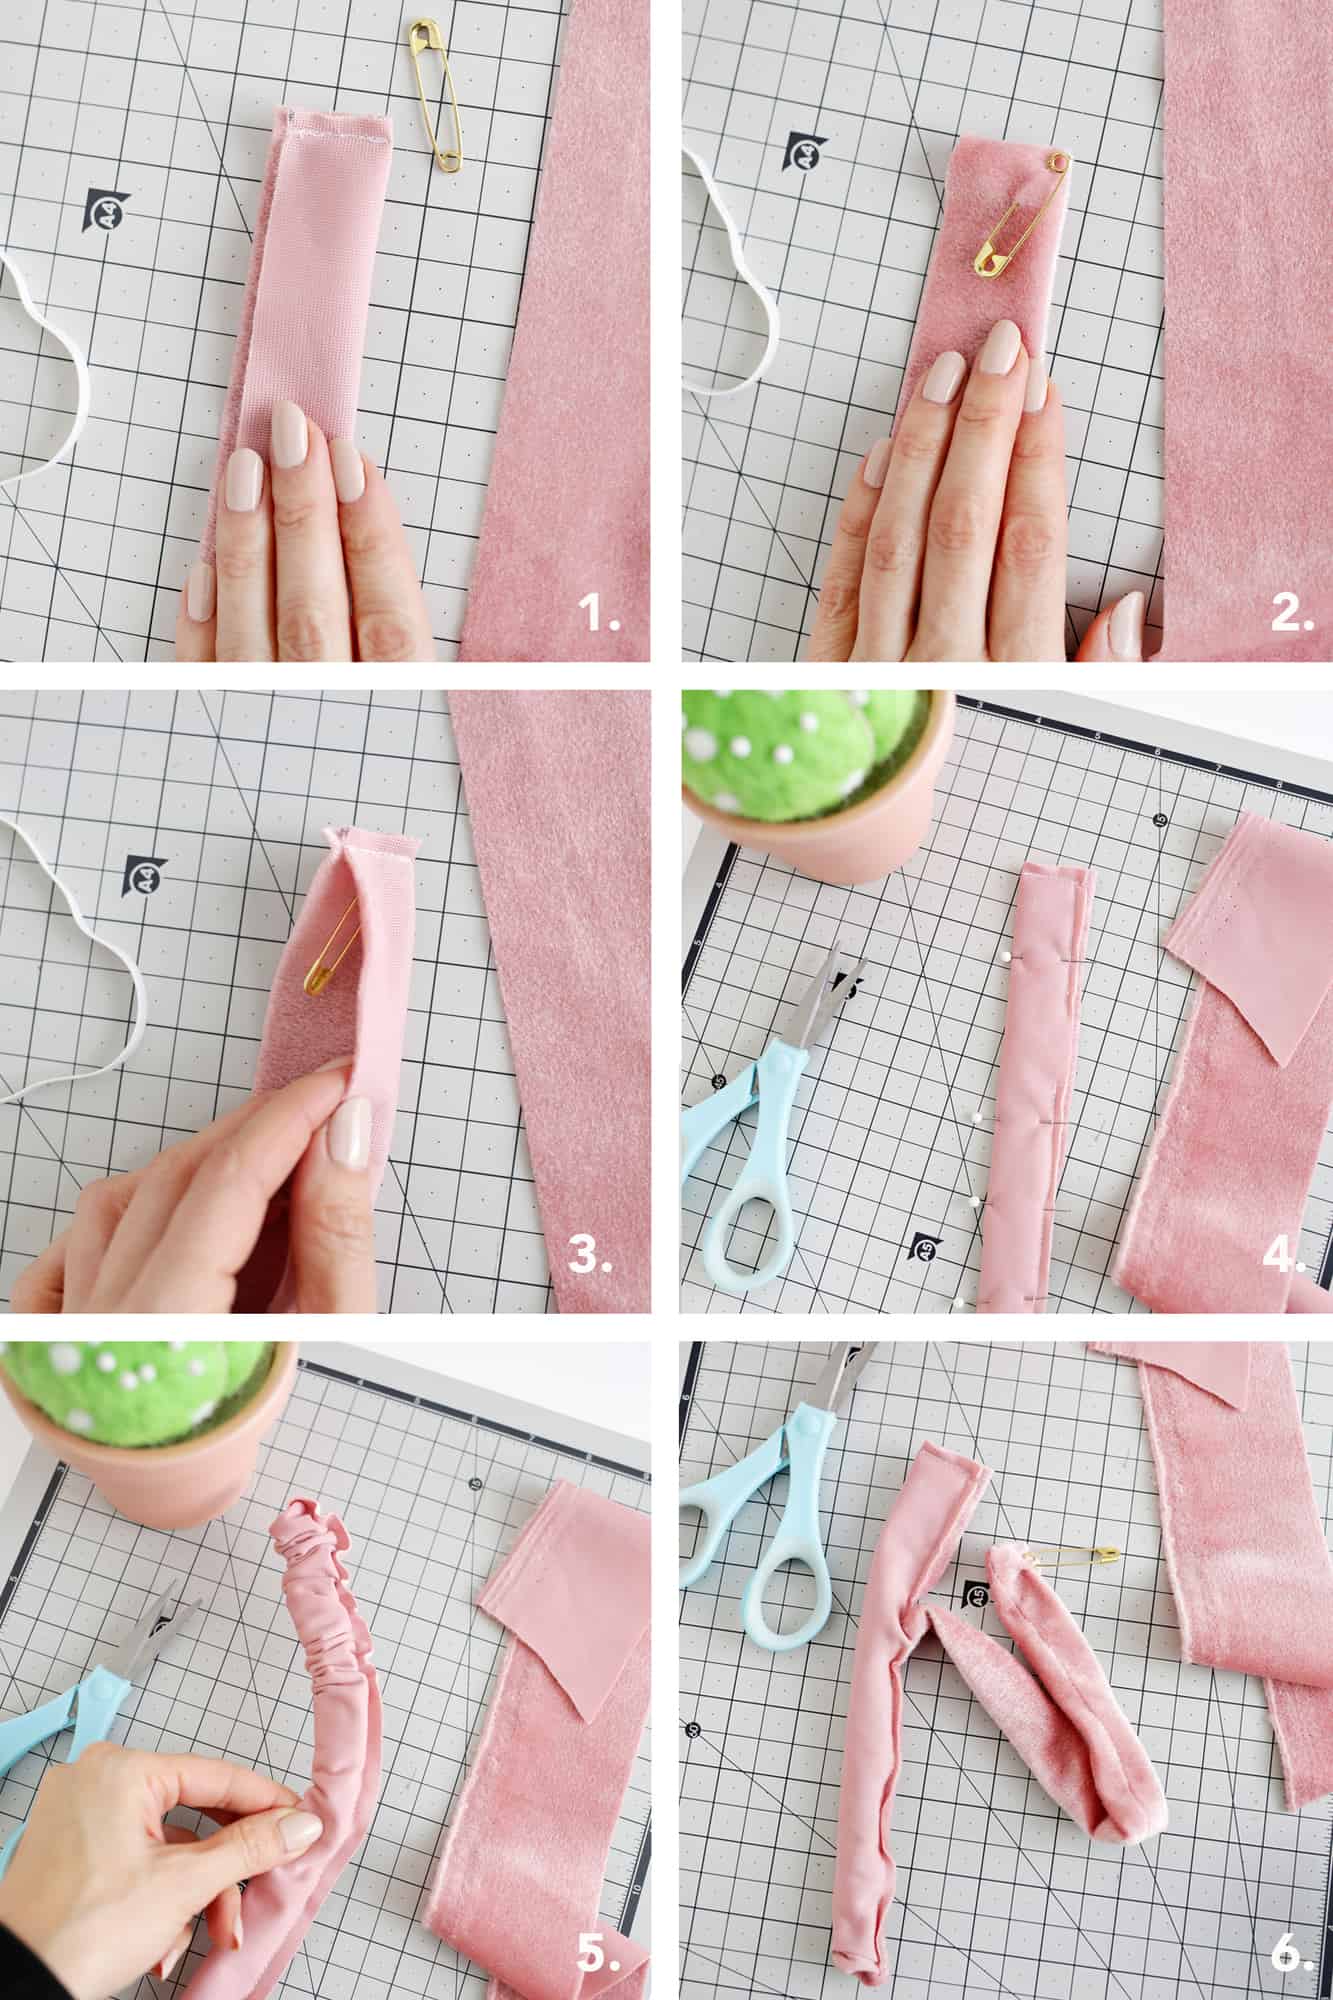 To make your bow, (1) fold your long strip in half lengthwise, right sides together, and pin in place. Sew along the top with a 1/4″ seam allowance. (2) Open the top right side out again and attach a safety pin in the top inside corner before (3) turning it back to having both right sides touching again and the pin sandwiched between the layers. (4) Sew down the side of your long strip but leave an opening of 2-3″ towards the bottom and then continue all the way down the side and along the bottom edge. (5) Find your safety pin that you pinned in the top corner with your fingers and use that to pull the top corner towards the opening in the bottom corner, eventually (6) turning the whole strip right side out. Remove the safety pin.
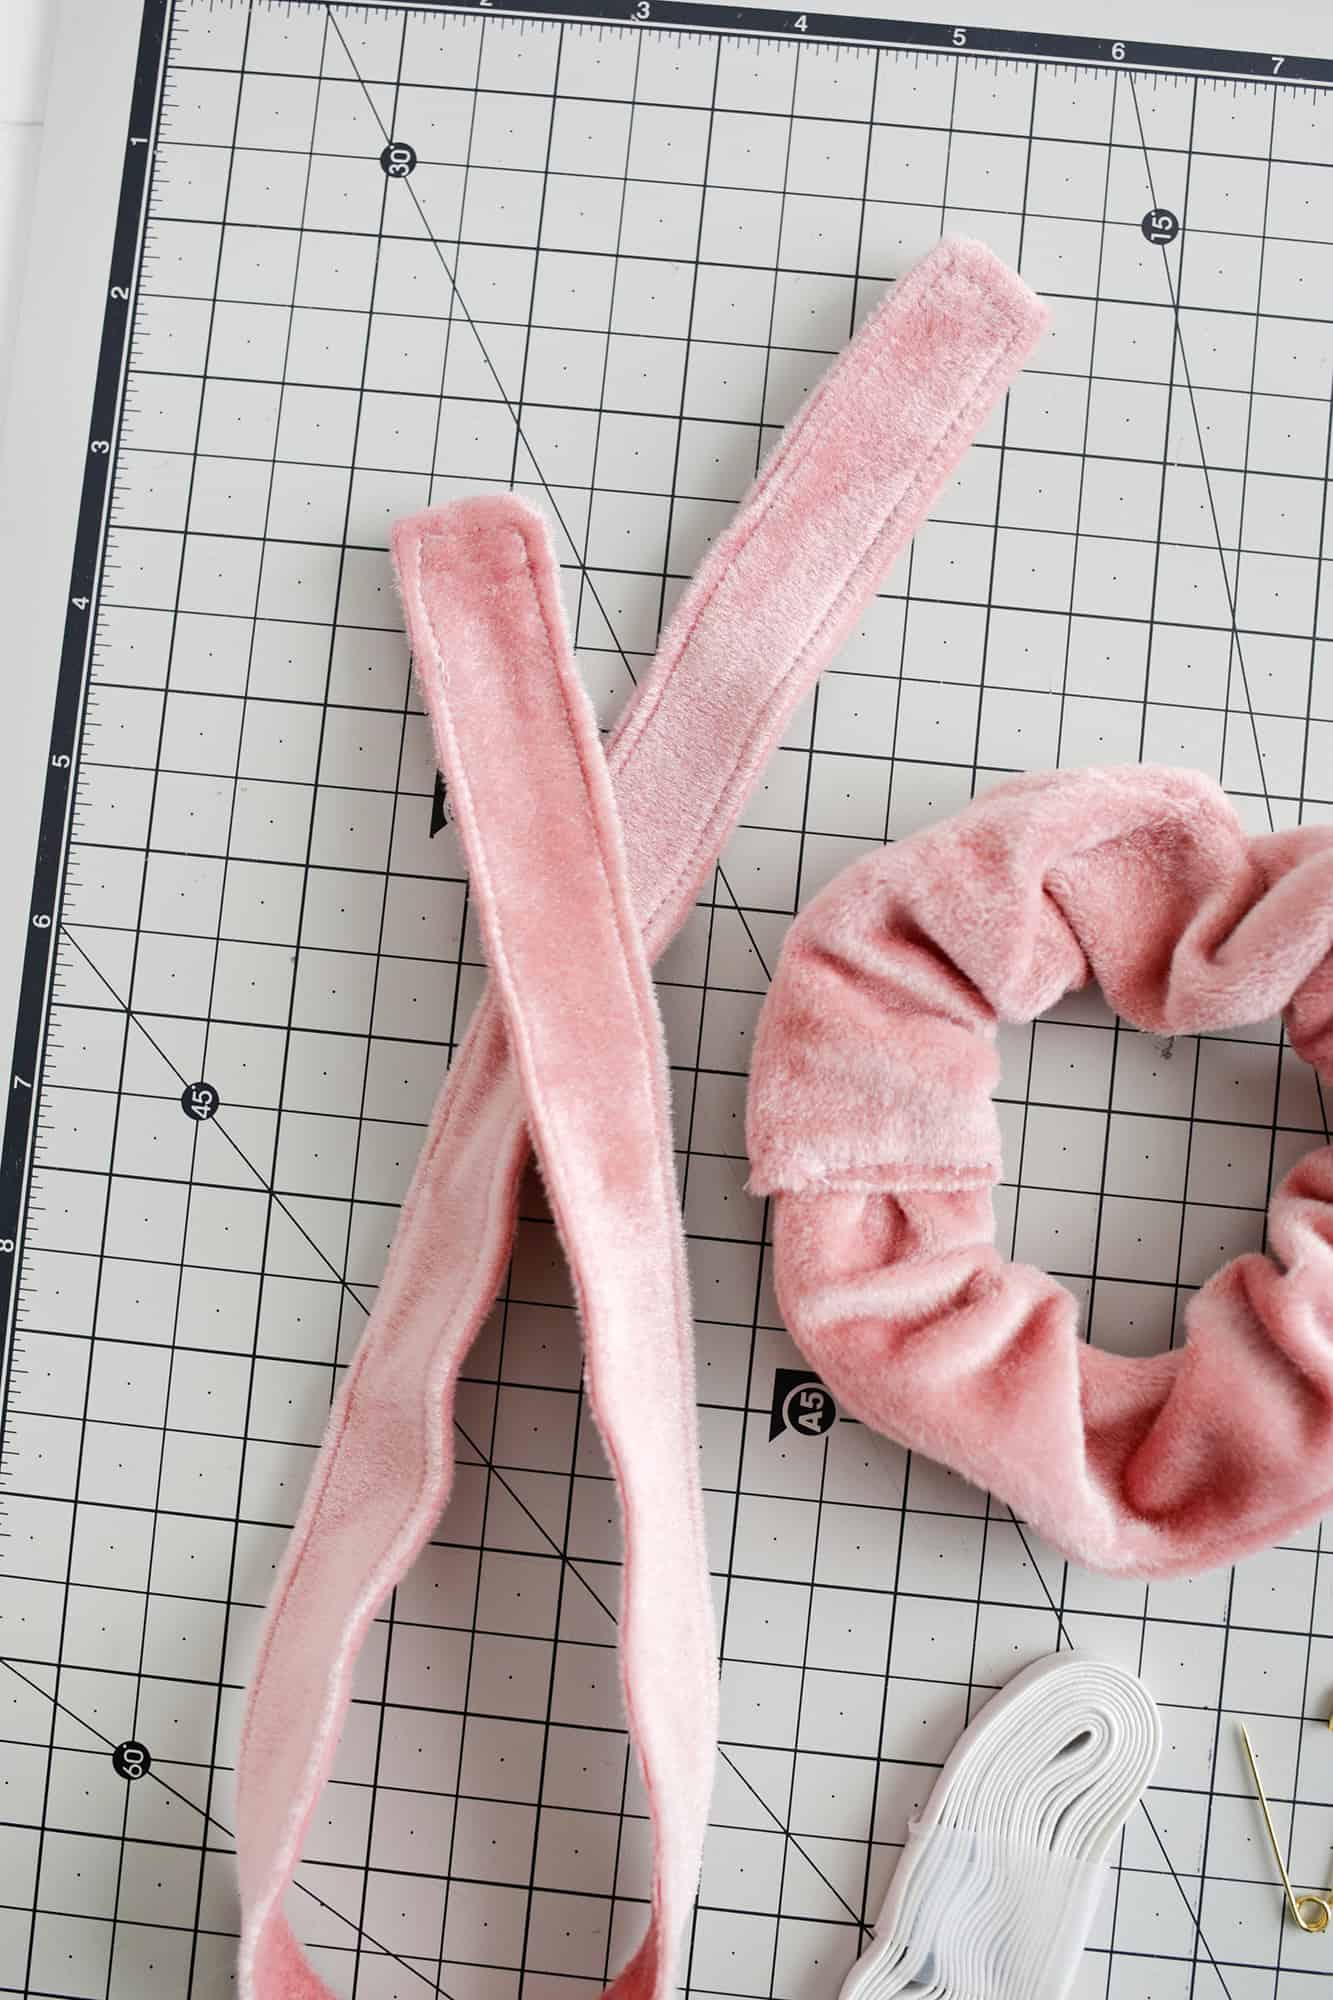 Top sew all the way around the edge of the strip with a 1/8″ seam allowance to close up your gap and give the bow a finished, and flattened, look.
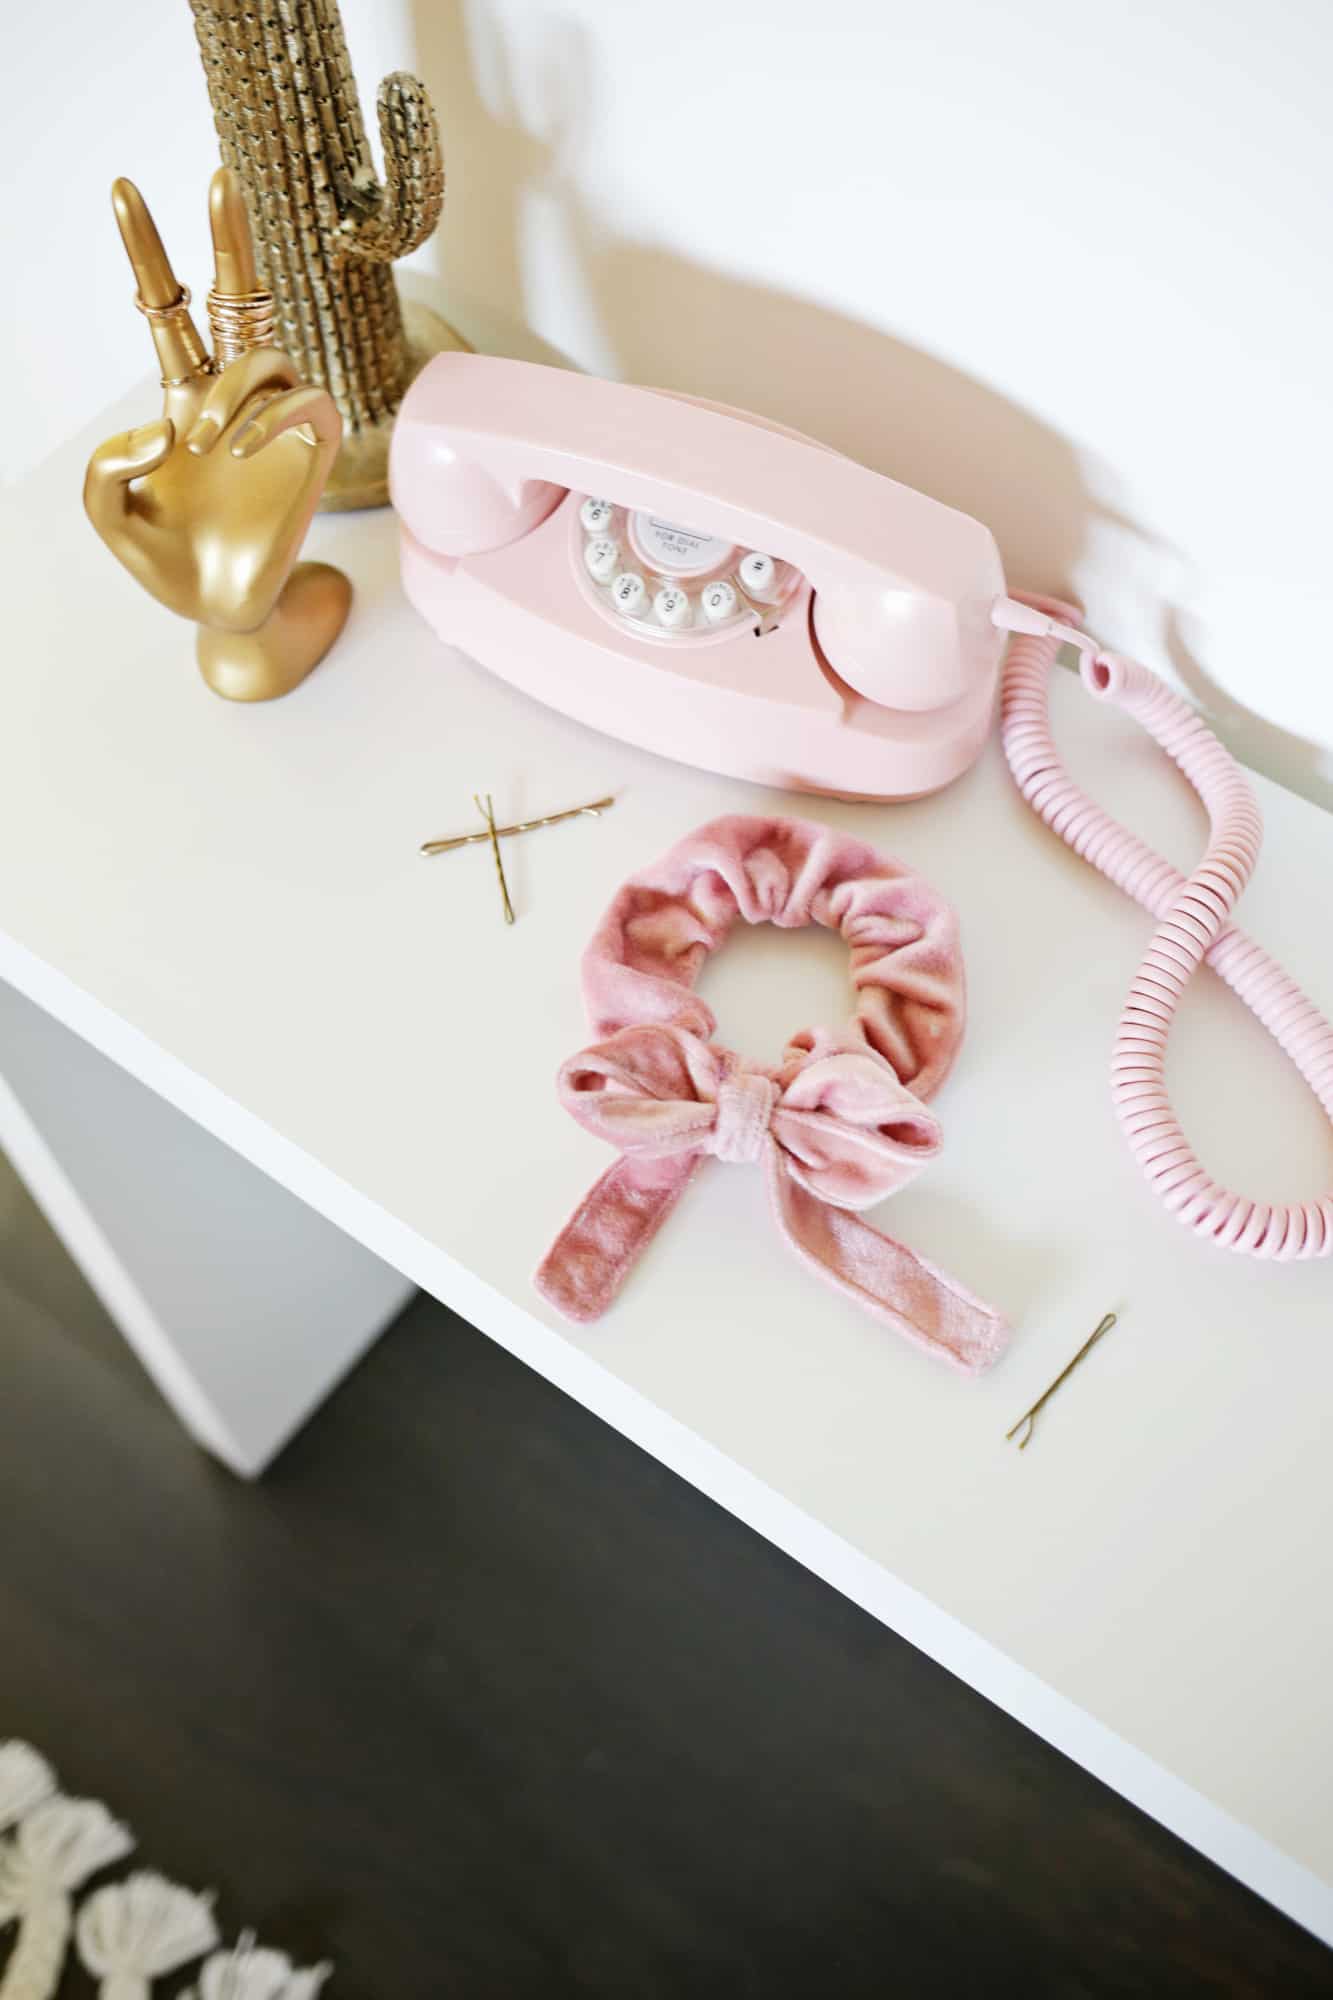
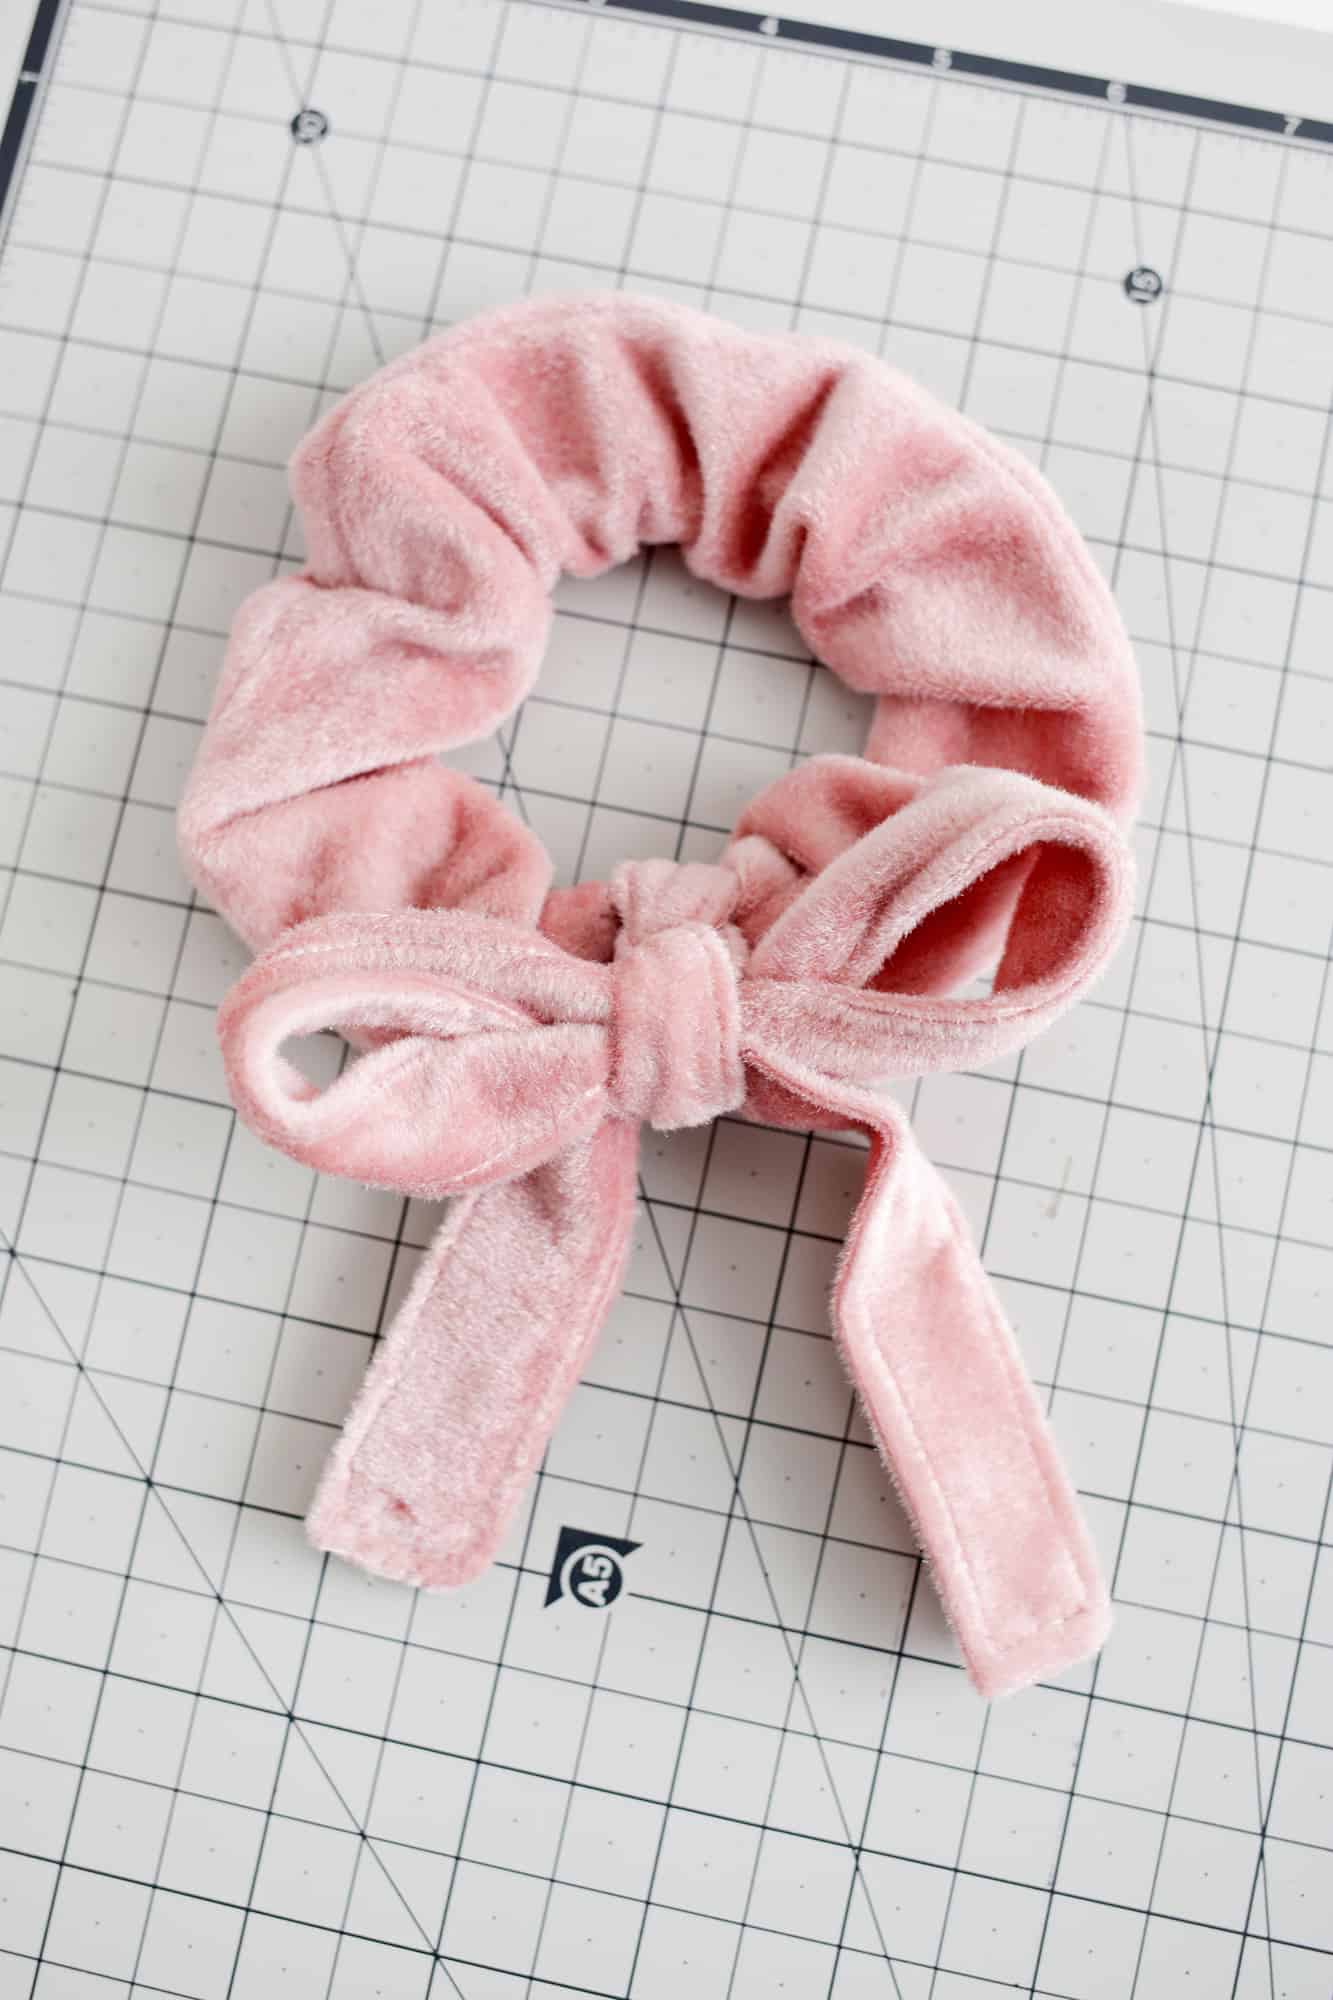 Tie your bow onto the flat spot on your scrunchie and that’s it! Your bow scrunchie is now ready to wear!
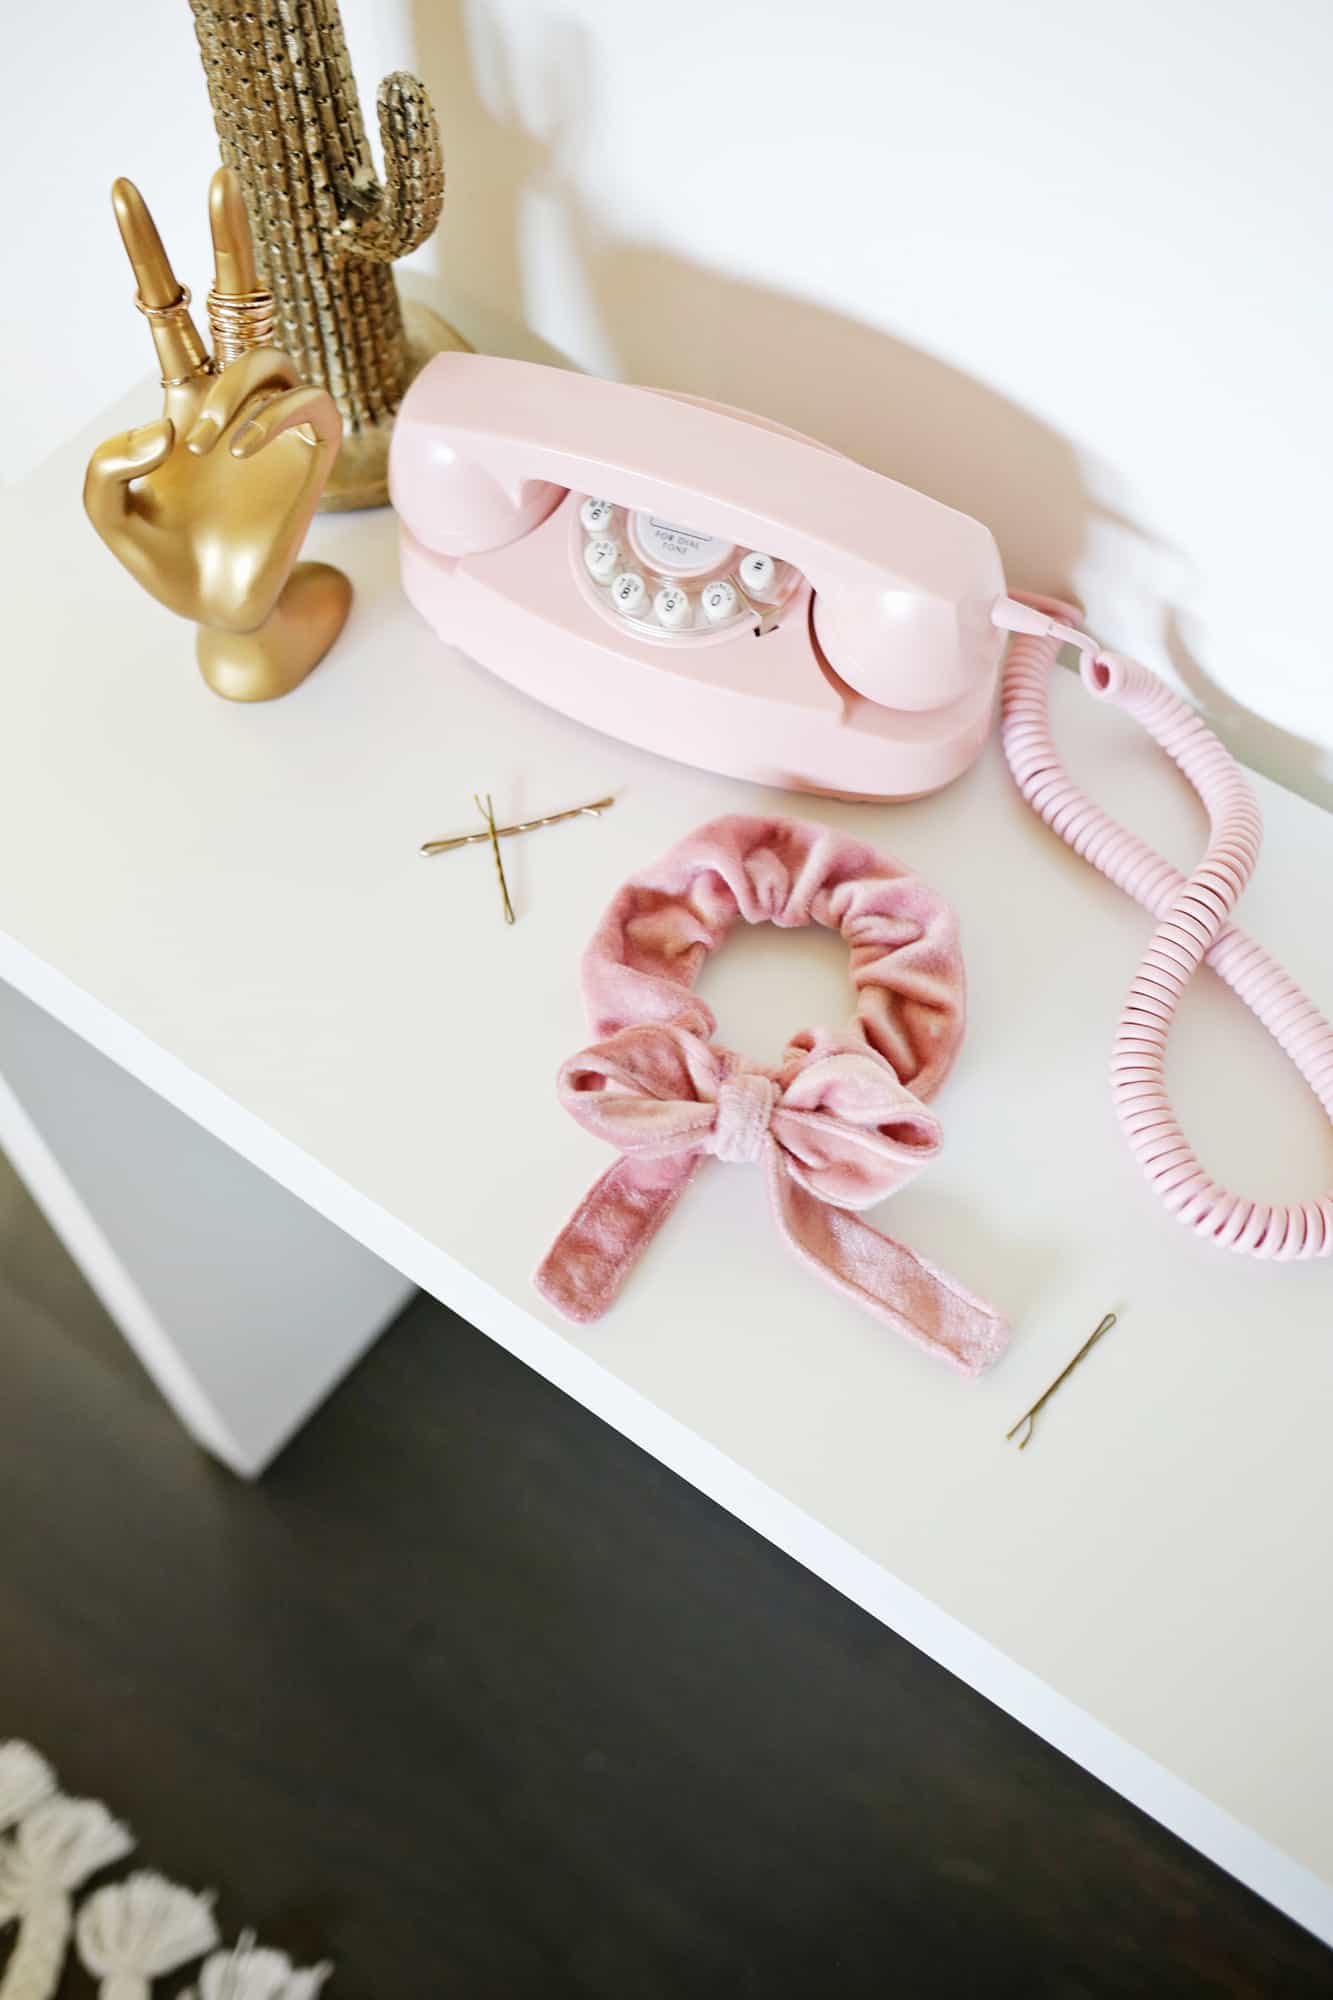 So sweet! There’s lots of ways to style a bow scrunchie, but you can see my favorite way to do it on our IGTV channel. Using different patterns and fabrics can also make your scrunchie more seasonal as well, so feel free to make new ones for summer vs. winter, etc. Whether this is a new or a very old favorite of yours, I hope you have fun! xo. Laura
27 Comments
Blast from the past indeed! This reminded me of the scrunchie maker I got for Christmas in 3rd grade. Now to call mom and see if she has it still…
But we need to see it in your hair!!!
Yep, go to the video I linked to see how I wear it!
Laura 🙂
this is precious, I’m obsessed!! http://www.oliviaschueller.com
This is absolutely adorable, it is a great twist to the traditional scrunchie!!
This is such a cute idea! I also love that ring holder…. Where did you find it??
I don’t think it’s supposed to be a ring holder but it’s a hand I think I found at hobby lobby 🙂
Laura
This is really cute!
Ahh, this is giving me major throwbacks! I used to love scrunchies when I was a teenager (and when scrunchies were trending!). Can’t wait to make my own! 🙂
Charmaine Ng | Architecture & Lifestyle Blog
http://charmainenyw.com
If you make yours, you may link it, would love to see. 🙂
You did really well … as you show step by step with the images that was impressive. keep it up. 🙂
http://www.teronga.com
I think this is a nice and creative way of making BOW SCRUNCHIE. Love your work and this is so beautiful. Your scrunchie’s color and design is too cute.
Wow this is so pretty!! I love it.
https://www.powerofpositivity.com/
These are SO pretty. I love a touch of velvet and a bow! Maybe I’ll attempt this project…
Ooh, love this! As an 80’s kid, they’re a total blast from the past, but my five year old daughter LOVES wearing them because they’re soft and don’t get tangled in her curly hair. I’ll have to try this!
I have genuinely been looking for this DIY and then it just popped into my Bloglovin! Thank you
– Natalie
http://www.workovereasy.com
Such a fun quick project to make items with my niece. She loves the thought of picking a fabric and making her own bows. Using the sewing machine makes her feel a bit more special too. Good job y’all.
I love that scrunchies are coming back! They never stay in my hair properly though. But this bow scrunchie could work, I’m thinking a bun and the scrunchie just popped around the base.
Maybe I’m an IG noob but I can’t find anything about this scrunchie on your Instagram!
It’s in our IG live highlight 🙂
Scrunchies are the best!!!!
I thought you’d need a wide rubber band to make a scrunchy; turns out not. Thanks for sharing this lovely craft idea.
Love this so much didn’t do the bow, but it is super cute either way.
I JUST LOVE THIS! i have always wanted a scrunchie but a BOW SCRUNCHIE!!!? it is very awesome, thanks!
If you wouldn’t mind sending me your email I would love to ask a few questions for my senior project. Love the bows!!!
Hi Maddie! It’s laura AT abeautifulmess DOT com 🙂
Some days ago my granddaughter had a birthday I wanted to bought a scrunchies but all shops were closed so I wanted to sew by myself . I found video where some Mariana showed how to sew scrunchie . Here is video https://www.youtube.com/watch?reload=9&v=Wjx4RfBSYTo