
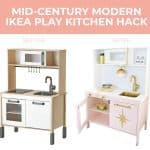
 I know I’m not the only parent that obsesses over the kids items that we bring into our house. Aside from being fun and safe, I also have a strong “need” for everything to be extra cute and match my color scheme and decor as well. I’ve done some DIY projects totally from scratch to be the most adorable possible (like this toddler activity center), but I also wanted to set Lola up with a play kitchen in our den to (hopefully!) entertain her a bit while we make dinner nearby. So an IKEA play kitchen hack seemed like the perfect project to tackle! Here’s how I customized mine!

 General Supplies:
–IKEA play kitchen
–peel and stick subway tile
–gold spray paint and clear gloss spray
-flat white primer spray paint
-paint for kitchen (I would suggest a lacquer paint if you can!)
-painter’s tape
-piece of foam core board
-wood glue and epoxy glue
-drill and drill bits
-wooden star decal
–5″ center to center brass pulls (I used 3 of these)
–round gold cabinet knobs (I used 3)
Supplies for stove modification:
–12″ rounded rectangle board for stove
–4″ circles (2 of them that are 1/8″ thick)
–gold and white vinyl
–small brass knobs
Supplies for light fixture:
–wooden ball (4.5″ size)
-1/2″ wooden dowel rod
–4″ wooden circle (1/2″ thick)
First, I started by painting the sections of the kitchen the colors that I wanted. I found it easier to assemble the bulk of the bottom and top halves first so they would stand upright while I painted them and then did the doors and countertop piece separately. My first tip for you (that I learned from my mistake) is to try and sand the super smooth surface of the kitchen pieces first and then do at least one coat of a good primer first before painting. The bottom half that I painted with a regular semi gloss pink paint comes off a little easier than I would like compared to the harder drying white lacquer paint that I used for the top, and I think a light sanding and a primer would have helped that a lot. I figured the lacquer would be more durable, so that’s why I used it for the counter area and I think it definitely is a harder coating.
 Once the main sections were painted, I spray painted the kitchen faucet and sink with the gold paint and then with the clear gloss once the gold paint was totally dry. I “mounted” the faucet on the cardboard from underneath with screws so it would stand upright while I painted it—otherwise it falls right over!

 I decided to do an undermount on the sink to give it a more luxe feel, so we just centered in on the bottom side and used 4 small wood screws to screw it in place—looks so much cooler!
 I wanted to add some realistic looking subway tile to the backsplash, so I used peel and stick tile to make it happen! Since the bottom and top have a backboard but the middle section doesn’t, I just cut a piece of foam core board a tiny bit larger than the opening, and tiled the board to each edge with the tile. Once the tile was on, we loosened the top section of the kitchen enough to wiggle in the board so it was flush with the back and then tightened the screws back in again and it’s wedged in there pretty well. You could always put a brace of some sort on the back if you felt your toddler would push it through, but it feels pretty solid to me so I left in in there. We also did some white acrylic caulk around the edges to hide any of the seams and that made it look a lot nicer as well. I also tiled the top section so it looks like it goes all the way up the wall, so you’ll want the 10 square pack if you want both tiled, but the 5 square pack is enough to tile just the bottom backsplash.

 I wasn’t real excited about putting the original stovetop back on since it was black and kind of ugly next to all the new colors, so I decided to make my own little stovetop by gluing a thin wood board over the hole and adding two painted circles and small brass knobs to act as the stove controls. To make the burners, I cut different sized gold and white circles out of vinyl and then layered them on top of each other so it made a bullseye effect when layered.
 So much cuter!
 Switching out the hardware was pretty easy (although you could paint the handles as well for a budget version) and I also painted a gold star wooden decal to add a bit more midcentury style to one of the cabinet doors.
 You may notice that I decided to leave off the rod that came with the kitchen. The pot and pans set I got for her didn’t have holes drilled for hanging and I decided that I’d rather hang a wooden globe light there instead, so I left it off. To make the globe light, I drilled a 1/2″ hole through my 4″ wooden disc and then drilled about 2″ into the top of a wooden ball. I used a piece of a 1/2″ wooden dowel rod as the connecter (which you can cut with any kind of electric or good old-fashioned hand saw) and glued them together.
  Then I painted it all white, divided the ball in half with painter’s tape, and painted the top half, rod, and disc gold, and glued it under the top cabinets. For extra stability, I also drilled a screw into it from the top in the microwave area—how cute is that?!


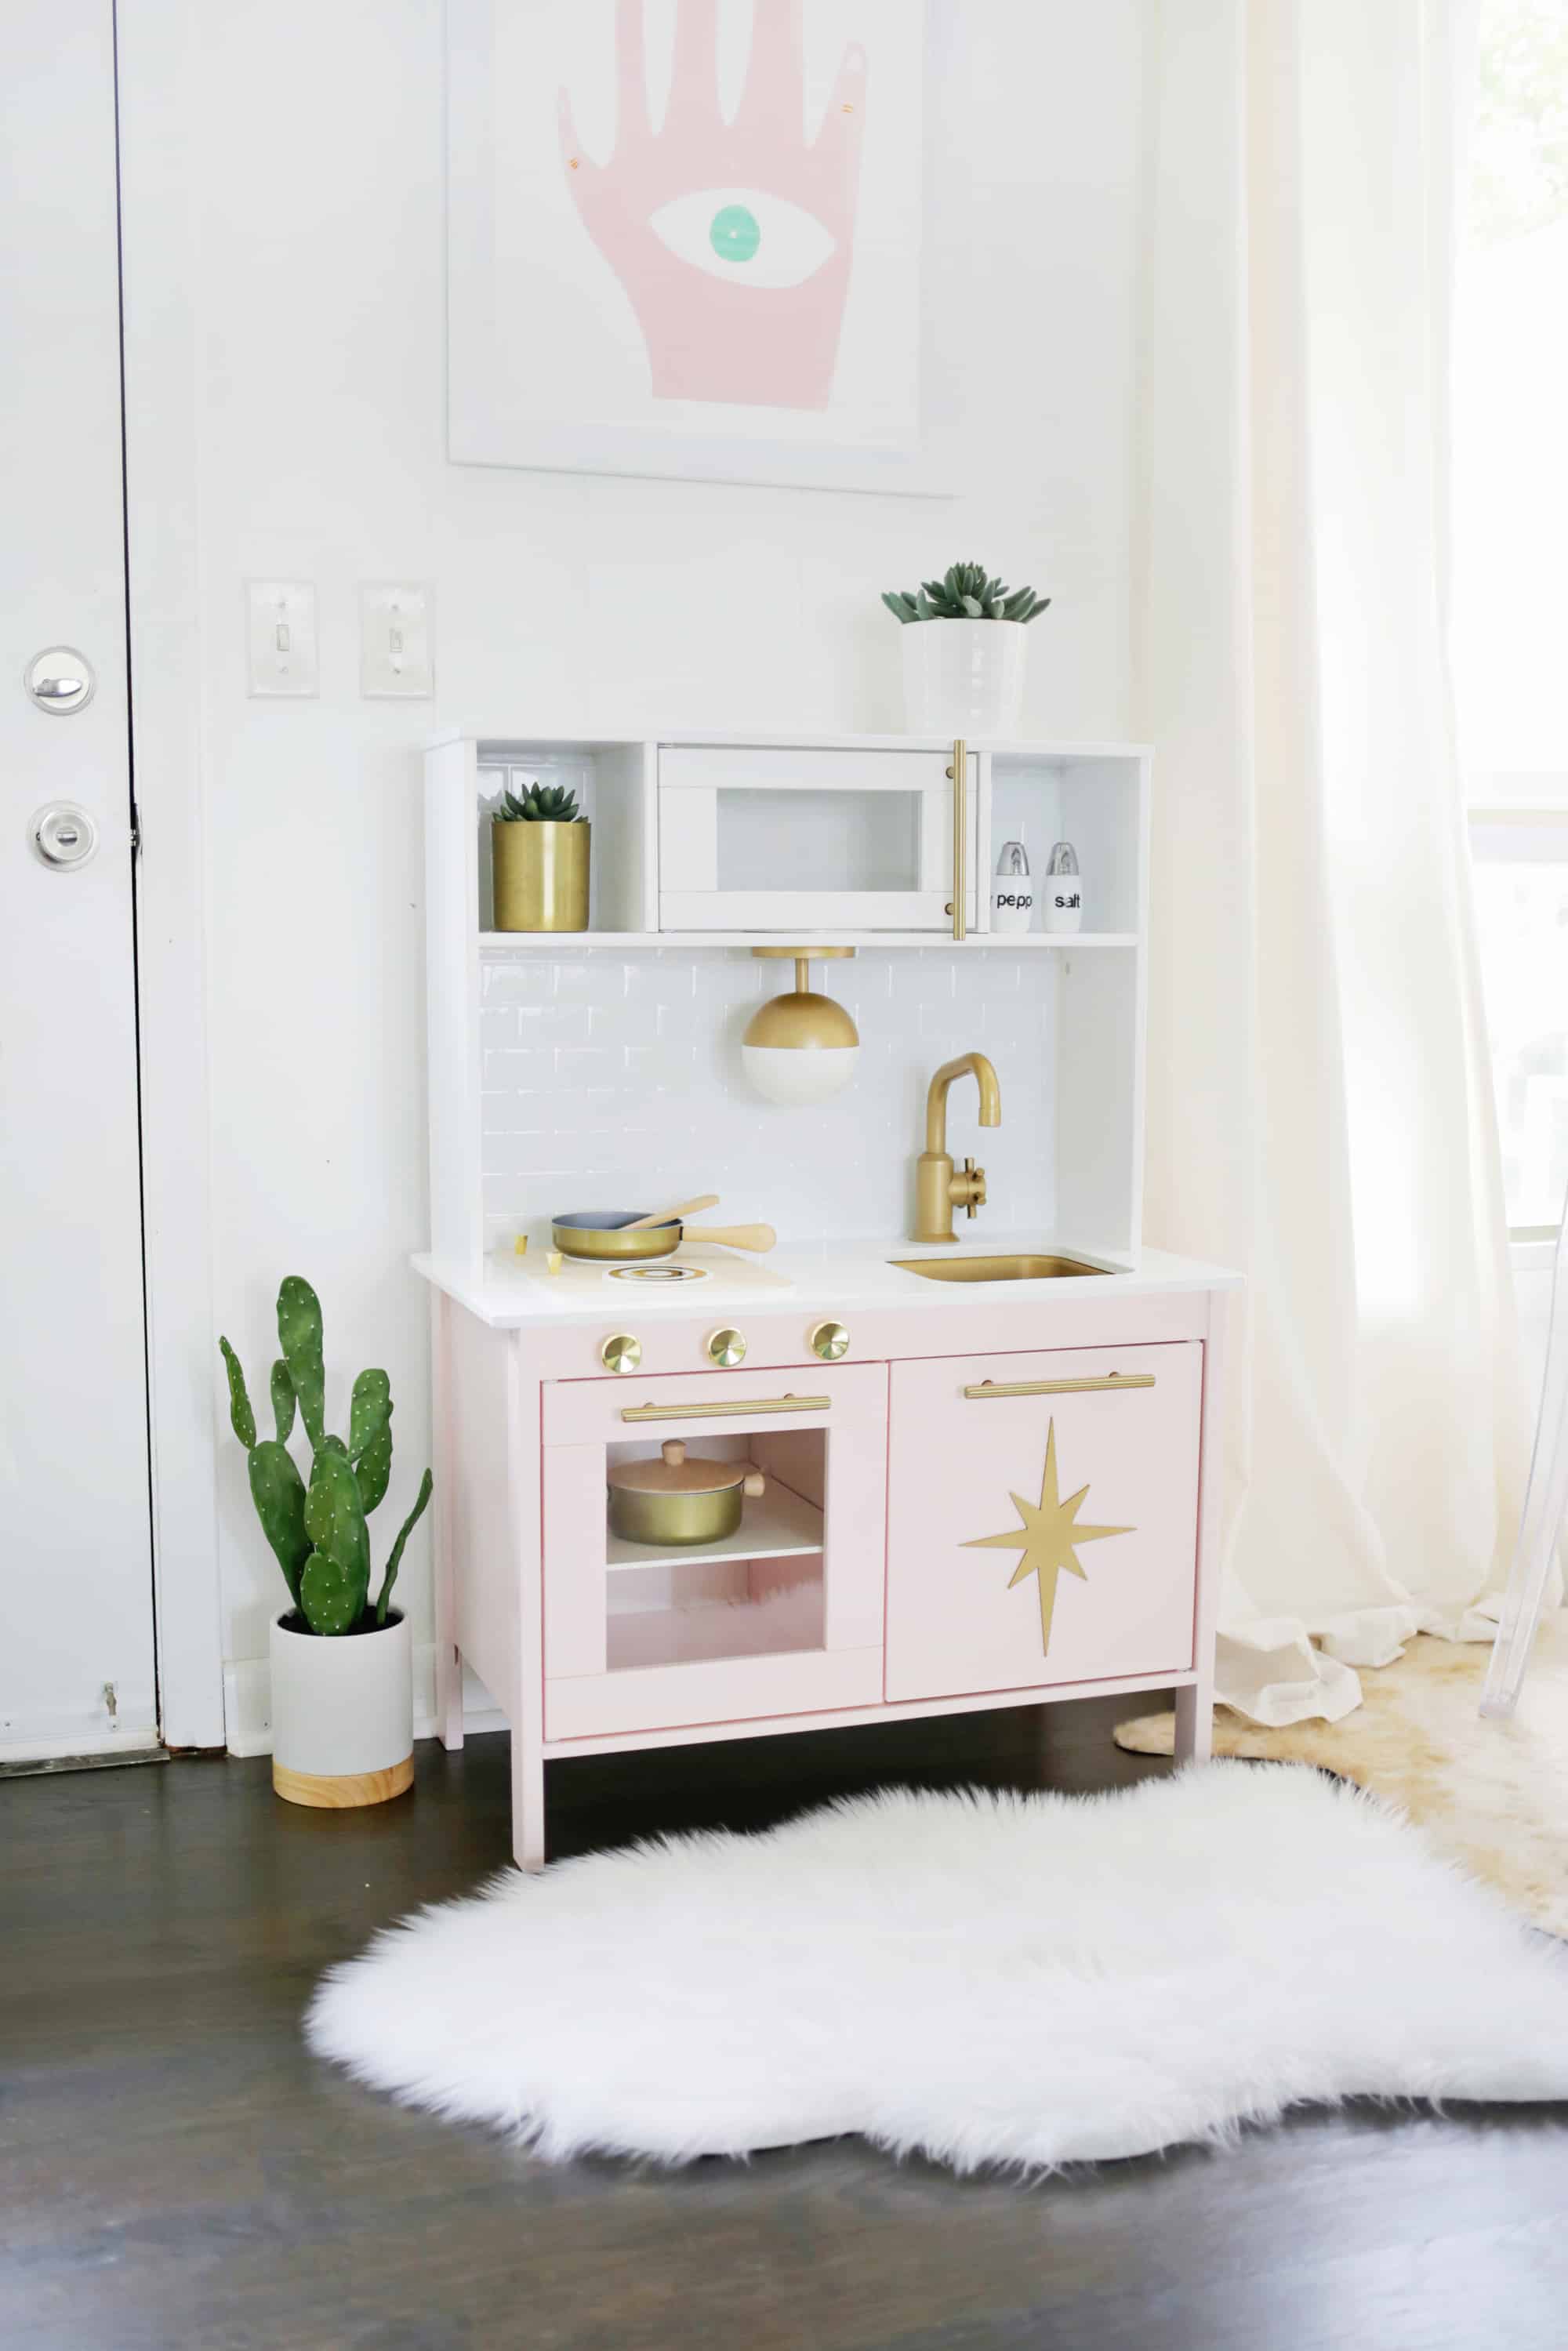
 OMG, it’s juuuuust too much in the best possible way! I love how it totally fits in with the rest of our decor and looks so luxe as well. To make it more budget-friendly, you could paint the existing handles rather than get new ones, paint subway tile grout lines instead of the peel-and-stick tile, and leave the stovetop as-is rather than make my wooden version. Lola has been obsessed with it since we showed it to her this week and she also loves the wooden shopping cart, the gold/wooden pots and pans, and the wooden fruit we got to go with the kitchen. It’s definitely projects like this that make my mom heart swell and I hope you get a chance to makeover your own kitchen too—it’s so fun!! xo. Laura
33 Comments
I actually thought this was a real kitchen counter at first glance! It’s so sophisticated! I love the pink and gold colours! ❤️❤️
Charmaine Ng | Architecture & Lifestyle Blog
http://charmainenyw.com
That is absolutely gorgeous! There’s talk of an Ikea opening in my city and my fingers are crossed they do it soon because the nearest Ikea stores are 4 hours away!
Adorable…. so is Lola. 🙂
This has got to be the cutest play kitchen I’ve ever seen in my entire life!
Paige
http://thehappyflammily.com
I’ve never seen such a stylish play kitchen, it’s so cool!
https://www.makeandmess.com/
Absolutely adorable – play kitchen and baby!
This is easily my favorite DIY. My daughter is only 3 months old, but now I know what I’m going to make her for her first birthday! Obsessed! Great job Laura!
I never comment but this is by far the best thing on the blog this year. Great job, Laura!
Laura, you have outdone yourself!
This is the most stylish kitchen I have ever seen – you should be a children’s toy designer!
This is the cutest thing ever!! If I have kids in the future, I would love to make this for them to play with 🙂
<3 A N D R E A | THEBEAUTYDOJO.COM
This is incredible! I’m so in love. My daughter has an IKEA play kitchen as well and this is super inspiring. As always, love your ideas!
Whoa this actually looks way better than my own real, grown up kitchen LOL! This play kitchen is currently unavailable in my local IKEA, but I’ll keep an eye open. Thanks for the inspiration! xx
This is BANANAS and I love it so much.
I can’t believe my eyes, is this even real? Fantastic job!!!
Oh wow, this is amazing. I want this in my size! What color pink did you use?
When I saw the photo on Instagram, I thought this was some kind of full-size kitchen! Ha. It looks amazing!!!
I love this! What color paint did you use?
I love customized IKEA play kitchens, especially when they match the rest of the house! Such a fun way to make it more realistic and lovely. I’ve also seen versions where people DIYed this kitchen to have a real functioning sink for older children! It’s very popular in the Montessori-inspired community (which I think the ABM gals would love :))
Love this, Laura! My husband and I are planning to re create this for our kiddo for Christmas. By chance- could you tell me the dimensions of the foam core board used to create the backsplash? Thank you!
This is just too cute, I love it!
I would love to know how the sink and tap holds up I painted Sebastian’s 2 years ago and it is really scratched I might try a ‘re spray and a clear gloss over coat.
Please add this to a how did it hold up post
Very nice and well-maintained kitchen in a small area. The color is also very good. I like this color.
I love customized IKEA play kitchens. It looks amazing! Thank you!
Wow this is amazing! My in-laws bought my son a kitchen for his 1st birthday (which was very generous!) but now I wish I would’ve made something like this!!
Very cute after! Just one q if I may, are all those paints and glues safe for little ones?
Looks amazing! I would love to know how the faucet and sink have held up. Have you had any scratching? Thinking of doing a similar project but worried about durability.
This is the cutest little play kitchen I’ve seen! Please, would love to know the paint colors you chose for this!
I absolutely love this. Since you did not use the ikea stove any chance you are selling it?
Did the paint last without sanding?? I haven’t sanded yet and already sprayed. It’s. Gift and I’m nervous.
Hi- yes they’ve both held up great more than a year now! xx
Hi!
This is a beautiful kitchen! I am about to start my project. I am planning to use the existing handles, taps, hardware that come with the kitchen. I will spray paint them gold. Did you use anything on your tap (prime the tap) before spray painting? Would you recommend doing so?
Obsessed with this play kitchen!! Where did you find the wooden starburst decal?
Where is the adorable art hanging above the kitchen from?! Also – what color/brand pink paint did you use?
Thank youuuu!