
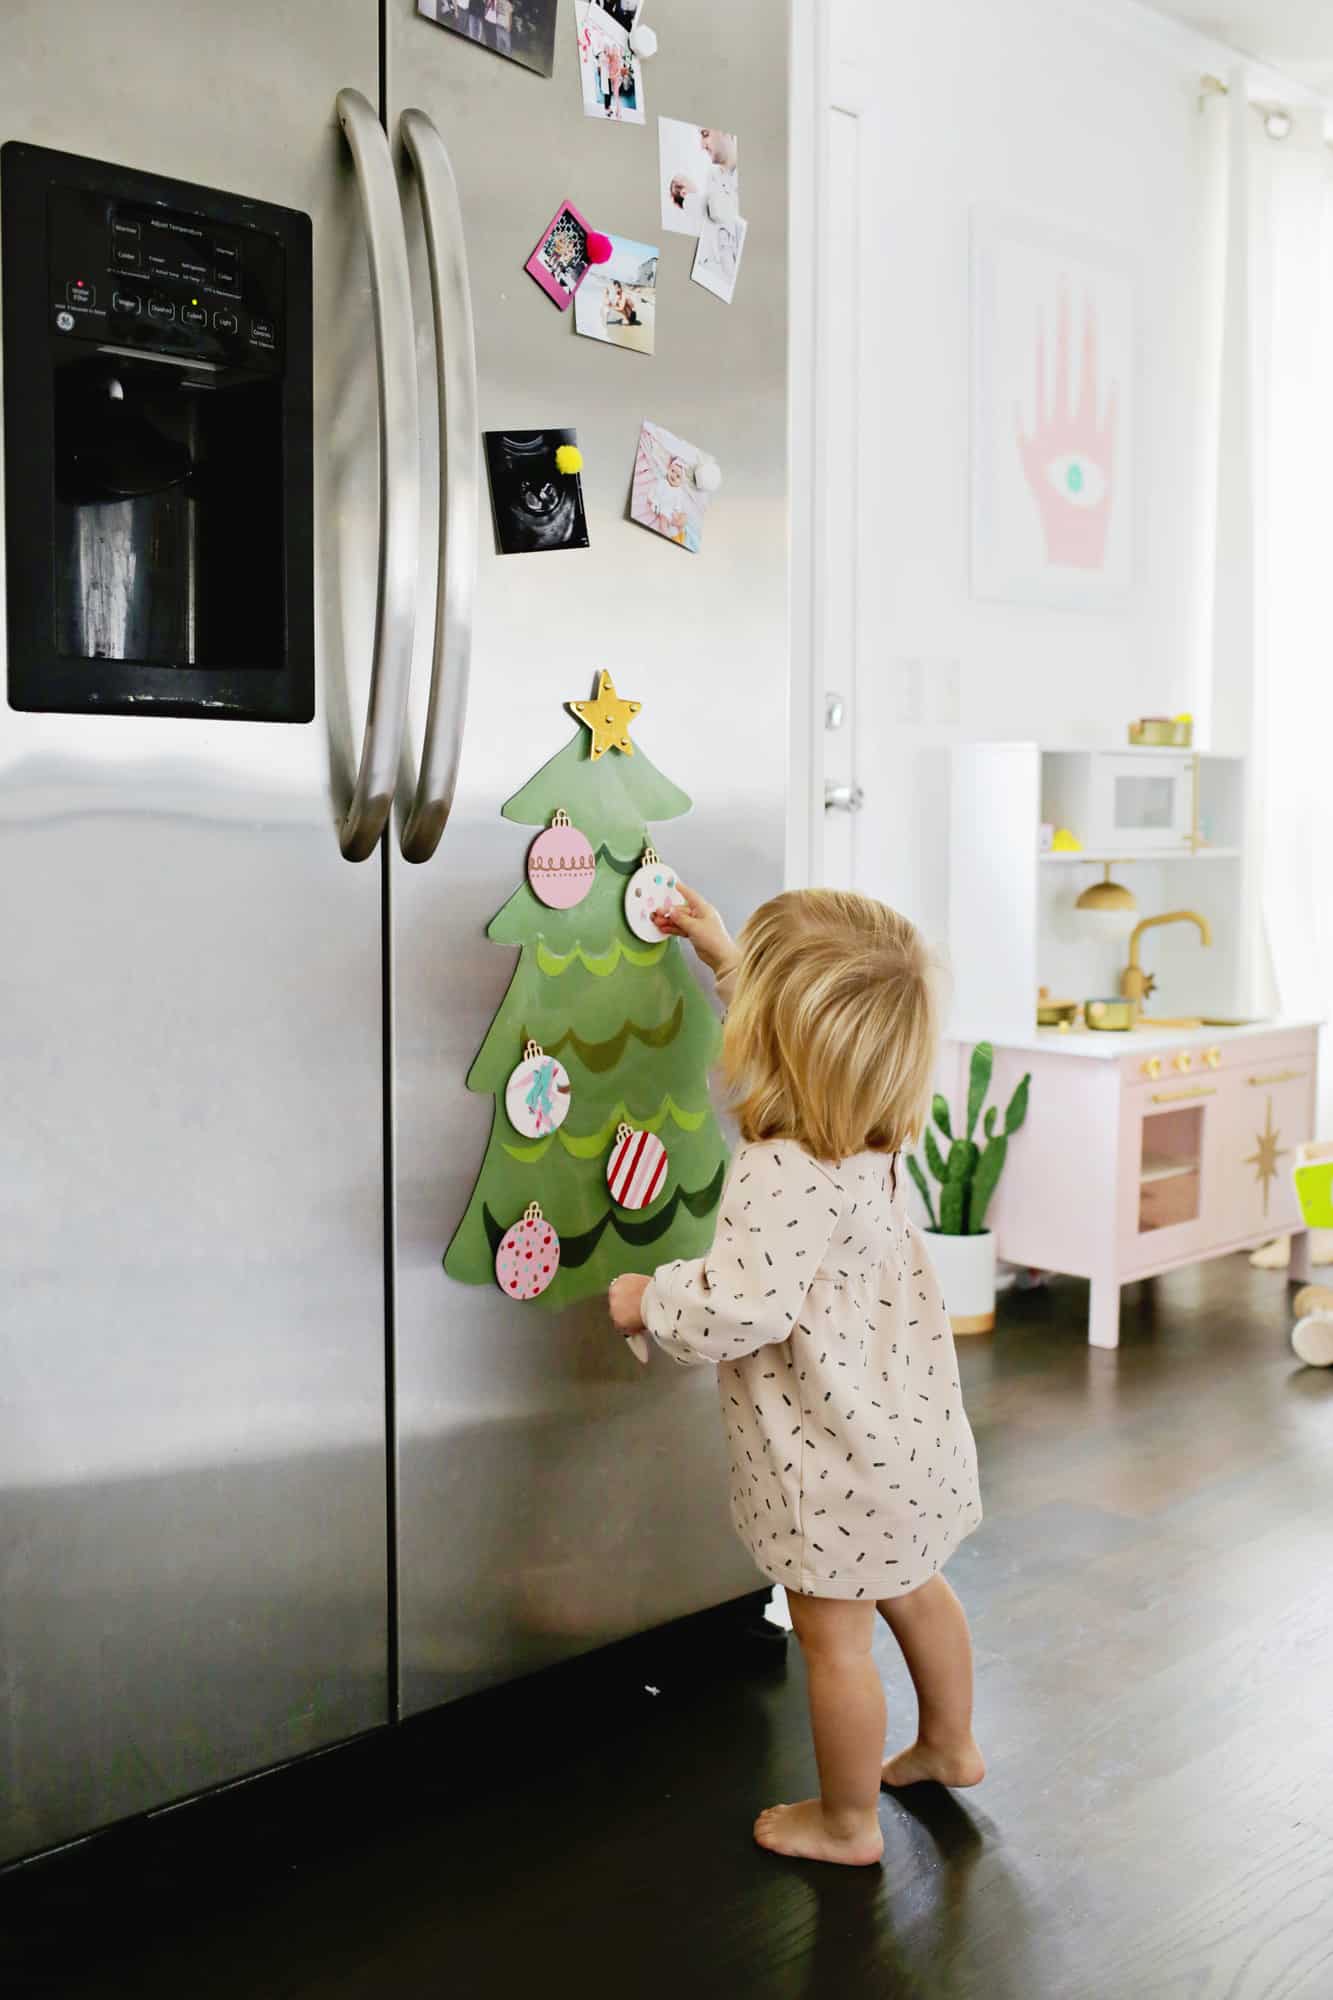
 The holidays have been extra fun this year with our little toddler around to “ohhh” and “awww” over the tree, ornaments, and lights. While some of the decor is more kid-friendly this year (we have a little Lola tree with plush ornaments on it just for her to play with), I also wanted to do a fun holiday craft with her that she could participate in. So I decided to make a magnetic tree with ornaments she could paint and move around on the fridge, and it was so much fun!
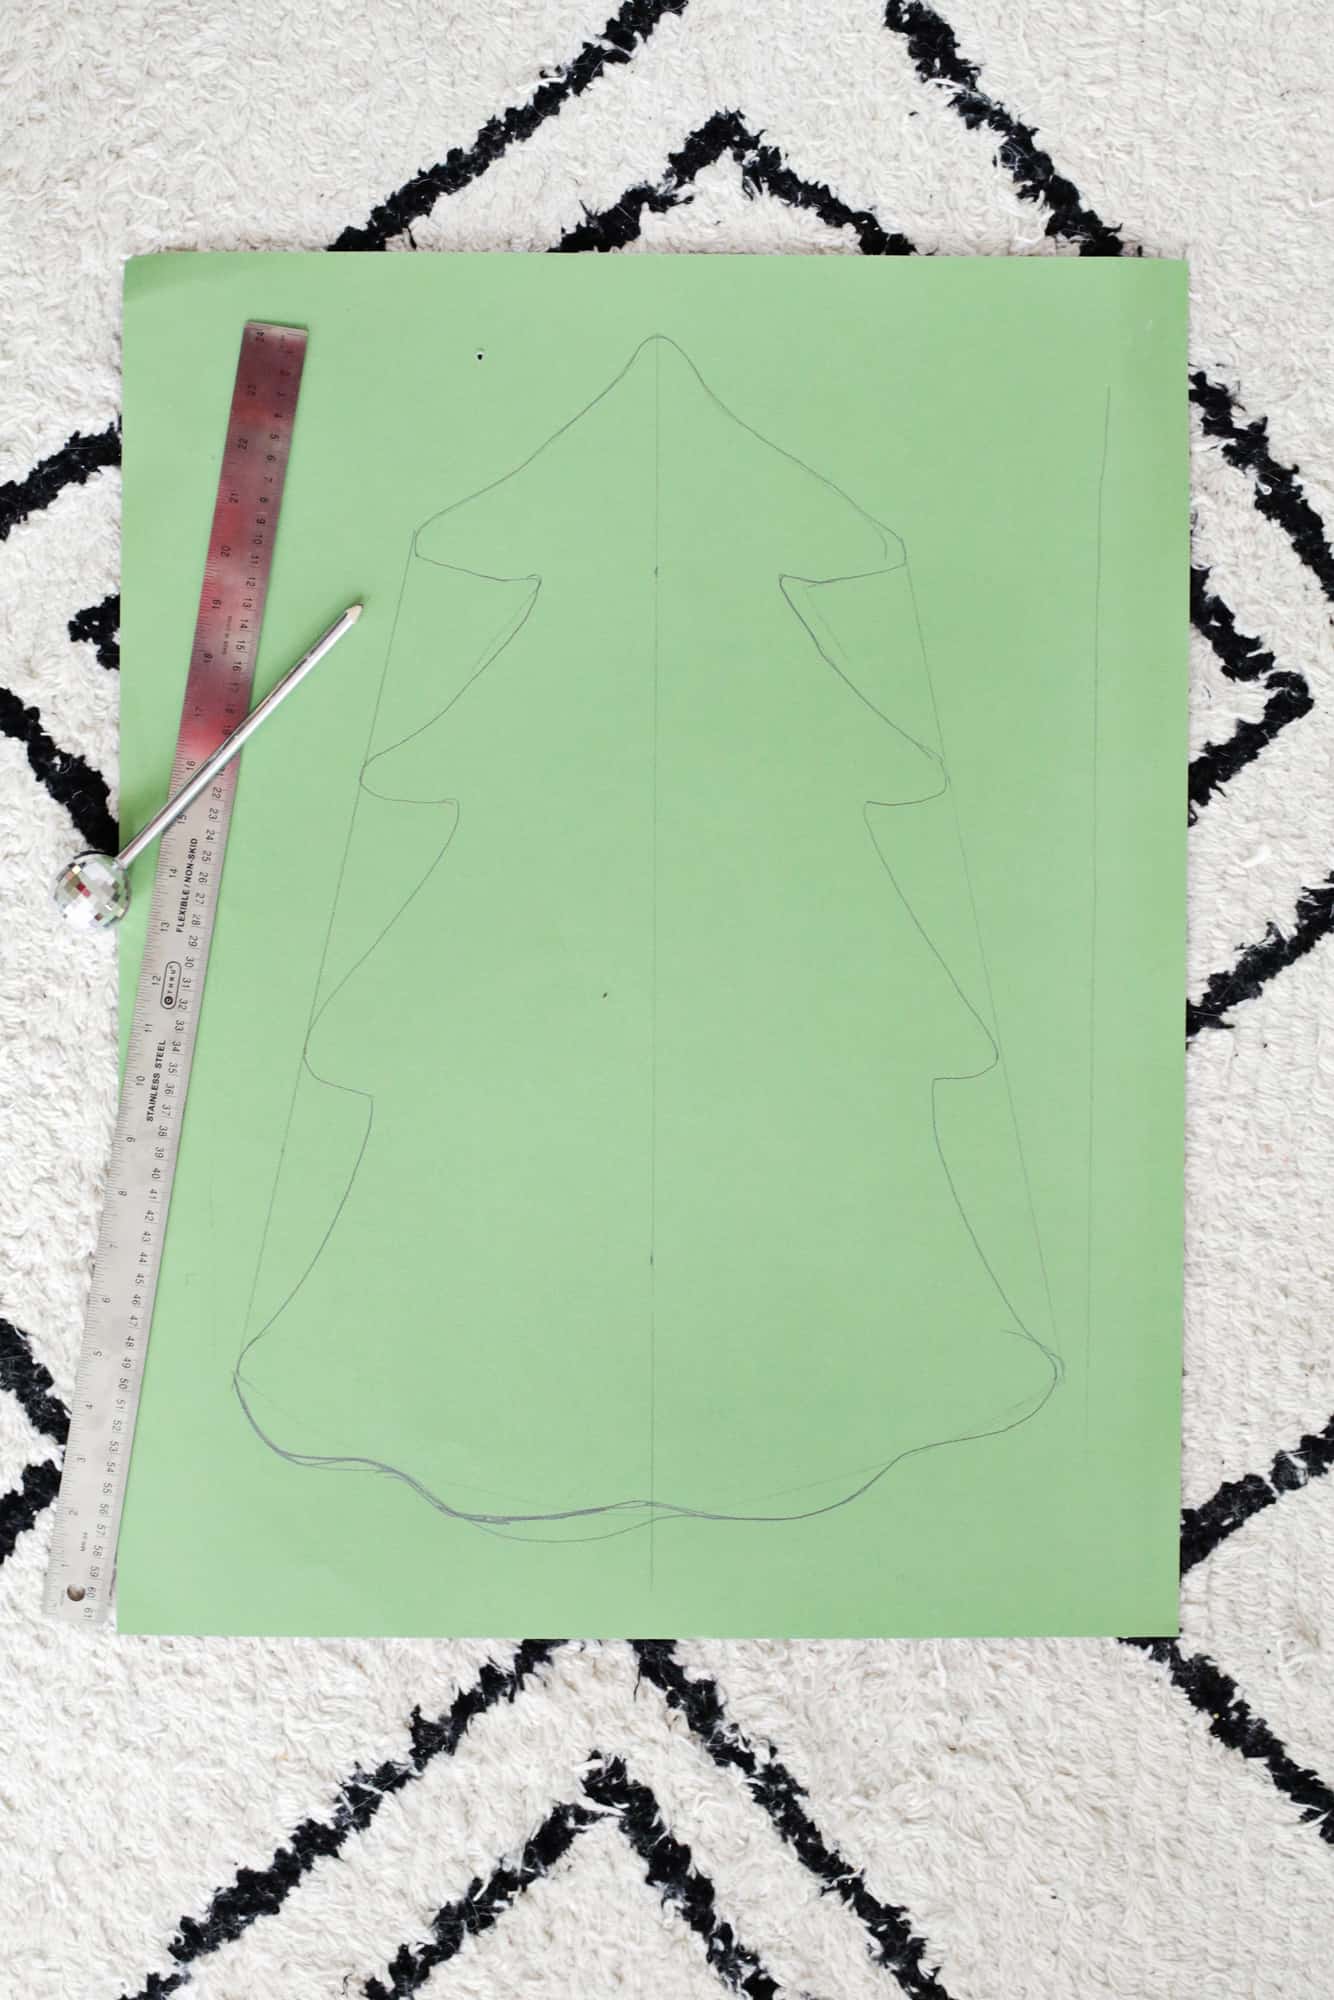
Supplies:
–self-laminating paper
-green poster board and paper in various shades
-scissors and pen
–wooden ornaments
–wooden stars
-non-toxic paint and stickers
–magnets and magnetic tape
-double-sided tape
First, I took a large piece of green paper and marked off how wide my self-laminating paper was so I knew I was staying within the lines of the paper width. Then I drew a tree shape on the green paper, but it doesn’t have to be too fancy of a shape if you aren’t that keen on drawing freehand—even a tall triangle will do!
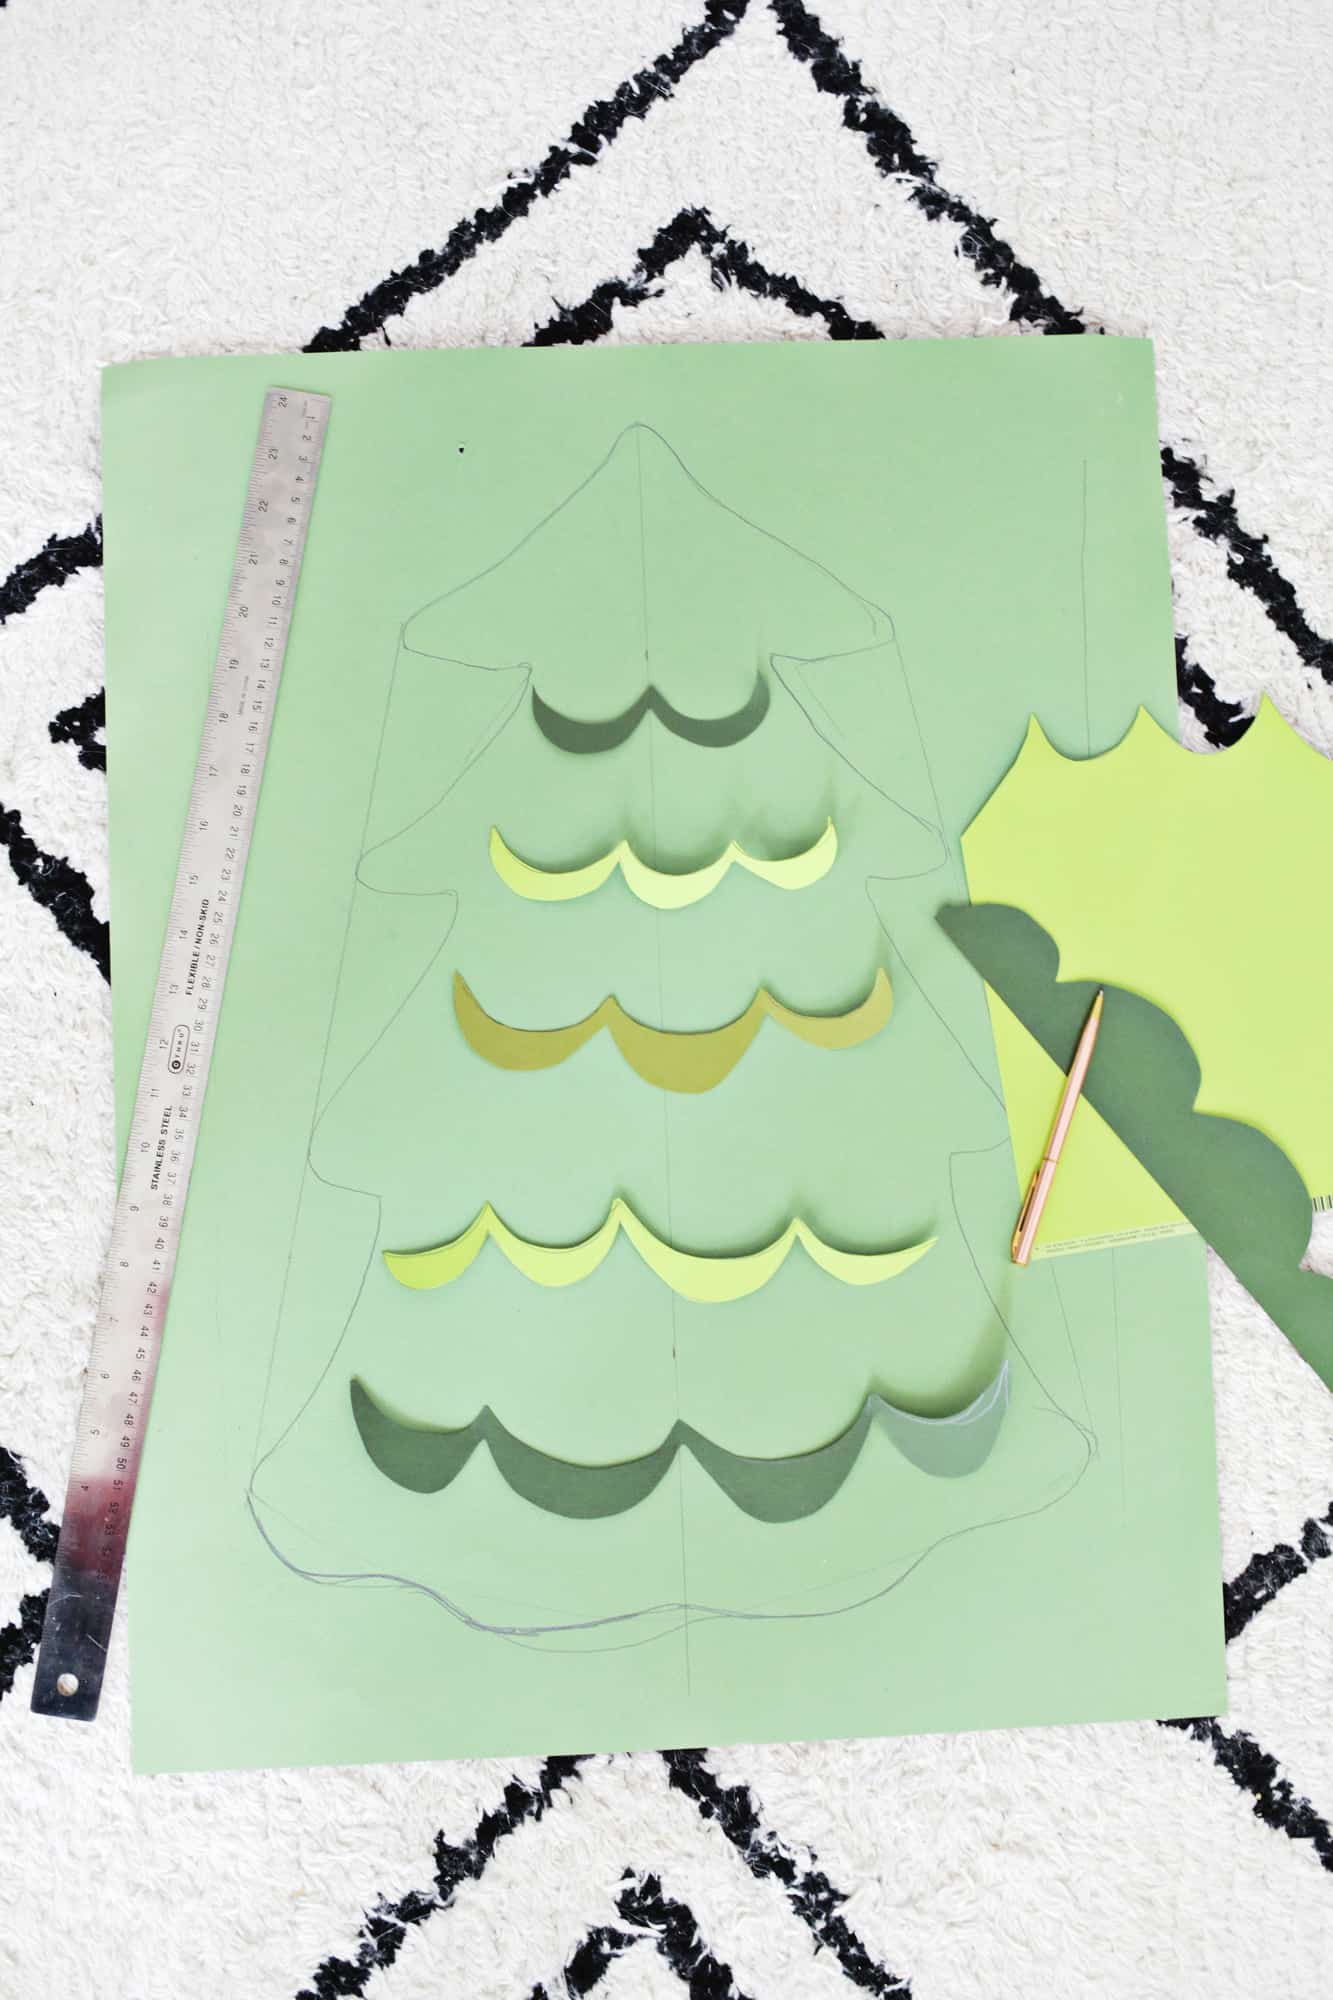
To give it a little more dimension, I used some other shades of green paper to make little waves of green lines all the way up the tree. Then I cut out the tree and used double-sided tape to attach my green embellishments to the tree front.
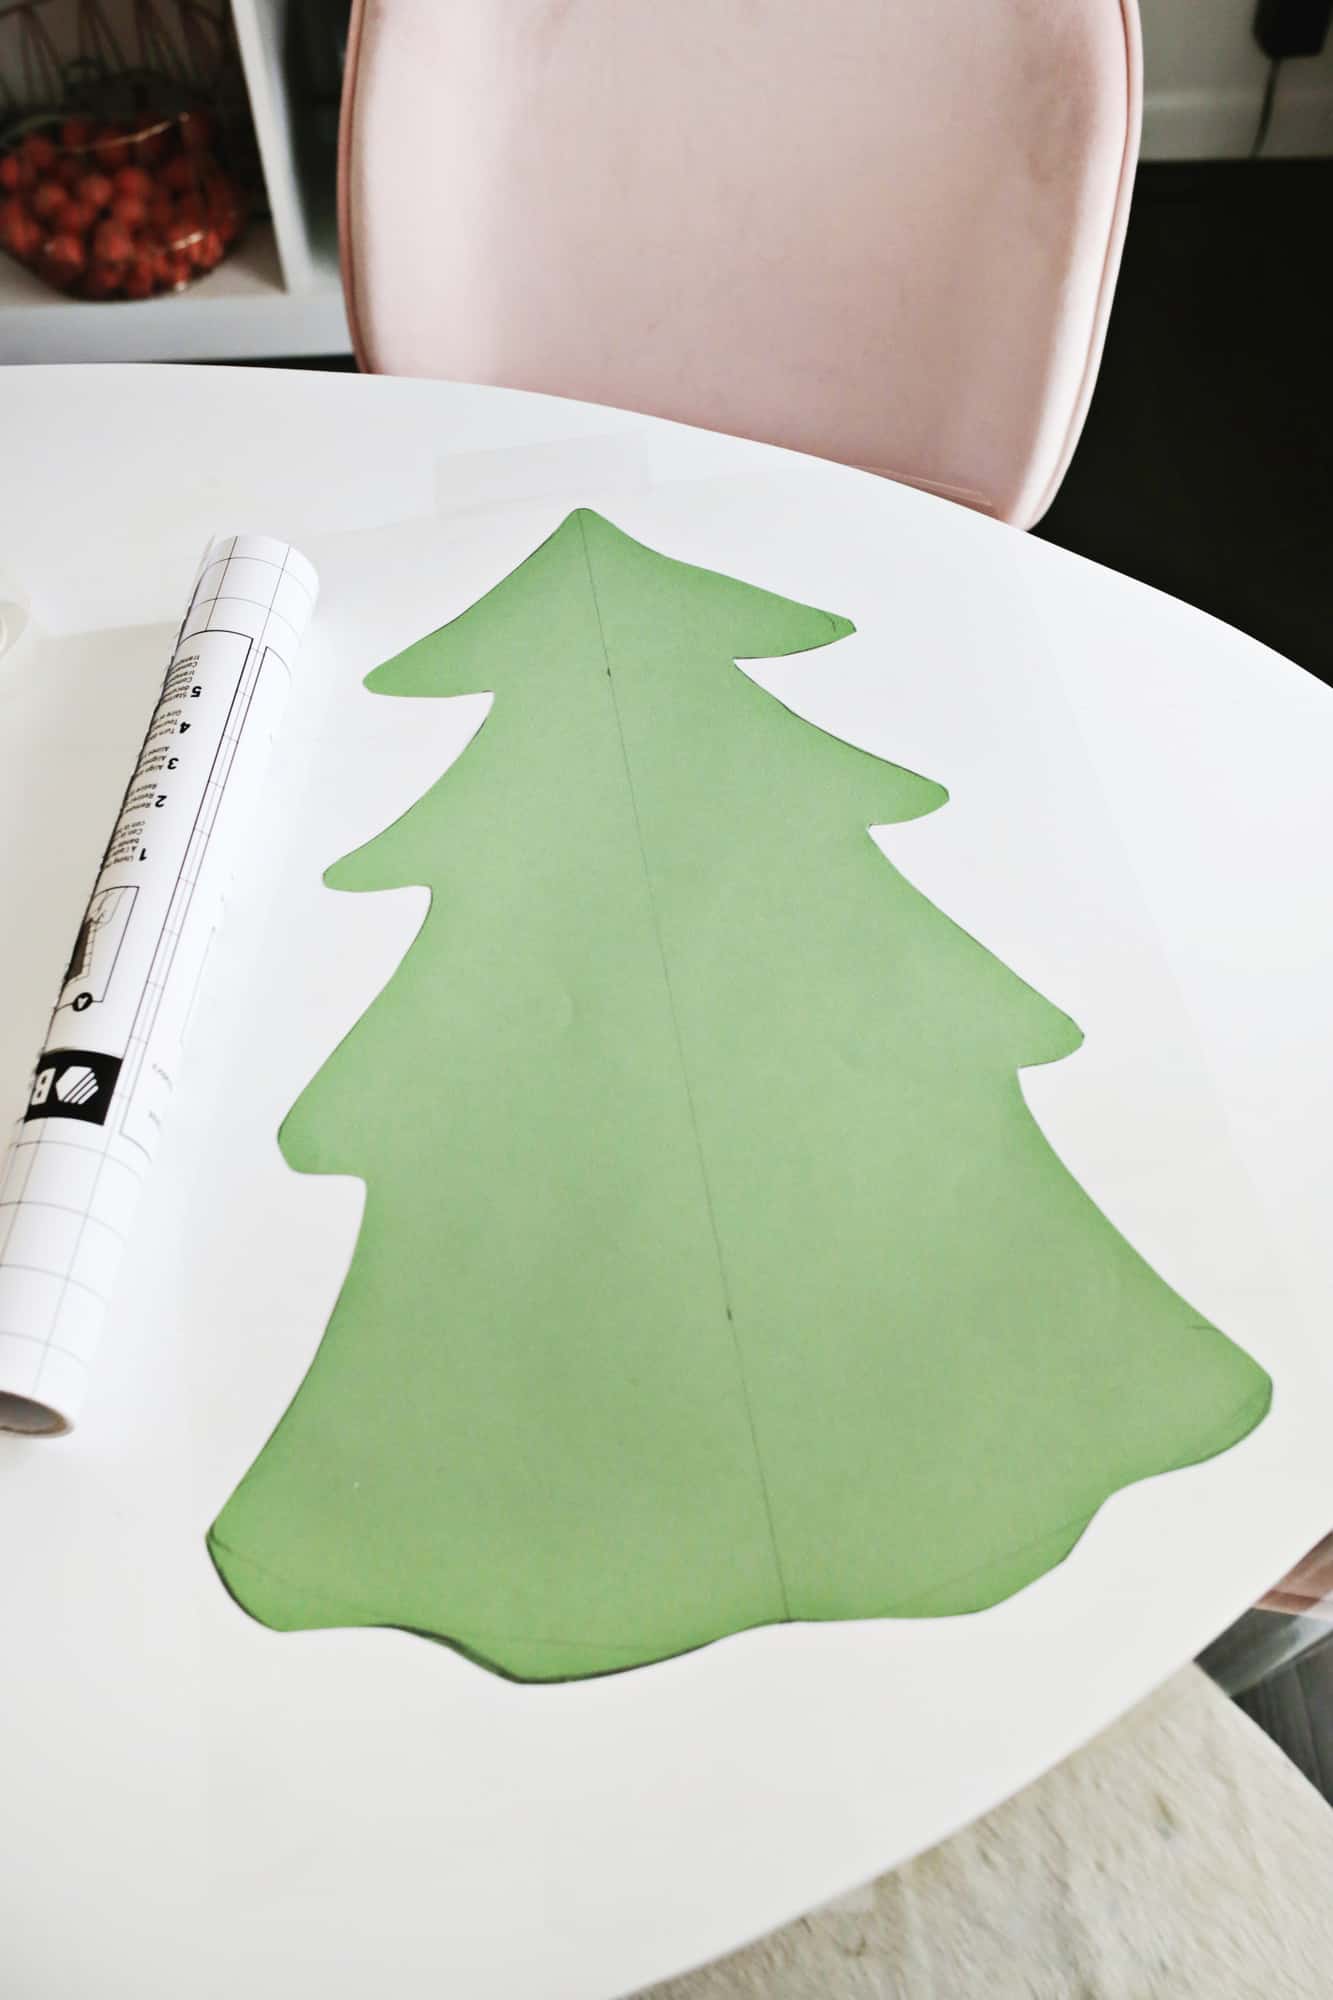
Once my tree was all cut out, I cut a piece of the self-laminating paper a bit taller than the tree, peeled off the backing, and laid it sticky-side-up on the table and put my tree front down onto the sticky paper so the front was covered. Then I cut and peeled off another piece and laid that on the back, pressing the laminating paper flat on the back and front sides. Then I cut the excess off around the tree, leaving a 1/2″ border all around it so the edges were still sealed.
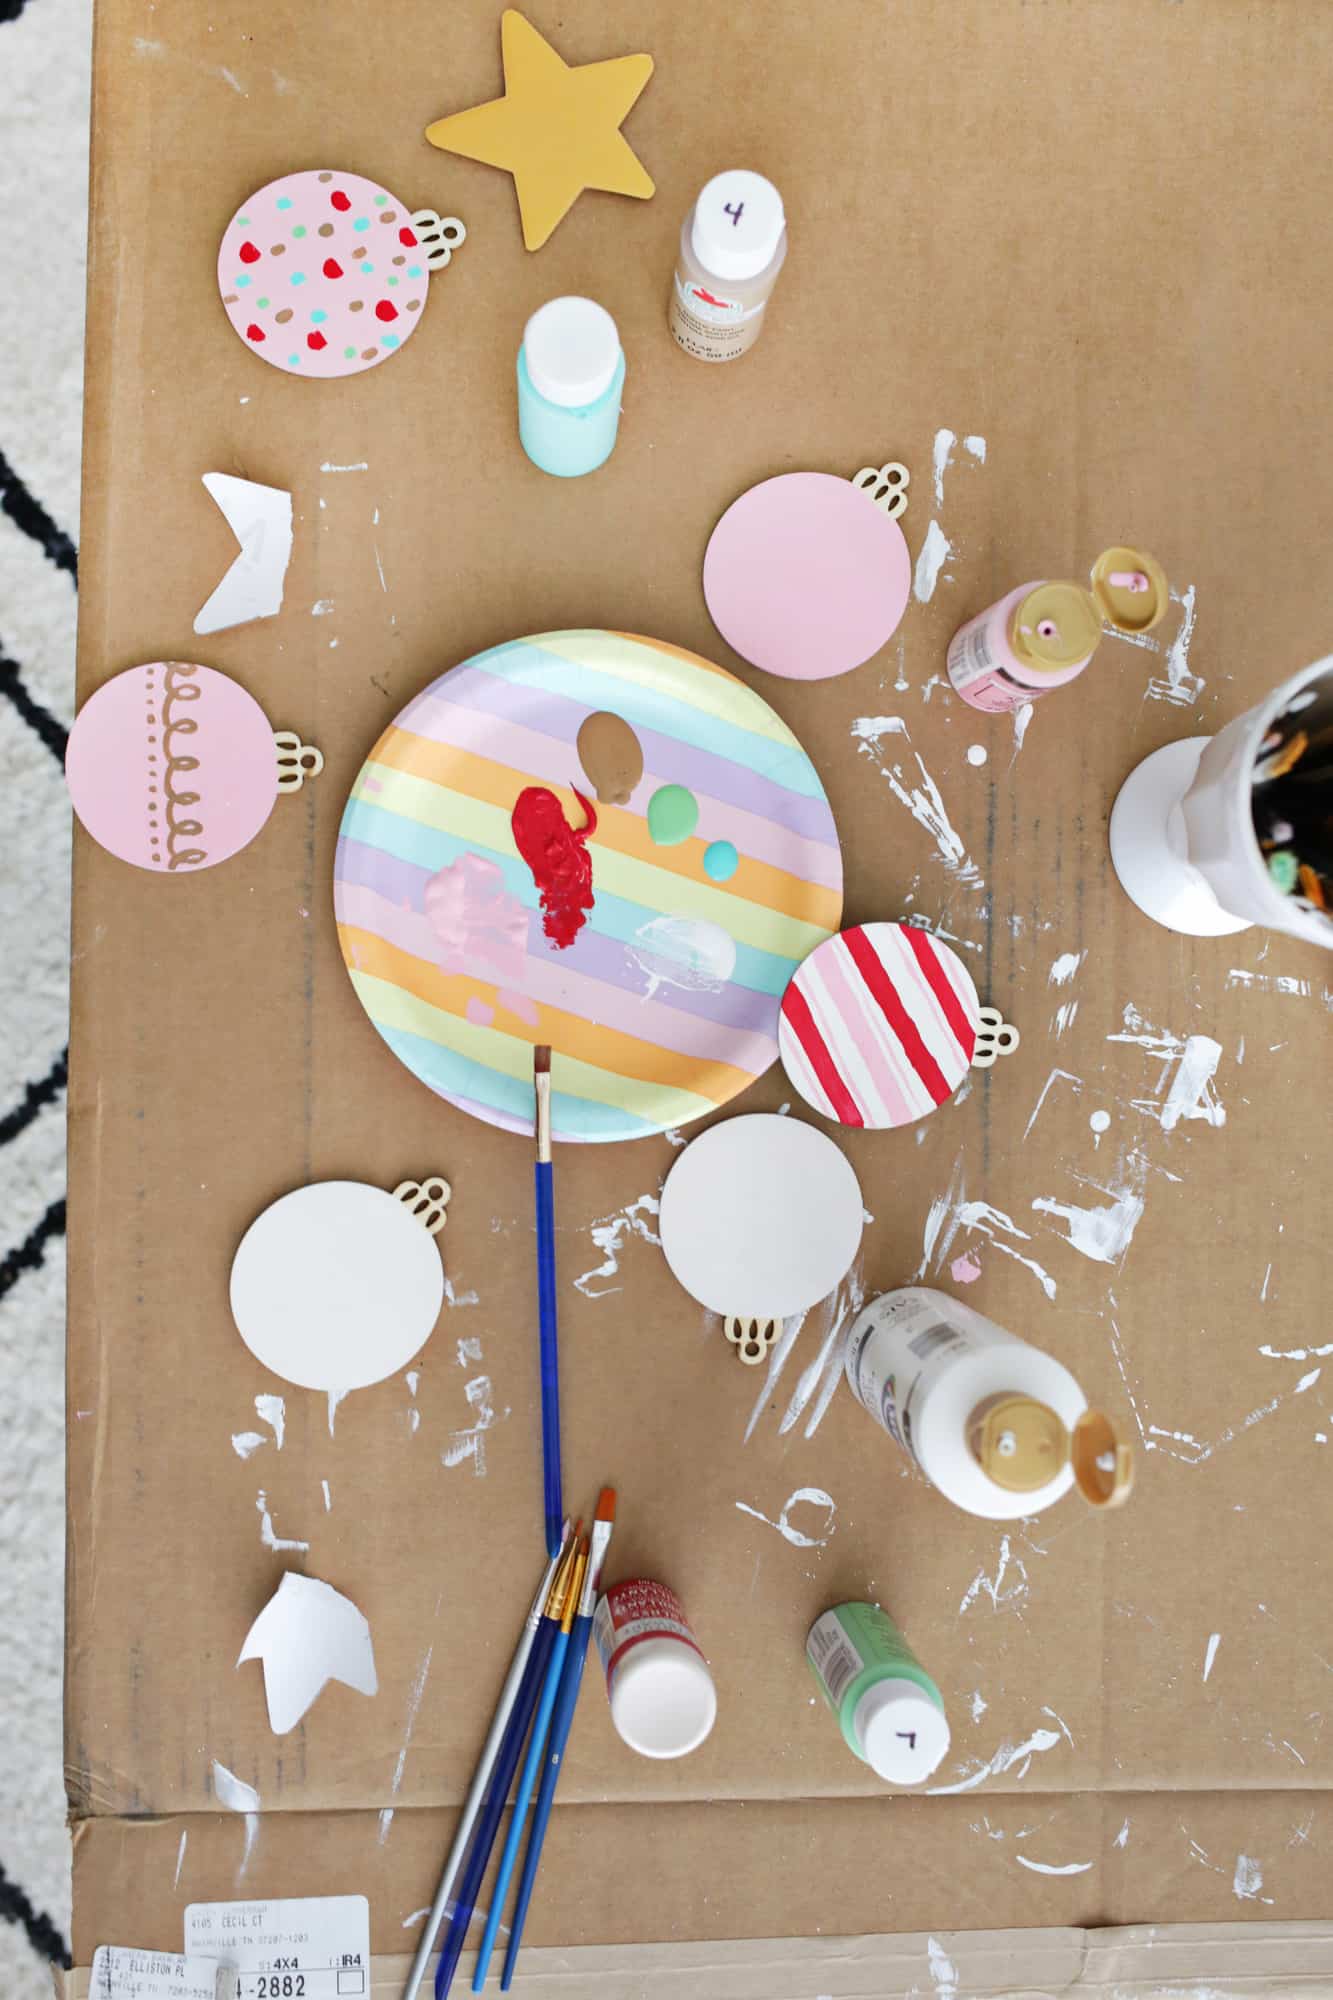
Once your tree is laminated, it’s time for the ornaments!
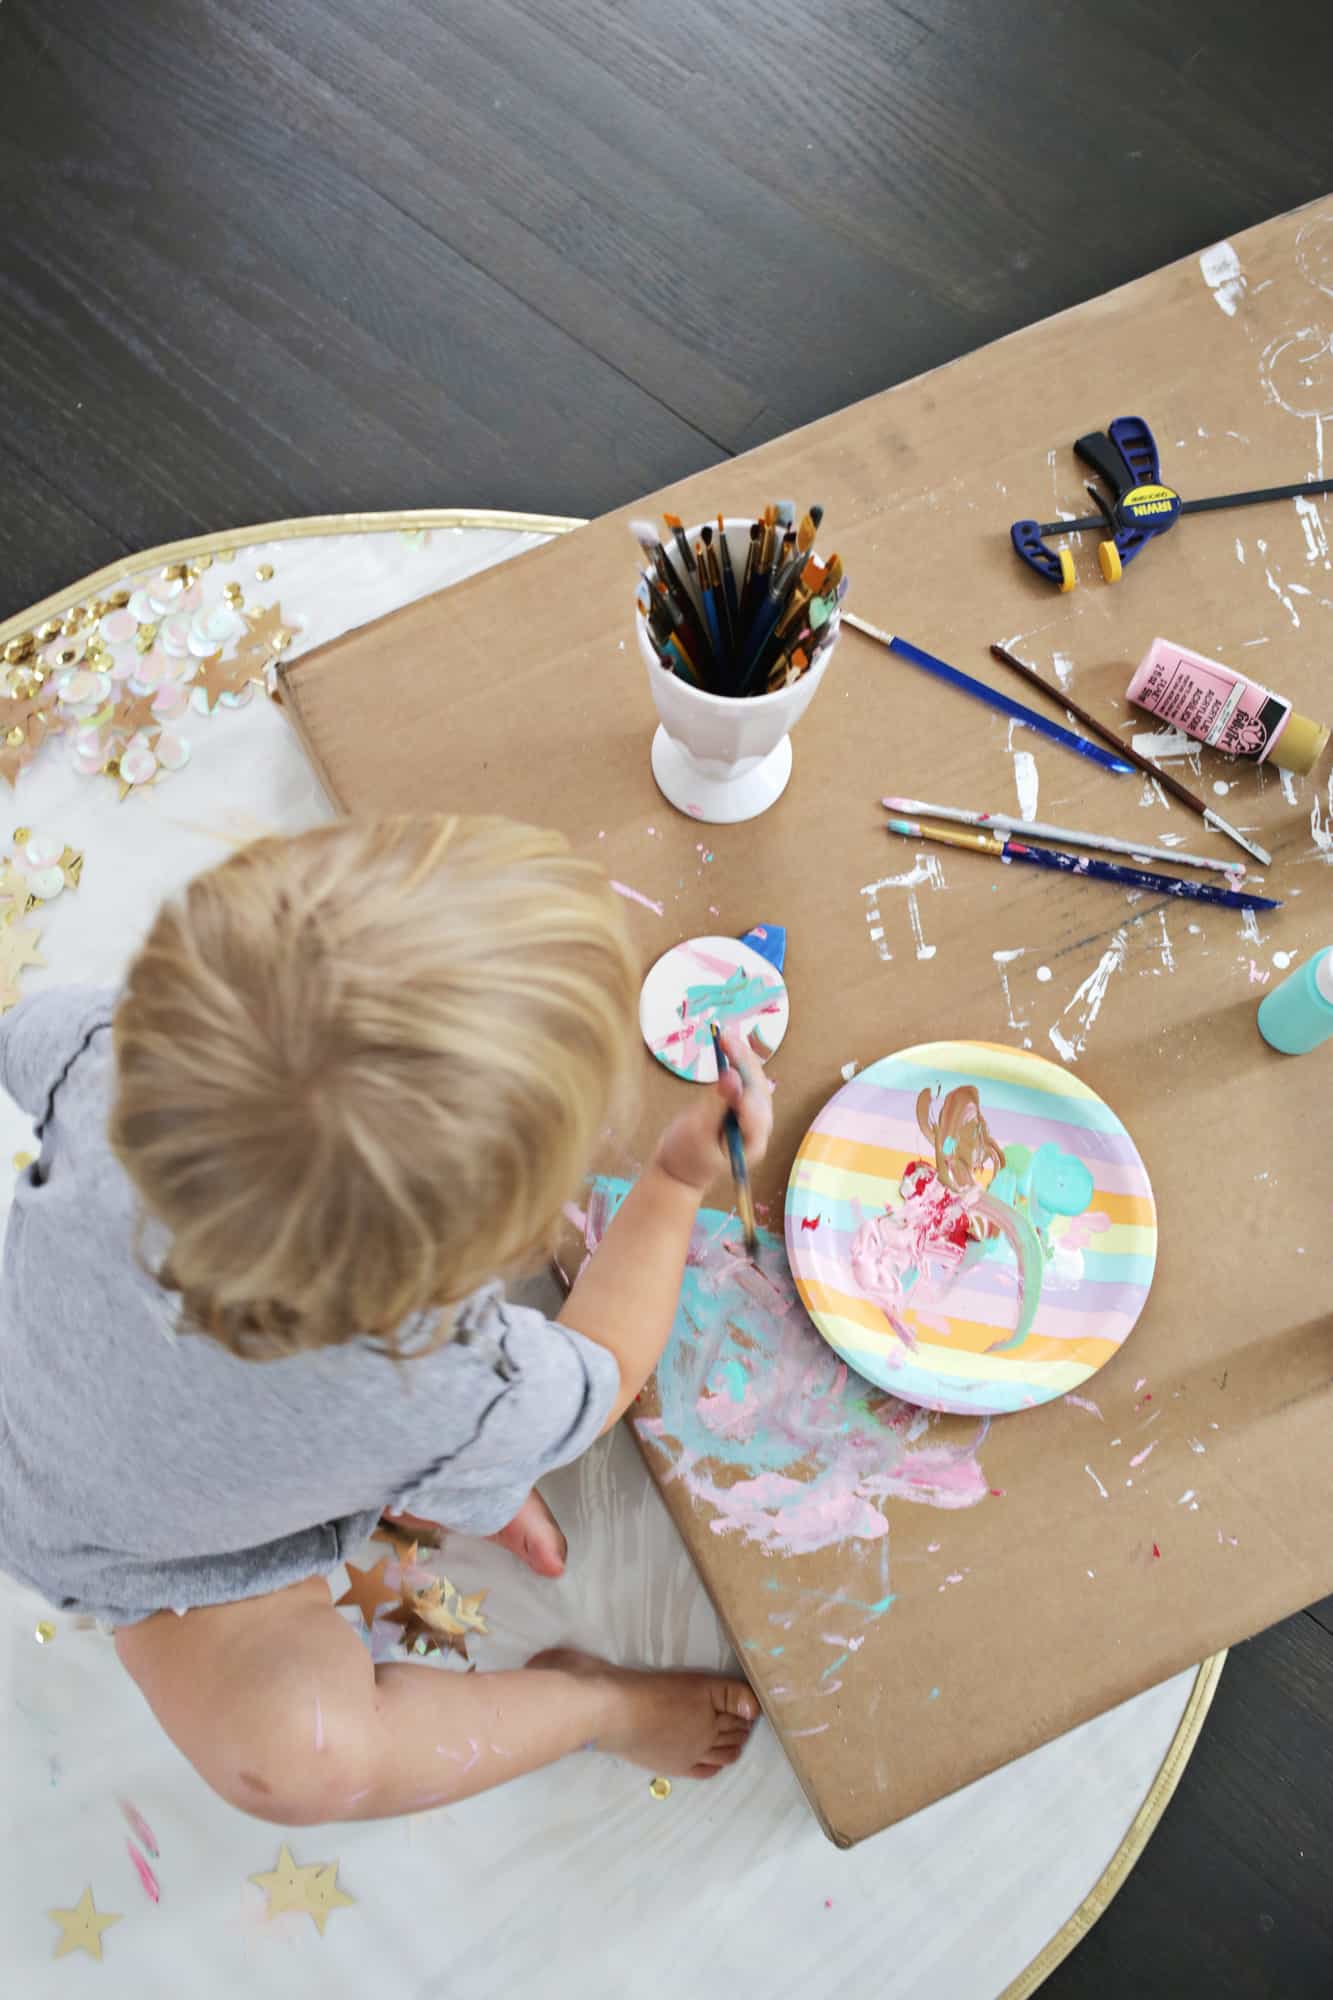
Painting with an 18-month-old can be a little messy to say the least, but she loved it!
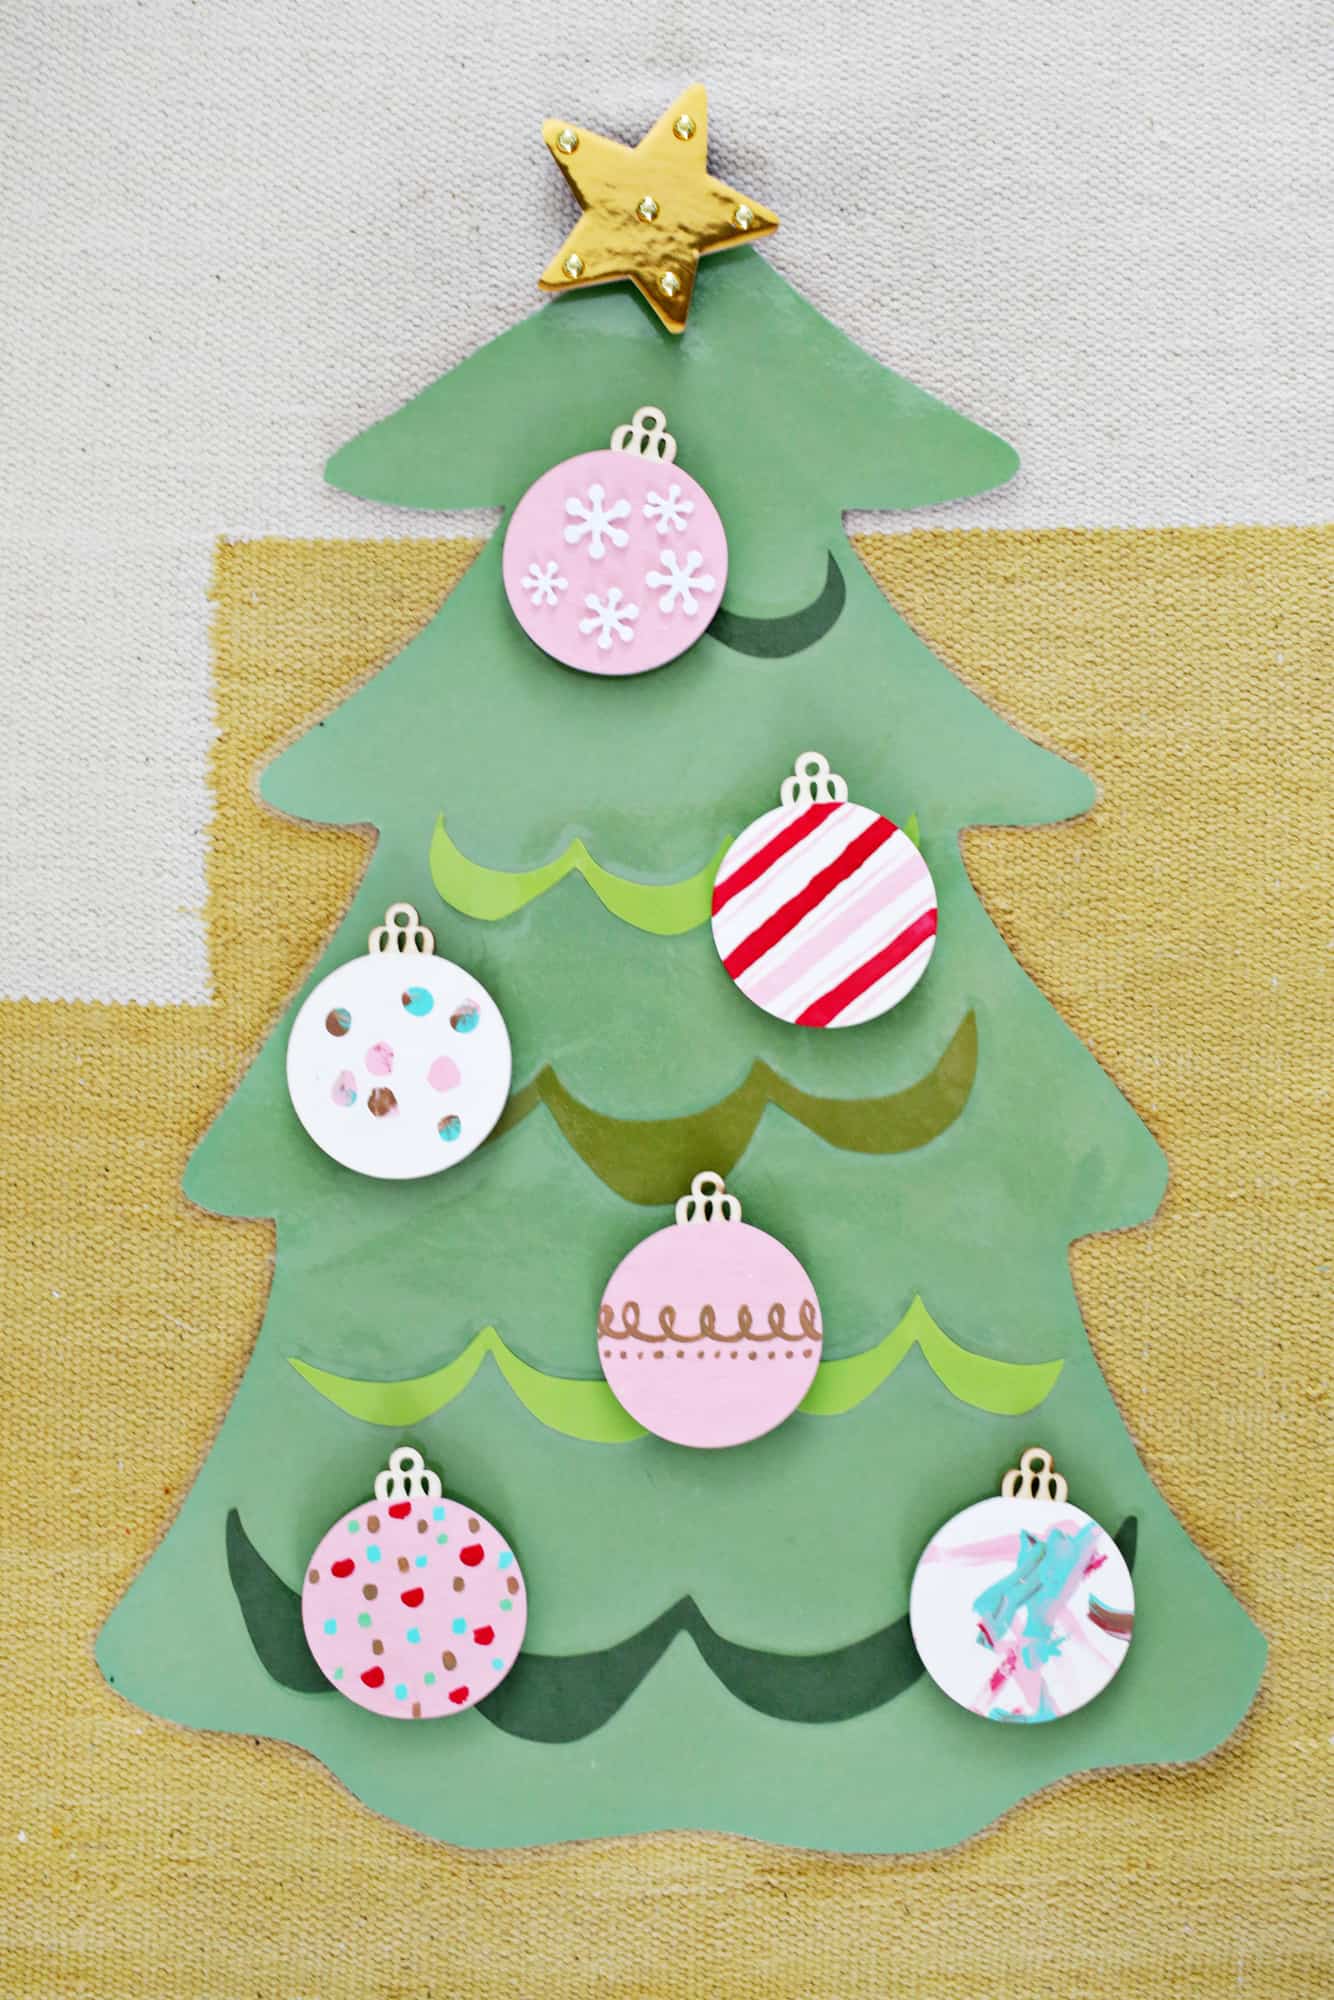
For Lola’s ornaments, we did one where she painted whatever she wanted, one where we dipped her fingers in the paint to make little fingerprints dots, and used snowflake stickers to decorate another ornament so we would have a bit of a different look for each. I also added some gold contact paper to the star and some stud stickers to make that one stand out a bit. Once the ornaments were dry, we added magnets to the back of each and added magnet strips to the back of the tree so we could hang them all up!
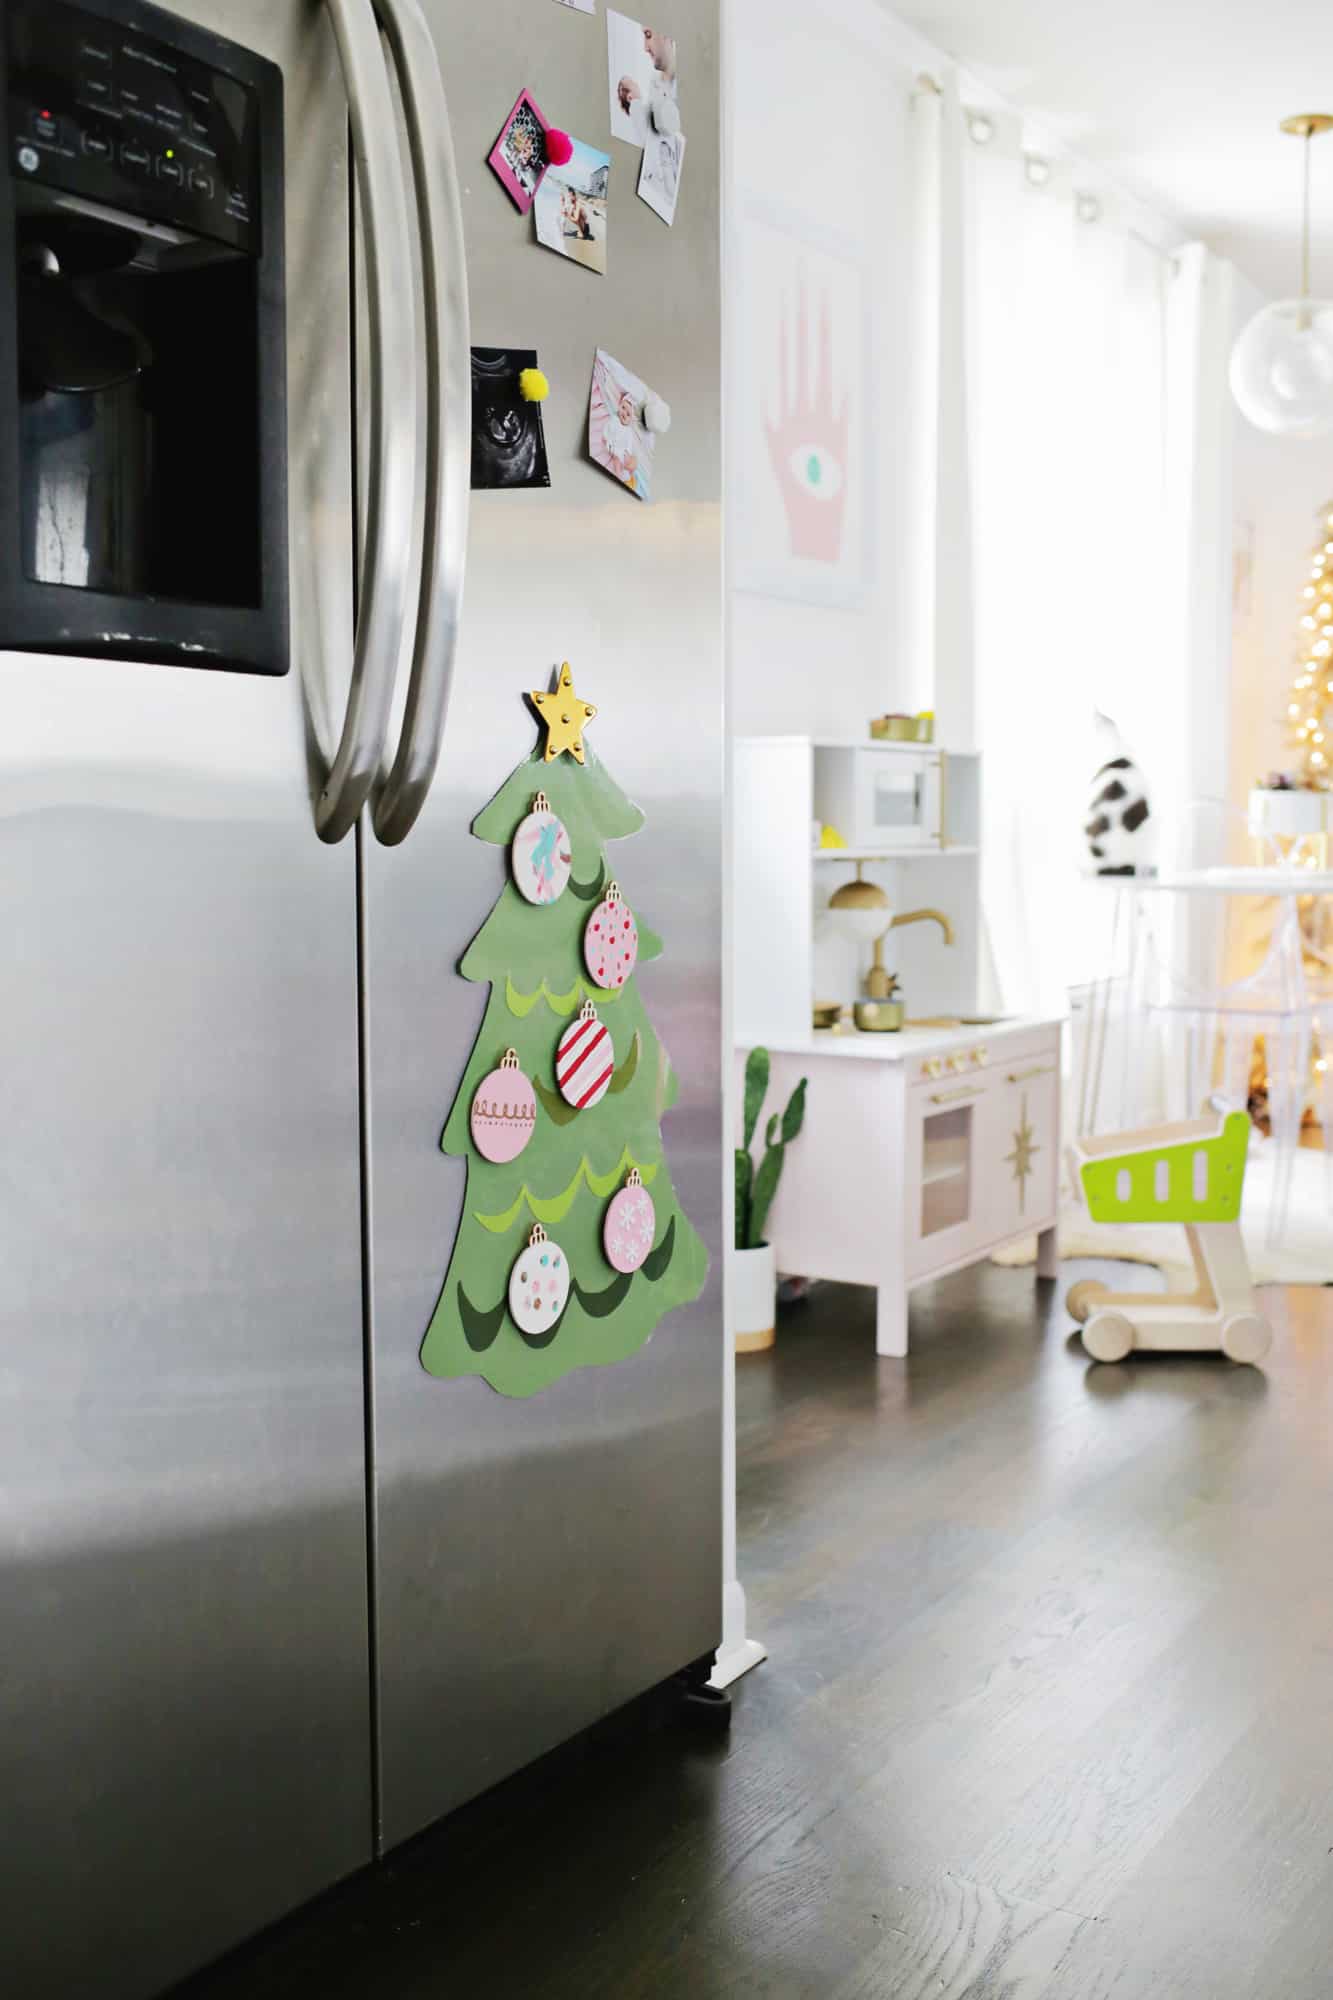
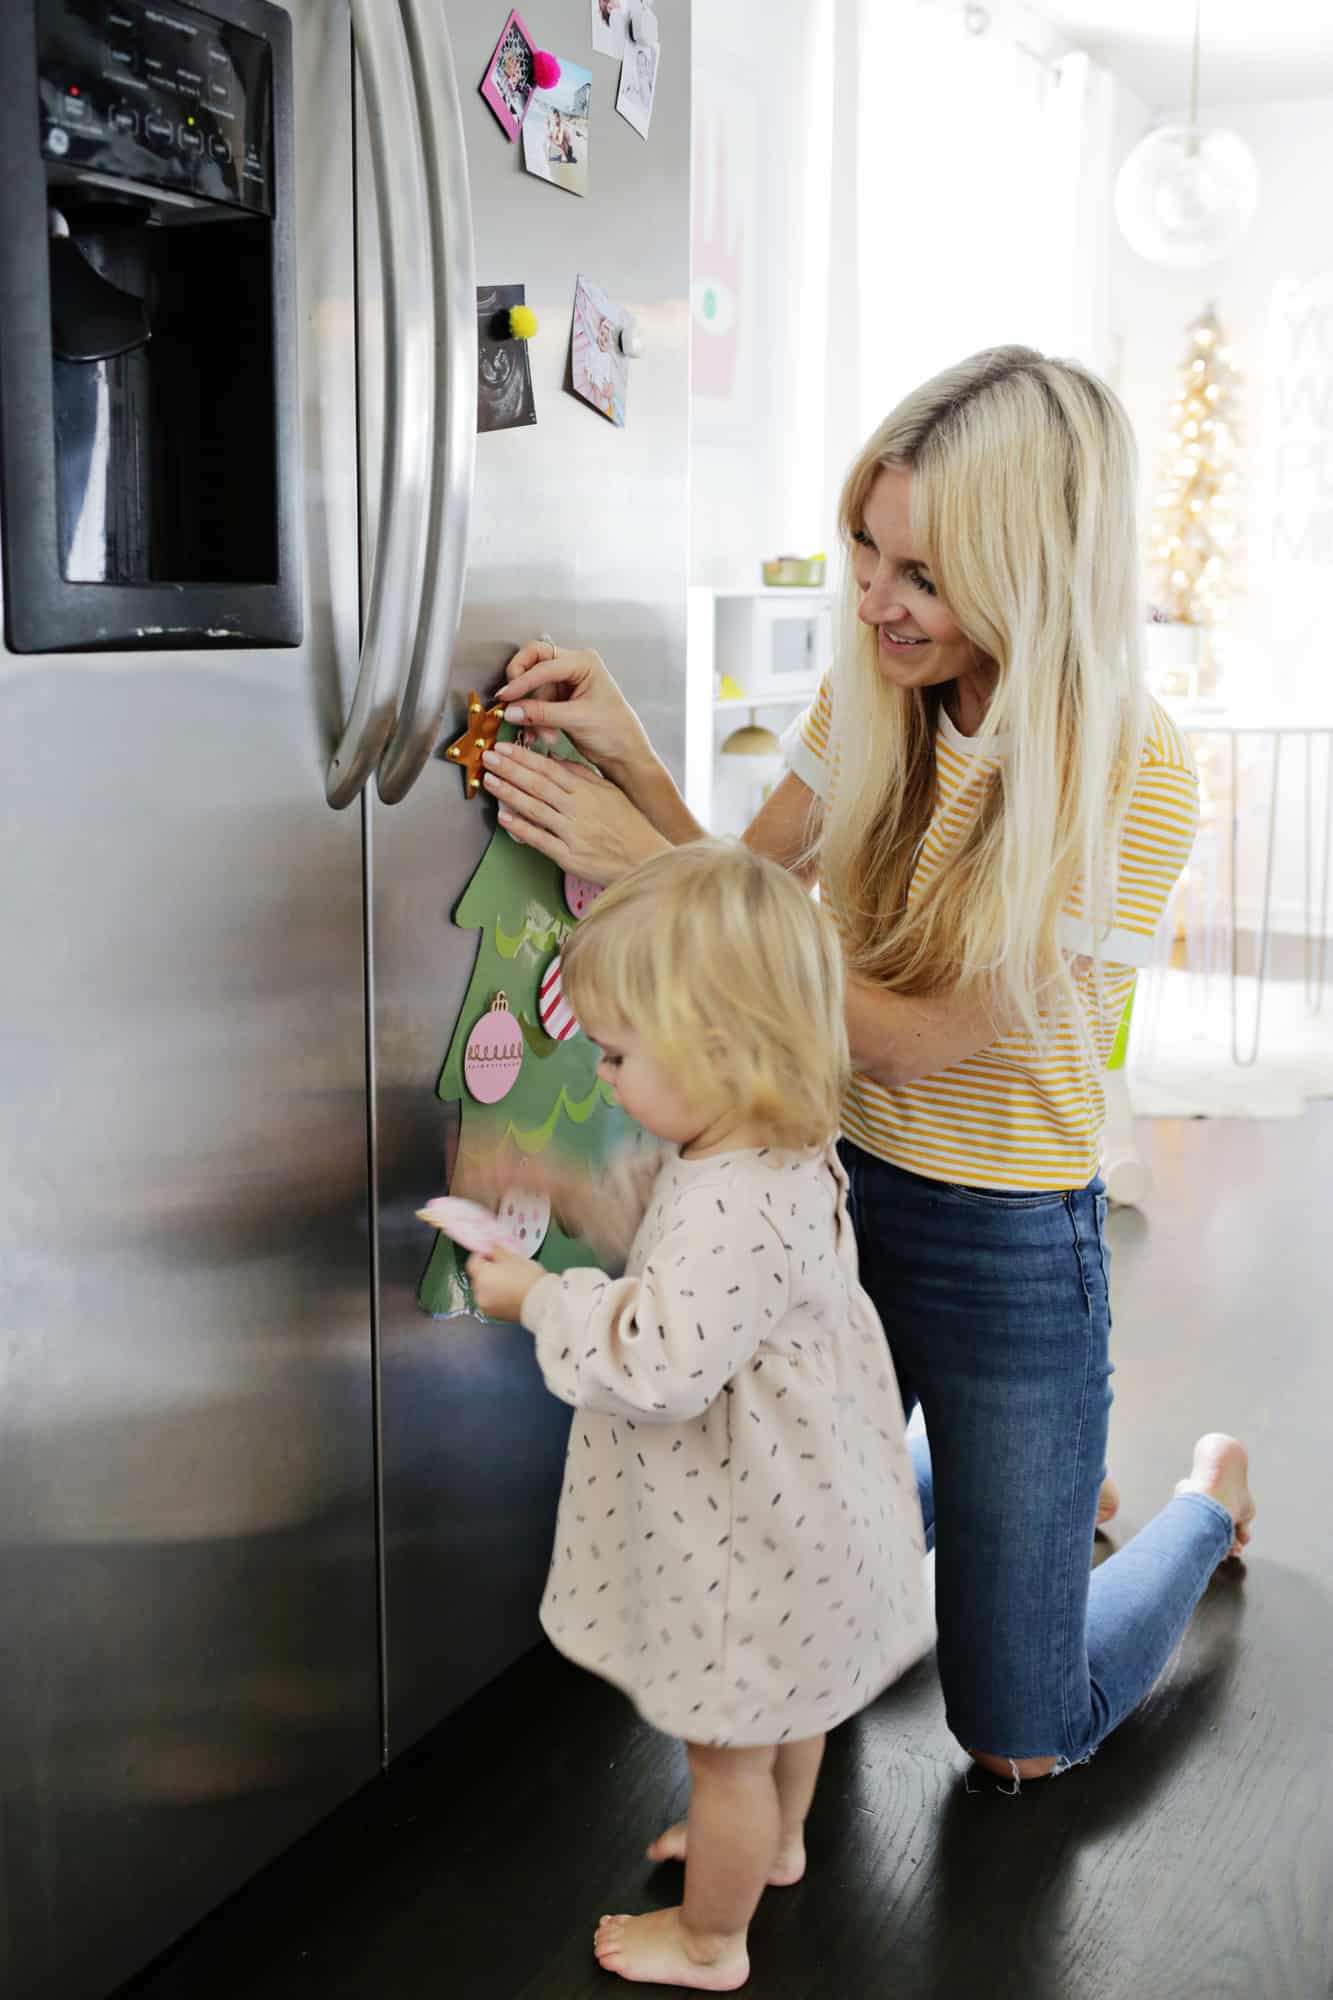
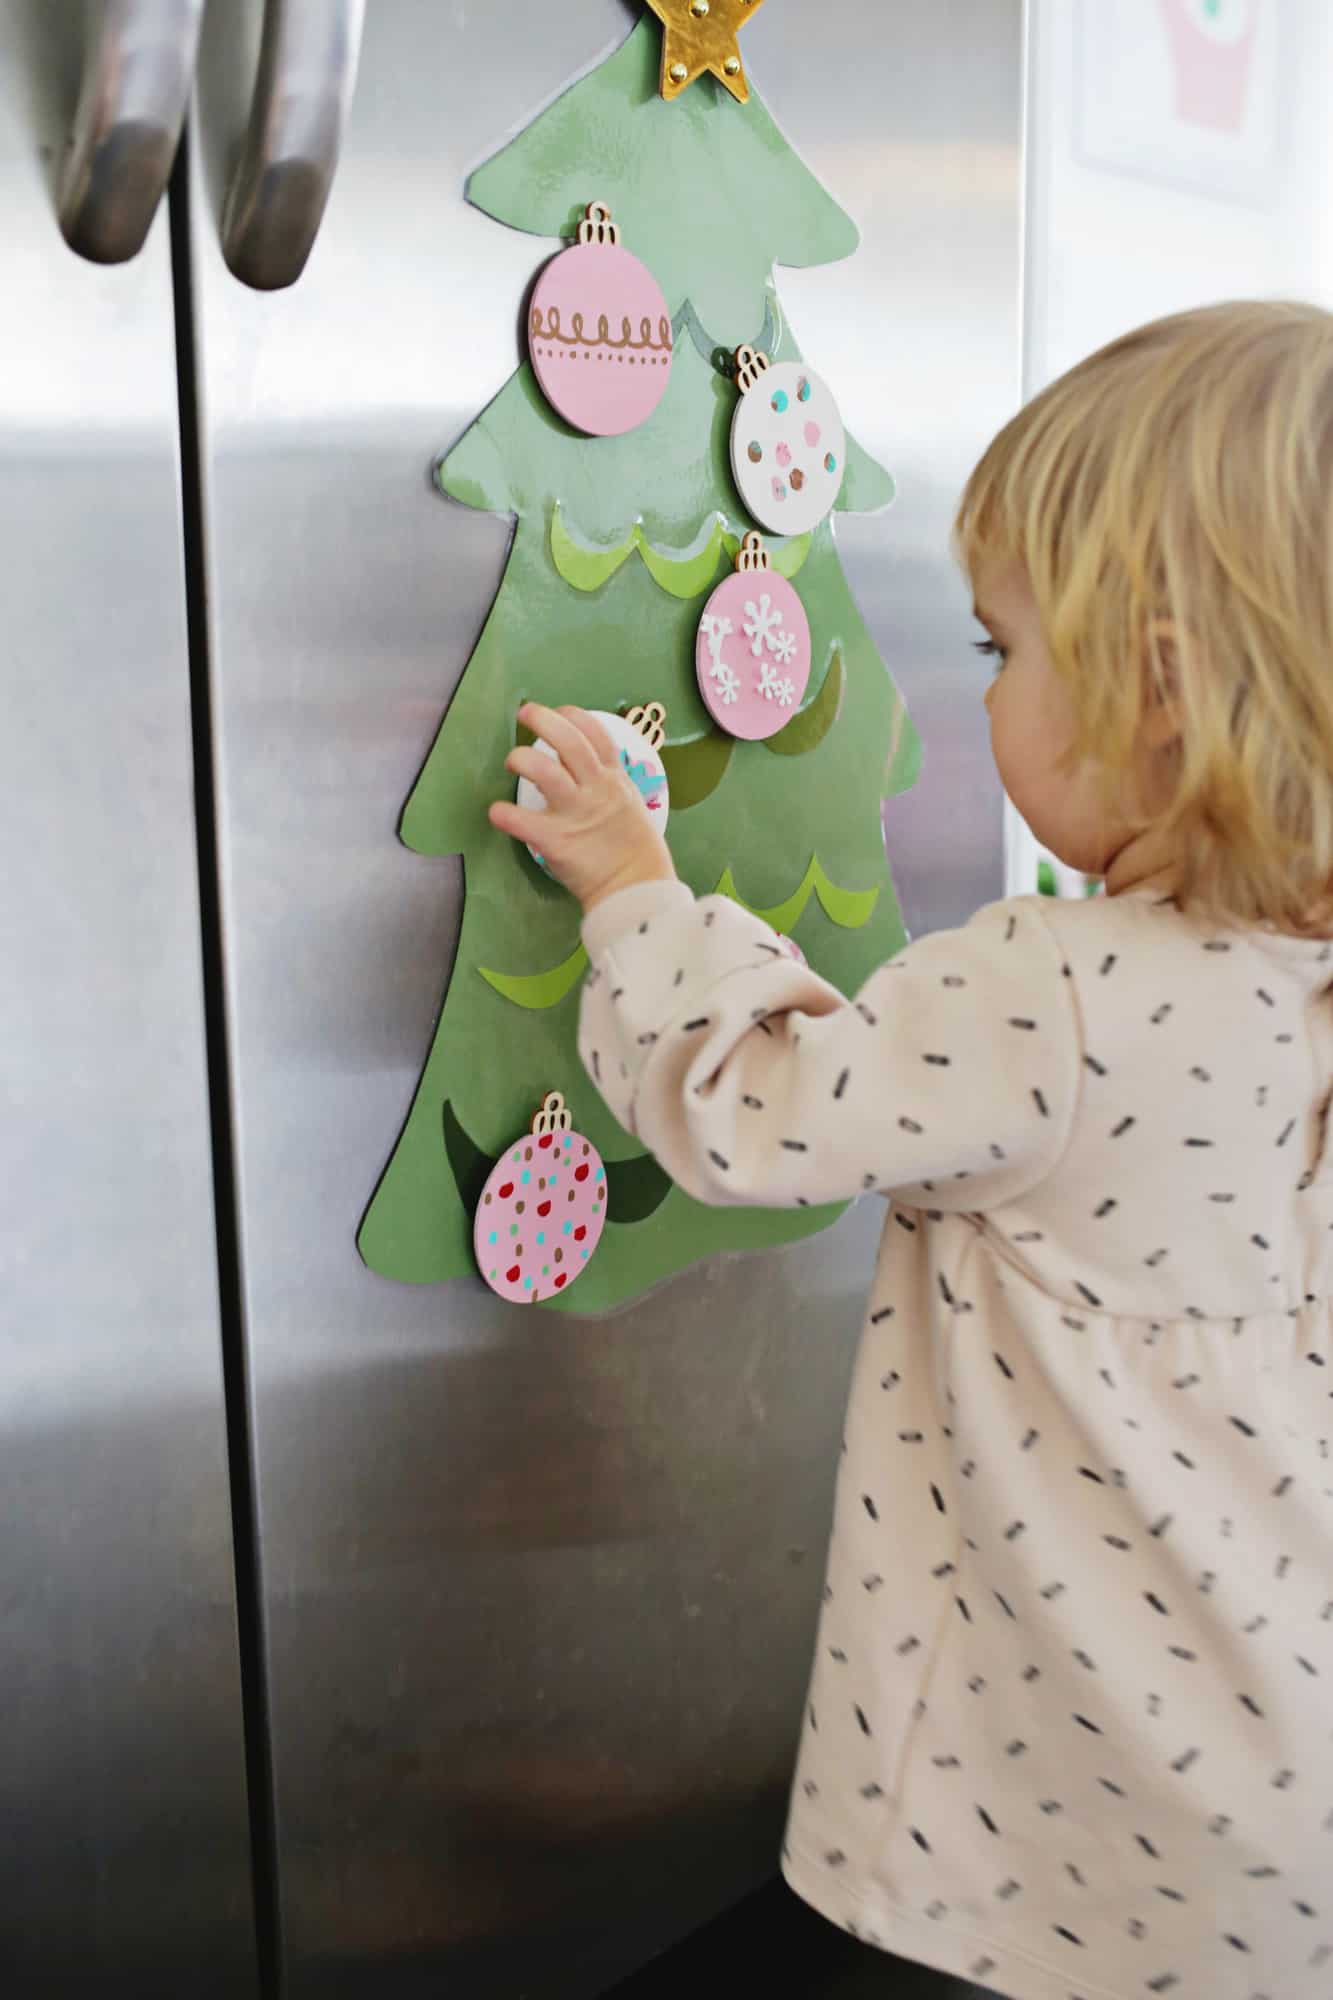
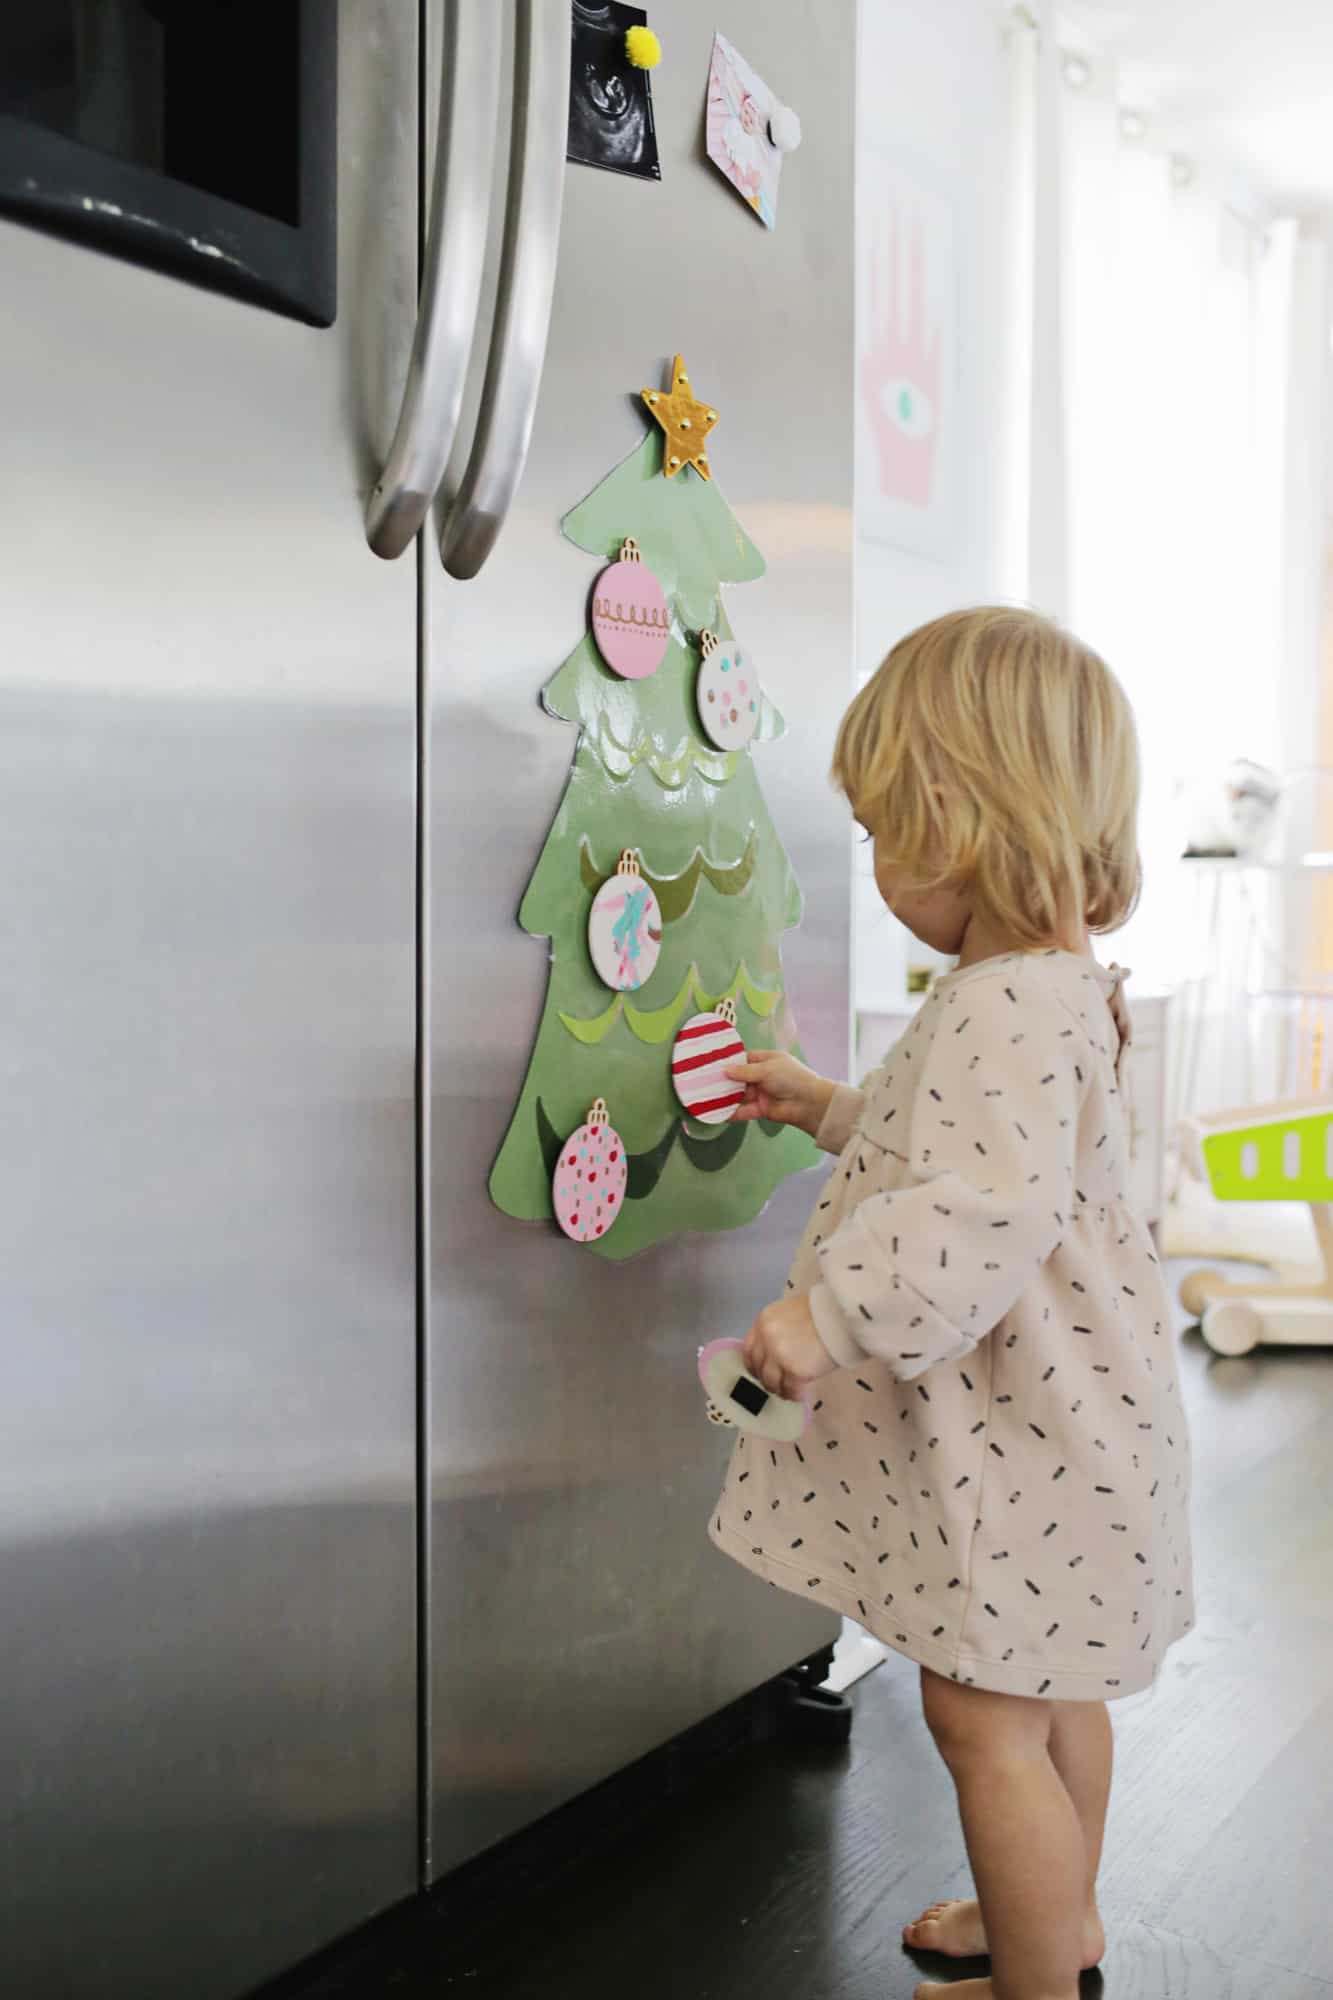 So sweet! Her favorite thing is to take things out/off and put things back in/on, so this is a great activity for this age (and it makes your fridge feel festive too!). Crafts are such a great way to stop for a few moments and make some memories together, no matter the season. Hope you’re finding lots of ways to feel the holiday warmth with the little ones in your life! xo. Laura
7 Comments
This is absolutely adorable and I’m definitely going to try it with our two smallest girls. They are going to love it. Thank you so much for sharing. Merry Christmas to you and your family.
Aw, hope you and the girls have fun!
Laura
This is such a gorgeous idea! A great craft to keep the kids entertained. Thanks for the inspiration. Happy holidays!
Thank you!
Laura 🙂
This is actually such a great idea for those of us who live in tiny apartments and don’t have enough space for an actual tree!! 🙂
Charmaine Ng | Architecture & Lifestyle Blog
http://charmainenyw.com
Love it for my grand child sure will do it
I love this idea! I wanted to so something like this as well! Love that you used construction paper! Gonna have to make this for my 1.5 & 3 year old!