
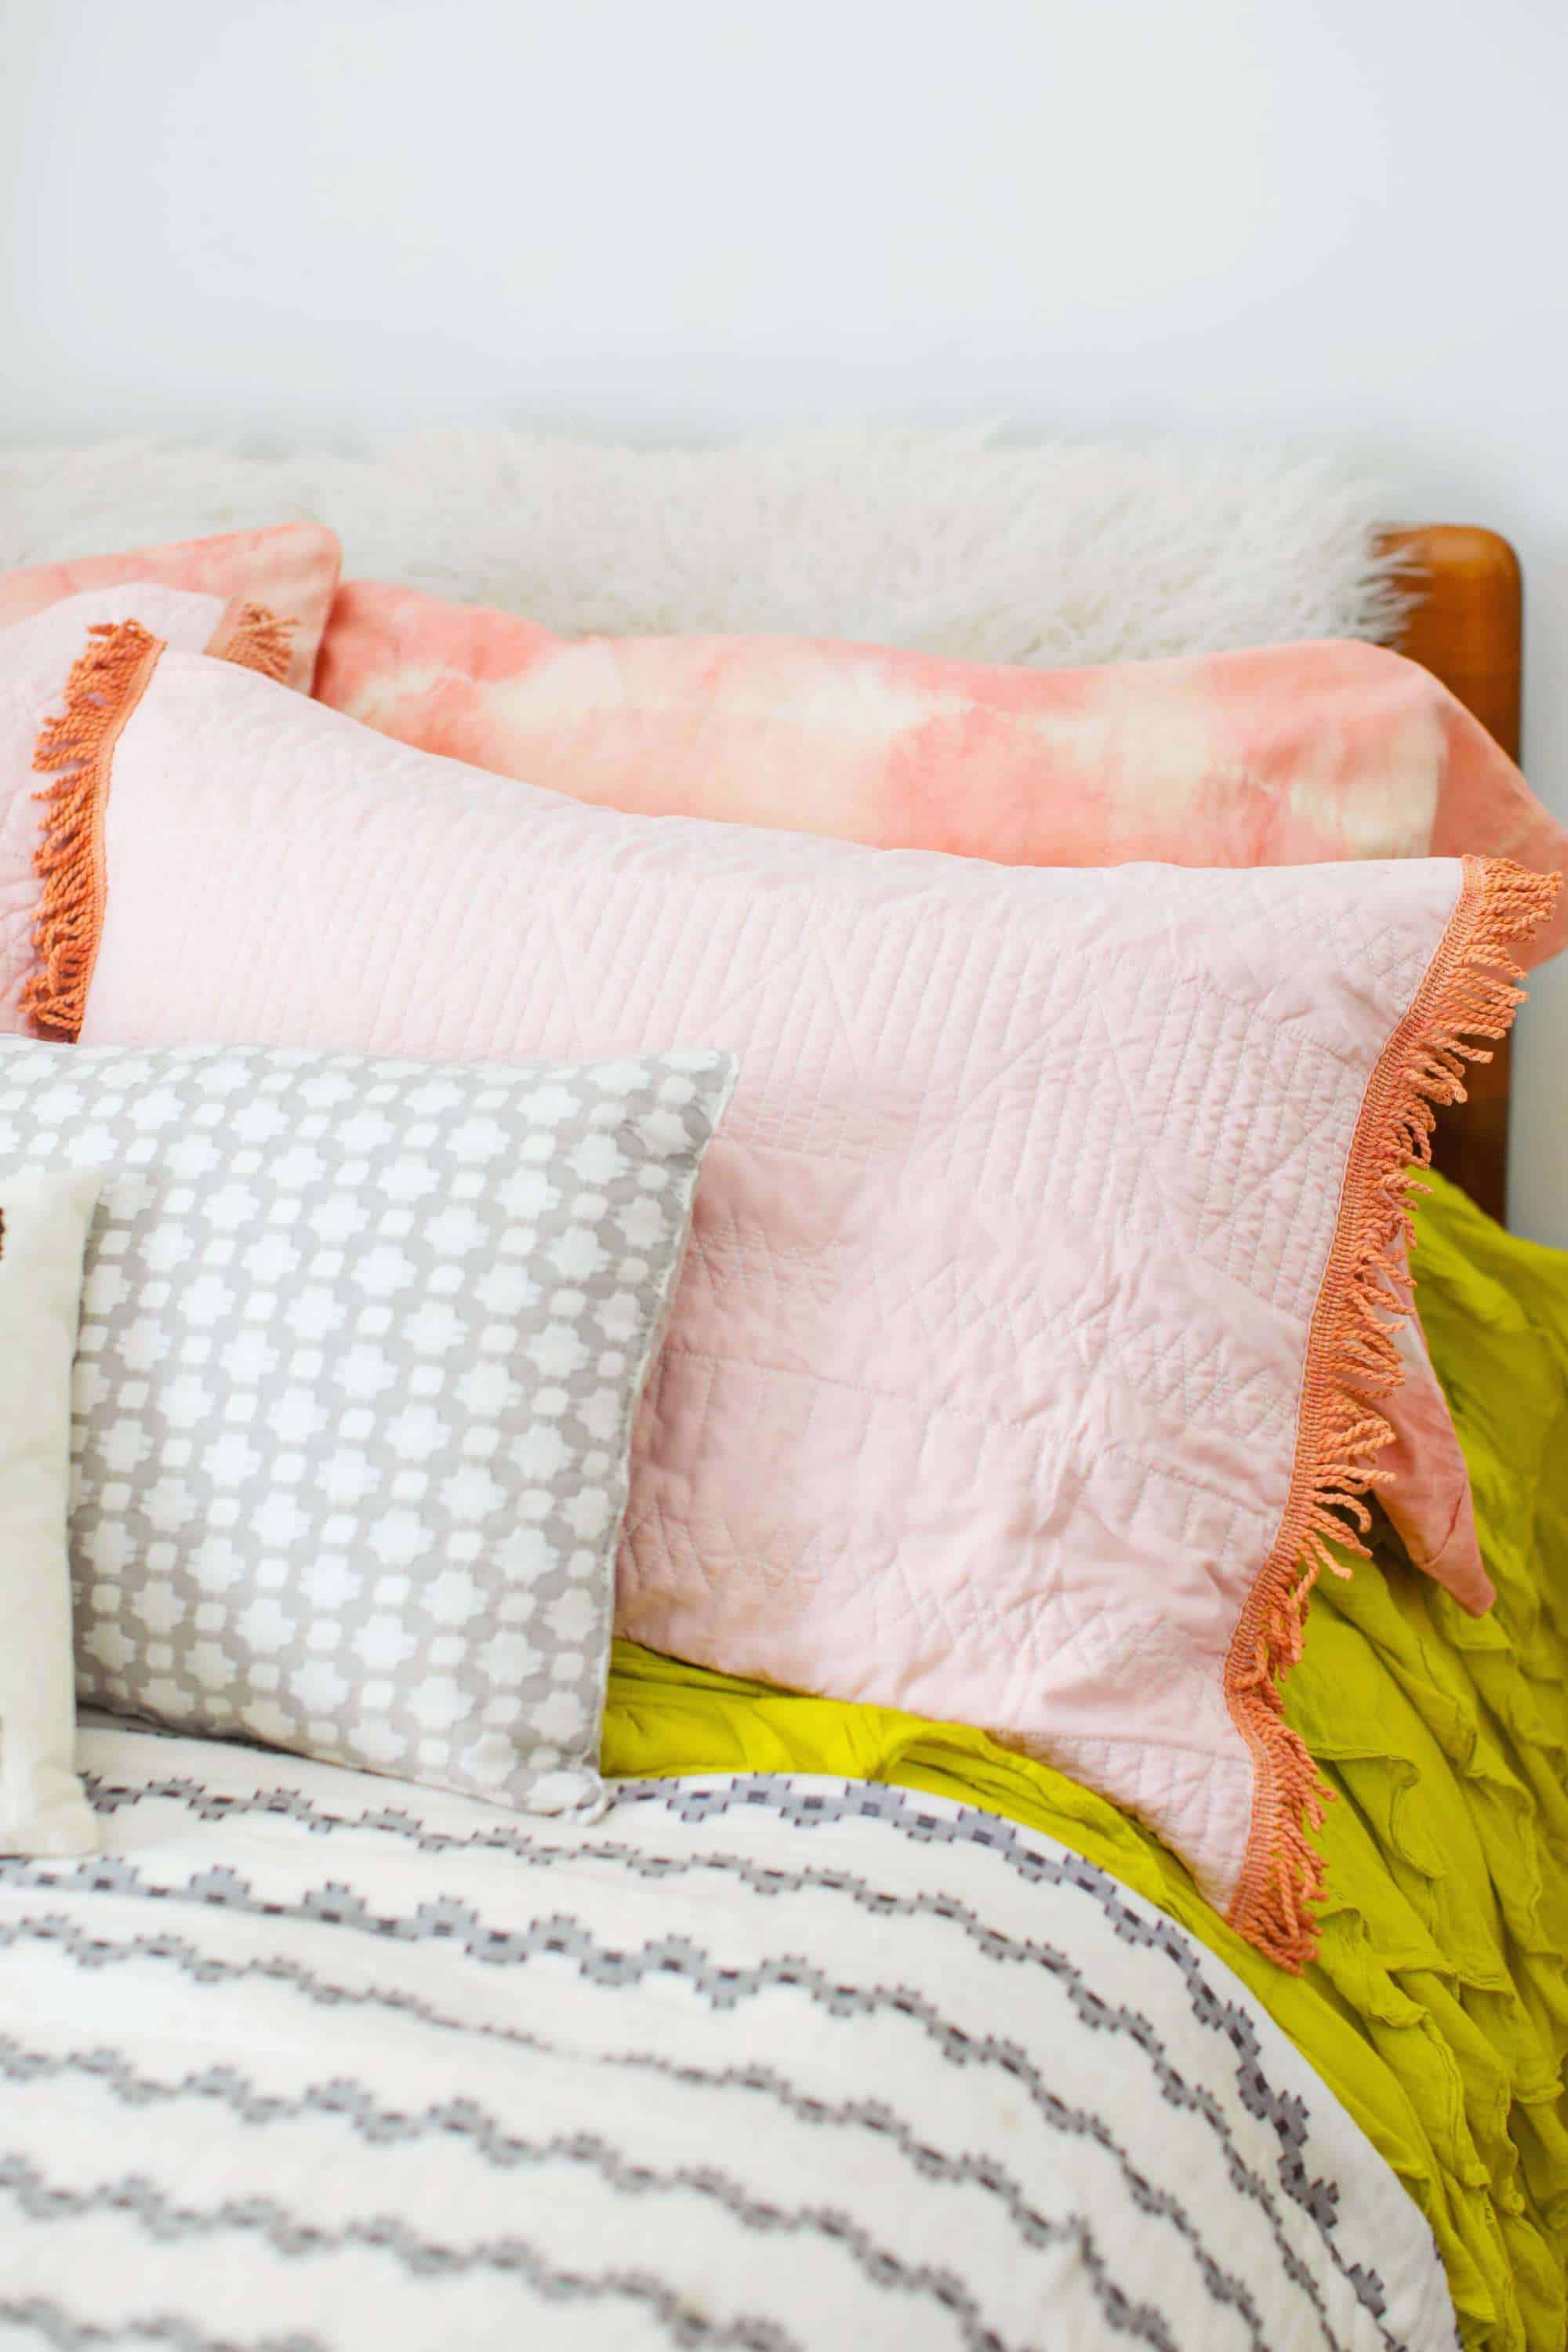
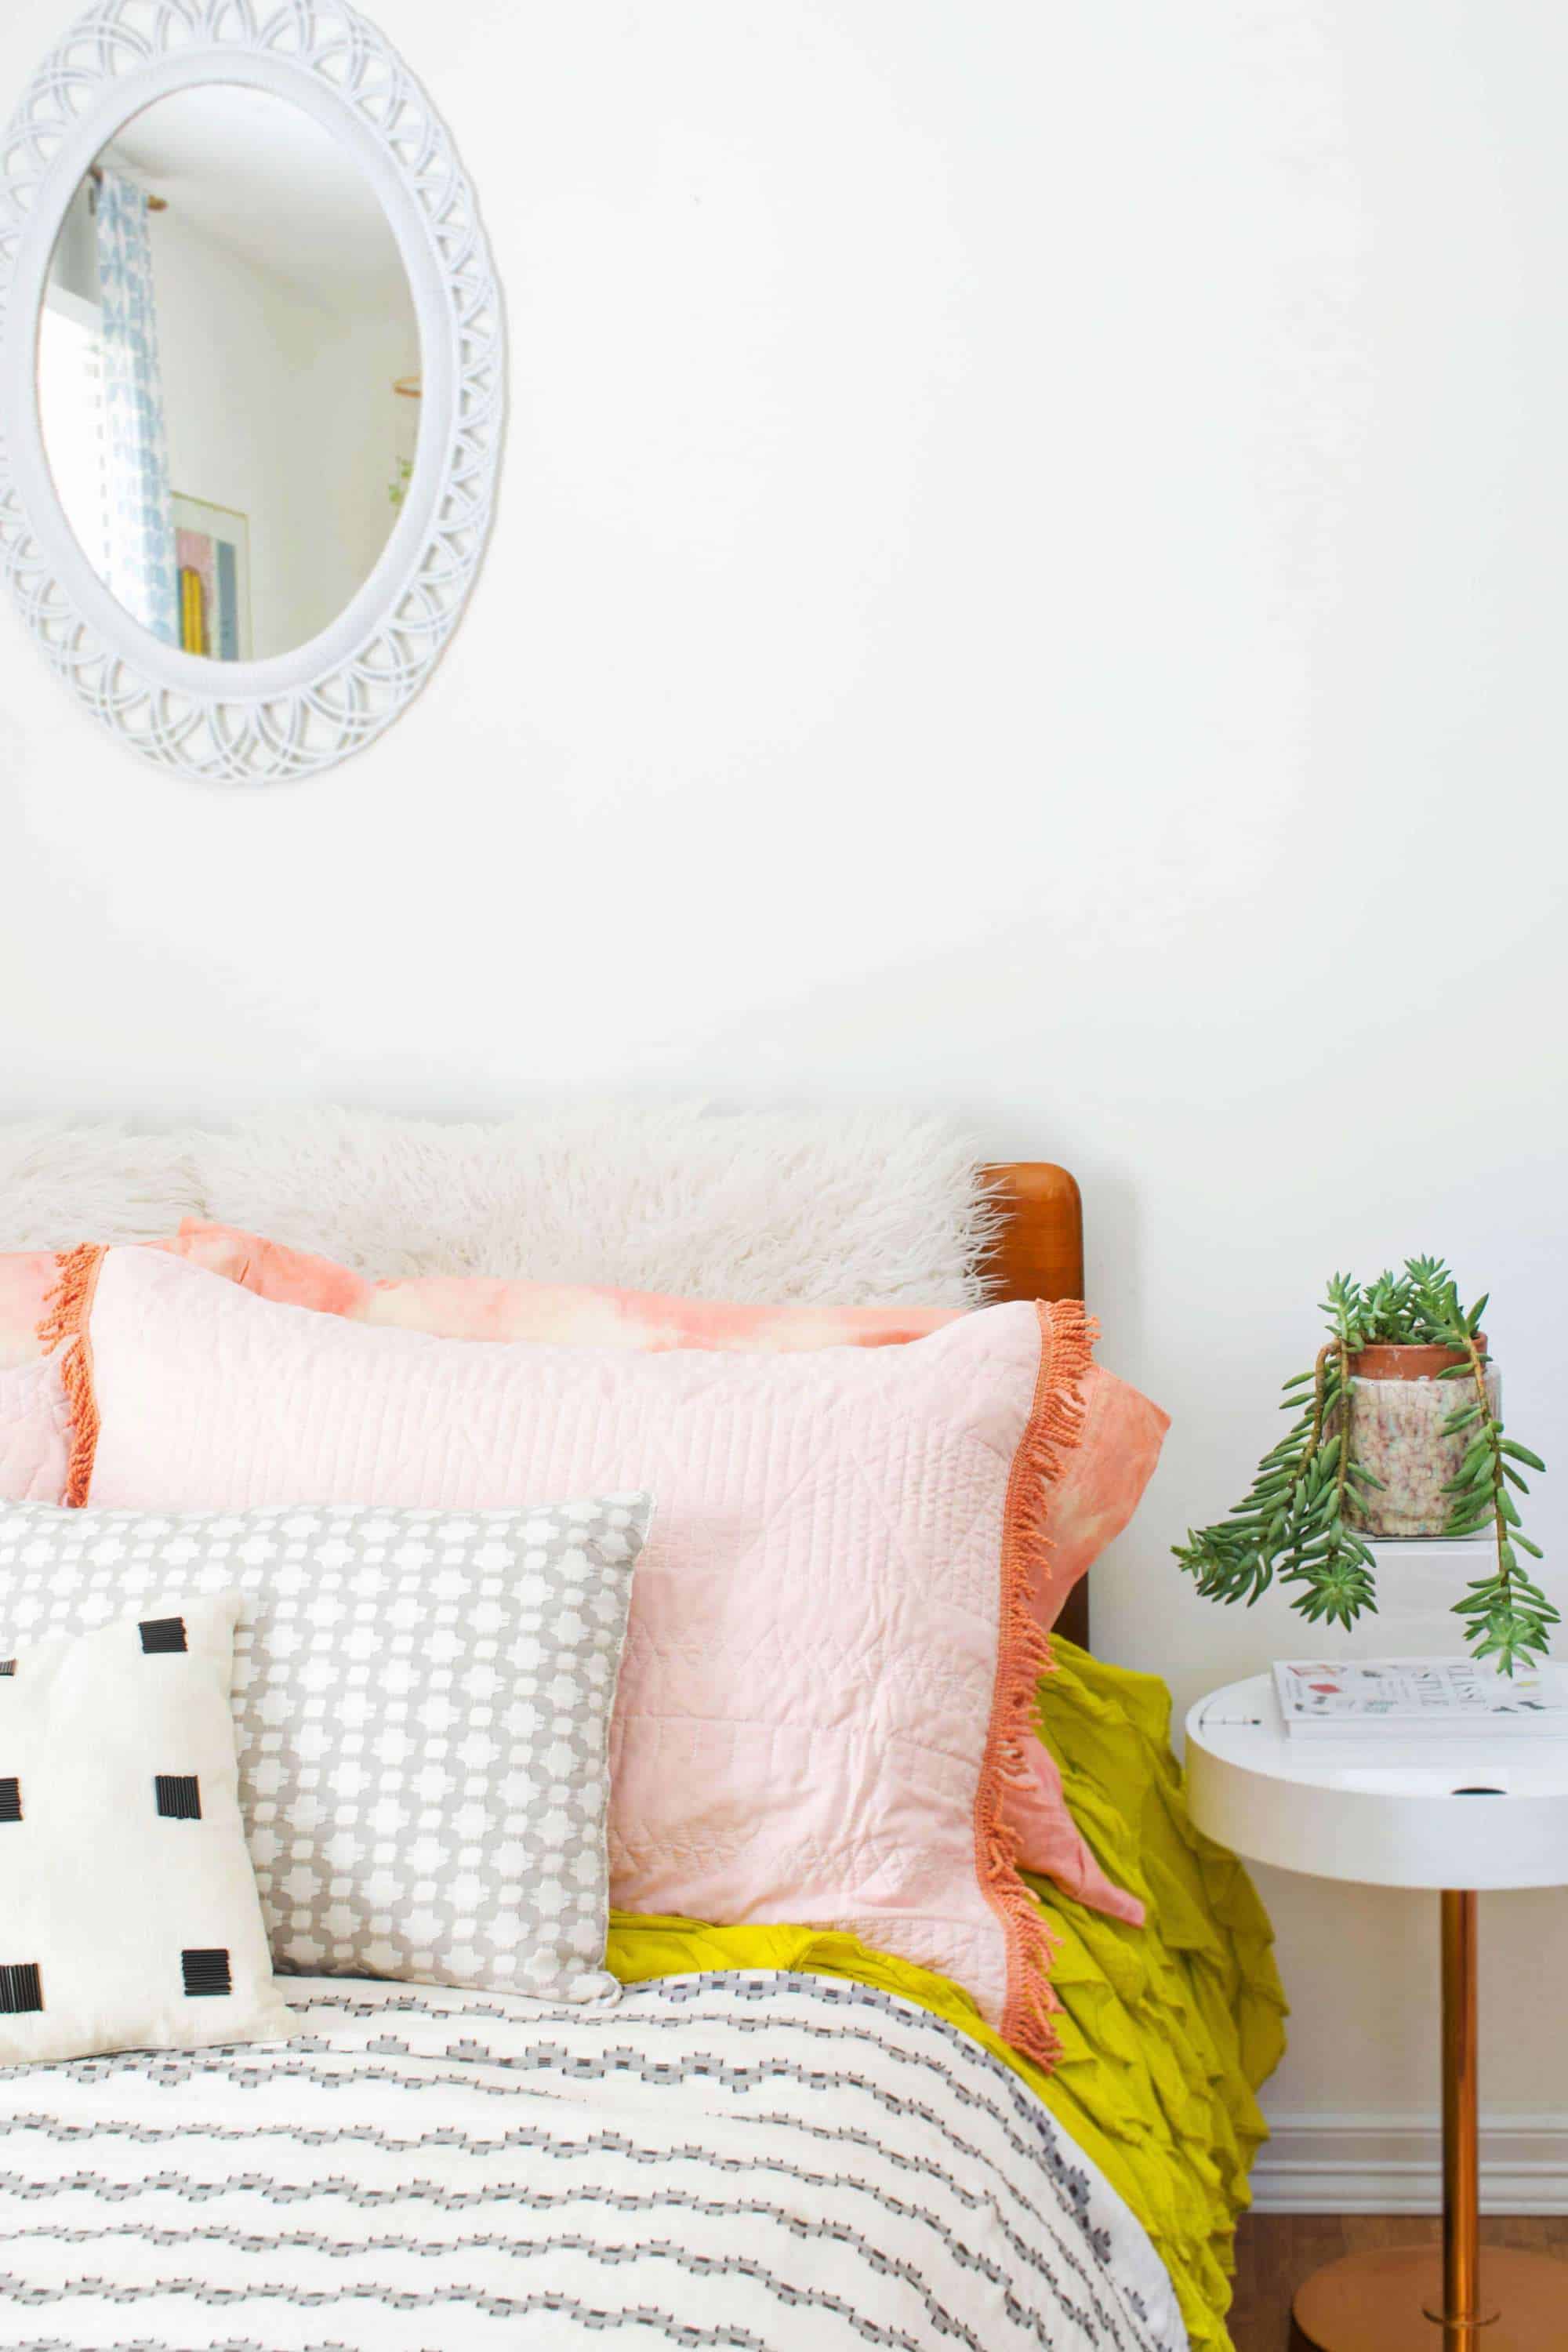
 Everyone knows that making your bed in the morning sets the tone for the rest of your day. At least in theory, right? Well, I say making your bed with a beautiful grouping of pillows makes it that much easier to want to make your bed! I wanted the look of boutique-bought pillows on a box store budget, so I picked up a set of inexpensive shams and 100% cotton pillowcases, used some plant-based dye magic, and ended up with a pillow scape (is that a phrase?) that looks a little more luxe and so much prettier! Mom will be proud to know my bed has been made every day this week!
This easy DIY shows you how easy it is to dye natural fibers with natural plant dyes to create beautiful warm tones that are non-toxic and eco-friendly. It’s a great way to get your feet wet if you’ve been interested in natural dyeing, too, since pillow cases won’t break your budget.
 Supplies:
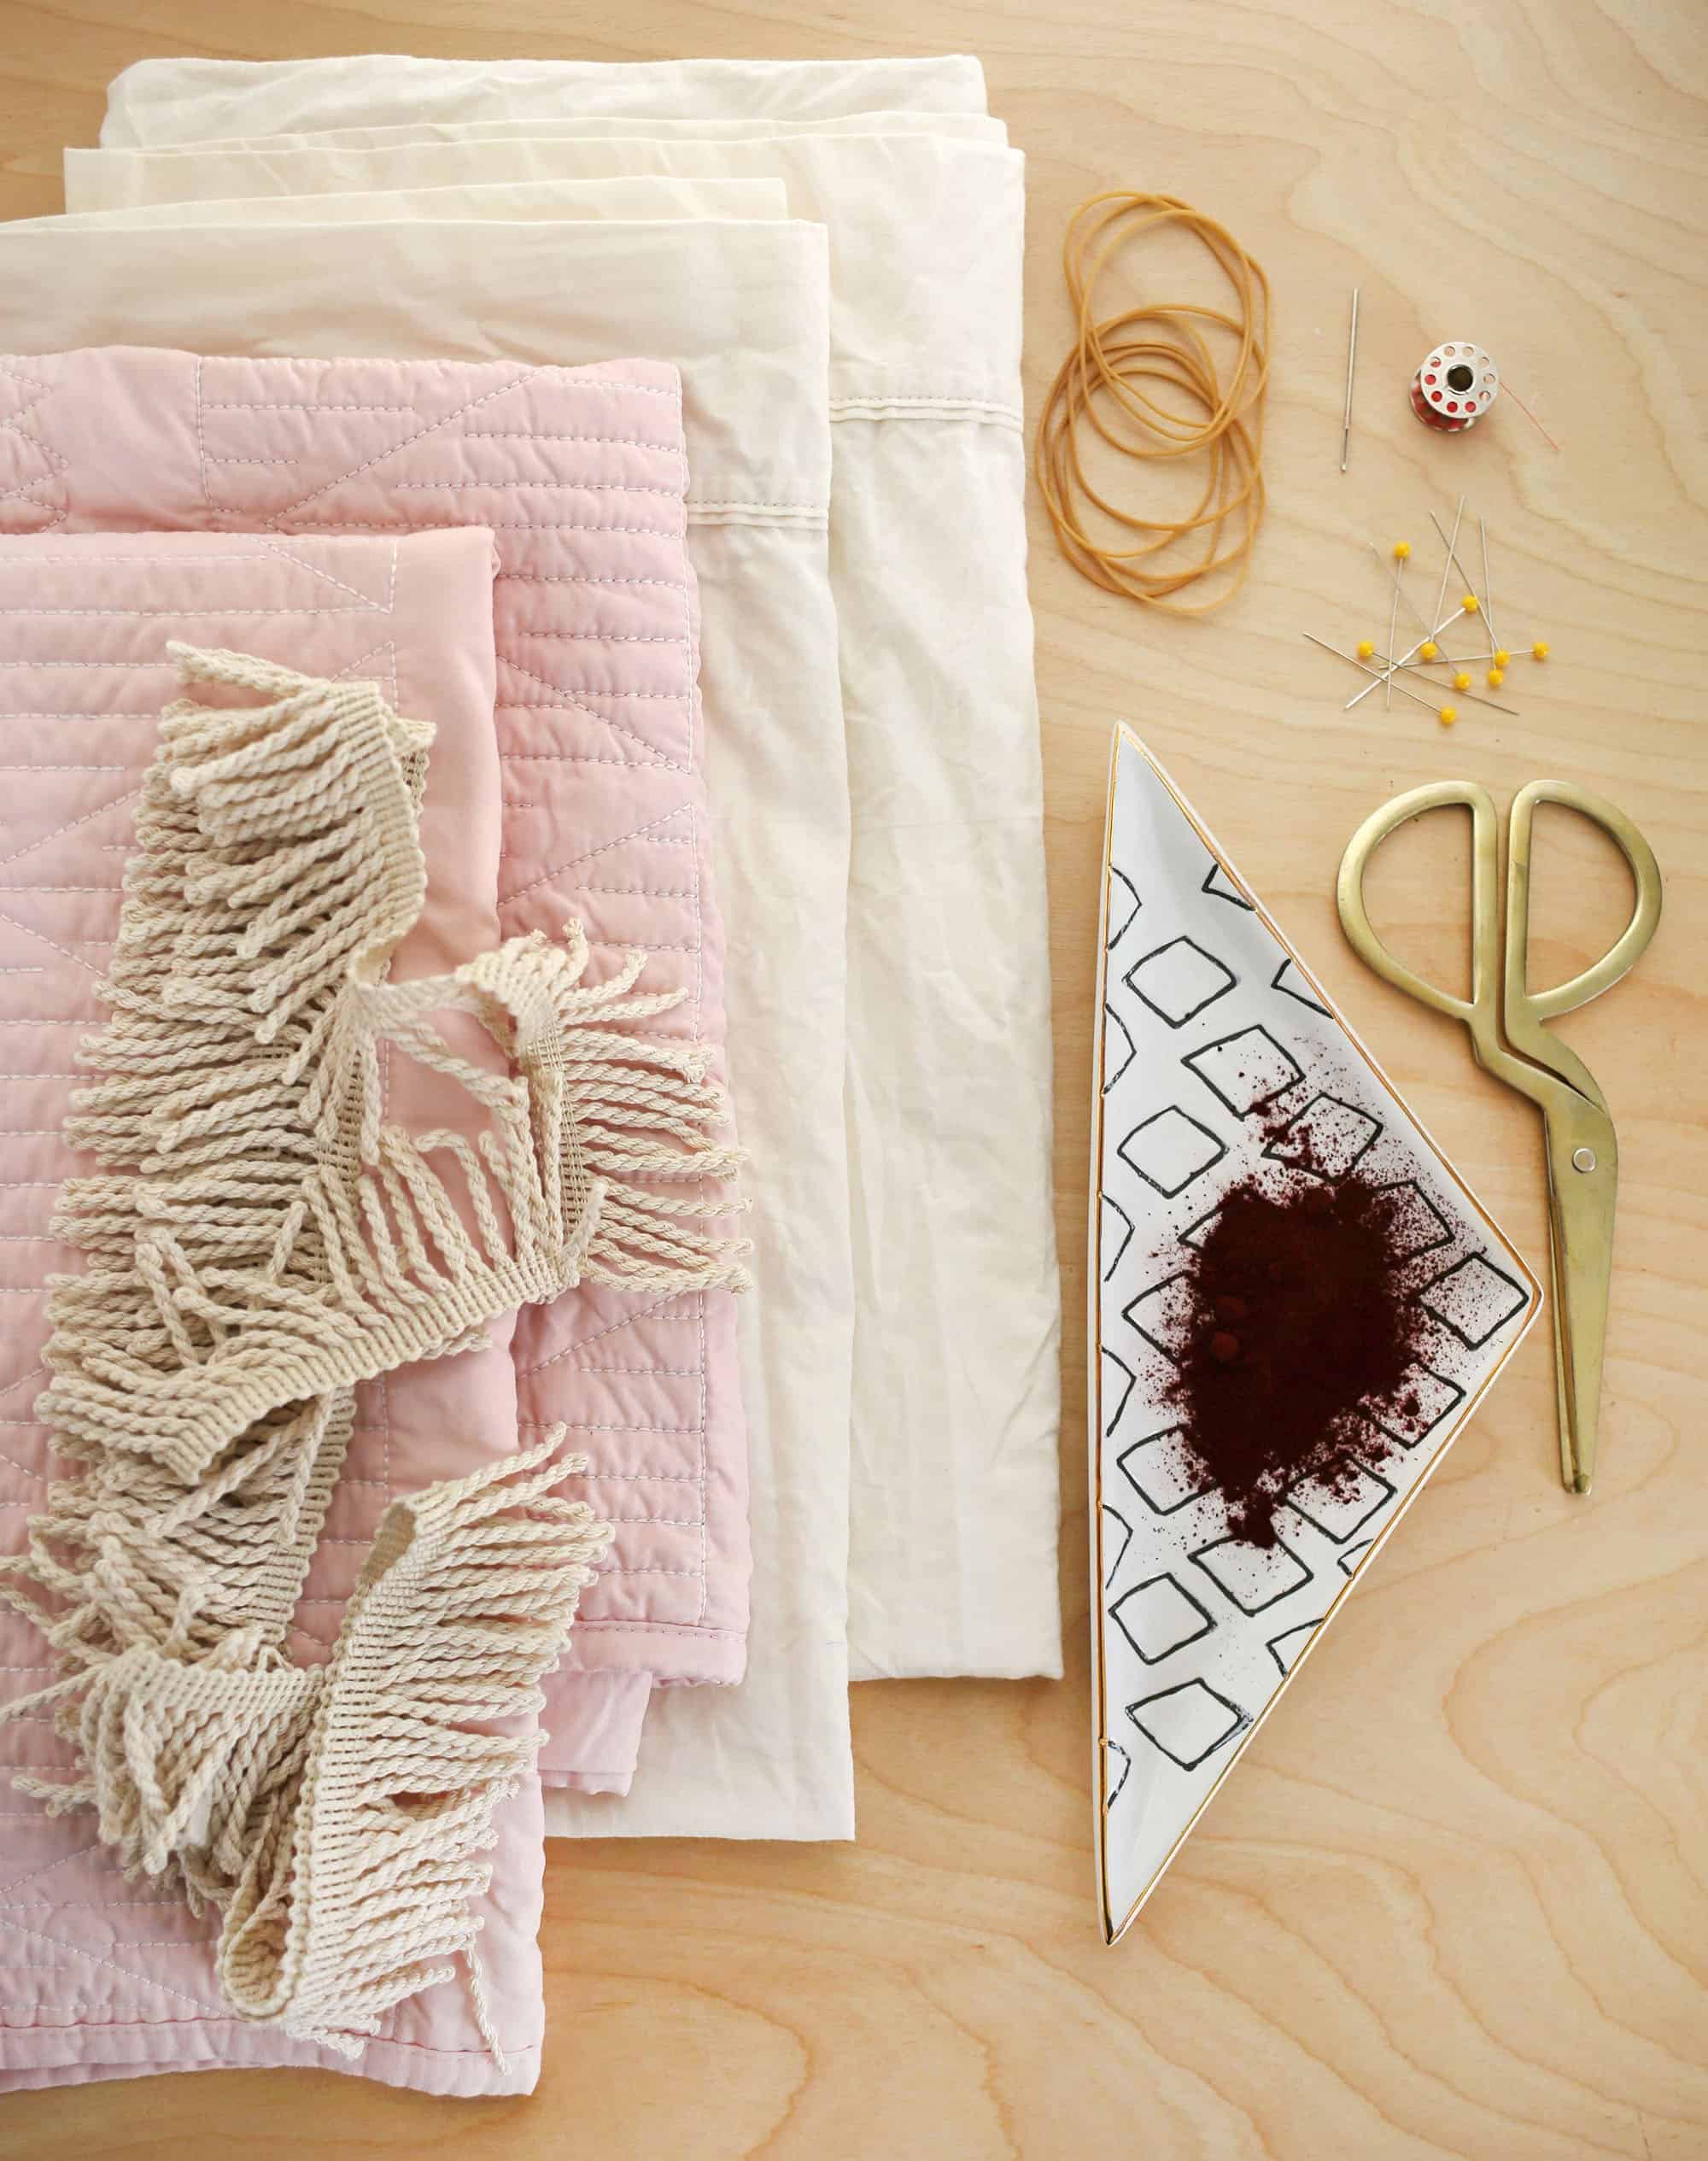
-two 100% cotton or linen pillowcases (any size)
-two yards of 100% cotton trim
-two pillow shams
-straight pins
-scissors
-thread
-hand-sewing needle
-rubberbands
–20 grams madder root extract
-stainless steel pot (exclusively for dyeing)
-stainless steel tongs or wooden spoon (exclusively for dyeing)
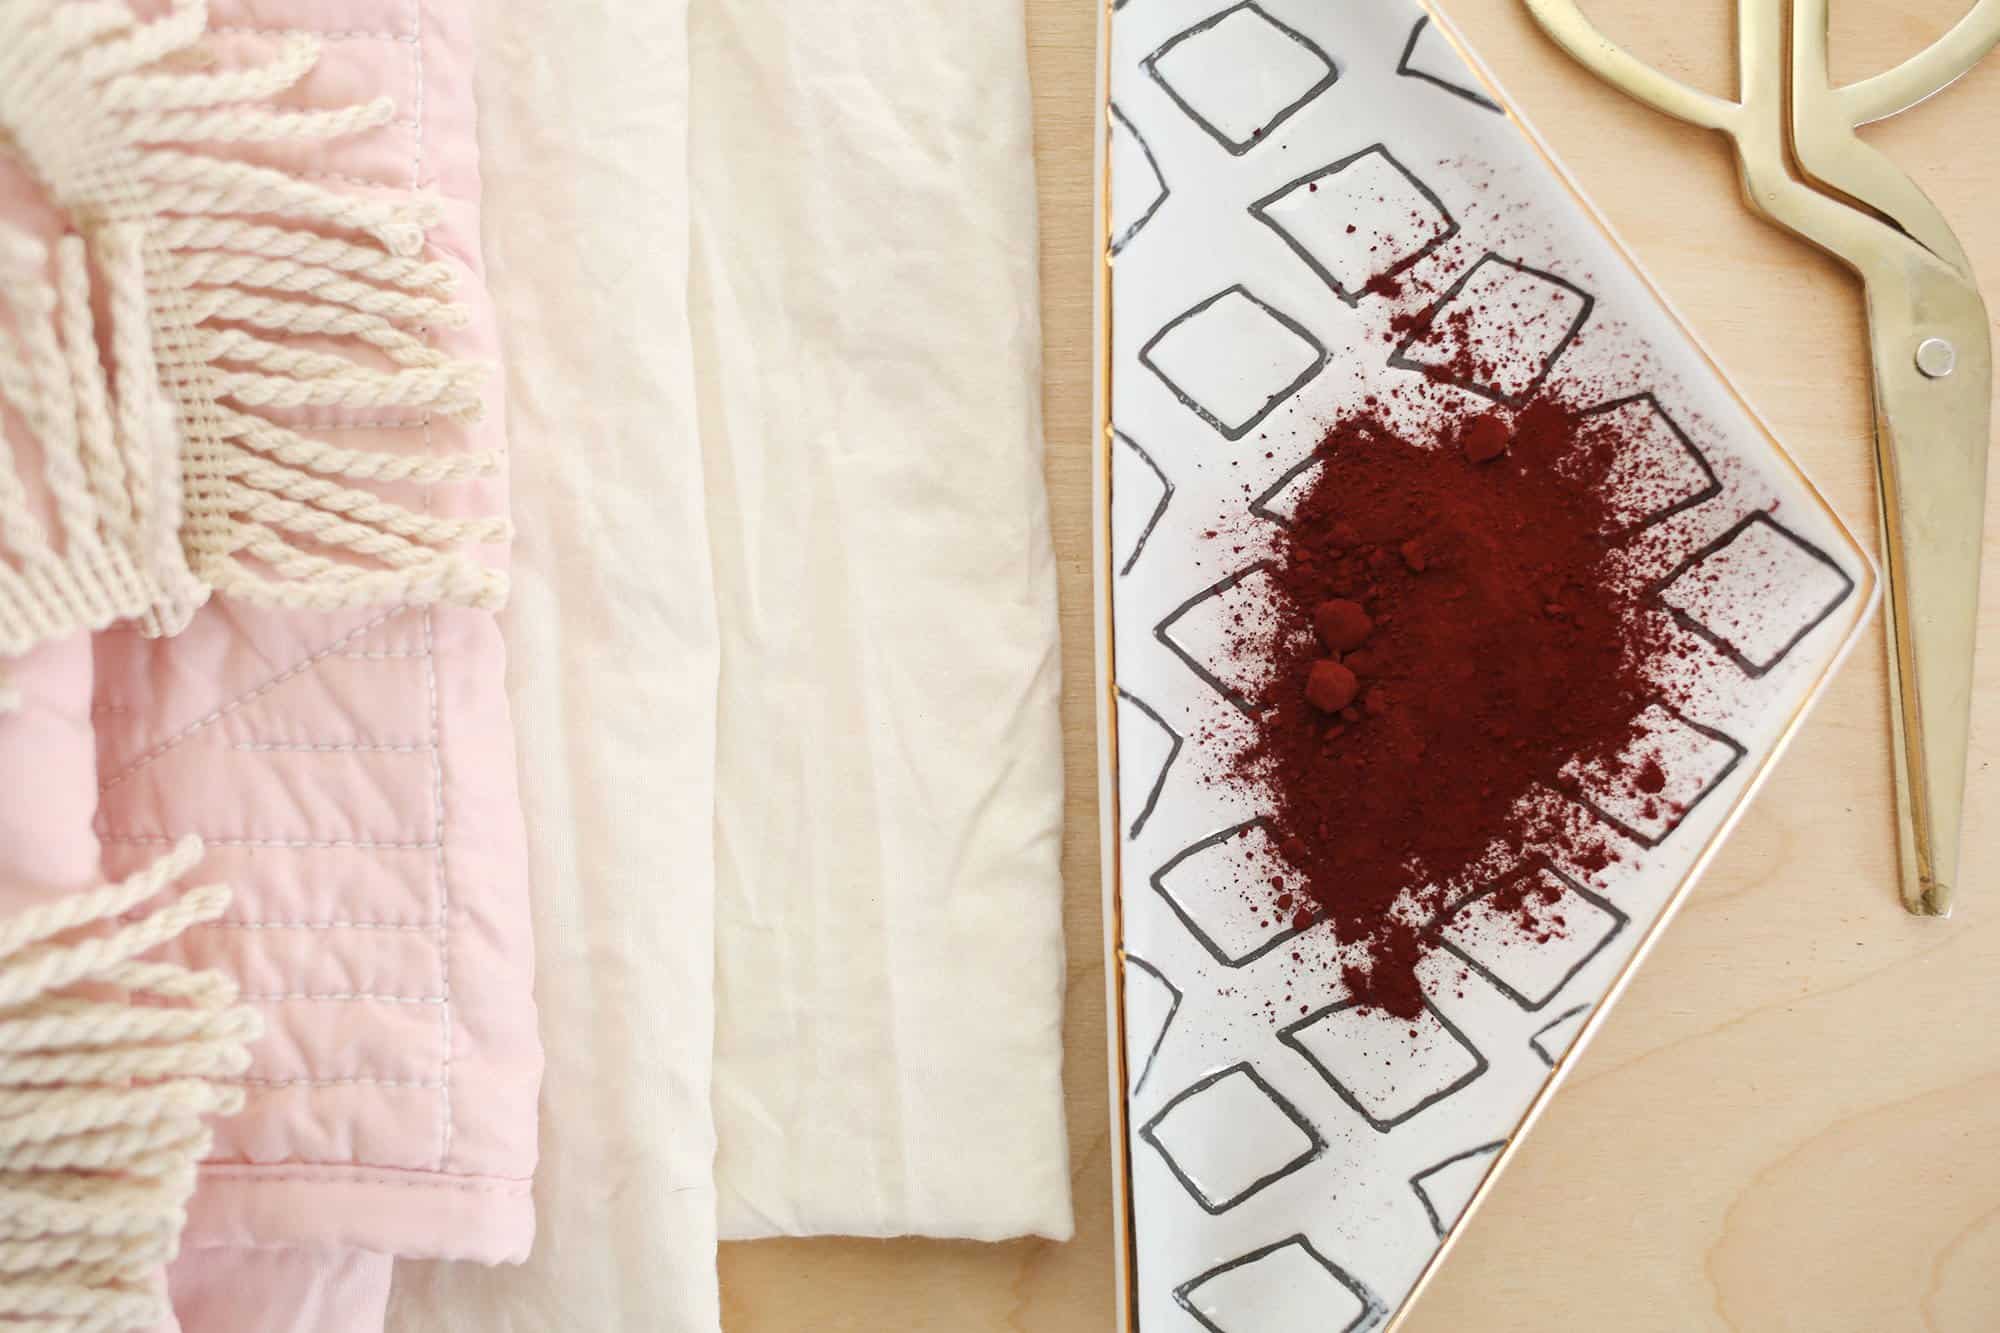 Madder Root Extract
Just a little goes a long way! This much Madder root will give you a softer color than if you doubled the amount of dye extract per pound of fabric. It’s the root of the Madder plant that gives this peachy mauve color, so while you can grow it in your yard, it’s a bit easier to purchase this dye extract.
Note: Dye pots and utensils that come into contact with dye are no longer food safe. Check thrift stores for these tools and keep them in a separate spot from your cooking pots and utensils.
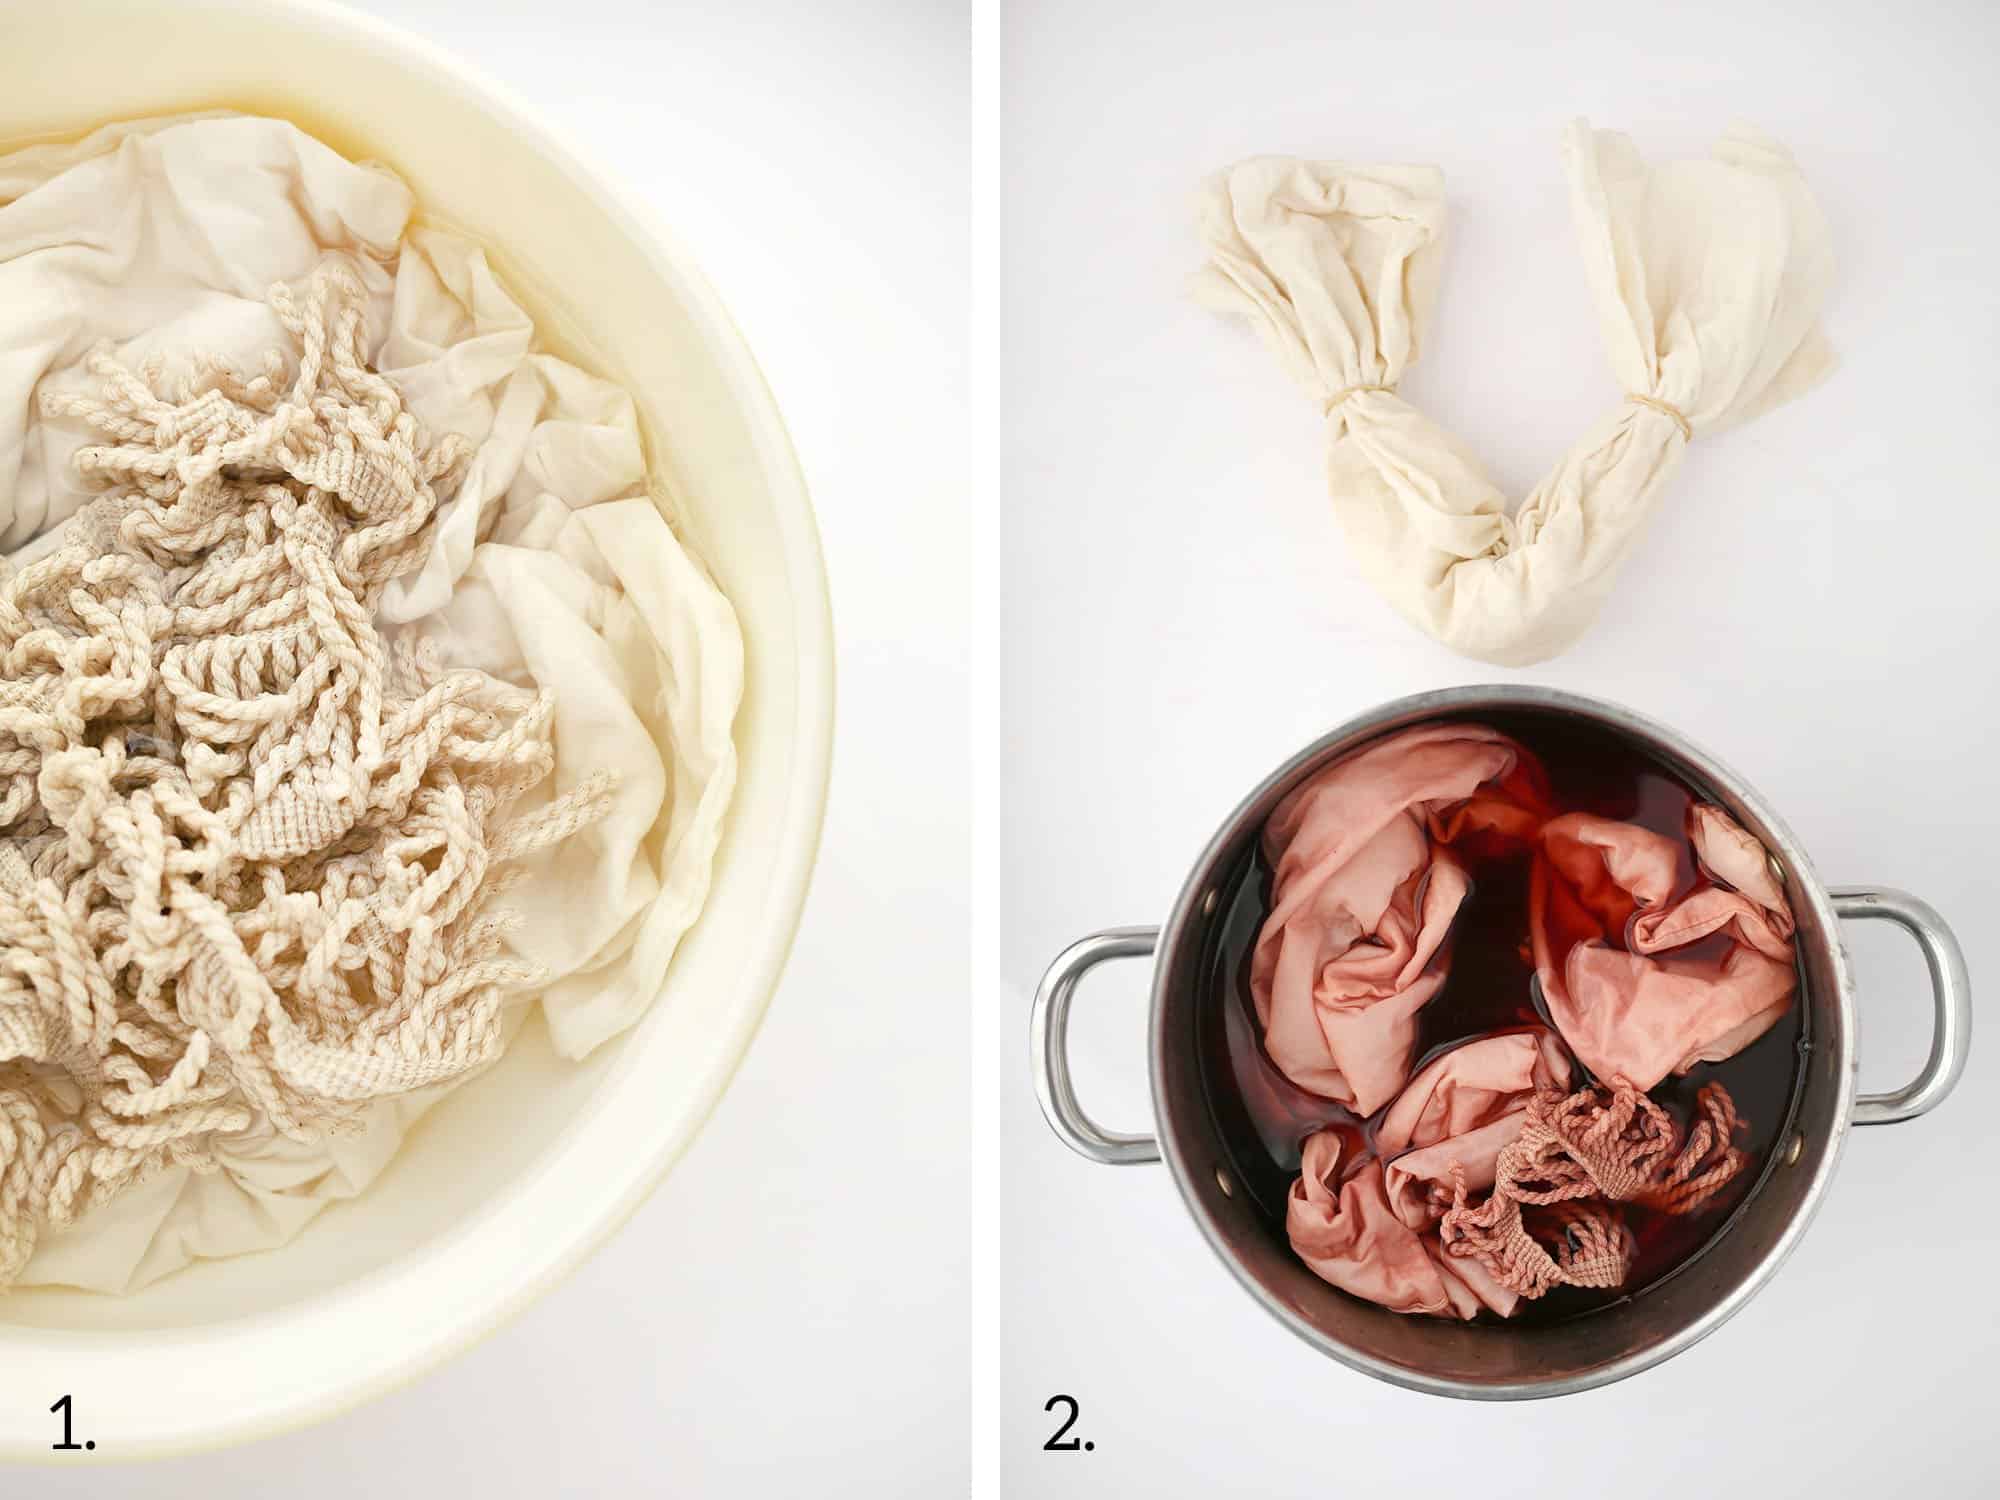 Step One: Wash your 100% cotton or linen pillowcase in the washing machine to remove any oils or chemicals from processing. You can wash your 100% cotton trim in a lingerie bag to keep it from getting tangled up or you can scour it by putting it in a pot of water with a tiny bit of dish soap and heating it to a simmering point for about 20 minutes on the stove top. Then rinse it until your water runs clear. This will help the dye bind to the fabric. If you don’t dye it right after washing it, you’ll want to soak your fabric and trim in water for about 20 minutes to open up the fibers.
Step Two: Fold up your pillowcases like an accordion and wrap a rubber band around either end, about 4″ up. This folding method will allow the dye to penetrate most of the surface area on your pillowcases. Fill your stainless steel dyeing pot with enough water for your fabric to move around freely. Add 2 tablespoons of madder root extract, stir, and turn your heat up to medium until you start to see steam rising. Add your wet fabric and trim and stir some more to make sure all parts are getting saturated with color.
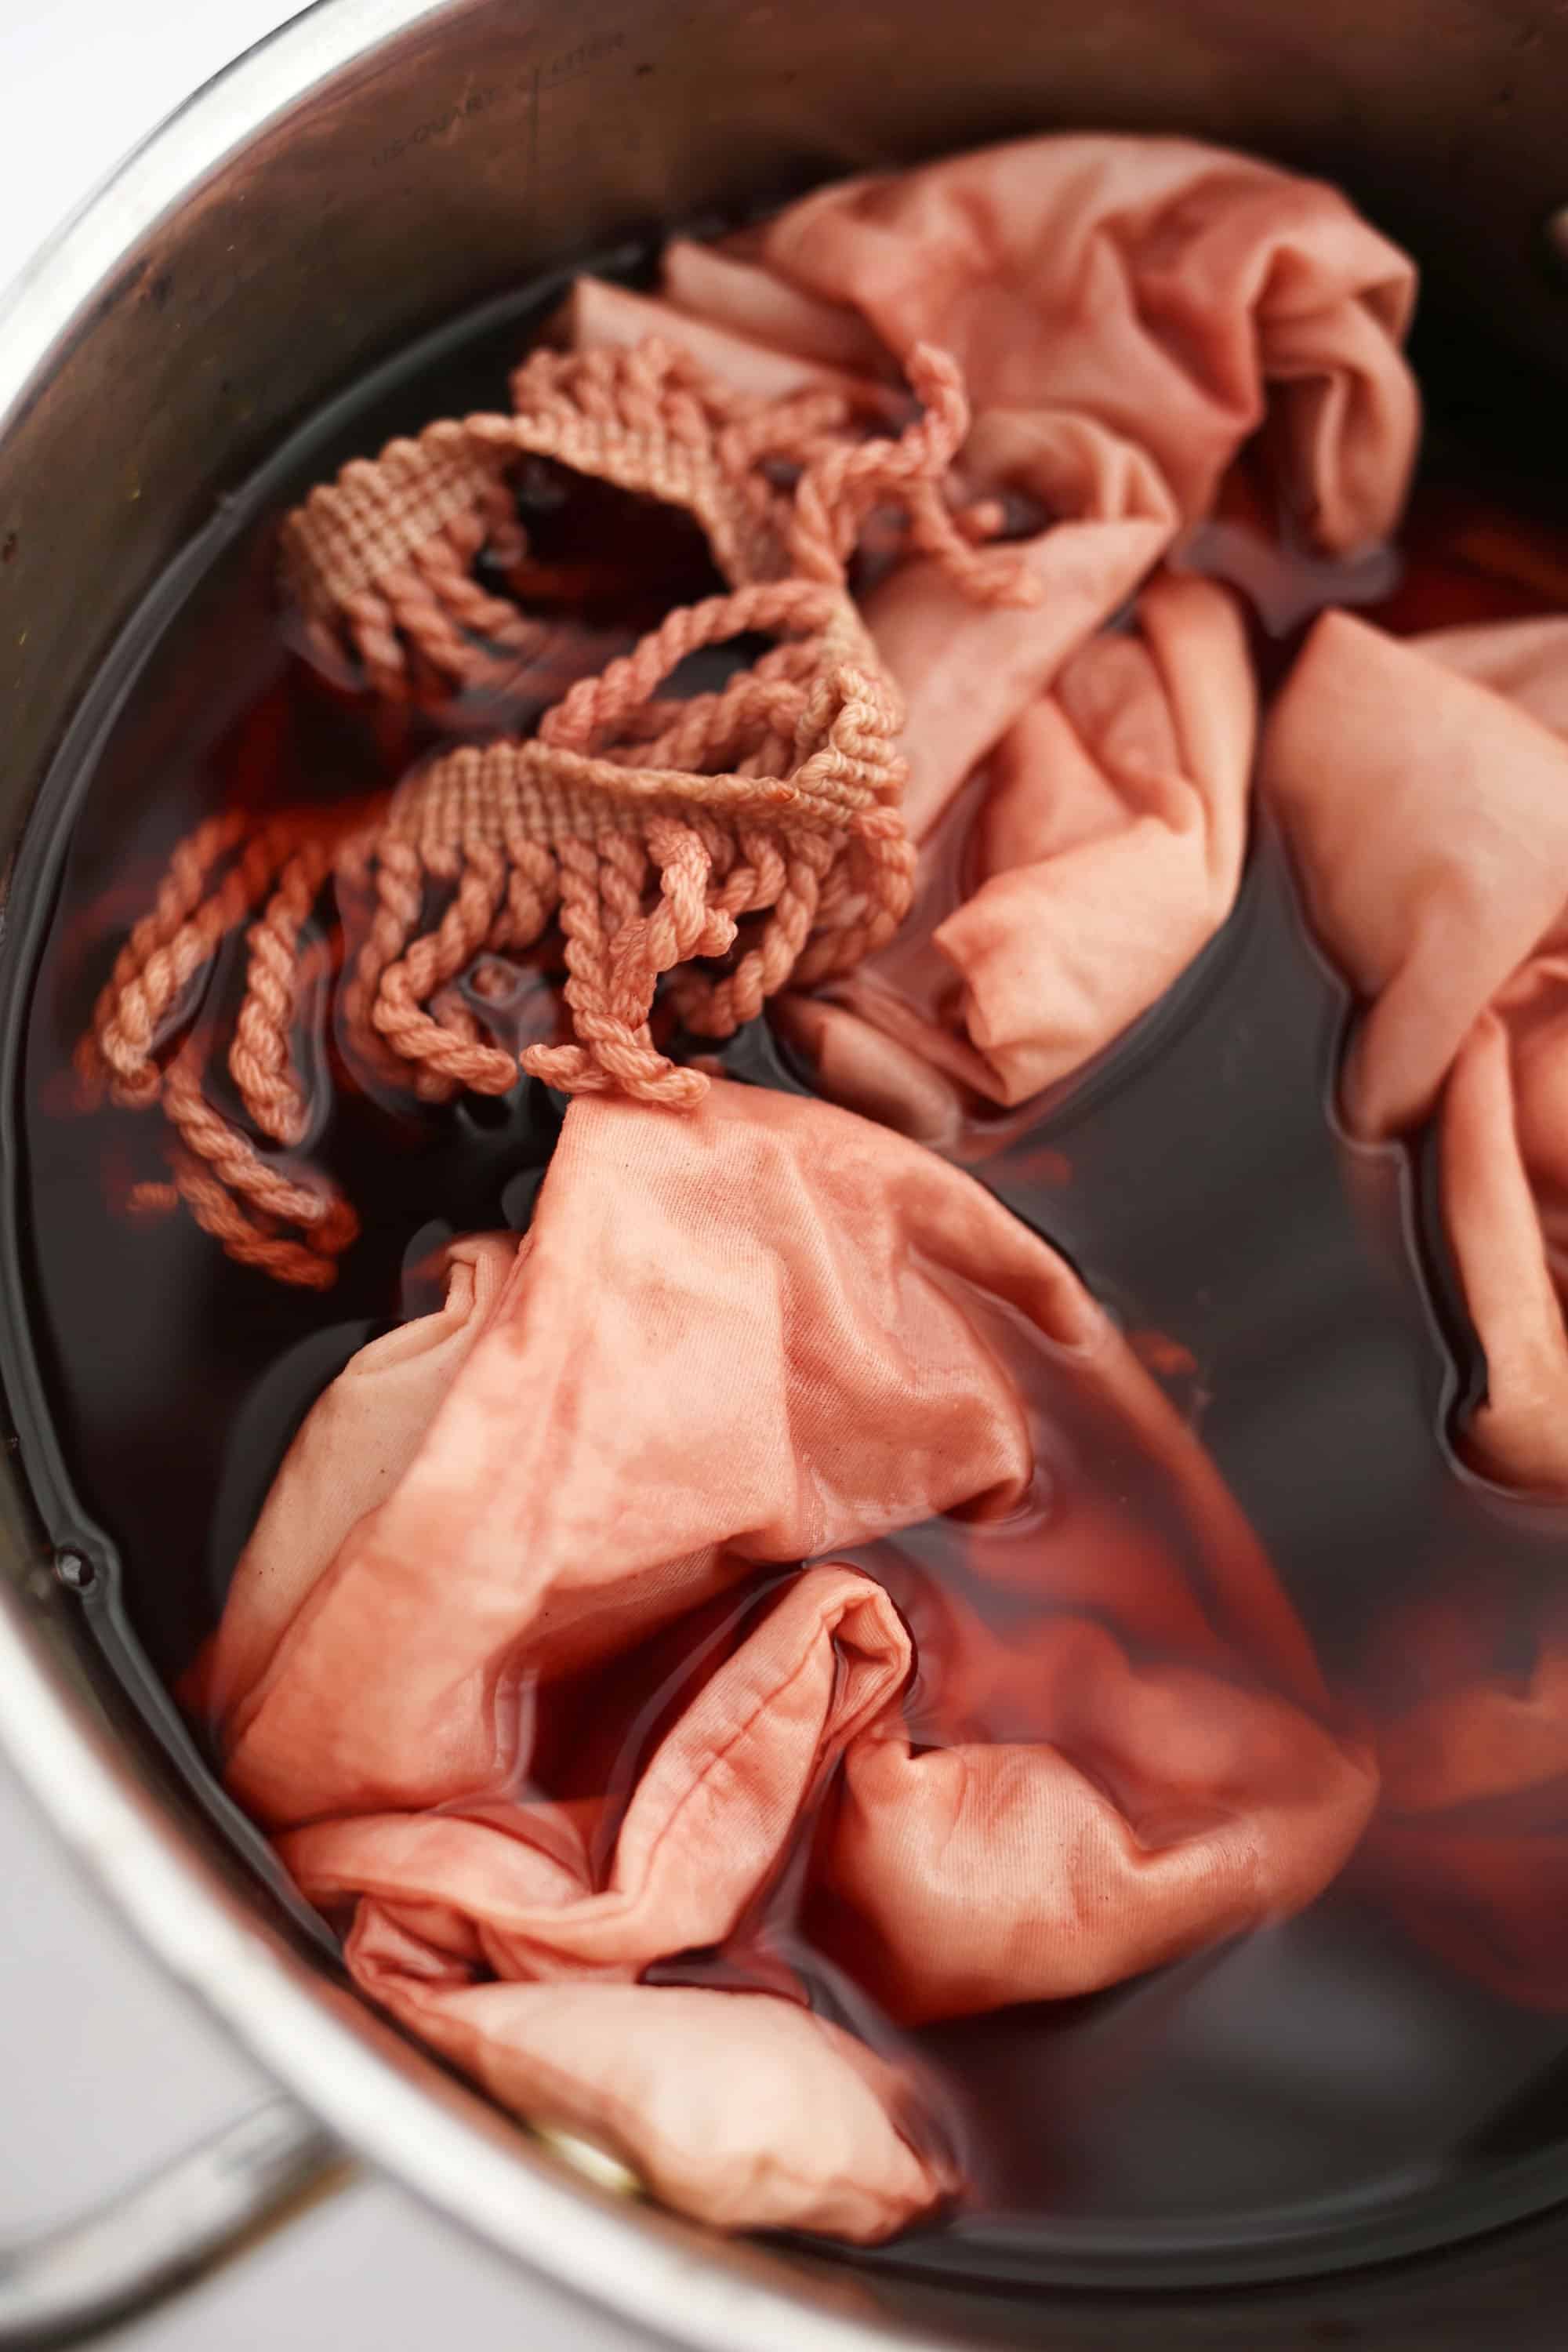 Step Three: Keep an eye on your pot to make sure it doesn’t boil. You want to keep it at a simmering point for about 30-45 minutes or until your pillowcases are just a bit darker than your desired shade. Remove from your dye pot and rinse with cool water. Line dry.
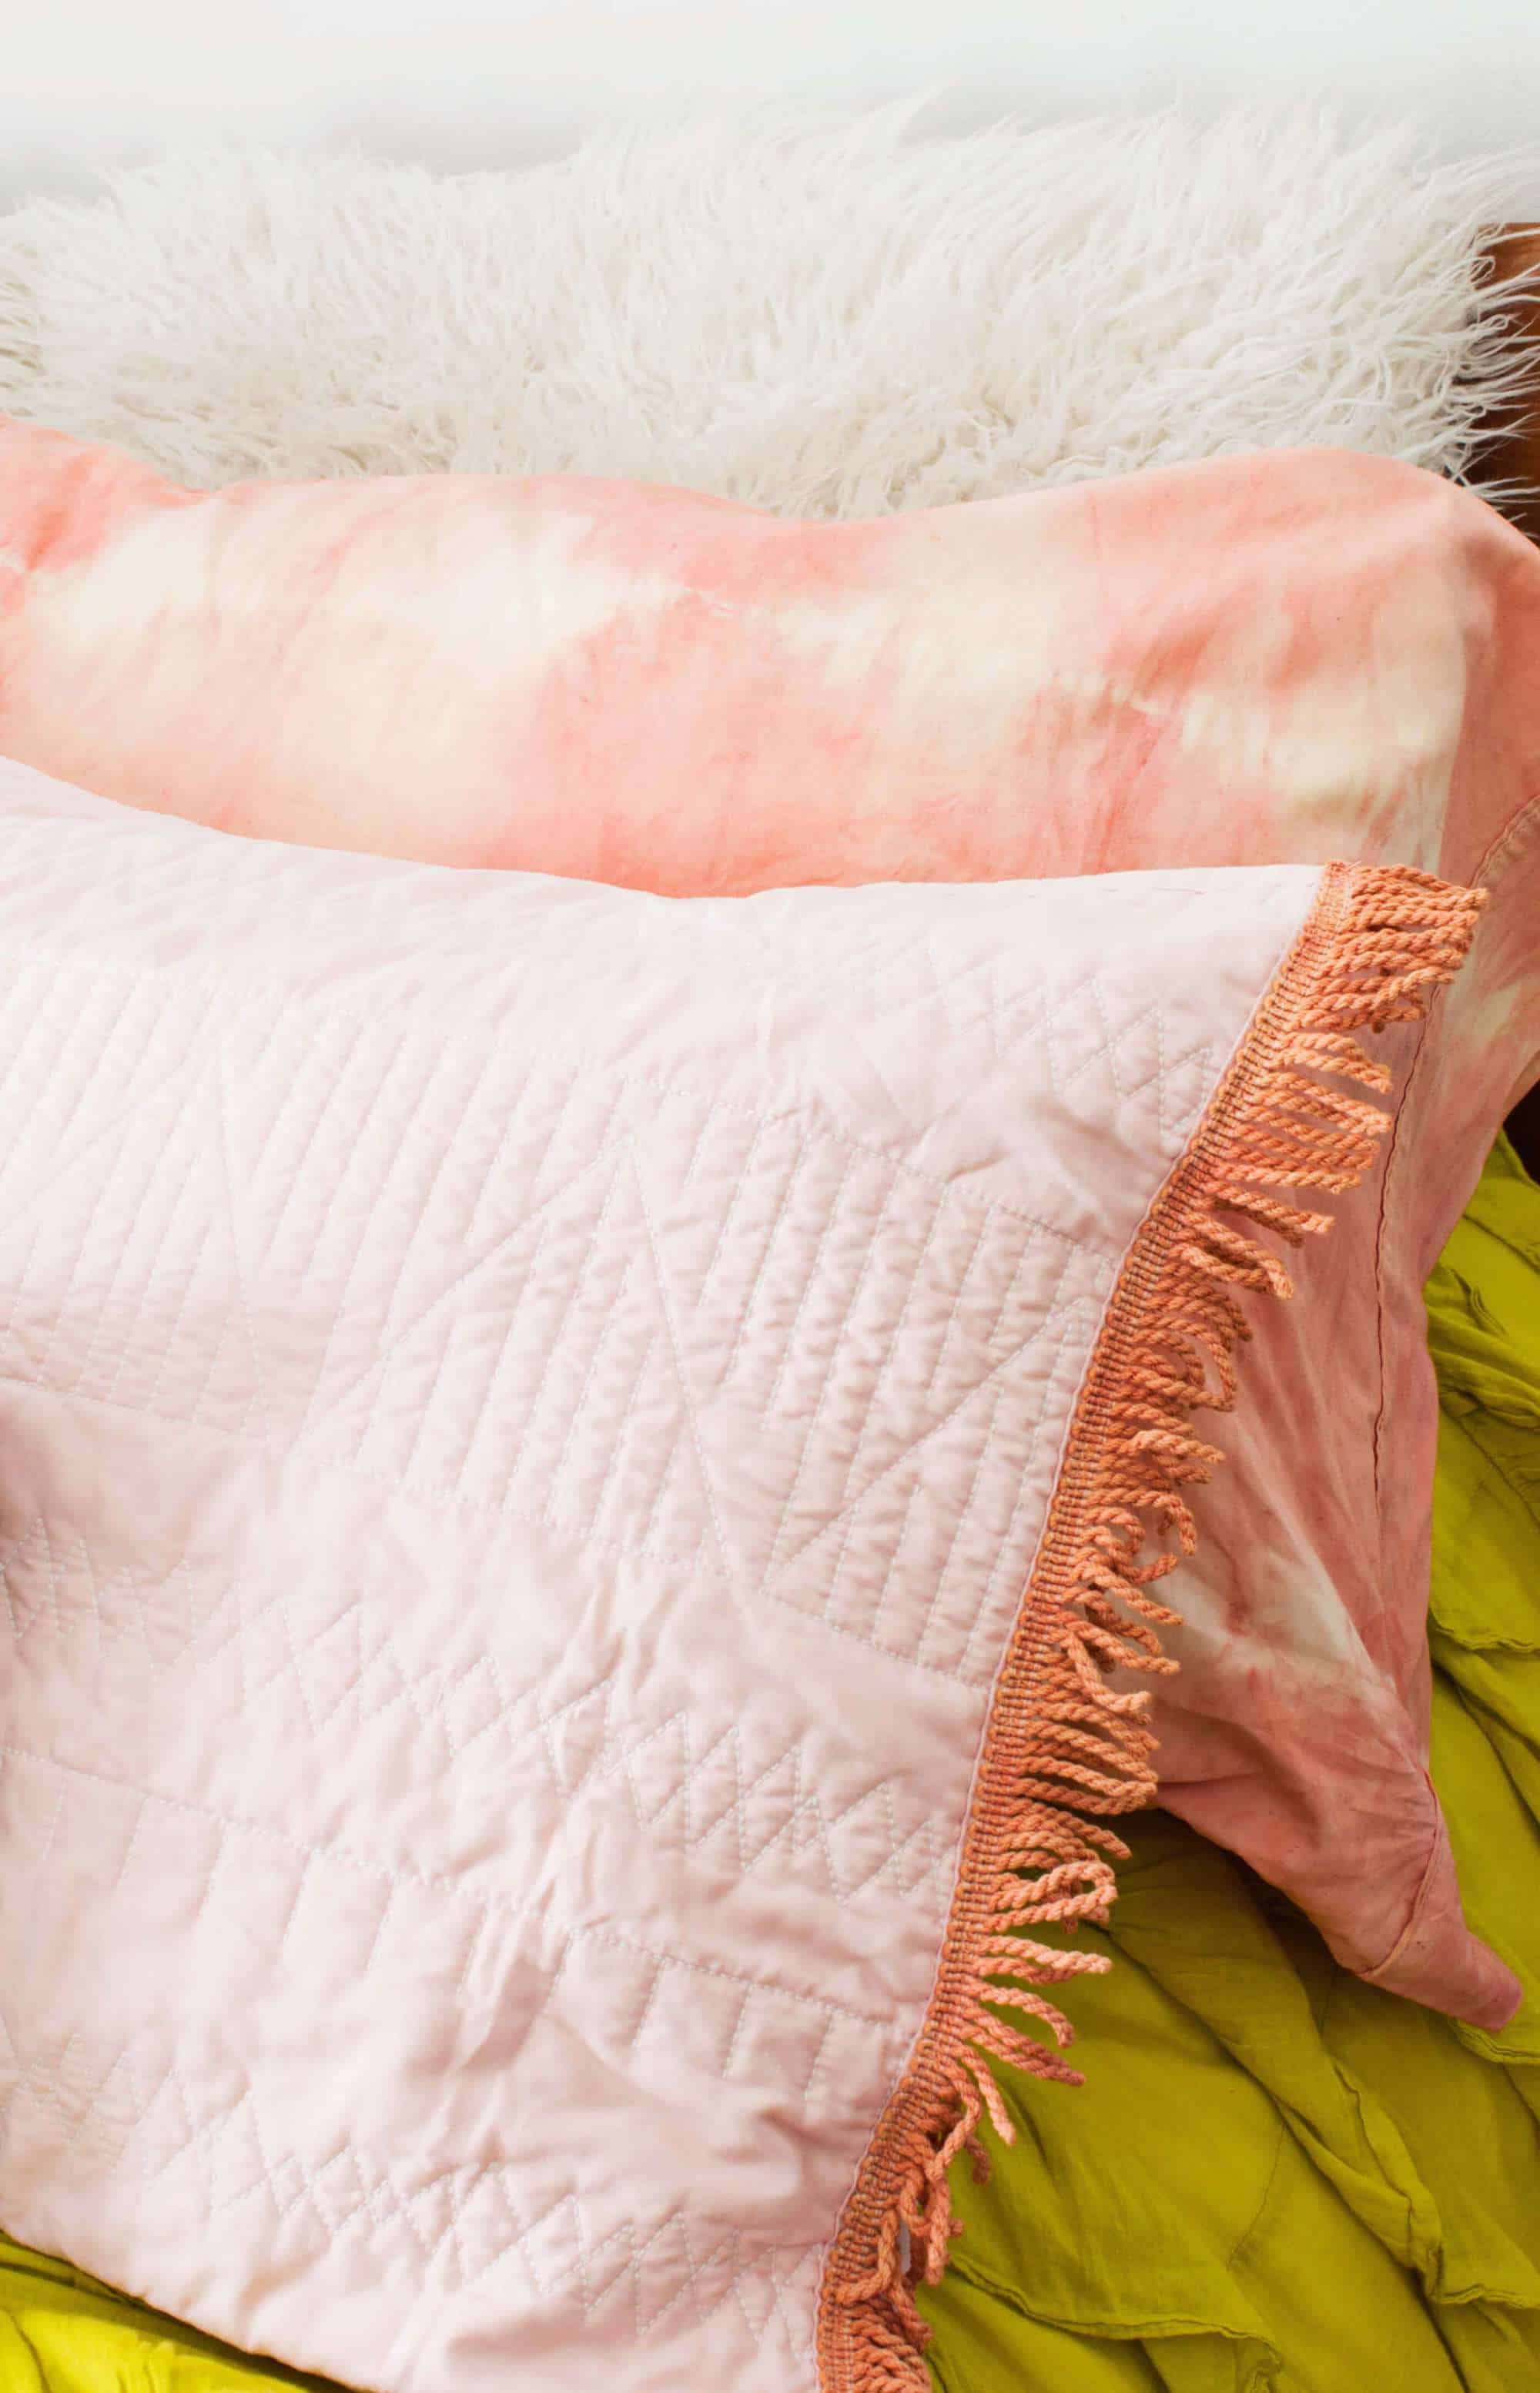
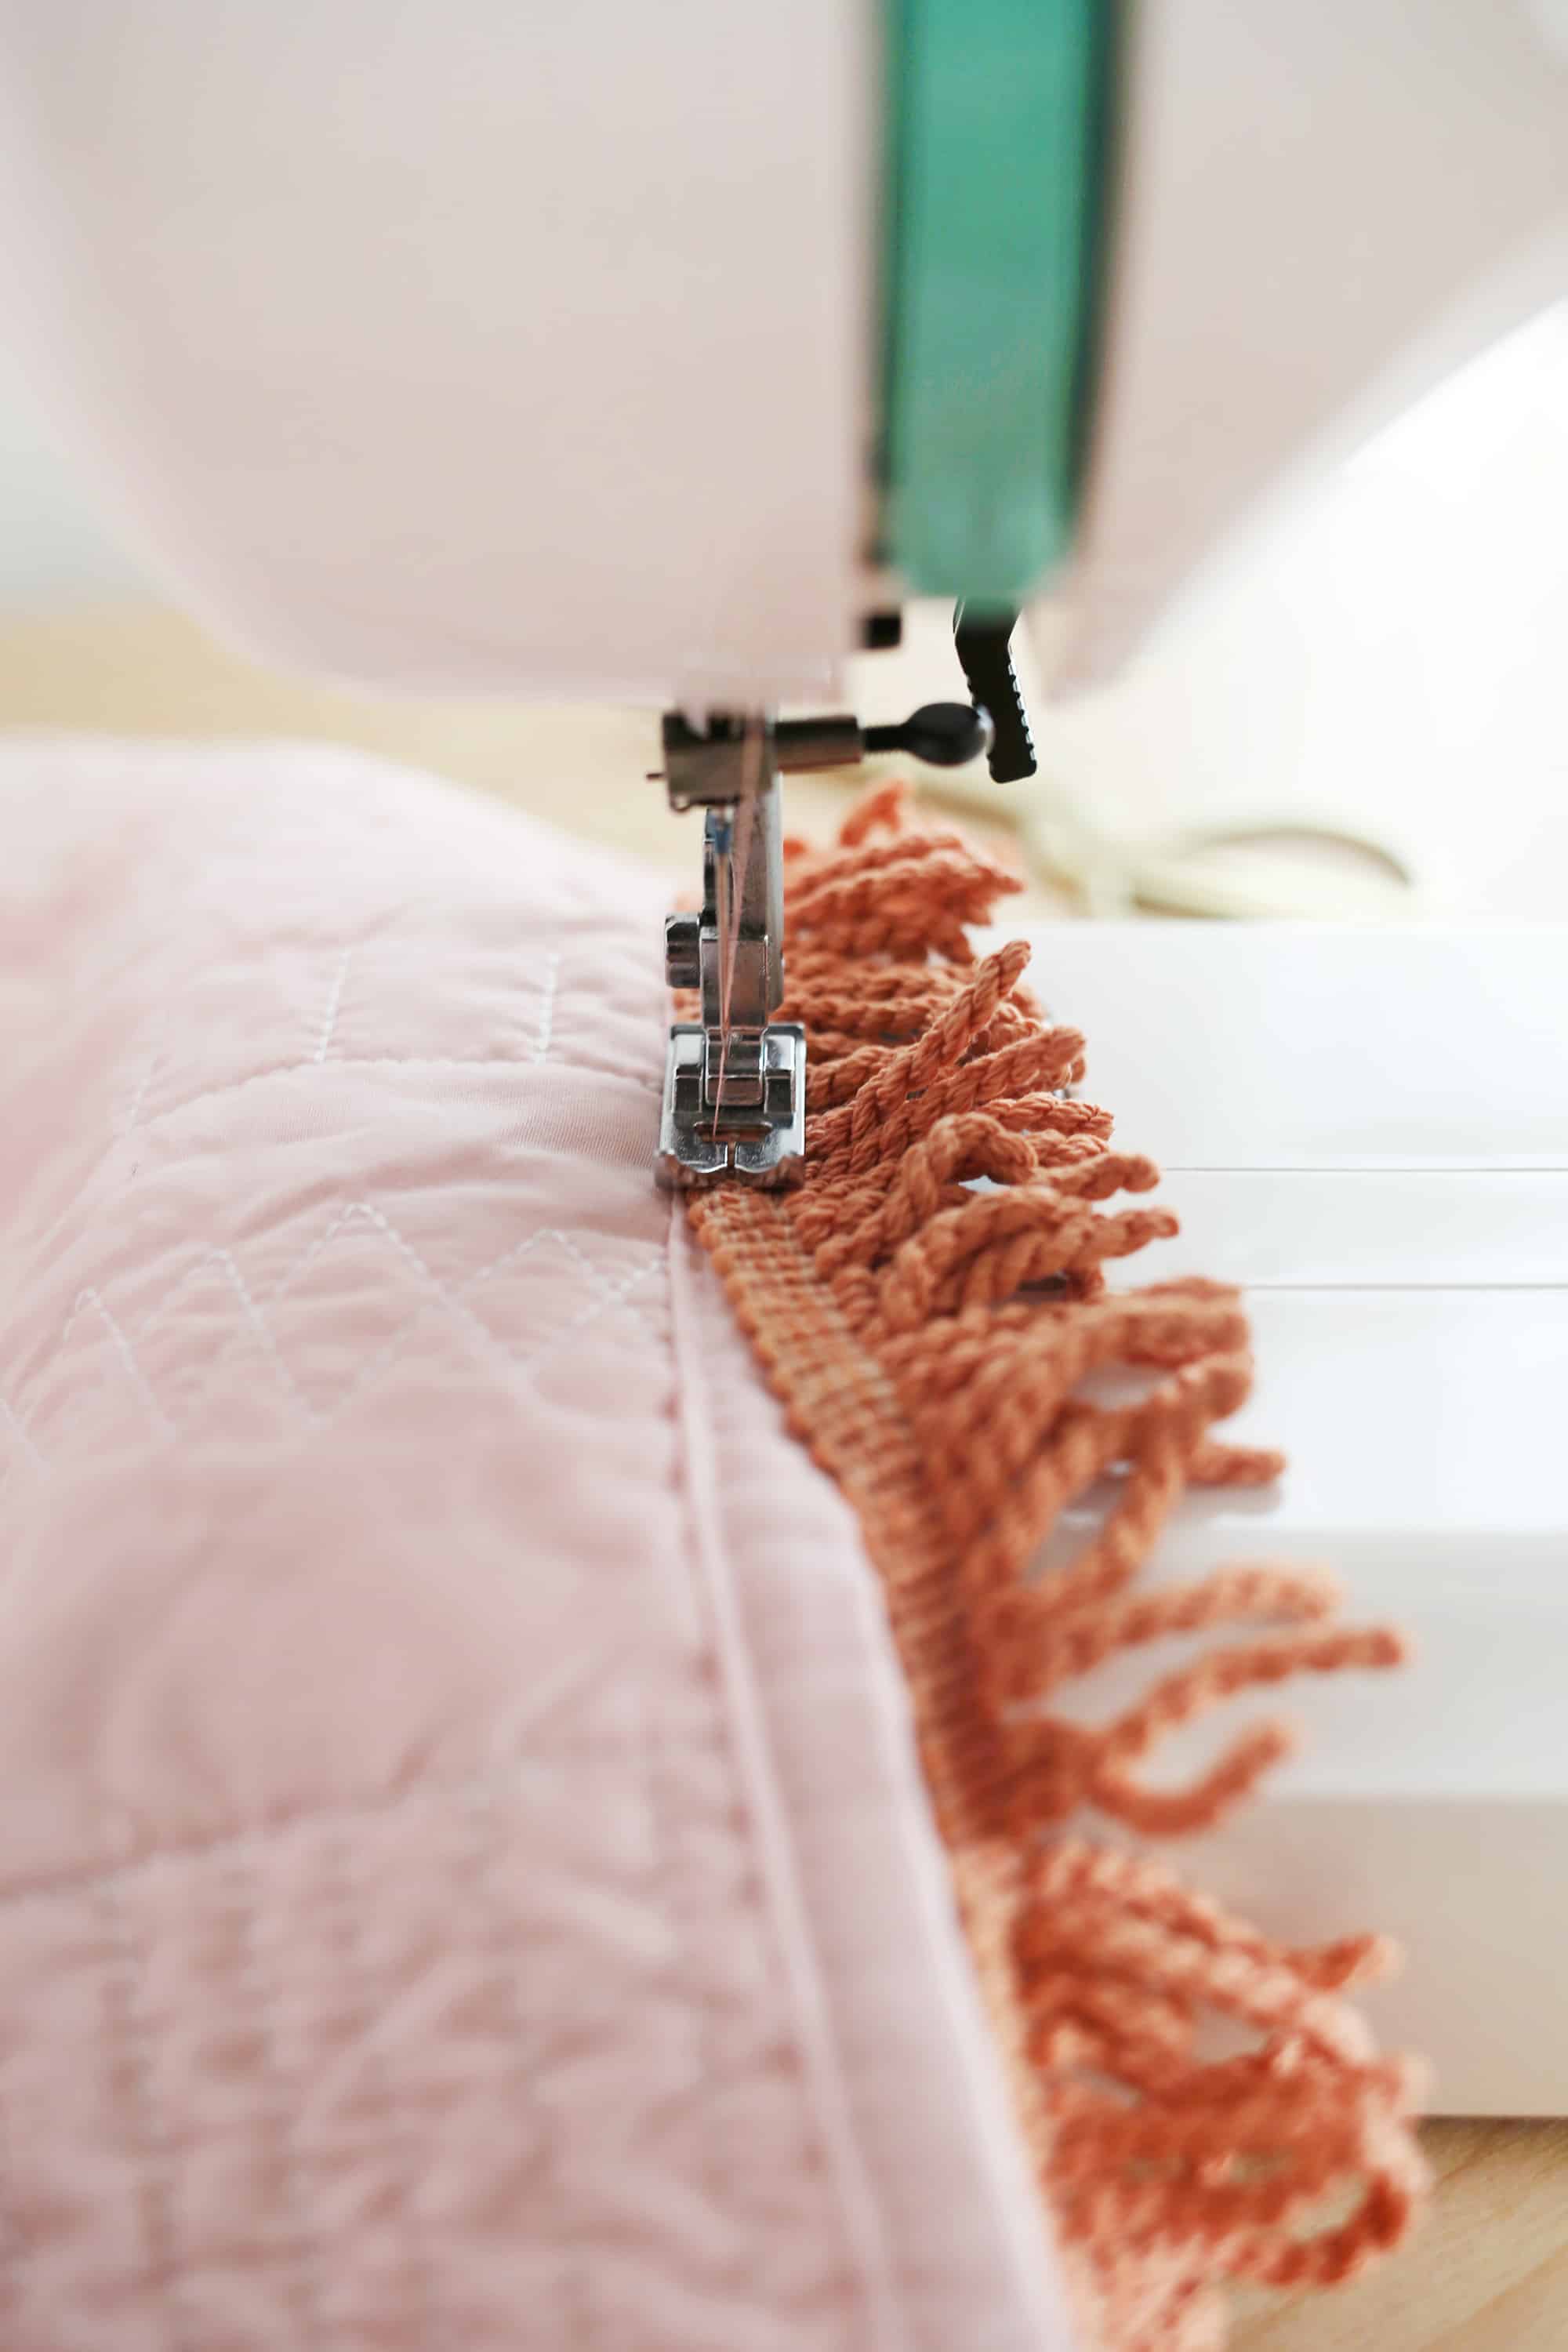 Step Four: Stitch your dyed trim to the edges of your pillow shams with a needle and thread by using a straight stitch. Your thread should match your trim as best as possible.
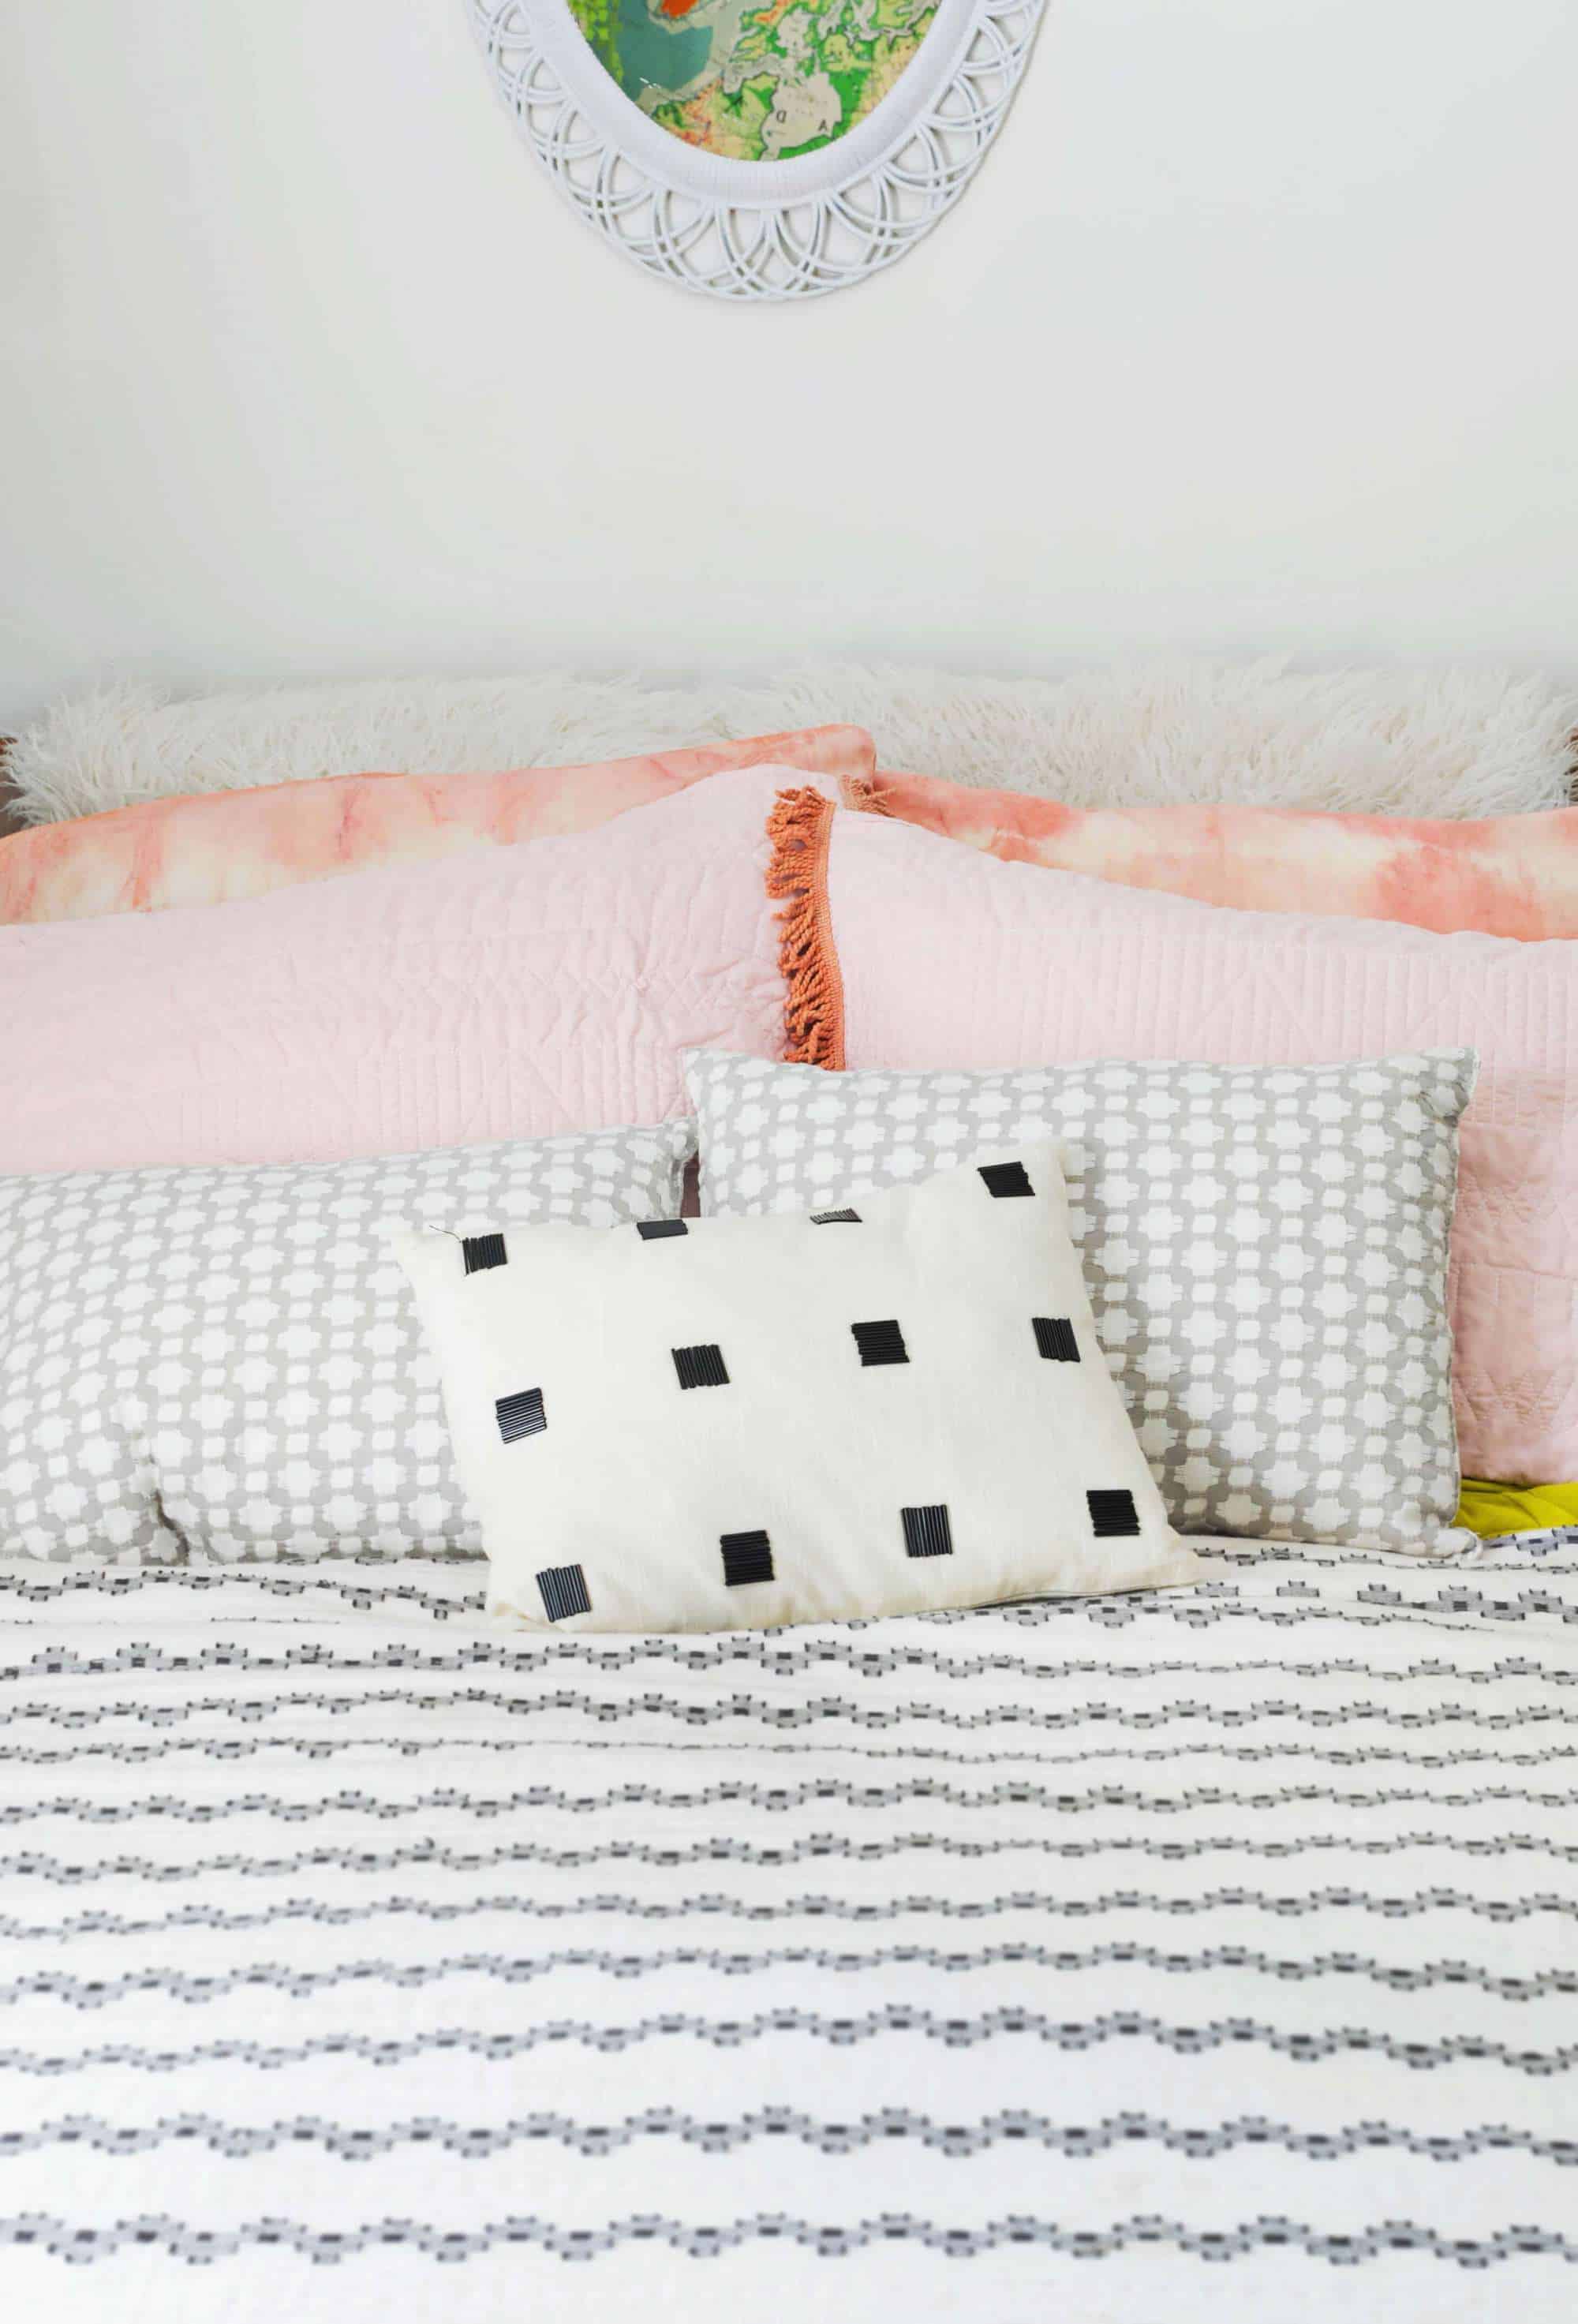
 Make your bed and enjoy! You can feel good about knowing your naturally dyed pillowcases are non-toxic and especially flattering in this shade of pink! – Rachel
Natural Dye Tip: Your dye pot will not lend the same strength of color if you dye a second batch of fiber in it, but it will still give a lighter tone than the original. It’s also safe to dispose of down your drain or in your yard. Skin friendly and earth friendly!
19 Comments
I like the idea of using madder root extract as the dye. Well thought out! 🙂
Charmaine Ng | Architecture & Lifestyle Blog
http://charmainenyw.com
I love all your work. It’s just beautiful!
These look sooo good! Might have to try this myself 🙂
https://www.writingtoyou.com
Love this ! As something that will get washed often, any insight into how well the color stays ?
Madder root is pretty color fast so there may be some fading over the course of time like you might get with any pillow case you wash once a week but it’s not going to wash out. I’ve been using this set for a month and they still look the same!
That pillow turned out beautiful! You did an amazing job!
Paige
http://thehappyflammily.com
Thank you! I love how it looks in our own home! (These were shot at a different location.)
Okay, trying this asap! LOVE!
xx Taylor | http://www.mycupofchic.com | @taylorwinkelmeyer
Love the colour you created with that dye, what a great idea to give your pillows a new look!
https://www.makeandmess.com/
This looks so amazing! I definitely wanna try it out! xx -M
Great post! Where are those scissors from?! I love that shape!
You inspire me every single time. Thank you for sharing your happiness through this post!
Awesome post, have been wanting to dye with natural dyes!
I have two questions tho:
1) Do you need some sort of fixative (i.e. iron mordant) to make the natural dye stick?
2) Can these be washed regularly without losing their color?
DIYs are amazing. It’s wonderful how you can completely change the look of something without spending tons of money on redecorating. Thanks for this tip!
Such a pretty color combo…so eclectic and fun. Mary
LOVE your idea!! Definitely give it a try! Soonest I find a bit of time, between all the mommy chores!! 🙂 Thank you!!
I don’t suppose anyone knows the source of those geometric quilted shams? they’re awesome!
Thanks for sharing this! I plan to bring some madder back from my upcoming trip to India. I love how you dyed the large shams and added the little fringe, such a nice touch!
this so inspirating, letter i will make this pillow too, thanks for the information