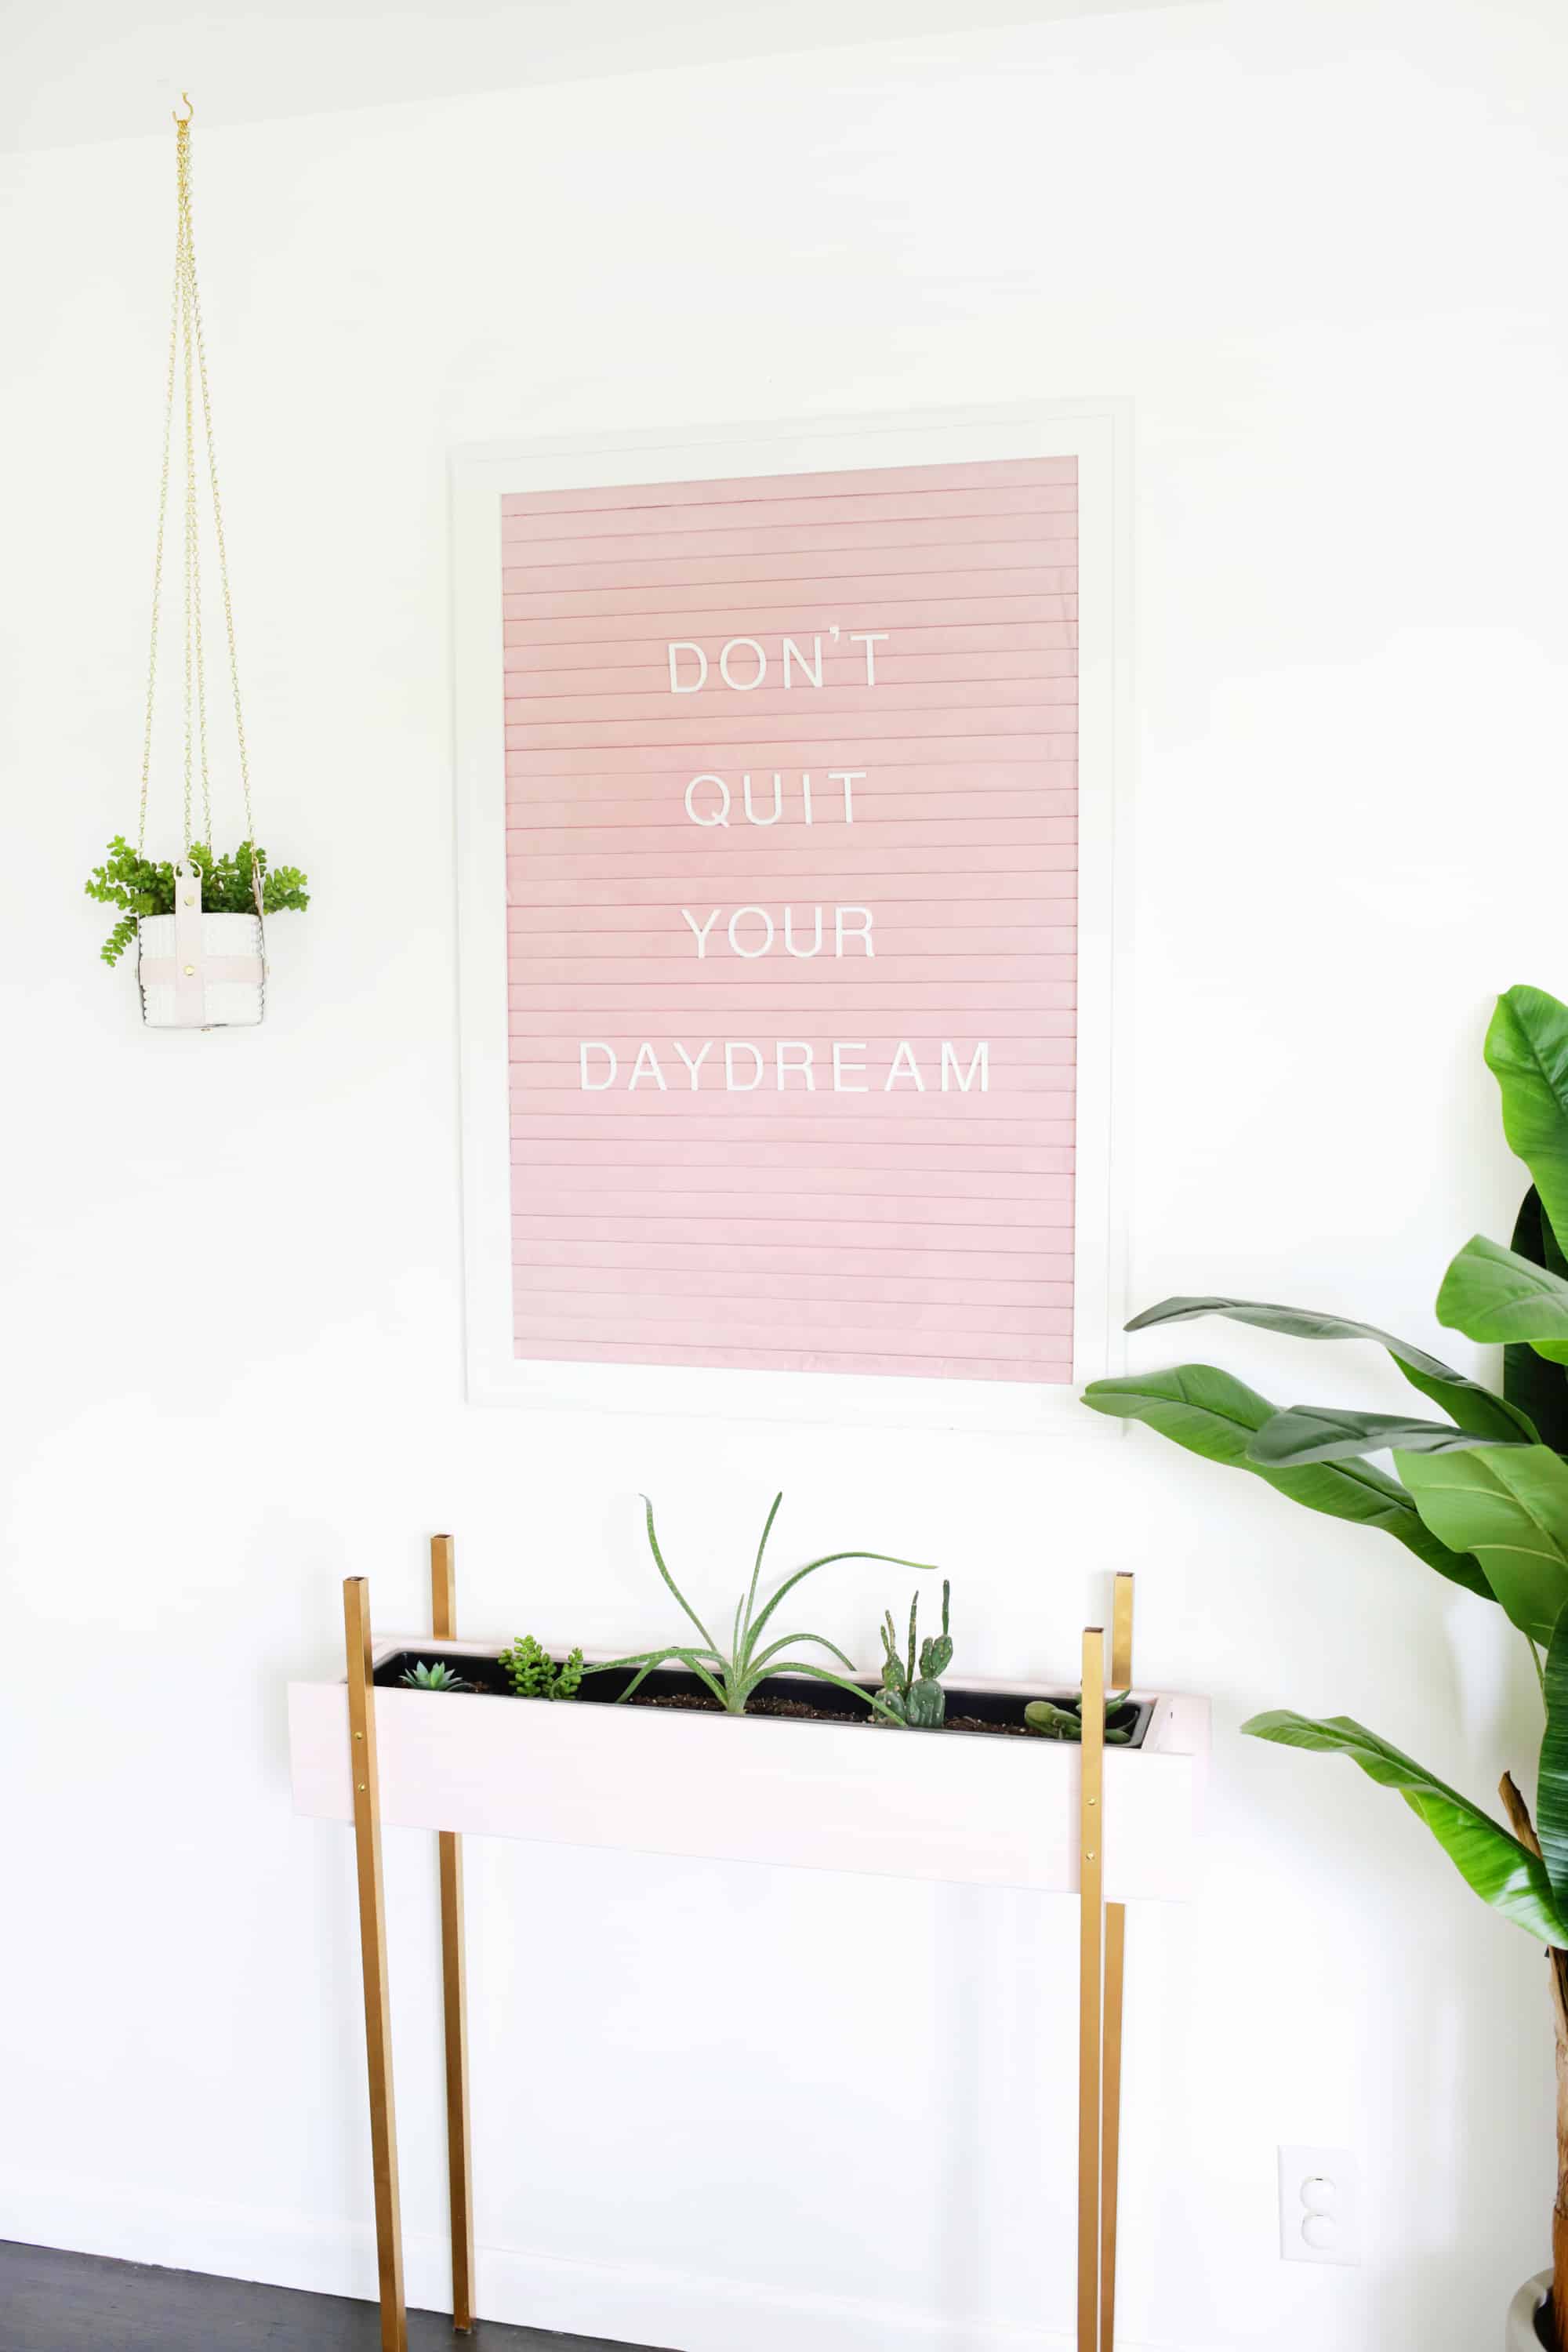
 Chances are you already have (or wish you had) a felt letter board of some sort in your home because they are really useful for lots of things: making menus for parties, month-by-month charts for babies, displaying your favorite song lyrics, etc. I tend to always want to make something huge or tiny and I thought that an oversized felt letter board would be three times the size and the amount of fun! I was a little worried that making one that large would be rather time-consuming, but once I figured out the best way to lay it out, it actually went pretty quickly!
 Supplies:
-24″ x 36″ frame
-24″ x 36″ foam core board
-thin felt/faux suede/flannel fabric at least 24″ wide and 52″ long (I used this fabric)
–large letter board letters (usually the 2″ size only have one tab on the back instead of 2 like the smaller letters and that’s what you want)
-X-Acto knife, cutting mat, and metal ruler
-hot glue gun
-gift or credit card
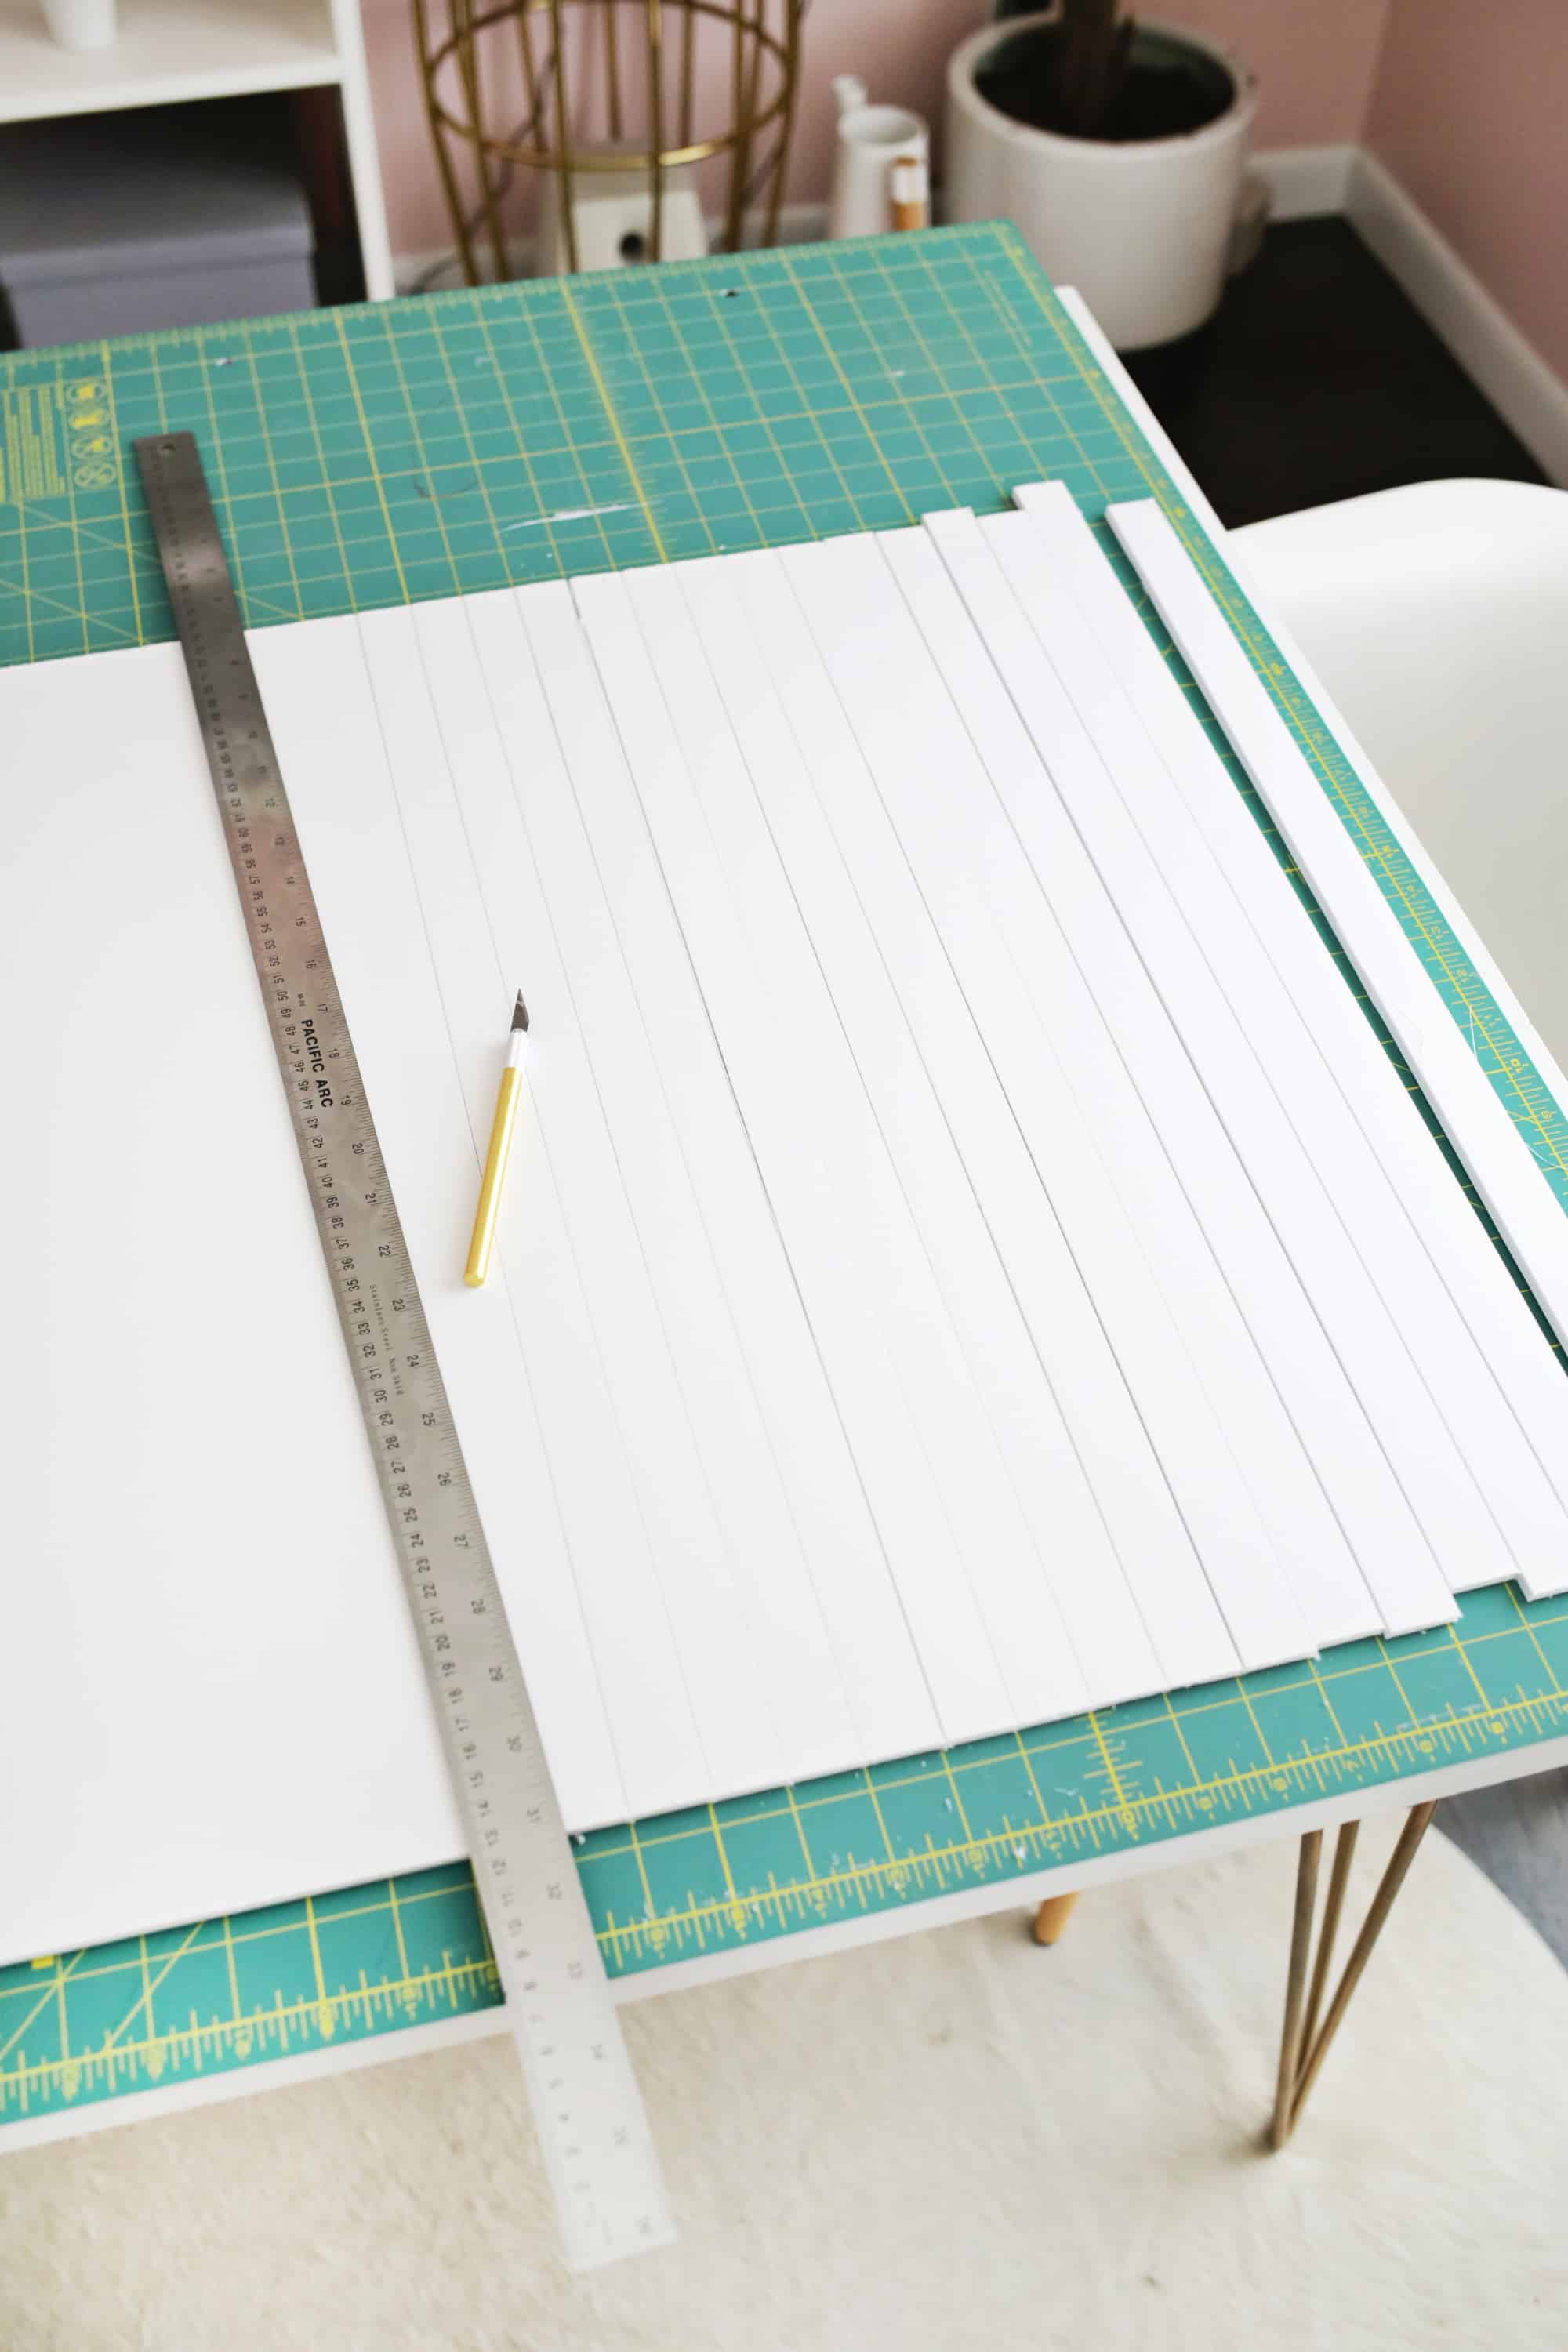
First, you’ll want to take your foam core board and cut your whole board into 1″ x 24″ long strips. You can either make marks down each side at every 1″ interval so you know where you cut or you can lay the board on a large mat with a 1″ grid and just cut at each line for even sections.
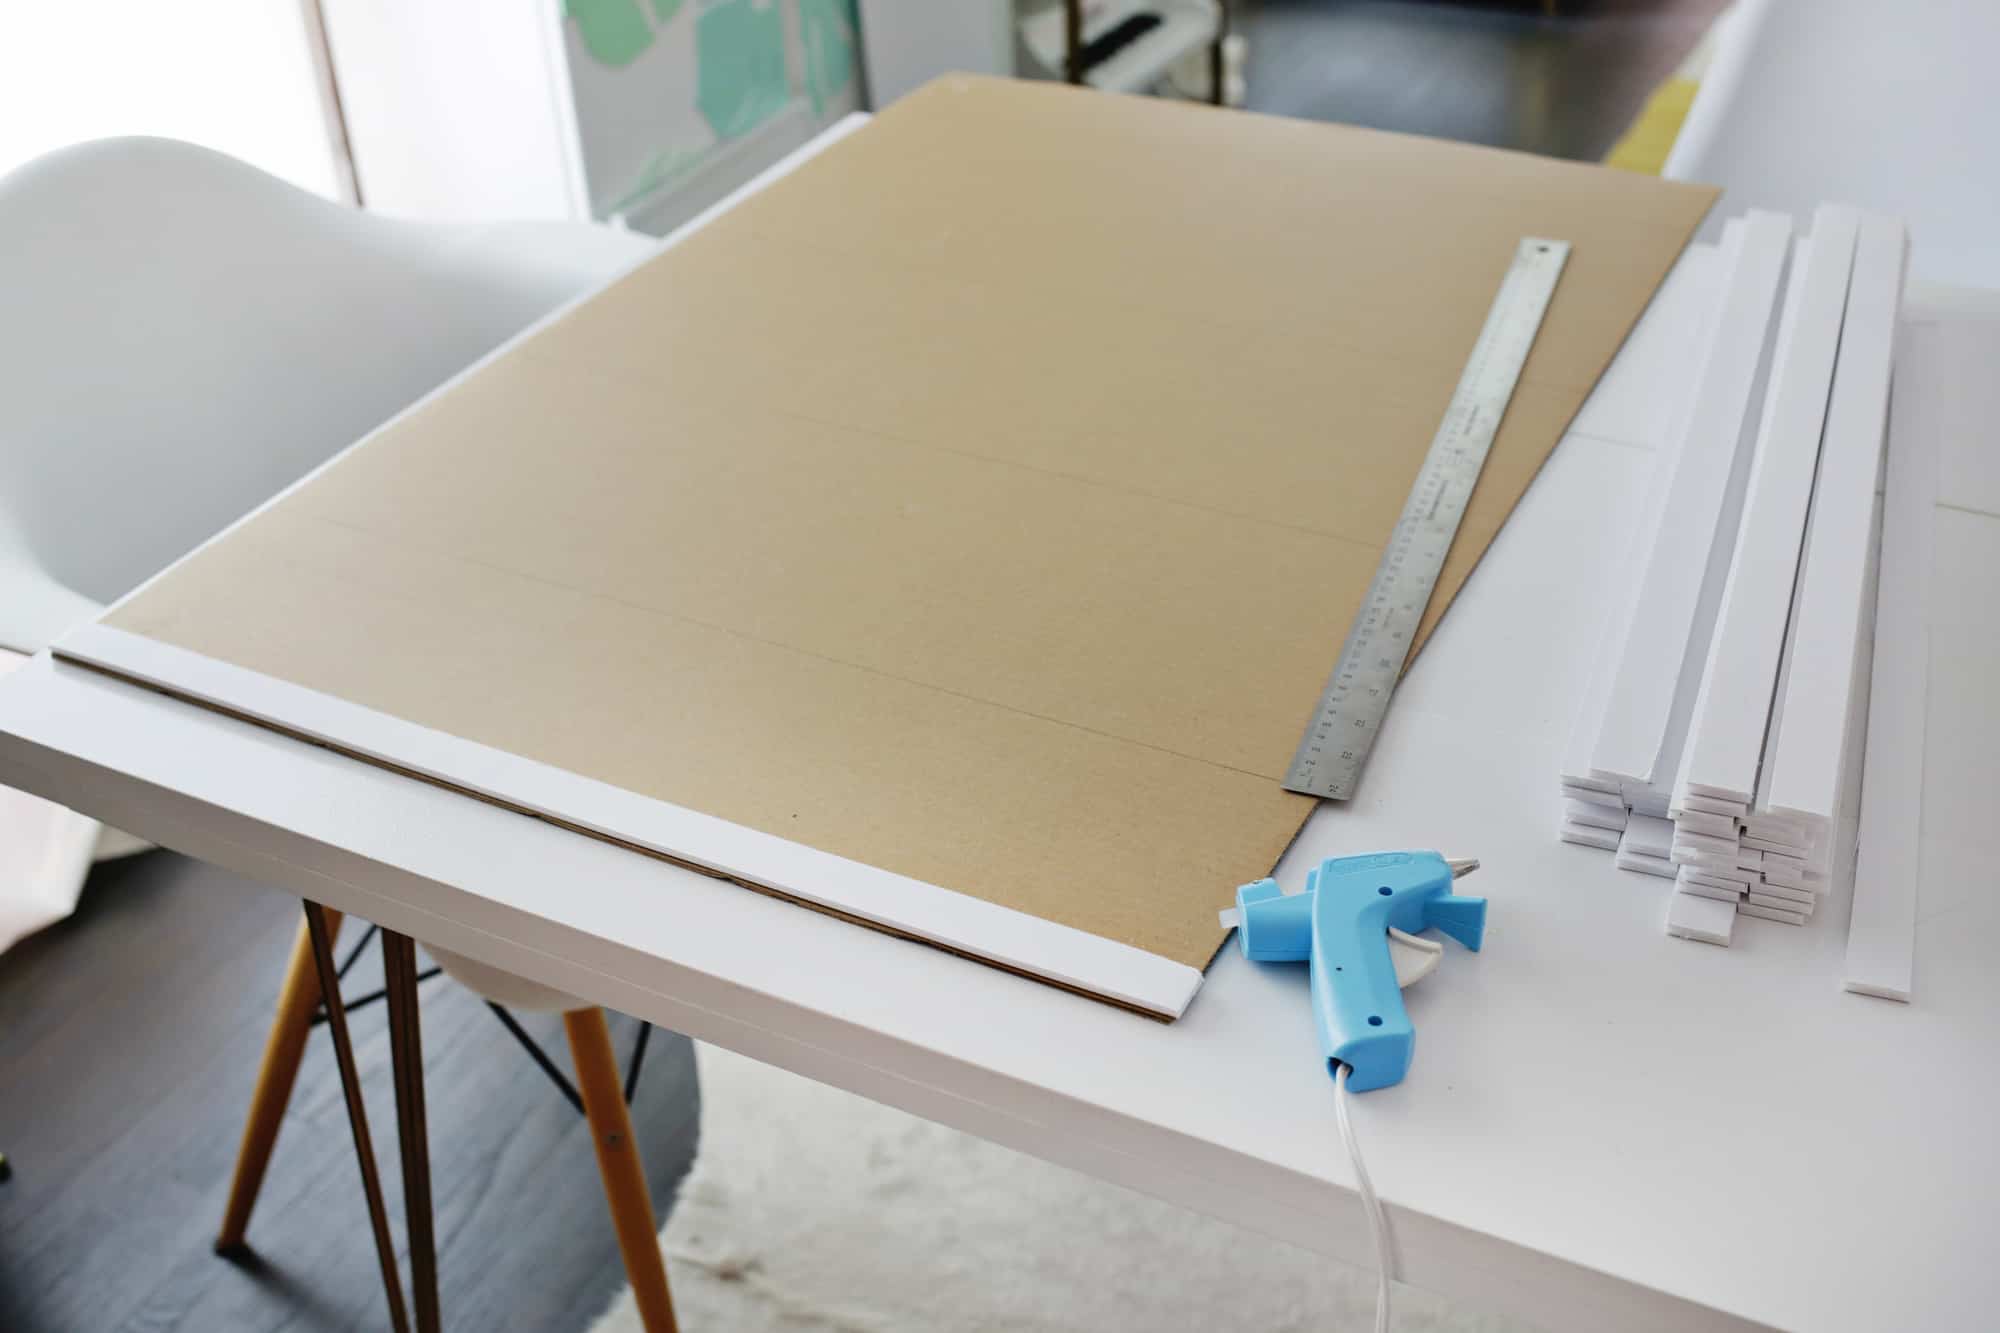 Once all your sections are cut, take your frame apart and glue one foam core strip to the very top of your frame backing with your hot glue gun.
 Leave a 2mm gap and glue the next one right below it. I found that 2mm was best for my thickness of fabric to hold the letter tabs in place, but you may want to experiment with different widths and find the right gap size for your fabric (you should have 1-2 extra strips that you won’t need on your letter board so you can use them to play around and determine the right spacing). If you want to cut a thin piece of foam core to use as a spacer (or a piece of balsa or cardboard would work if you can find or layer to the right thickness), then you can use that in between the foam core strips and remove to use again between the next two for equal spacing throughout.
 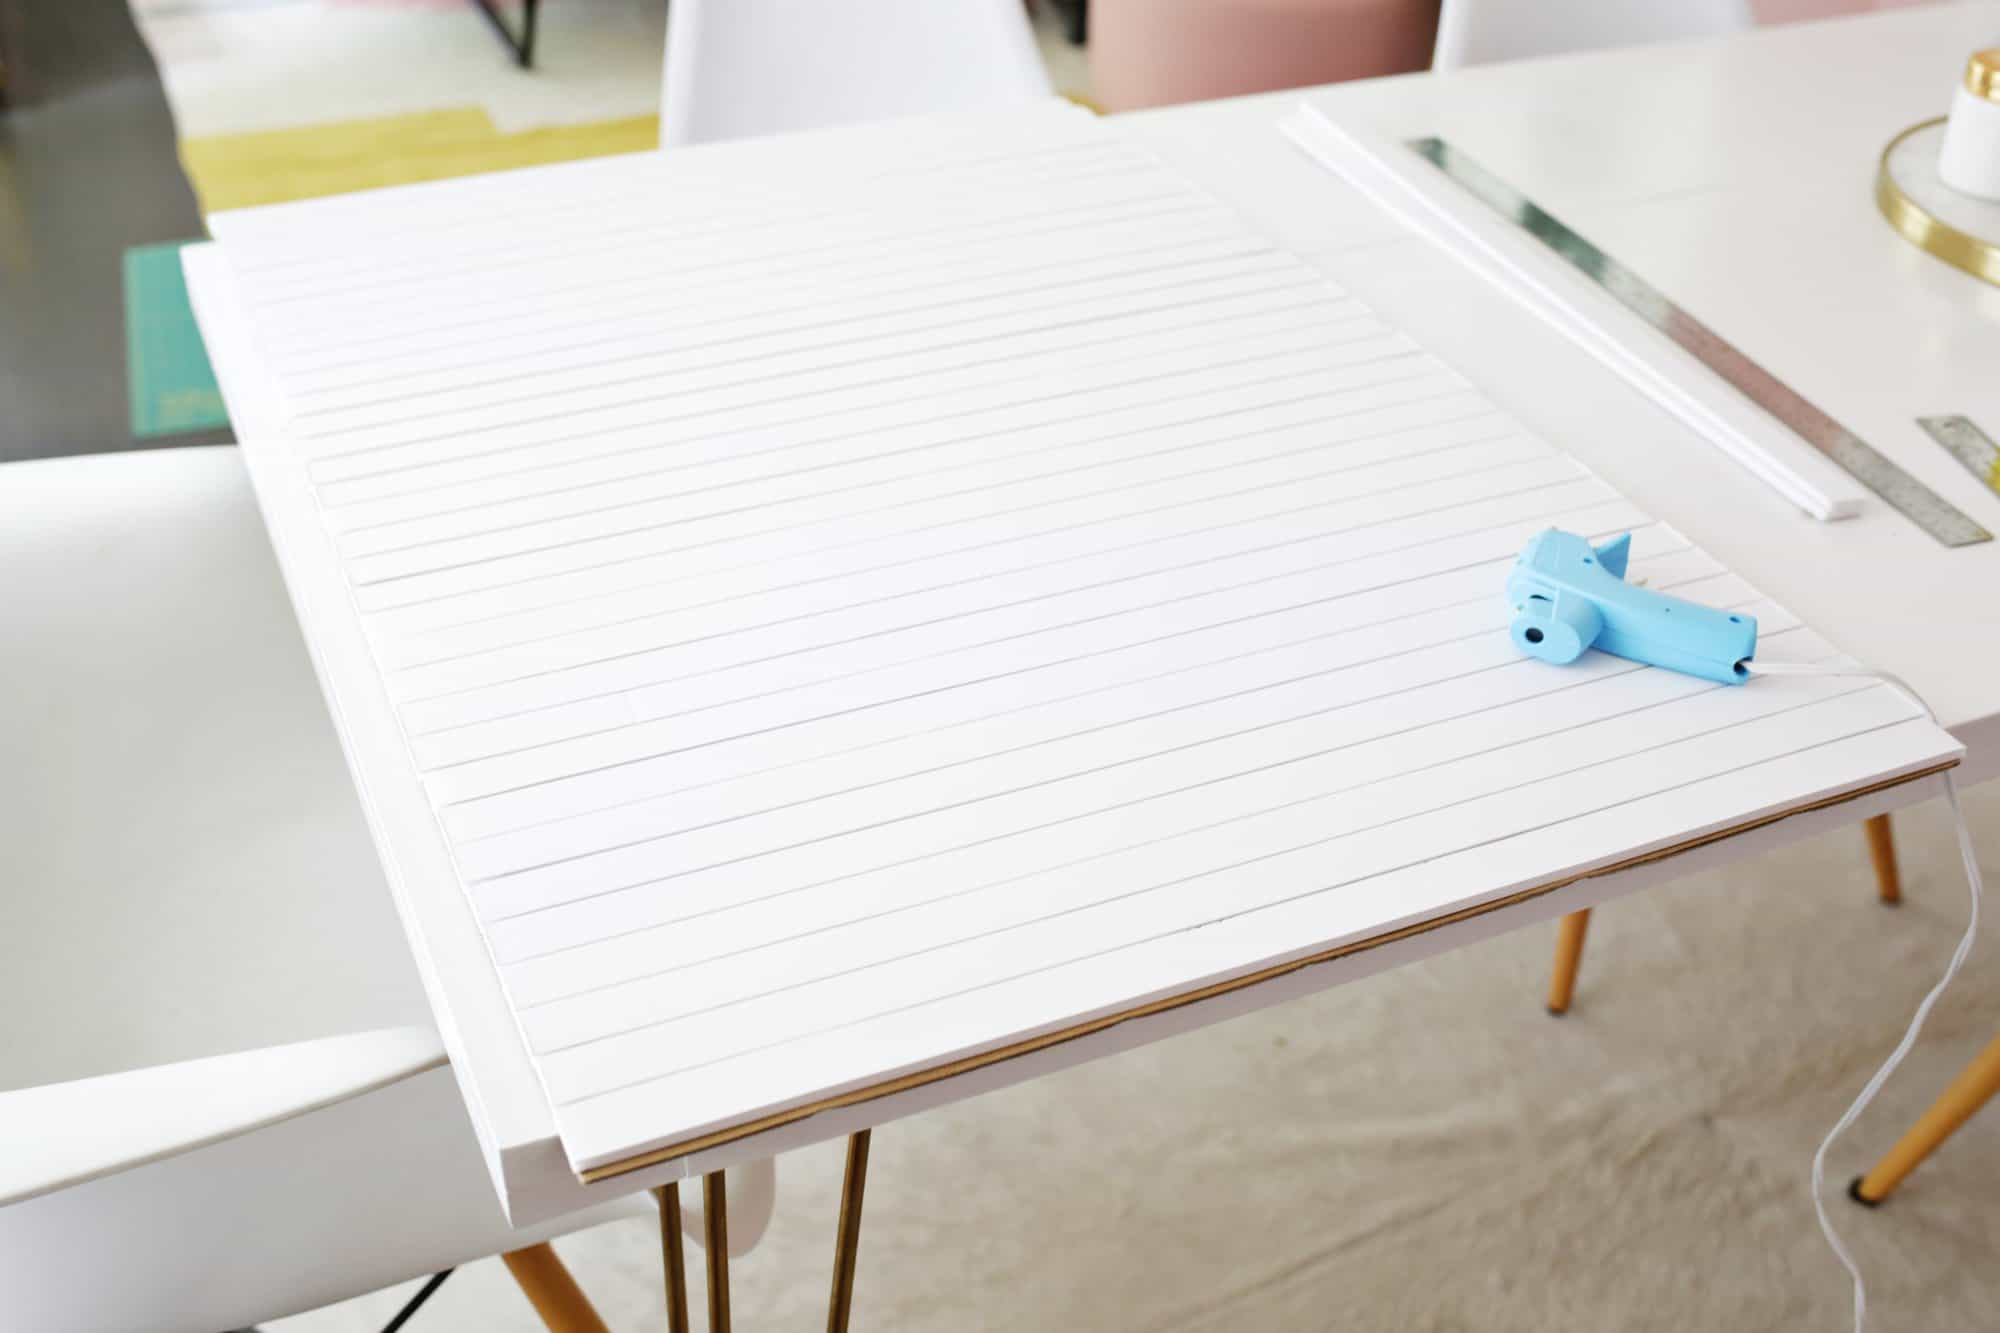 Repeat the spacing and gluing of the foam core strips until you have gone the whole way down the frame backing. Mine ended up fitting pretty perfectly to the bottom, but you can trim the last piece to a different height if needed to fit.
 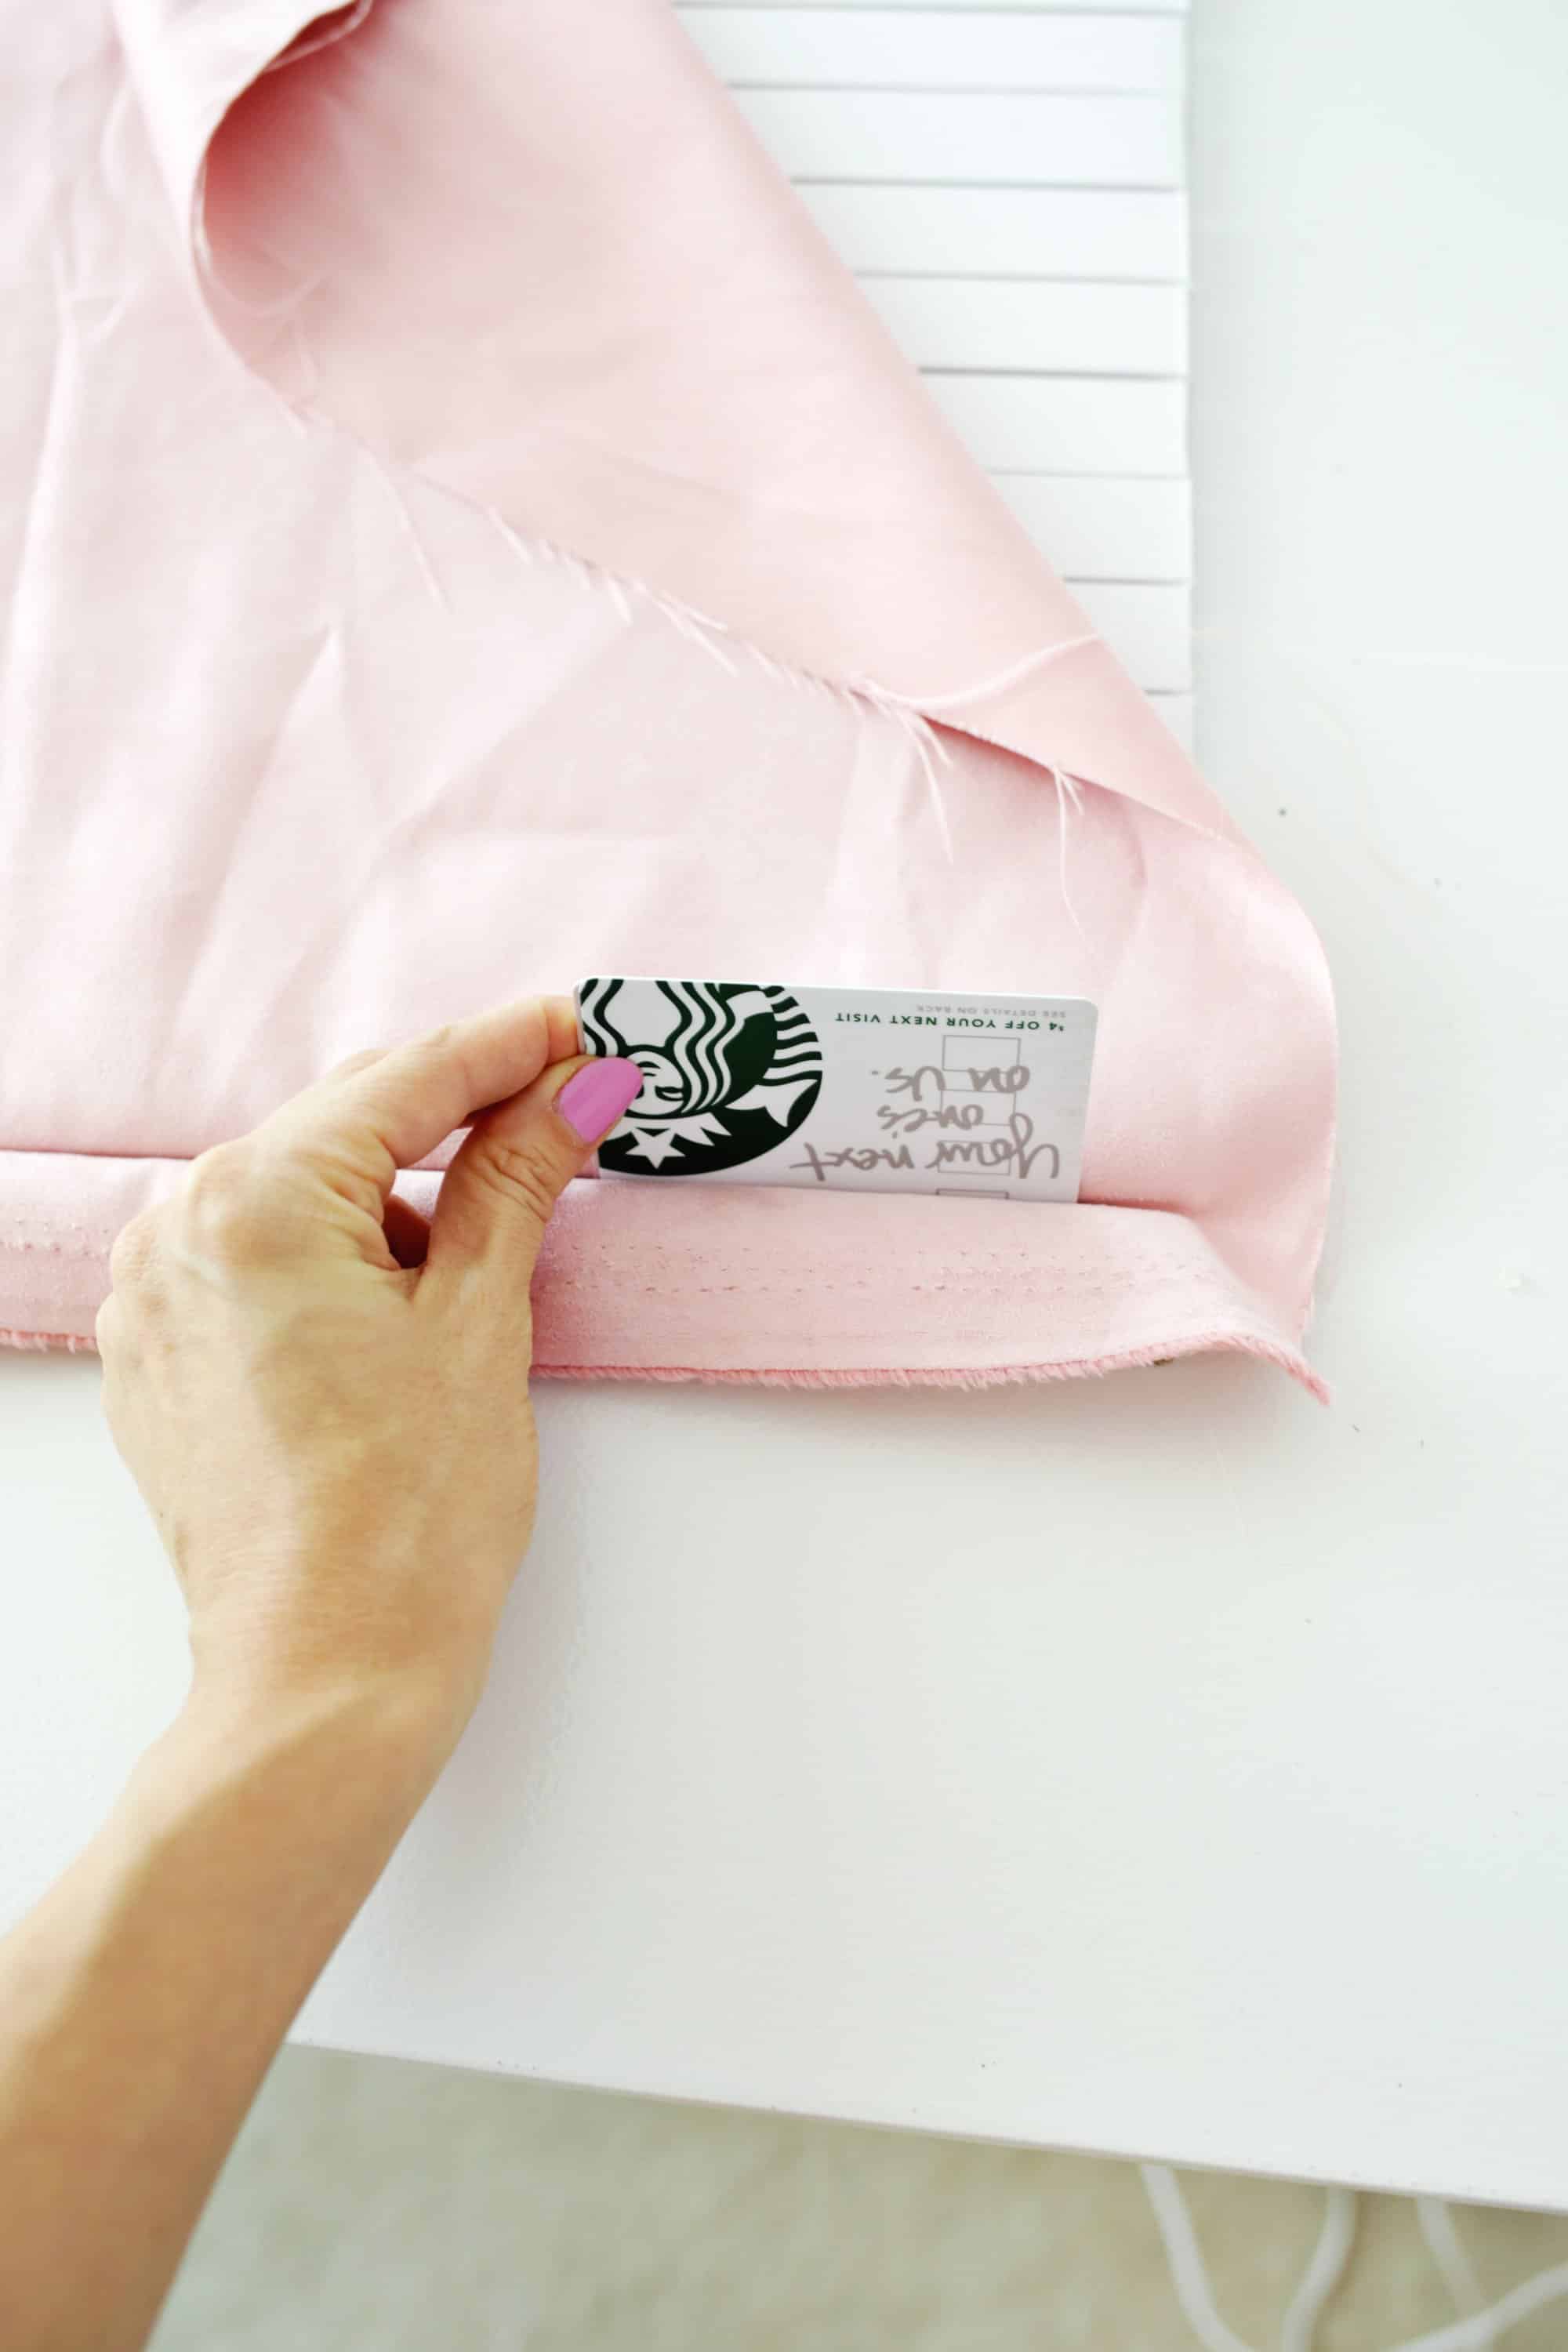 Once you have your foam pieces in, line up your fabric so that it hangs 1″ over the top and use a credit card to push the fabric down into the first crevasse. I would start in the middle and then work your way out to each side. Go down to the next gap and use your card to push the fabric down into that gap as well. Since you don’t want to pull out the fabric you just pushed into the first gap when pushing it into the second gap, you’ll want to keep that first fabric in place with the hand that’s not holding the card as your work your way across the board. You want to try and get the fabric as tight as you can without pulling it out of the line above it, but you can always pull a section out and reinsert it if you need to adjust something.
 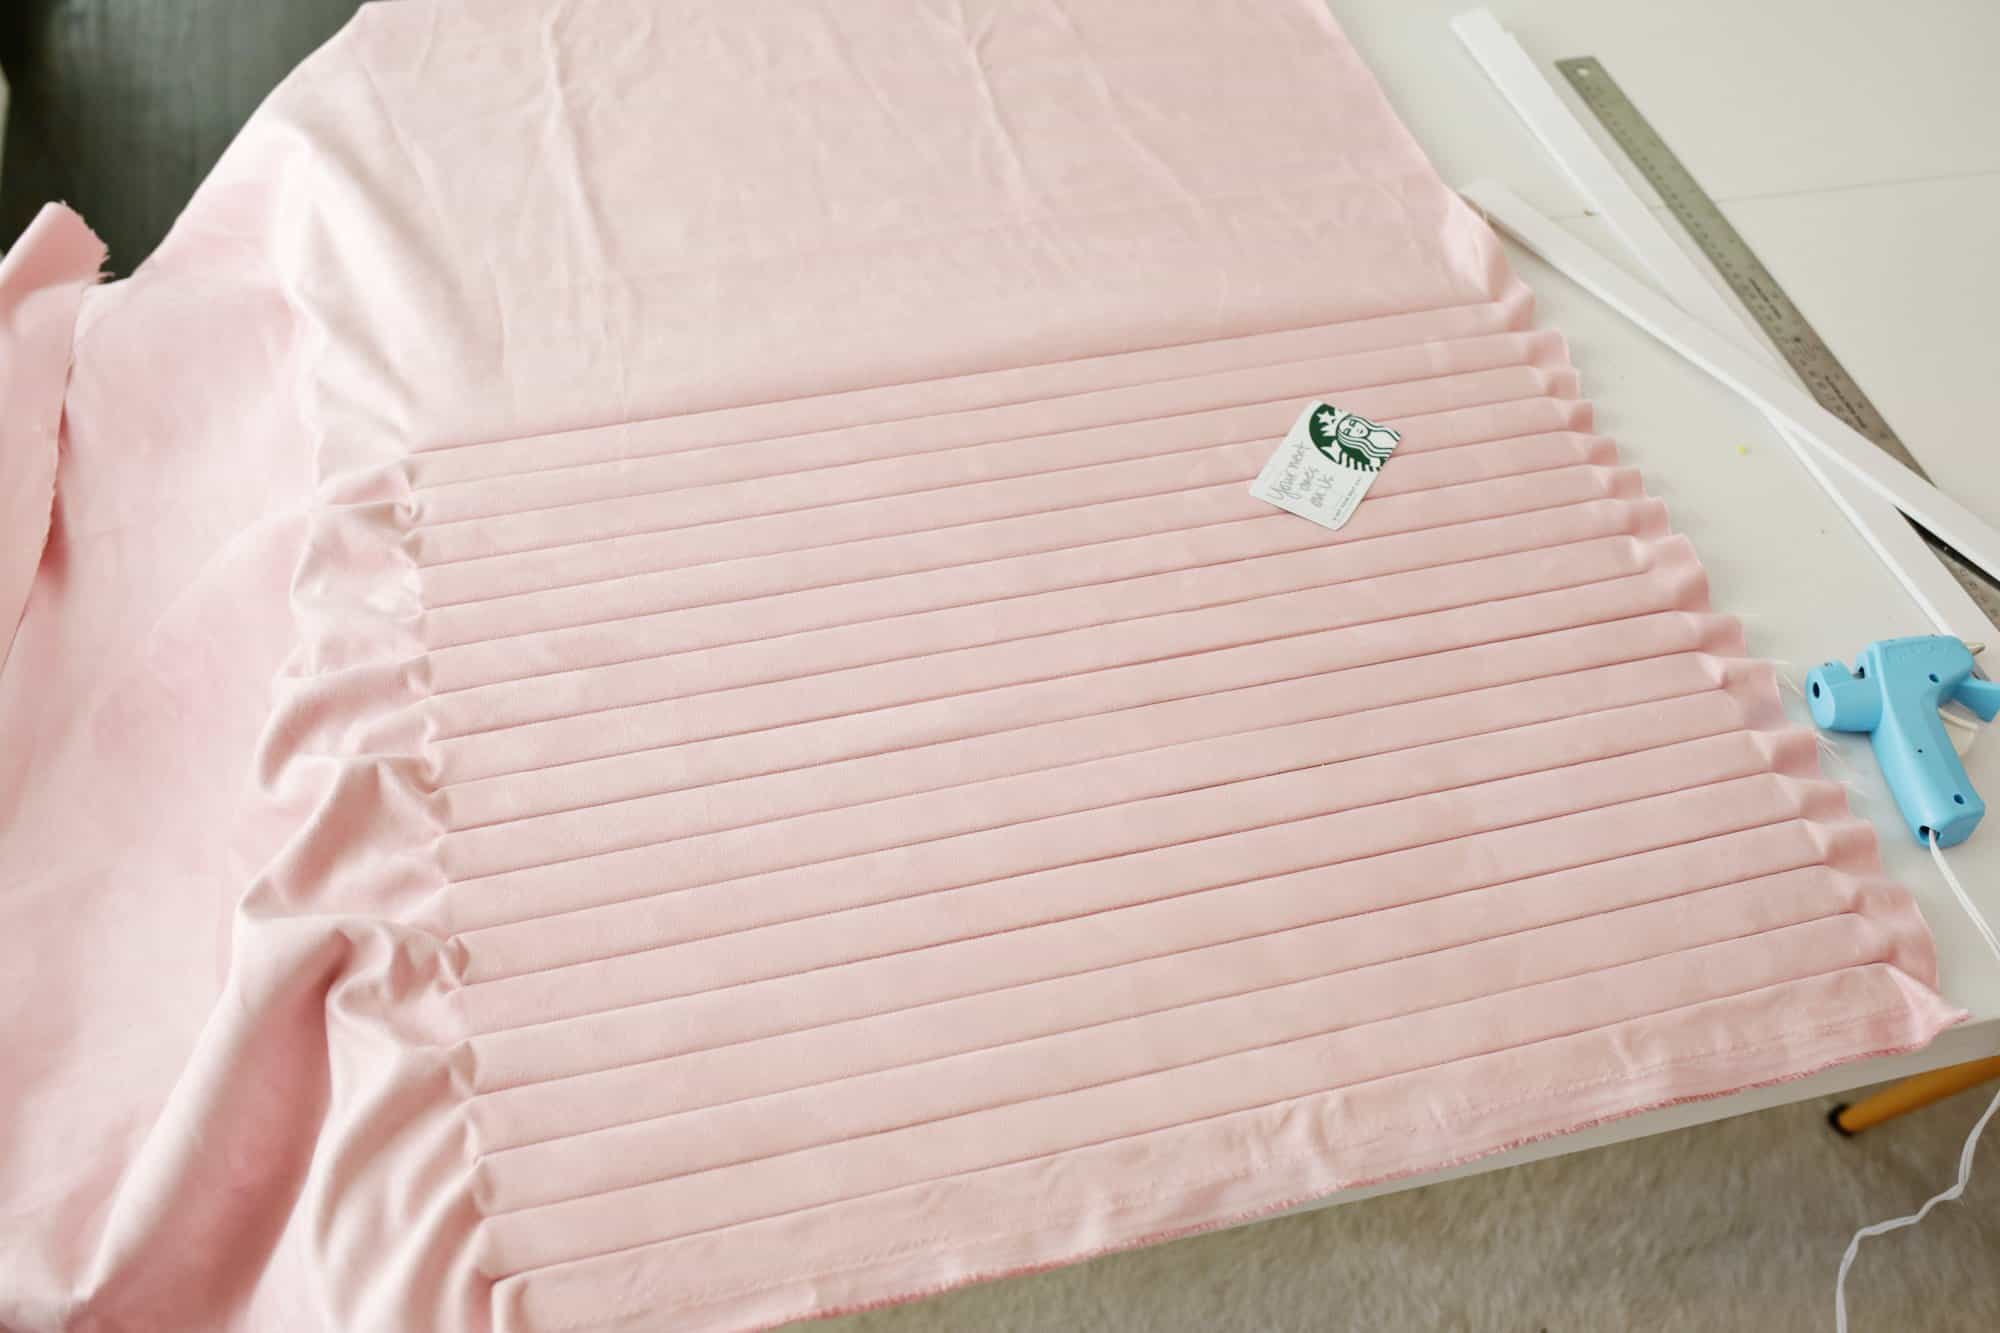 Continue until all your fabric is pushed in the whole way down the board.
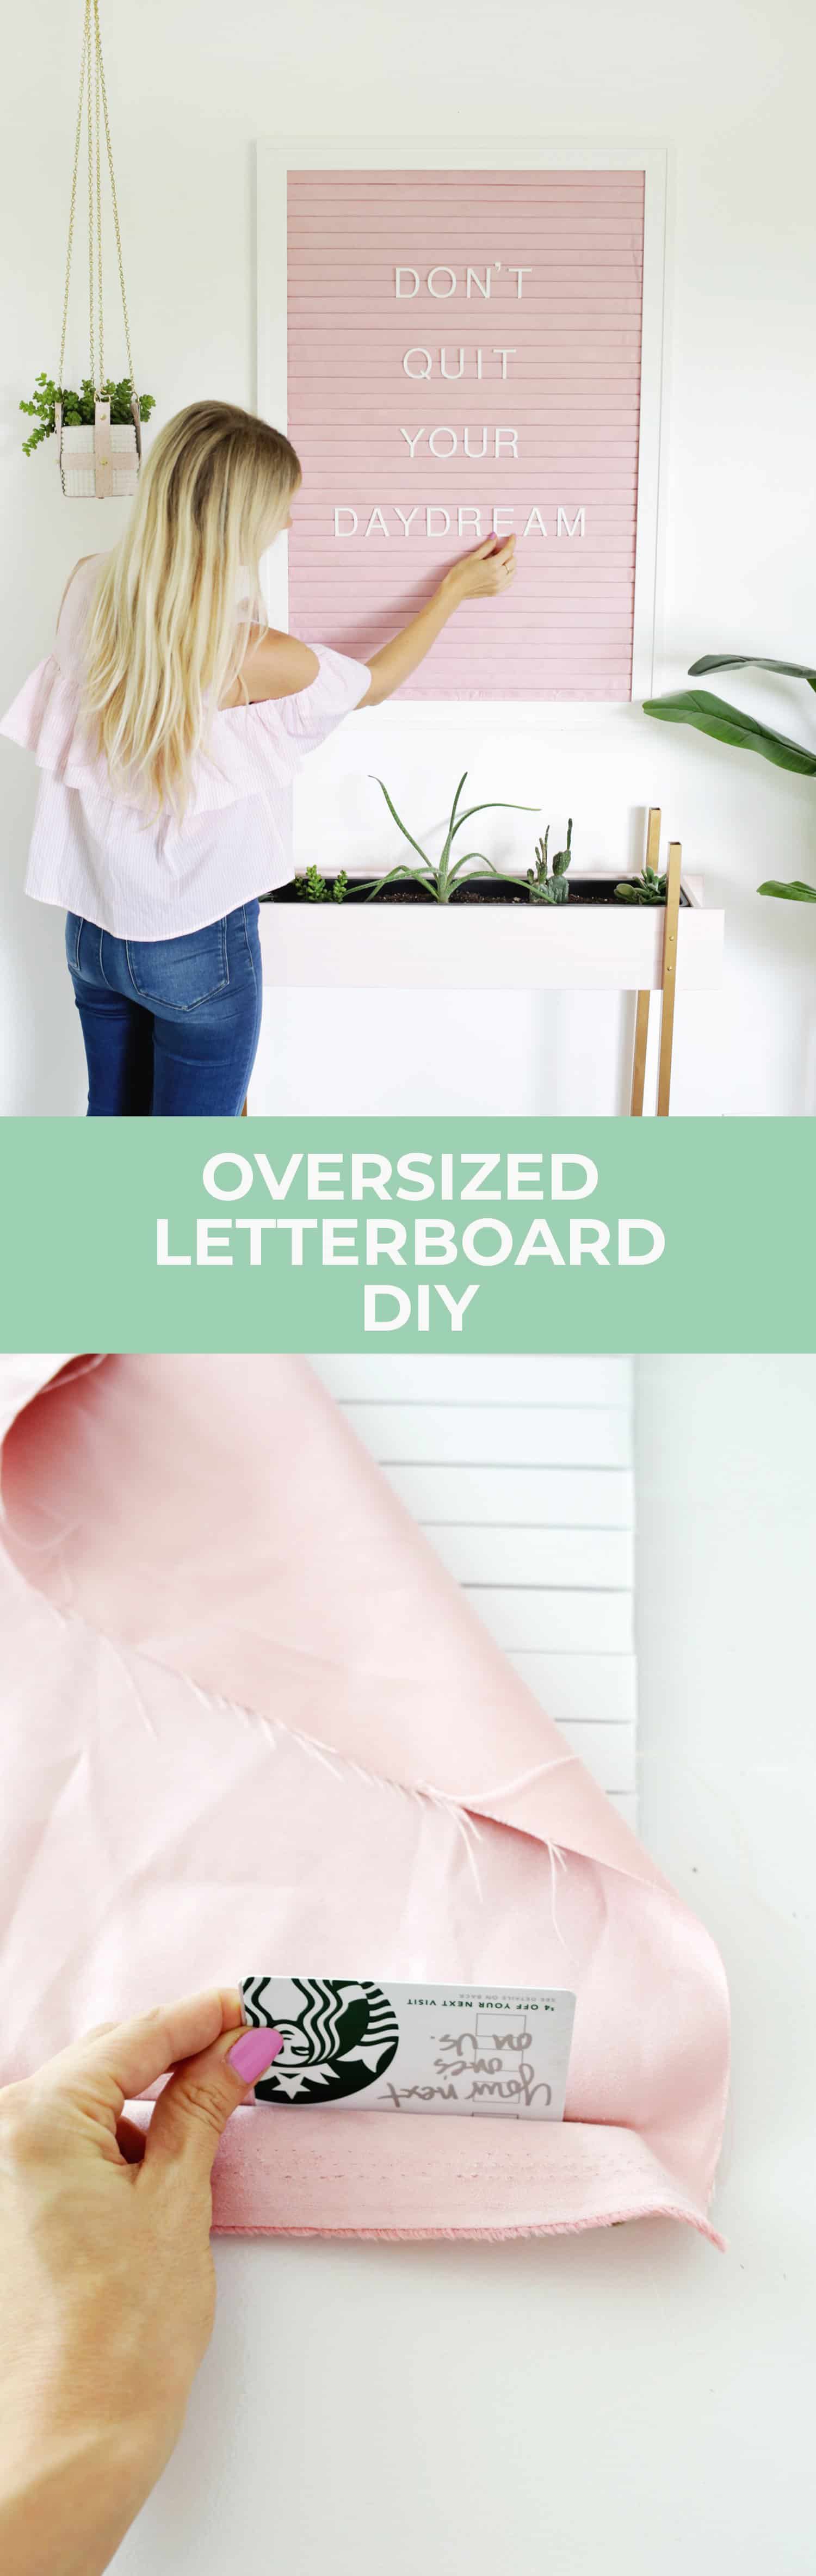
  Cut your bottom fabric so that it also hangs 1″ over the edge and trim the excess fabric away from the sides as well. Fold the extra fabric on the top and bottom over the back of the board and use your hot glue gun to glue the flaps in place.
 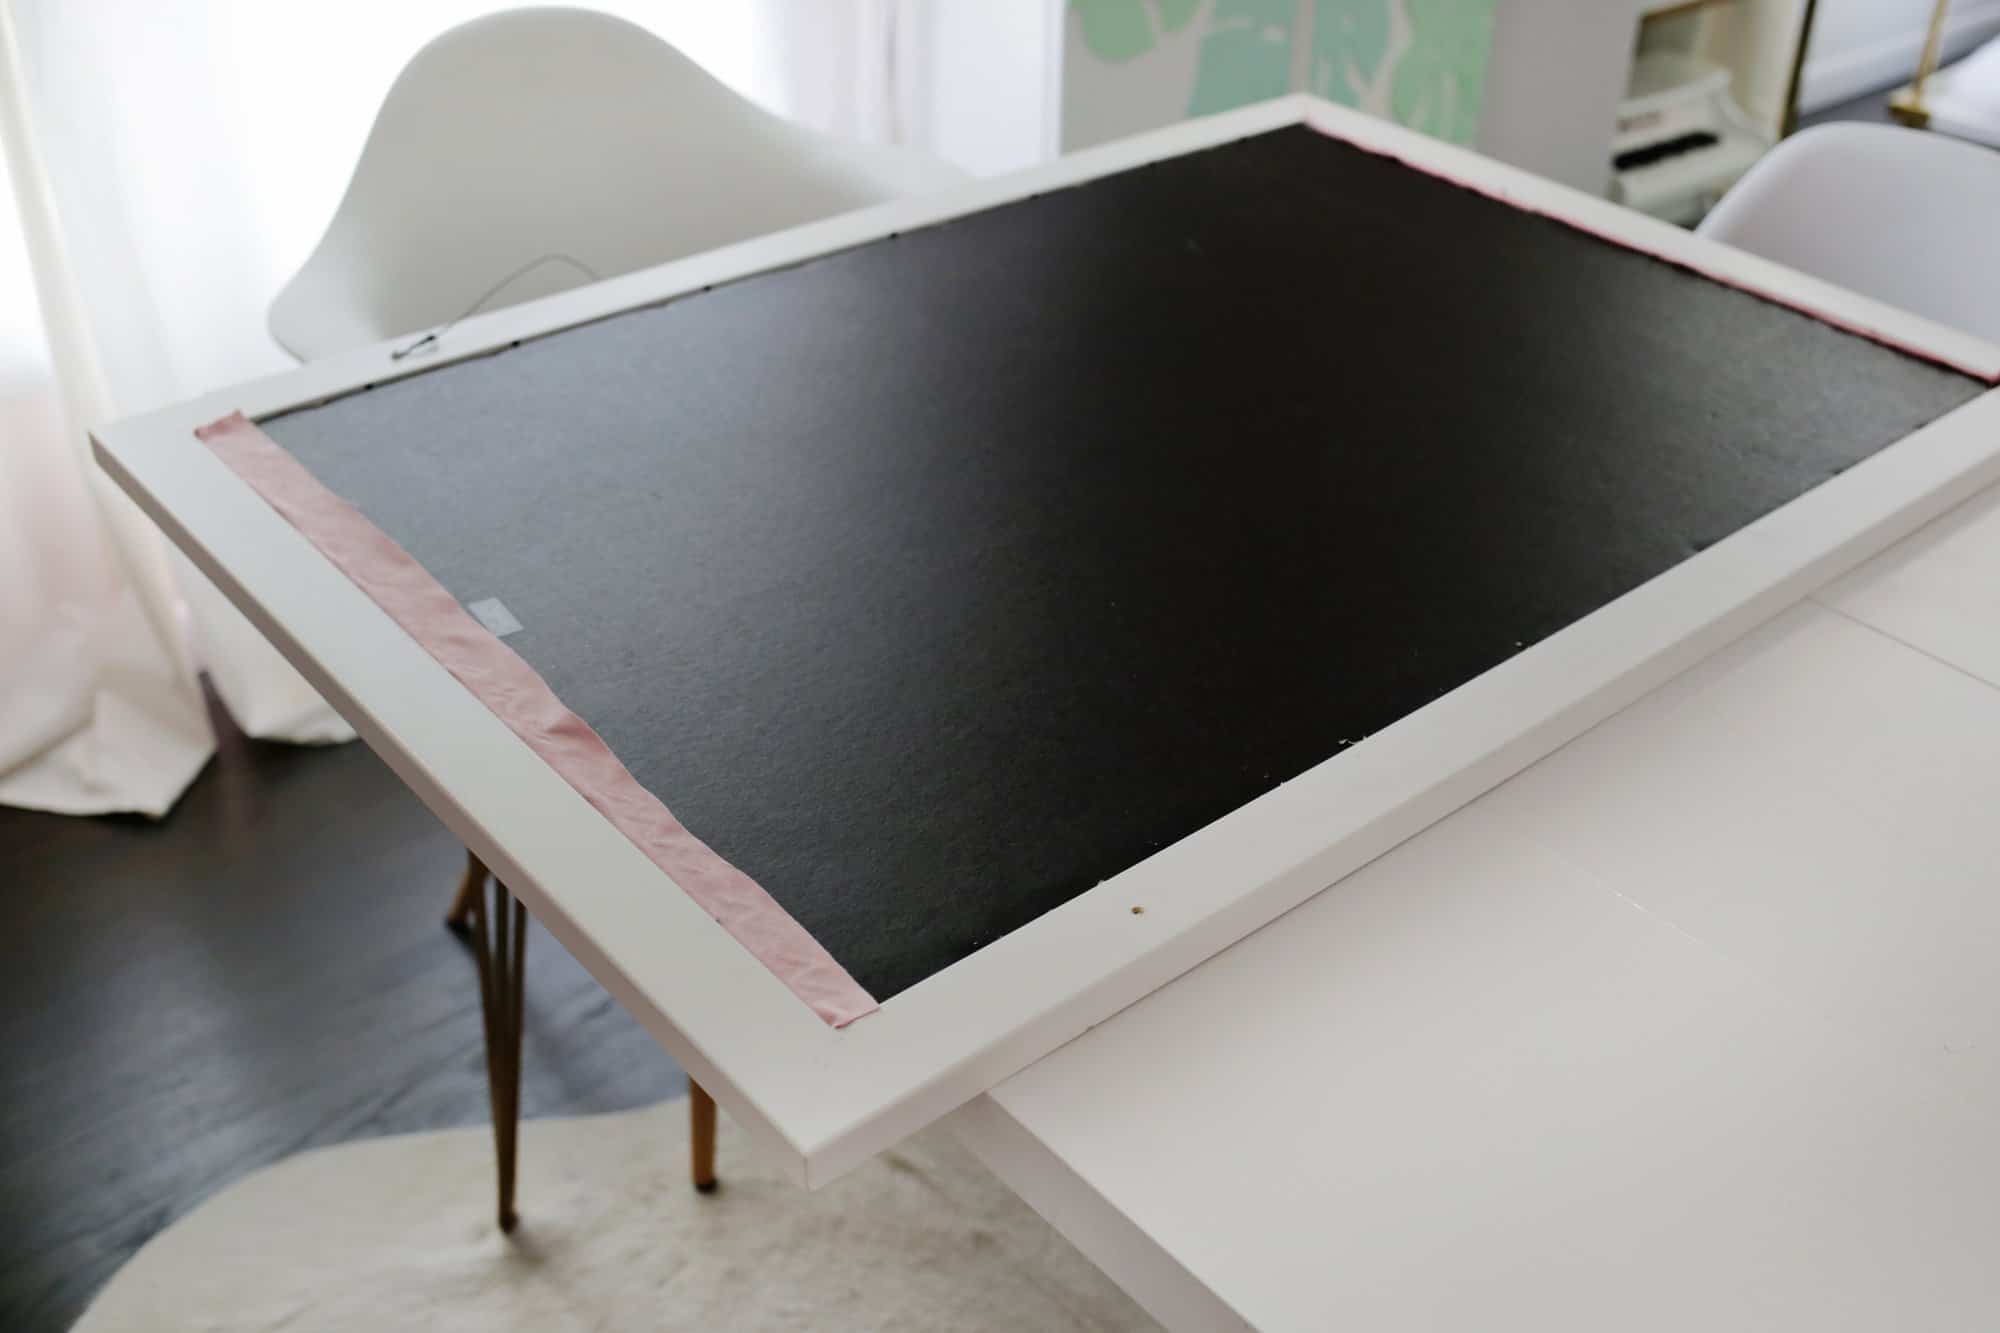 Pop your backing back into the frame (take out the glass if there was glass in the frame) and it should fit snugly on its own without having to secure it into place. You may want to run your credit card through each line one more time once it’s in the frame since all that handling may have pulled the fabric out a bit on a few spots, but after that it’s time to hang and add some letters!
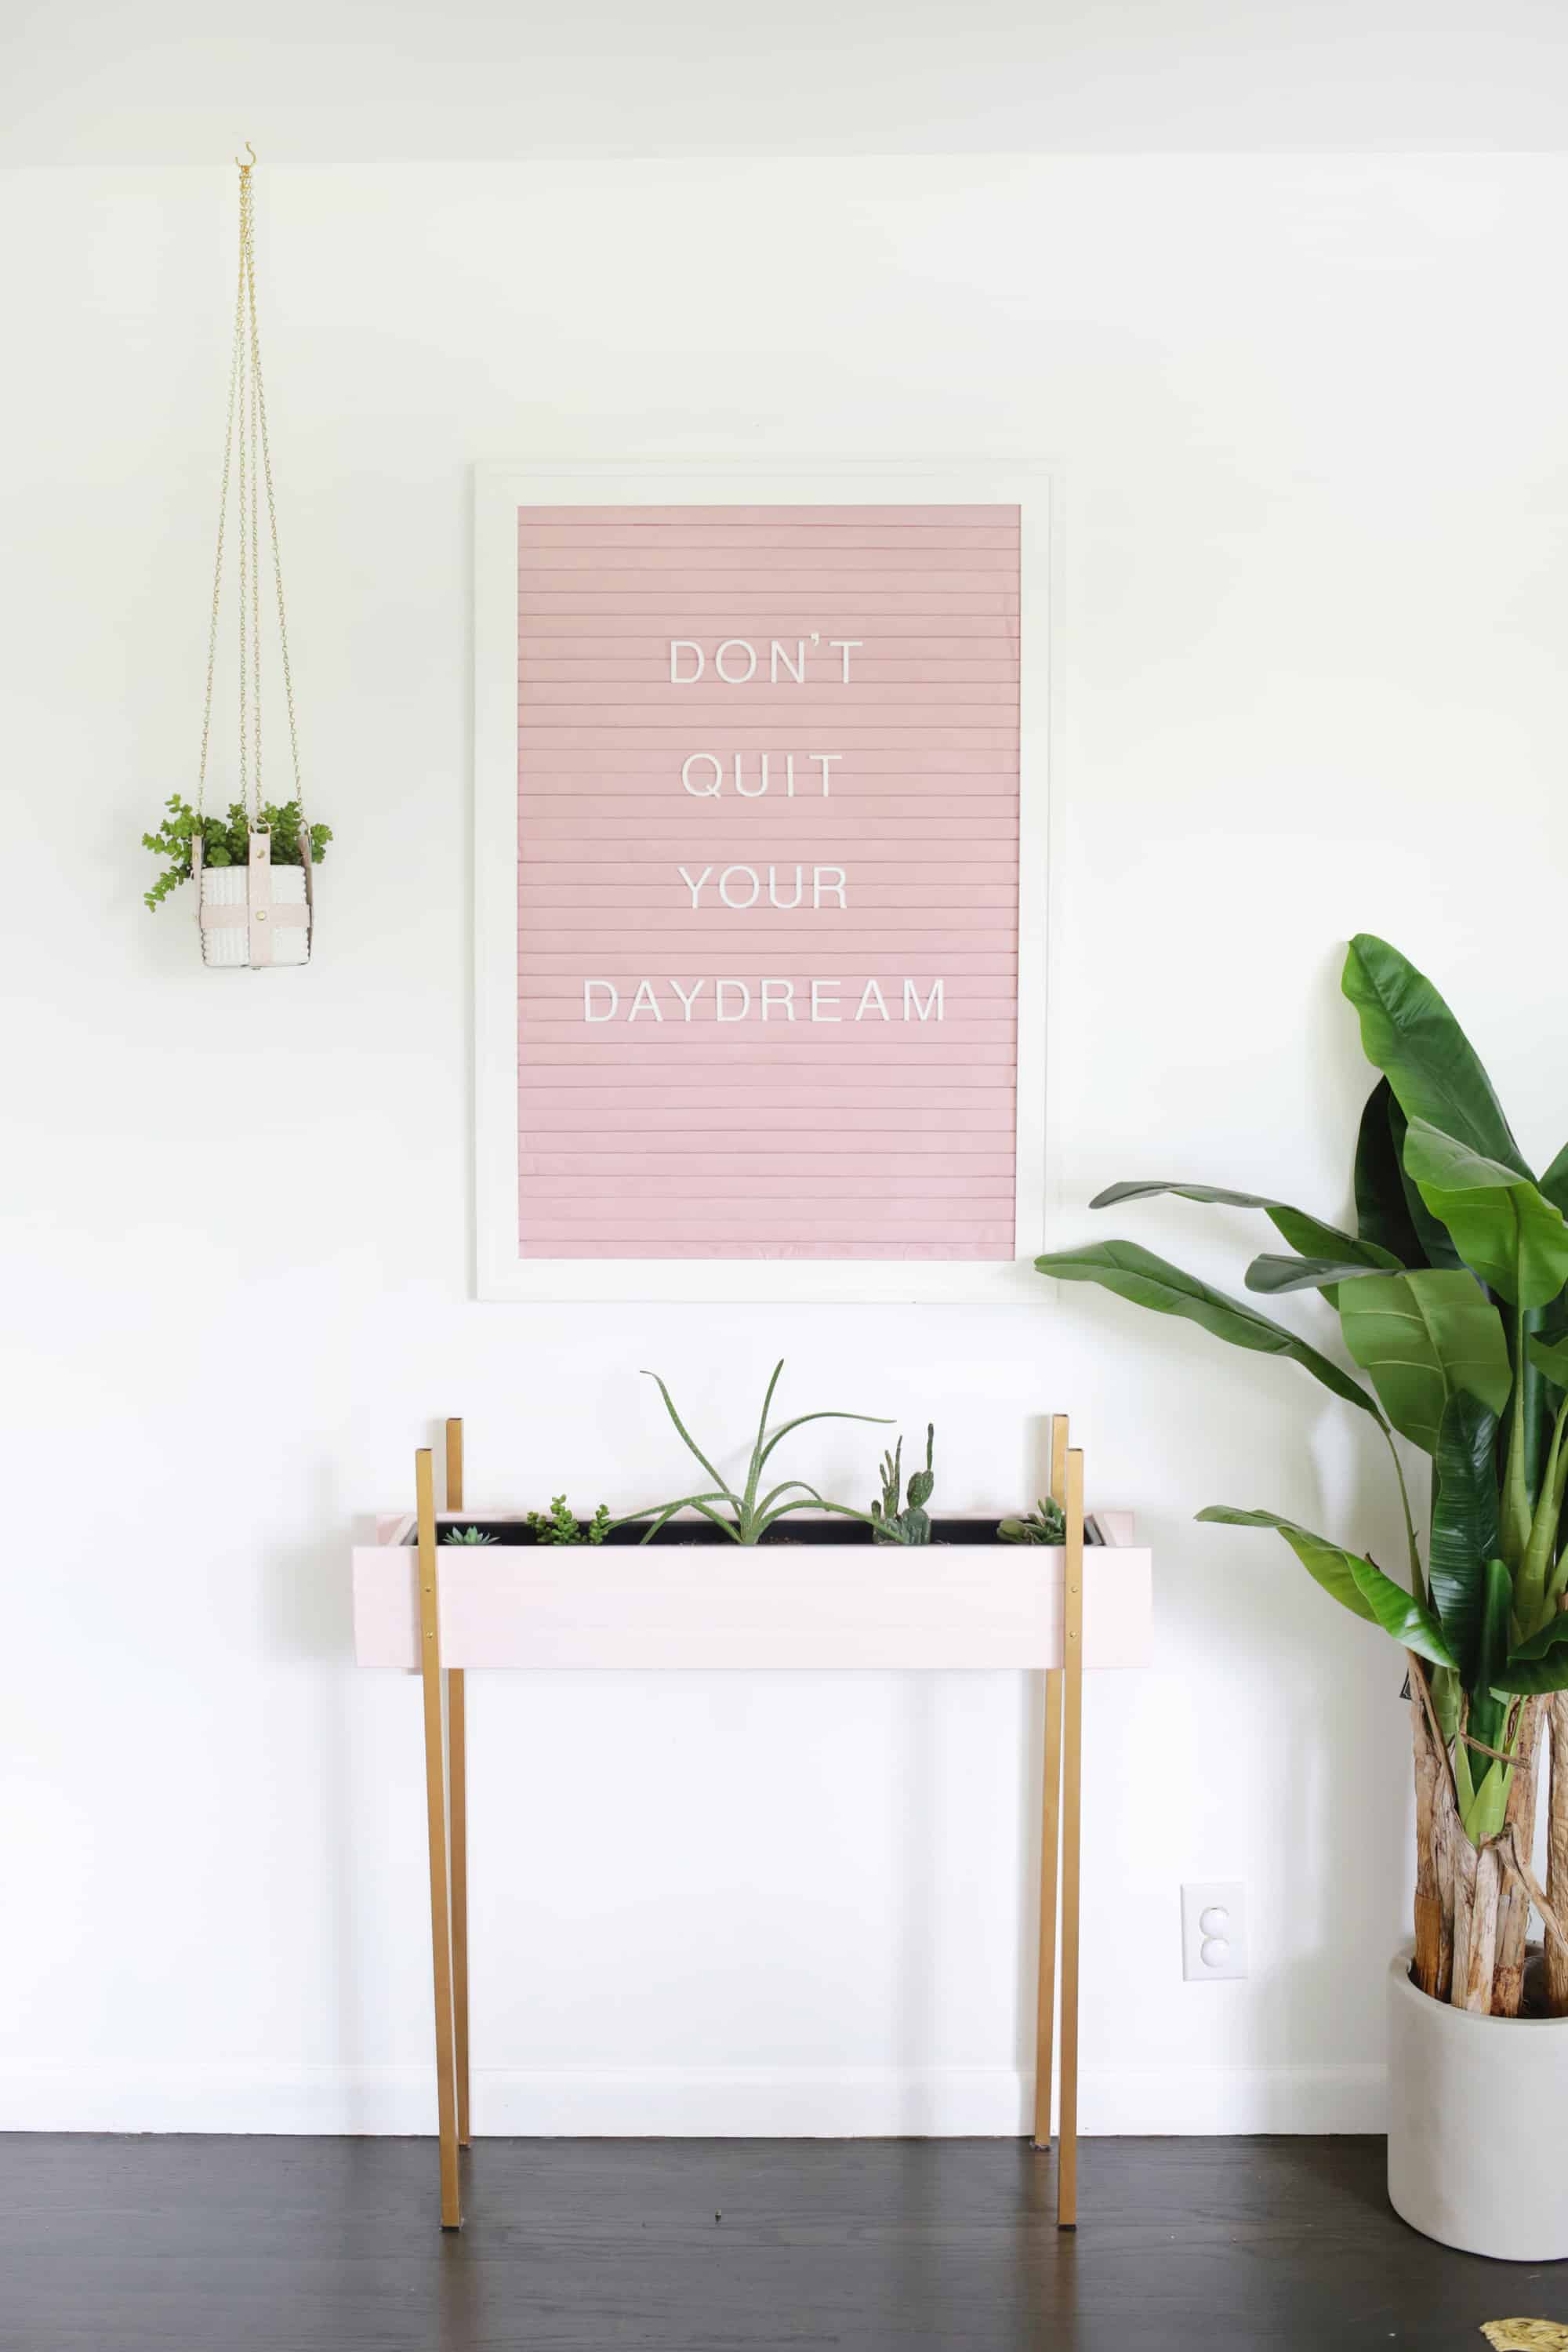

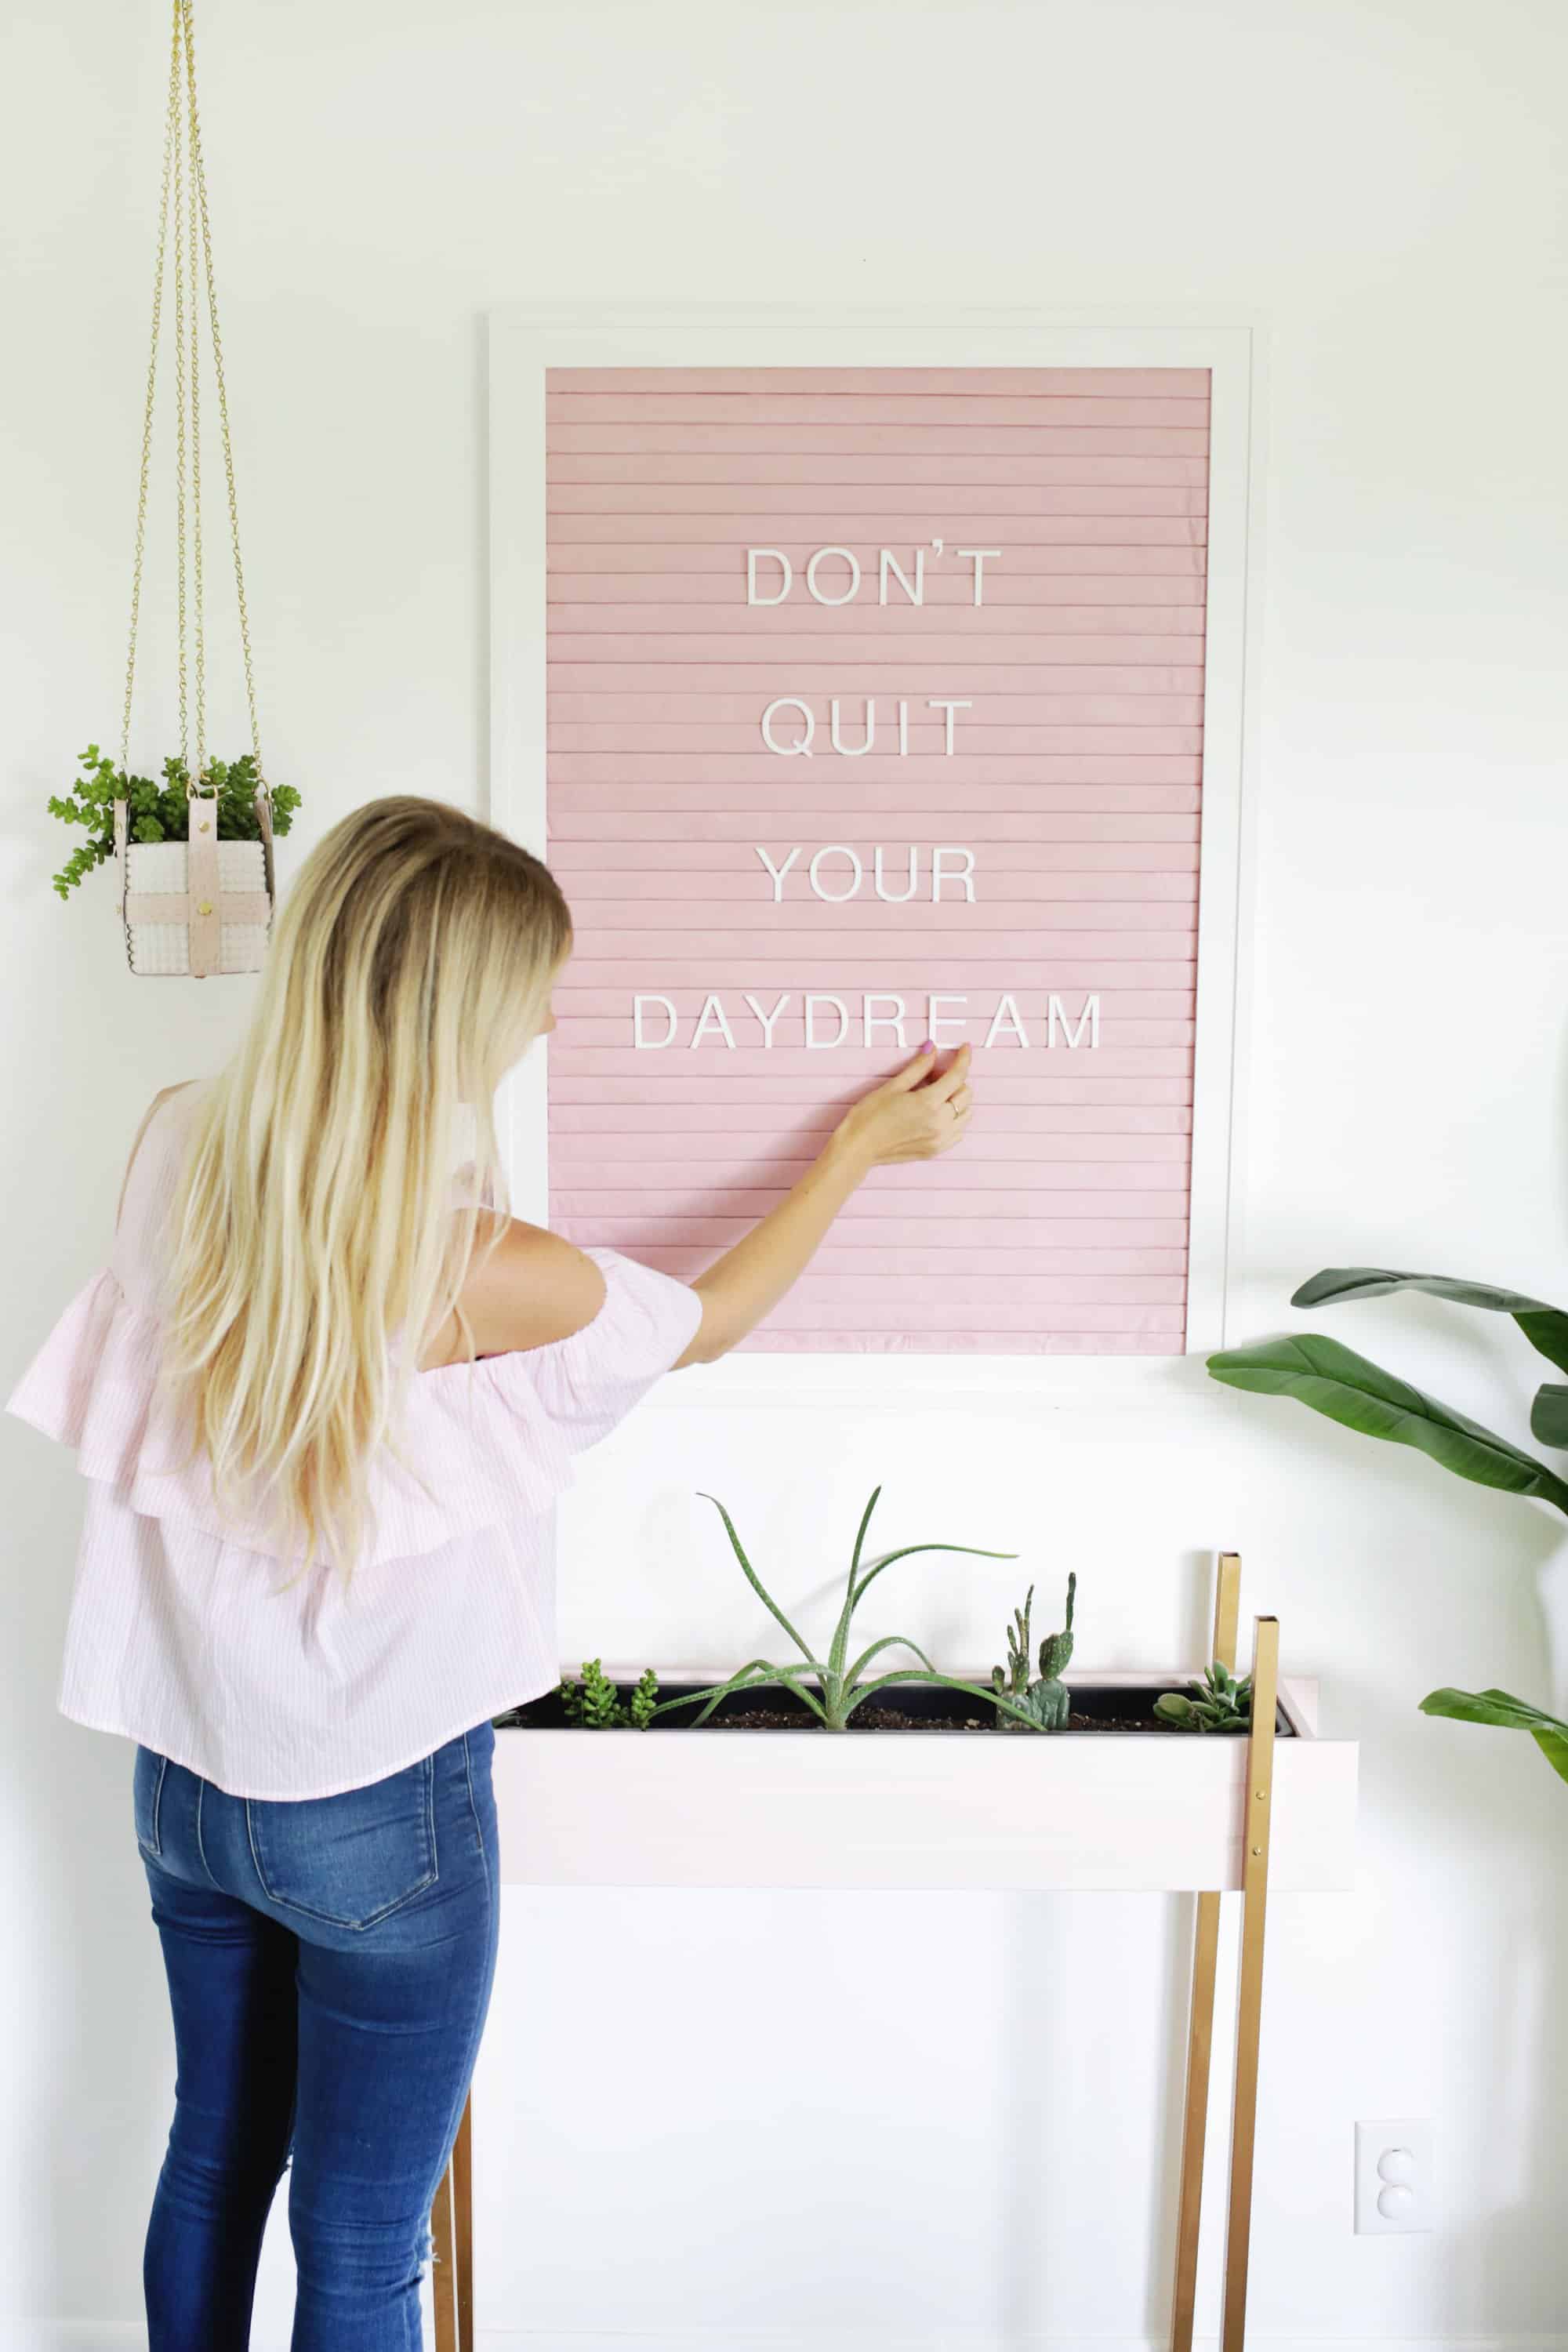 How cool is that?? Items like this are extra fun since you can customize them with whatever song lyrics or movie quotes are special to you (and you can change it up seasonally and for parties, etc.). I have a feeling that this will eventually become a board for Arrested Development quotes and I’m totally fine with that too … xo. Laura
19 Comments
The DIY is great! I like that it’s customisable and you can always change the letters. 🙂
Charmaine Ng | Architecture & Lifestyle Blog
http://charmainenyw.com
This is amazing. I would probably cut the strips a little less than 1″ in an effort to account for the spaces between so the letters would be 2 strips tall (if that makes sense).
Just remembered I have an oversized frame I could use for this!
That looks so stylish, I love the color!
https://www.makeandmess.com/
Where did that planter underneath come from? I love it.
It’s a DIY. Just check our archives for the tutorial.
Laura is killing it once again!! This is brilliant, I love it!
Totally making one of these soon! This is genius!
Paige
http://thehappyflammily.com
Oh gosh, this looks amazing! I wish I had the patience to give it a go.
This is a great idea! I am going to make one for my new apartment. Thanks for the inspiration!
What a great idea! Love love! I am going to make one for my new apartment!
OMG I’m so excited about this tutorial! This will be absolutely perfect in my office. I never thought of making one of these. Do you guys ever run out of awesome ideas?!
I love how easy you broke this down for us!! Definitely going to try this project.
Woof Xo,
Michelle & Watson
https://www.watsonandwalls.com/
This is just gorgeous! Been trying to find a pink one for months that didn’t look tacky, never thought to just make one myself! xx
This is ridiculously awesome!!
Eva | http://www.shessobright.com
OH!! I love this so much!!! Well done, lady!!!!
I’ve been hunting everywhere for one bigger in stores and not anything over 20×20 so I searched for DIYS because I just wasn’t sure if fabric would work instead of felt and woo la, I found your’s. This is so perfect. You ROCK!! Thank you so very much!! I have a board, fabric and letters I just need to cut the strips and glue everything down=) Tonight it is=)
I love this! My daughter is such a creative – I’m sure she would die to make this! Where did you get the larger letters?
They’re from Amazon — https://amzn.to/2xkT5LI 🙂
Hi Jacki. I’m an Amazon seller looking to sell off 345 letter board packages. Could this benefit you? Thanks for letting me know!