
I have to say that I was surprised by how quickly I got onto the “scrunchie train” once they were back in style. At first, I just did it when I heard they were great for keeping long hair out of your face while you sleep (which they are!), but then I started wearing them during the day too and I realized I hardly ever reach for a plain hairband these days. While there are lots of scrunchie styles to choose from (still love this DIY bow scrunchie), the oversized scrunchie is one I’ve been dying to try and it turns out they are pretty easy to make! With an oversized scrunchie, you get a lot more drama and volume than your usual look, so it’s great when you want to make a little more of an accessory statement without going wild …
Supplies:
-1/4 yard of silk or satin material
-iron
–fray check glue
-straight pins and fabric scissors
-sewing machine
–3/8″ wide elastic
-safety pin
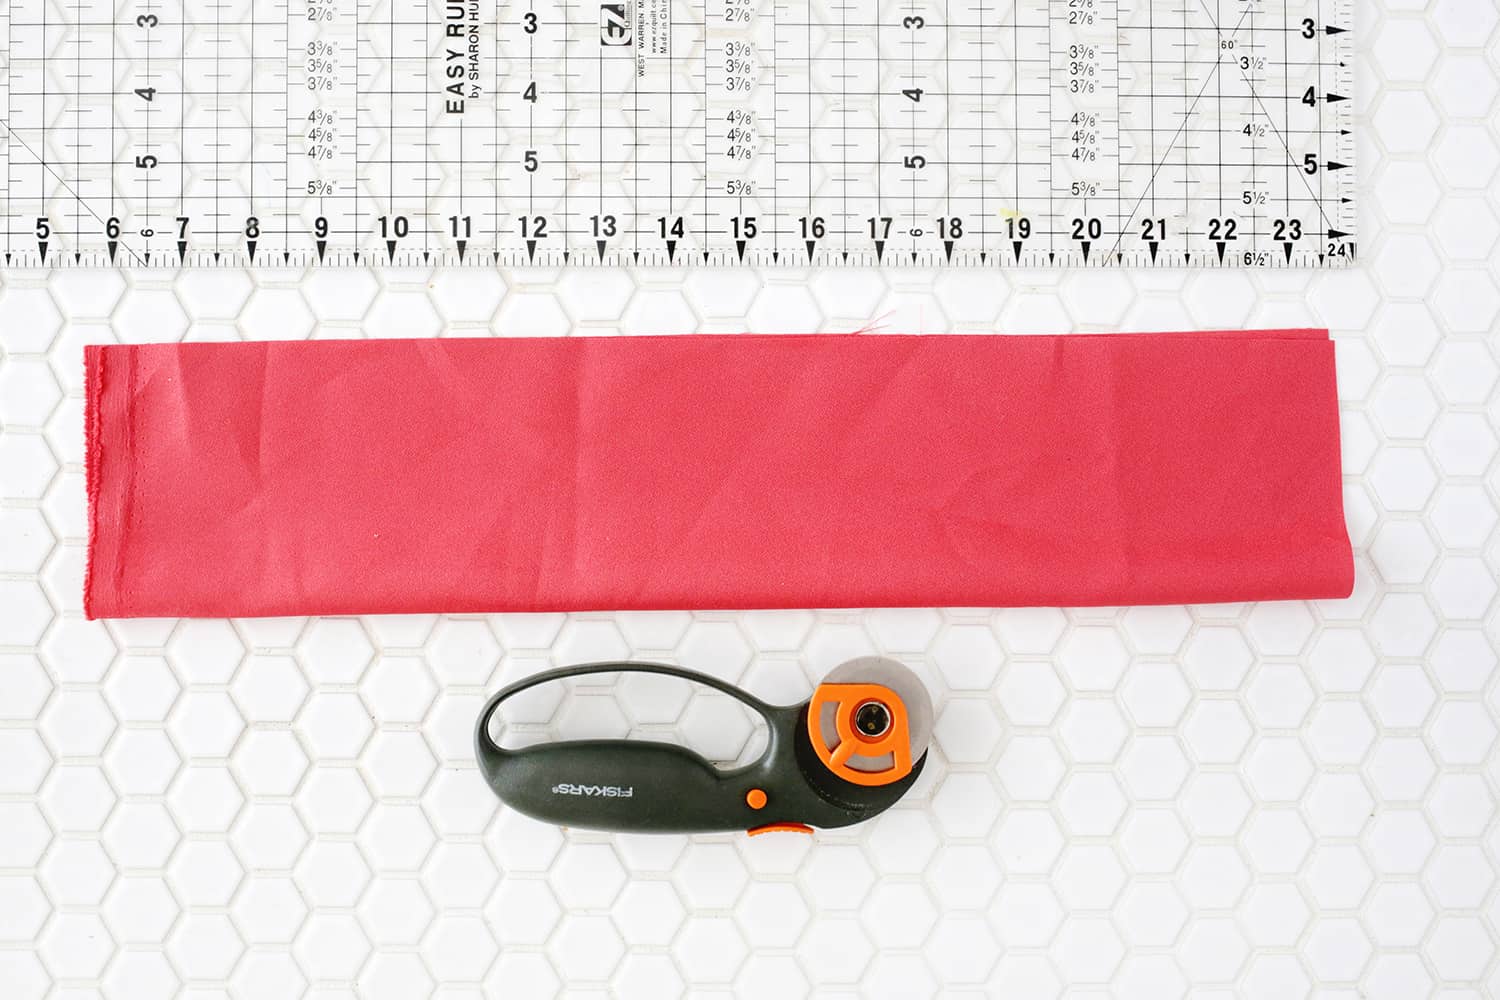
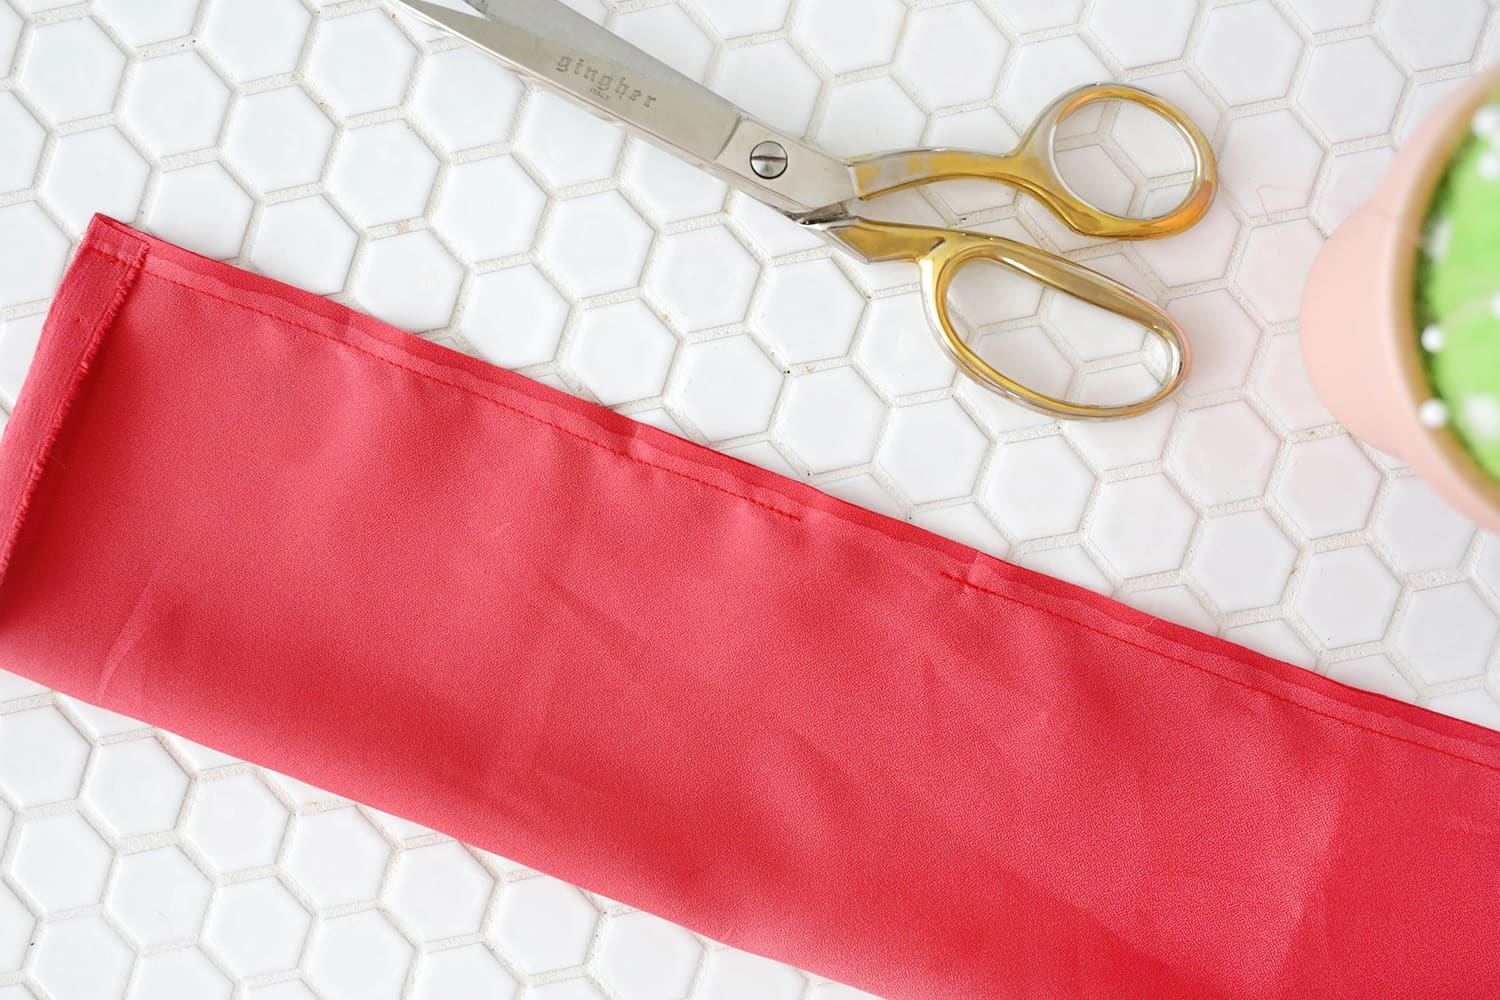
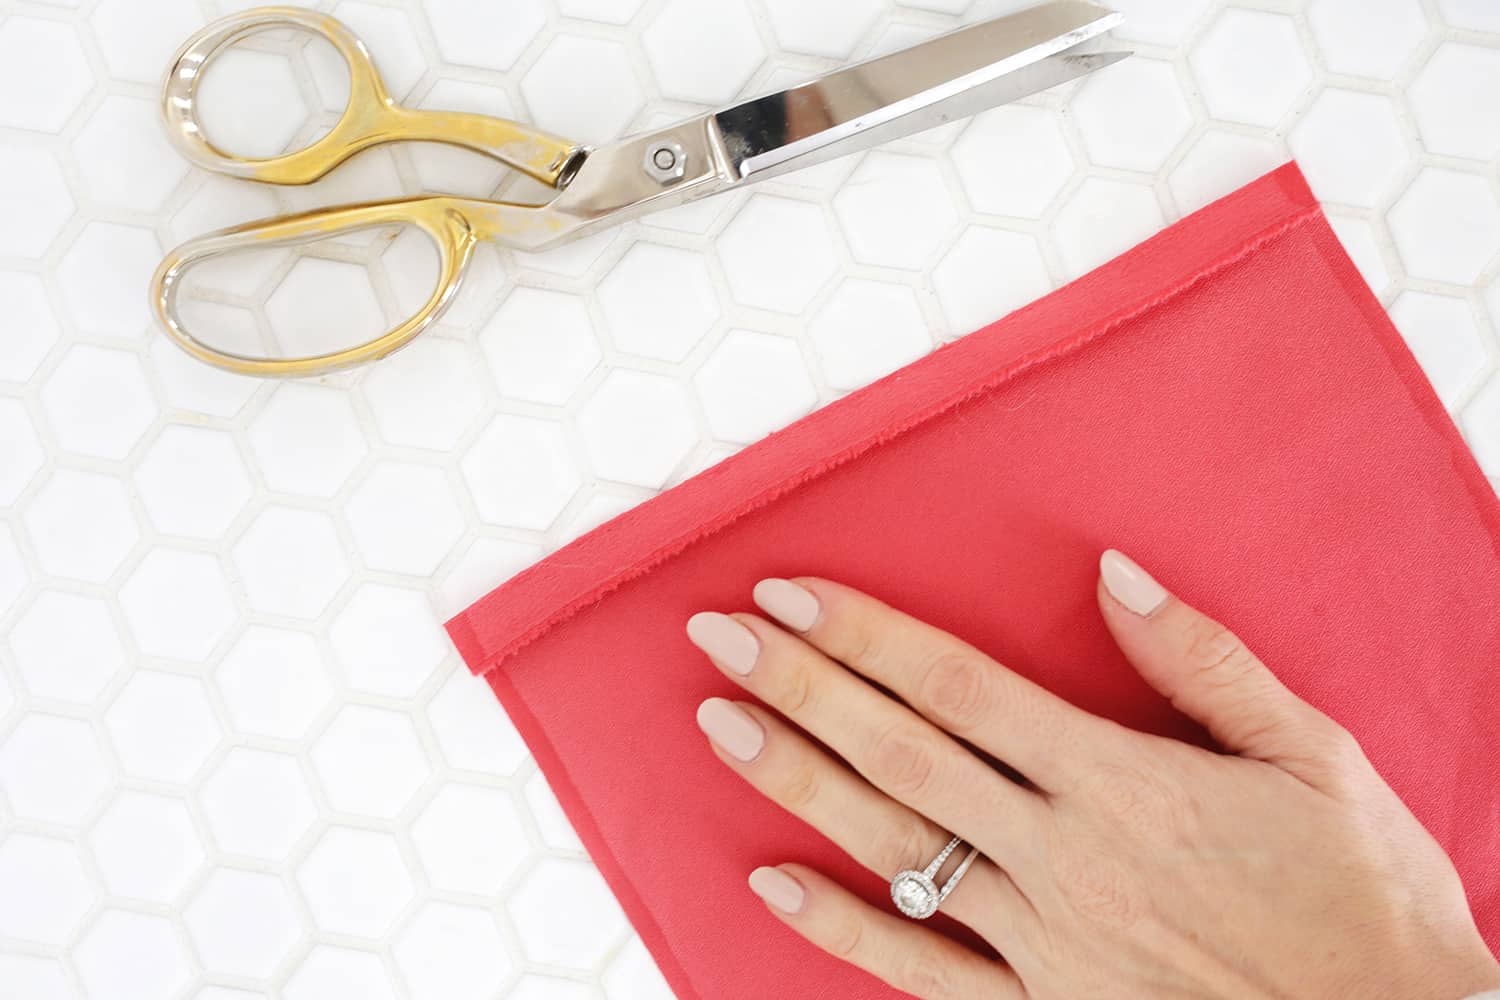 Cut a piece of fabric with your scissors or rotary cutter that is 22″ x 4.5″. Fold over the top 1/2″ of your rectangle and iron the edge flat. It’s an optional step, but when using silky or satin fabric I like to add some fray check glue to the edges to keep it from unraveling while sewing or wearing, so that’s why the cut edges look a little darker in the photos.
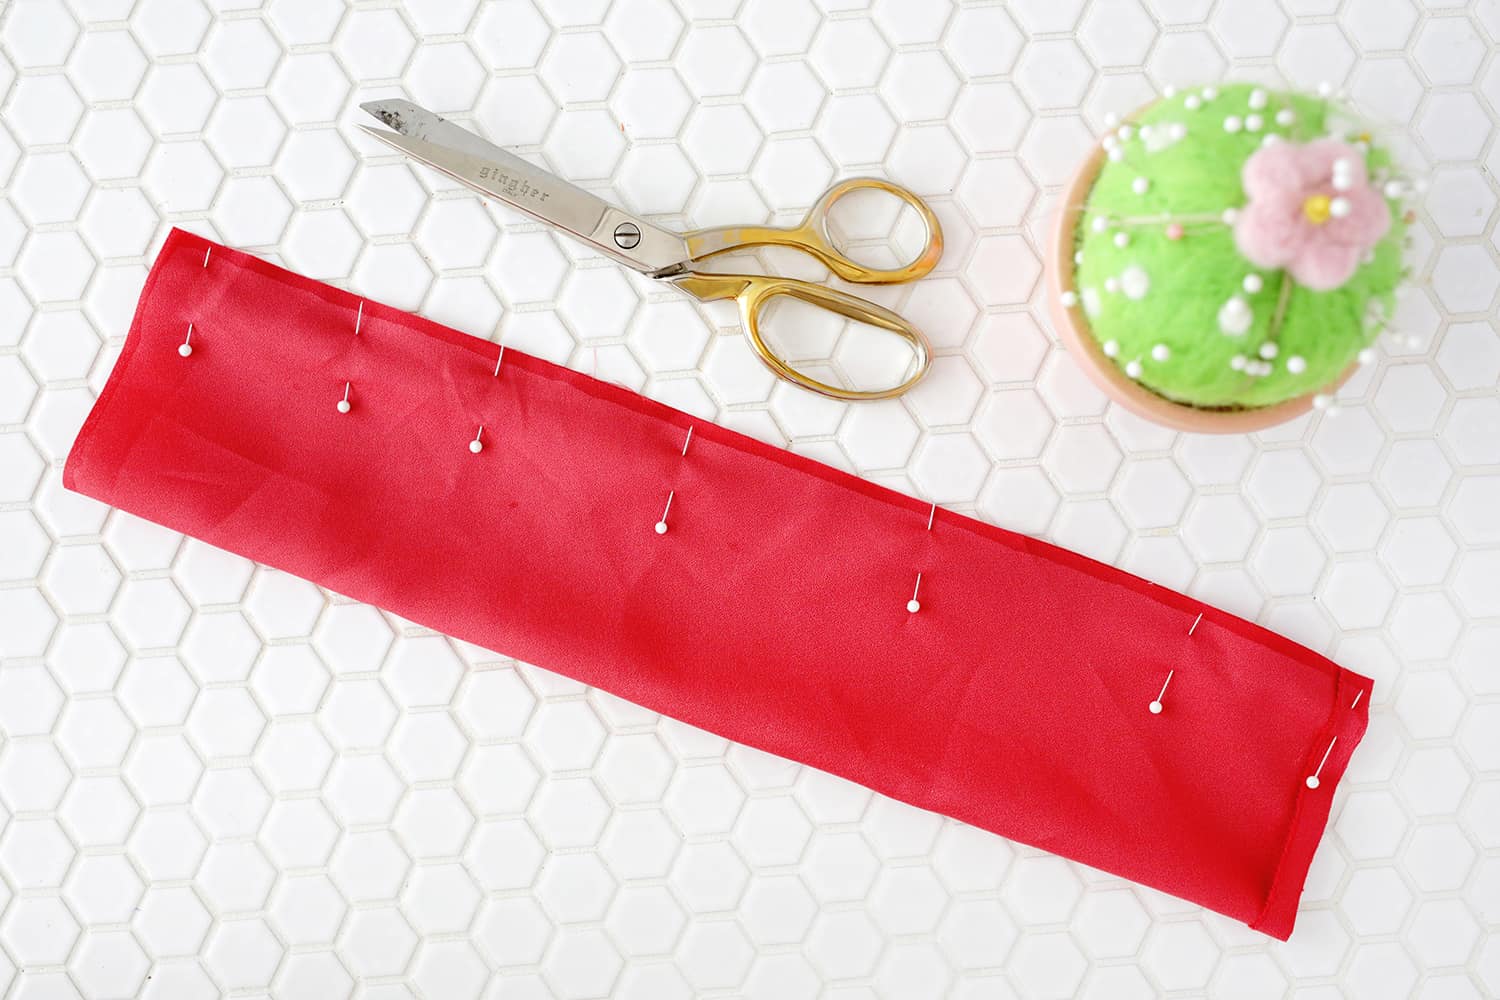
 Fold your rectangle lengthwise, right sides together, and sew down the length of the tube, leaving a 2″ opening for turning the scrunchie later.
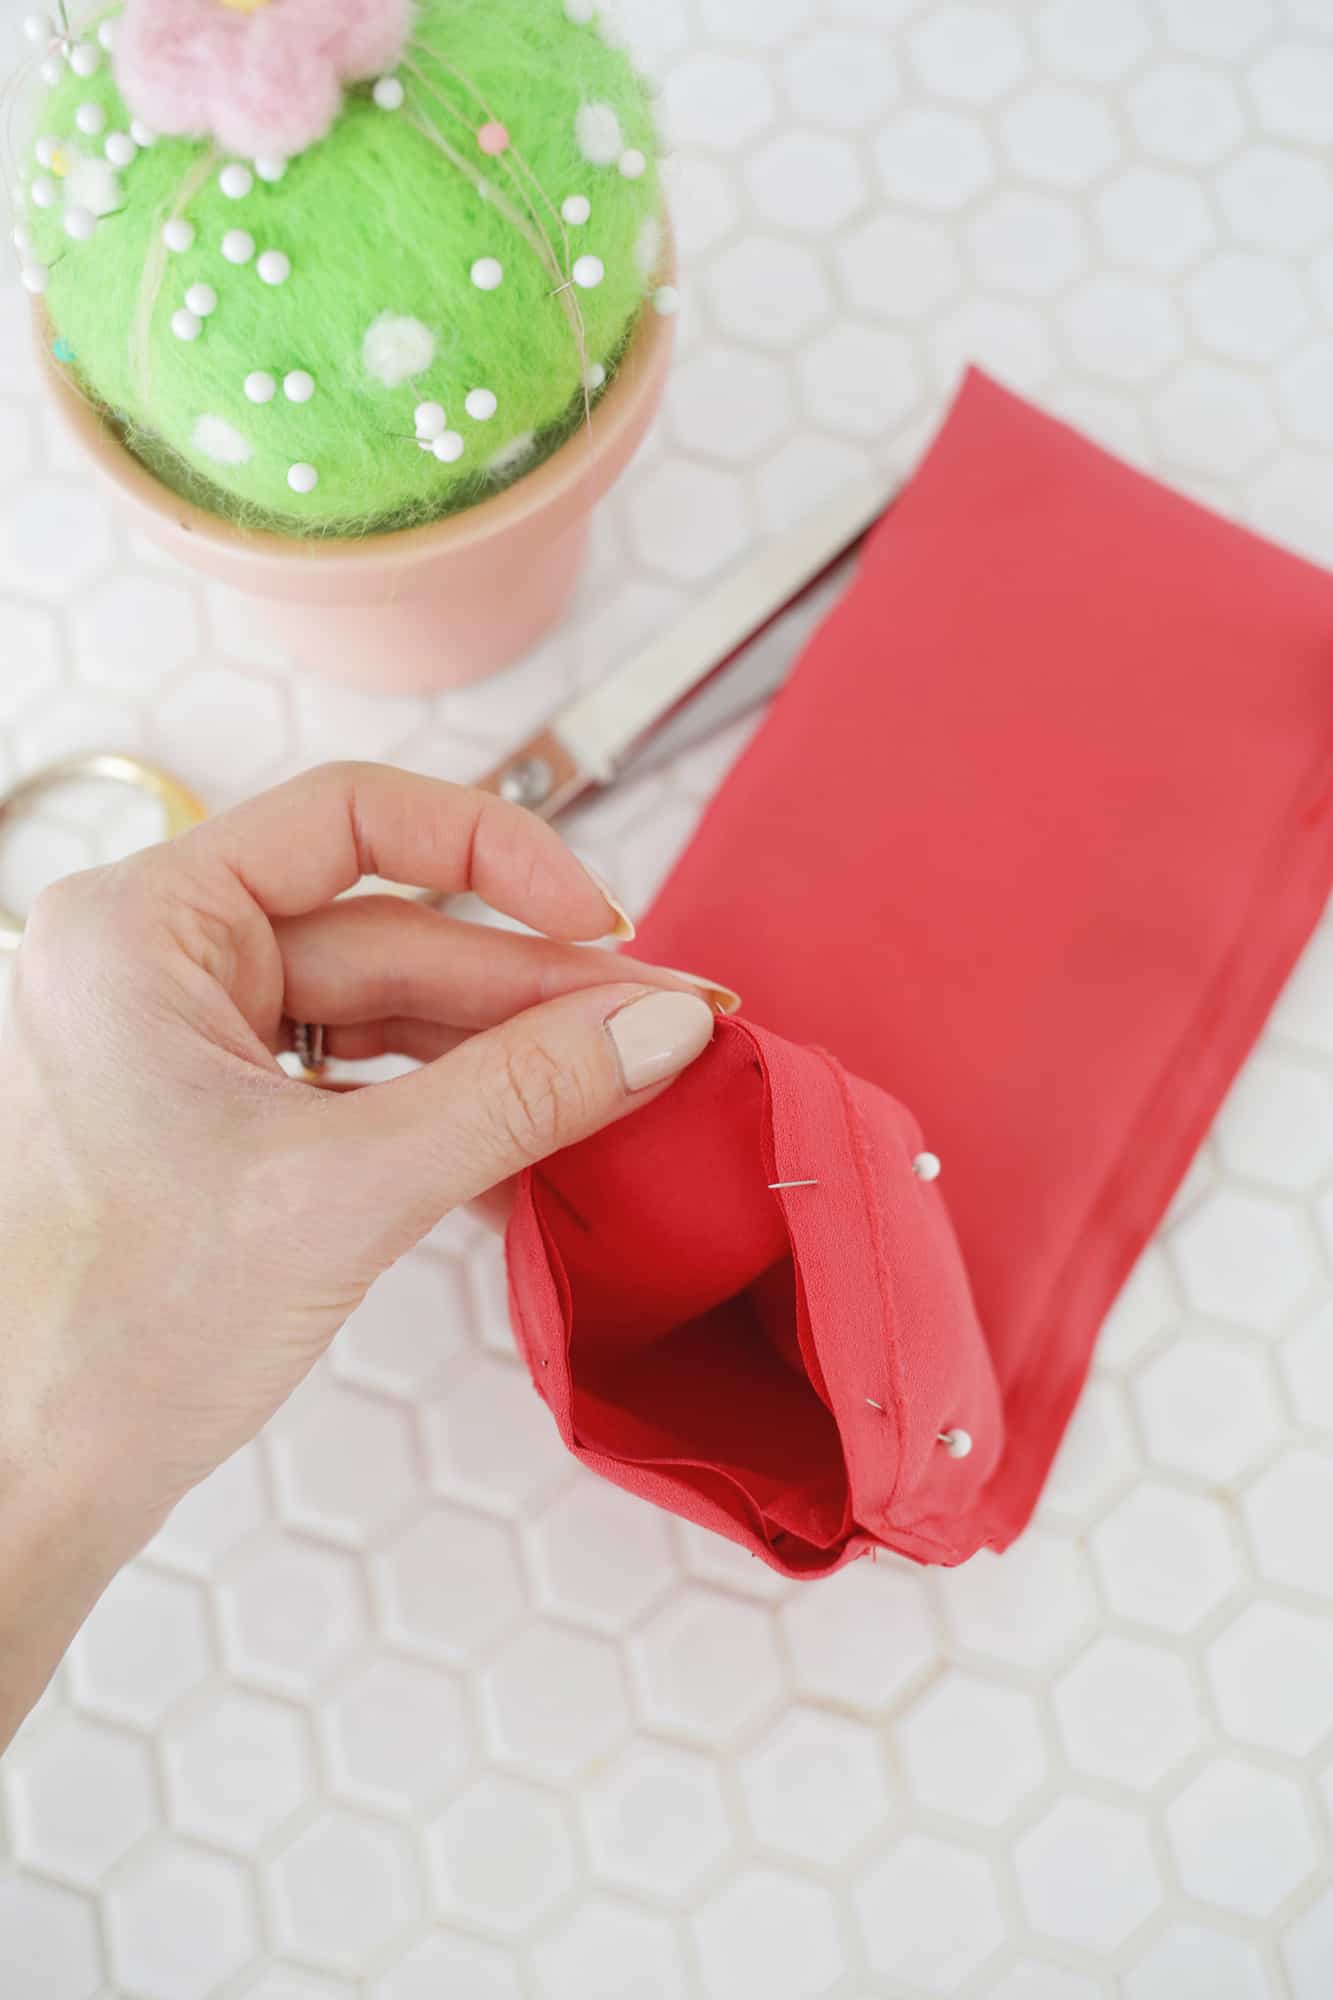
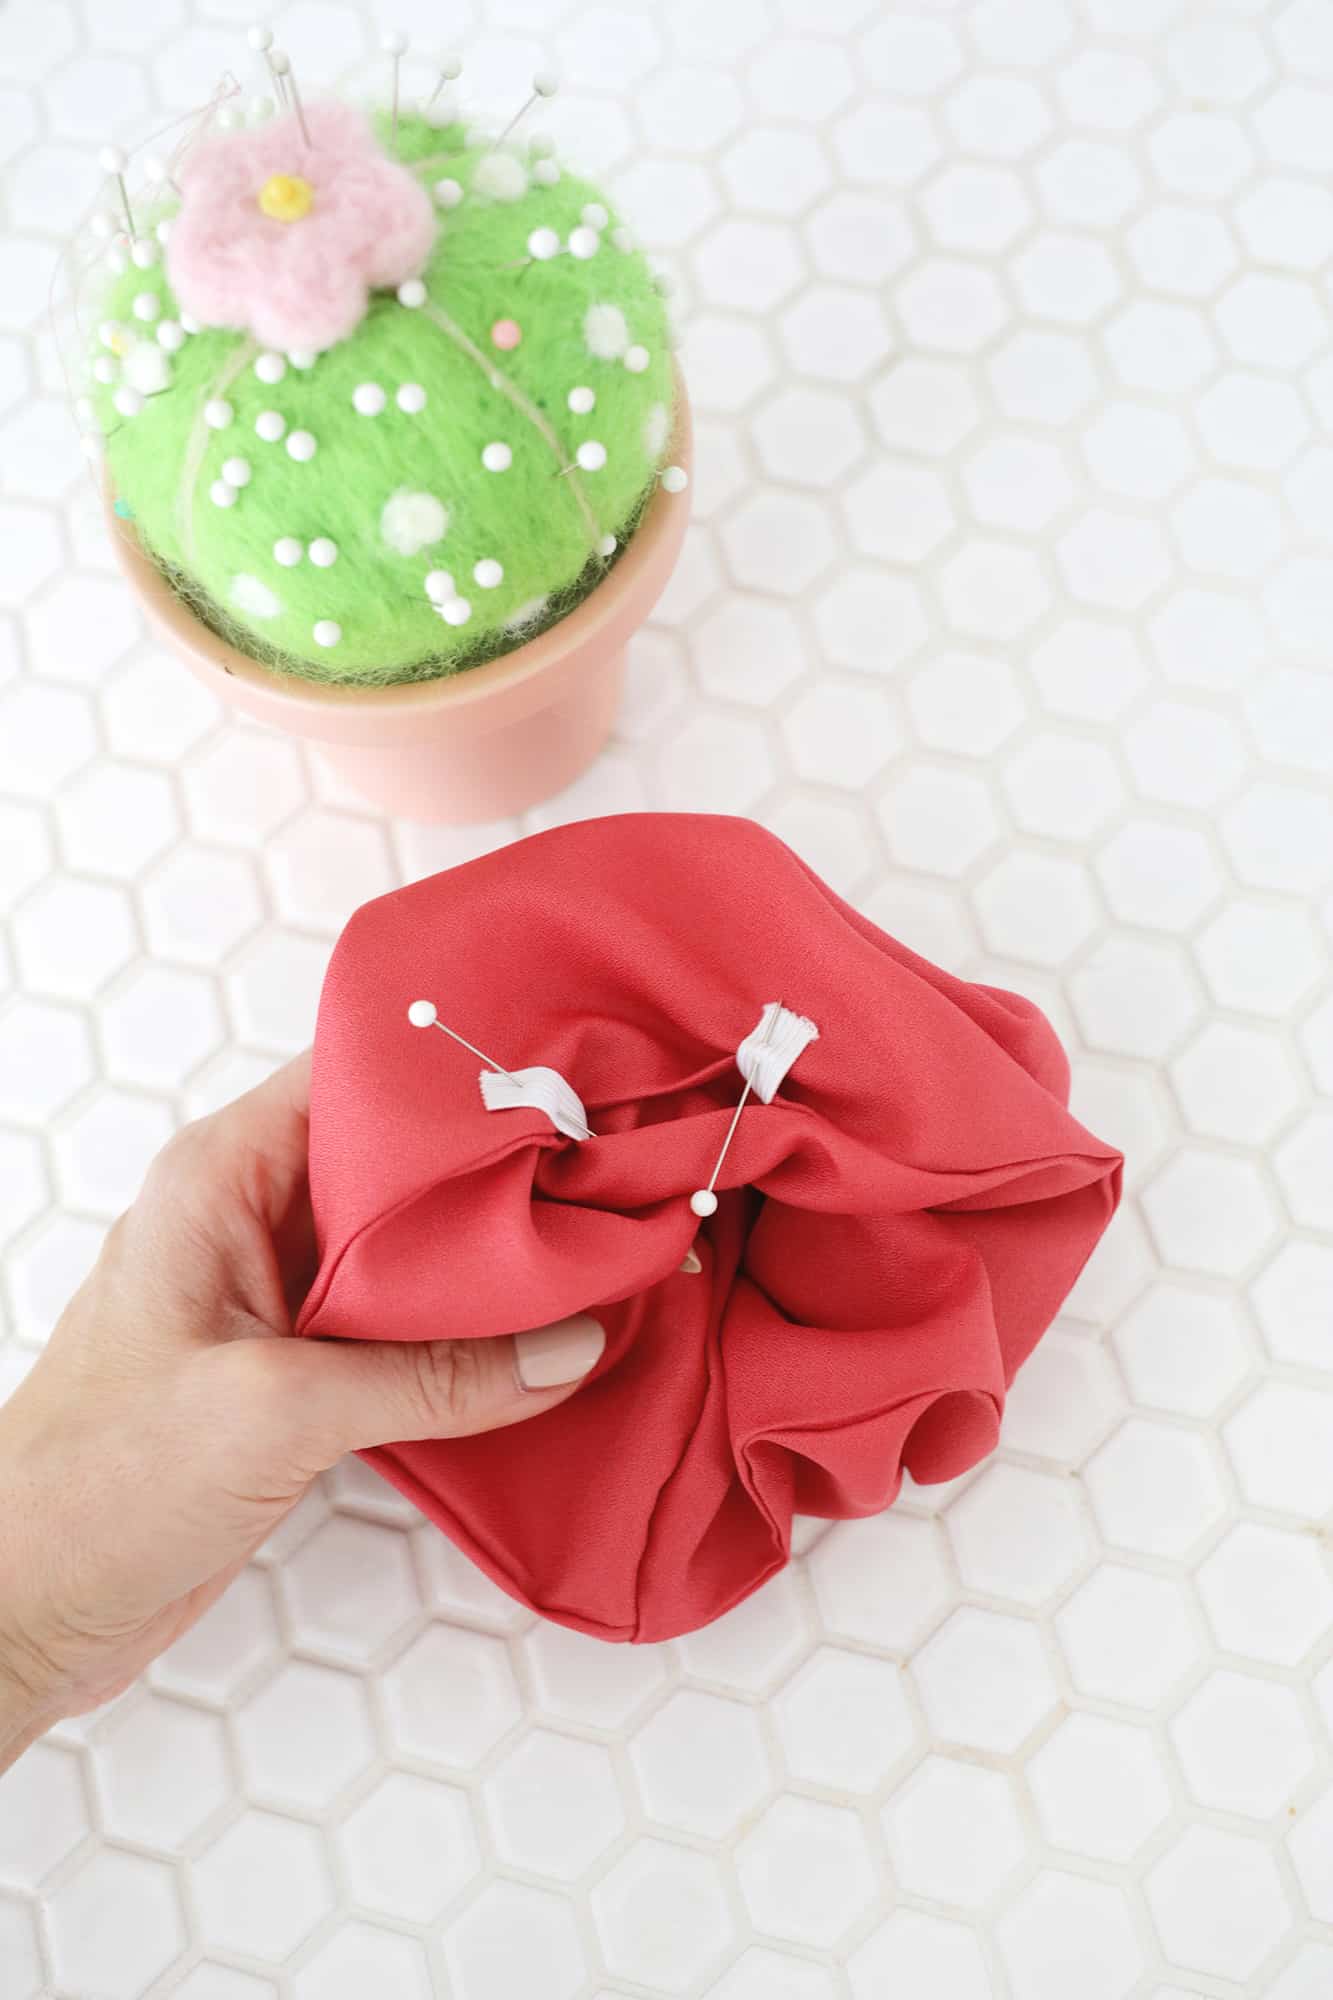
Now we are going to pull one end of the tube halfway through until the opening on one side meets up with the opening on the other side. Pin the openings flush with each other.
Sew around the opening with 1/4″ seam allowance, sewing the two openings together.

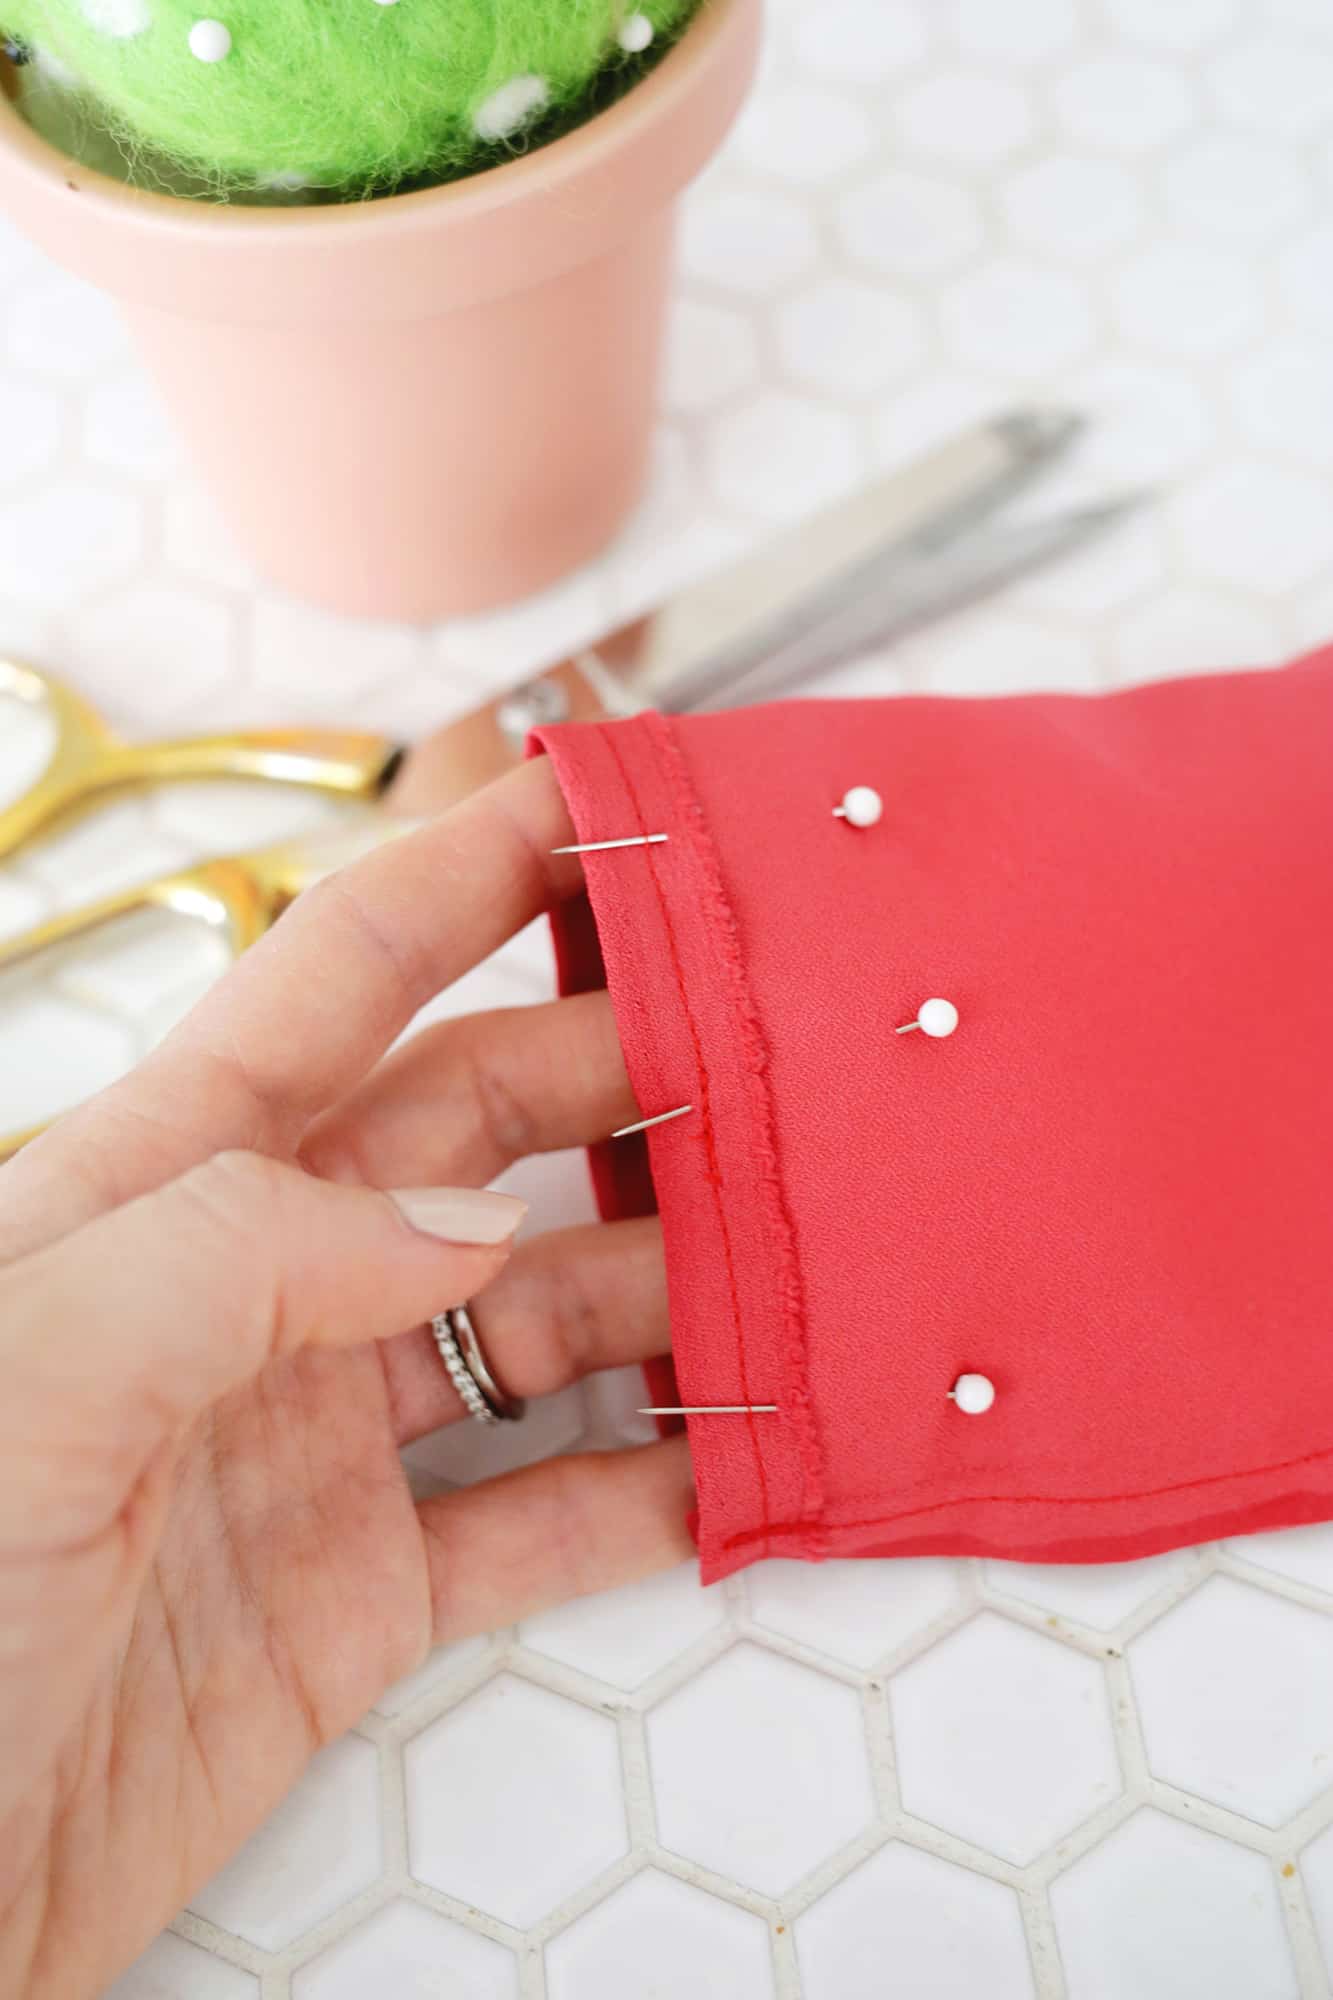
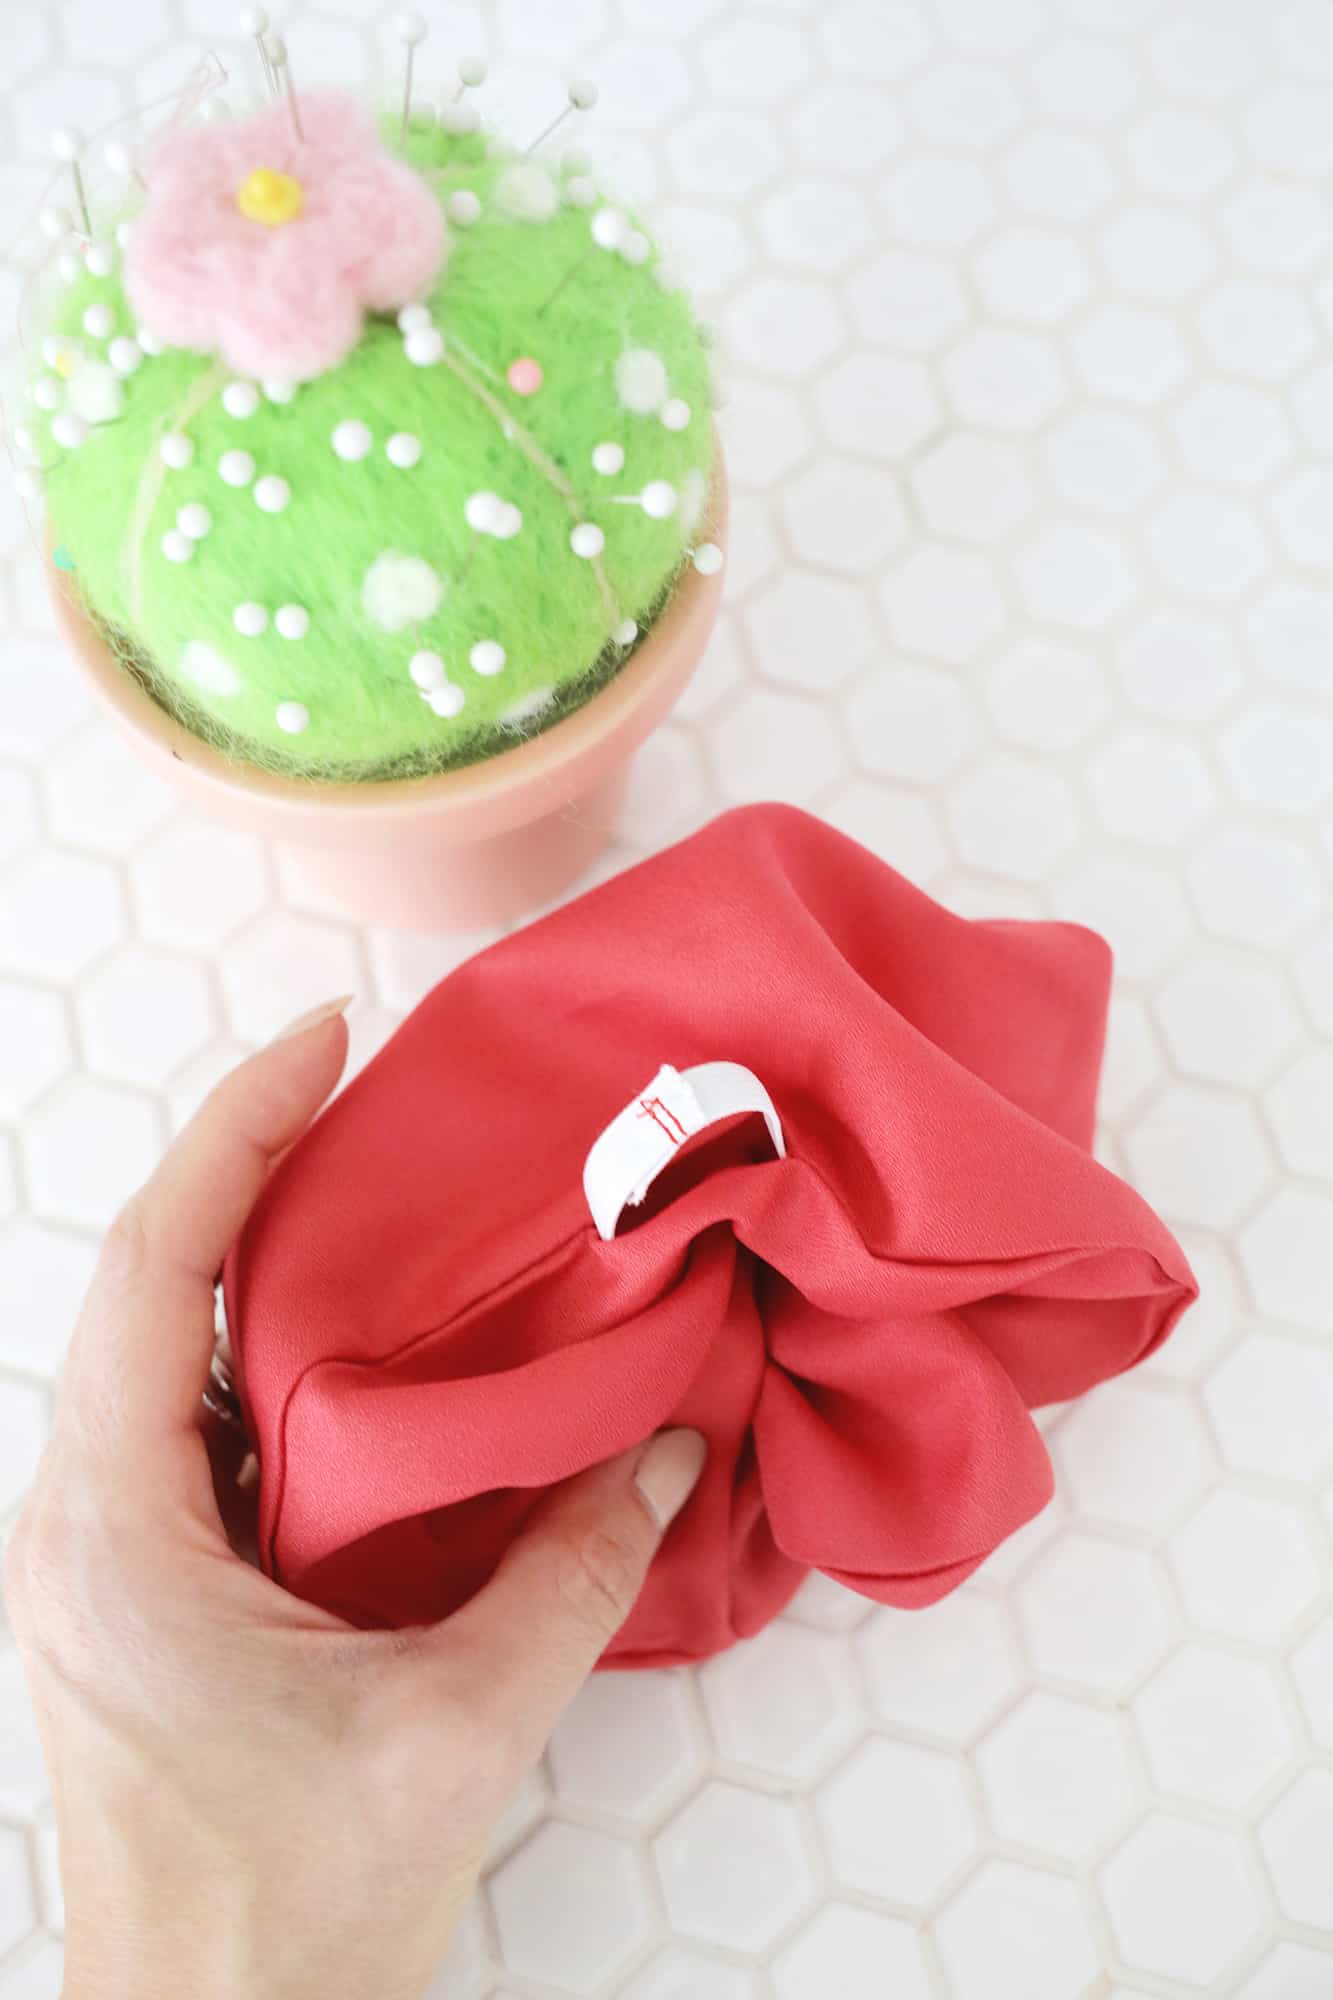
To turn your scrunchie right side out, find the 2″ gap that you left in your side seam.
 Pull your material through the gap so the scrunchie is right side out. Cut a 7″ long piece of elastic and pin a safety pin through one end of the elastic.
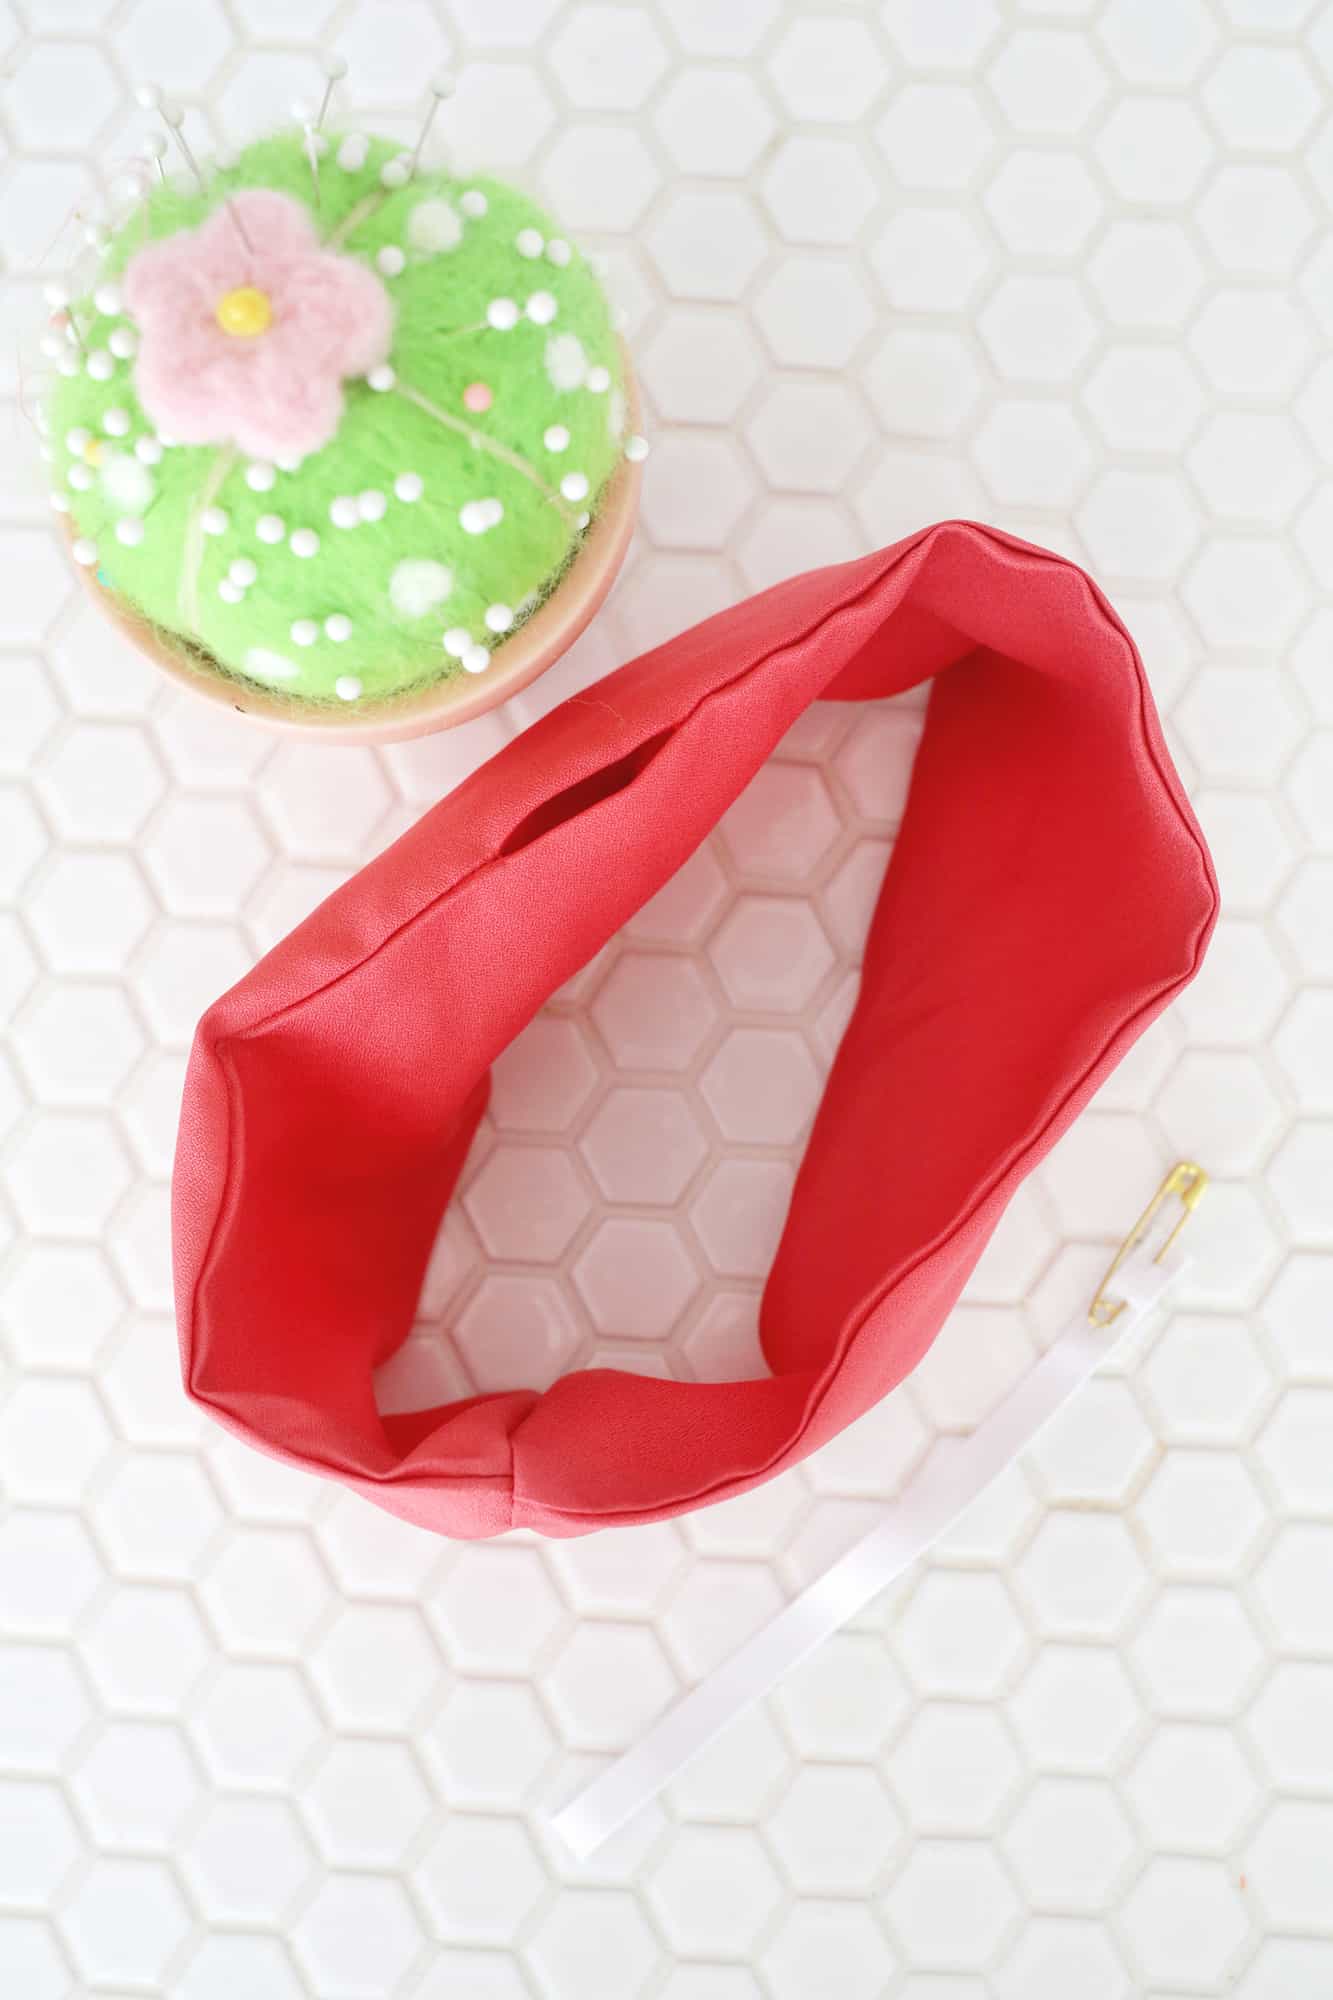
 Use the safety pin end and thread the elastic through your scrunchie tube. Overlap each 1/2” end to complete the elastic circle and pin, then sew in place. Once your elastic is in place, push it back into the tube of your scrunchie and sew the opening closed by hand. Now your oversized scrunchie is ready to use!
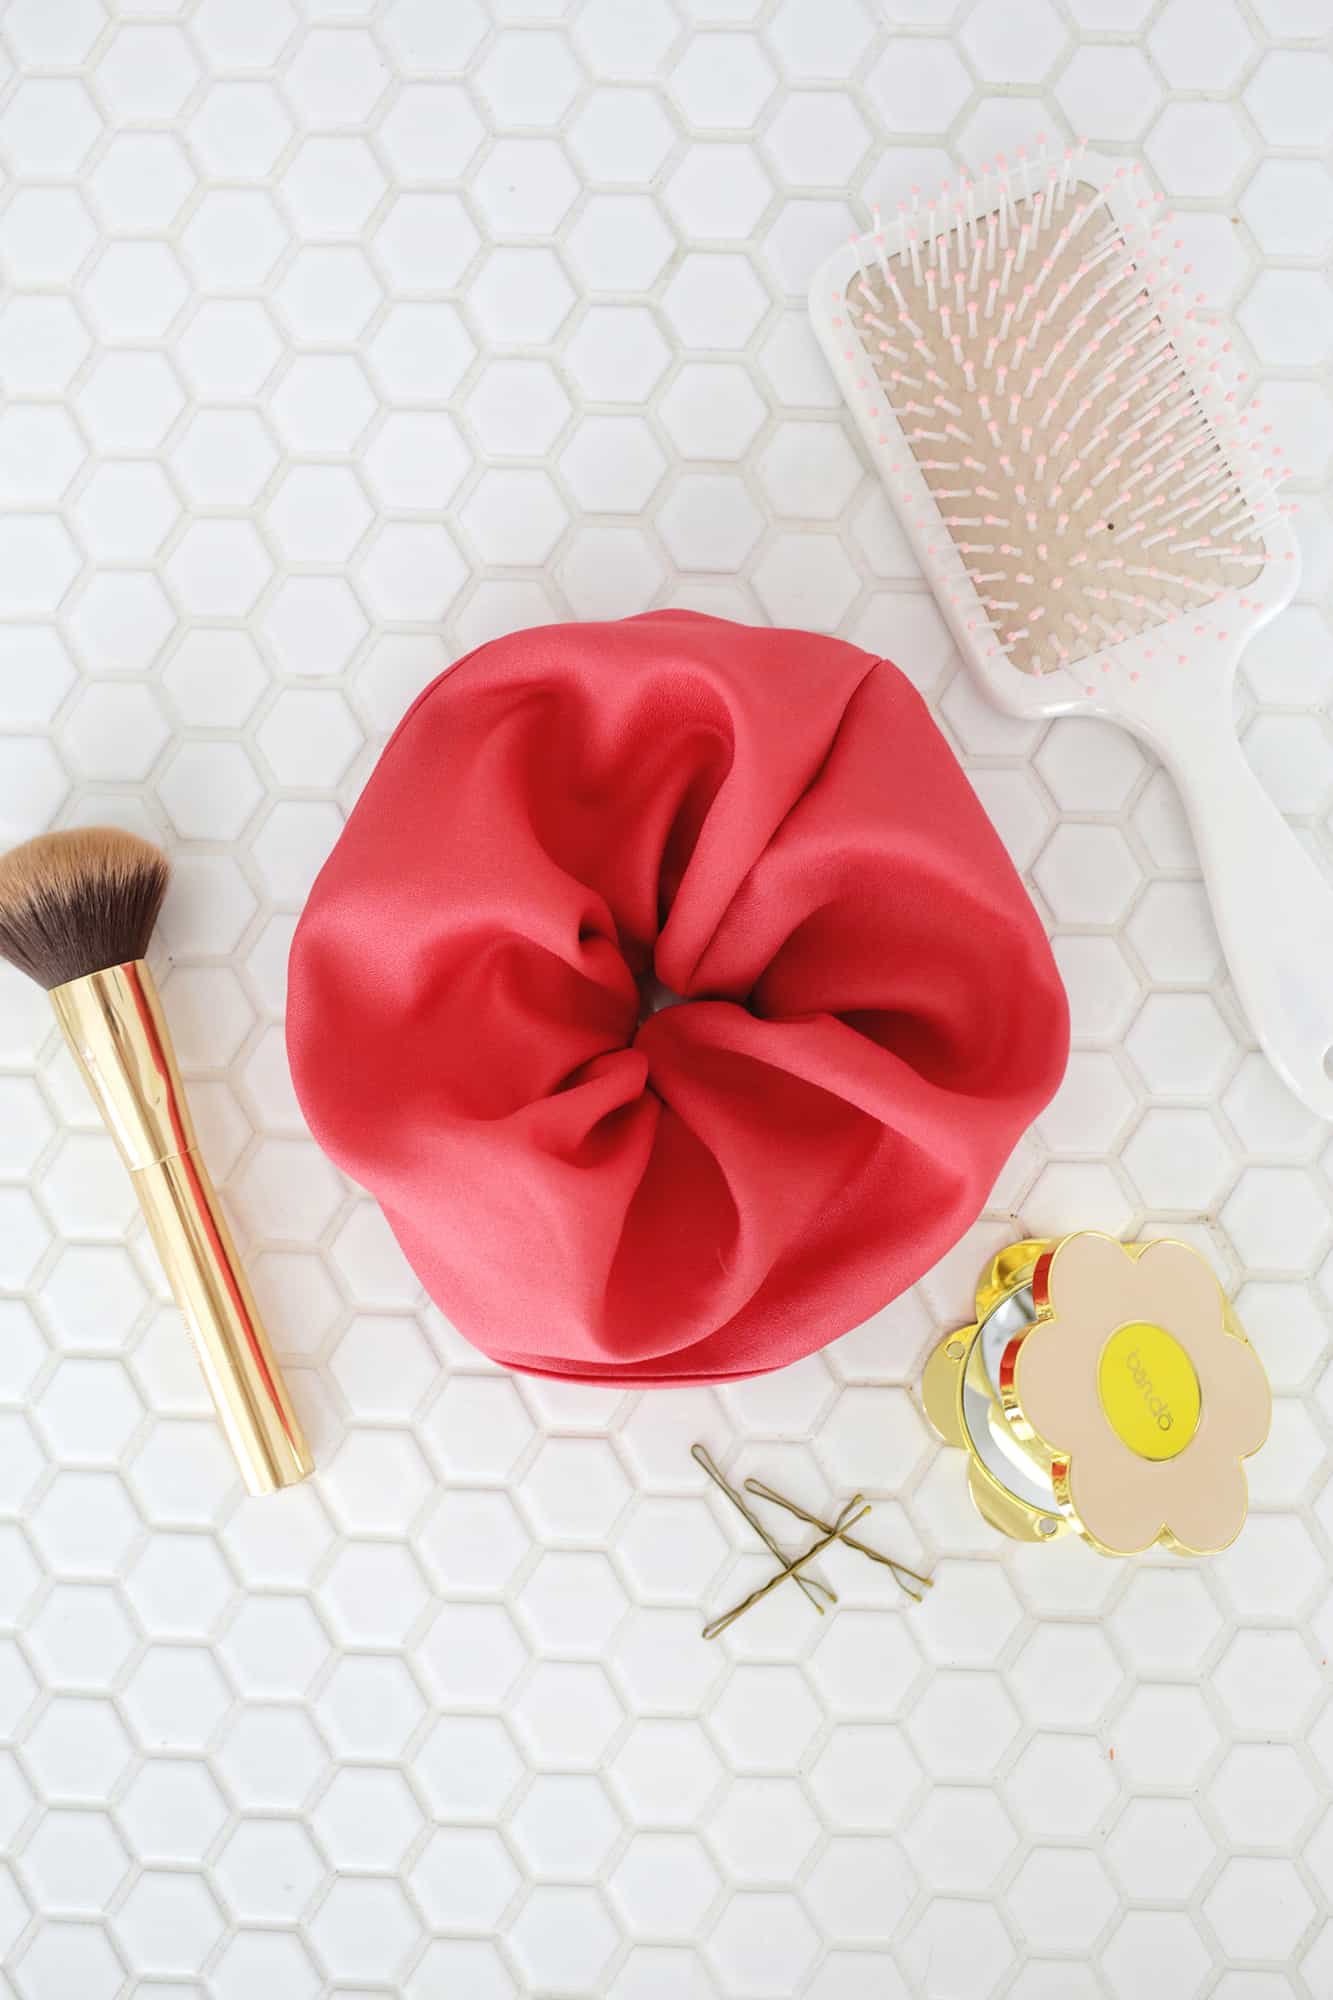
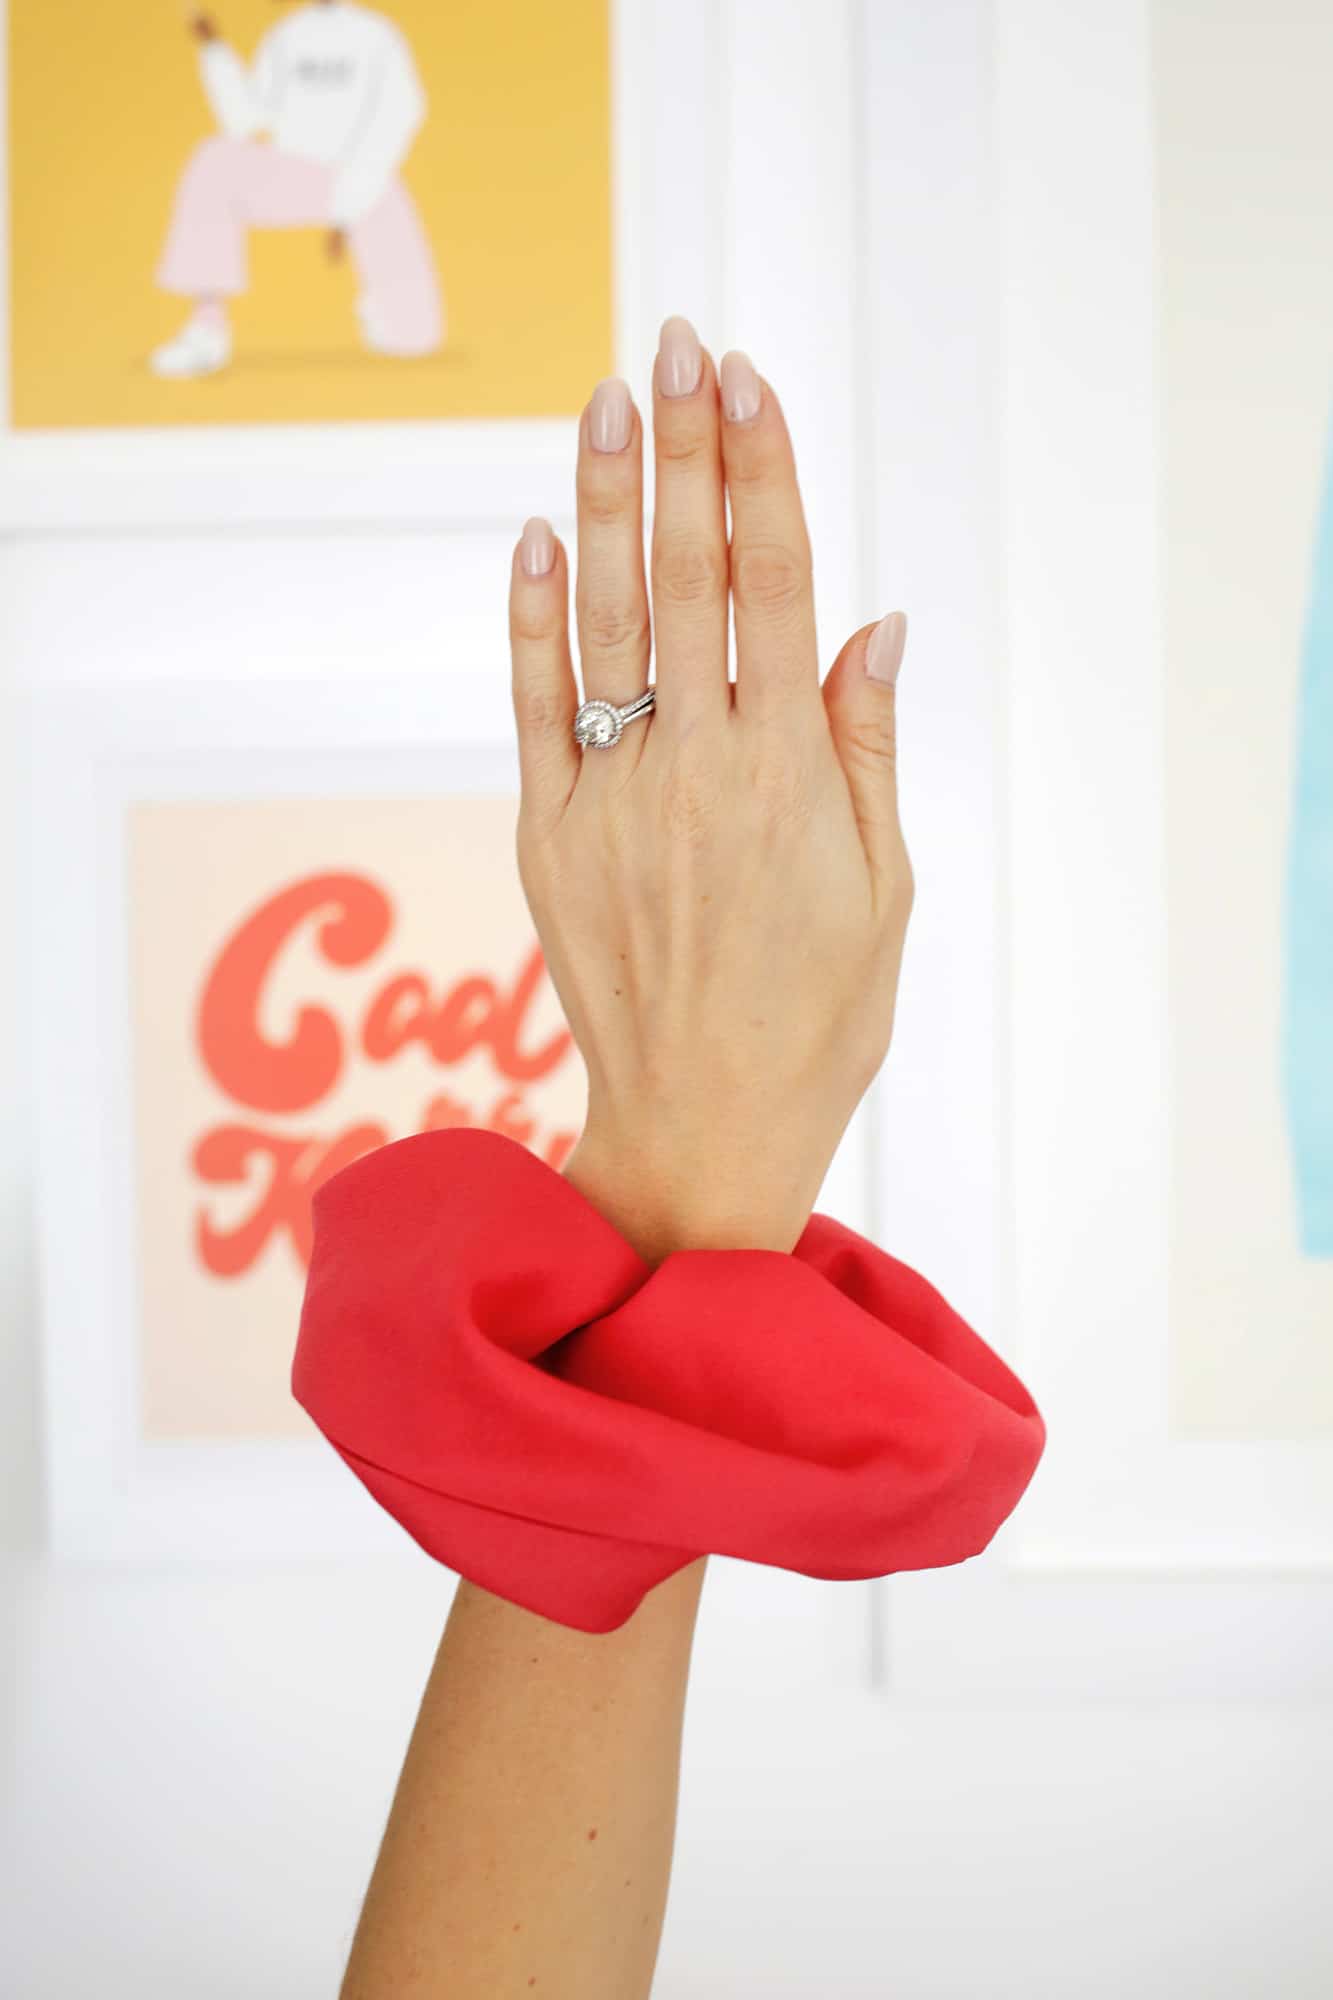

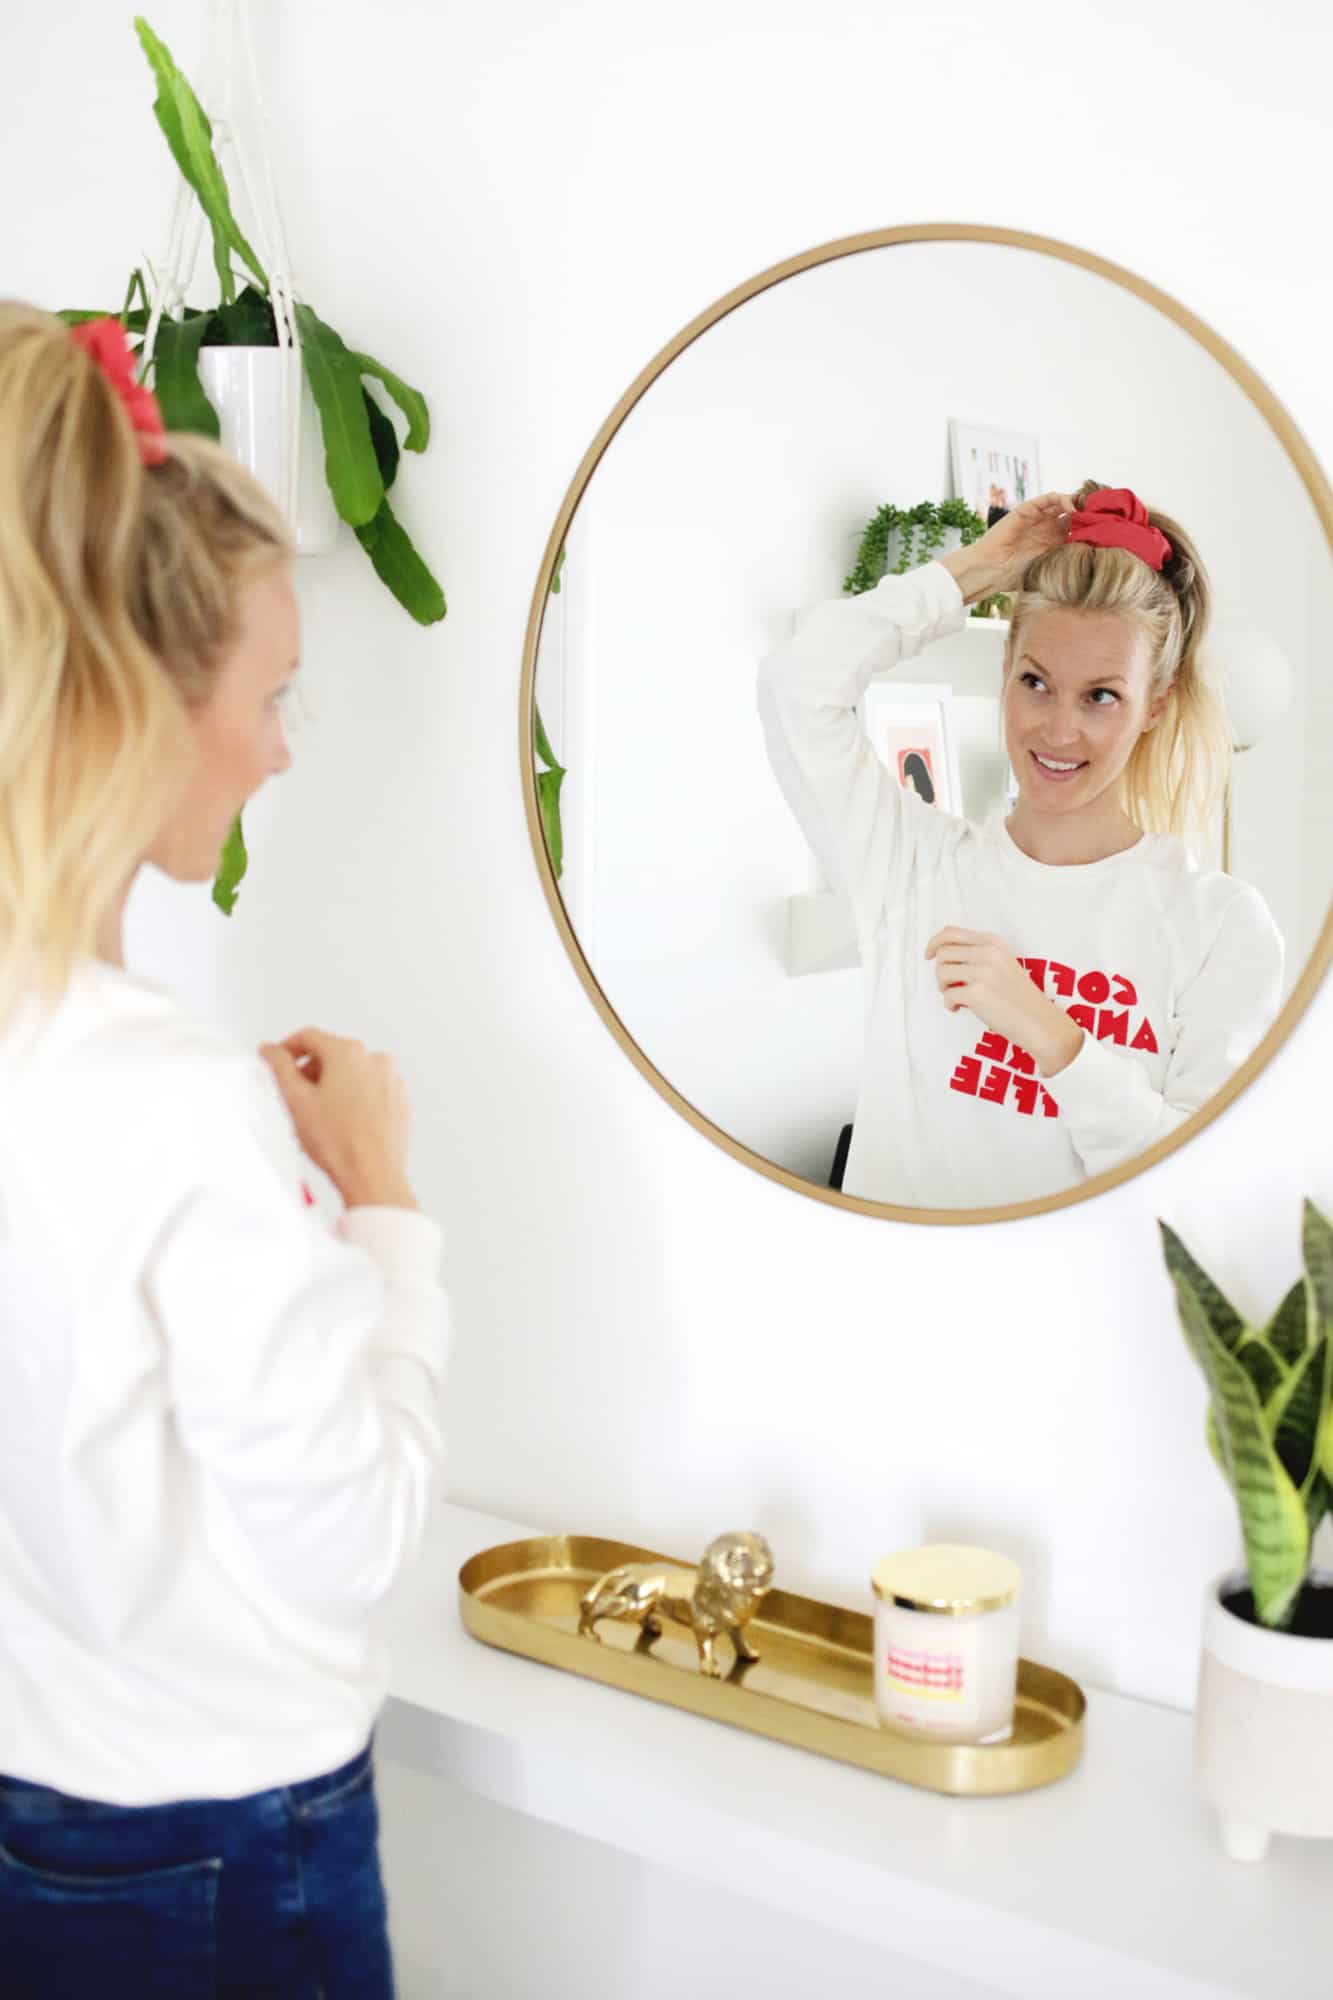 Fun! I love how much volume this scrunchie has compared to my other ones and it’s definitely a more visible statement piece than a smaller version would be. It’s cute with just a sweatshirt (like that cozy coffee one) or can be dressed up for a night out on the town too. What do you think? Are you going to go oversized now?? xo. Laura
P.S. If you want some ideas on how to style scrunchies, check out our five favorite ways to wear them!
8 Comments
This is so cute! I used to wear scrunchies all the time – time to bring them back! ❤️✨
Charmaine Ng | Architecture & Lifestyle Blog
http://charmainenyw.com
How cute! I have been living out of scrunchies!
XX Angelica
https://eraenvogue.com
Hey guys,
Love the top. Where can I purchase it from?
Hi! It’s from ban.do and linked at the bottom of the post 🙂
These are cute and super simple! I might have to make some… except I already have soo many! I might have an obsession 🙂
love it! i made a few this winter including an oversized, velvety, mustard one that i loooove. showing it off here: https://www.instagram.com/p/B7pN_cKncf4/
Ok, never commented, just lurked, but the side opening instead of sewing the two ends together last is GENIUS! So much neater and cleaner. My machine is already out making Covid masks for a local hospital; these would be a perfect brain break, thanks!
Wow, looks awesome, gonna pass this to my wife. She would definitely want to do it.