
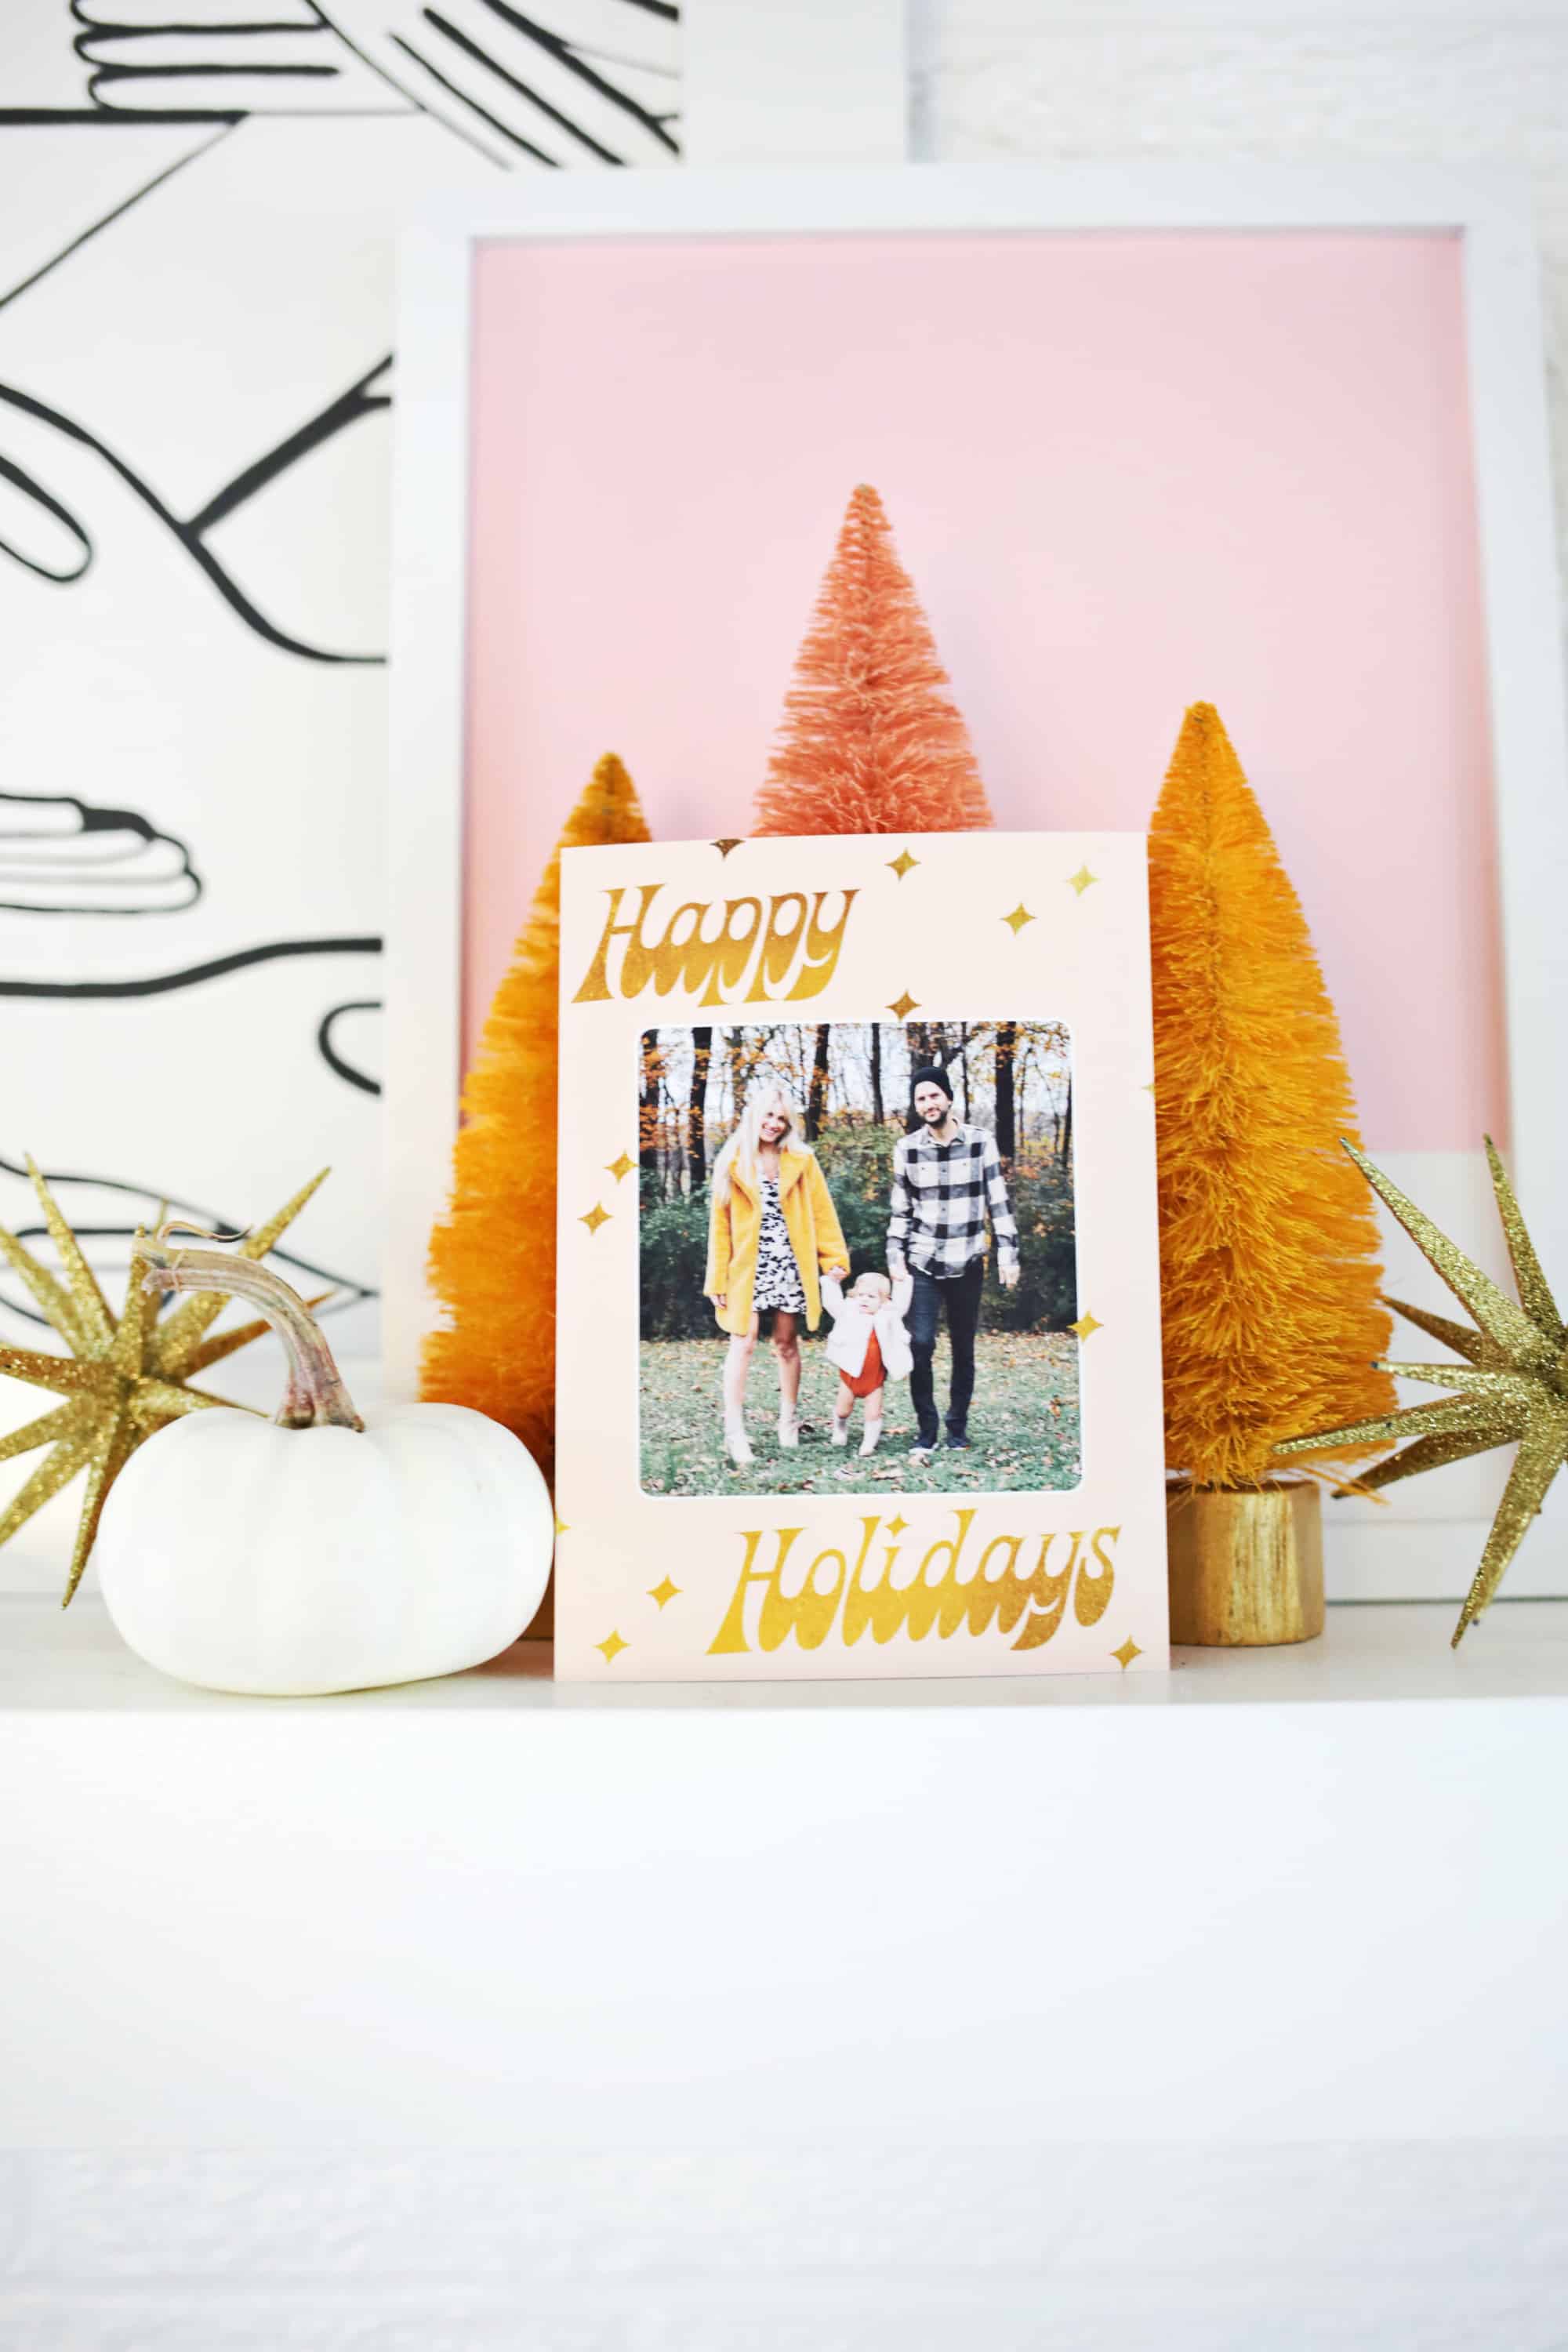
 I feel like there’s a point in your life where you start sending holiday cards out from your own little family (furry kids or human kids included) and that’s how you really know you are an adult. We started doing cards with Todd and I and our cats 2-3 years before we had our daughter Lola, so now it feels even more special to have her be a part of our Christmas photo now. Last year, I got the photo done but the holiday season swallowed up my time before I got a chance to actually order them. So I ended up texting the photo out to friends, and it’s juuuust not as fun as getting a card in the mail. This year, I’m going to print them at home so I know they’ll look good. I can print exactly how many I need, and do it all from the comfort of my home. So you can join in on the fun, as we partnered with Canon USA and made a holiday card template so those of you with Photoshop can pop in your own photo and print your family cards at home too!
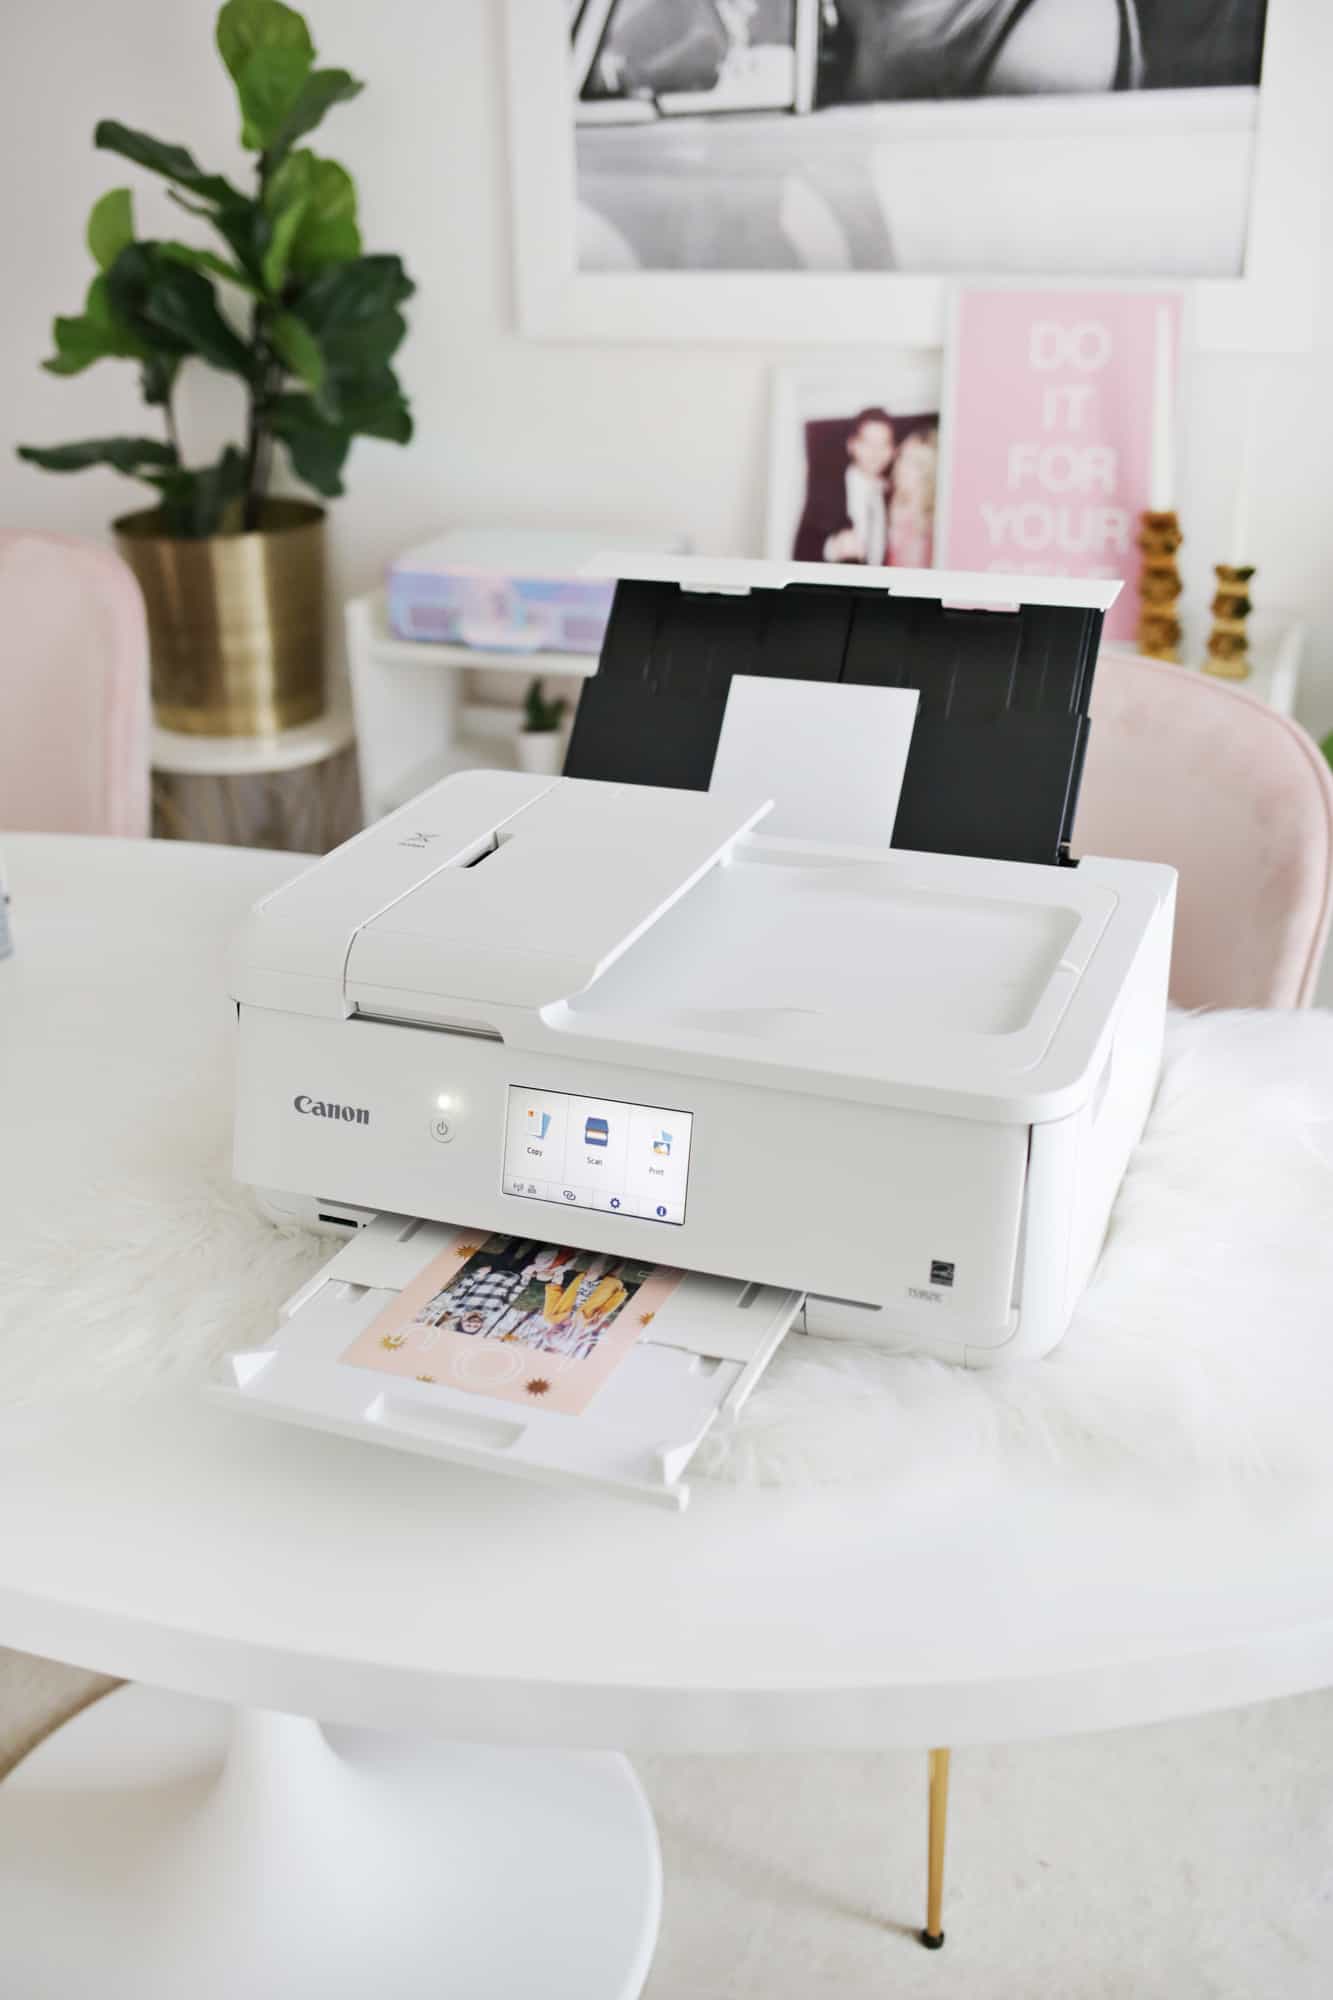 I used my Canon PIXMA TS9521C printer to print my cards at home and I love that I can print multiple sizes of pages with this printer, including a 12×12 size! I used 5×7 paper and adjusted the settings as there’s lots of flexibility.
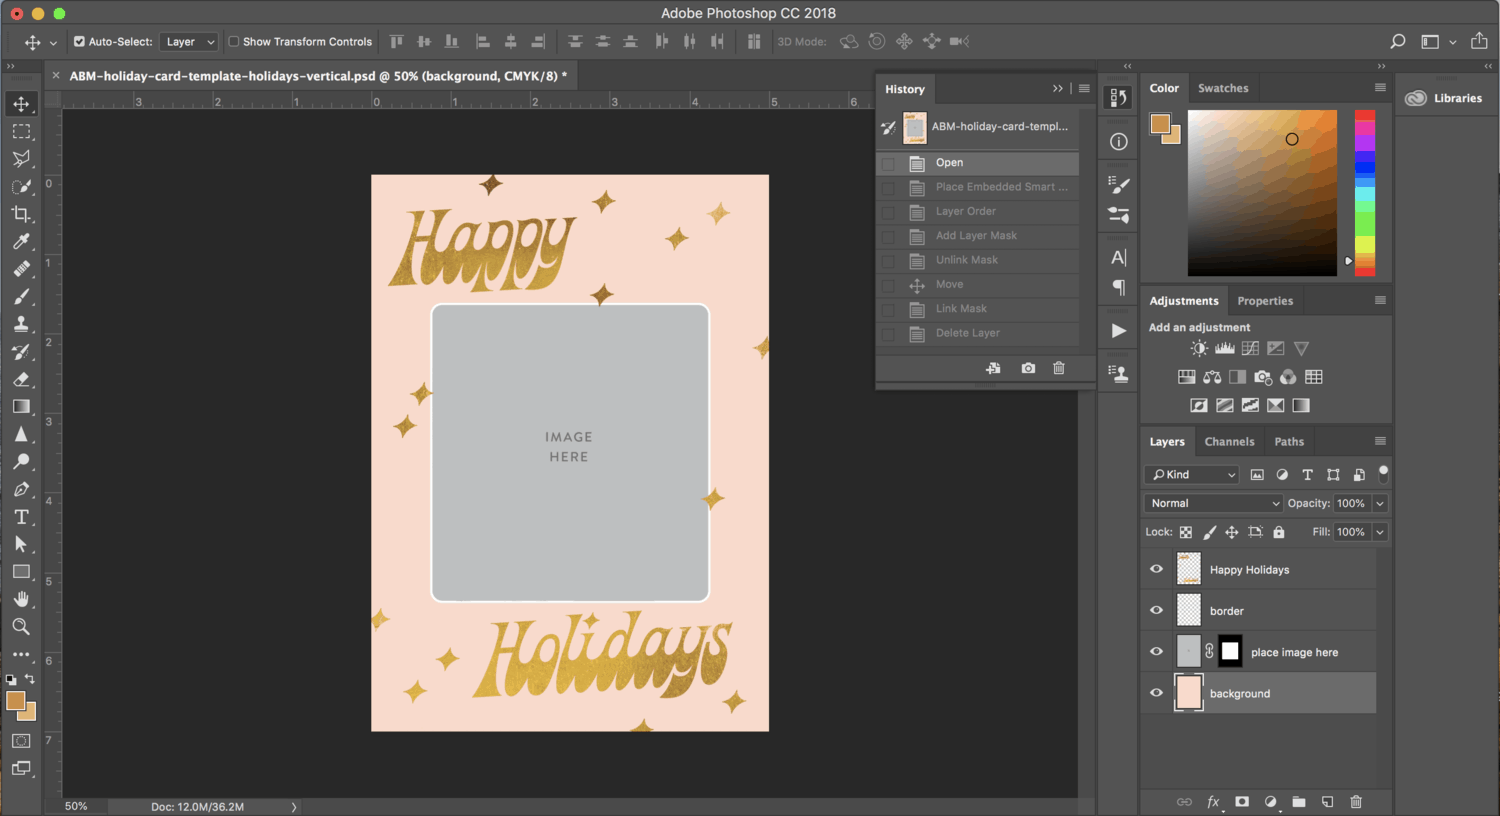 Photoshop Template Instructions:
Download our holiday card templates, select which family photo you’d like to use for your card, and follow these instructions below!
 4. In the layers palette, drag the “place image here” layer mask (black background with a white box) onto your holiday photo layer.
5. Delete the gray “place image here” layer.
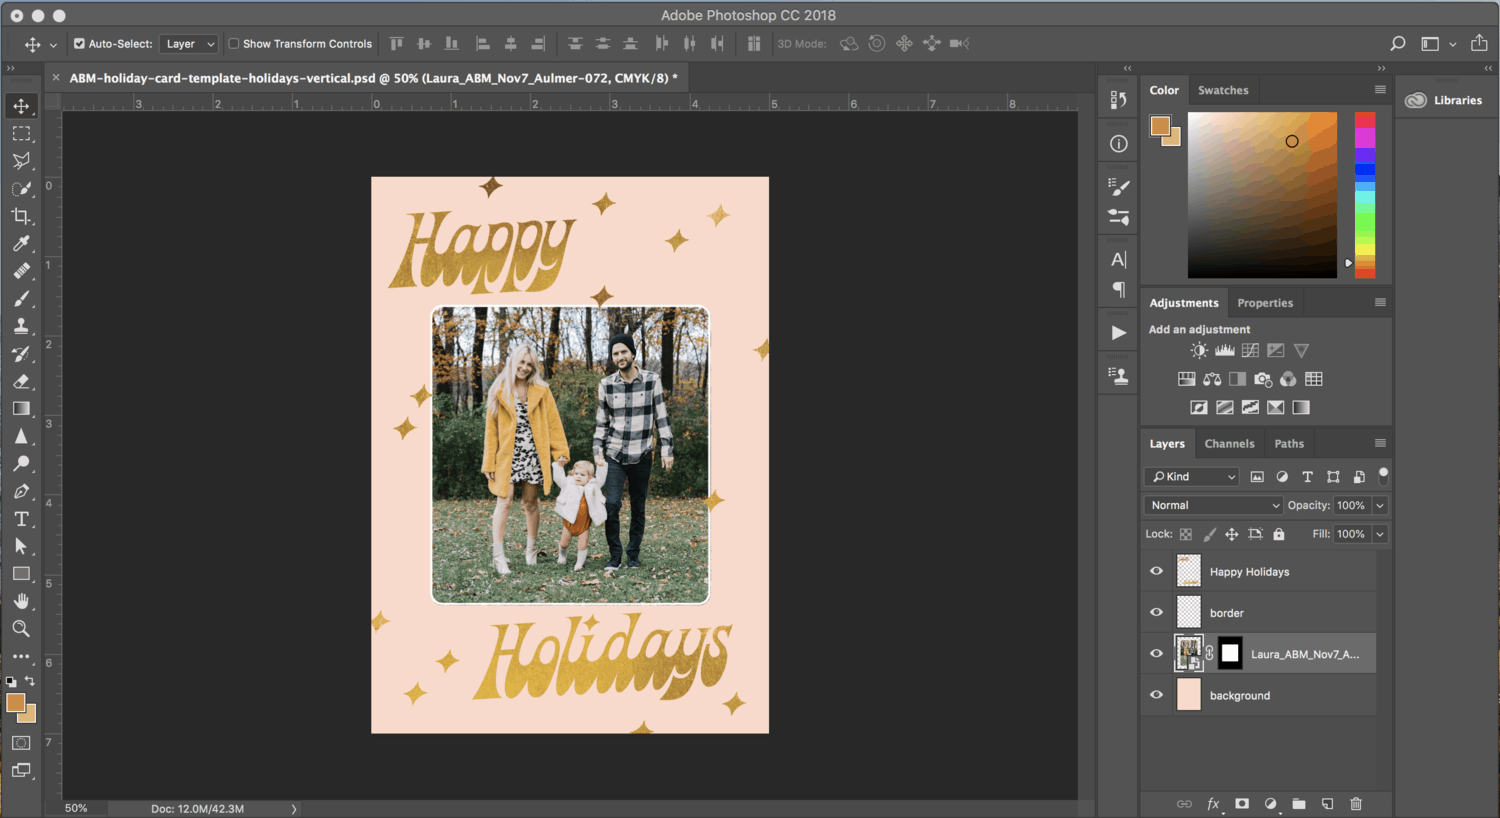
6. If you want to resize your image in the cropped frame, go to the layers palette. Click the link icon between the photo and the layer mask to unlink them. Click on your image in the layers palette. Then, choose the menu items Edit>Transform>Scale. Resize your photo until you are happy with it and then relink the image and the layer mask by clicking the spot where the link originally was between the photo and layer mask.
7. Don’t forget to save your file and print when ready!
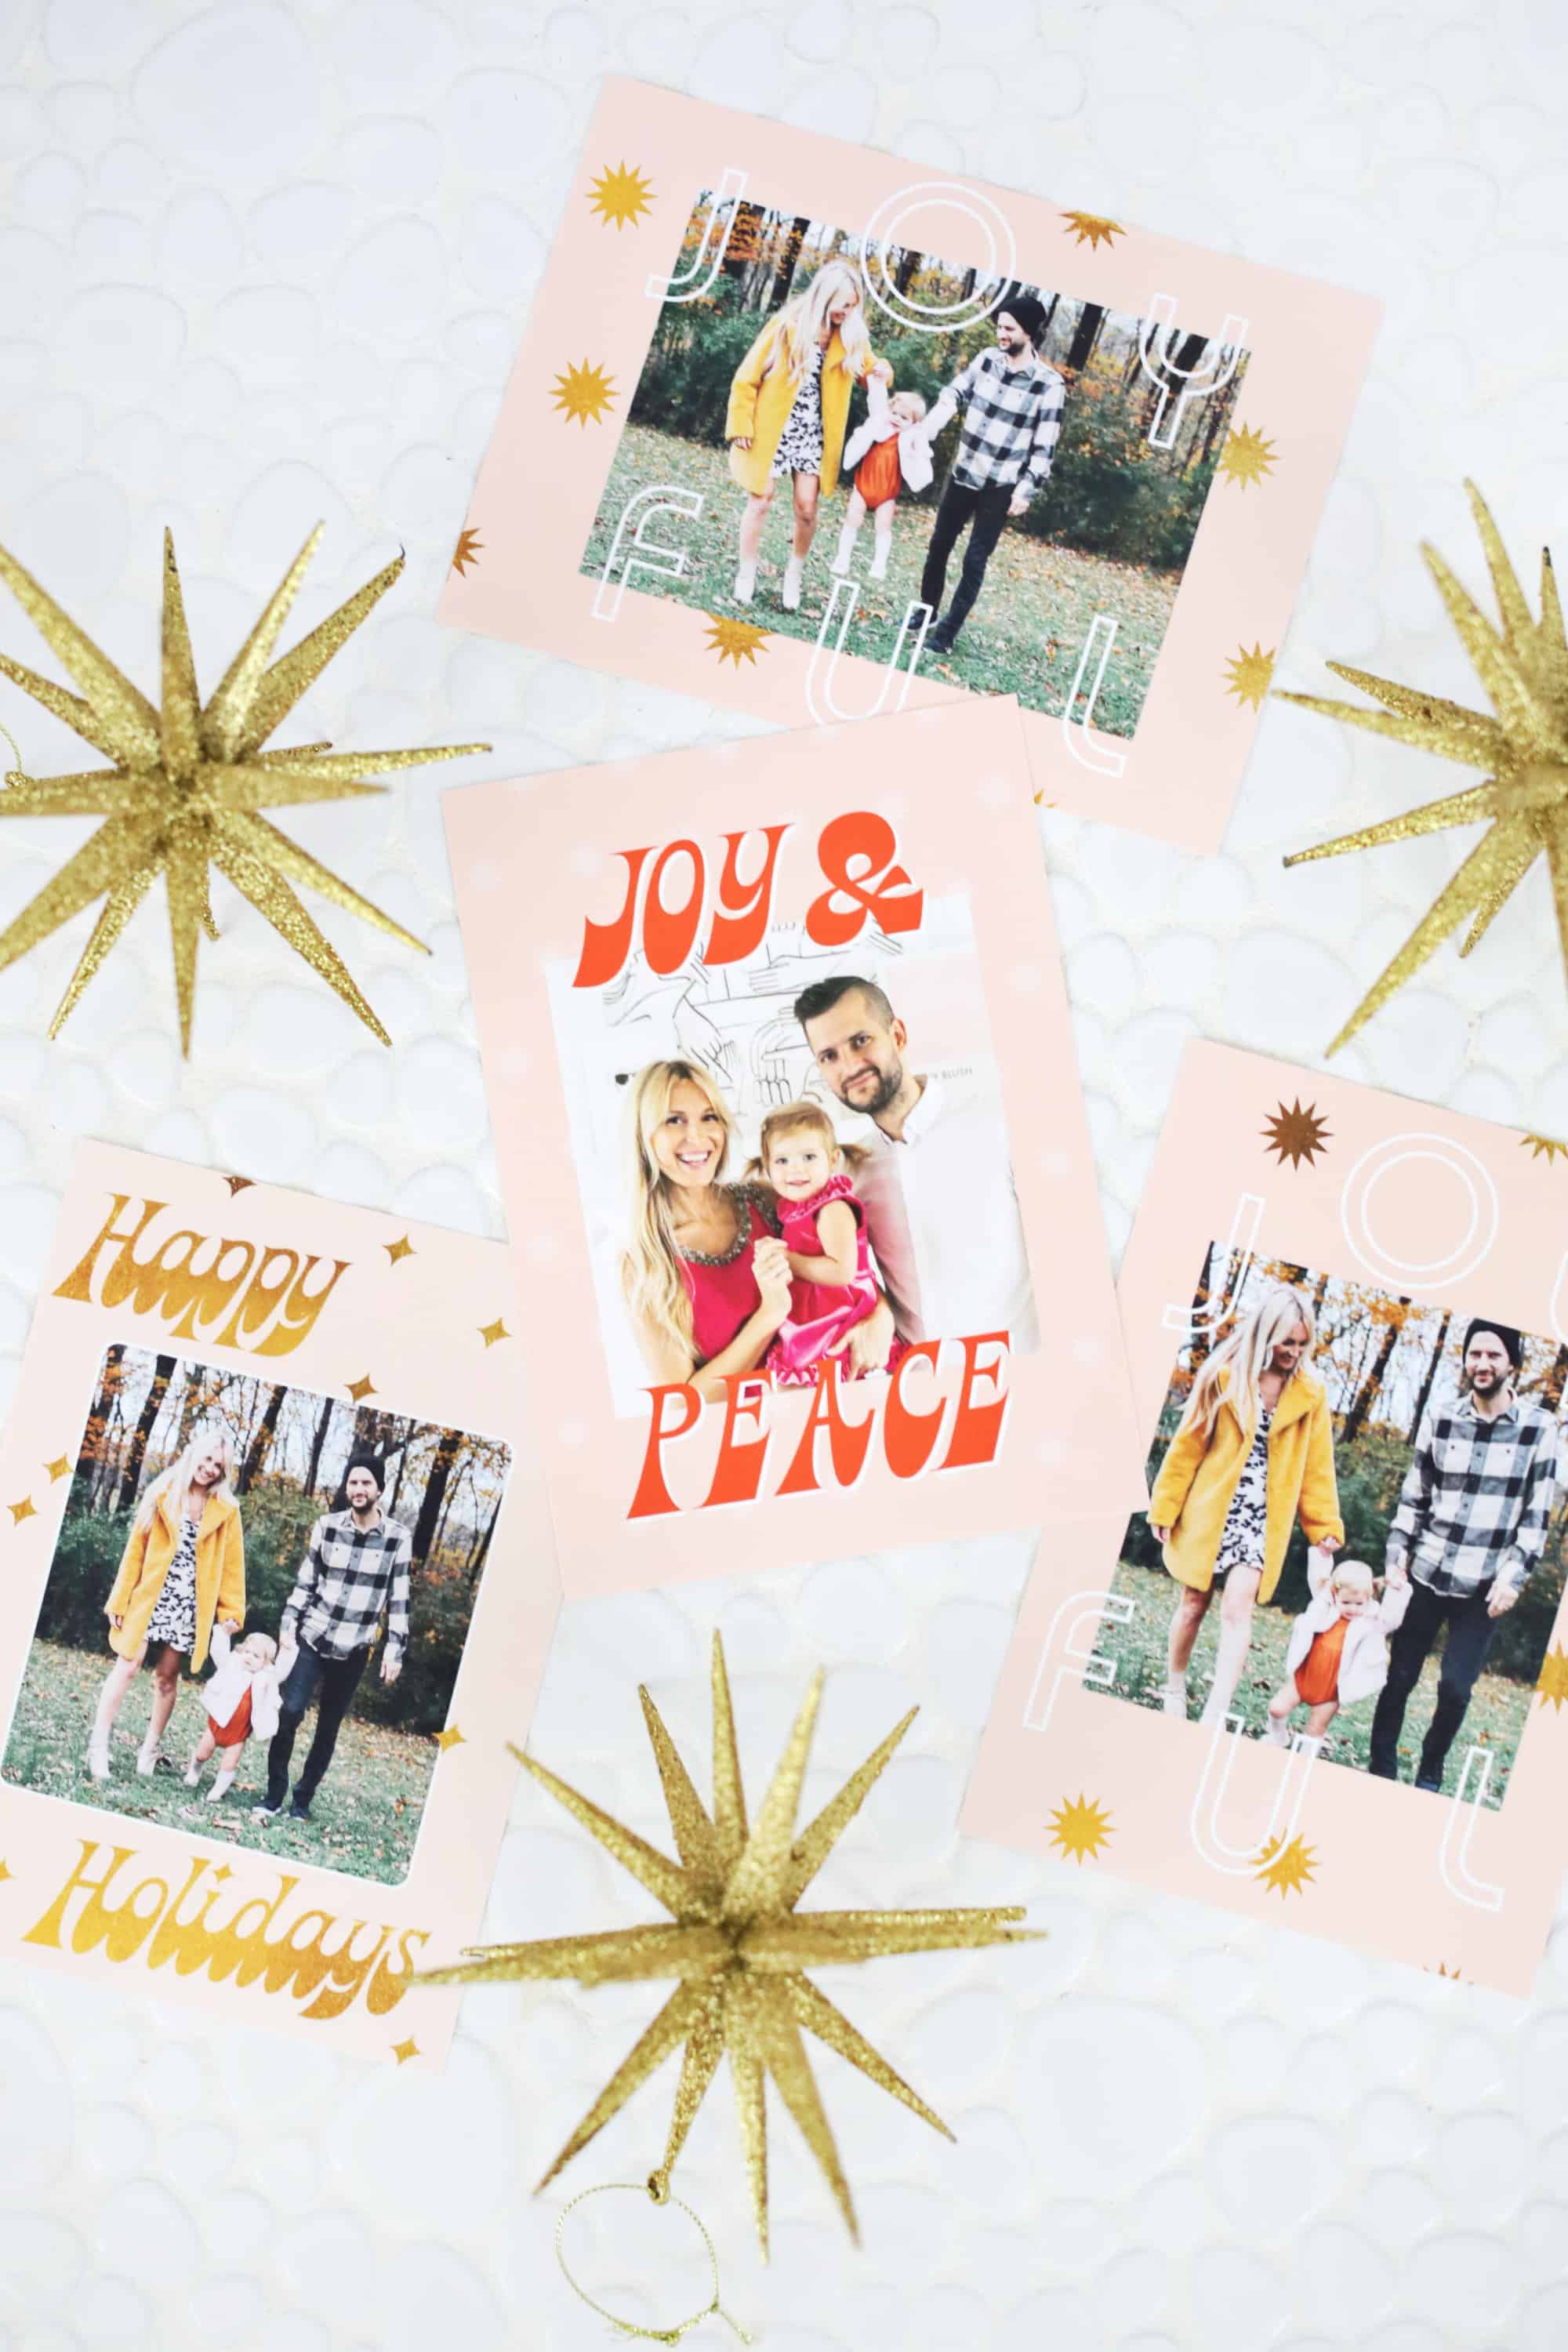
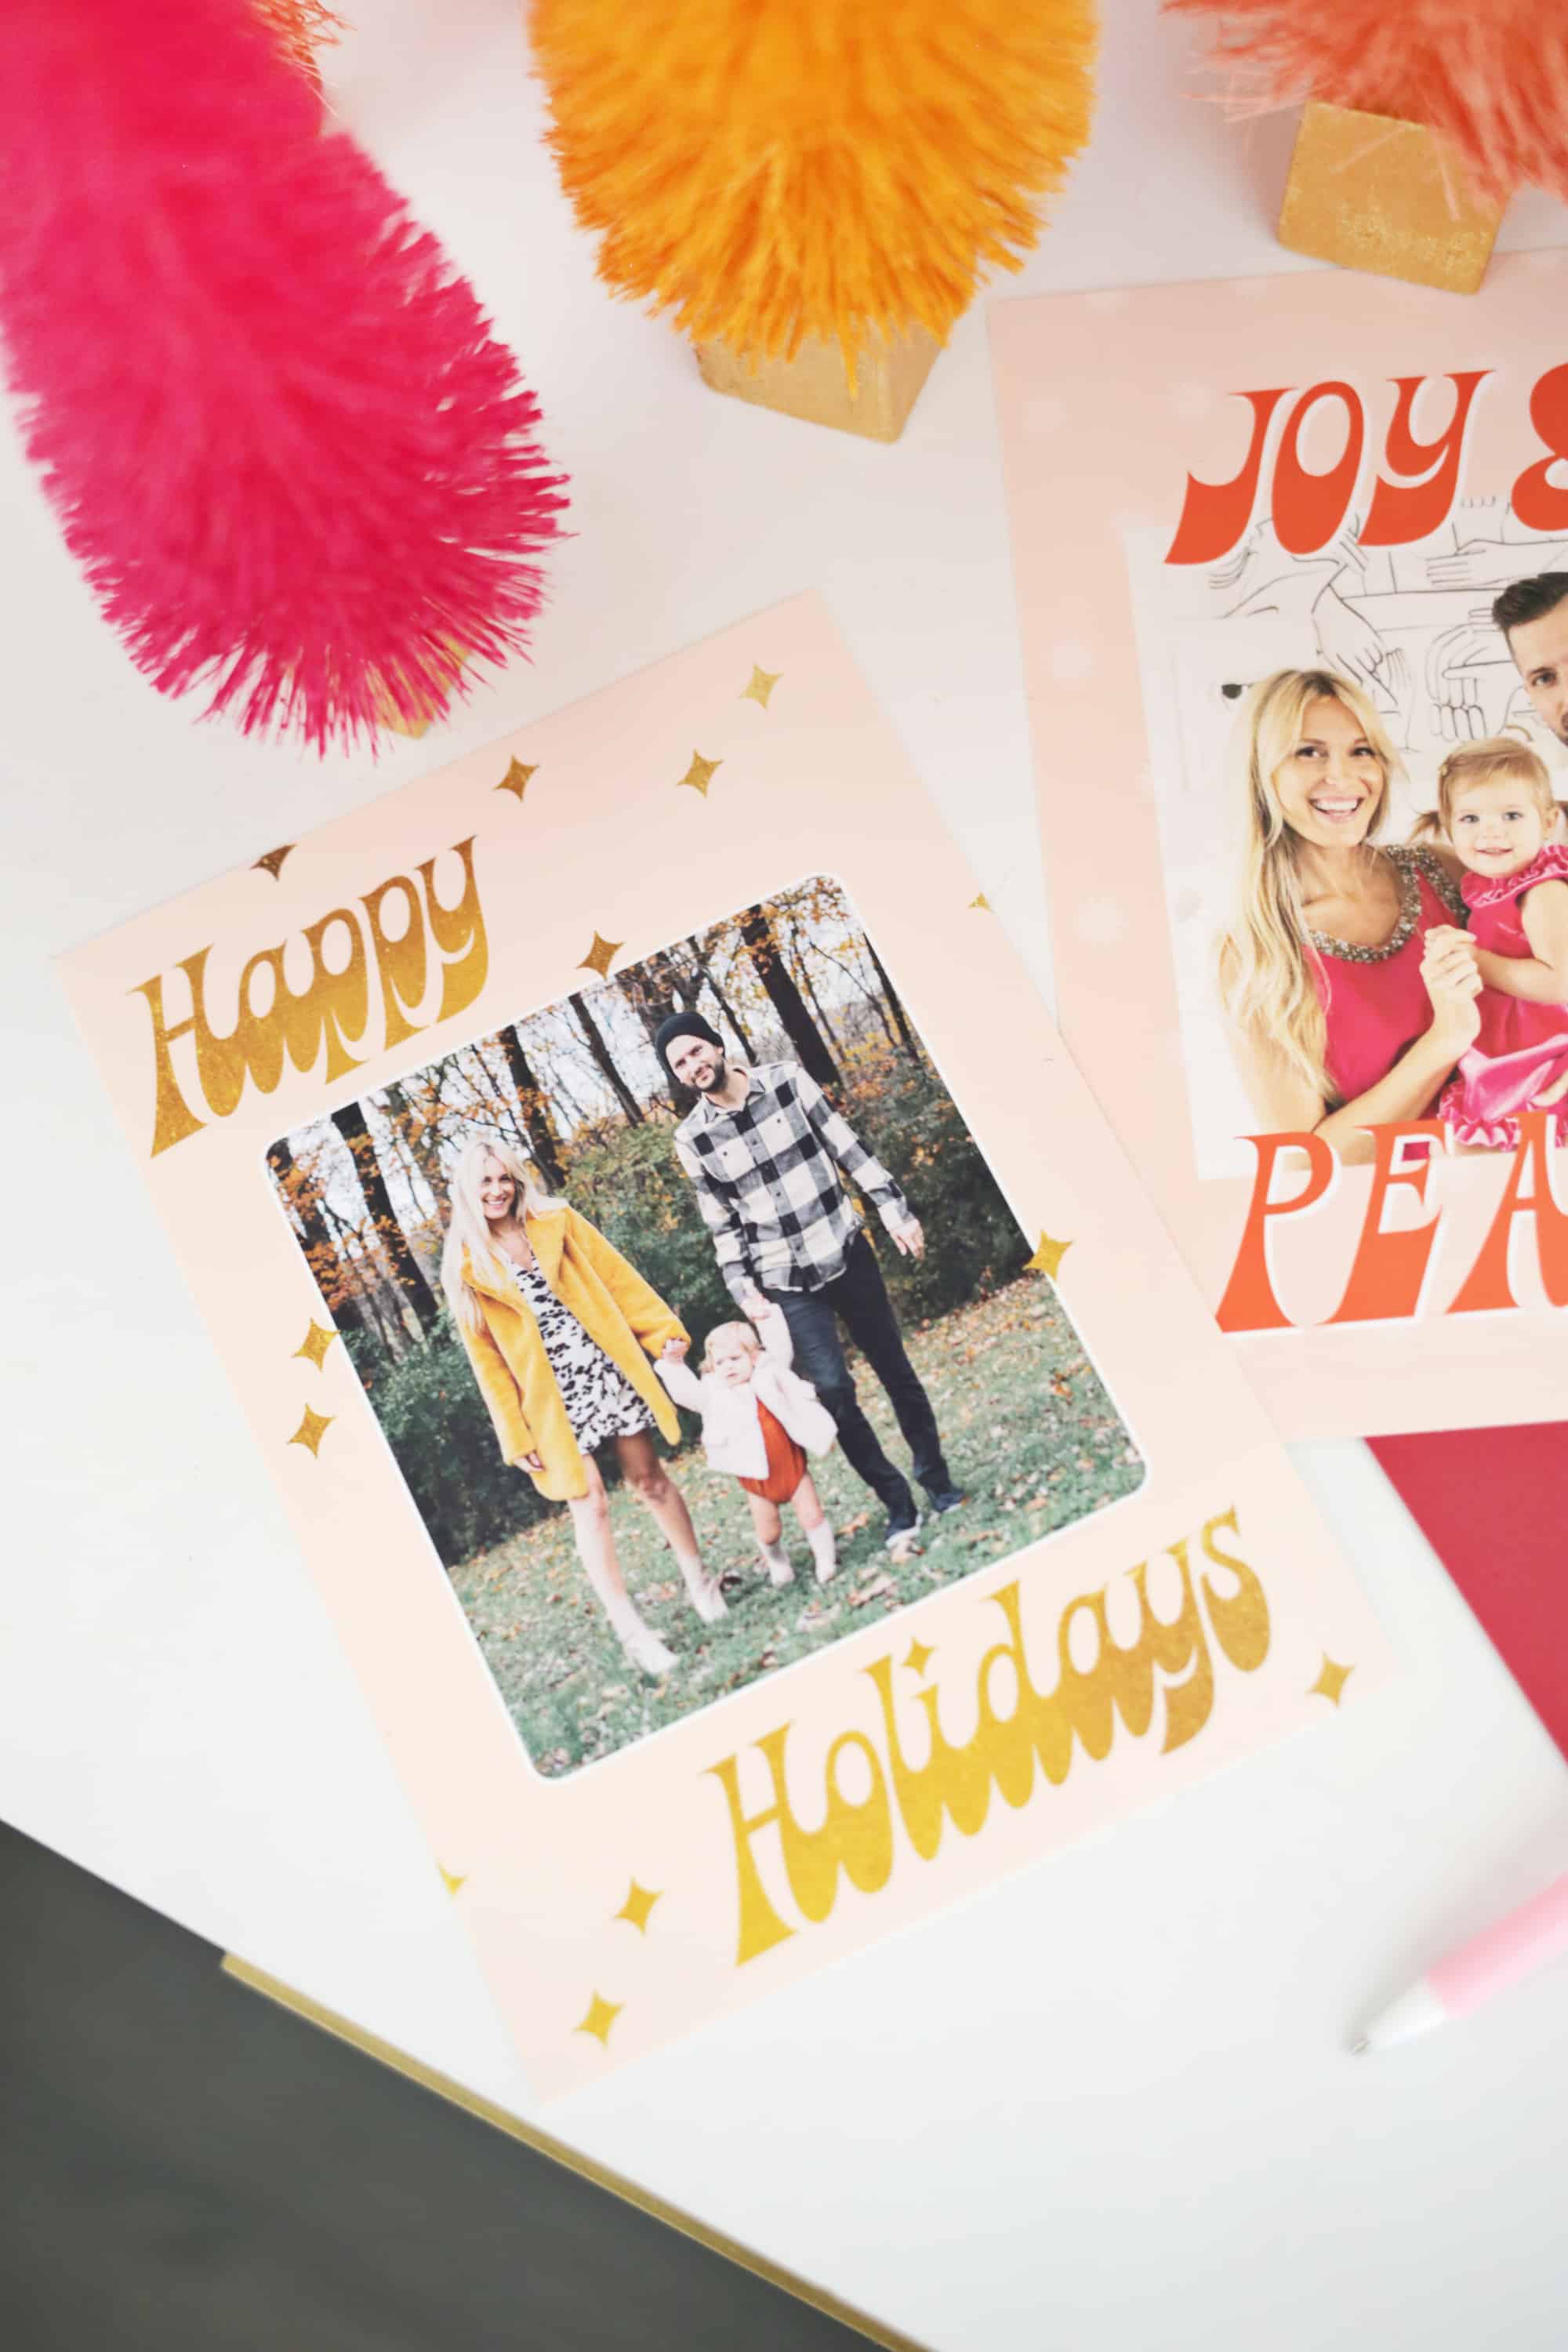

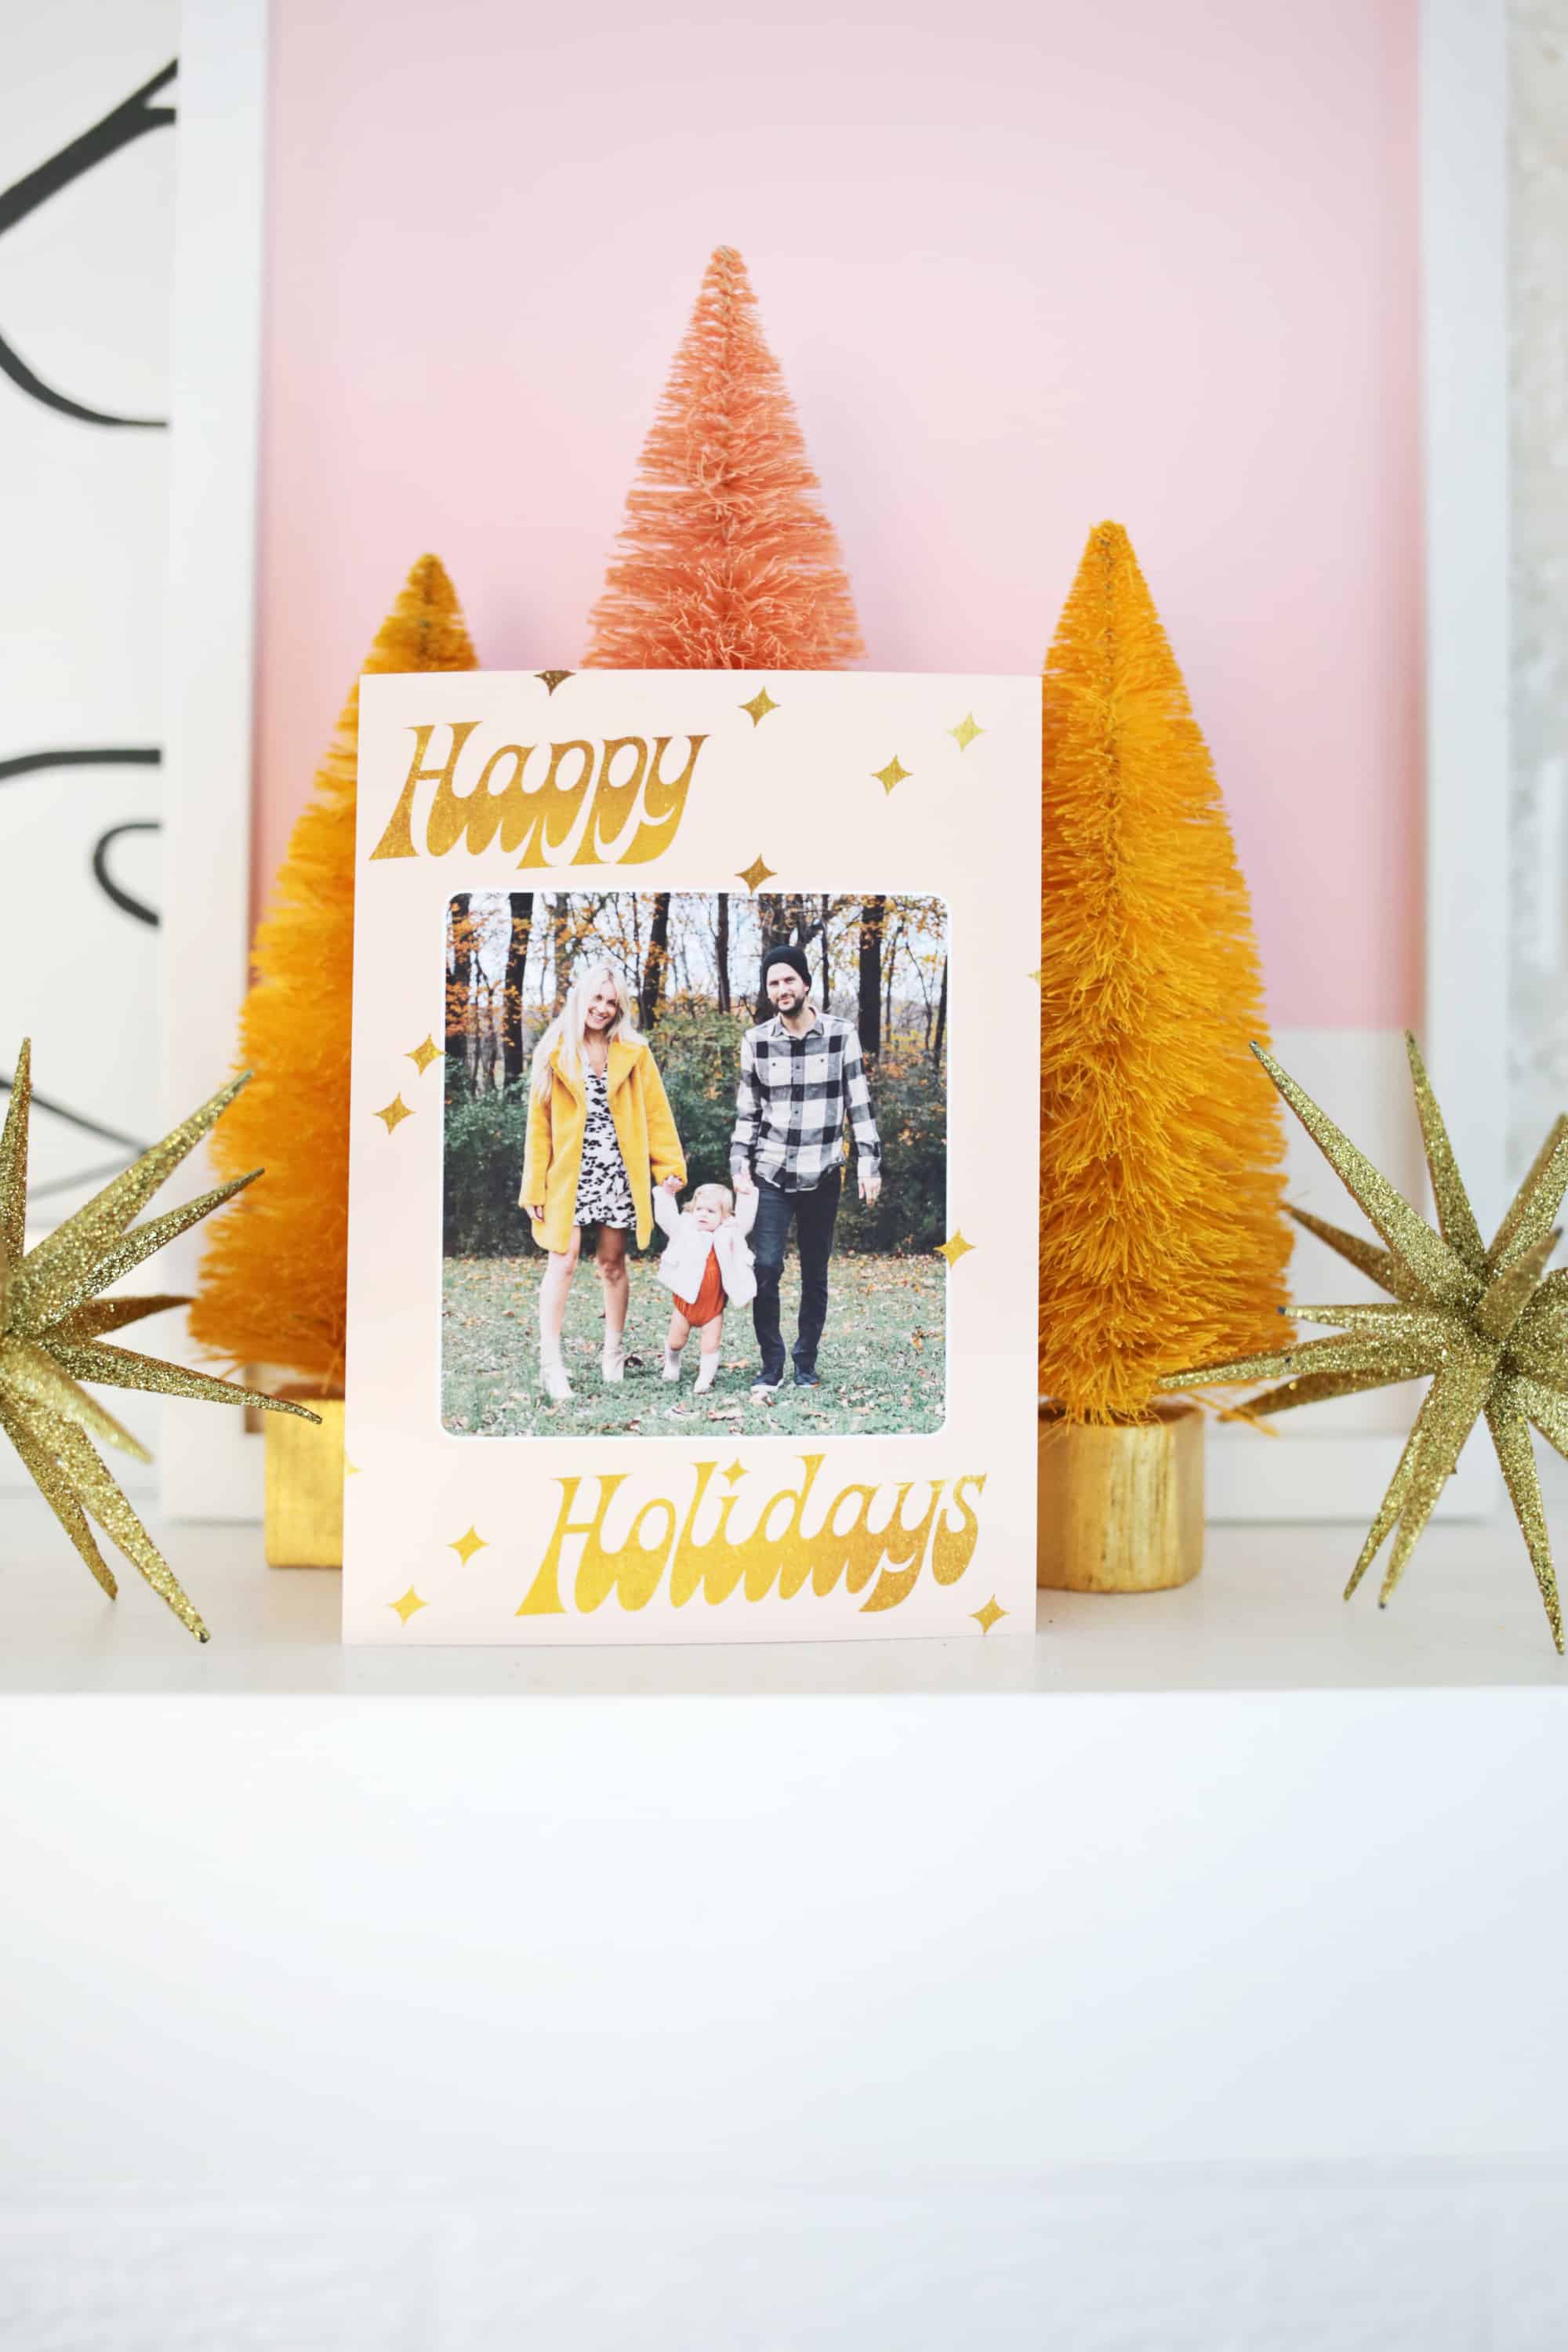
Aren’t those designs so sweet!? You can either print all your cards with one design or print several to mix up the variety you send out to family and friends. I like to do a fun stamp or sparkly sticker on a pretty envelope to make the outside look a little special as well. This year, I’m totally going to be ahead of the game by printing my cards early at home and that means more time for sitting around with hot chocolate once the holidays roll around … what’s not to love? xo. Laura
6 Comments
Thank you for the template! I love how simple and clear it is! Super cute! 🙂
Charmaine Ng | Architecture & Lifestyle Blog
http://charmainenyw.com
I love these! The designs are so pretty and cute!
These cards are super cute, I love the 60s vibe!
https://www.makeandmess.com/
Any hints as to whether there will be any discount codes for this Canon printer this holiday season?
Are those bottle brush trees buy or diy? I love them!
I bought them but here’s a DIY to dye them!
http://abeautifulmess.com/2013/12/bottle-brush-trees-they-really-do-work.html
Laura