 If you’ve been itching to try your hand at punch needling but need something less intimidating to start with than a WHOLE pillow, this is the project for you! We partnered with JOANN to share a tutorial on creating this fun and festive pillow! Punch needle embroidery is the same concept but with much thinner thread, so you can work on more delicate lines, create embroidery-like images, or just get a lot of texture in a small space. It’s perfect for customizing a throw pillow or two for the holidays and can easily be scaled down to make your own ornaments!
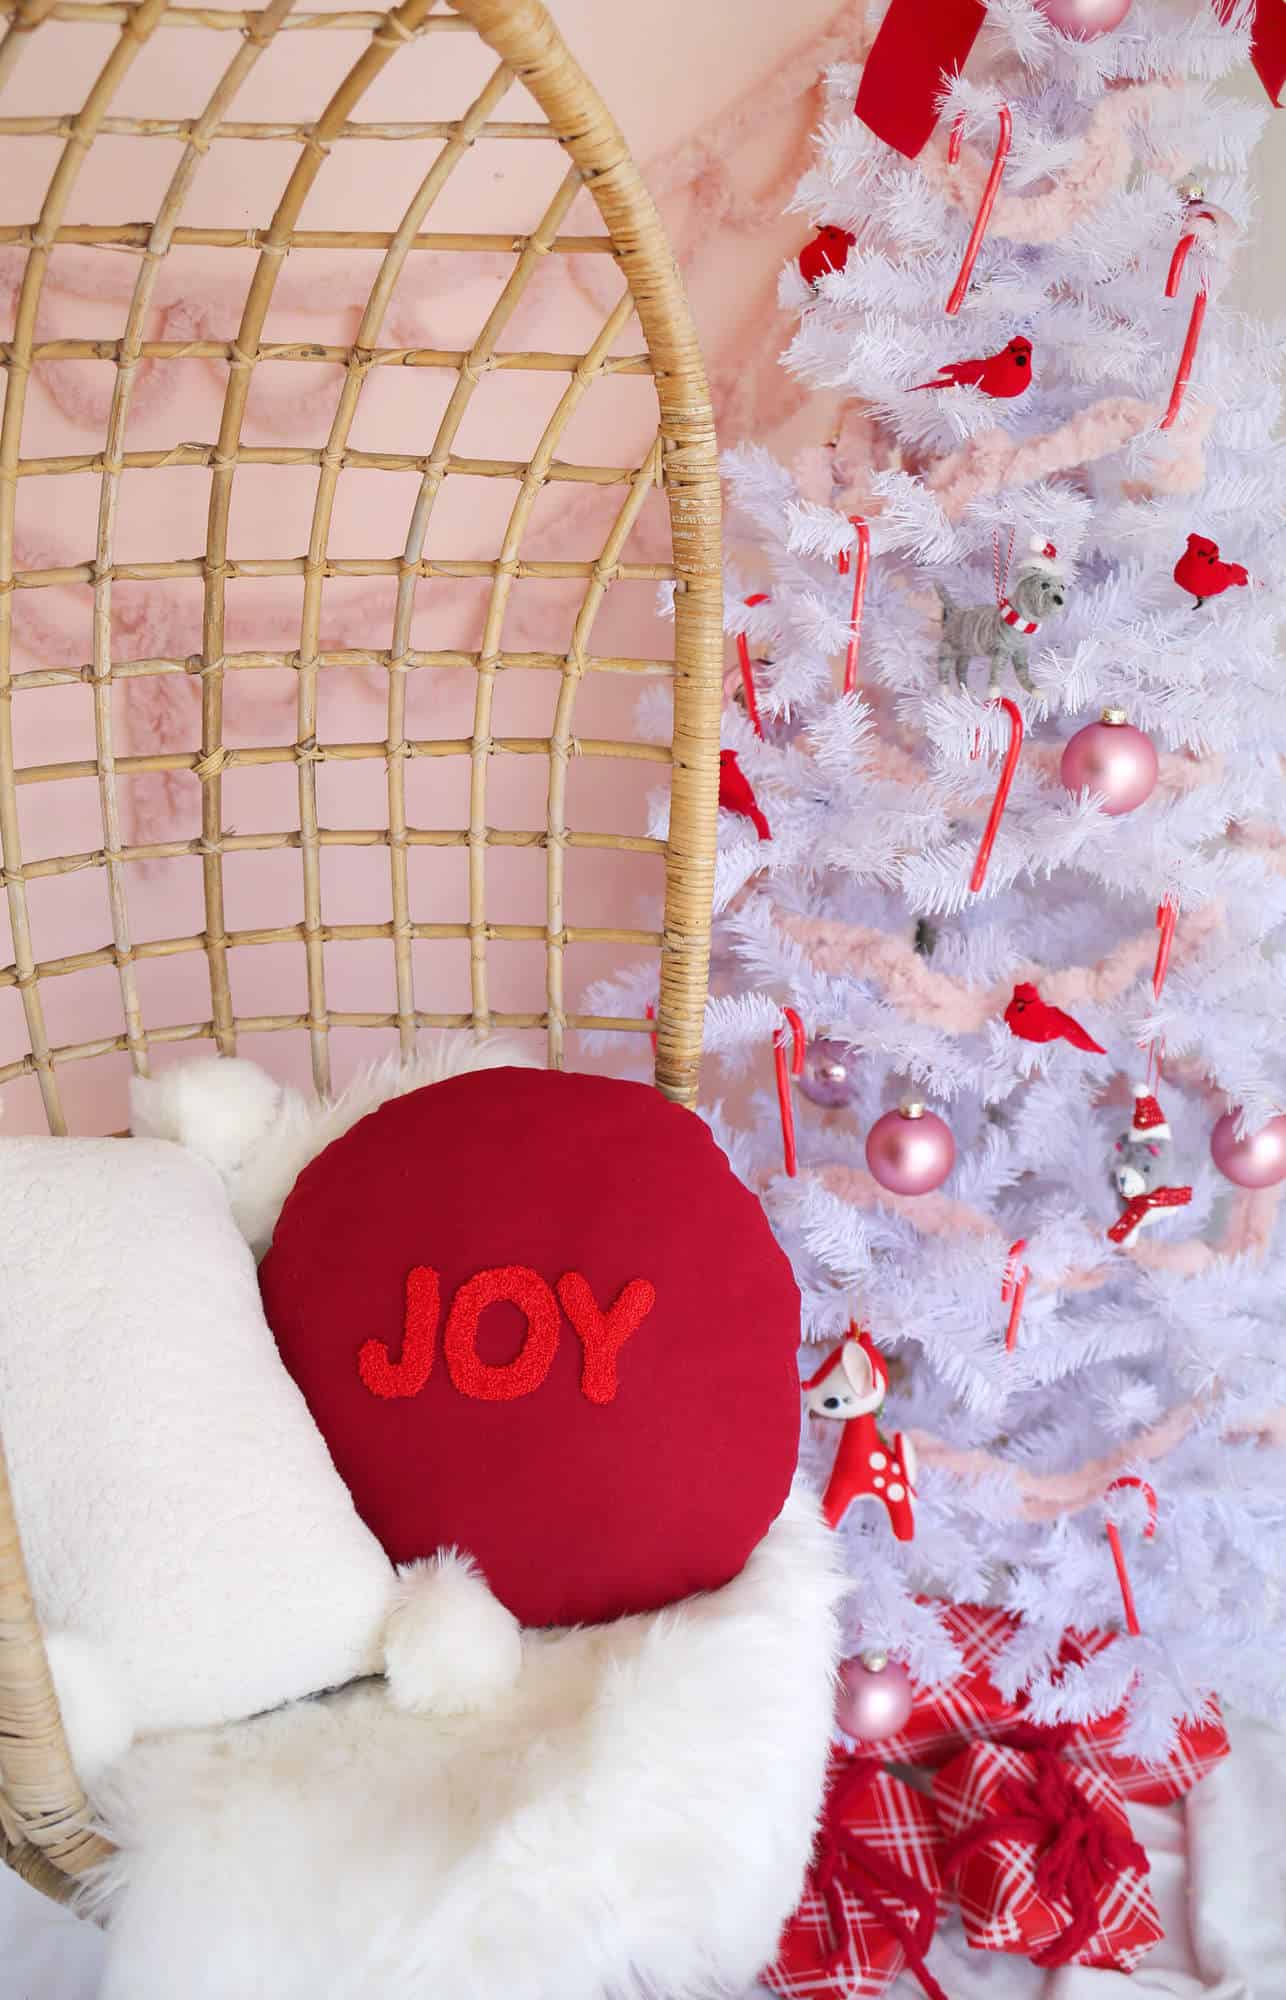
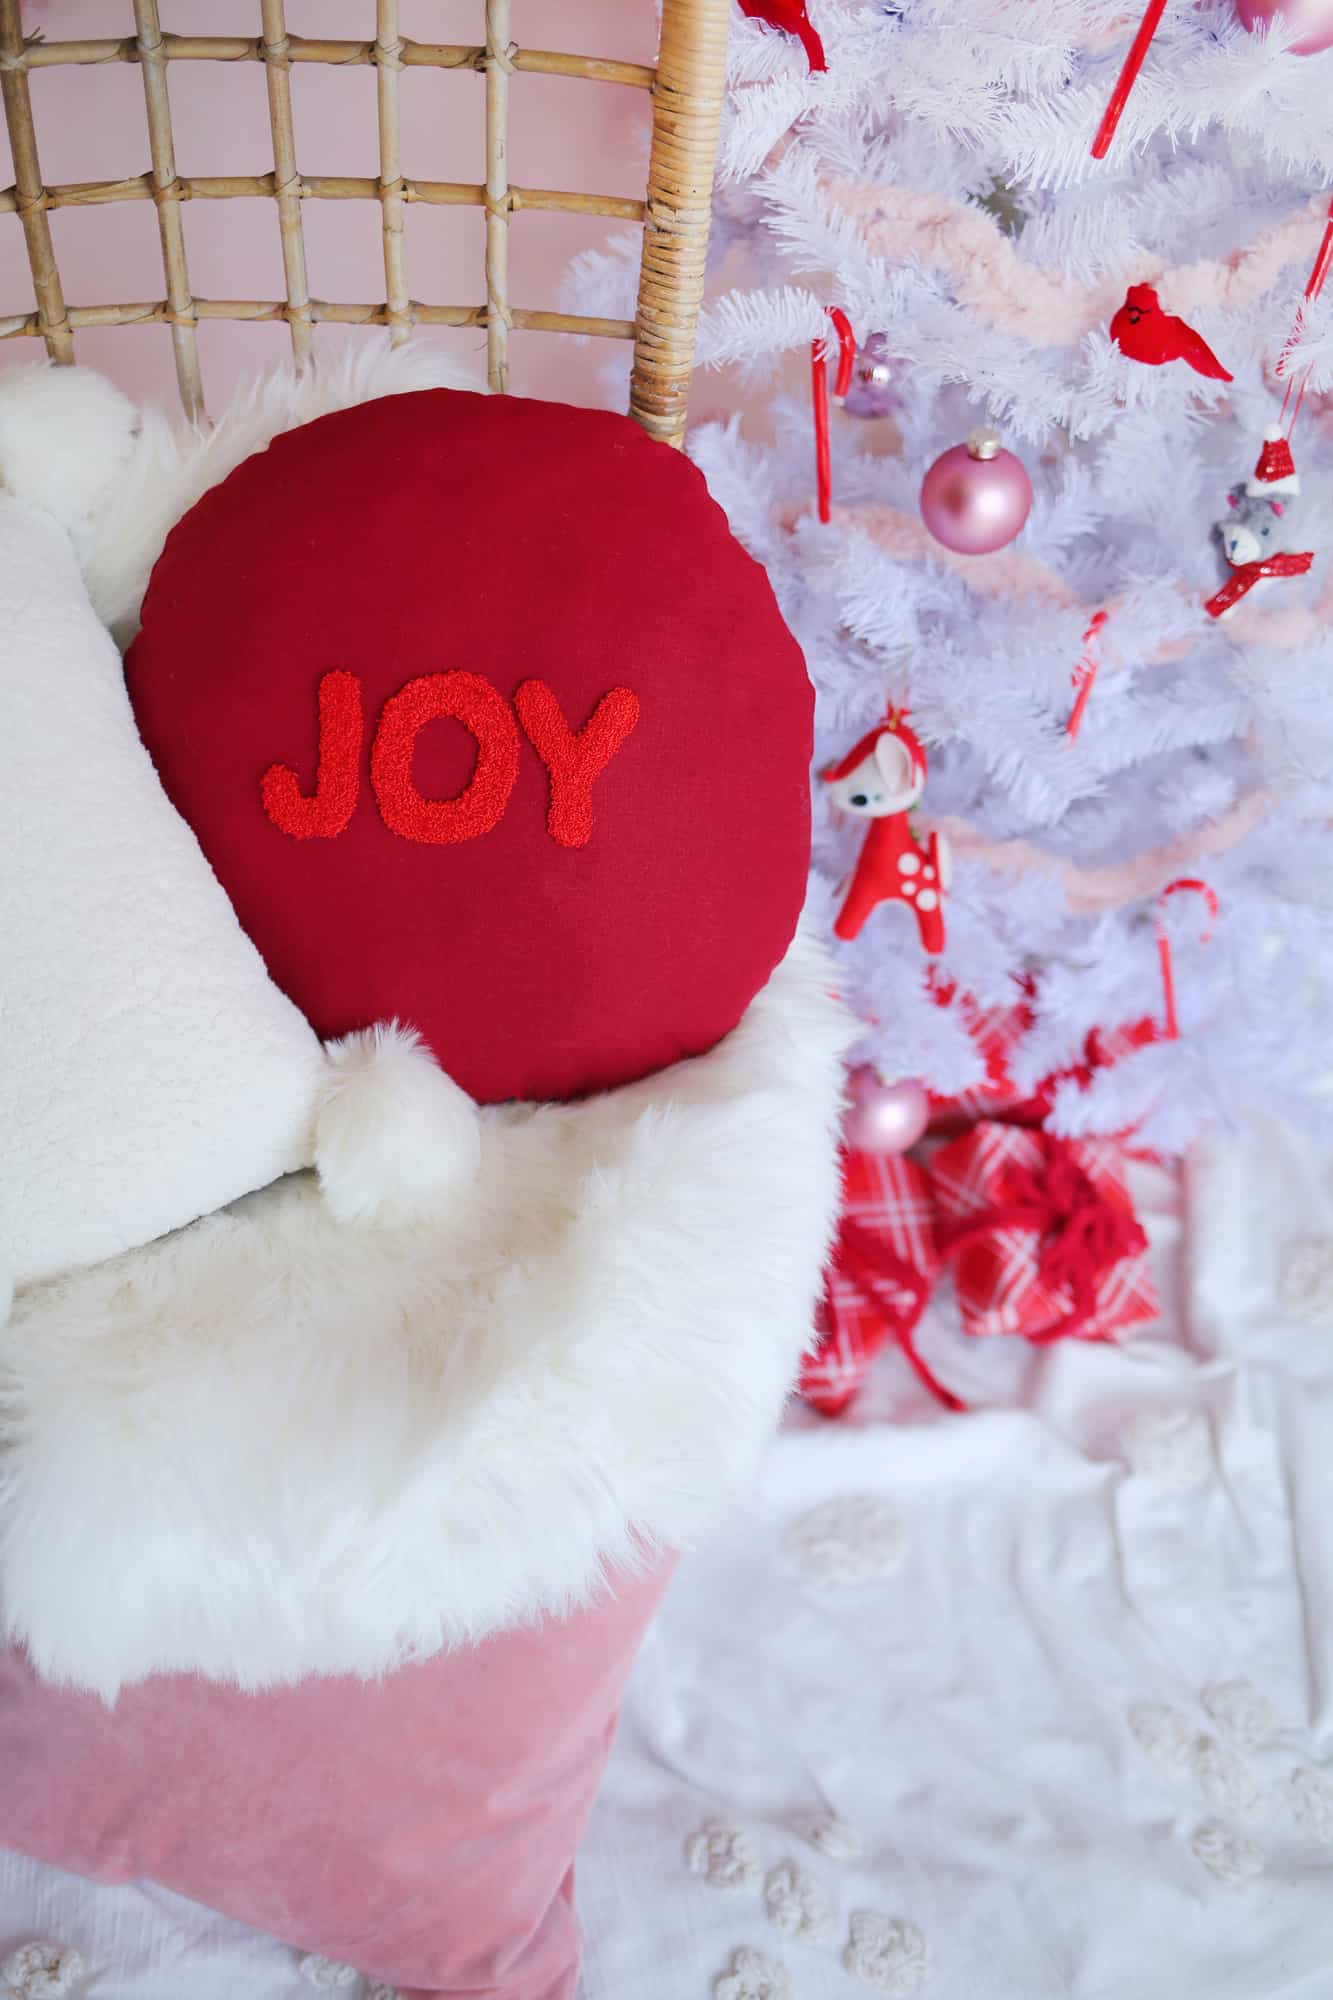
In this round holiday pillow project, I used my embroidery punch needle to spell out the word “joy.” It took much less time than I imagined it would and since I punched it out on a red linen backing, I didn’t have to fill the whole front of the pillow and got to catch up on laundry instead. Just kidding, I caught up on Grey’s Anatomy.
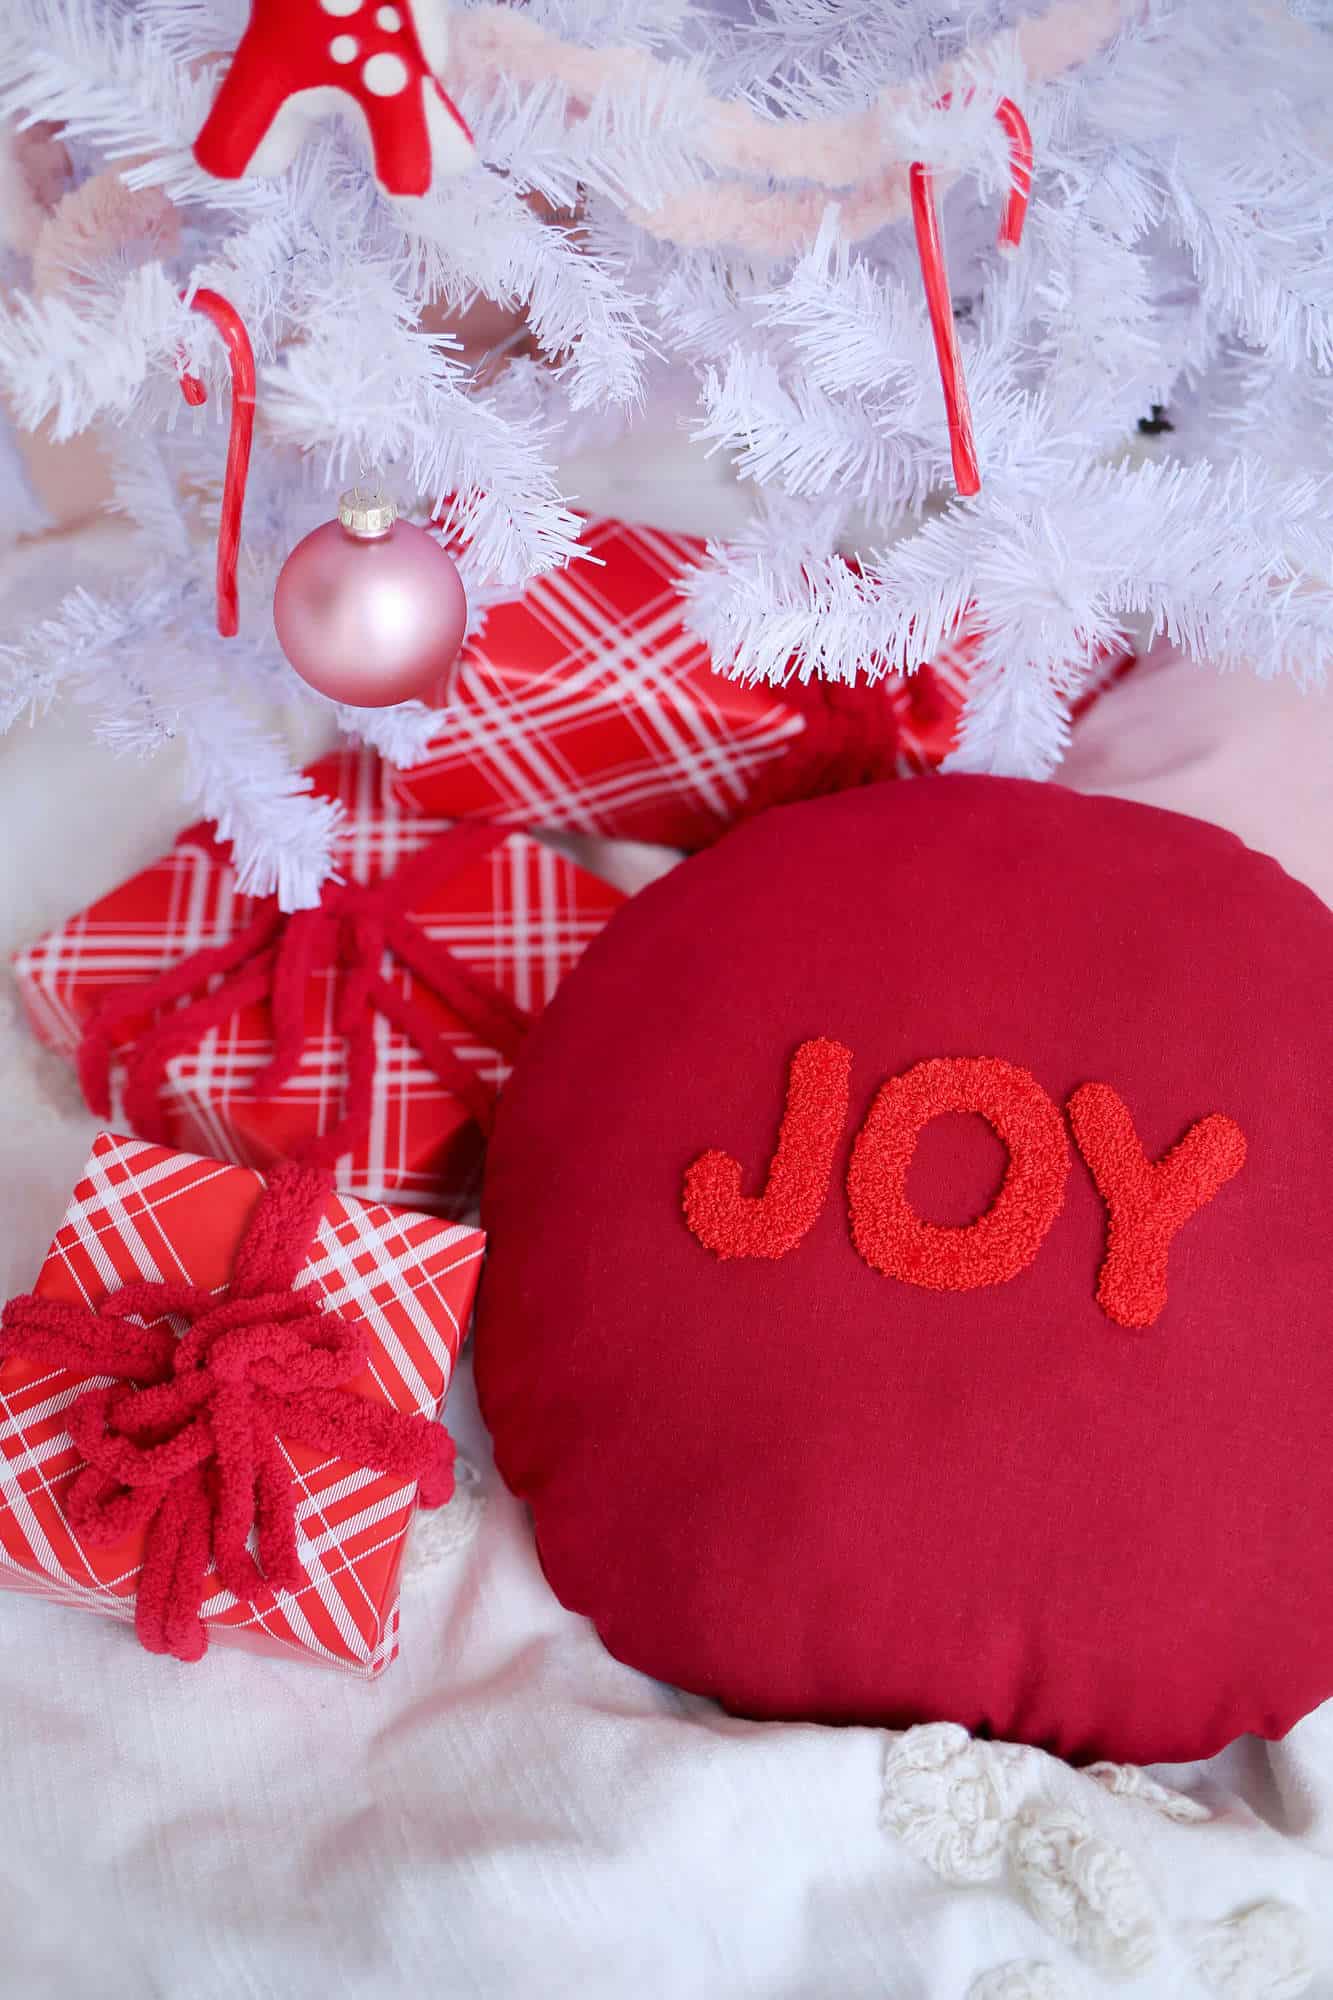
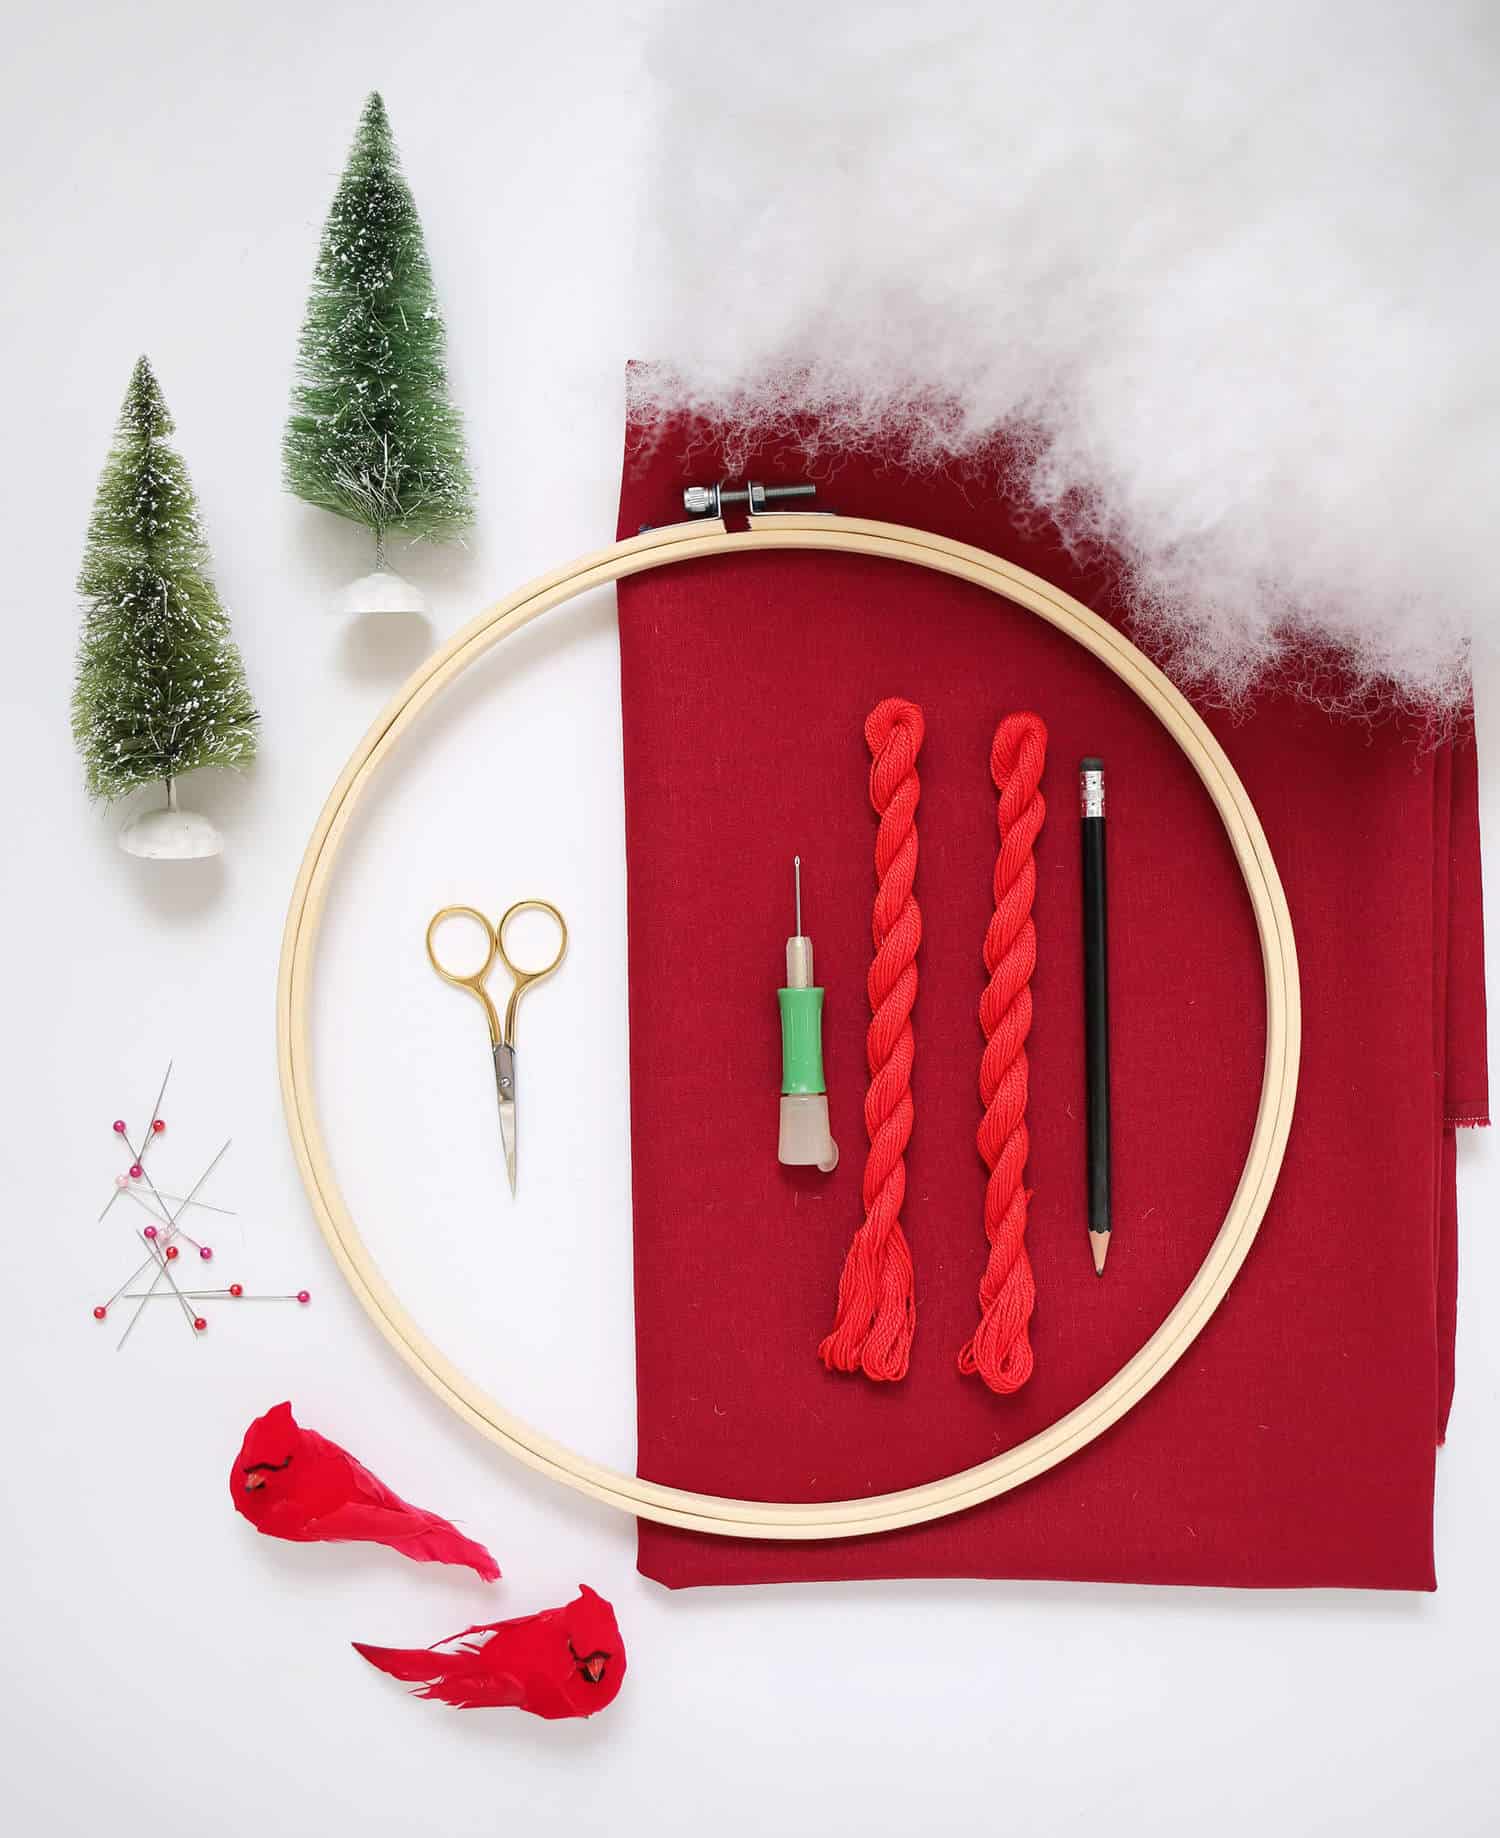 Supplies
–1/2″ yard scooter red linen fabric
–14″ wooden quilting hoop
–Boye 2.2 embroidery punch needle
–three skeins of 6 ply red cotton embroidery floss
–poly-fil stuffing
–JOY Pillow Template
–straight pins
-scissors
–sewing machine (optional but I’ve linked to the one I’ve had for years and love)
-sharpie
-iron/ironing board
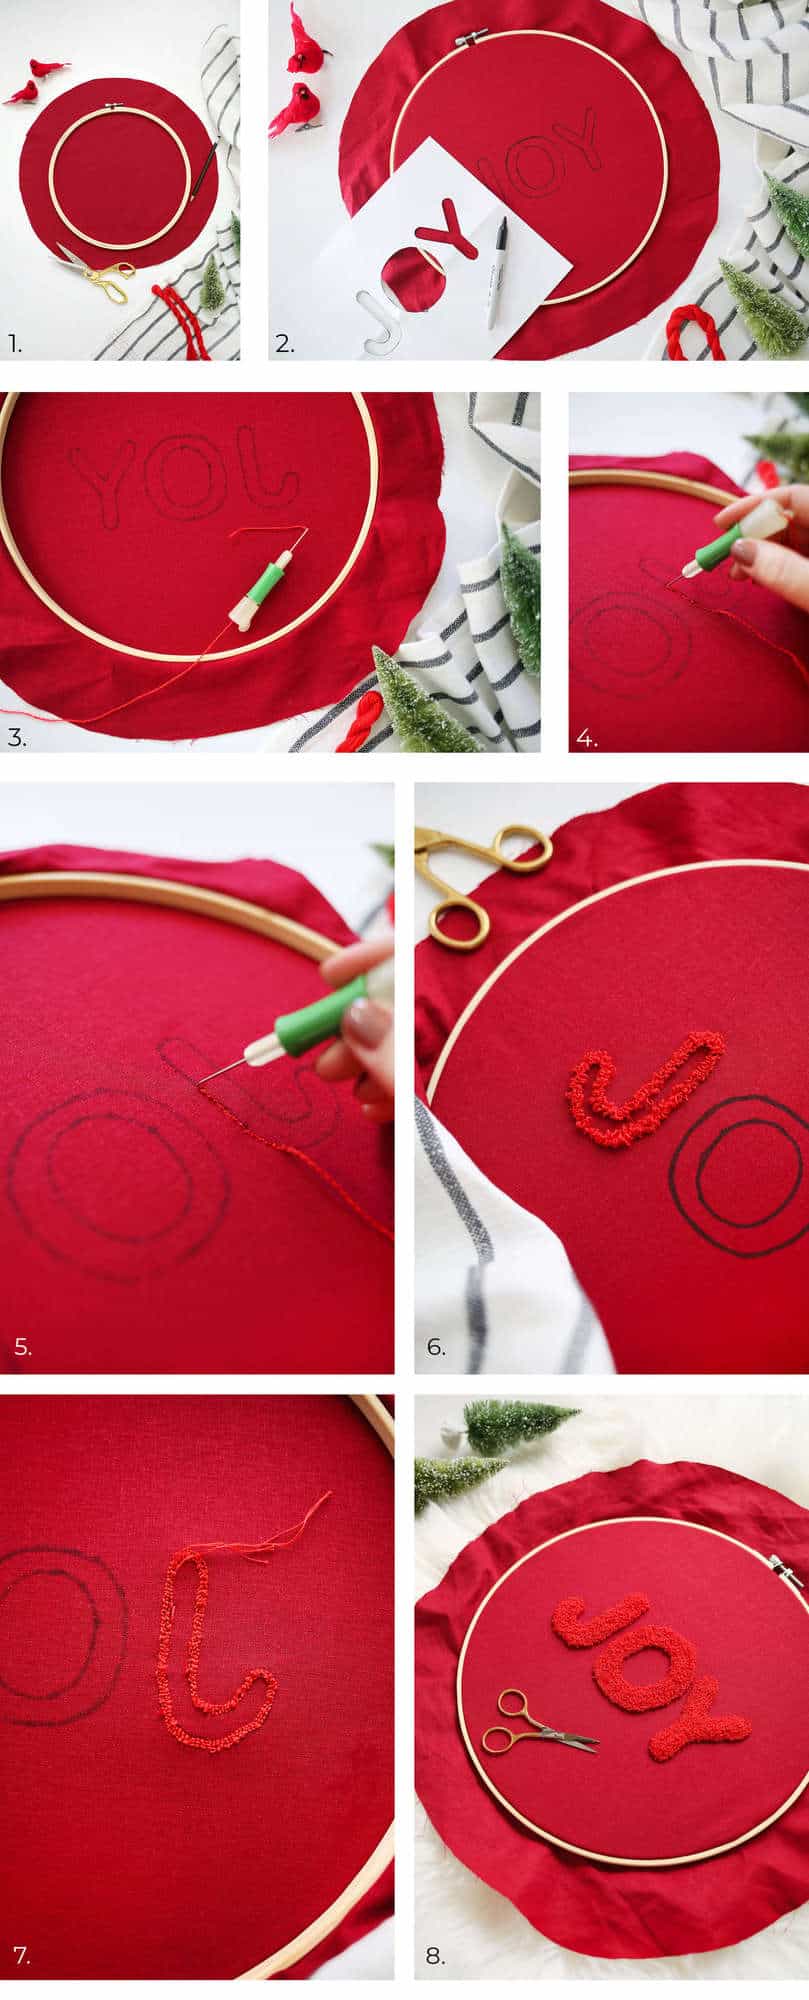 Step One: After pre-washing and ironing your linen fabric, use your embroidery hoop as a guide for cutting out two 16″ circles. The embroidery hoop is only 12″ wide but you can measure out 4″ from the edge and eyeball a wider diameter. Or you can follow these instructions.
Place one of the two circles in your hoop, center it within your hoop, and tighten the screw at the top. Pull your linen fabric taut in opposite directions to keep it centered within your hoop.
Step Two: Print out the provided JOY.pdf and carefully trim along the edges of each word to create a stencil. Center it within your hoop and carefully trace inside of your stencil with a black sharpie. You can pin your paper to the fabric as a precaution if you wish. The sharpie needs to be visible from the back of the fabric.
Step Three: Cut a 4′ length of 6 strand embroidery floss and split it into two bundles of 3 strands each. Six strands is too many for this size needle and less than 3 won’t stay put. Thread your embroidery punch needle according to manufacturer’s instructions. DON’T lose your needle threader. You’ll need(le) it. Hehe … For this type of project, you’ll want to adjust the length of your needle so that it’s only sticking out about 1/2″ from the handle. Not all needles are adjustable but this can help your loop height be more consistent.
Also, flip your hoop over. You’ll be punching from the back so that your loops stick out the front.
Step Four: Deep breath! Start just outside the sharpie line on one of your letters and leave about a 2″ tail hanging out from the needle end. Stitch forward, with the tail side of the needle where the thread is trailing out, on the back side. If the tail side of the needle is facing forward, it can pull your loops out more easily.
Step Five: When you’re punching through the fabric, you want your needle to punch through until your handle almost touches the fabric. When you pull it back out, keep the needle close to the fabric and move forward just a smidge. How much is a smidge? About the width of your needle. Since we’re using linen and not monk’s cloth or something with more obvious rows, just make sure you are keeping your stitches close to each other. You’ll get the hang of it pretty quickly and you can always fill in the gaps with more rows.
Punch until you run out of floss. Then reload your next length. Trim your tail ends down as you go so they don’t get in the way.
Step Six: Work your way around the outside of the sharpie so that it is covered up with loops on the other side. You’ll be moving your hoop as you work your way around the curves of each letter. You always want the needle to be facing in the right direction, so it’s best to rotate your hoop instead of rotating your needle. This is what three full outlines of the first letter looks like. If you like the outlined look, I suggest three rows but not less. This gives a nice thickness to each letter. If you want to fill them in, continue on.
Step Seven: This is the back of three row completions. You want to make sure your rows are as close together as possible to give it a full look on the front. If you see blank spots, just start a new length of thread and fill them in using more rows to keep things uniform. With this type of design, using only one color, it’s OK if you are moving all over the place with your stitches to fill things in. But if you were using different colors or making shorter loops, your rows would be more obvious and you’d want to keep things more uniform.
Step Eight: Continue punching rows from the outside in until all of your letters are filled in and fluffy!
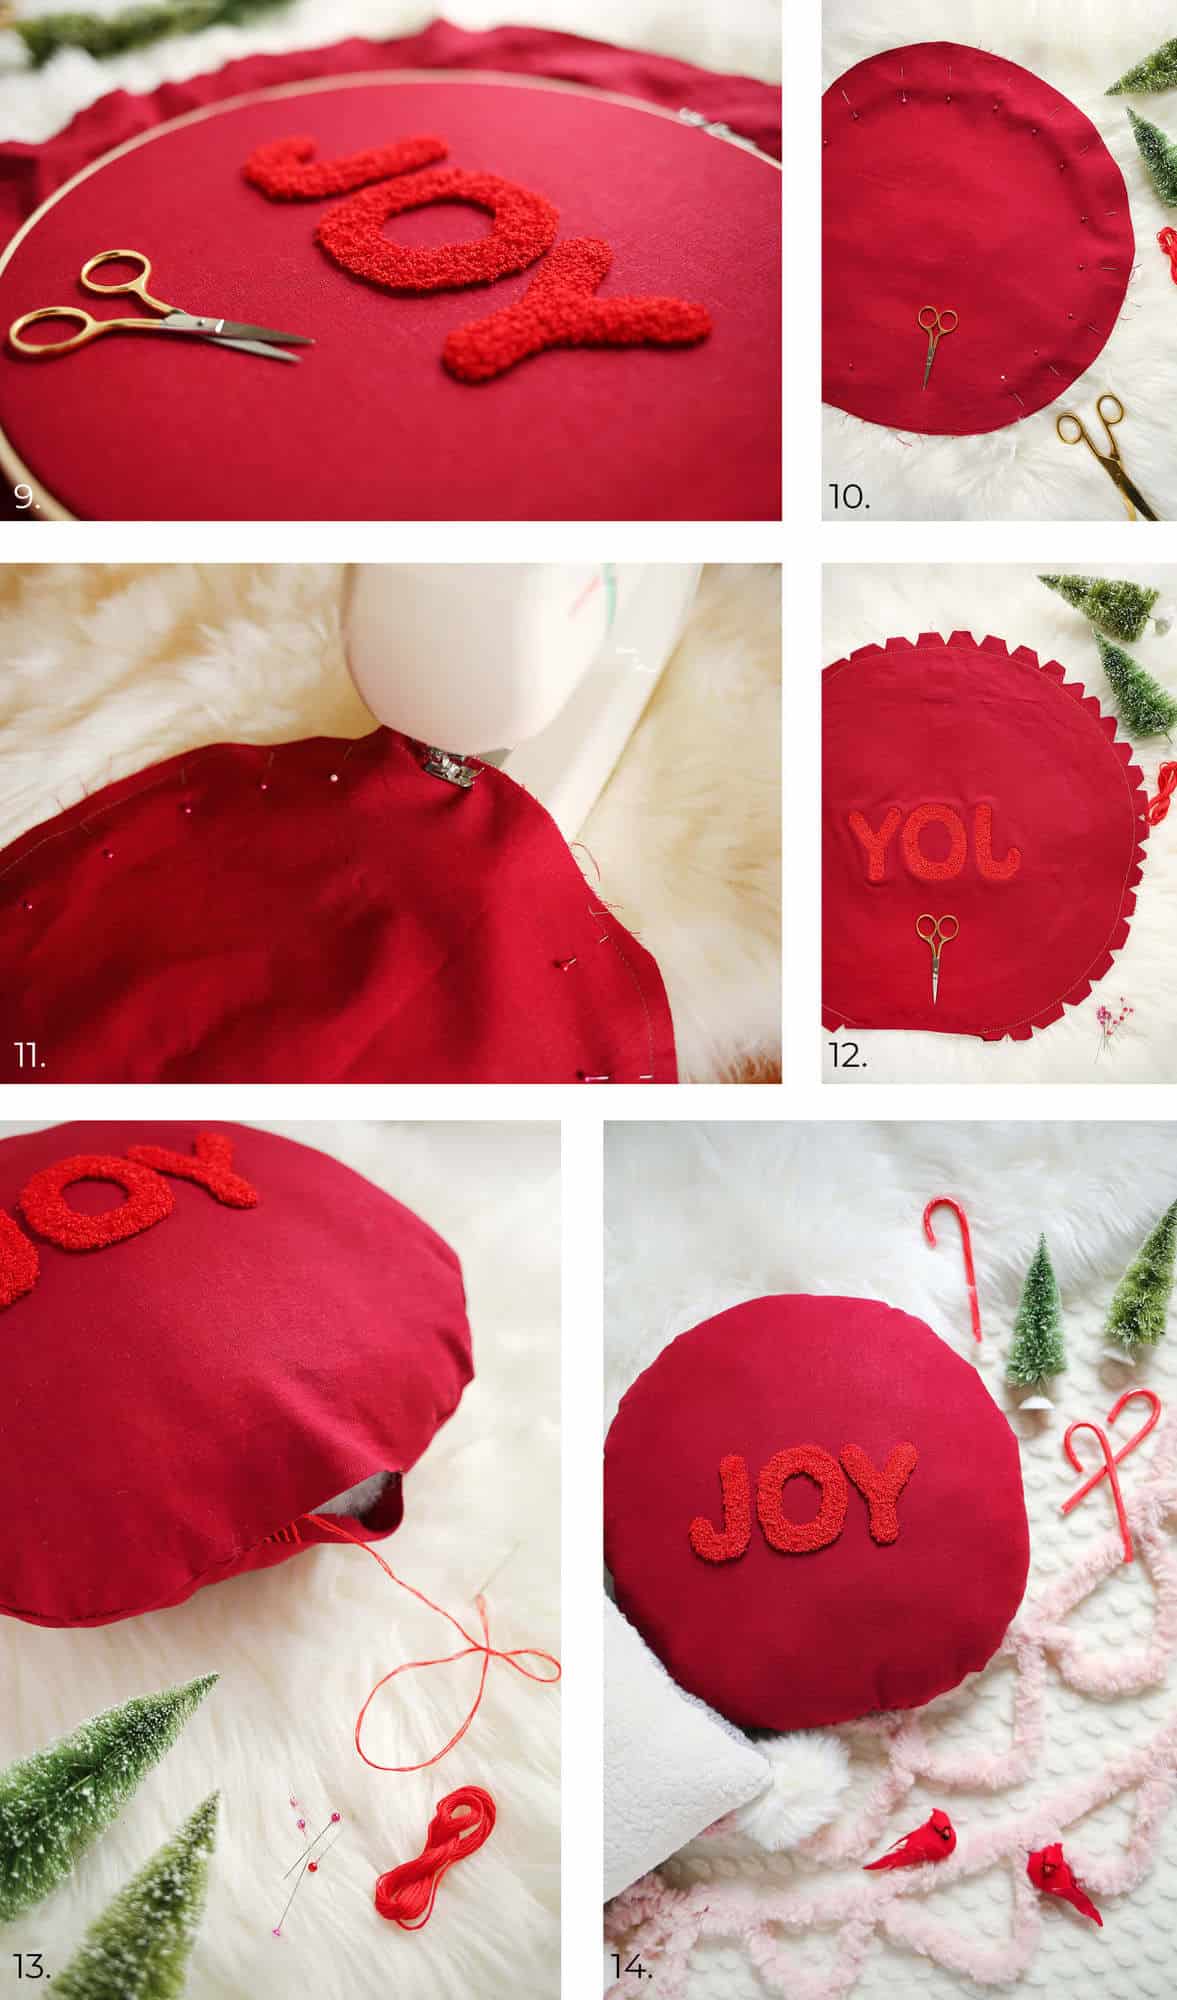 Step Nine: Take a close look at the front and trim any stray strands from tail ends or loops that somehow stand above the rest. If you’re doing a really long loop, you can trim all of them for a completely different, shag effect. For this project, your loops may not be long enough for that to be effective or necessary.
Carefully remove your fabric from your hoop.
Step Ten: Place your punched fabric on your work surface with the loops facing you. Then place the second piece of fabric on top so that outsides are flush with each other and pin the two pieces of fabric together using straight pins as shown. Leave an unpinned space a little wider than the width of your hand in order to turn your fabric right side out later on.
Step Eleven: Hand stitch or use a sewing machine to start stitching on one side of your hand width of space, all the way around the inside of the circle, and to the other side of your hand width of space. Make sure your stitches are even and about 1/4″ from the outside of your fabric. Remove your straight pins. Fold the flaps of your hand width opening back and iron in place.
Step Twelve: Cut small triangle shapes about 1″ apart all along your circle. Make sure the tops of your triangle don’t reach your seam, though! This will help the seam breathe a little when you turn it right side out. If you skip this step, your seam won’t be quite as smooth. Reach your hand through your opening and gently turn your pillow case right side out. Avoid pulling by the punch needle section. Flatten your case and iron along the seam.
Step Thirteen: Stuff your pillow thoroughly and evenly with poly-fil and then use a ladder stitch to close the opening.
Step Fourteen: Fluff your pillow into shape and find it a happy home.
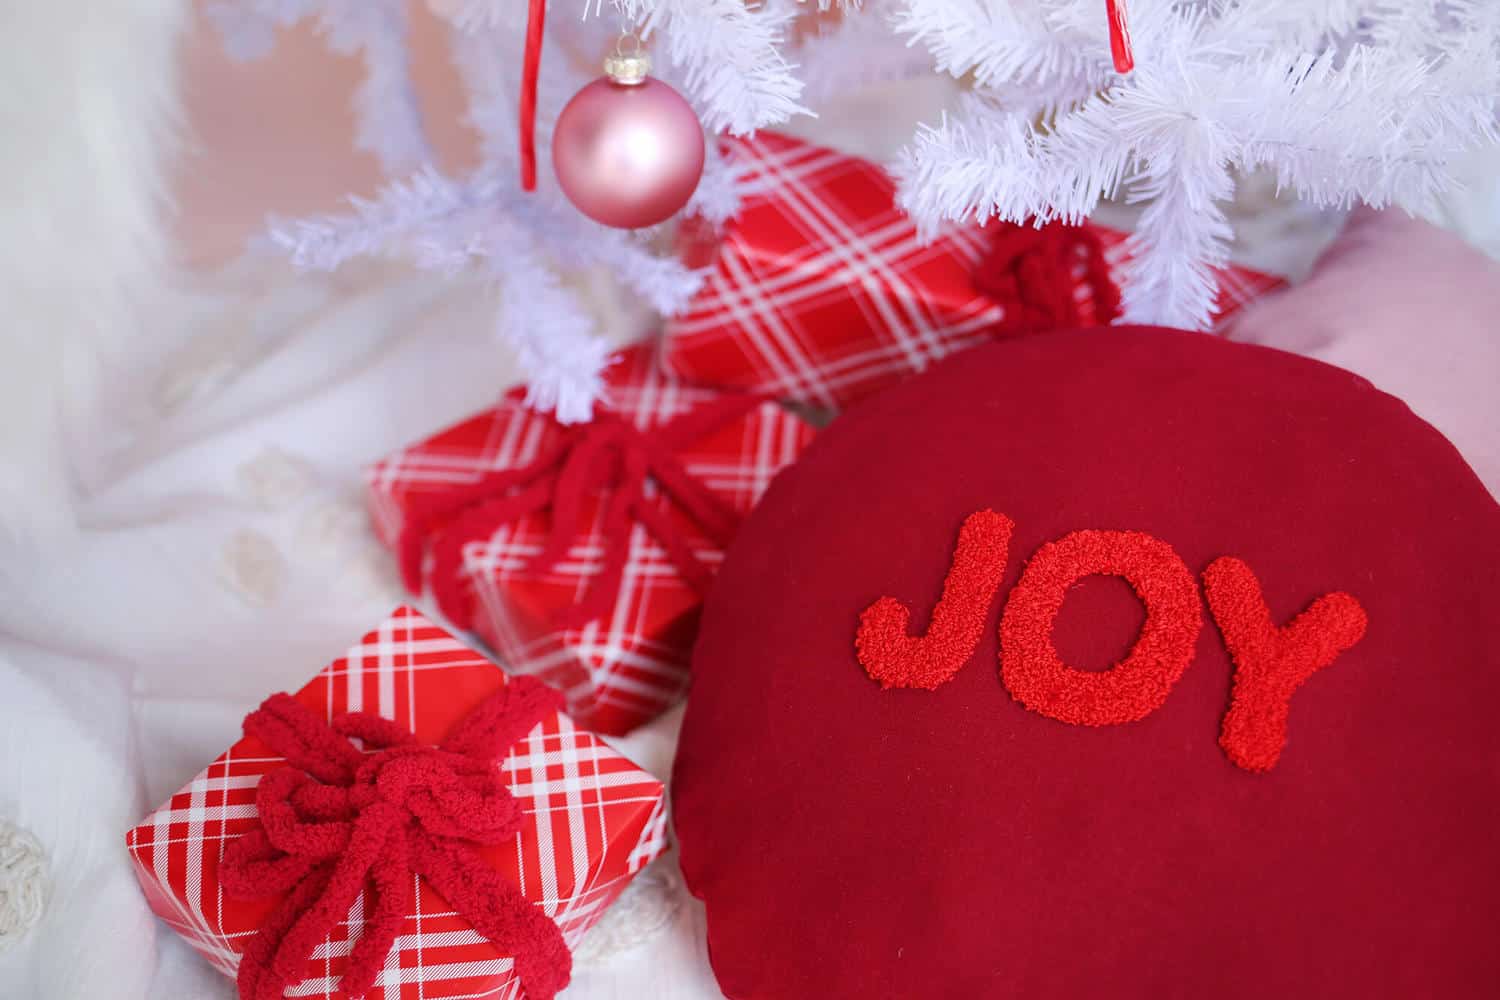
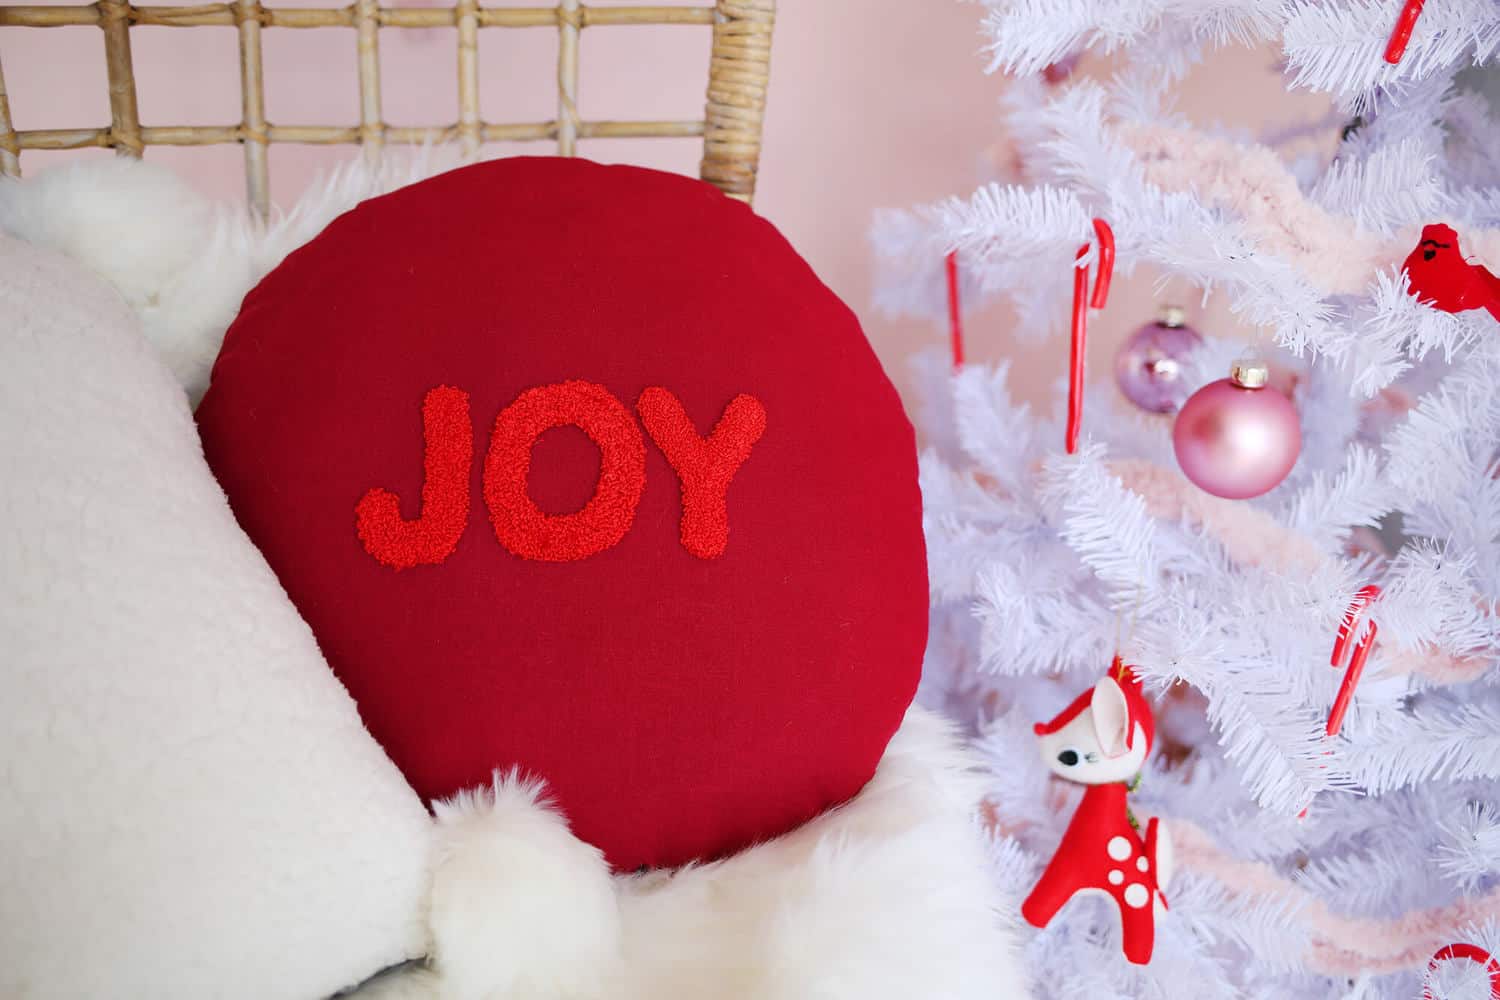 Now that I’m looking at it, it is giving me an ornament vibe! Who is going to take this tutorial one step further and whip up a matching set of “JOY” punch needled ornaments now? Just saying, it’d be real cute! –Rachel
10 Comments
Perfect for the festive season! ❤️✨
Charmaine Ng | Architecture & Lifestyle Blog
http://charmainenyw.com
Right?! And once you know how to punch needle, you’ll start dreaming up all kinds of new designs that start lining up in your notebook!
I’ve had a punch needle for 2 years and I’ve yet it try it out!
Sounds like we’re just in time! 😉
love this tutorial/idea! adding it to my gift making list asap: https://tps-steph.blogspot.com/2018/12/0025-tps-gift-making.html
You’ll love it! There’s no going back. Haha! -Rachel
I was waiting for a punch needle diy from you guys! The embroidery needle creates really beautiful effects. Such a nice project!
The first of a few! So glad you’re into it, too! -Rachel
How much time to make is “much less time”…?
I did something very similar making a passport cover – I used leftover sofa swatch fabric, and punched “USA” in all caps with leftover sock yarn scraps with a contrast color outline – the letters were about an inch-and-a-half tall by an inch wide? It took me one evening after working, watching some TV to finish punching, so not a lot of time at all!! I would definitely recommend something like this as a great, quick, feel-good craft that isn’t a huge time investment – the best kind 🙂