 I am a little bit obsessed with refreshing my home right now. Since we’ve been here for almost four years, it feels like a good time to give some mini-makeovers to different areas of the house as I have time, and lately my sights have been set on our den area. I’ve always liked this room, but it started feeling a bit boring to me lately and I knew that a fun wallpaper pattern would really help. But I just never want to deal with actual real wallpaper, so we partnered with JOANN to come up with a different solution! I wanted something easier to apply and removable so I could easily change it out in a year or two when I wanted something different. The thought of cutting out a million shapes for this large space was not something I have the time for in this season (hello, working mom life!), but I knew if I cut out the shapes with my Cricut it would be totally doable for that many shapes, they would all be perfectly cut (which my brain likes a lot), and I could do it all from the comfort of my living room—yay!
 Supplies:
-Cricut cutting machine
-Cricut cutting mat (one comes with the Wild Rose Cricut bundle)
-removable wall vinyl (I used 6 rolls to complete my large den)
-X-Acto knife and ruler
-star templates (download in post copy below)
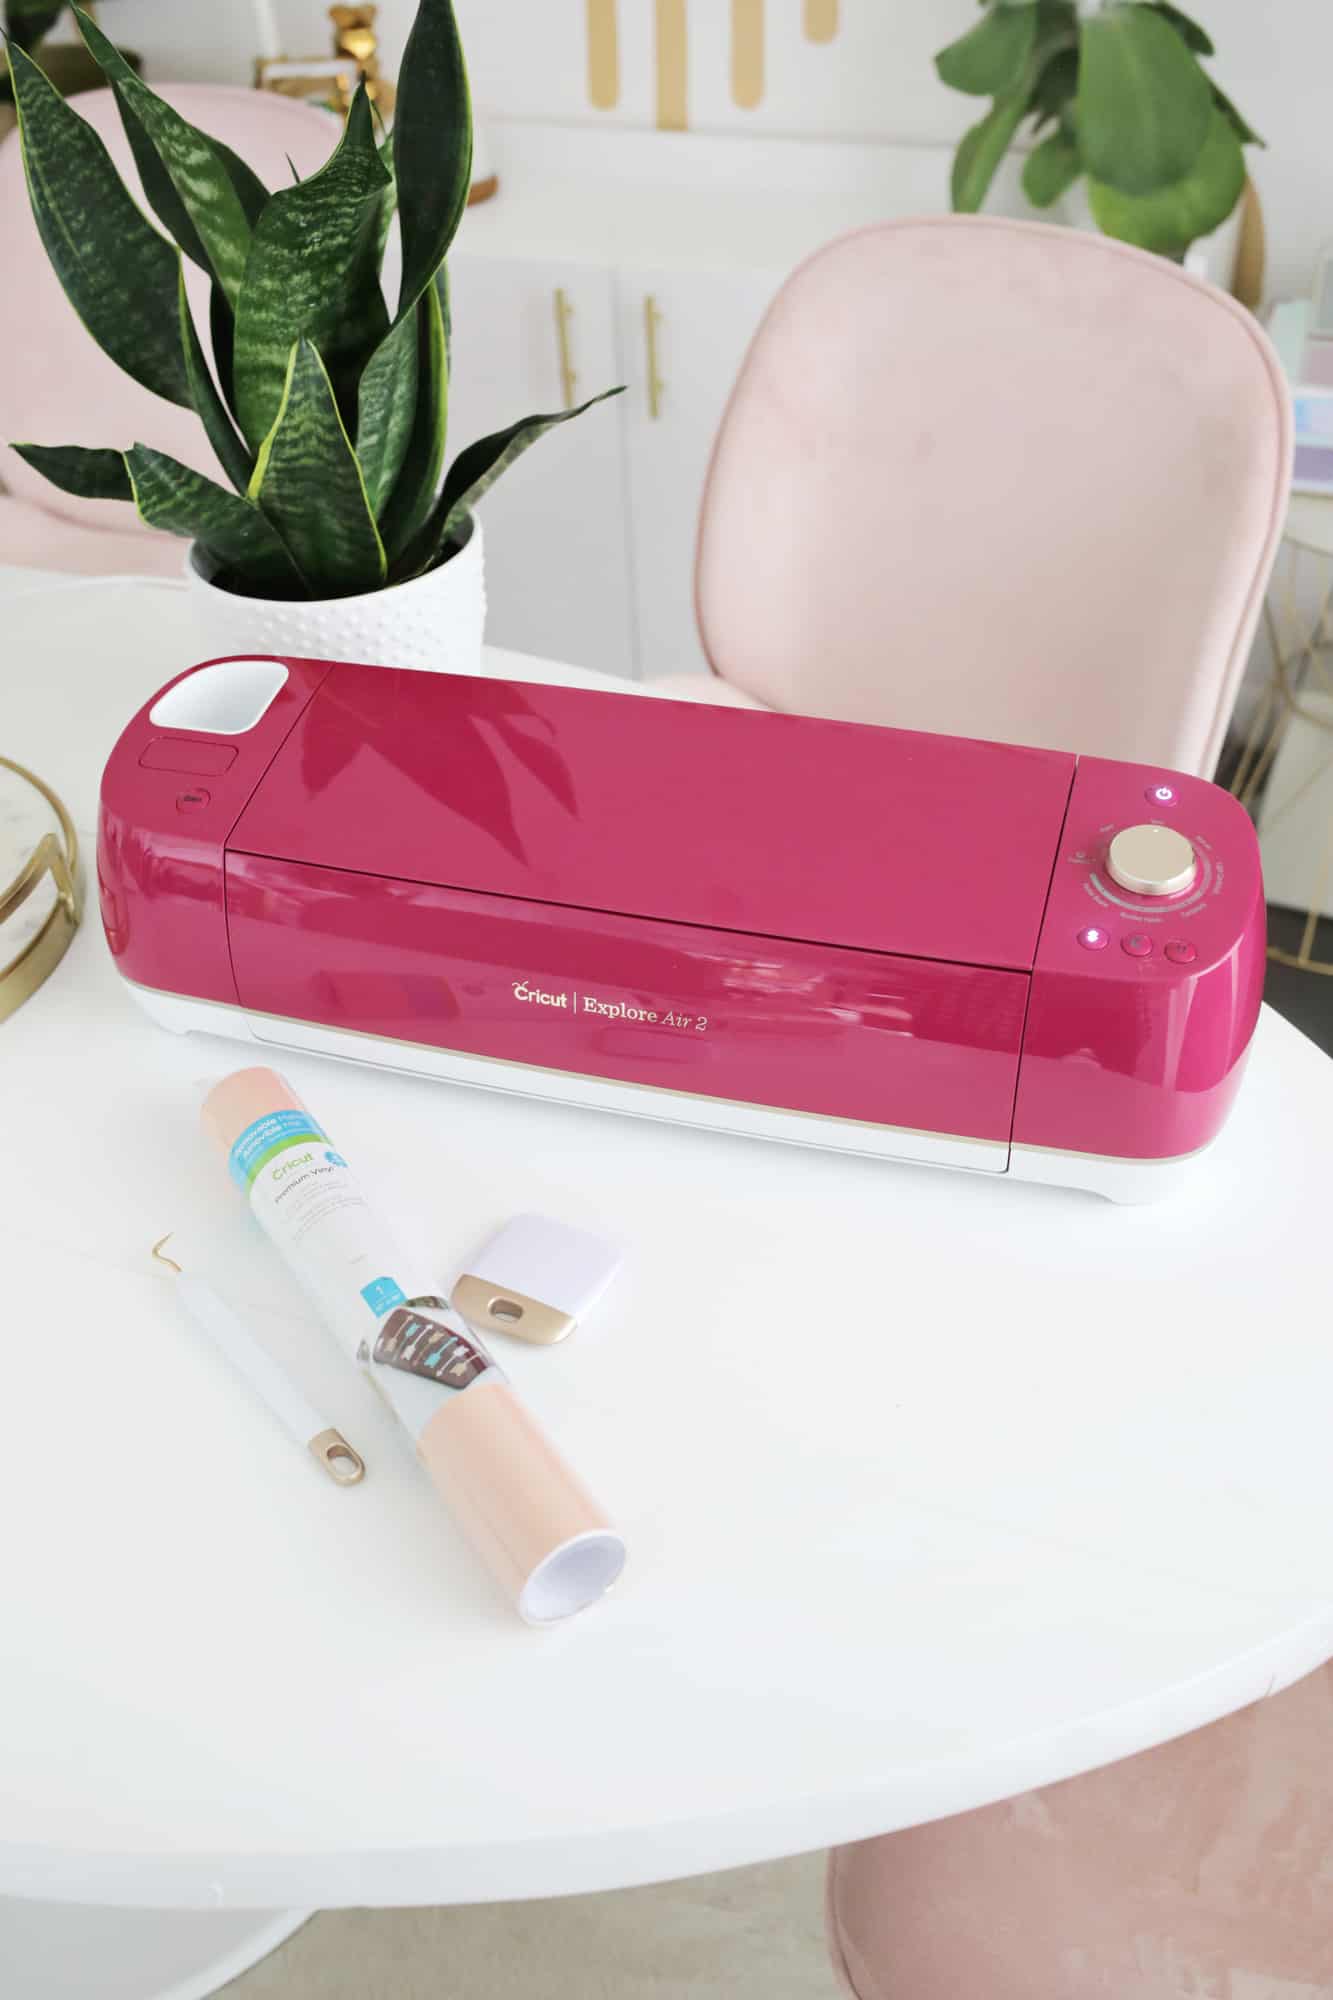
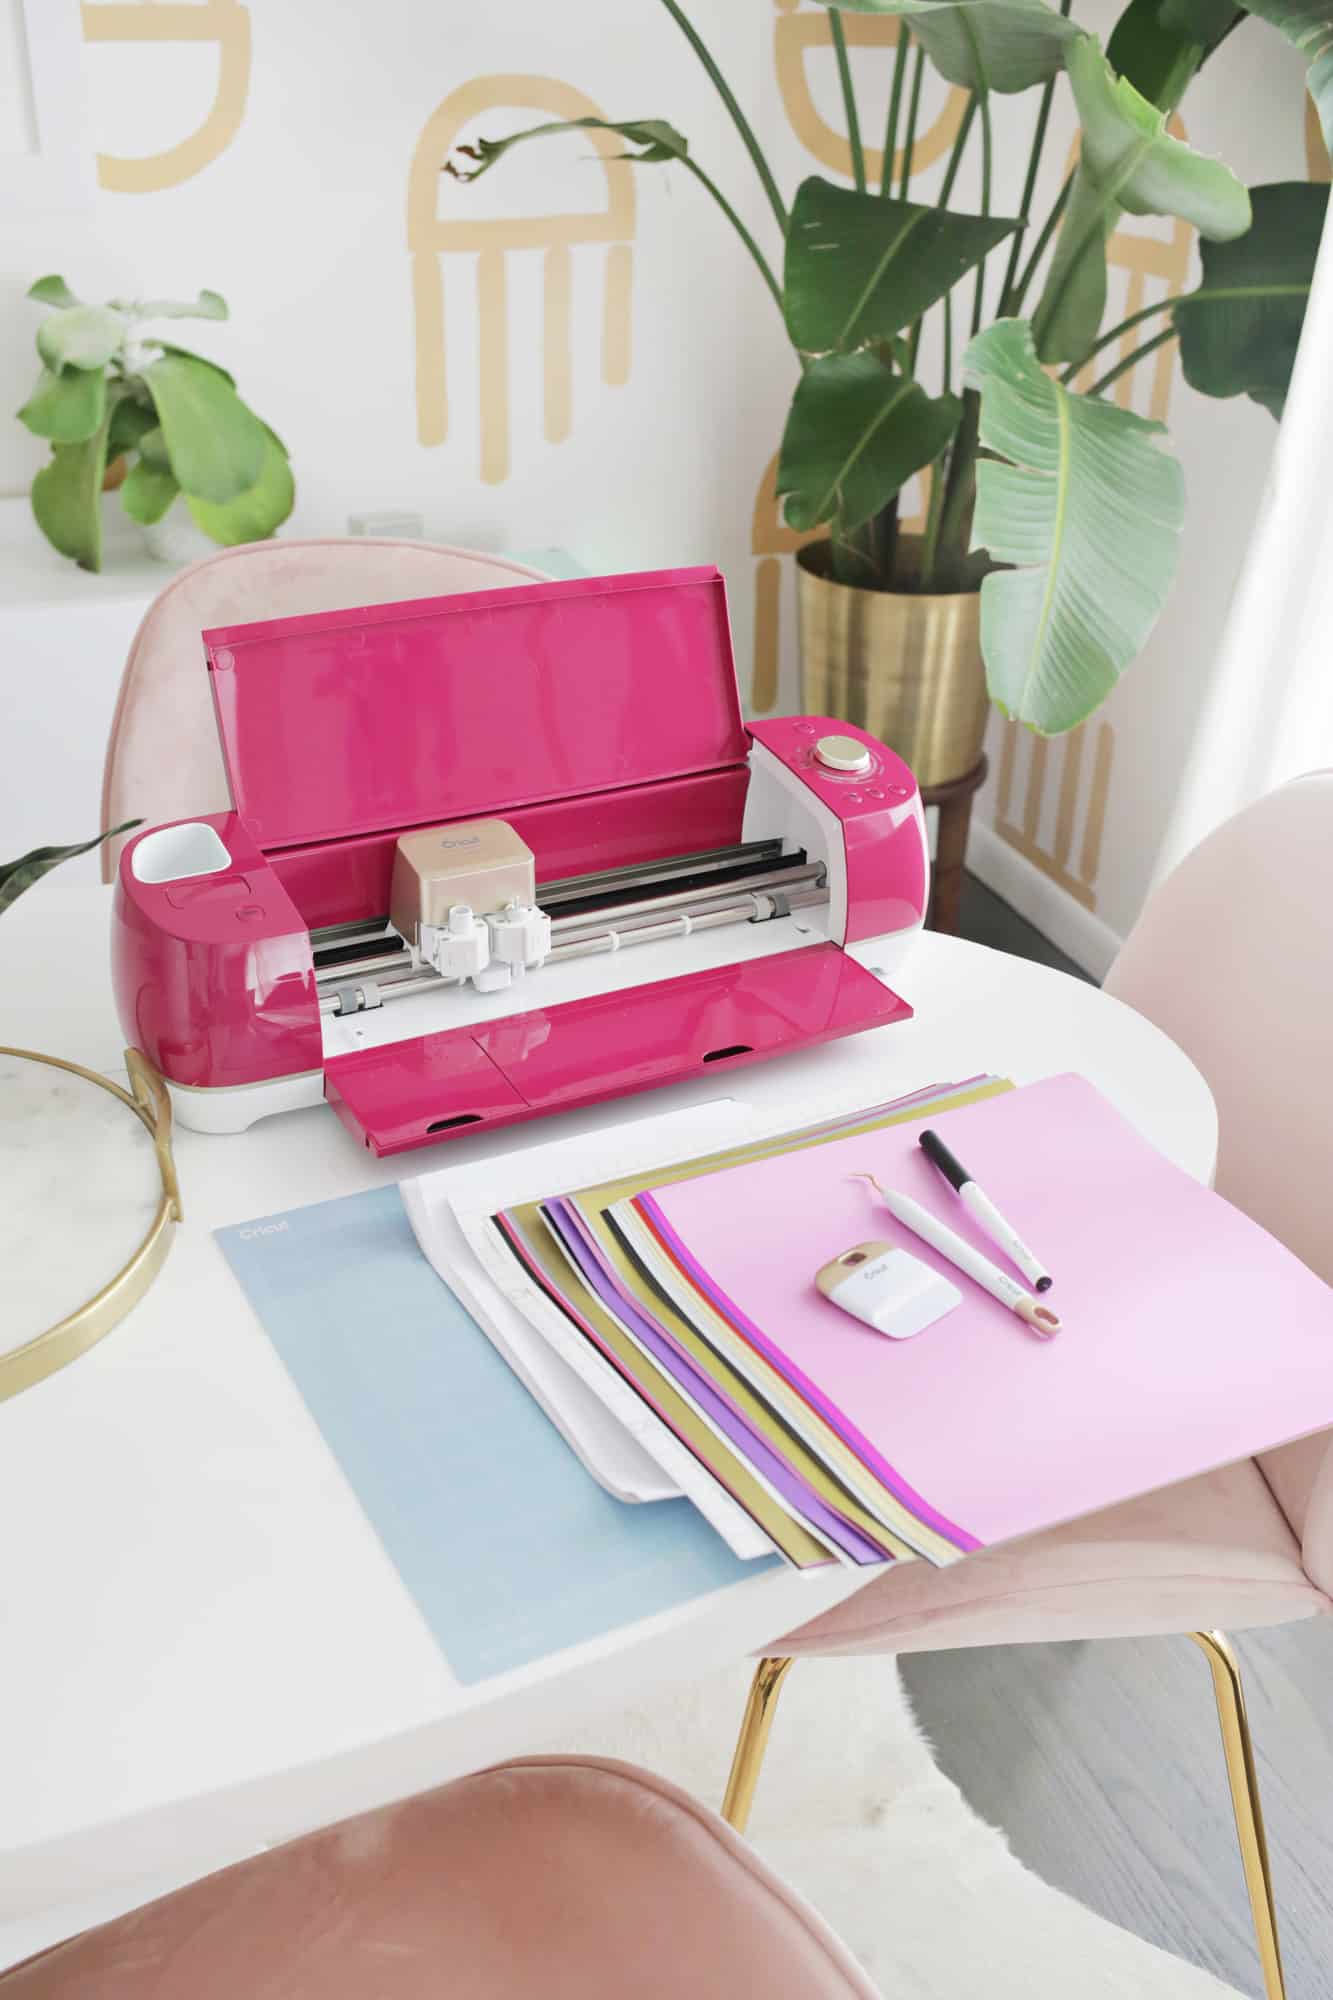 I used the Cricut Wild Rose bundle exclusively at JOANN for this project and they send you everything you need to get started on just about any craft project you could have in mind with over 40 different vinyl options as well. The bundle includes the Cricut Explore Air 2, which can cut over 100 materials including speciality papers.
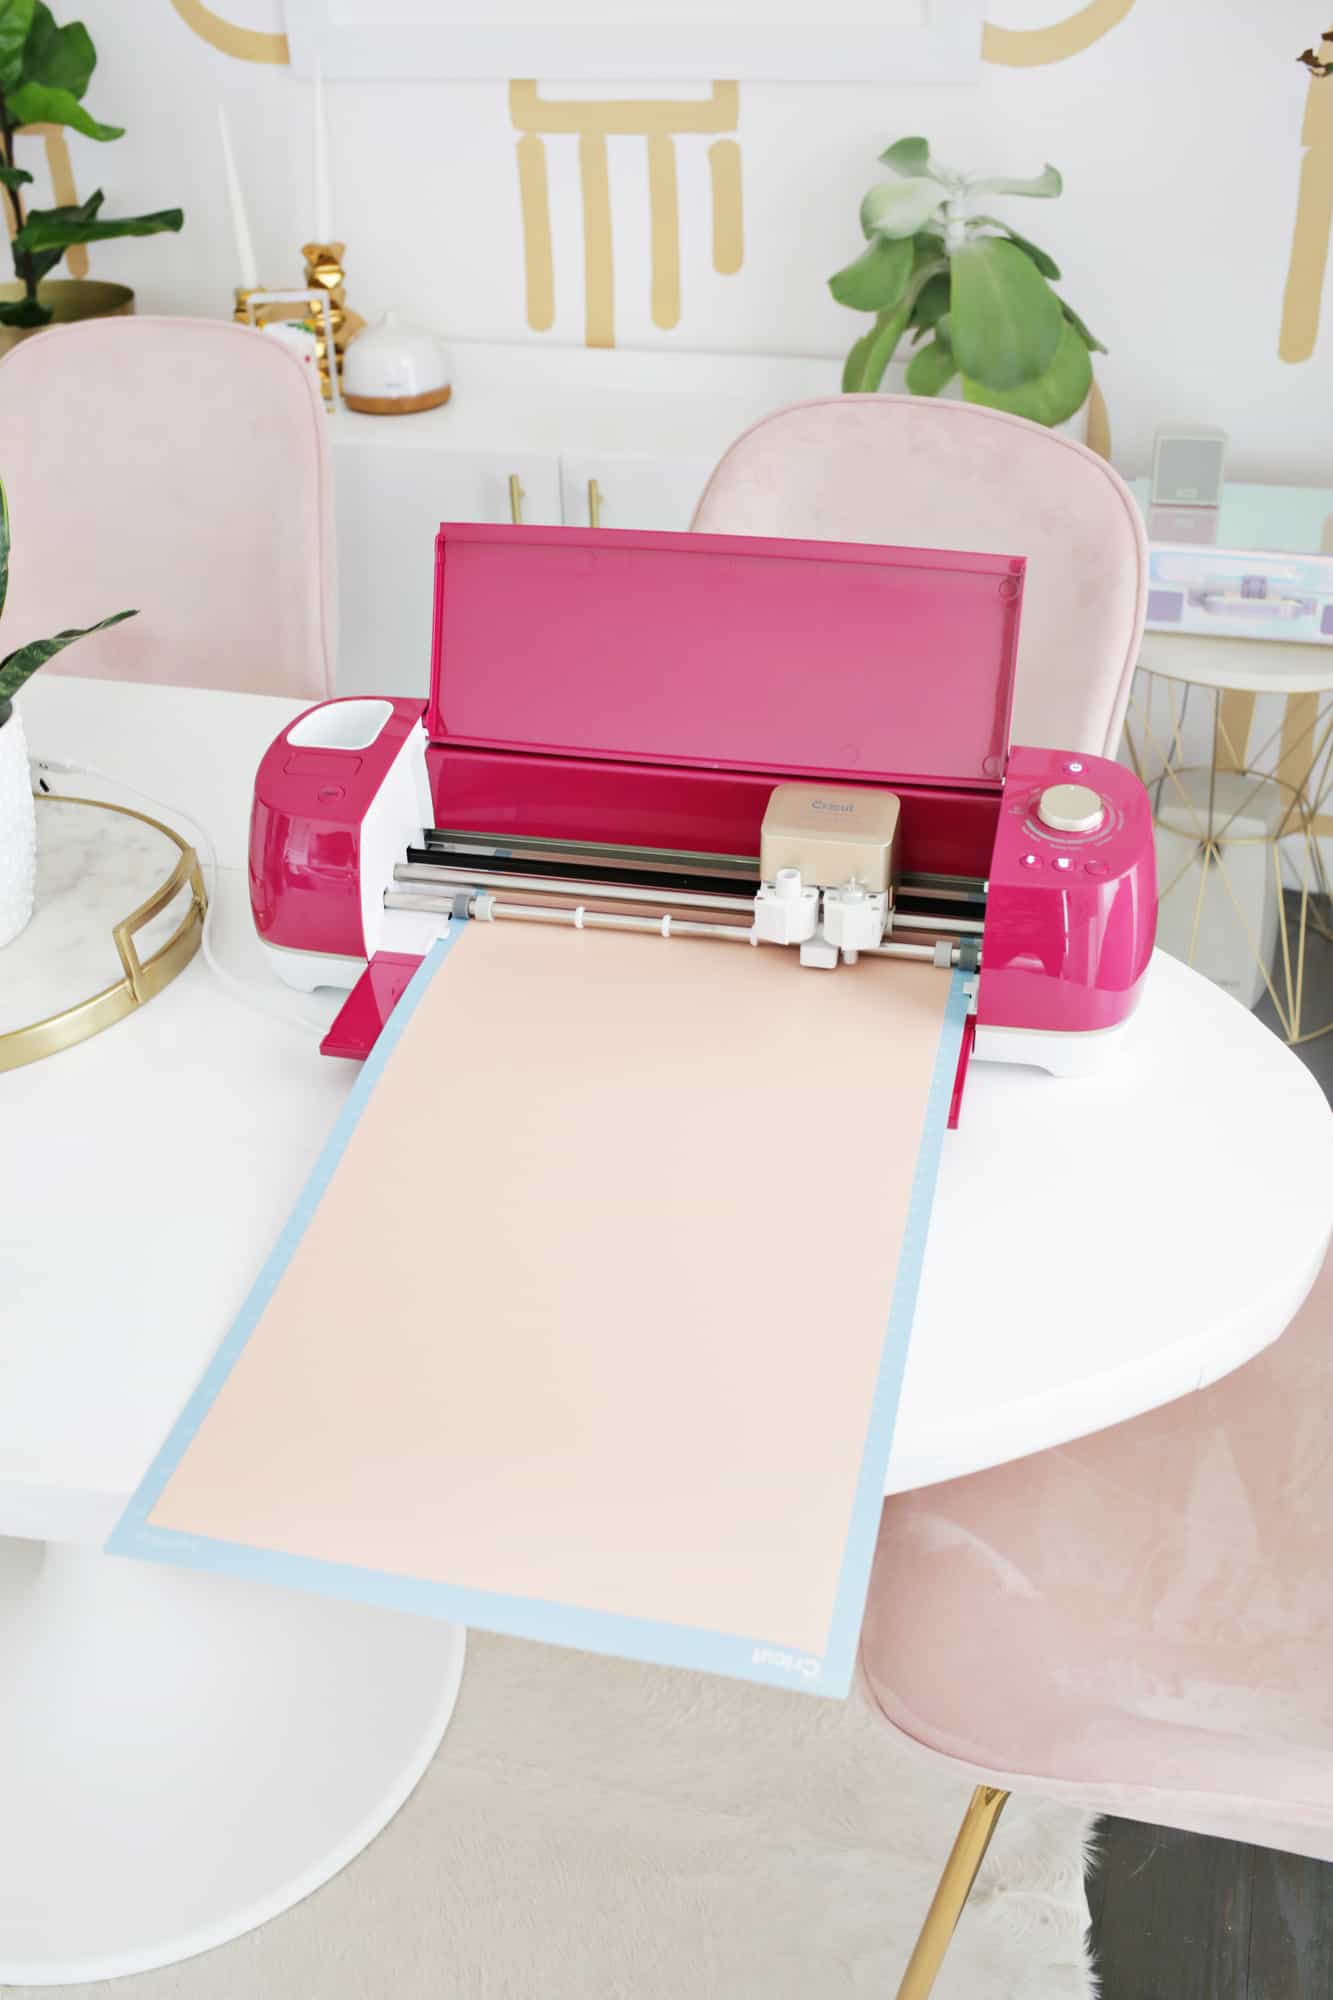
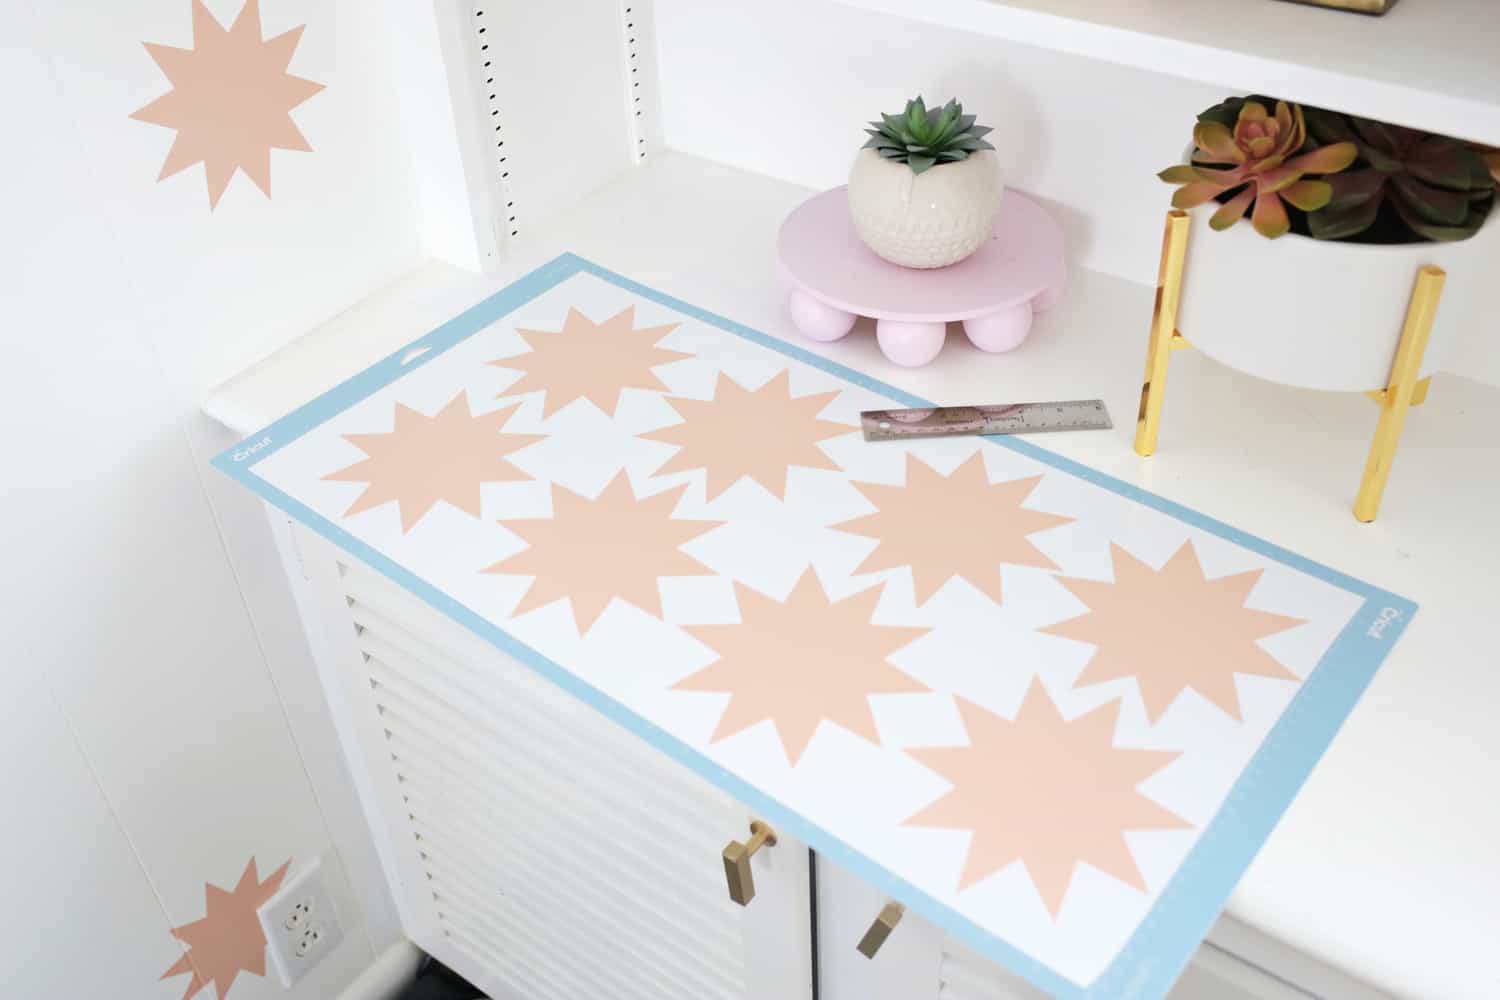 First, I created this star shape in Photoshop and then downloaded it into the Cricut Design Studio to size it for the Cricut to cut. You can use this star template for a normal 12″ x 12″ mat (one comes with the bundle already), but since I had a lot of shapes I got an additional 12″ x 24″ mat and used this template so I could cut out double the amount at once.
Once I had my design set up, it was merely a matter of pressing a few buttons and my decals were cut! You could use the transfer tape that comes with the Cricut bundle to transfer each star to your wall, but I thought it would go faster if I just treated the decals like stickers, peeling them off the backing as I went, and that worked out just fine. I peeled off the negative space around the decals first, leaving just the stars, and that made them a lot easier to peel off as well. I would print a page, apply a page, print a page, apply a page back and forth until the job was done.
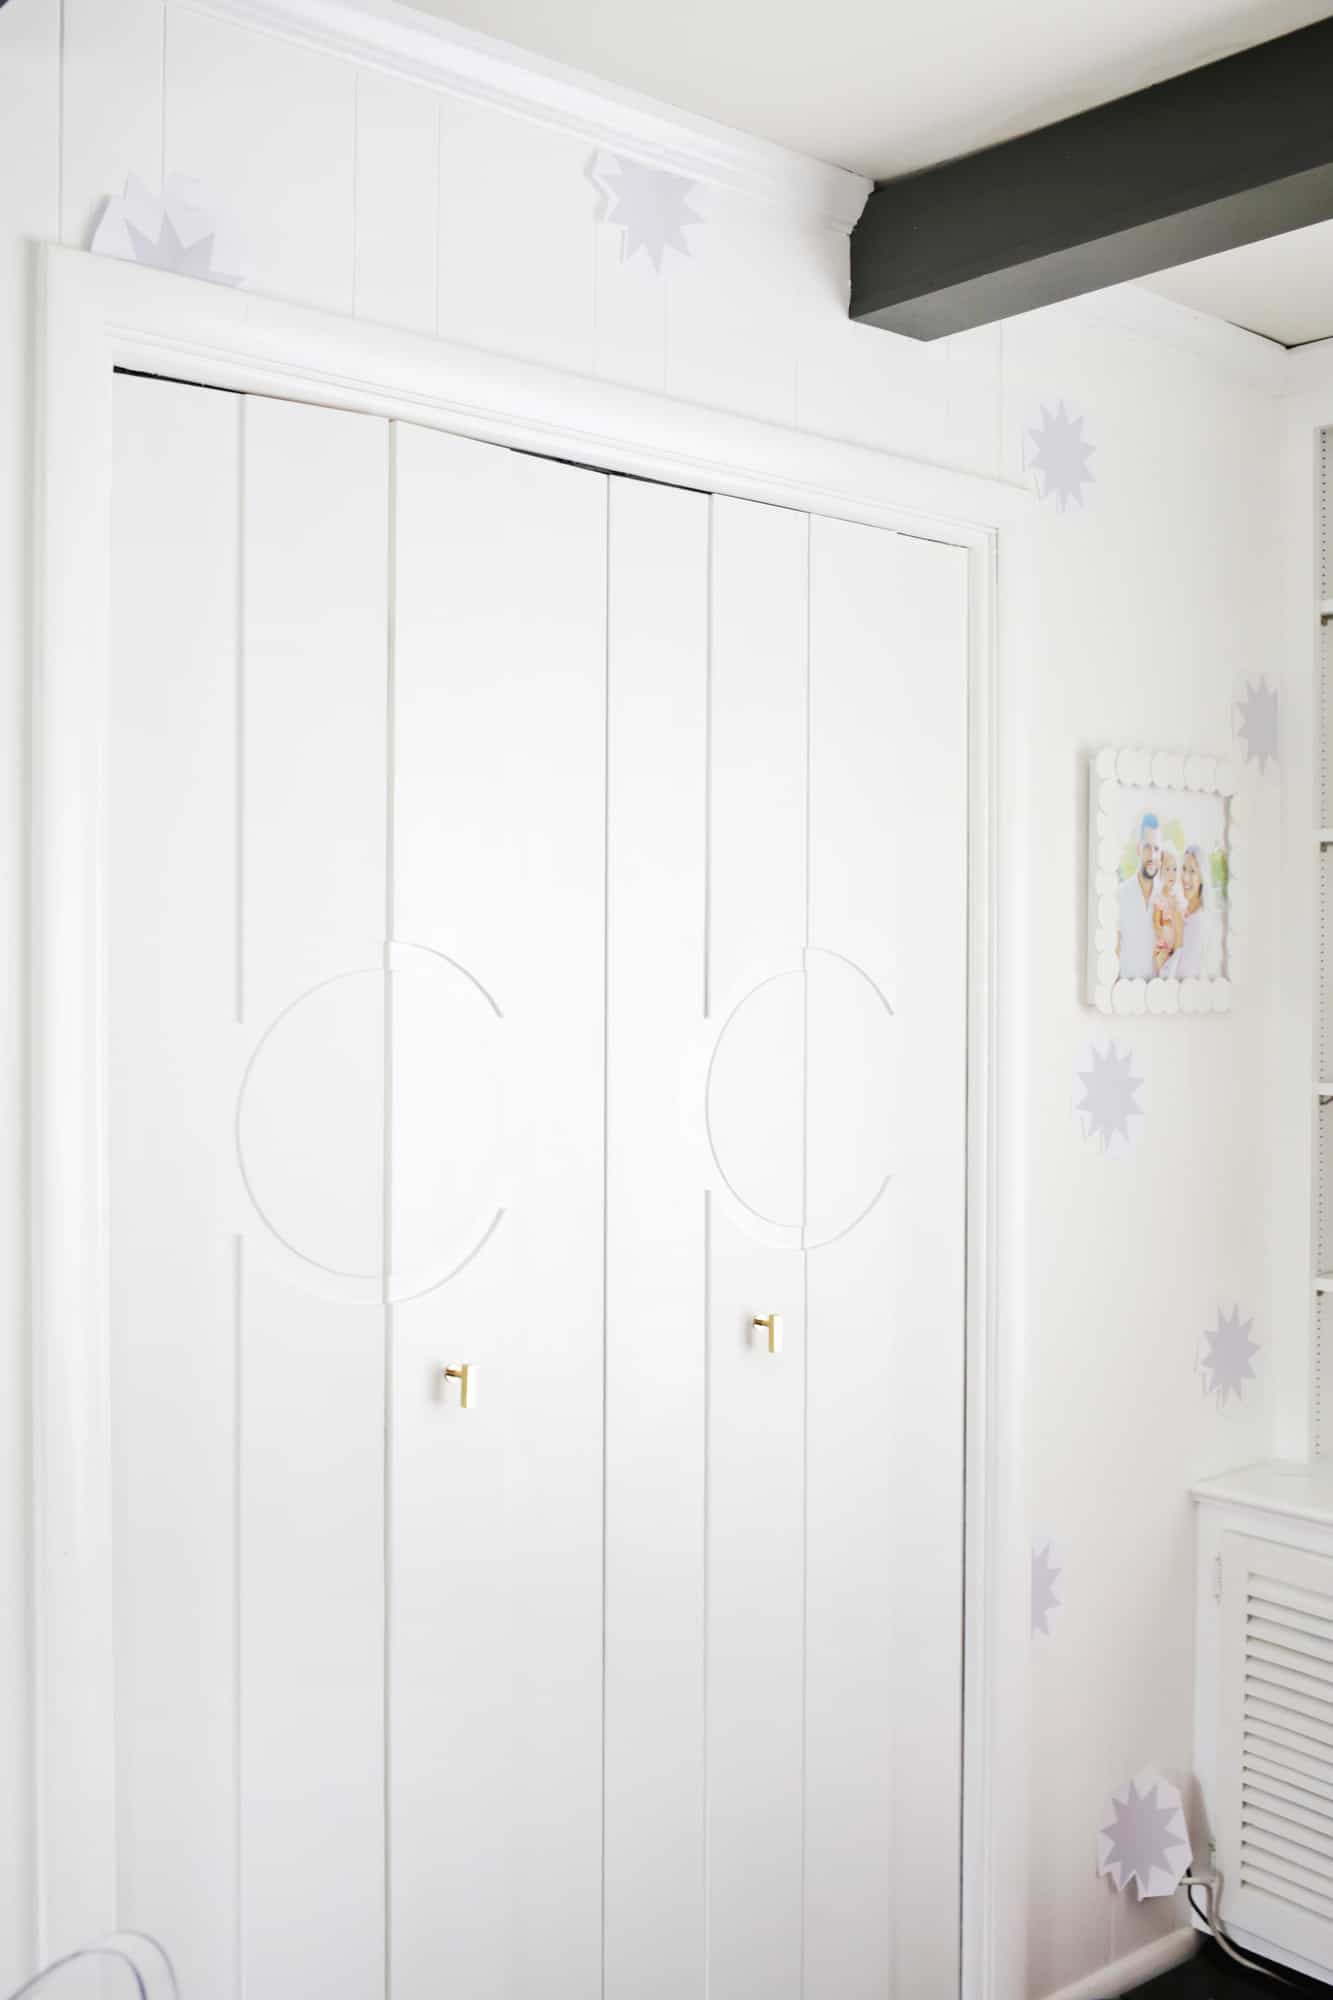
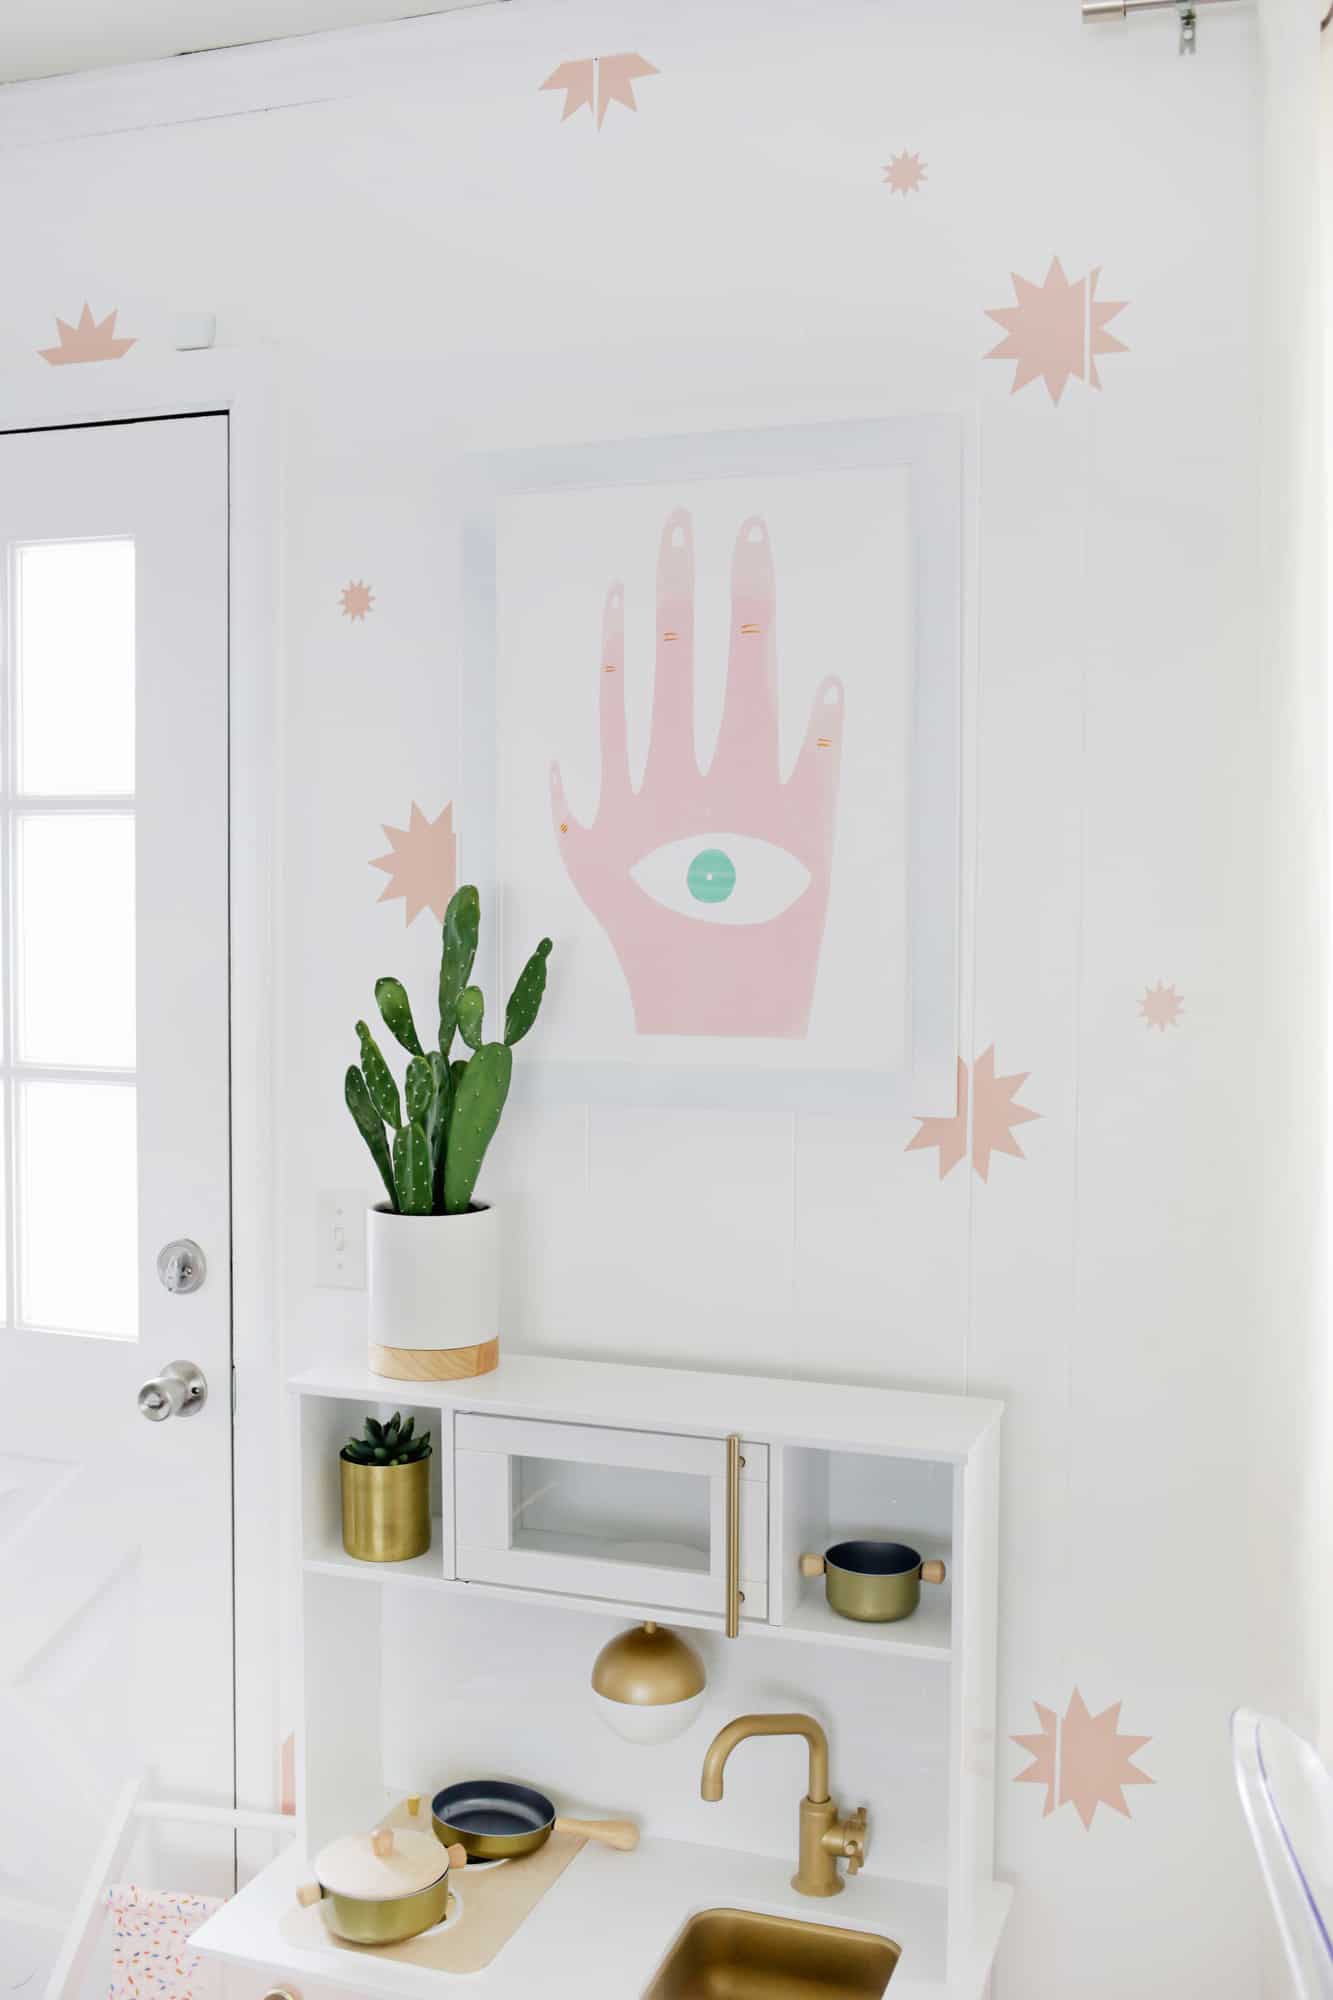
 You can totally go rogue on this and just start sticking decals wherever you like, but my brain needs to make sure it’s all balanced first. So I printed out some of the stars at actual size and taped them to the wall first so I could map out where I wanted each star to go. It didn’t take that much longer to do this step, but it really helped them all look balanced and spaced evenly apart. Once you have your spots mapped out, you can start peeling off your decals and sticking them to the wall! You’ll notice that I also cut some decals so it looks like the pattern goes all the way up to the edges of the walls and door frames, and I think that extra step makes it look a lot more like wallpaper so I would recommend that too (you can use an X-Acto knife and ruler to lightly cut the decal where you want before peeling it up).
I have a more unique issue of having ’60s paneled walls in that room, so I did have to cut a small section out of certain stars to account for that paneling groove. If you have “regular” flat walls, you won’t have to do that. I originally tried to just push the decal into the groove, but it would pop back out and wouldn’t lay smooth until I just cut that section out.
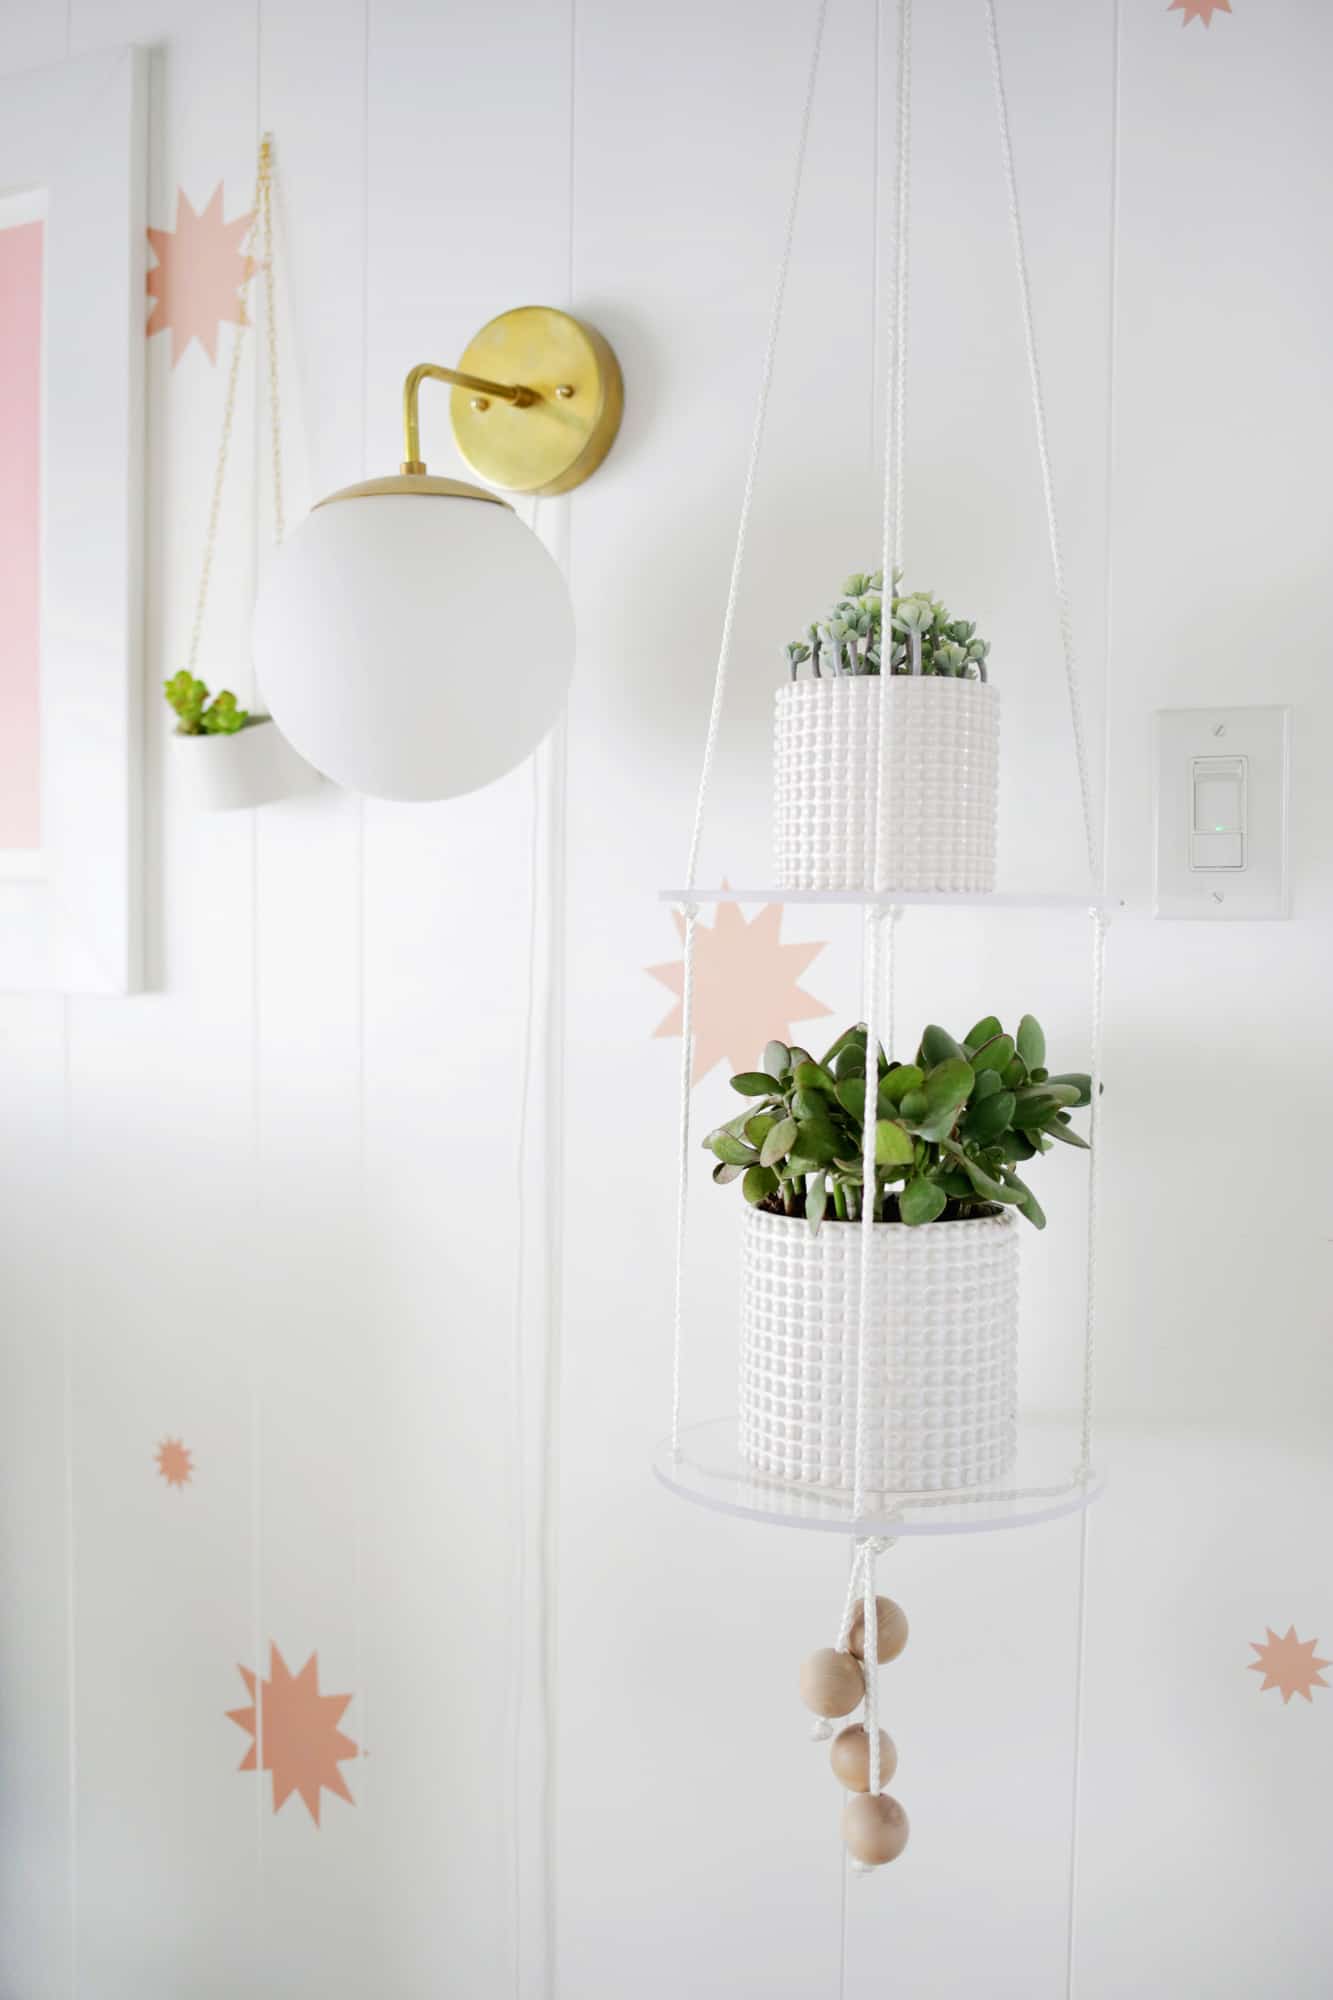
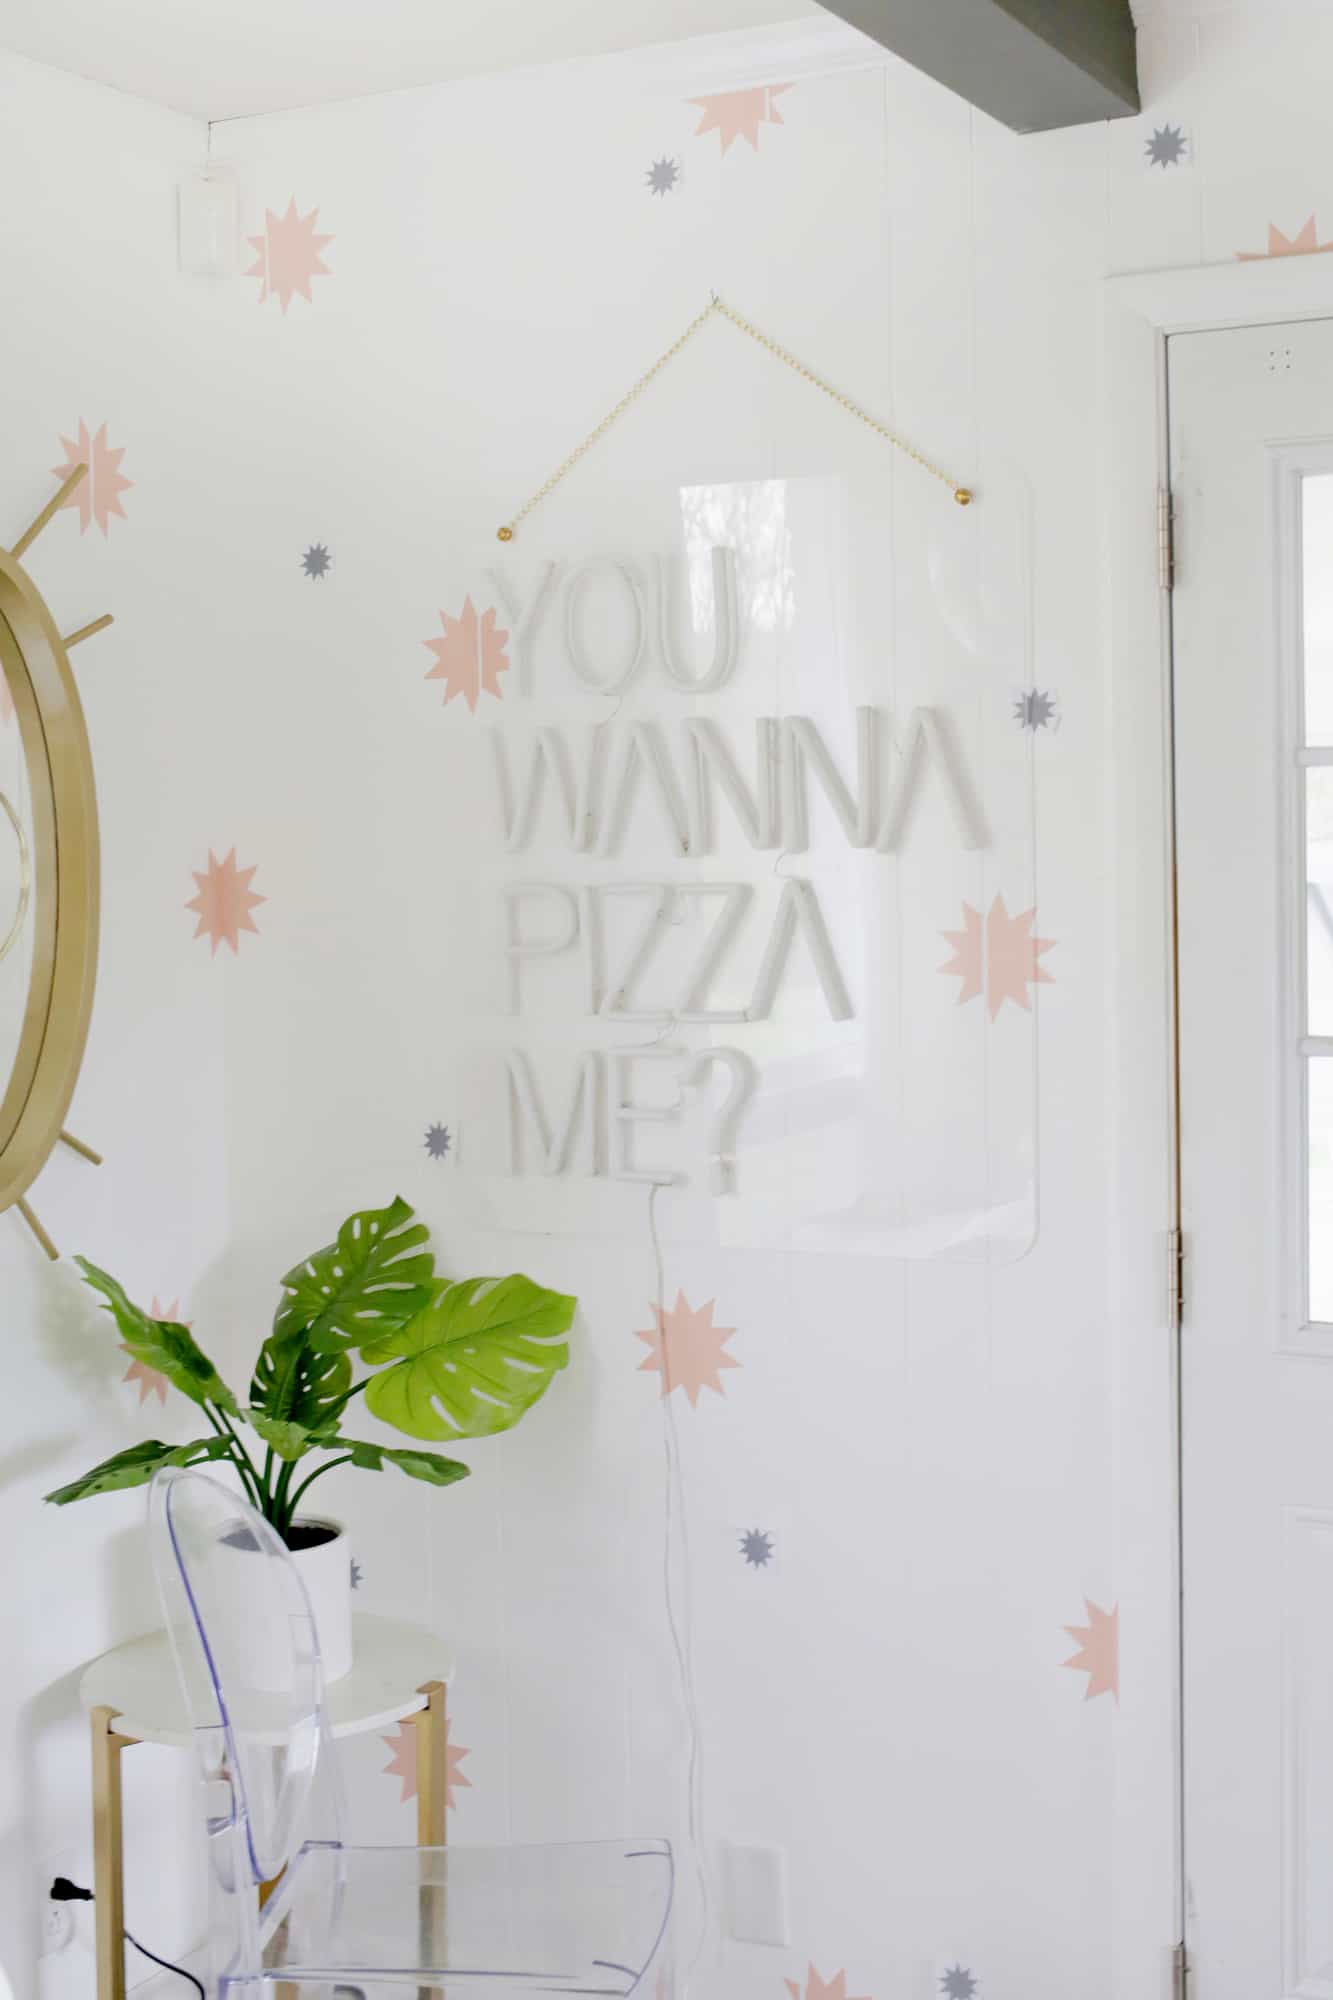 Once I had all the big stars on the wall, I set up my Cricut to cut the small stars (here’s the little star template for a 12″x12″ mat and one for the longer 12″x 24″ mat) and repeated the process of moving around some little mock up stars printed on regular paper to determine the spacing. Once I added my little stars onto the wall, my wallpaper was complete!

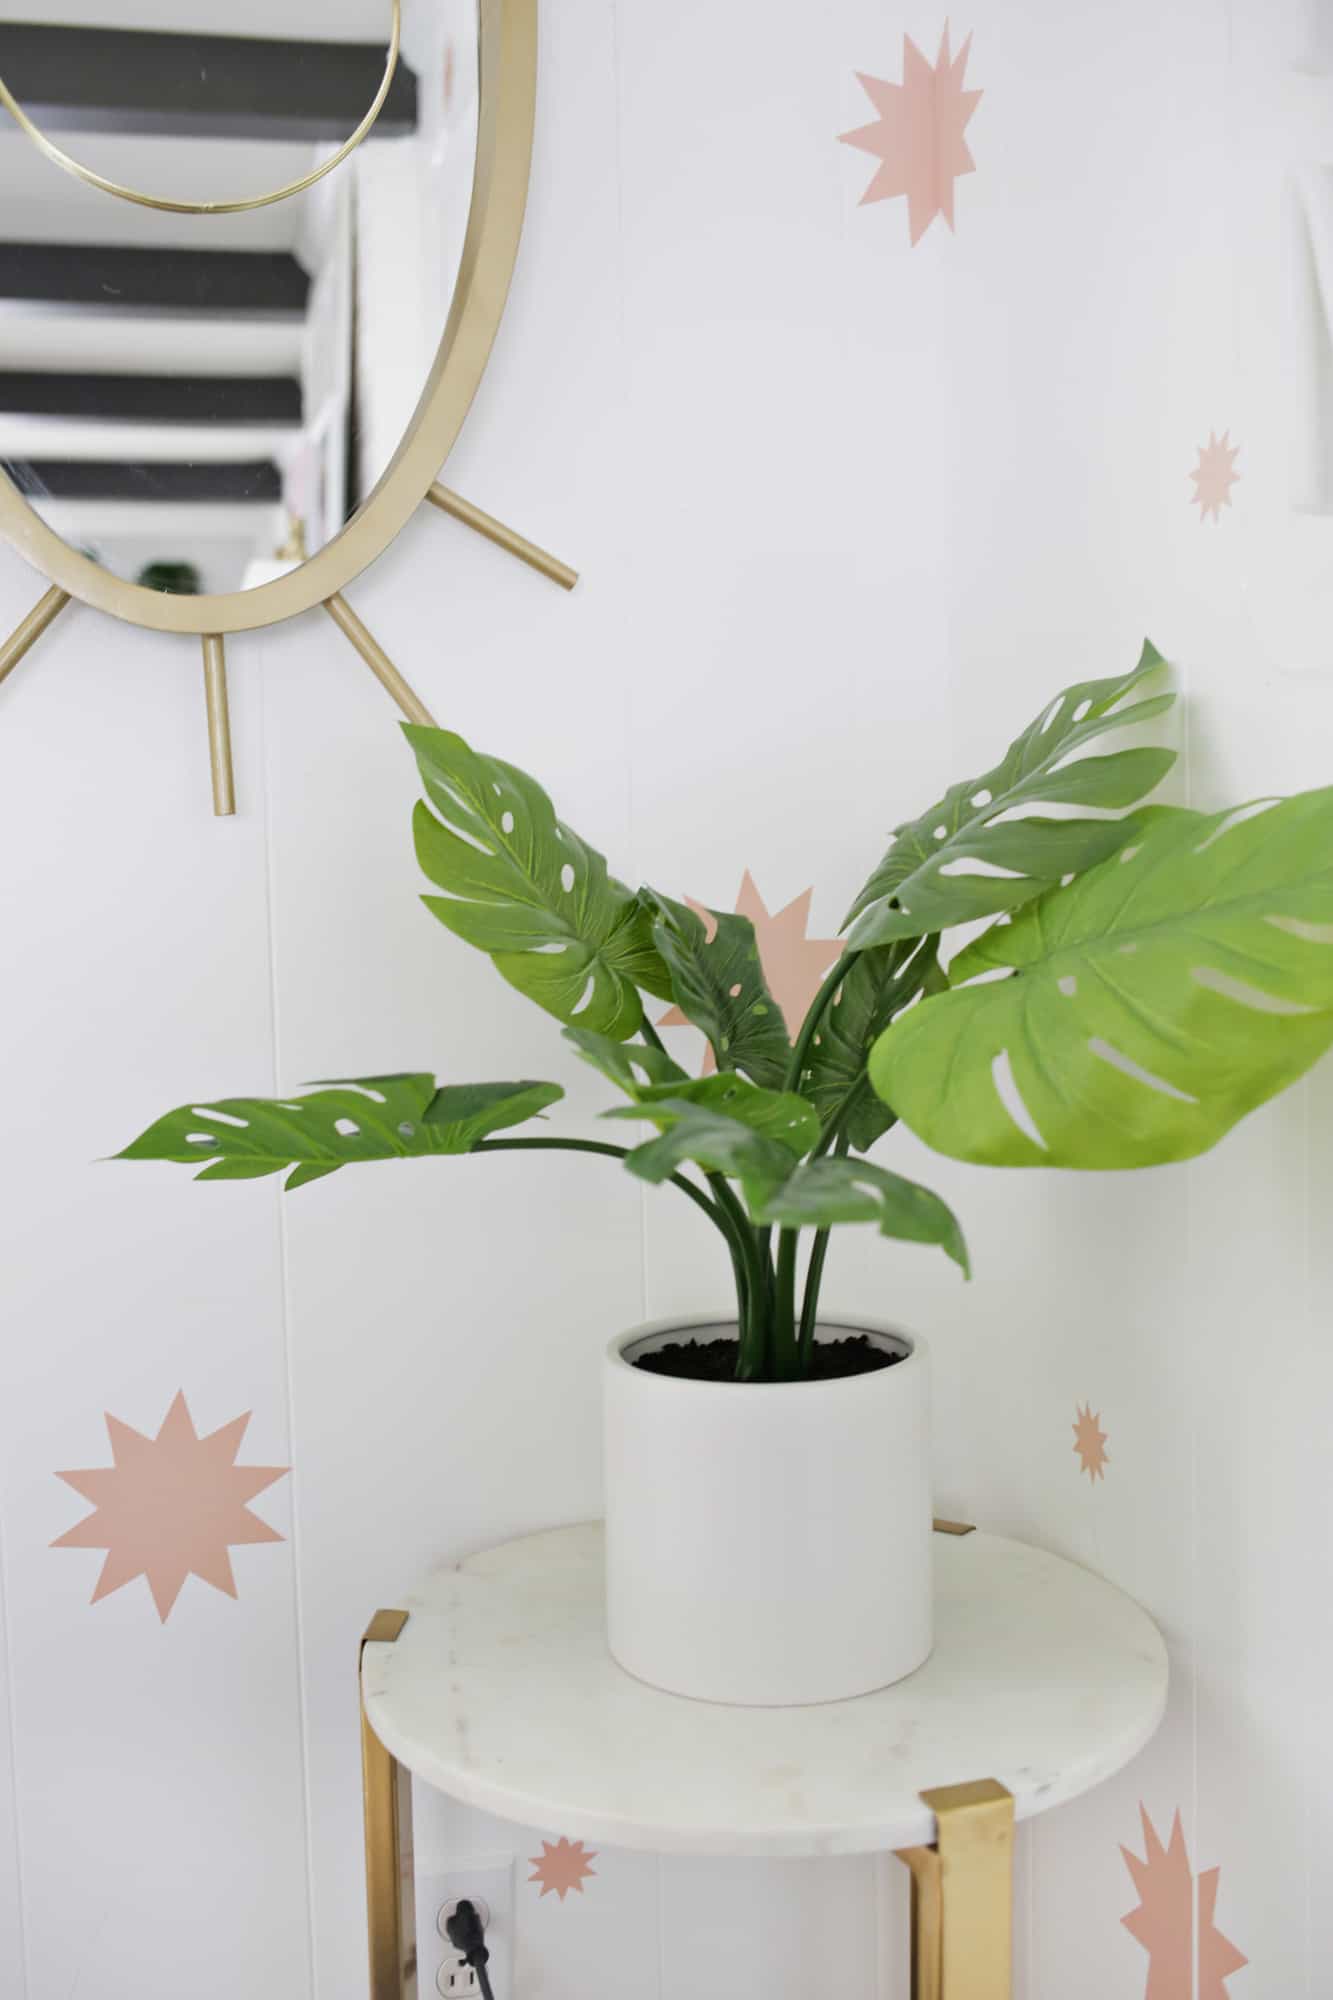
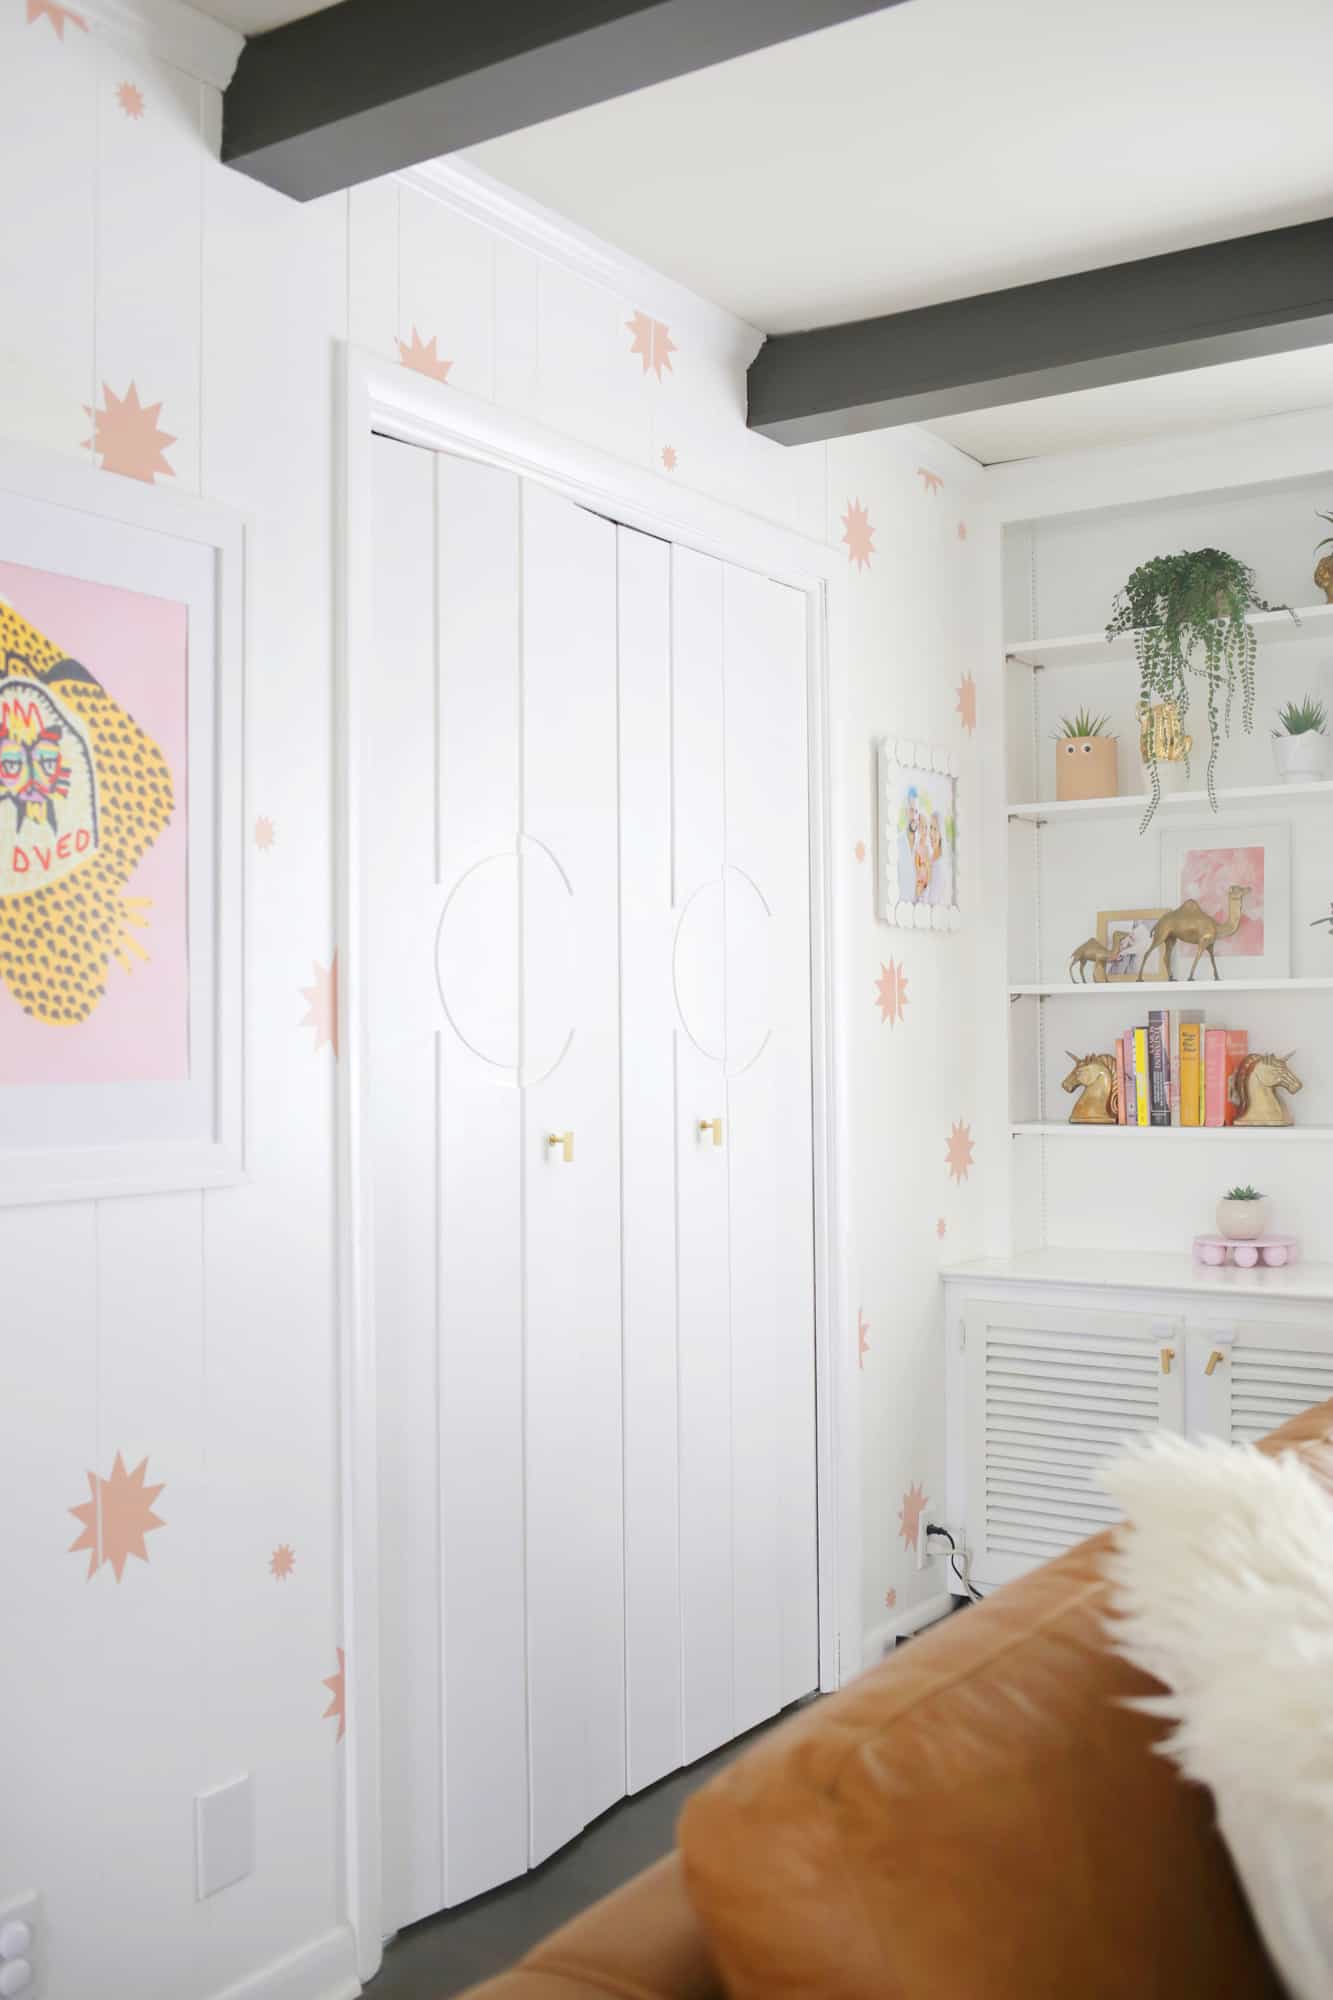

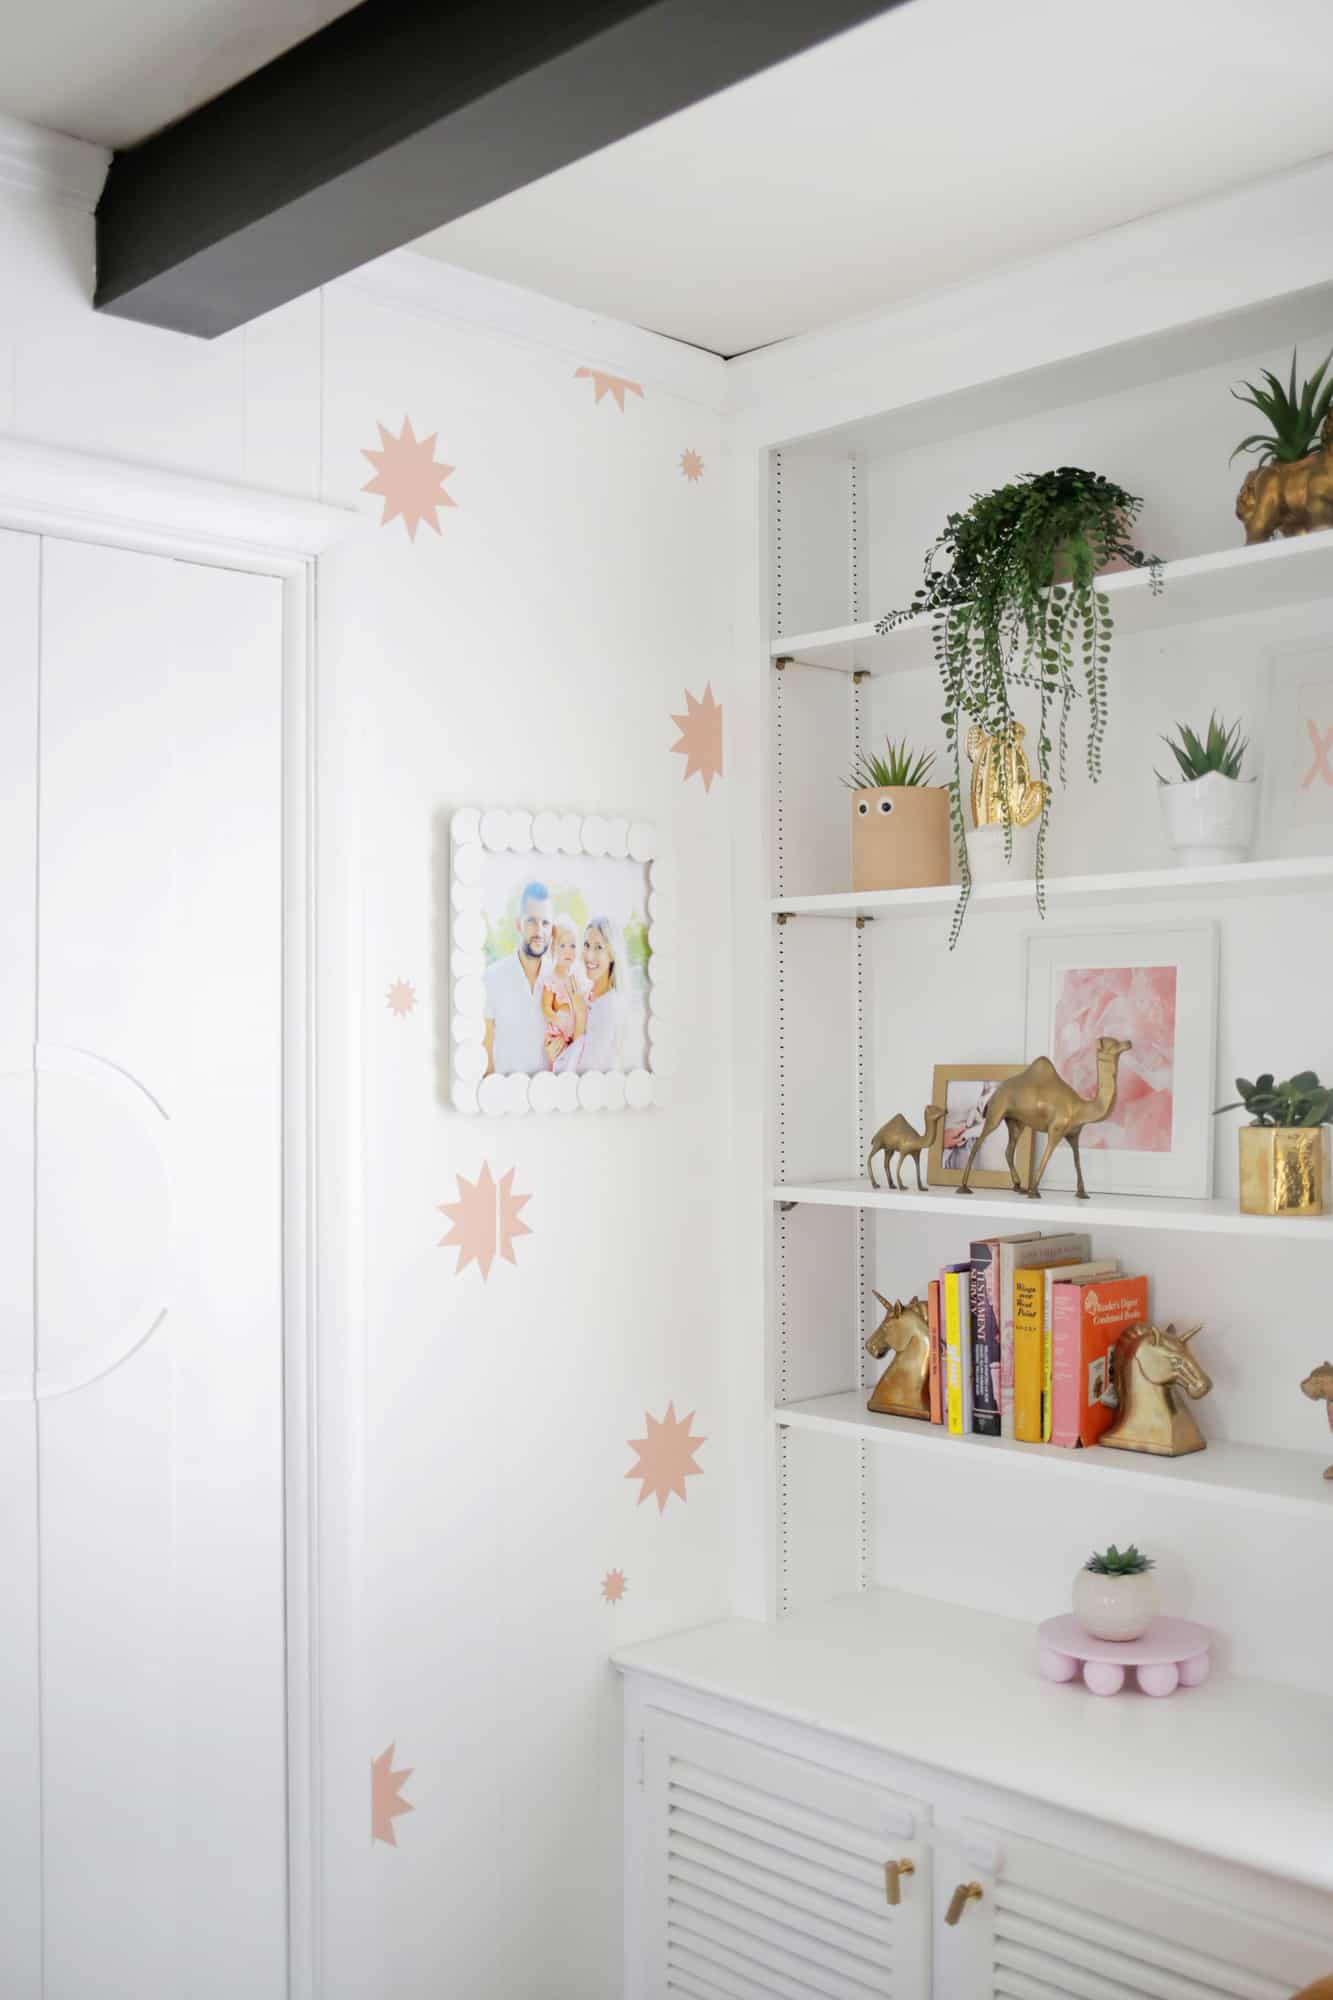 I. Love. My. Walls! I mean, if I was shooting for a little more personality in this space, then I think I nailed it, as that’s exactly what I got. I love that I was able to dream up the exact design I wanted and make it all happen so quickly and the fact that I can eventually pull it all off when I need a change is a giant benefit as well. I can definitely see doing this method in other rooms around the house as well for future projects too. Hope this idea helps brighten up a room in your house as well! xo. Laura
12 Comments
Such a fun idea! And even better that removable!
xx from Bavaria/Germany, Rena
http://www.dressedwithsoul.com
Where’s the amazing print above the TV from?
It’s this one!
https://rstyle.me/+sfLRHRnhf-0cB_3JbXNiBw
Laura 🙂
Stunning. I love this idea.
All the best from Allwallpapers https://www.homewallmurals.co.uk
This reminds me of the glow-in-the-dark star stickers I used to have on my ceiling when I was a kid! So cute. 🙂
Charmaine Ng | Architecture & Lifestyle Blog
http://charmainenyw.com
I love the Mr. Rodgers reference on your letter board! ❤️
You got it!
Laura 🙂
This is so cute, I definitely need to include some of these in my apartment! Thanks for sharing, hope you are having a wonderful day.
-Kate
https://daysofkate.com
SO good Laura!!! Love it!
Hi! You likely answered this question elsewhere, but where is your pizza neon sign from?
It’s from Electric Confetti 🙂
Where is the Loved print from?? I love it!! 🙂