 Having a new baby means that we are learning about Iots of new things lately and one of them is tummy time! We’ve quickly realized that blankets and play mats are necessary to have nearby to allow our little Lola to hang out near us while she works on strengthening her muscles (or just lounge around playing with a toy). It’s also a good idea to have a few of them around so you can keep them in different locations around the house, not to mention that there will always be at least one or two in the laundry. They are also nice to keep one at a location you go to a lot (like visiting Grandma!), since they don’t take up much storage space. There are lots of different shapes and sizes for these but lately I’ve been loving the round mats and play gyms, so I thought it’d be fun to make a round one this time!
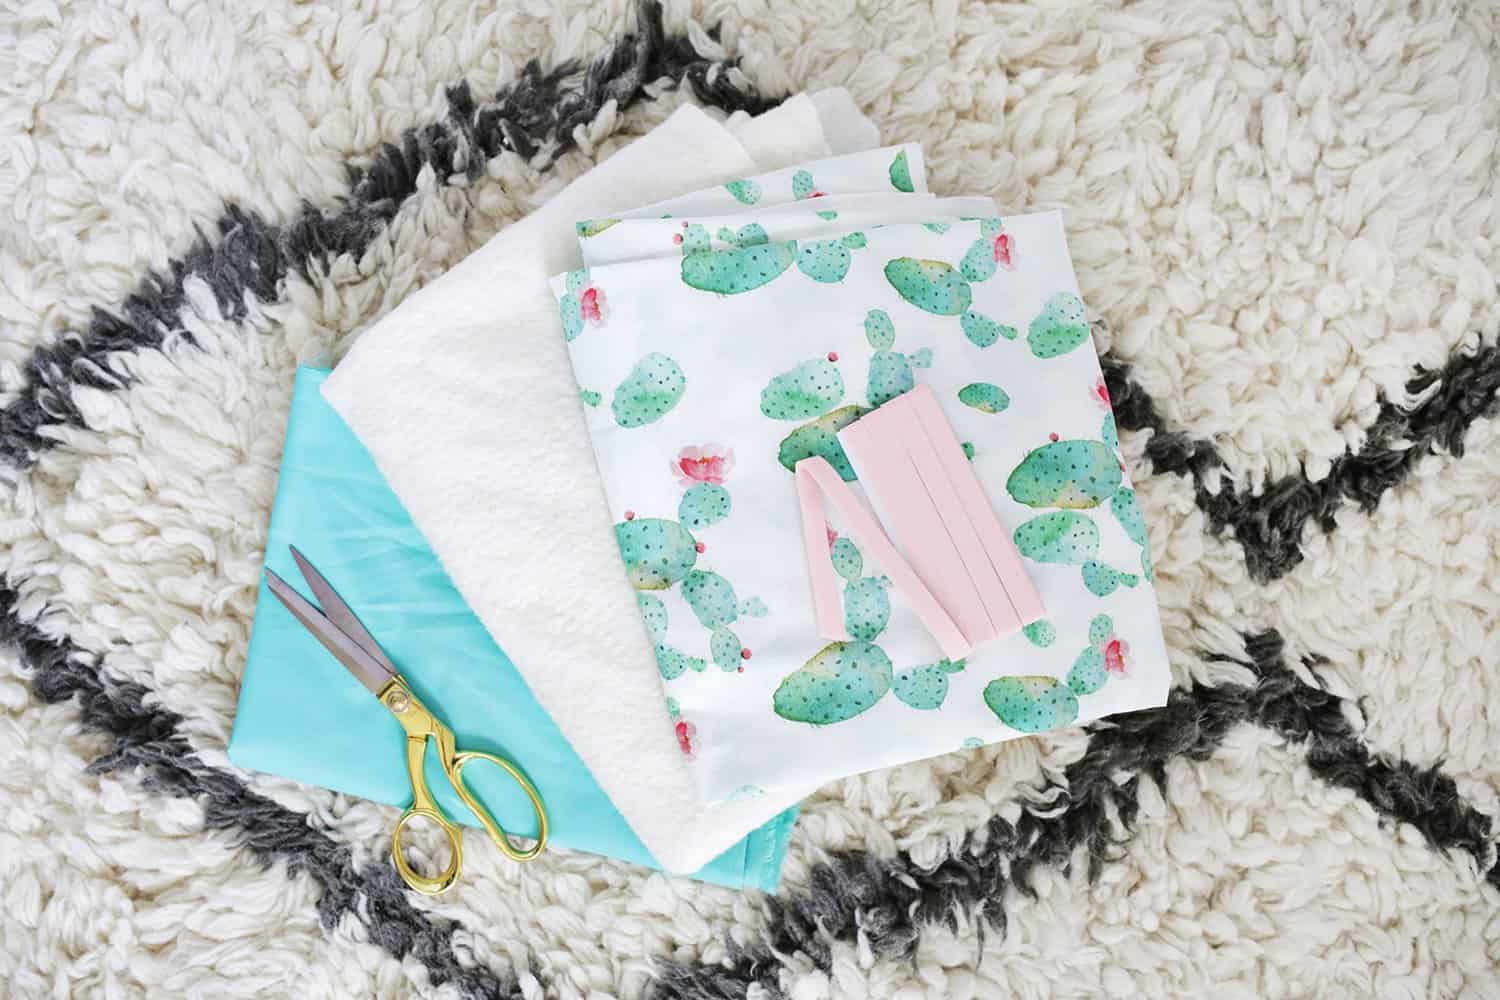 Supplies:
– 1 yard of printed cotton fabric for your top layer (I used this print)
– 1 yard of solid cotton fabric for your bottom layer
– 1 yard of cotton batting for your middle
– 3 yards of double fold bias tape
– sewing machine and straight pins
– parchment paper
– fabric pen
– fabric scissors
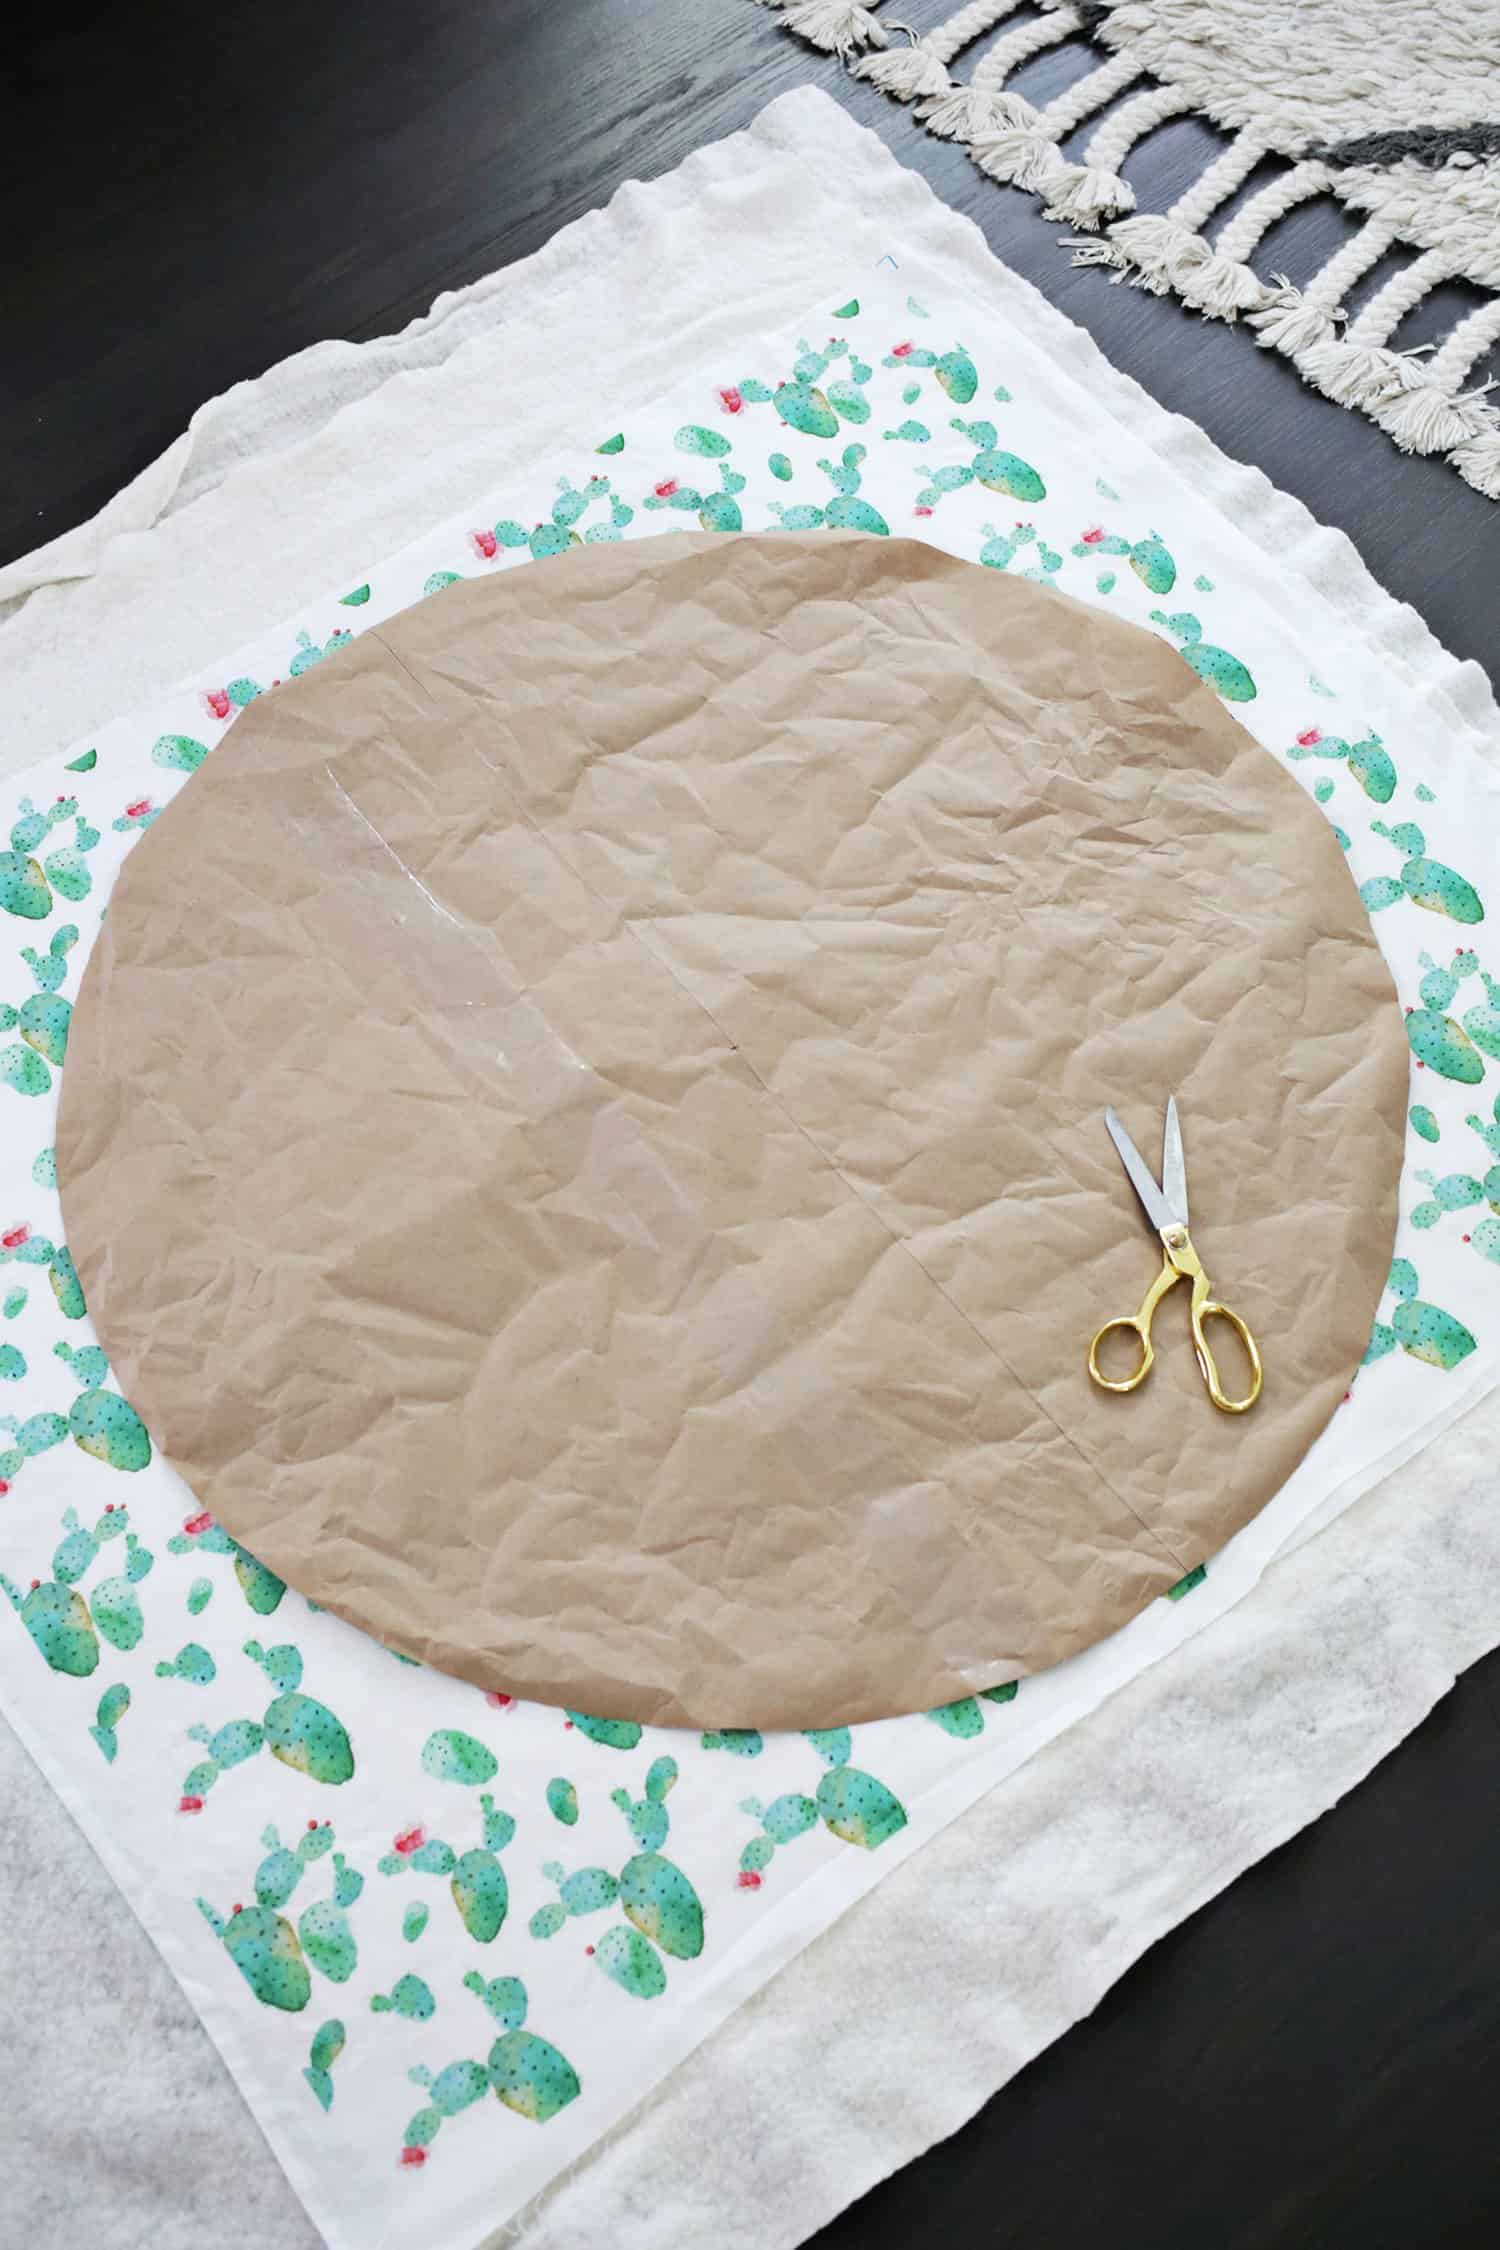 Lay out your material so that your bottom layer, cotton batting, and top layer are all stacked on top of each other and smoothed out carefully so that there are no large wrinkles. I would suggest washing all your fabric and batting before sewing so that if any of them are going to shrink a little, they do it before you sew them together. You can also do two layers of batting if you want to make it more plush, but you’ll probably want to try out a walking foot for your machine so it doesn’t bunch up on you. Use your parchment paper to make a 34″ wide circle template (I use the folded quarters method to make large circles). Place your circle template on top of your layers.
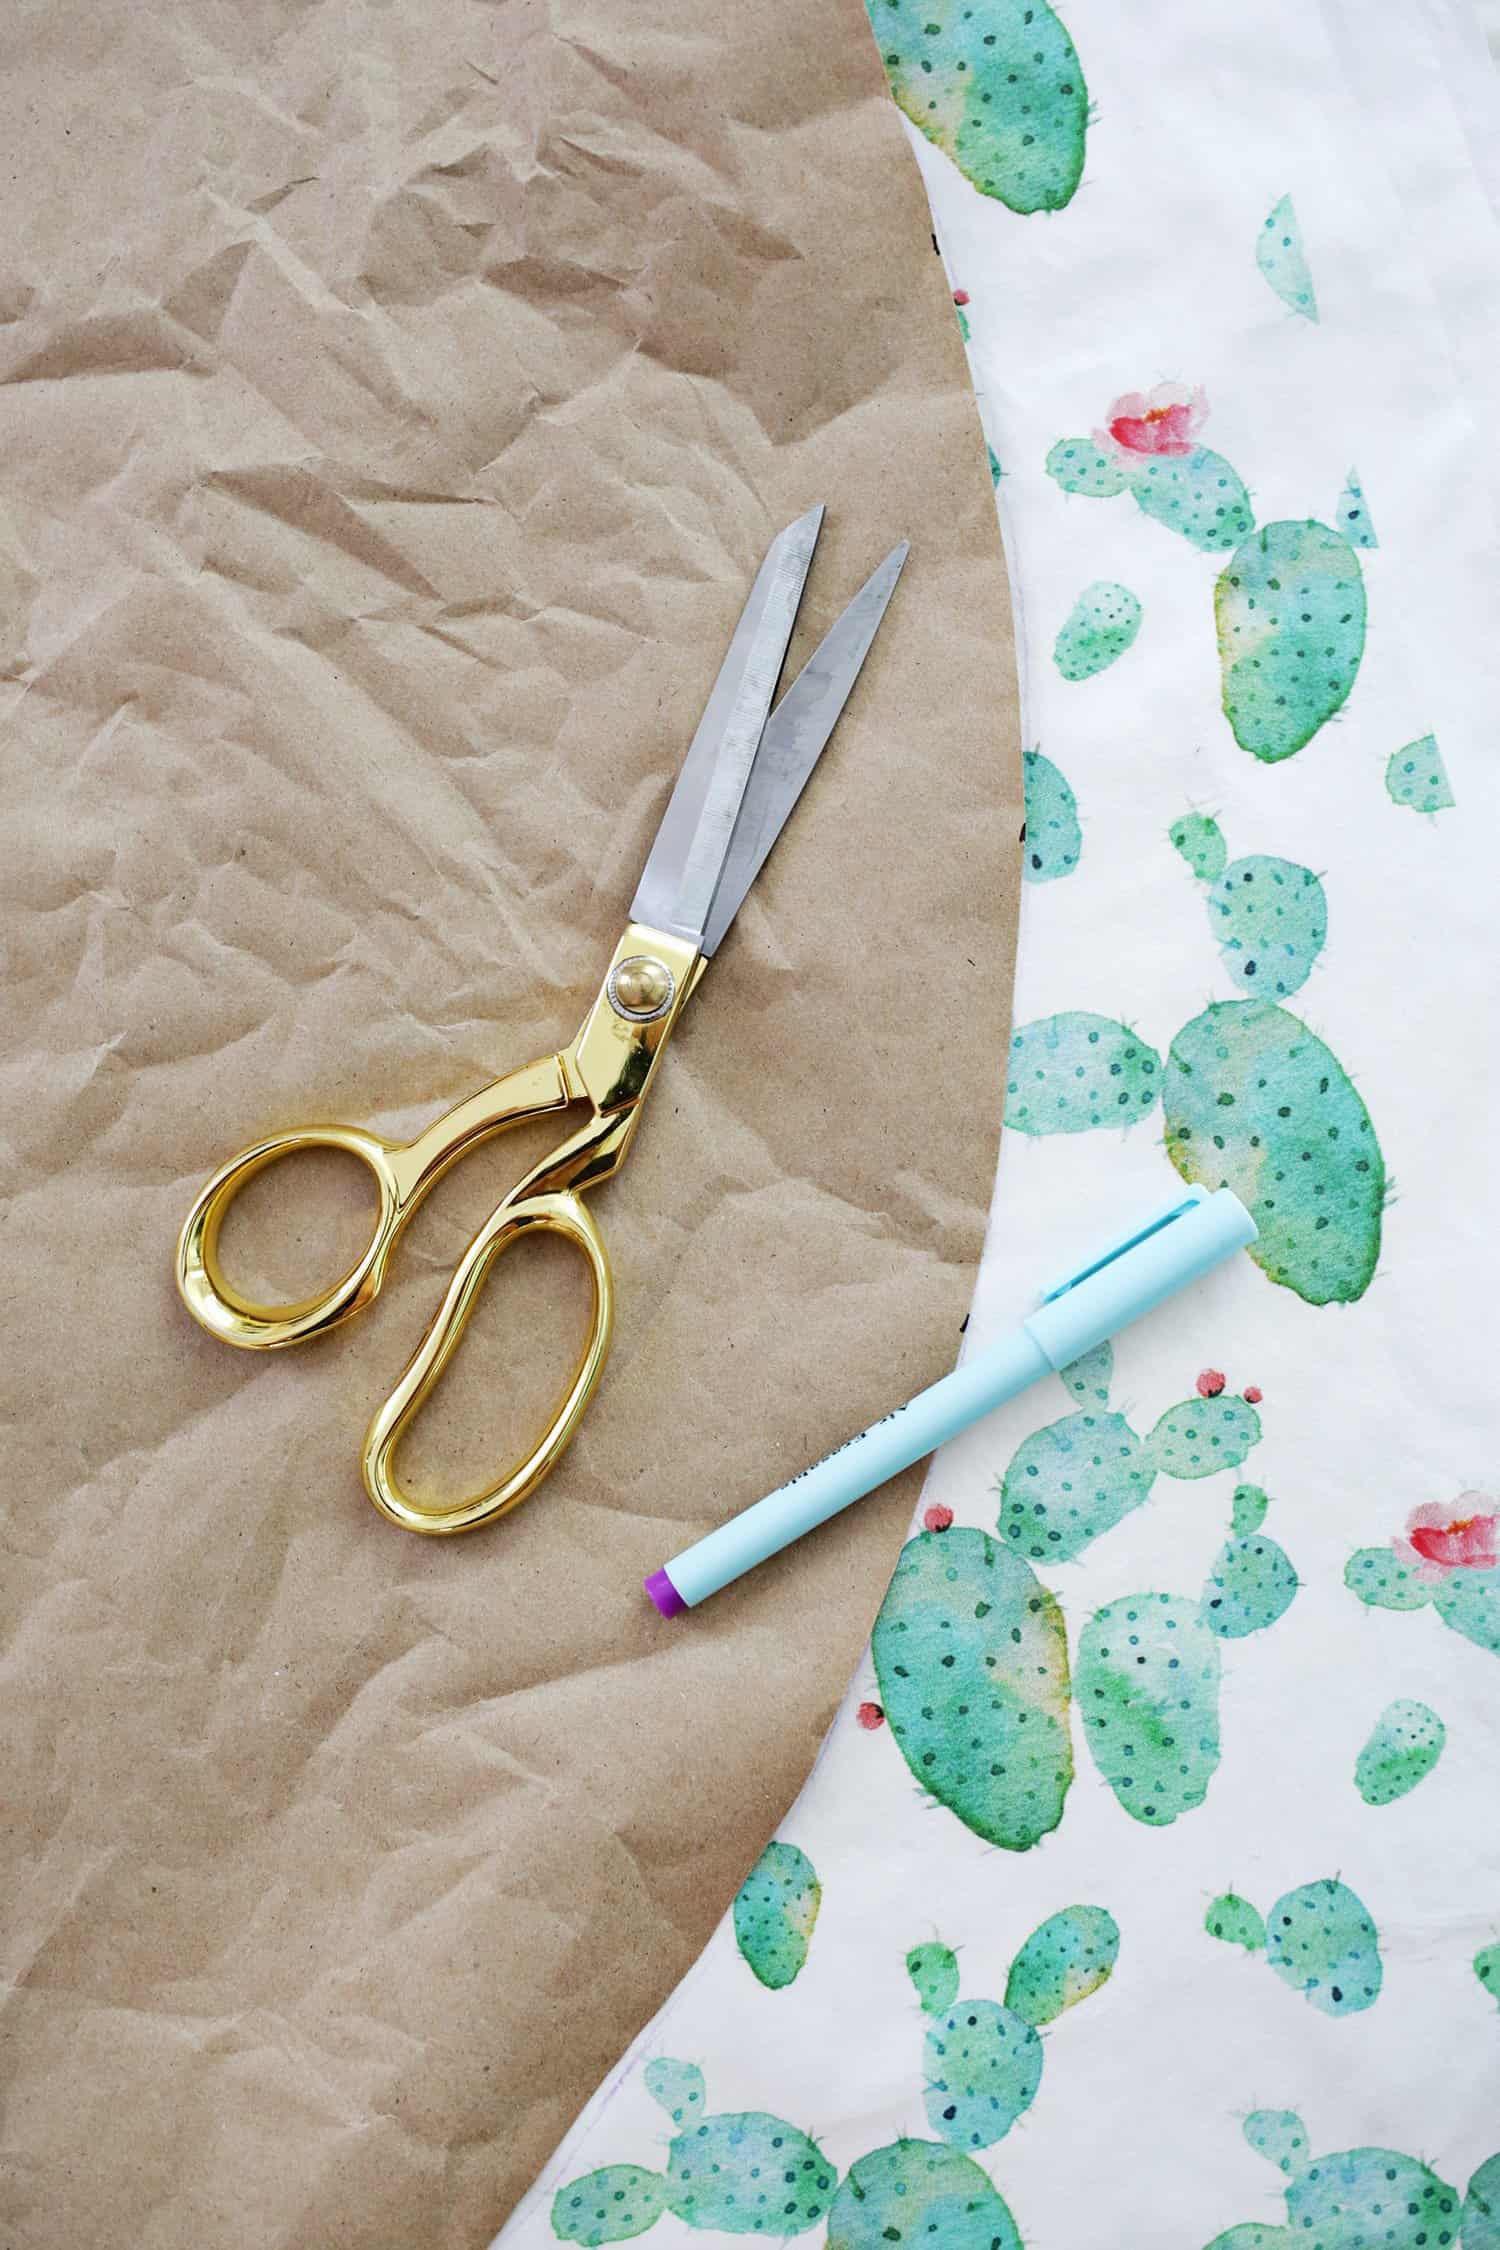 Use a fabric pen to mark all the way around the edge of your circle and straight pin the layers together just inside of the circle.
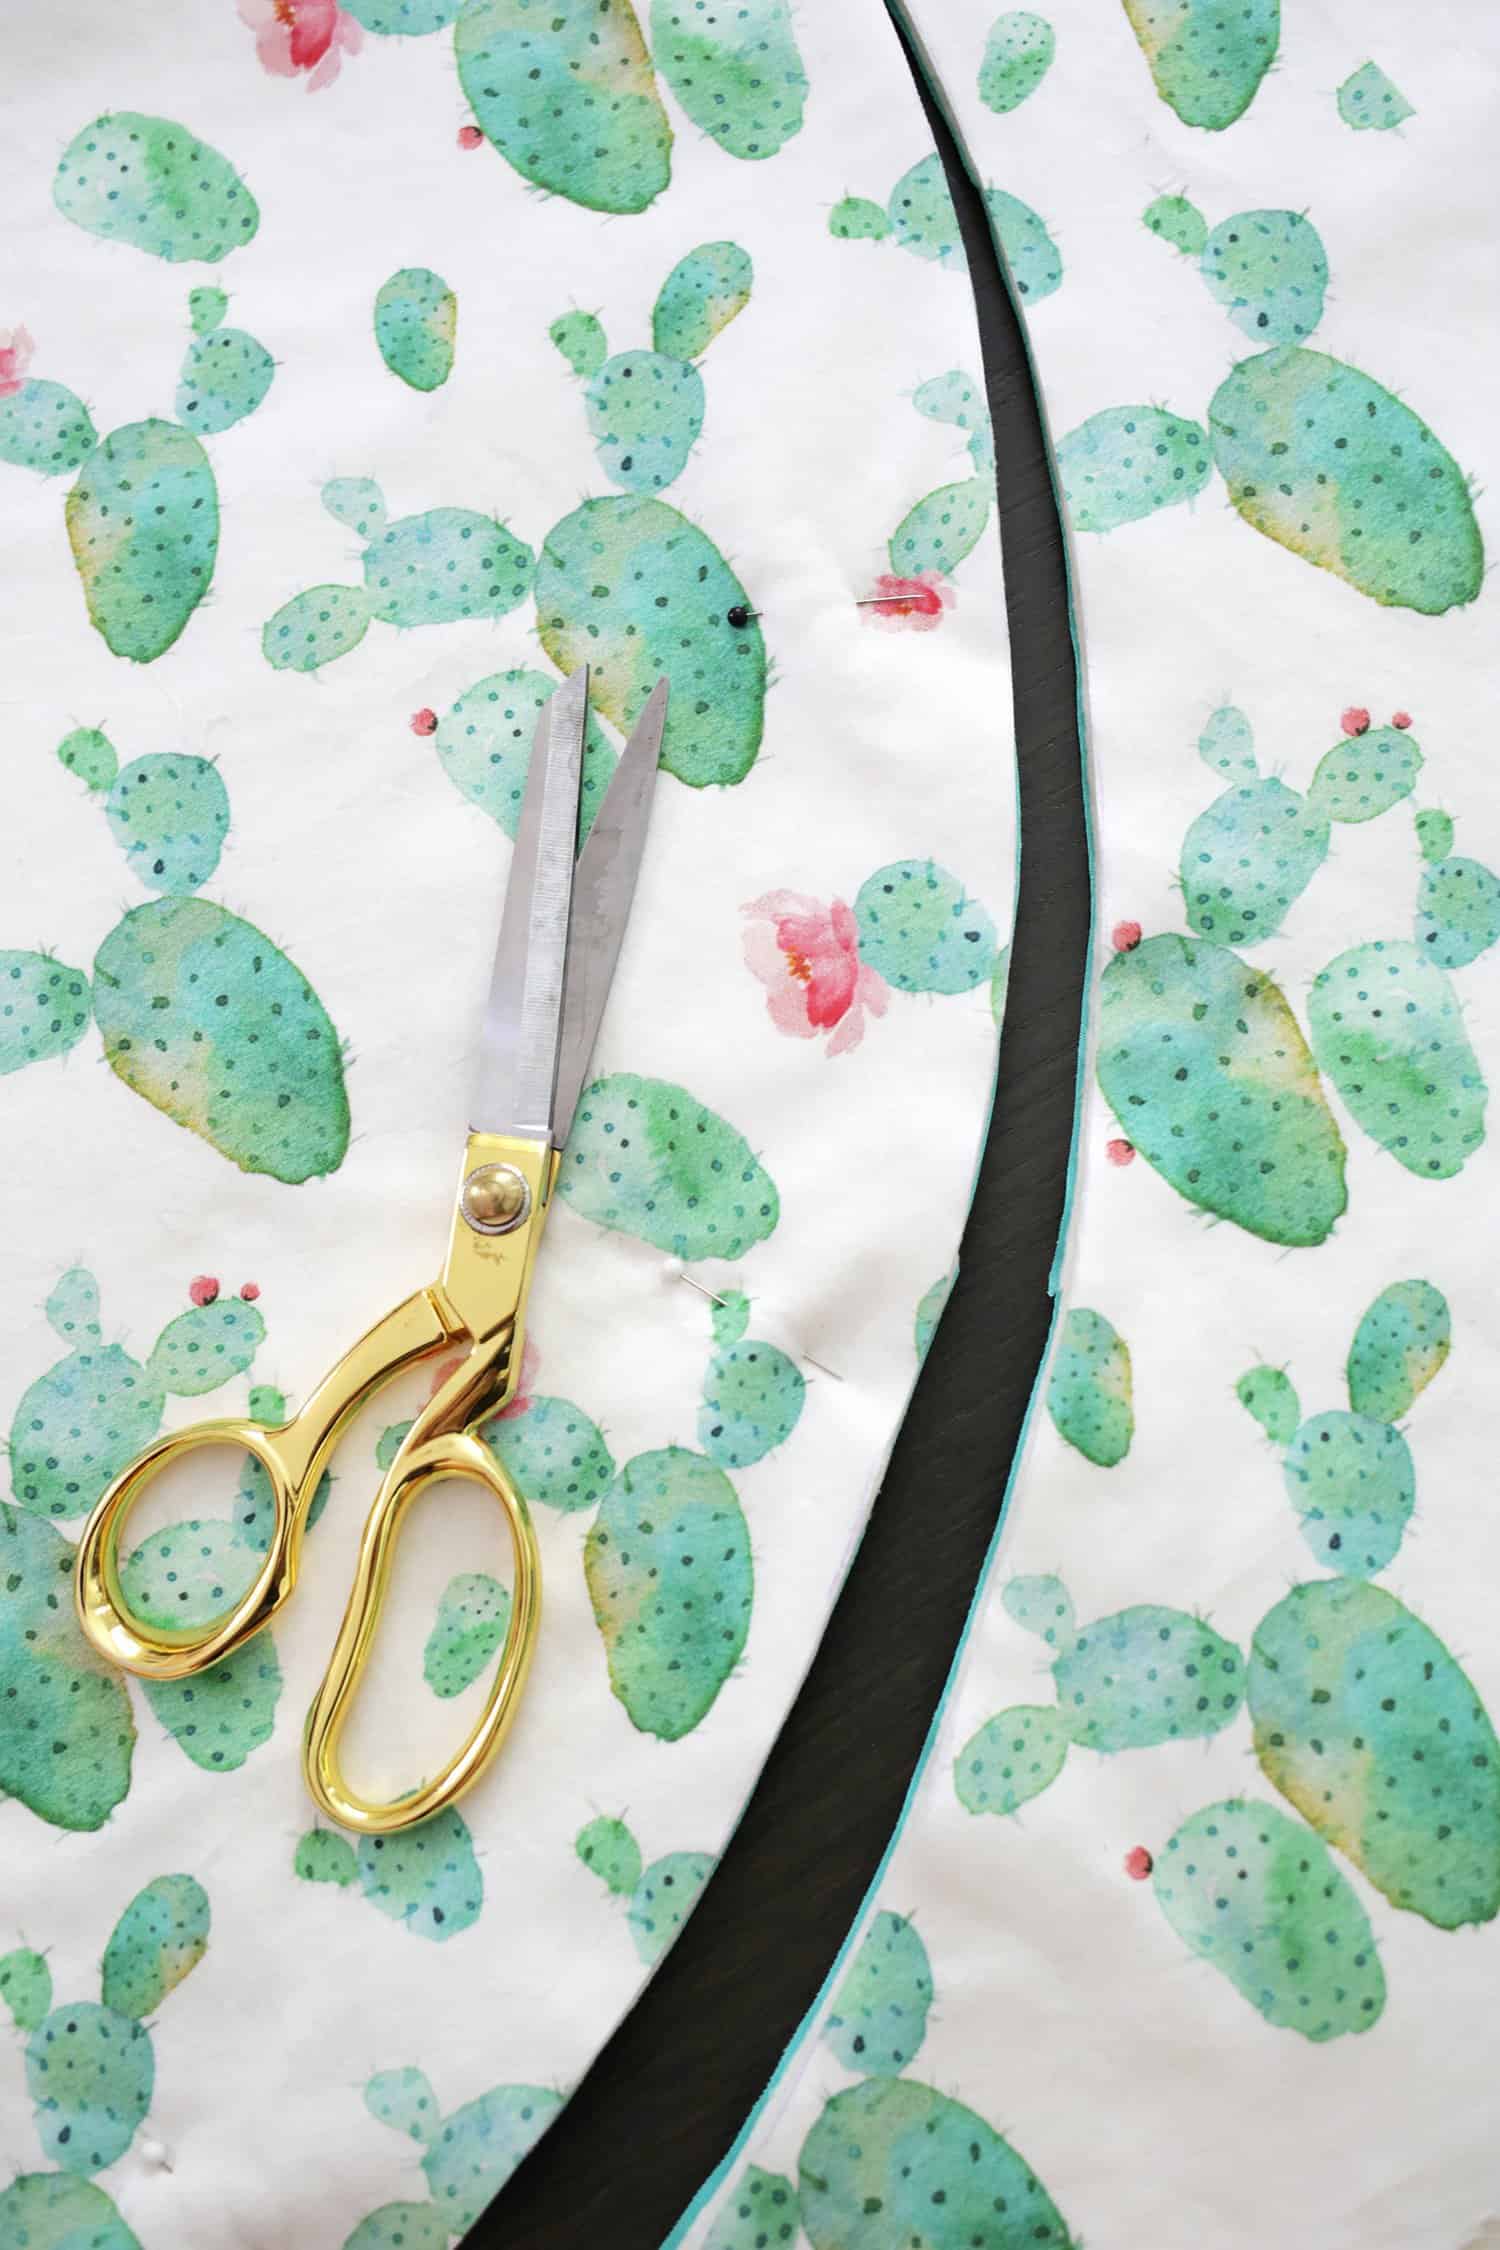 Cut out your circle with fabric scissors.
 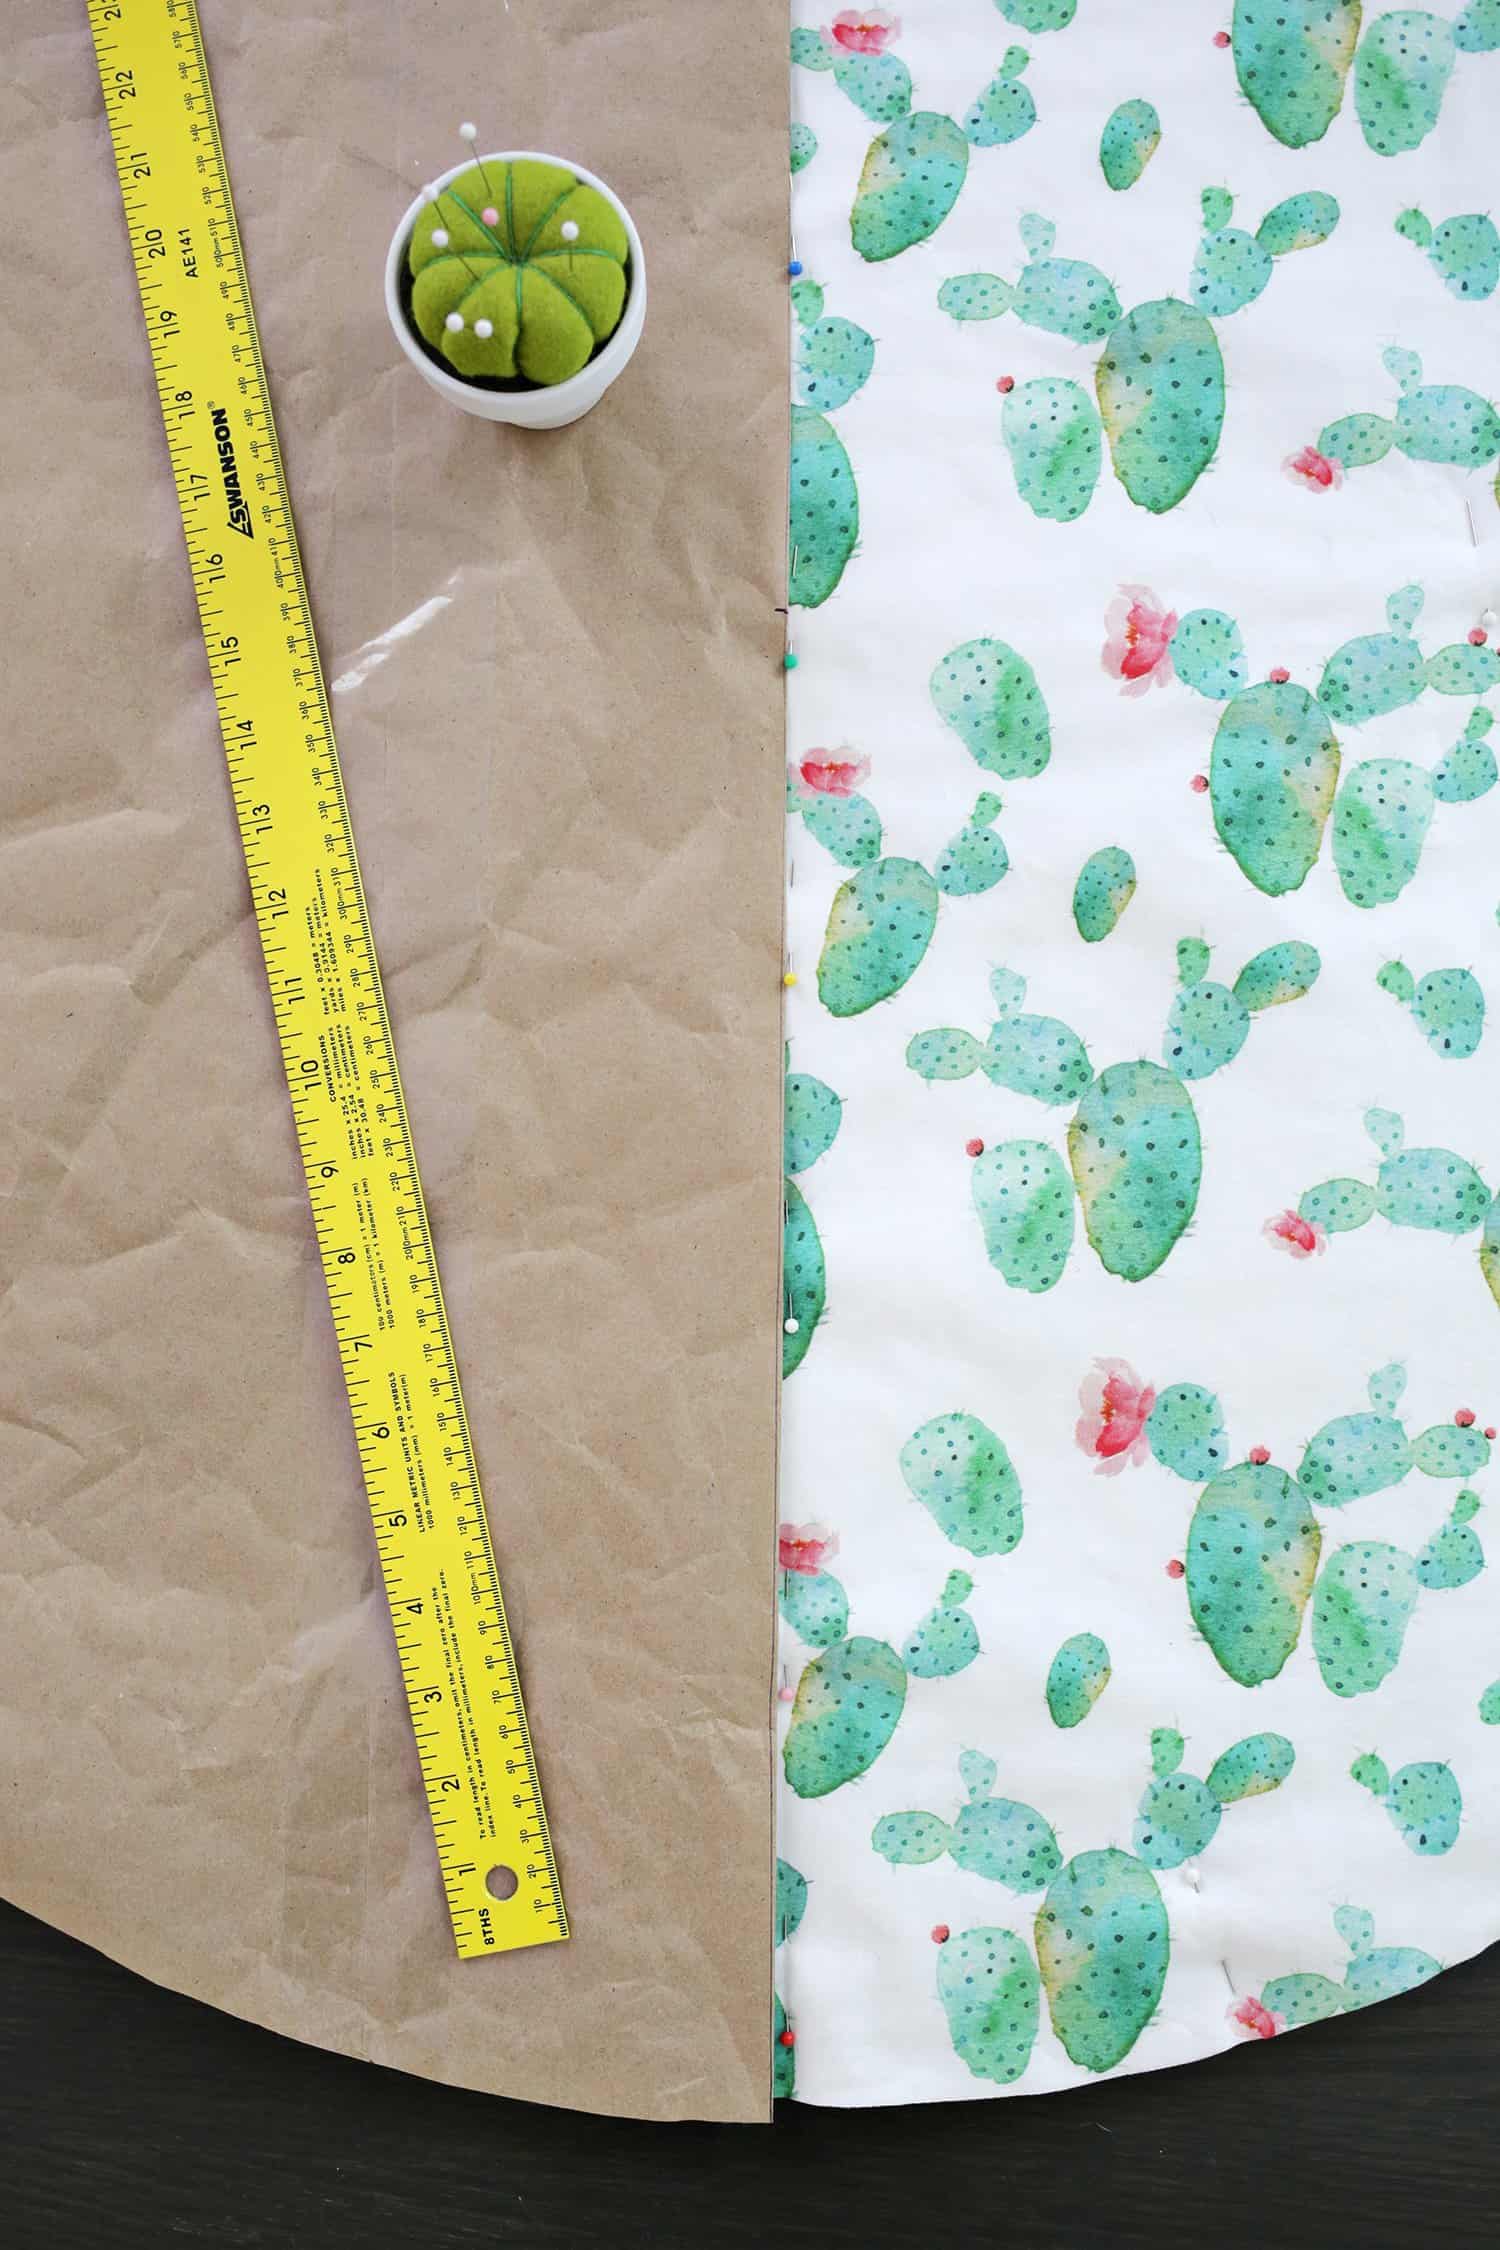 Fold your circle template in half, line it up on your fabric circles and make a line of straight pins down the middle. Use a longer stitch on your machine to topstitch down that center line (the longer stitch helps it to not get caught up on the layers). You may also need to do some test stitching on a scrap piece of all the layers first to make sure the tension is correct for that many layers (I had to adjust mine a bit).
 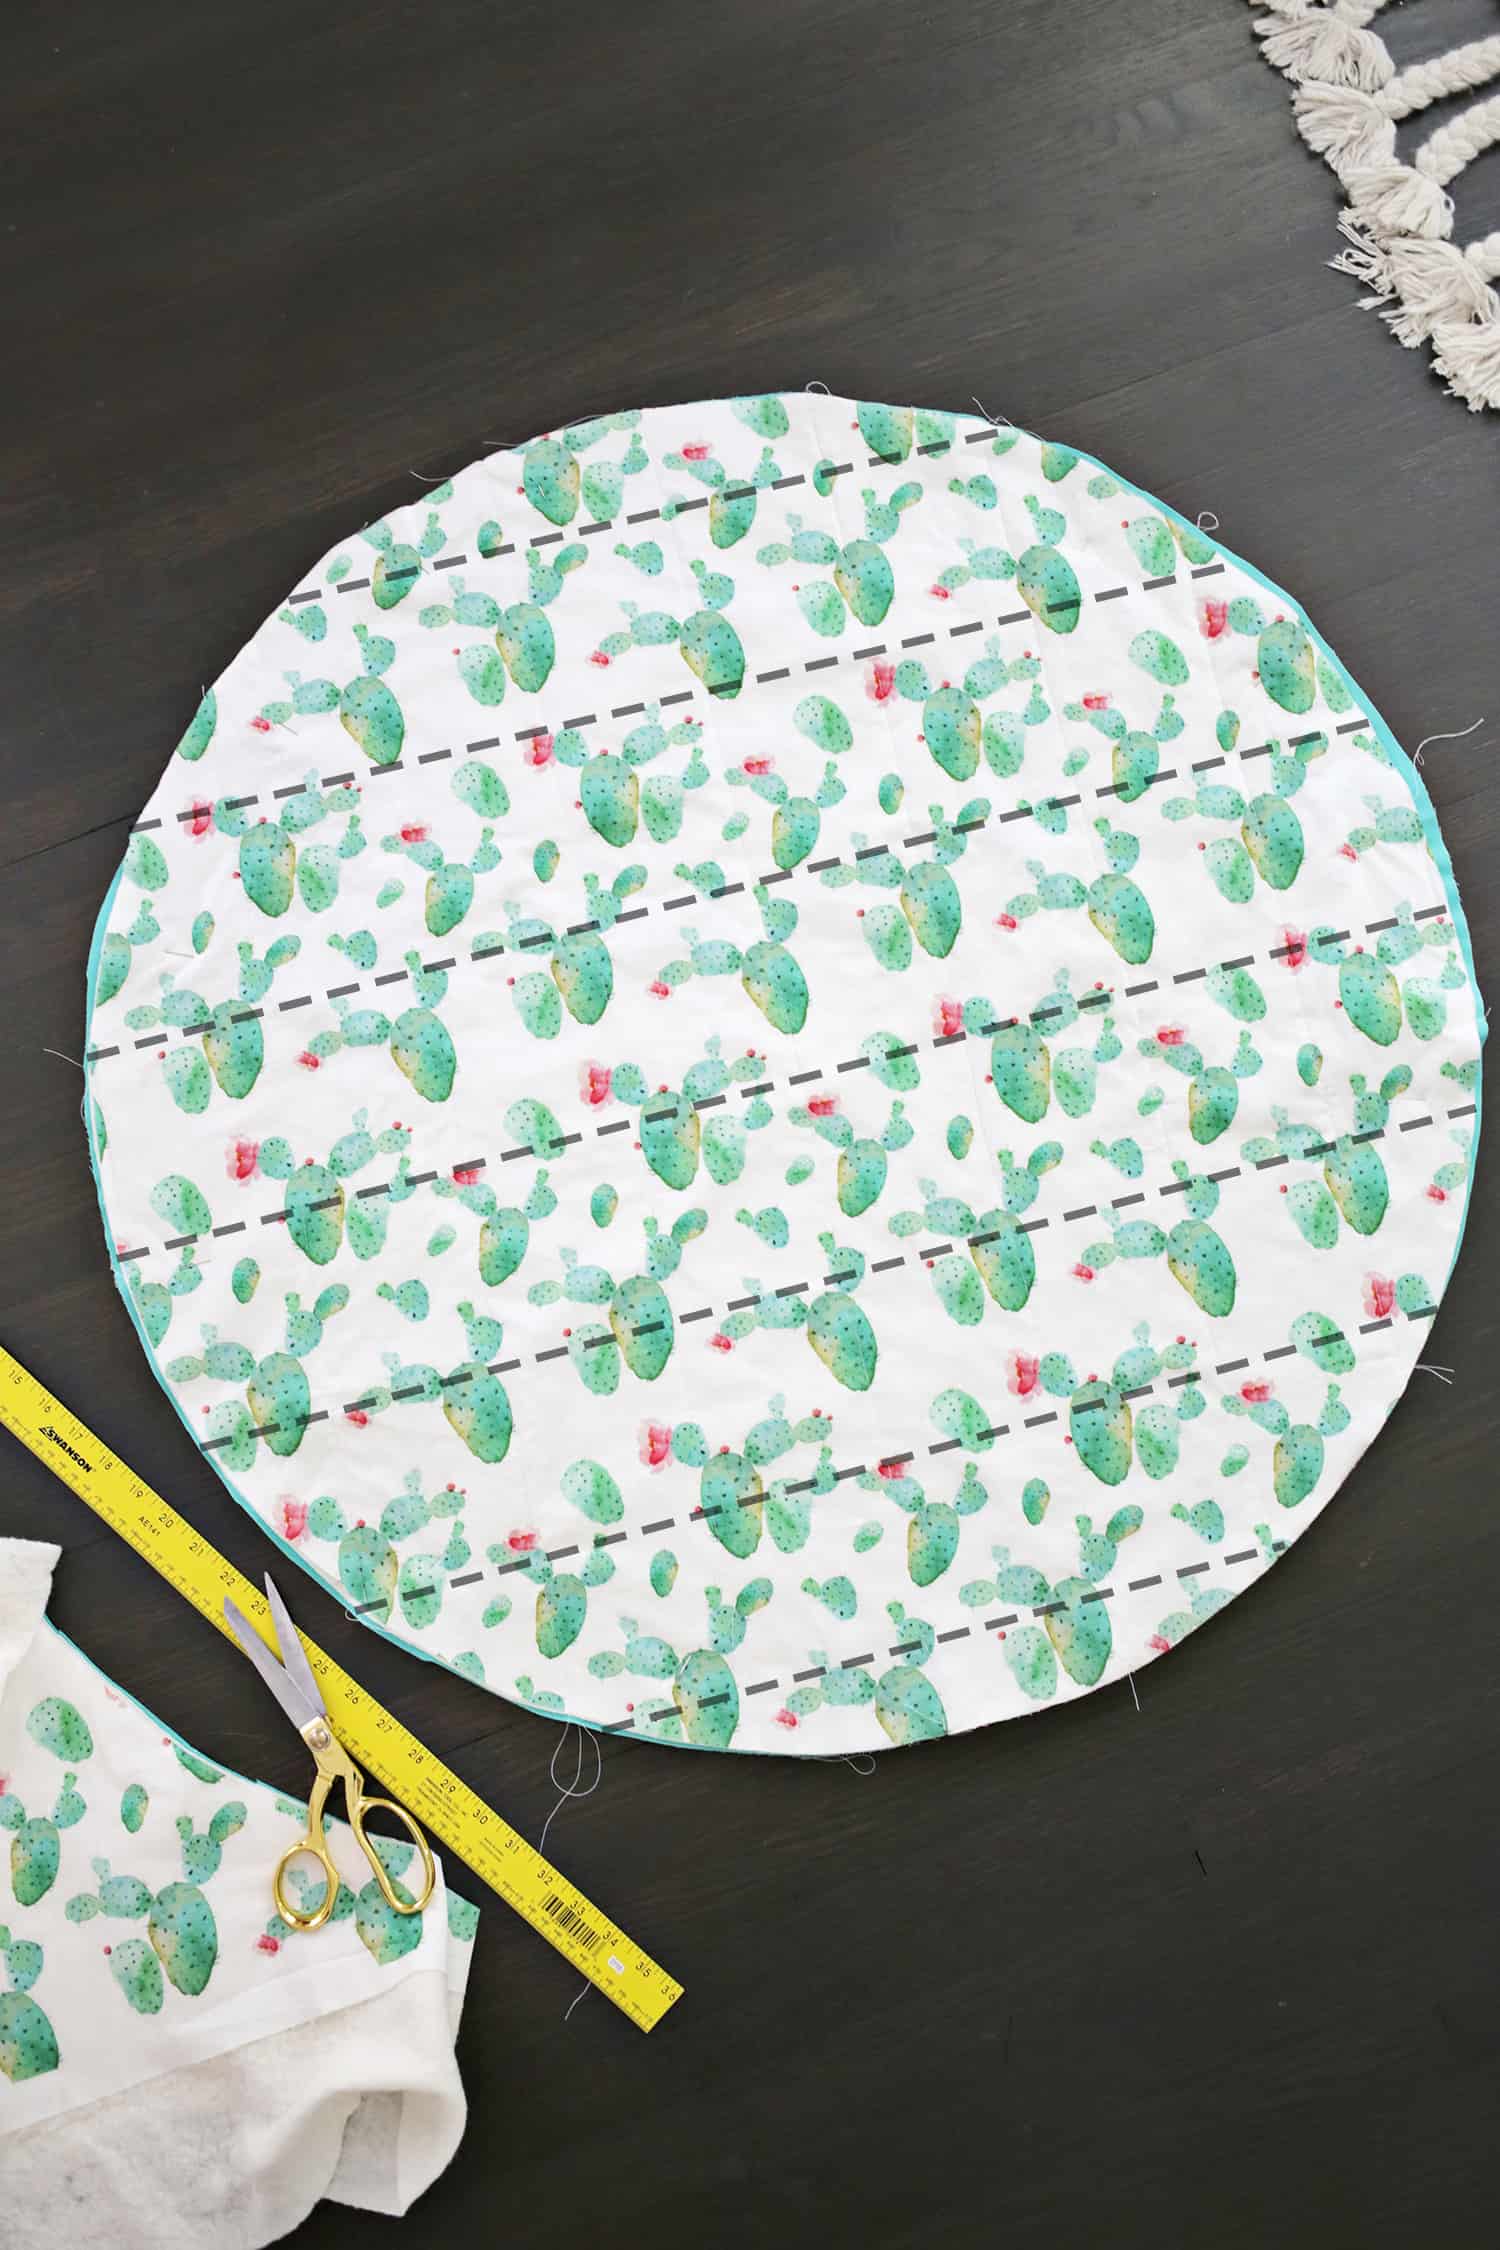 Once you sew down the middle, you’ll make more pin lines every 4″ and sew down those to create one direction of your quilted detail (a yardstick can be helpful to pin along for a straight line too).
 Once you have all of those sewn, use your folded circle template to pin down the middle of your sewn lines so you’ll be sewing the opposite direction across those lines. Repeat the same process of pinning and sewing a line every 4″ until your whole circle is quilted. Trim off any fabric that got pushed out beyond the edge so you have a clean edge cut for the trim.
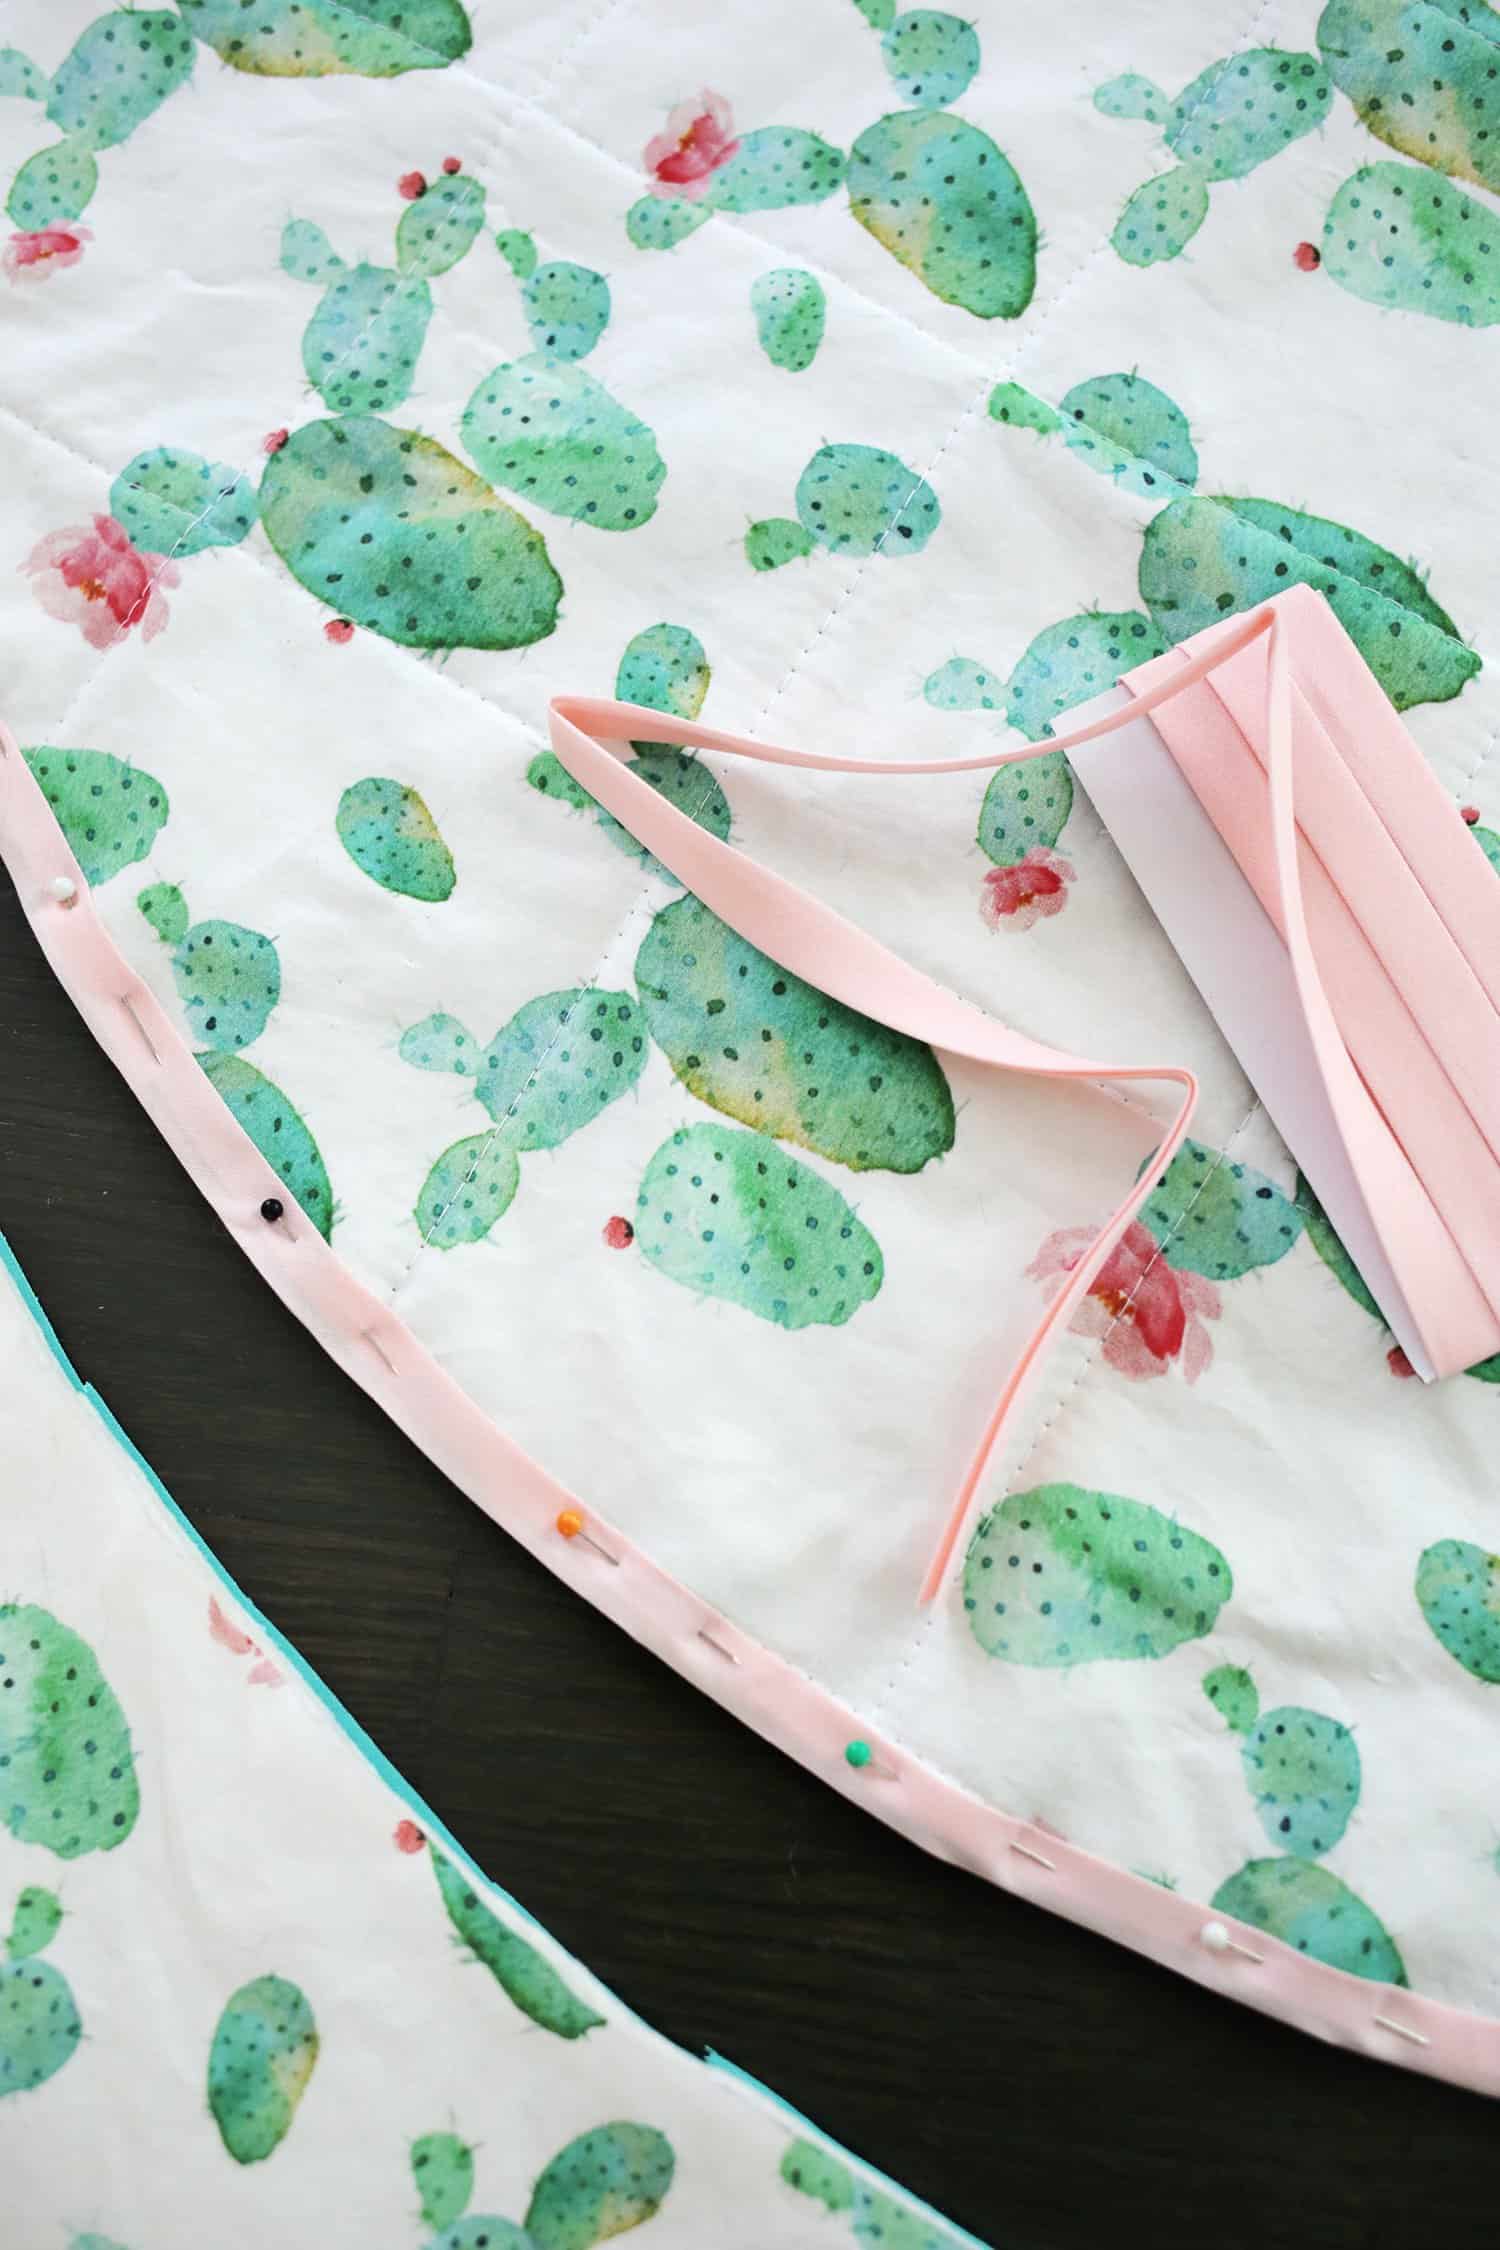 Pin your double folded bias tape all around the edge of your play mat.
 To finish the tape edge when you get all the way back around, fold under about 1/2″ of the end of the bias tape and place it over the starting point of the tape so you have a clean looking finish.
 Sew your edge in place and your mat is ready for tummy time! You should be able to wash this machine cold with no problem (I just throw it in with the rest of her wash that should also be on cold).
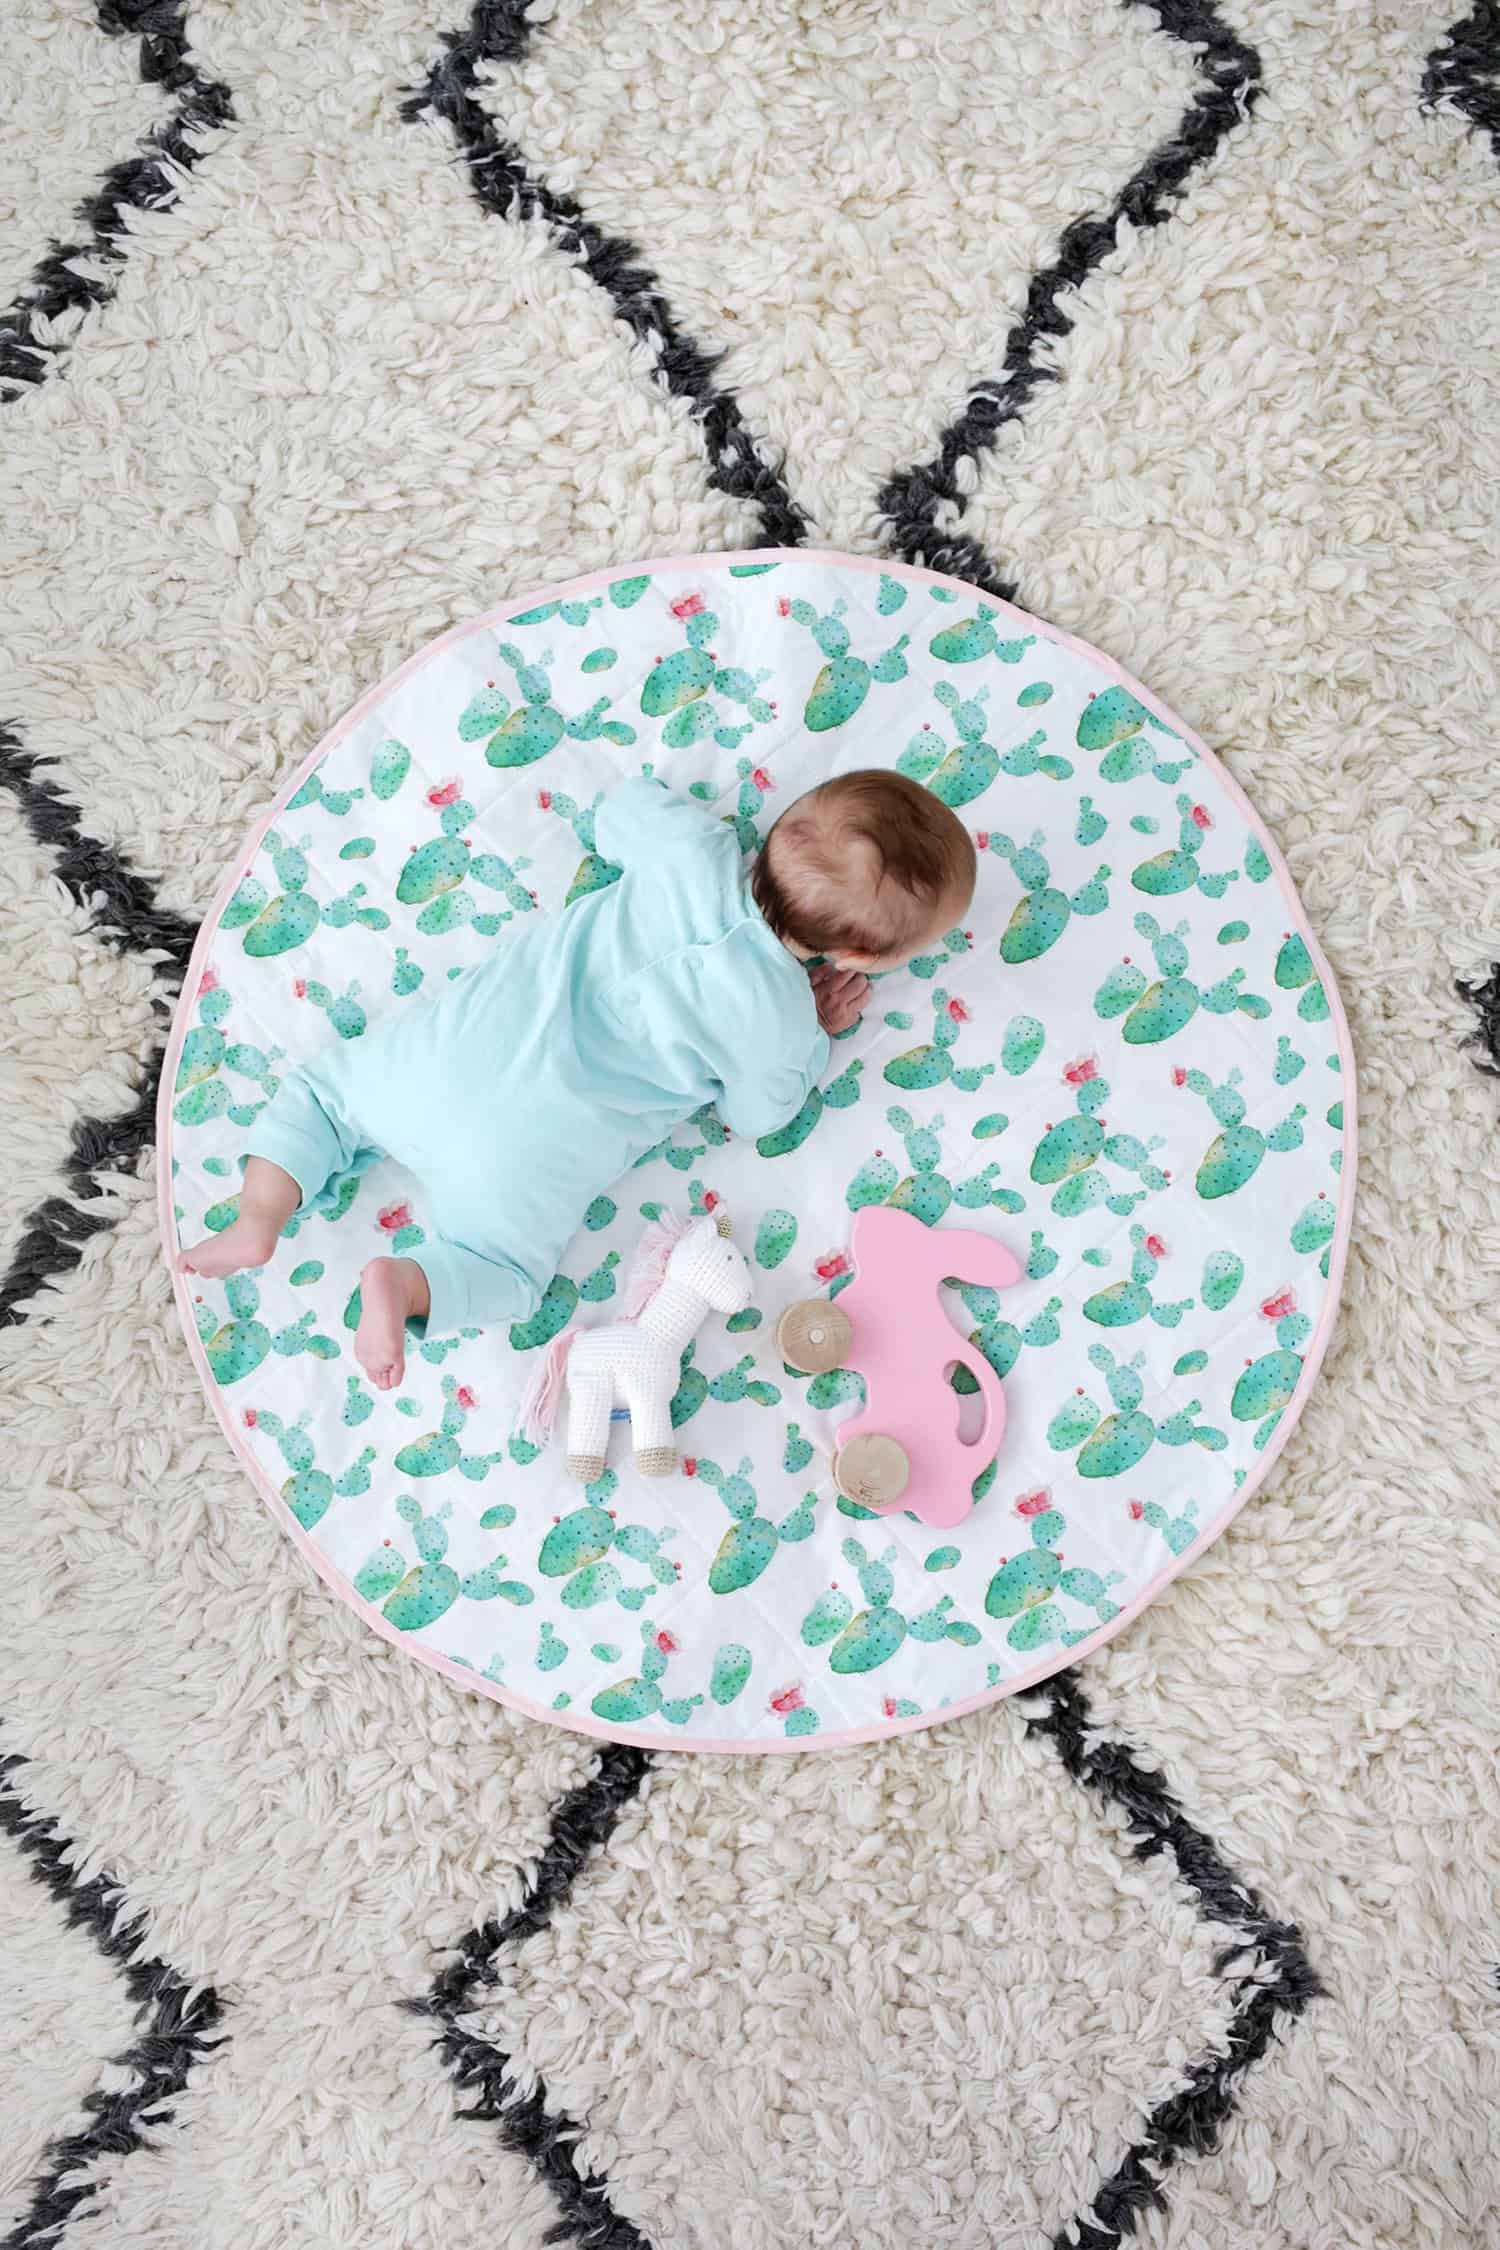
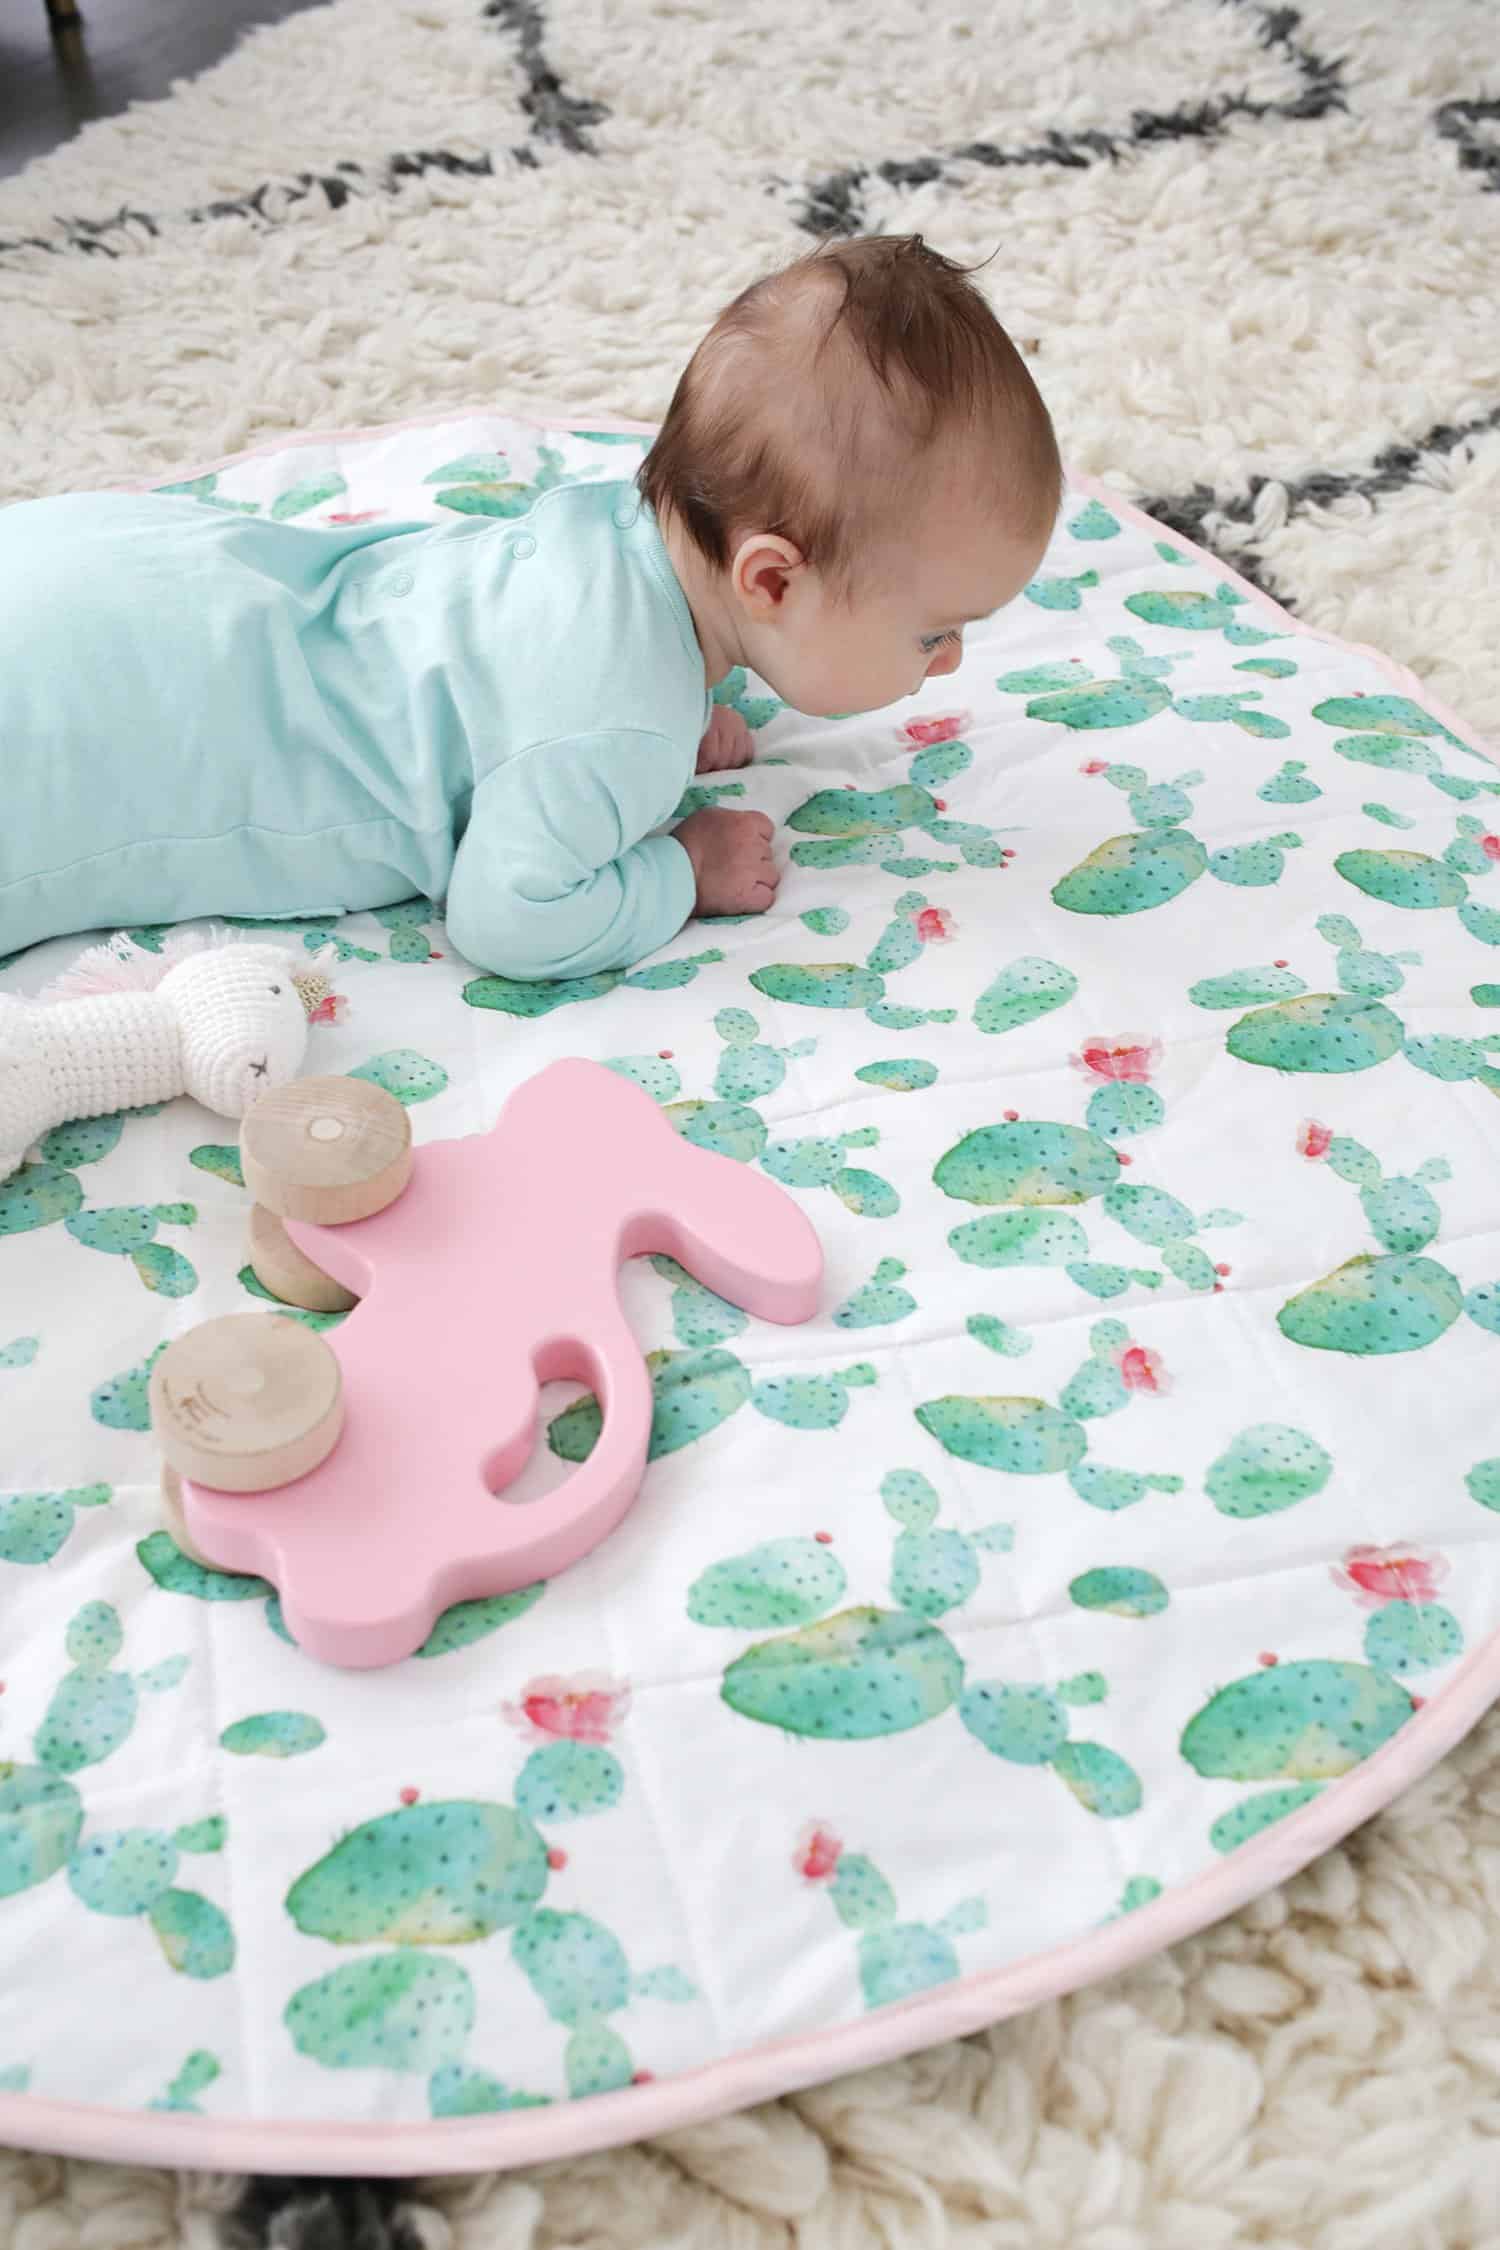
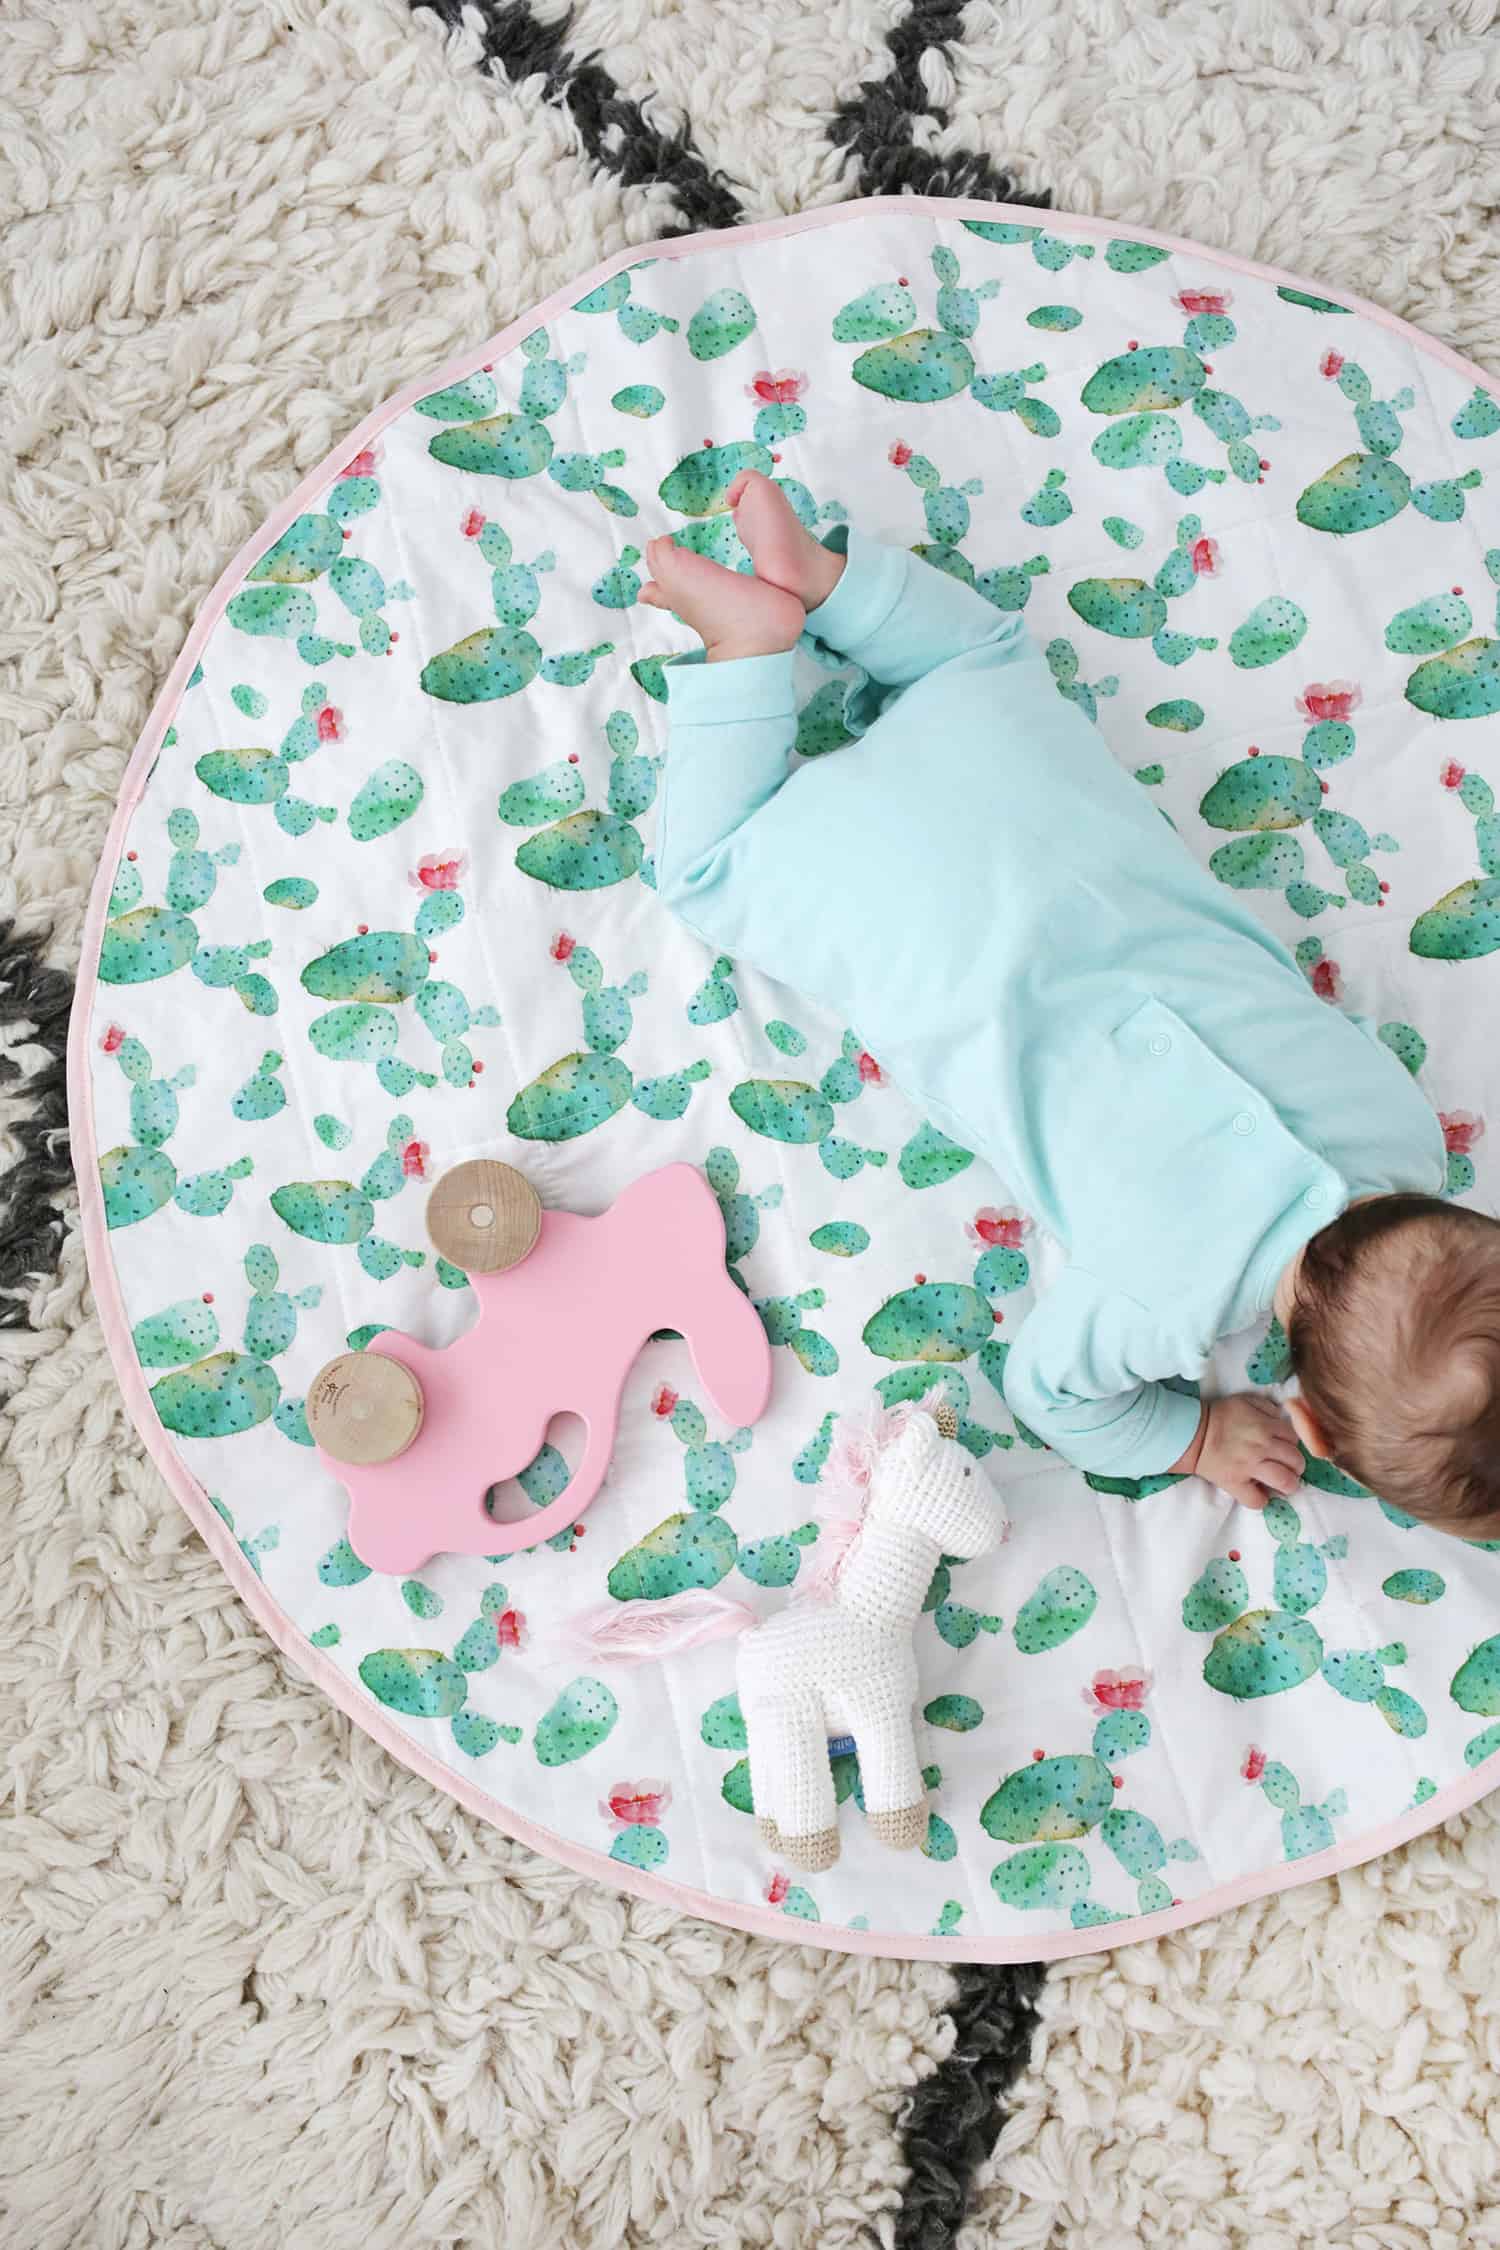
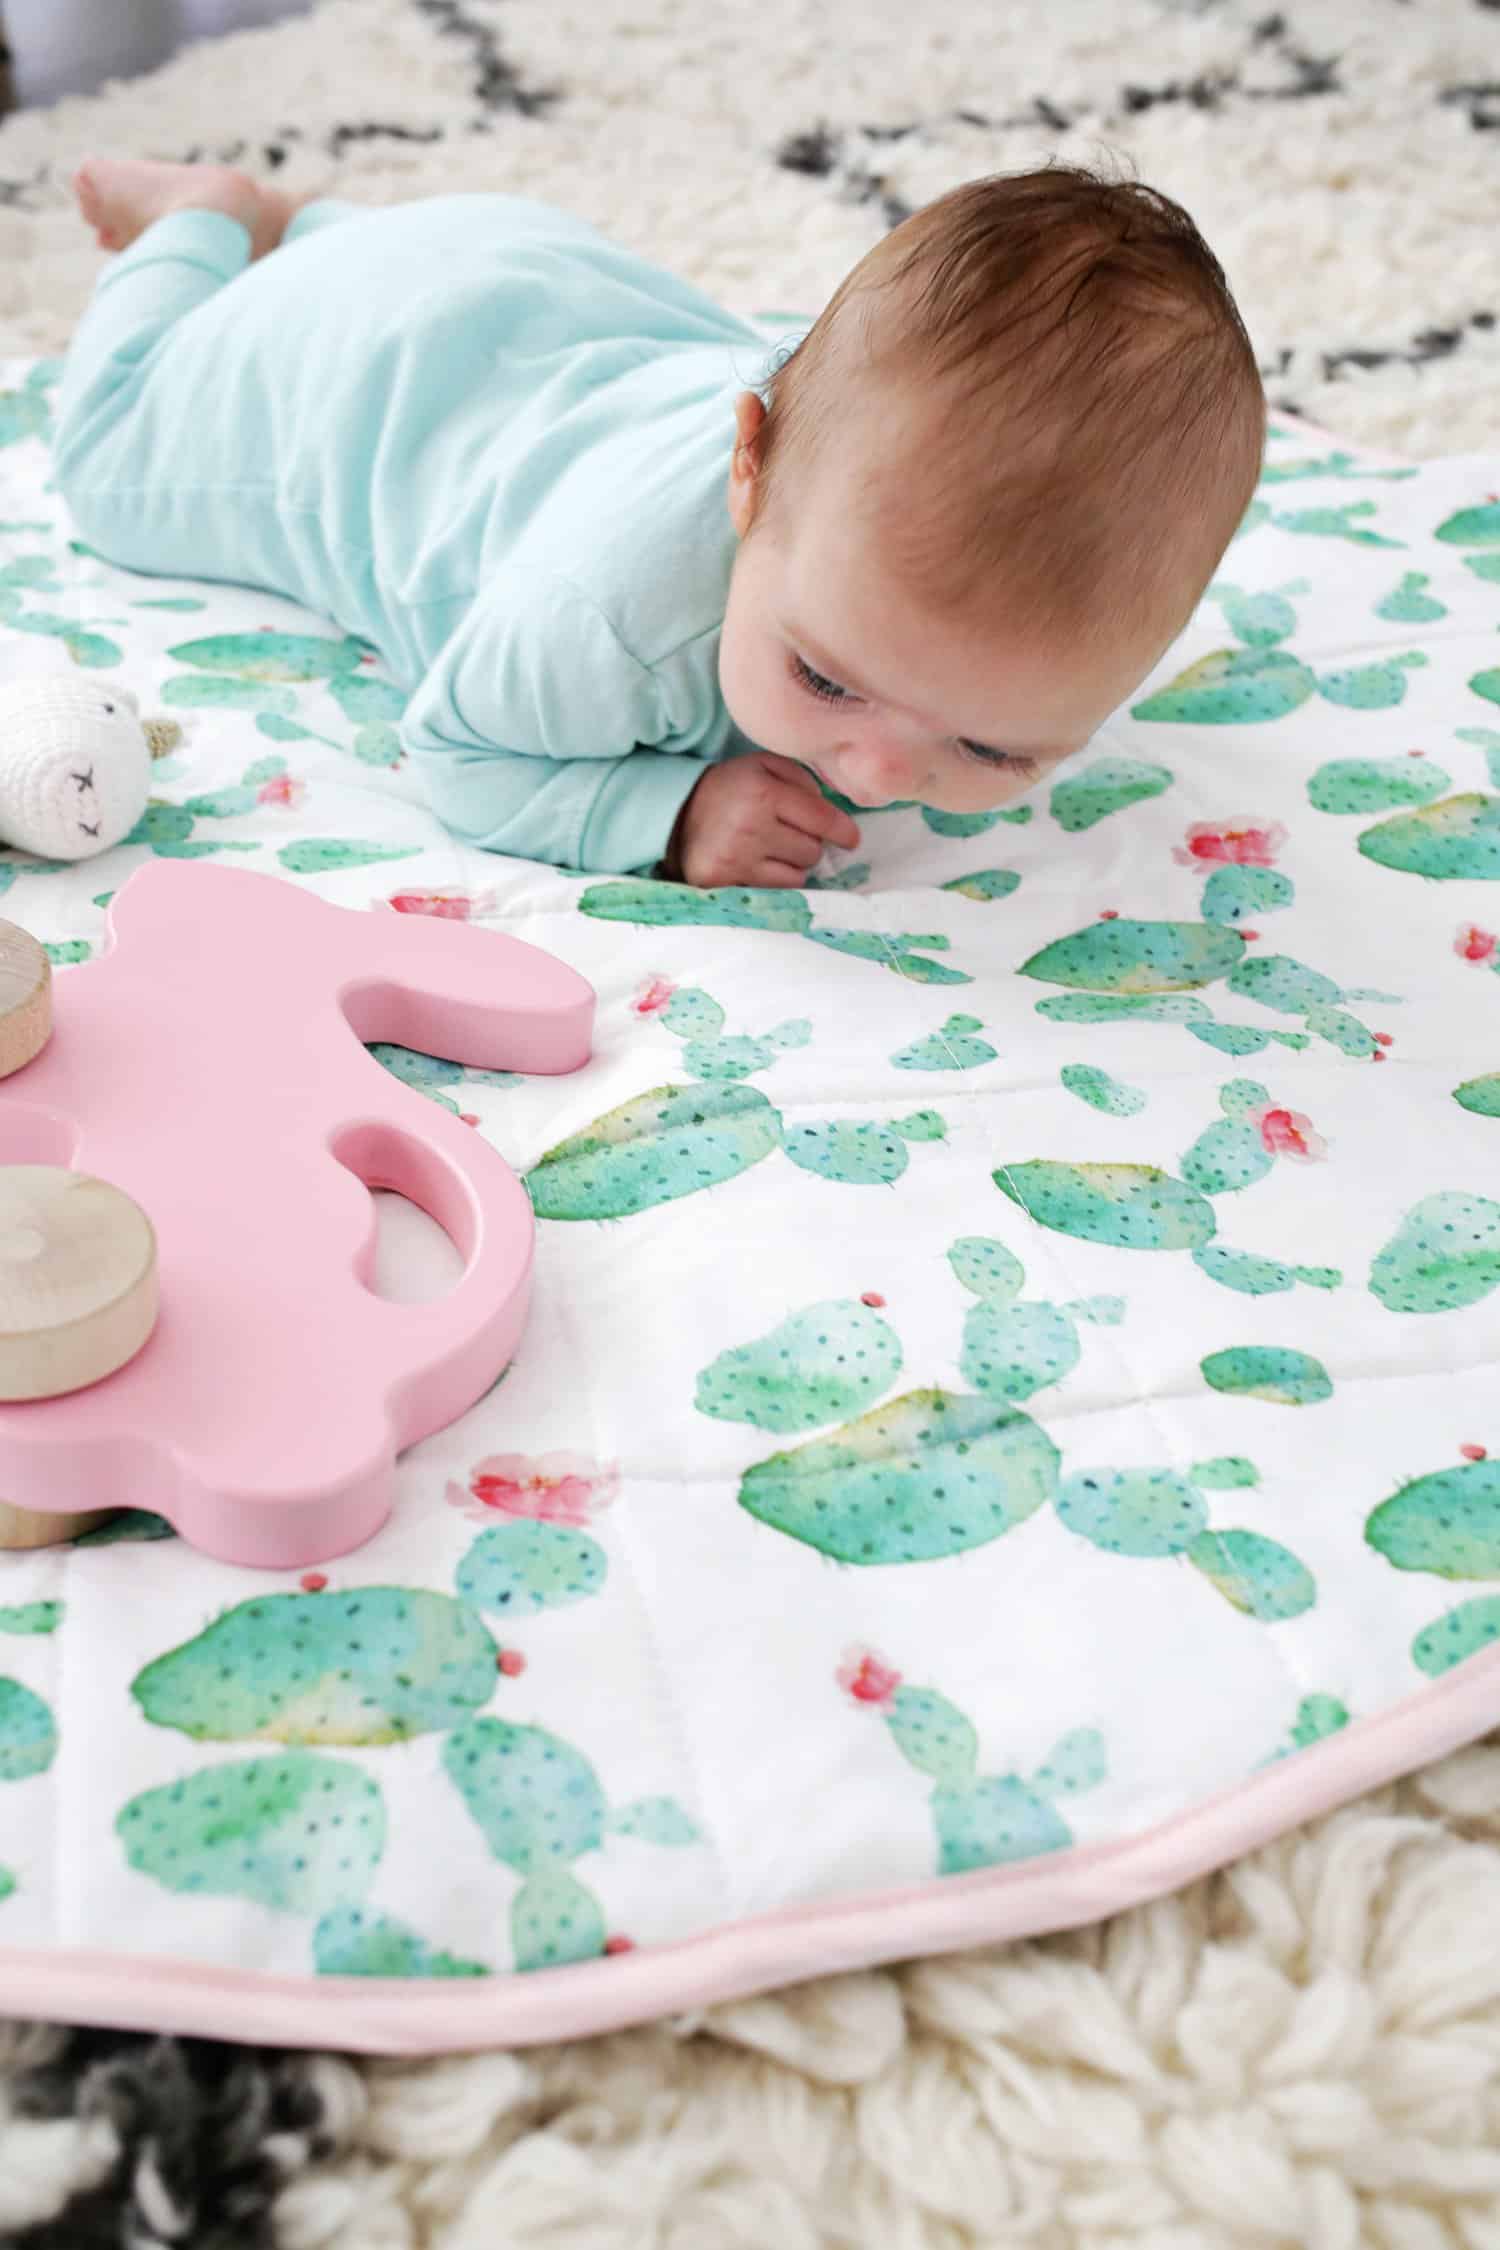 Gah!! So cute! The thing I also love about baby DIYs is that you can customize all your colors to match your house or nursery. Pastel cactus print and pink accents?? Works perfectly for me! Lola loves to just stare at the pattern and run her little fingers over it (and play with that bunny and unicorn), so I think she likes it too! xo. Laura
21 Comments
So cute! The quilt is such a great idea!
Charmaine Ng | Architecture & Lifestyle Blog
http://charmainenyw.com
This is really a tangent, but when I saw that sweet baby head and those dear baby feet, I just melted, and thought, “I had one of those….what happened?” Mine is about to head out in the car. Seriously, you blink and they go from diapers to driving. Enjoy every minute.
So CUTE! Love this DIY; I’ll have to make one for my dear friend who’s expecting her first baby in November!!
Hadassah <3
These are a great idea — I also had one that was made out of a vinyl fabric to go under the high chair after solids started. It made post-meal clean up a breeze. I love the fabric you chose! ?❤️
Good idea!
Laura
So cute!
The quilt too!?
This is a great idea! Good to see a post from Laura!
Major props to you, Laura, for finding time to DIY when you have a tiny baby. My son is 18 months and I still haven’t found time to dig out my sewing machine! Love this playmat and Lola is just so cute!
lol you truly are a remarkable woman if you can find the time to be a mother and whip out your sewing machine to get creative with experimental projects! You’re a great role model for all of us readers over here! Keep the pink coming, girlfran.
This is a super cute idea! I’ll think of this whenever I have a kid!
https://www.makeandmess.com
She is such a sweetie 🙂
Adorable!
This is such an adorable idea! I love the cactus print and of course Lola is too precious 🙂 If you don’t mind me asking, where is your black and white rug from? I’ve been on the hunt for one just like it!
Mia | http://www.verymuchmia.com
It’s a West Elm rug!
Laura 🙂
So so cute!
Little Lola just keeps getting cuter and cuter.
http://shannoninthecity.com/
So cute idea i love this DIY
New post:http://thepinkpineappleblog.blogspot.com/2017/08/haute-couture-2017-street-style.html
Very good idea.good for baby.thanks.
amzing
Great tutorial! I sew round playmats like these for my Etsy shop using my own fabric designs – Thistle and Fox.
The only difference between our techniques is I don’t use pins! I found a faster (and less pointy…ouch!) way to keep my layers together while sewing 😉 My fingertips are much happier now. I love the colour combo of reverse fabric & bias binding you used with this fabric print, its so sweet!
x
This is a super cute idea!