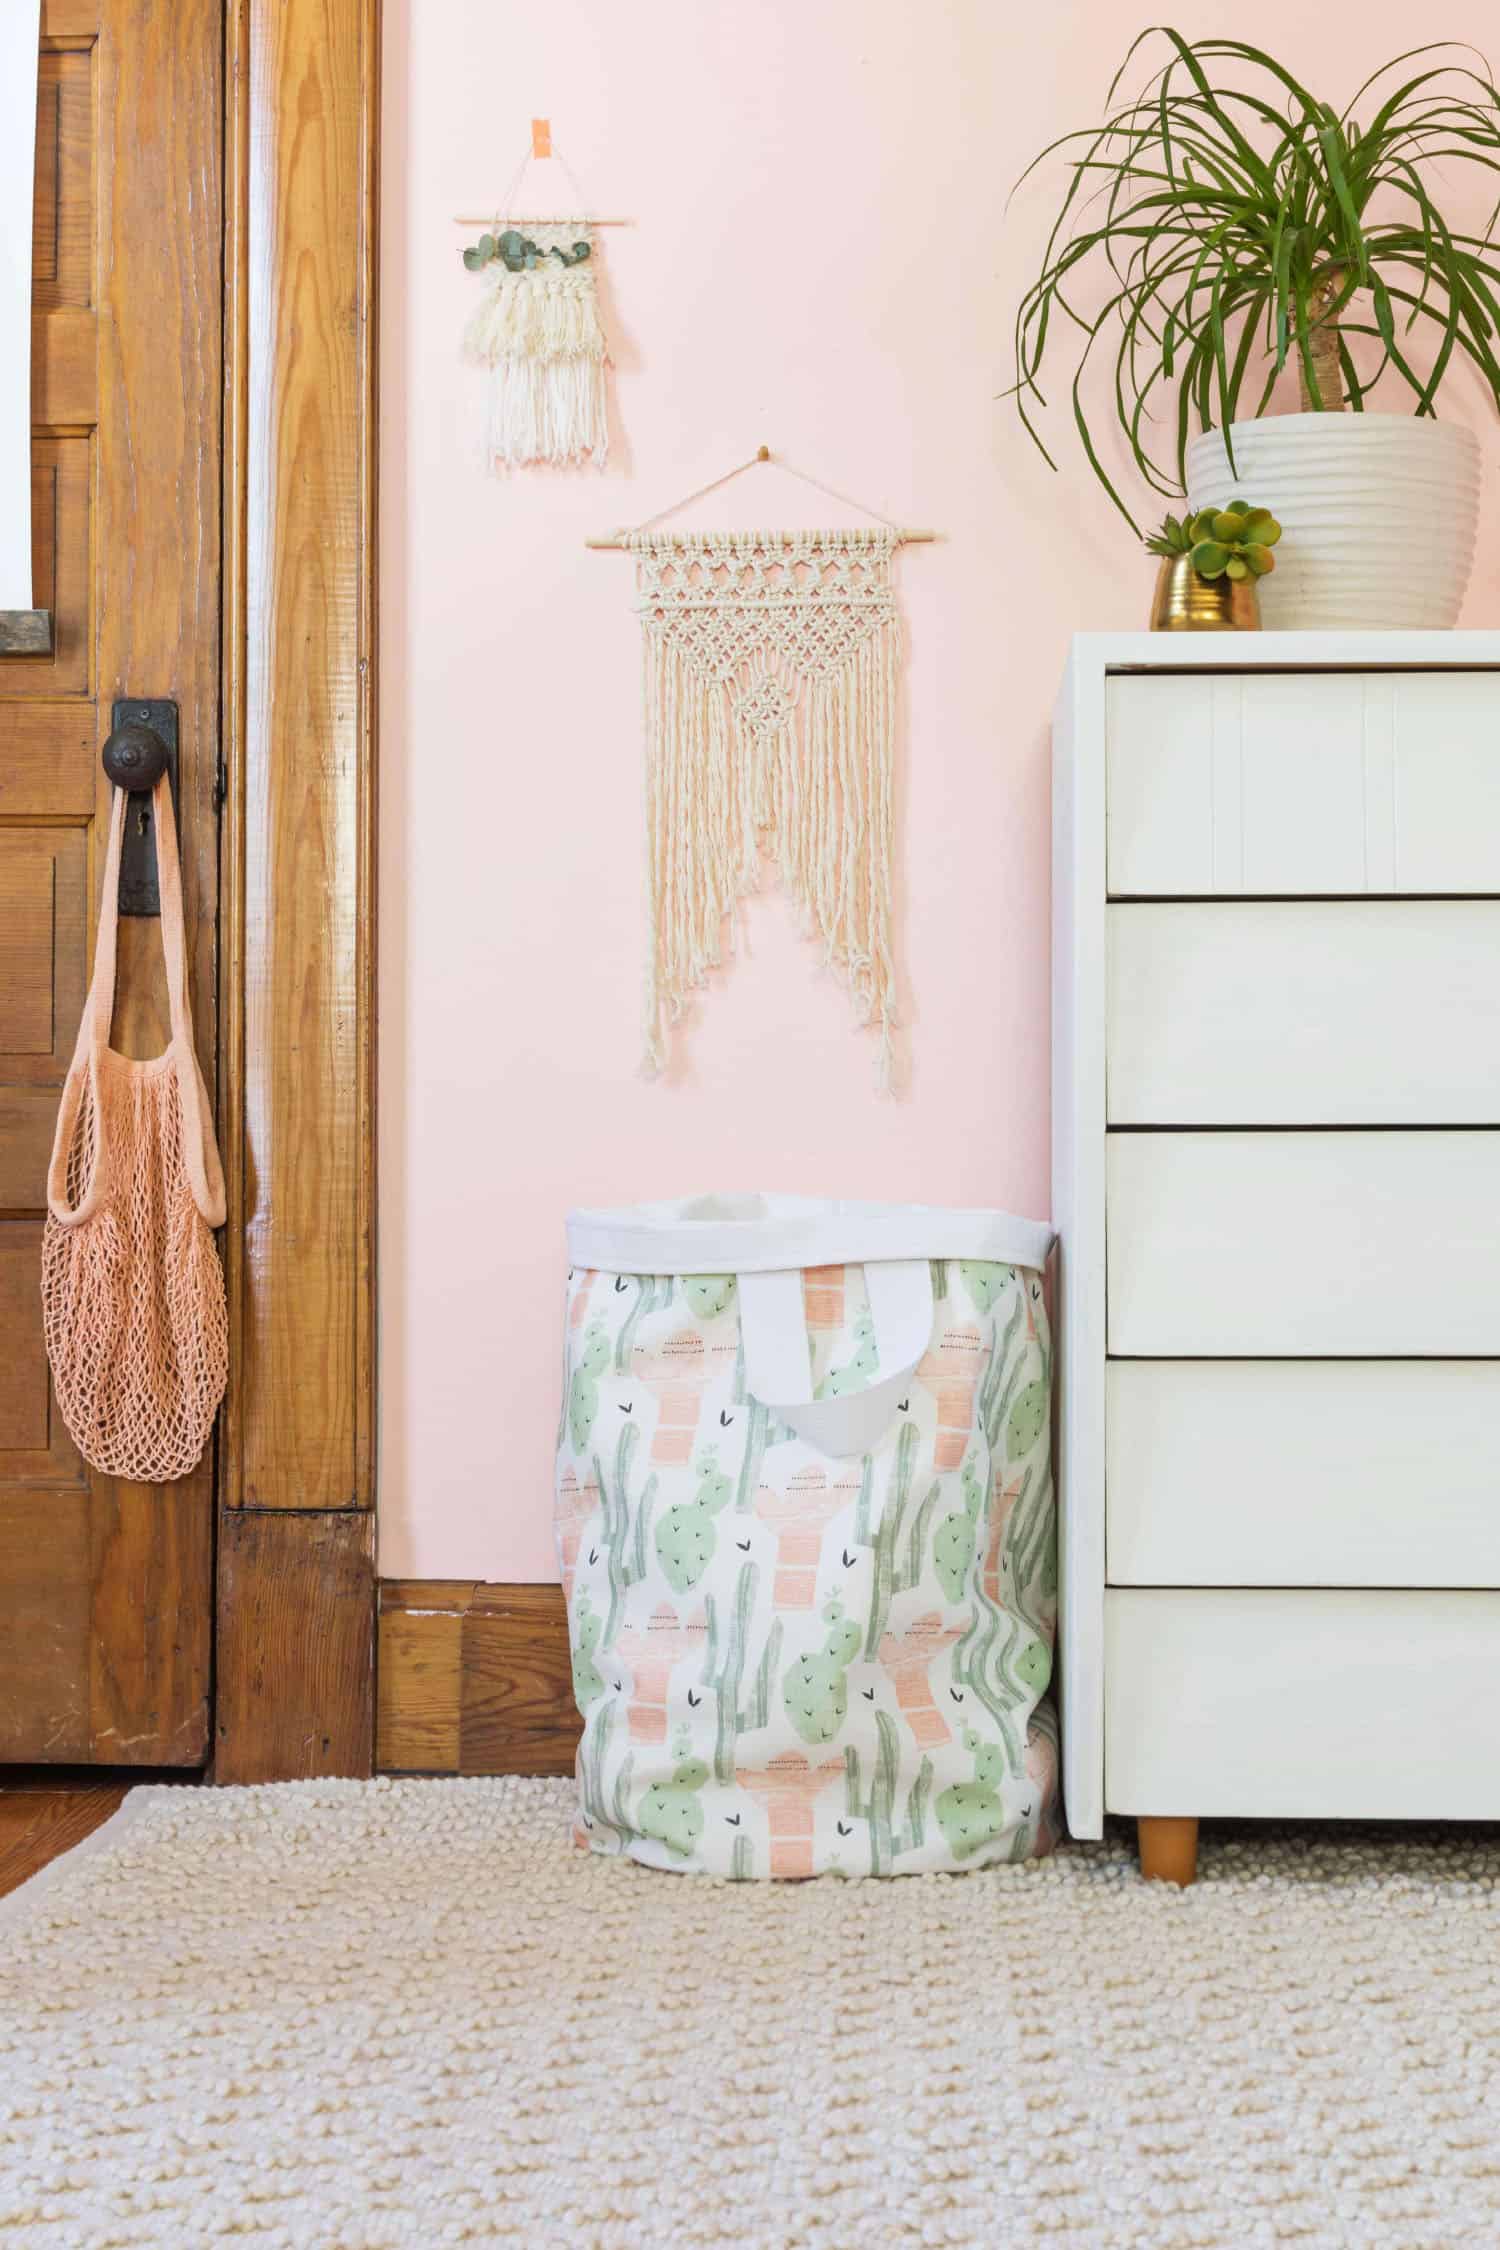
 Anything is cuter than dirty clothes strewn across the room, but this canvas laundry bag is making my life much easier! Simply having a designated dirty clothes spot makes a world of difference when it comes to everyone’s socks ending up in the same location. So after tackling this basket for my daughter’s room, I’ve got to pump out one for each of my sons. They’ll stand upright (for the most part) but can also be hung on a doorknob, thanks to two sturdy handles. Those handles also mean there’s no reason that all of that laundry can’t get hauled to the actual washing machine by someone other than yourself! Well, unless it’s your laundry bag … then I can’t help you.
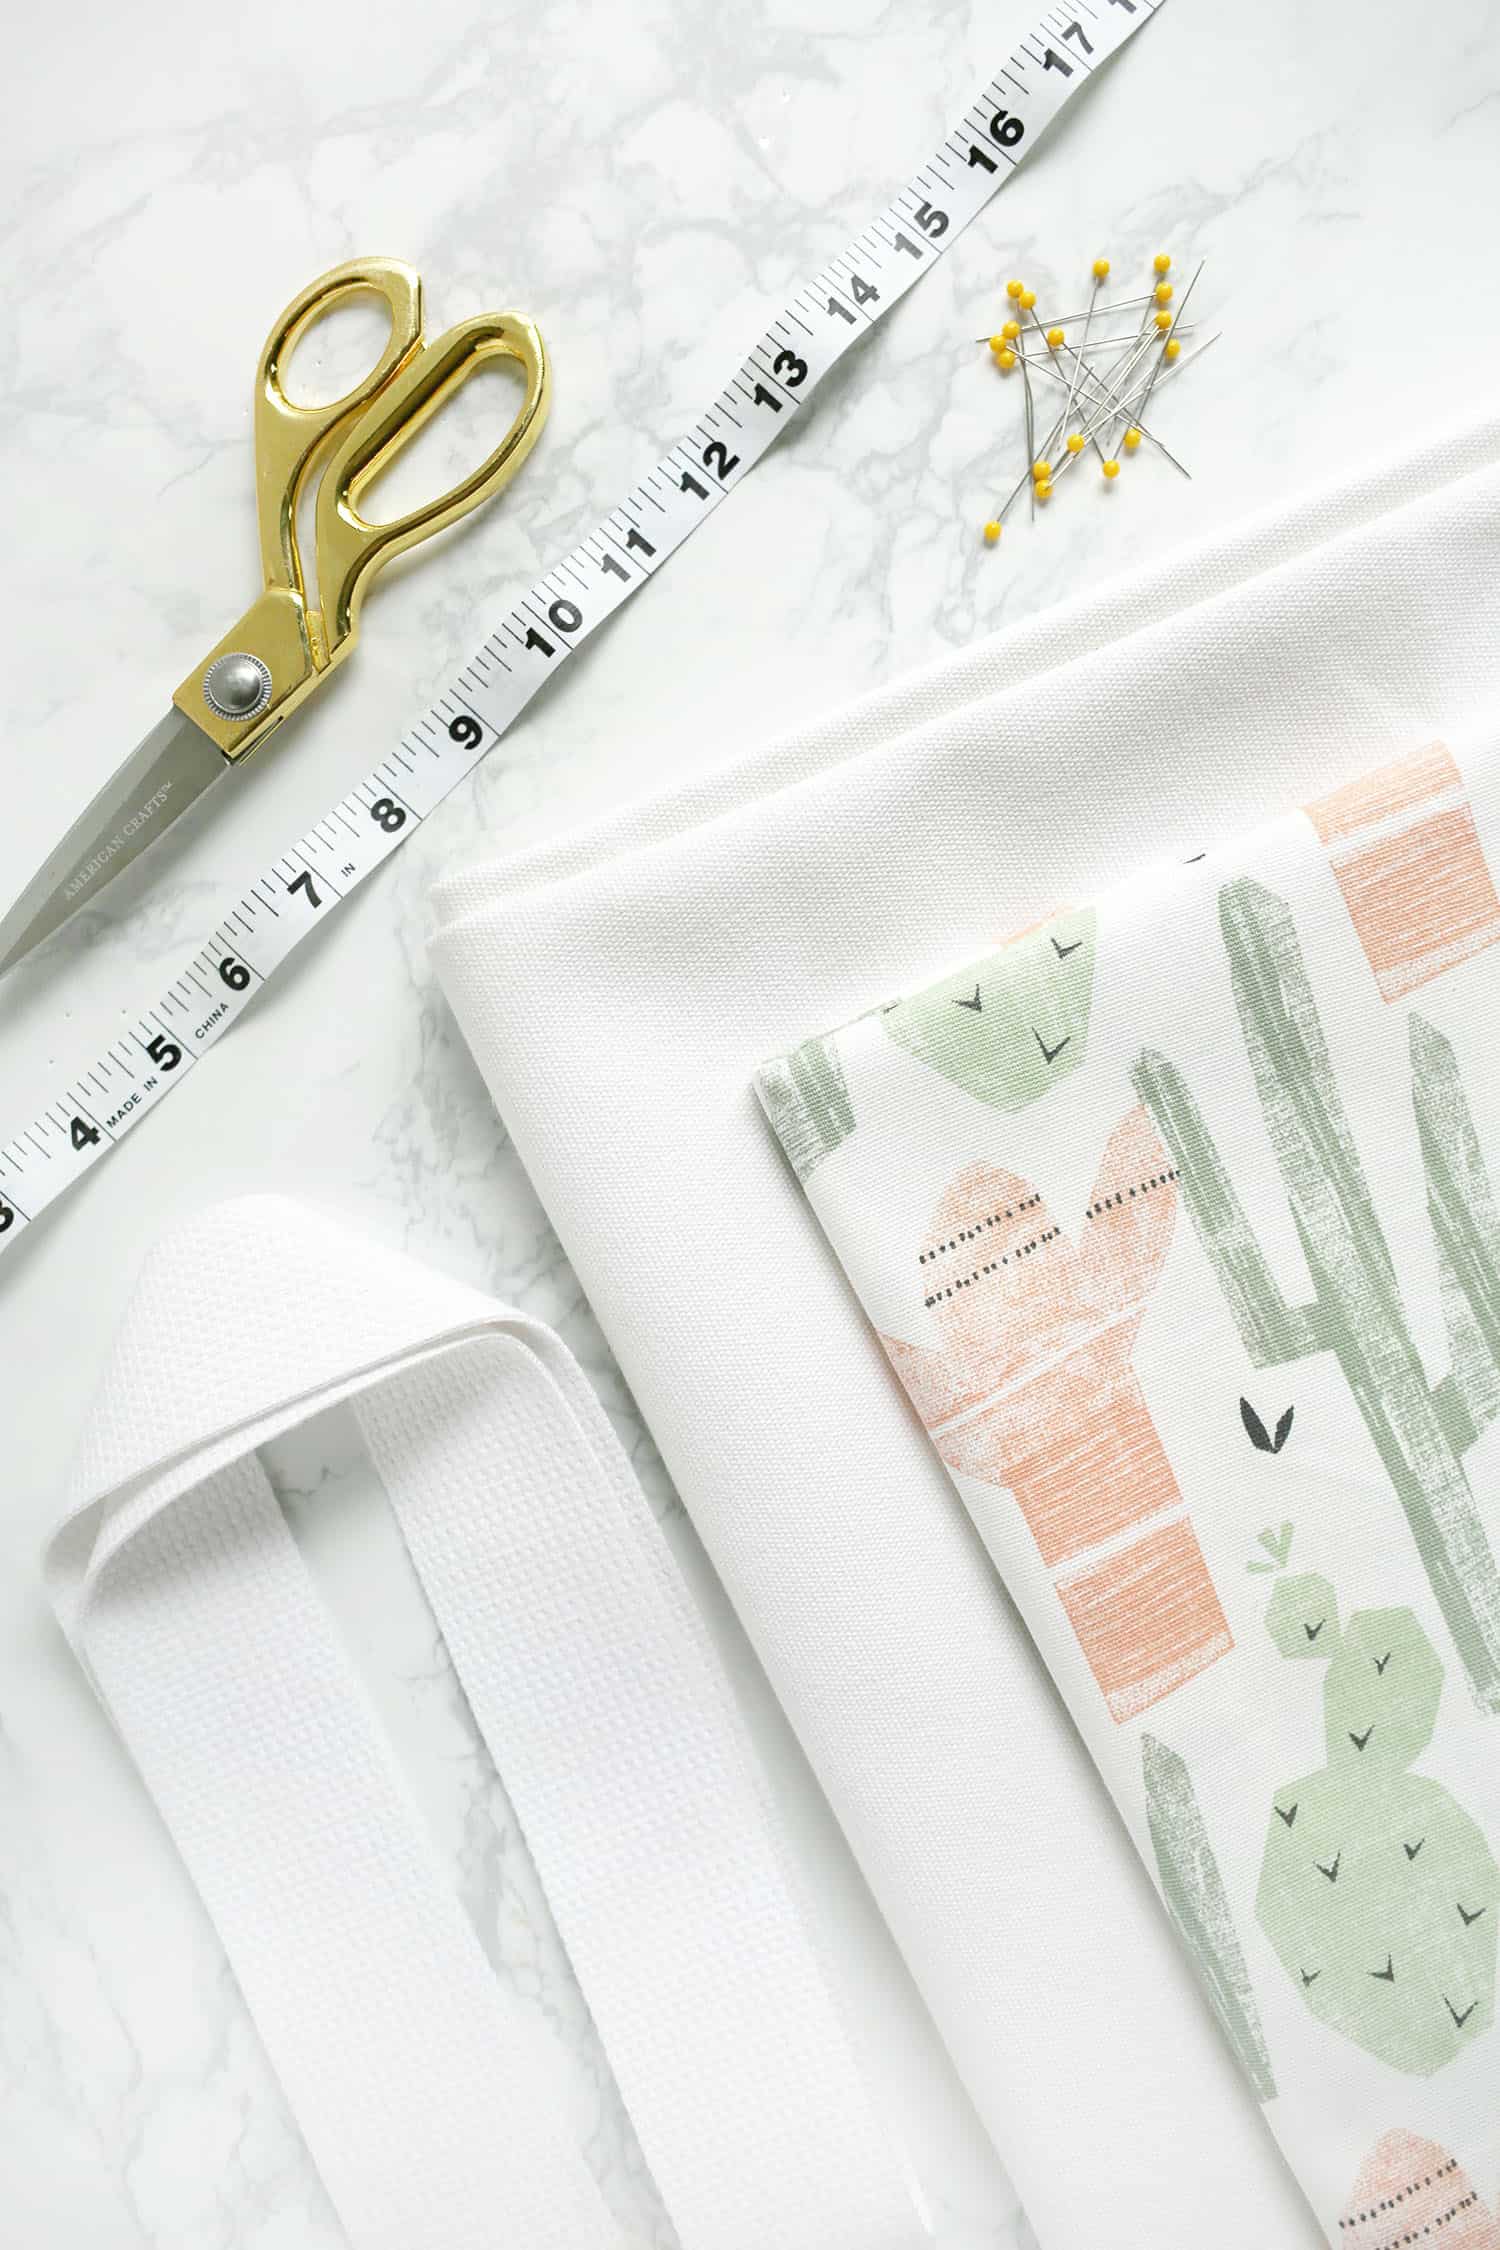
Pick out your favorite cotton print and pair it with a thick canvas or duck cloth to make sure your laundry bag is vibing with the rest of your decor or get artistic and add your own textile print with fabric paint. If you’re brand new to sewing, you should be able to knock out this project. If you’re already pretty familiar with your machine, you’ll have it done in no time!
 Supplies
–1.5 yard printed cotton fabric (outer shell)
-1.5 yard matching canvas fabric (inner shell)
-1 yard of 1.5″ cotton webbing for handle
-17″ circular object to use as template (or two pencils and a string to make a compass)
-scissors
-iron and ironing board
-straight pins
-measuring tape
-sewing machine
-cotton thread
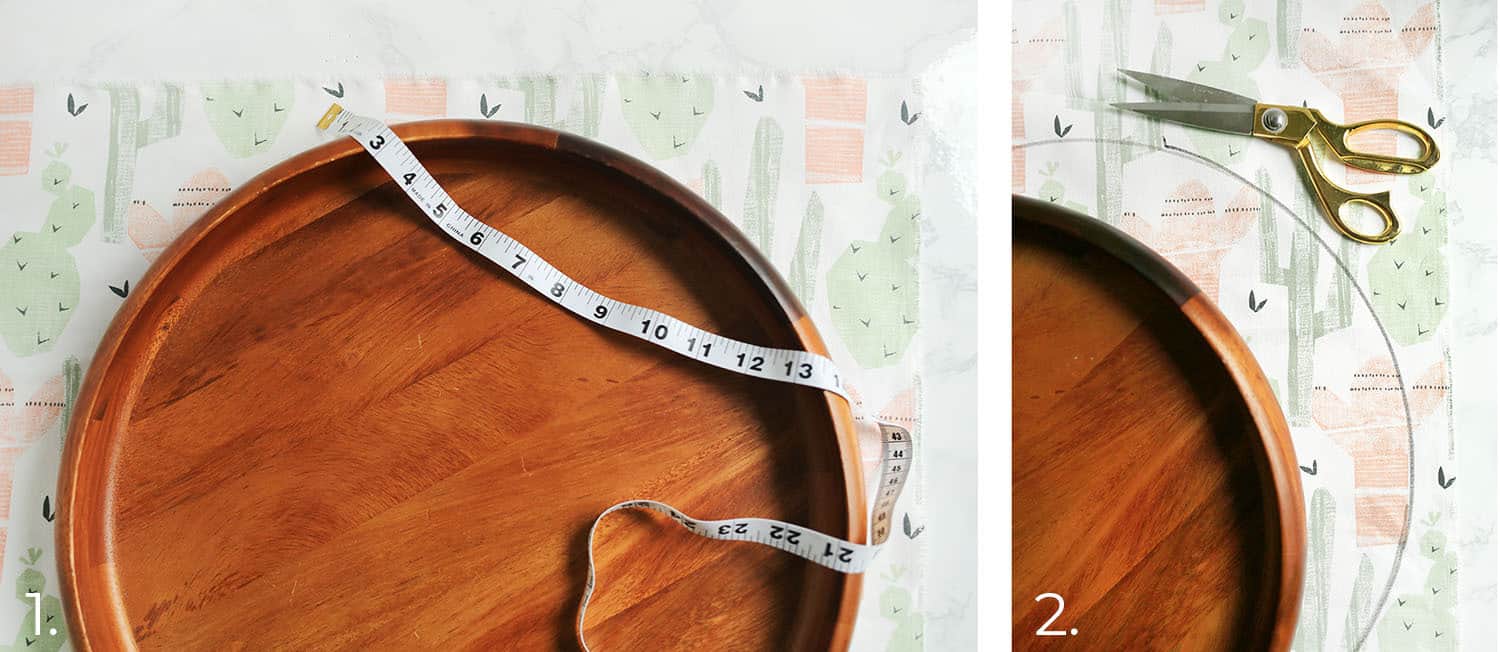 Step One: Find something to use as a template to create a 17″ circle on both your cotton print fabric and your canvas fabric. If you have a tray or the top of a planter, you’re in luck! Otherwise, you can use the trick we all learned in junior high for creating a circle using two pencils and a string (makeshift compass).
Step Two: Trace around your templates and cut out both circles.
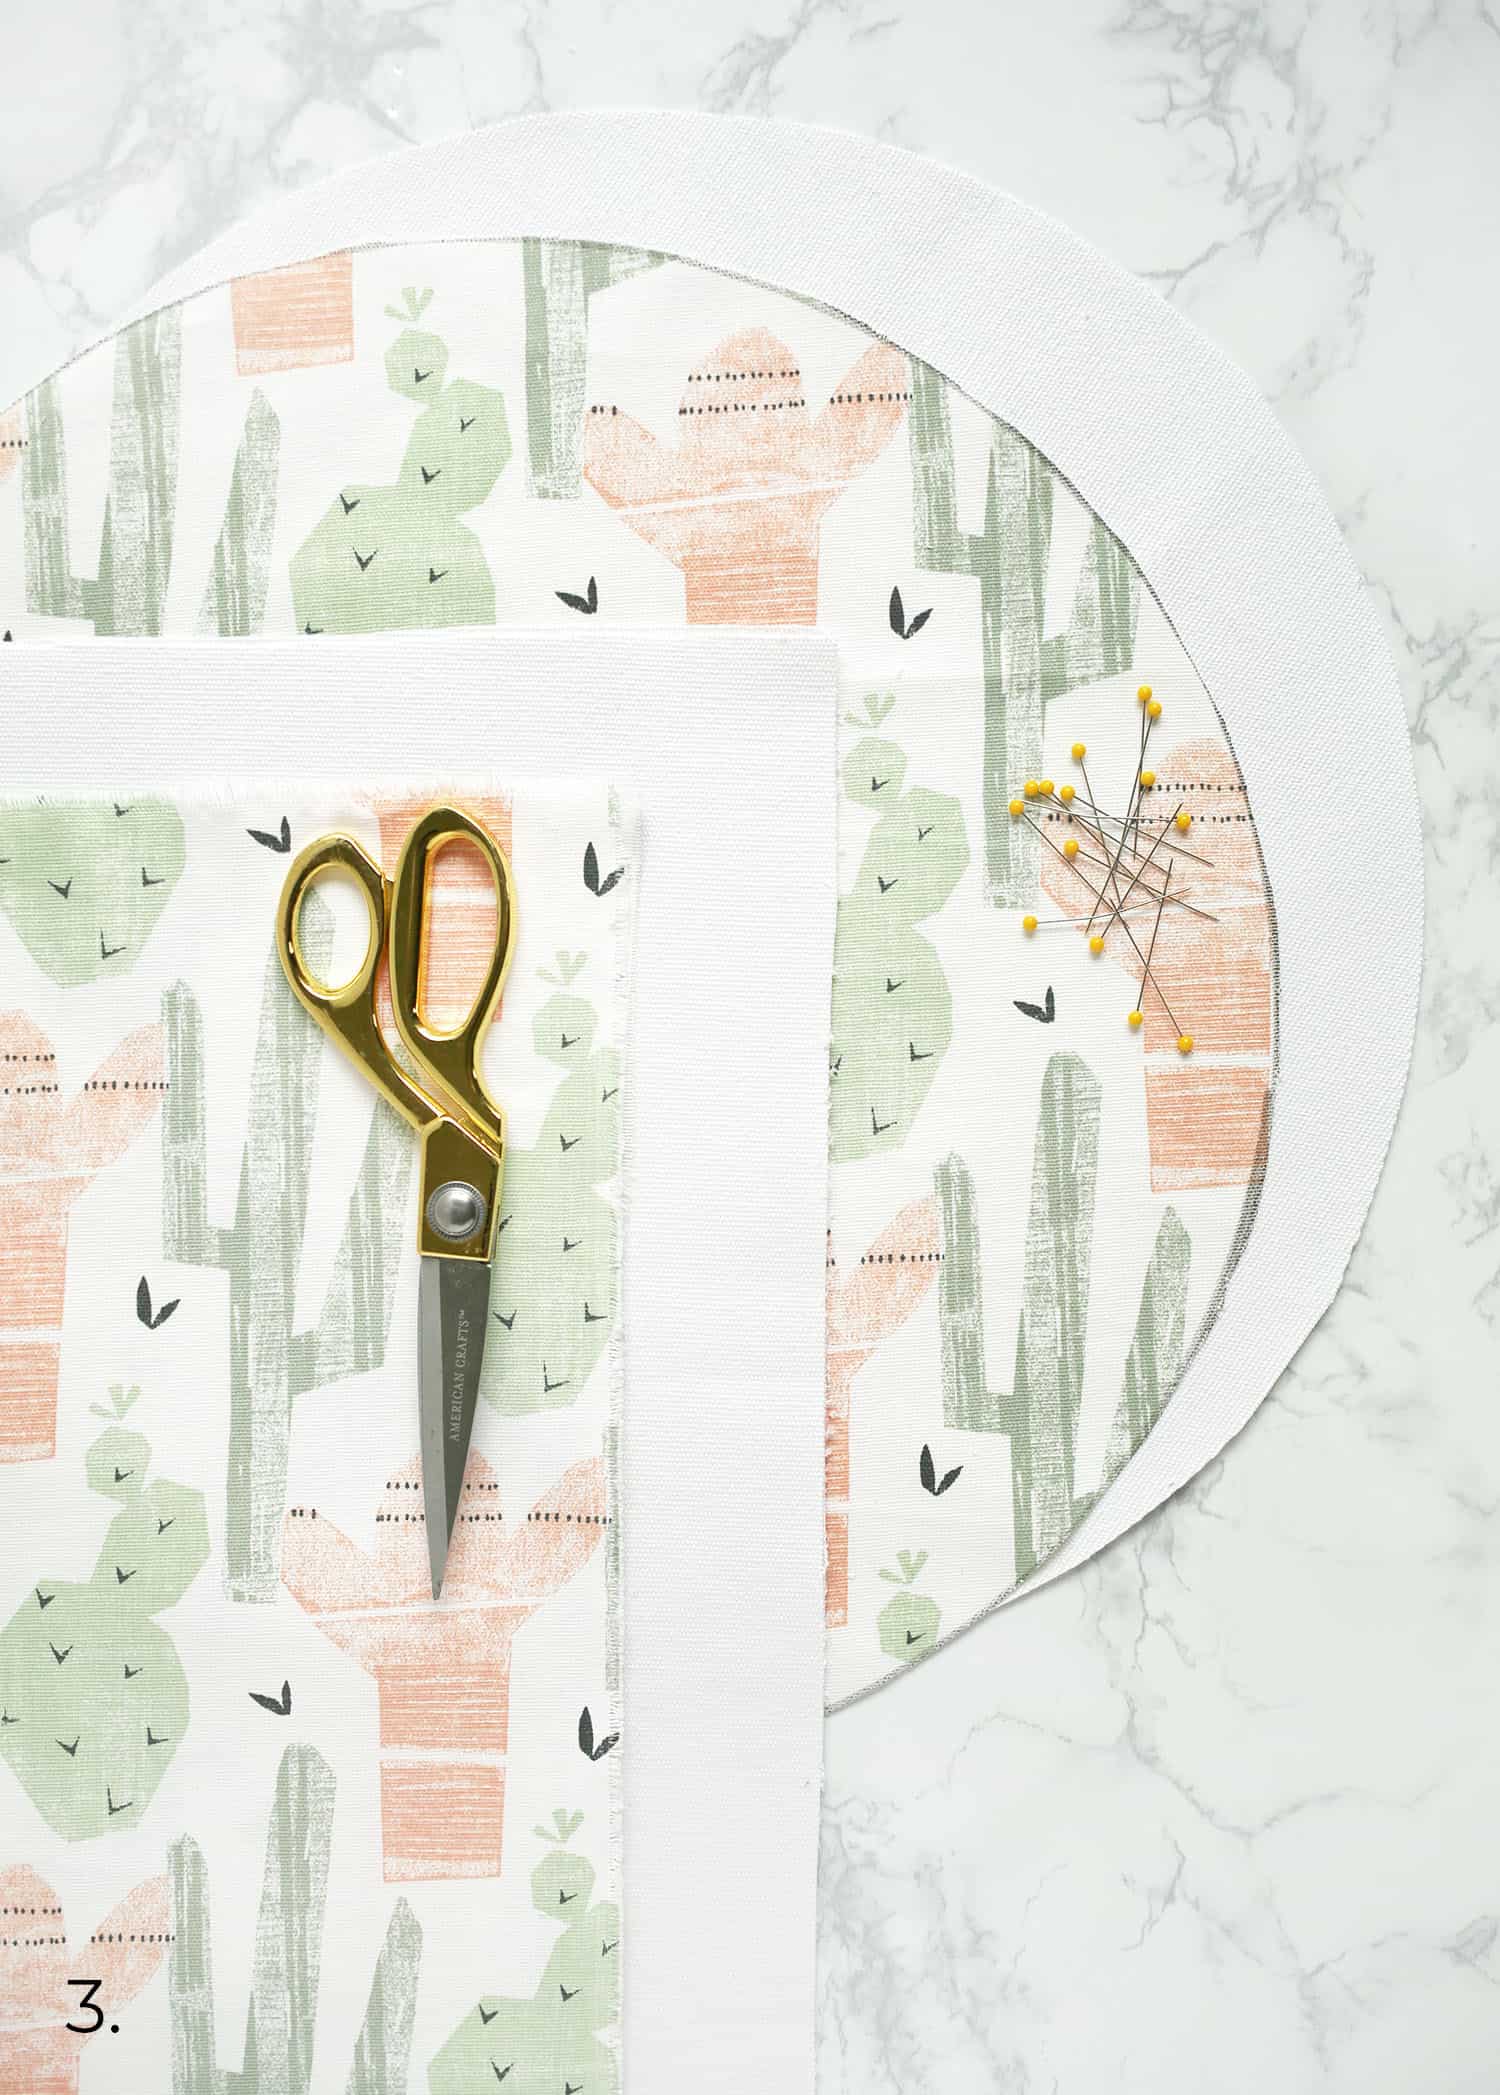 Step Three: Cut out one rectangle from your printed fabric and another from your canvas fabric that each measure 24″ x 54″.
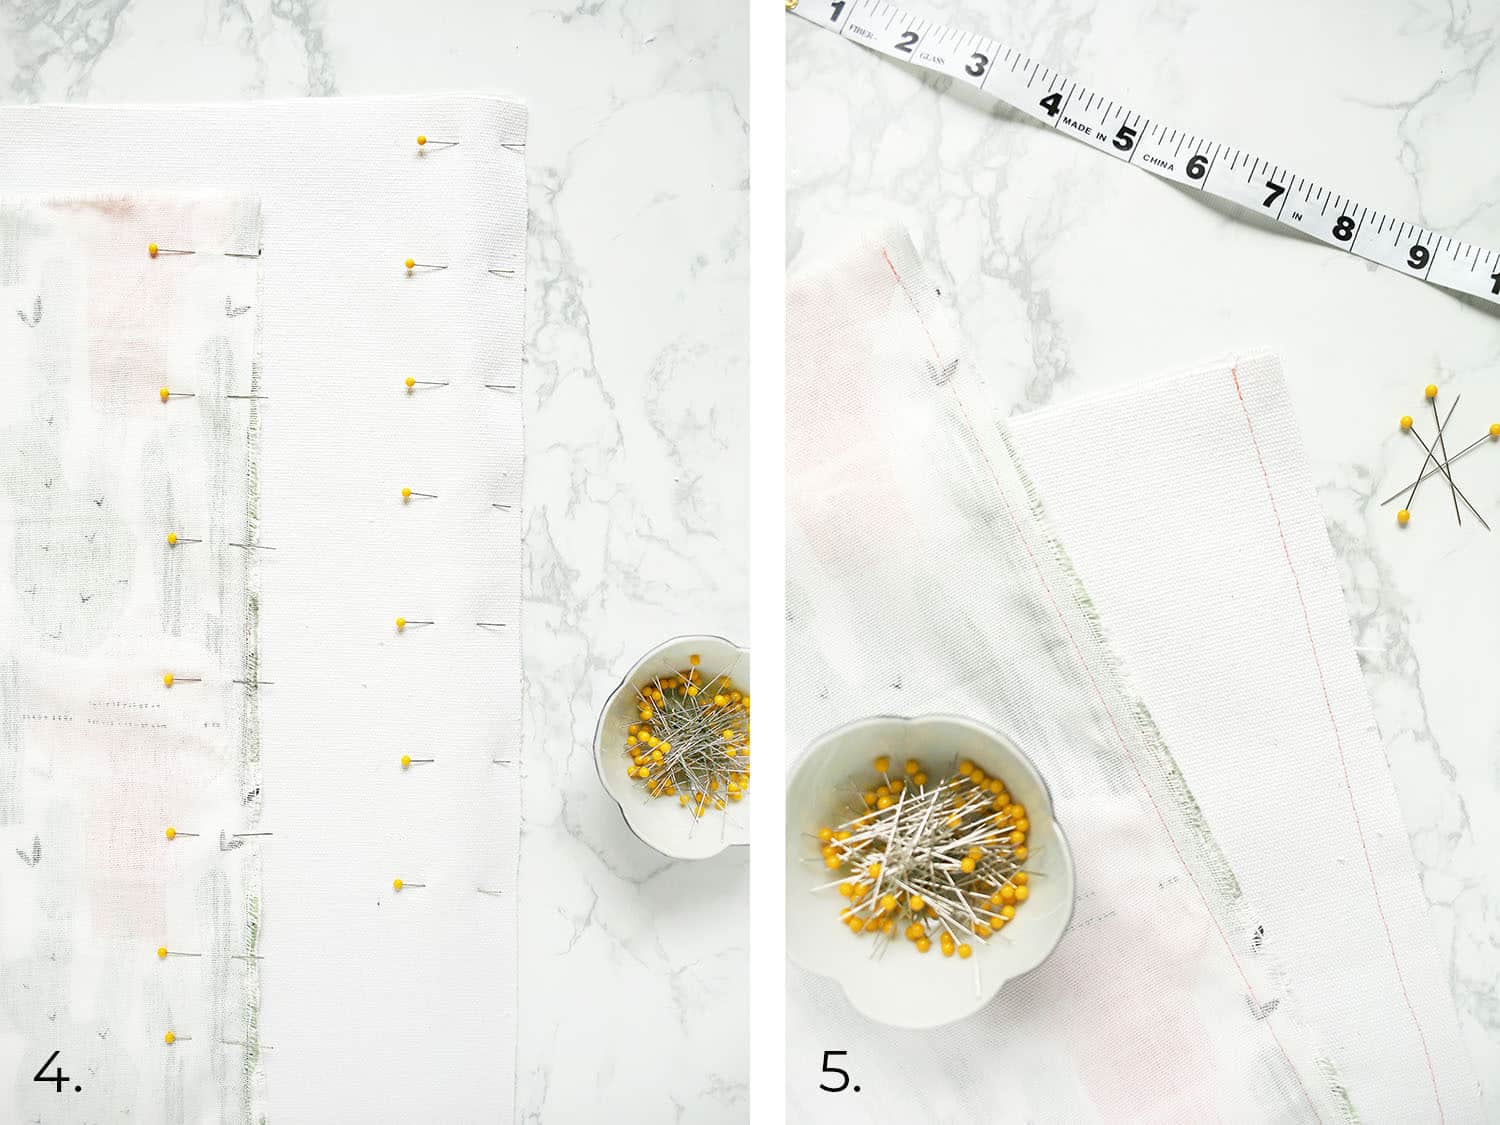 Step Four: Pin the short ends of your printed canvas fabric to each other with right sides facing each other. Repeat this process with the short ends of your canvas fabric (which has no right sides).
Step Five: Stitch along the pinned edge of your printed canvas so that your stitches are about 1/4″ from the edge. Backstitch the beginning and end to secure things. Repeat on the canvas fabric. These will each create a tube.
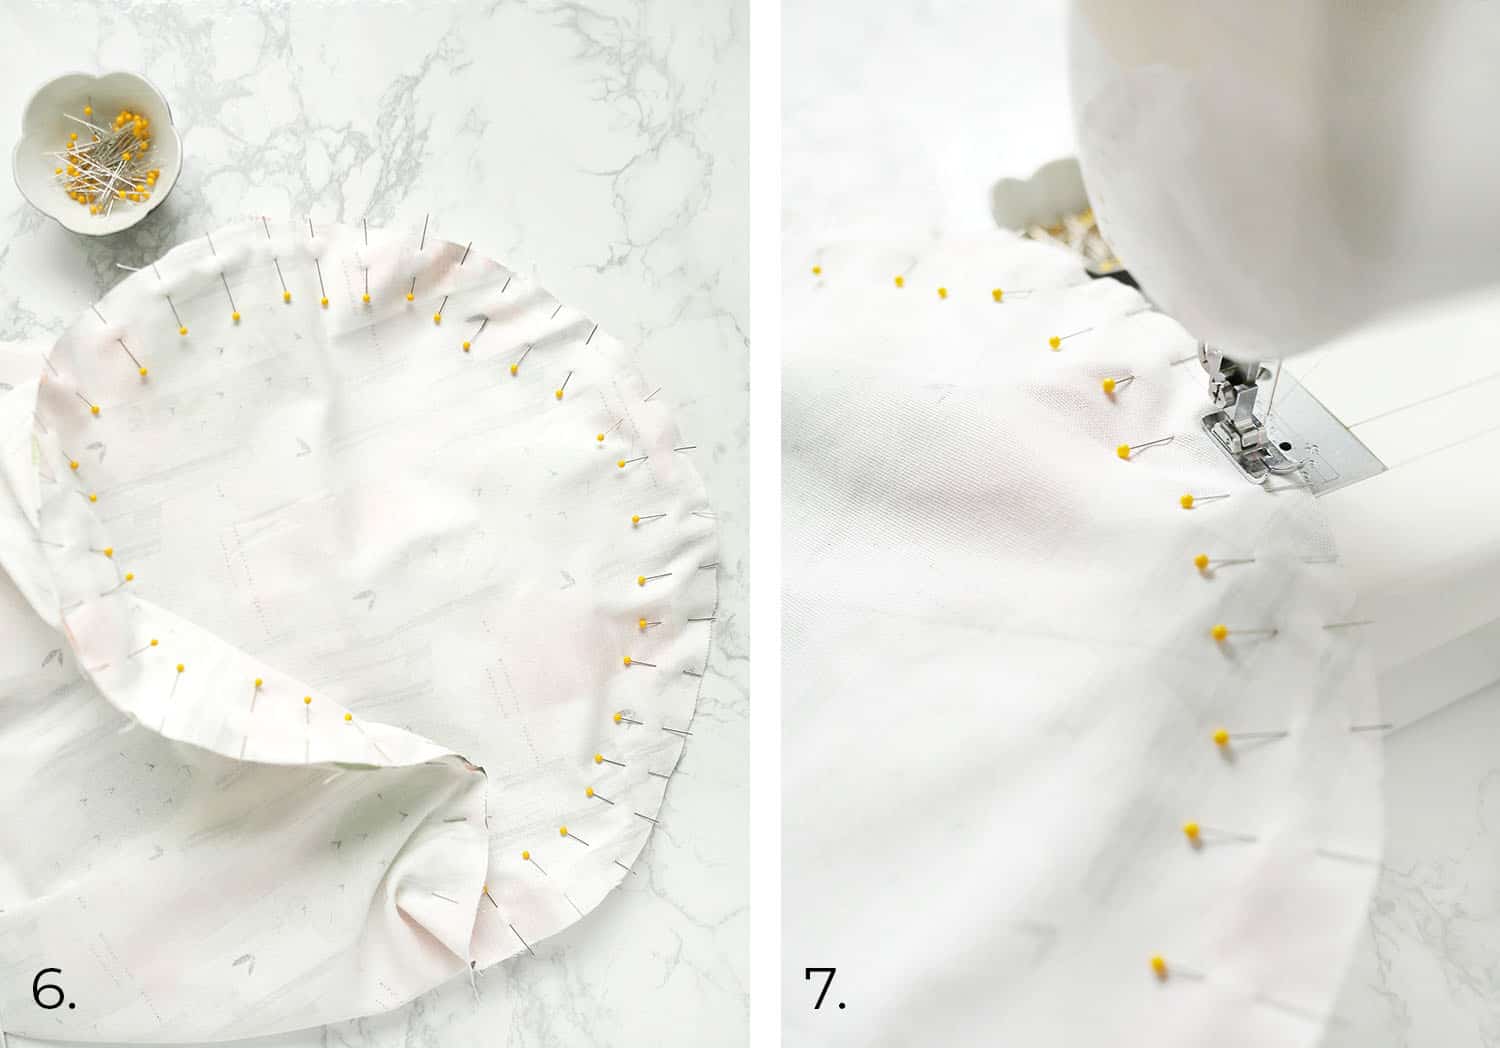 Step Six: Pin the printed cotton fabric circle to one end of your tube as shown. Pinning every inch will allow you to create a smooth circular base. Repeat the process with the canvas tube and the canvas circle.
Step Seven: Stitch around the perimeter of your circular base so that your stitches are about 1/4″ from the edge. Repeat the process with the canvas pieces.
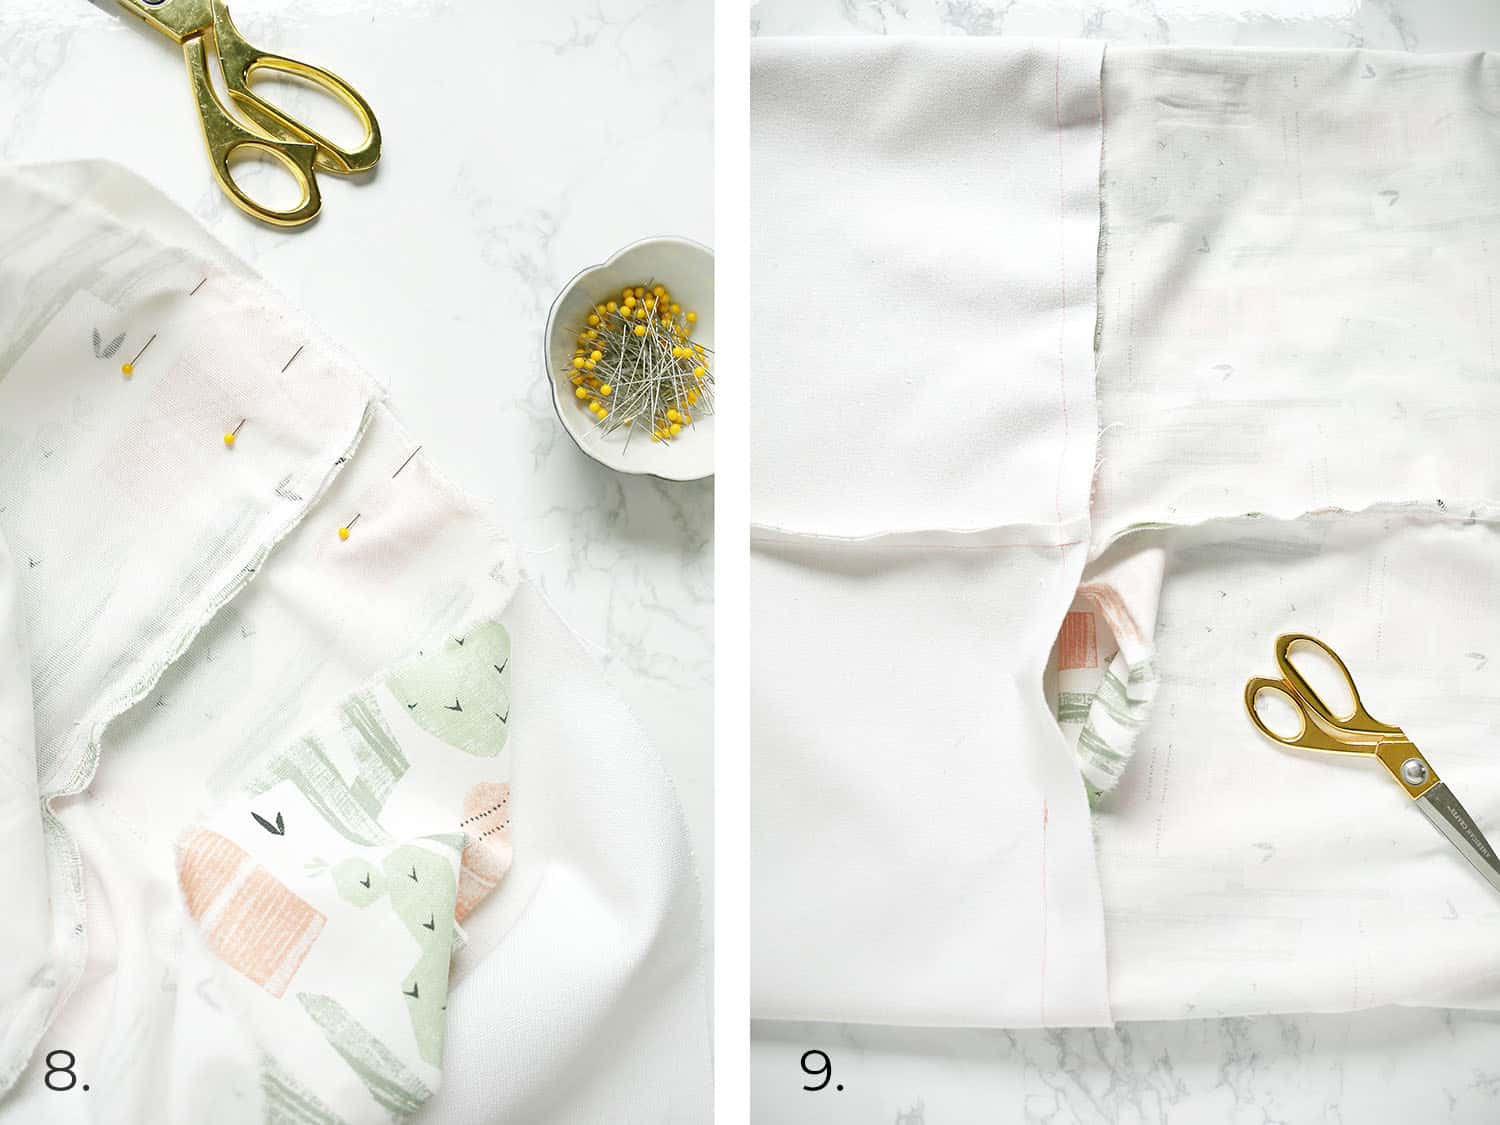 Step Eight: Now we’re going to join the printed cotton piece with the canvas piece. Find the seam on each tube and match them up so that the right sides of each piece are facing each other. Pin together. You’ll want to fold the canvas tube inside out so that the printed tube fits snugly inside. This will allow you to stitch them together.
Step Nine: Stitch the two pieces of fabric together from the seam, all the way around the edge but stop about five inches from where you started. You’ll need an opening so you can turn everything right side out. Once you’ve finished stitching, pull the printed fabric piece out of the canvas piece. This will show you your opening.
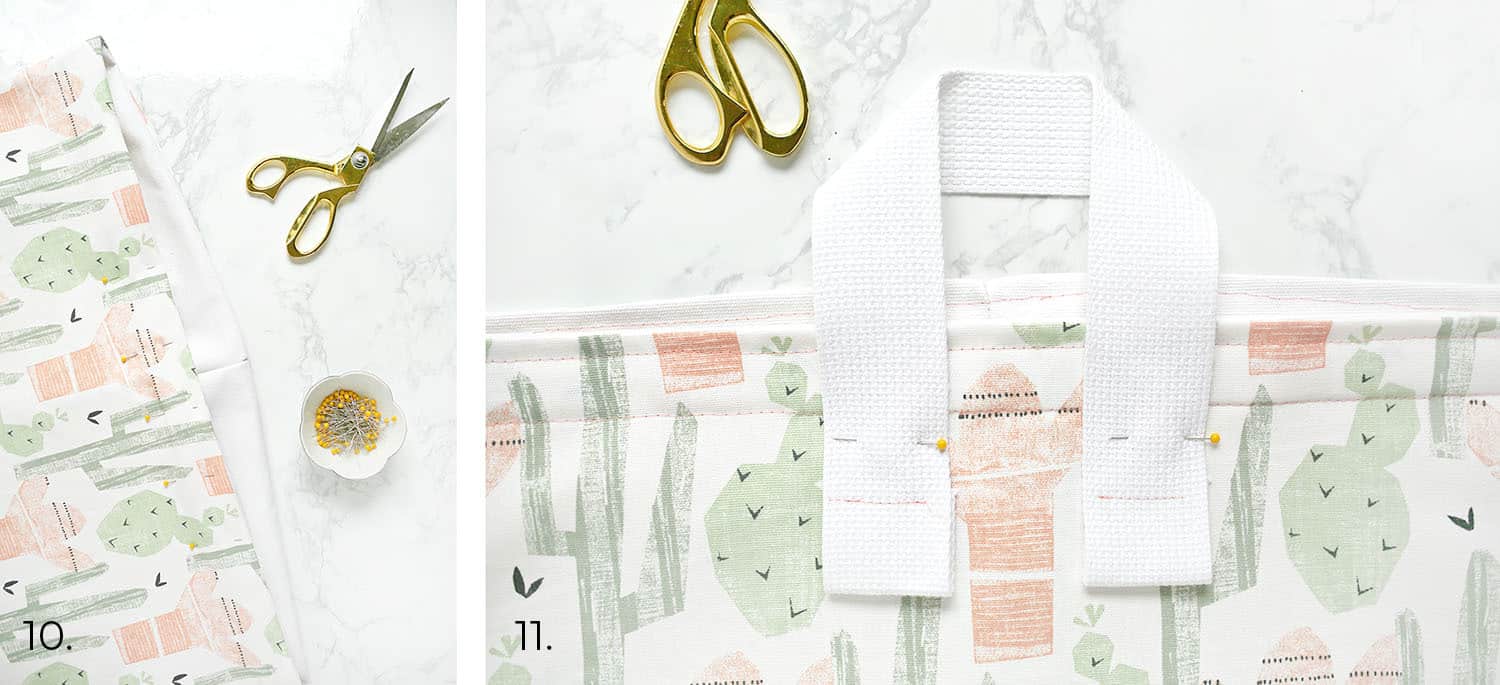 Step Ten: Turn the whole piece right side out and then tuck the canvas piece inside the printed piece to create your laundry basket shape. Make sure the seam at the top where the two pieces of fabric meet is neat and tidy and iron it flat. You can pin it together for this next piece or not but you’ll want to stitch along that perimeter, about 1/4″ from the edge, to keep things in place. Then measure down about 1″ from where you stitched and add another line of stitching.
Step Eleven: Cut two 17″ pieces from your cotton webbing for handles. Fold the end of each piece back about 1″ and stitch down for a clean end. Make sure you fold these ends on the same side of the webbing.
Then place your first handle on the outside of your laundry basket so that the folded ends are equally about 3″ below the top of your basket edge and with about 1.5″ of a gap in between them. Pin in place as shown. Repeat with the other handle on the opposite side of your basket.
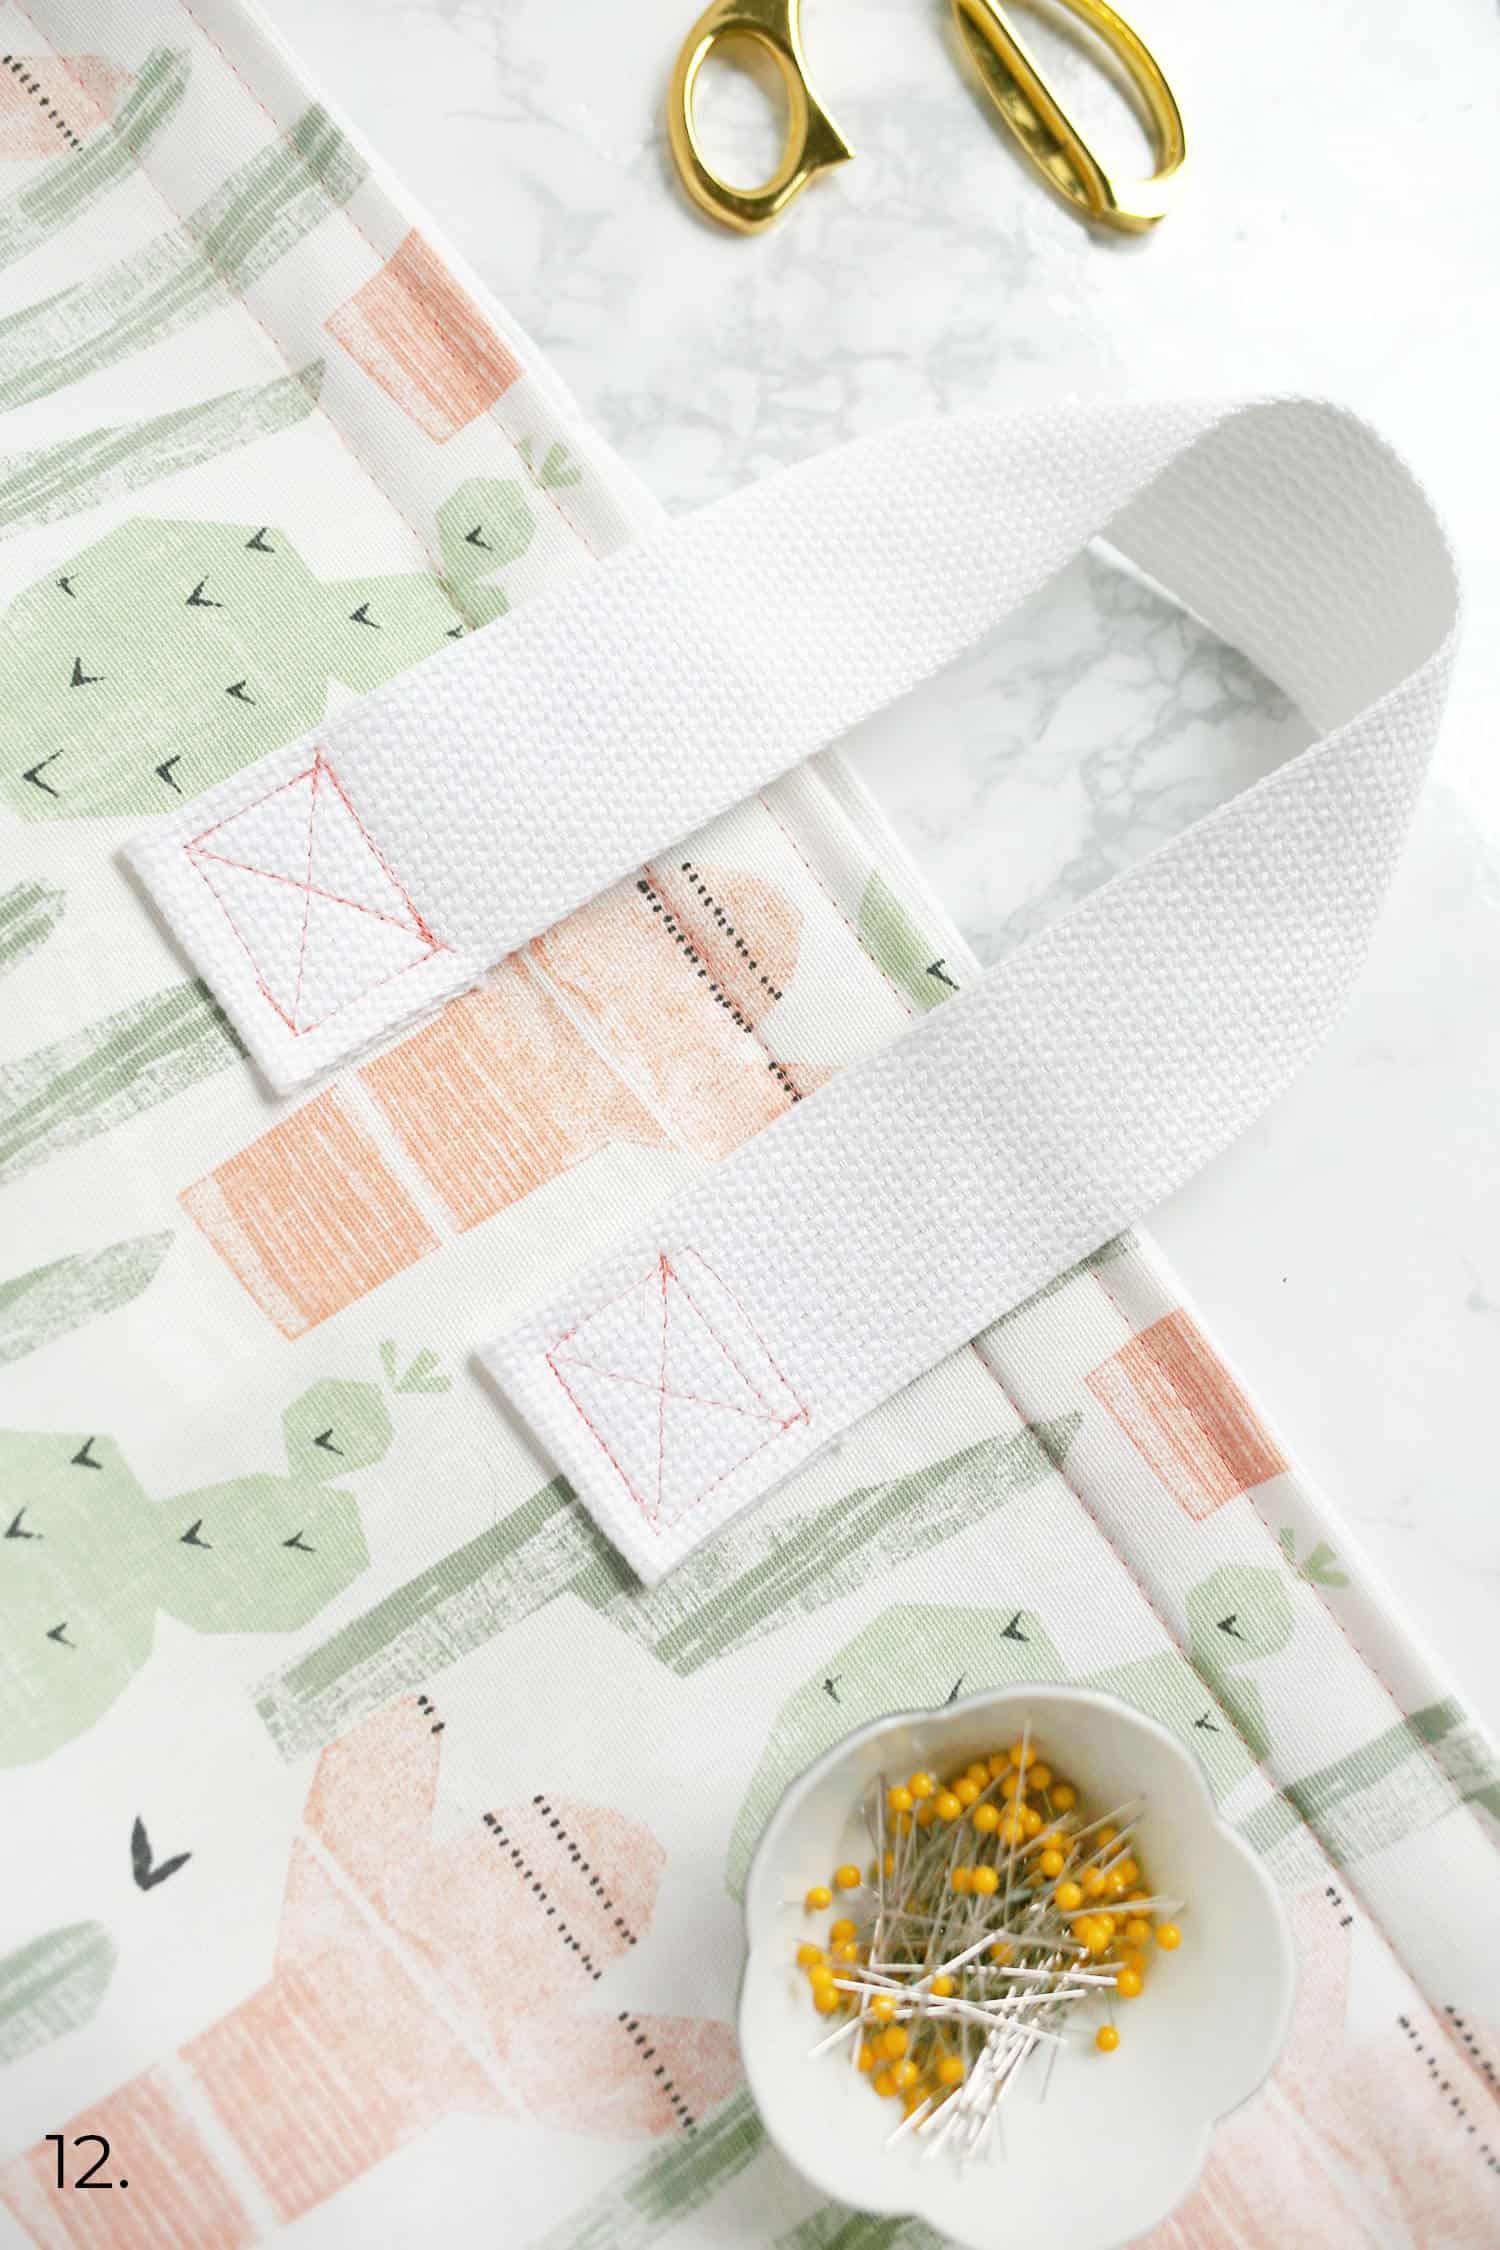 Step Twelve: Stitch a box with an ‘X’ shape in it on both folded ends to secure them to your laundry basket. Remove pins and repeat on the other handle.
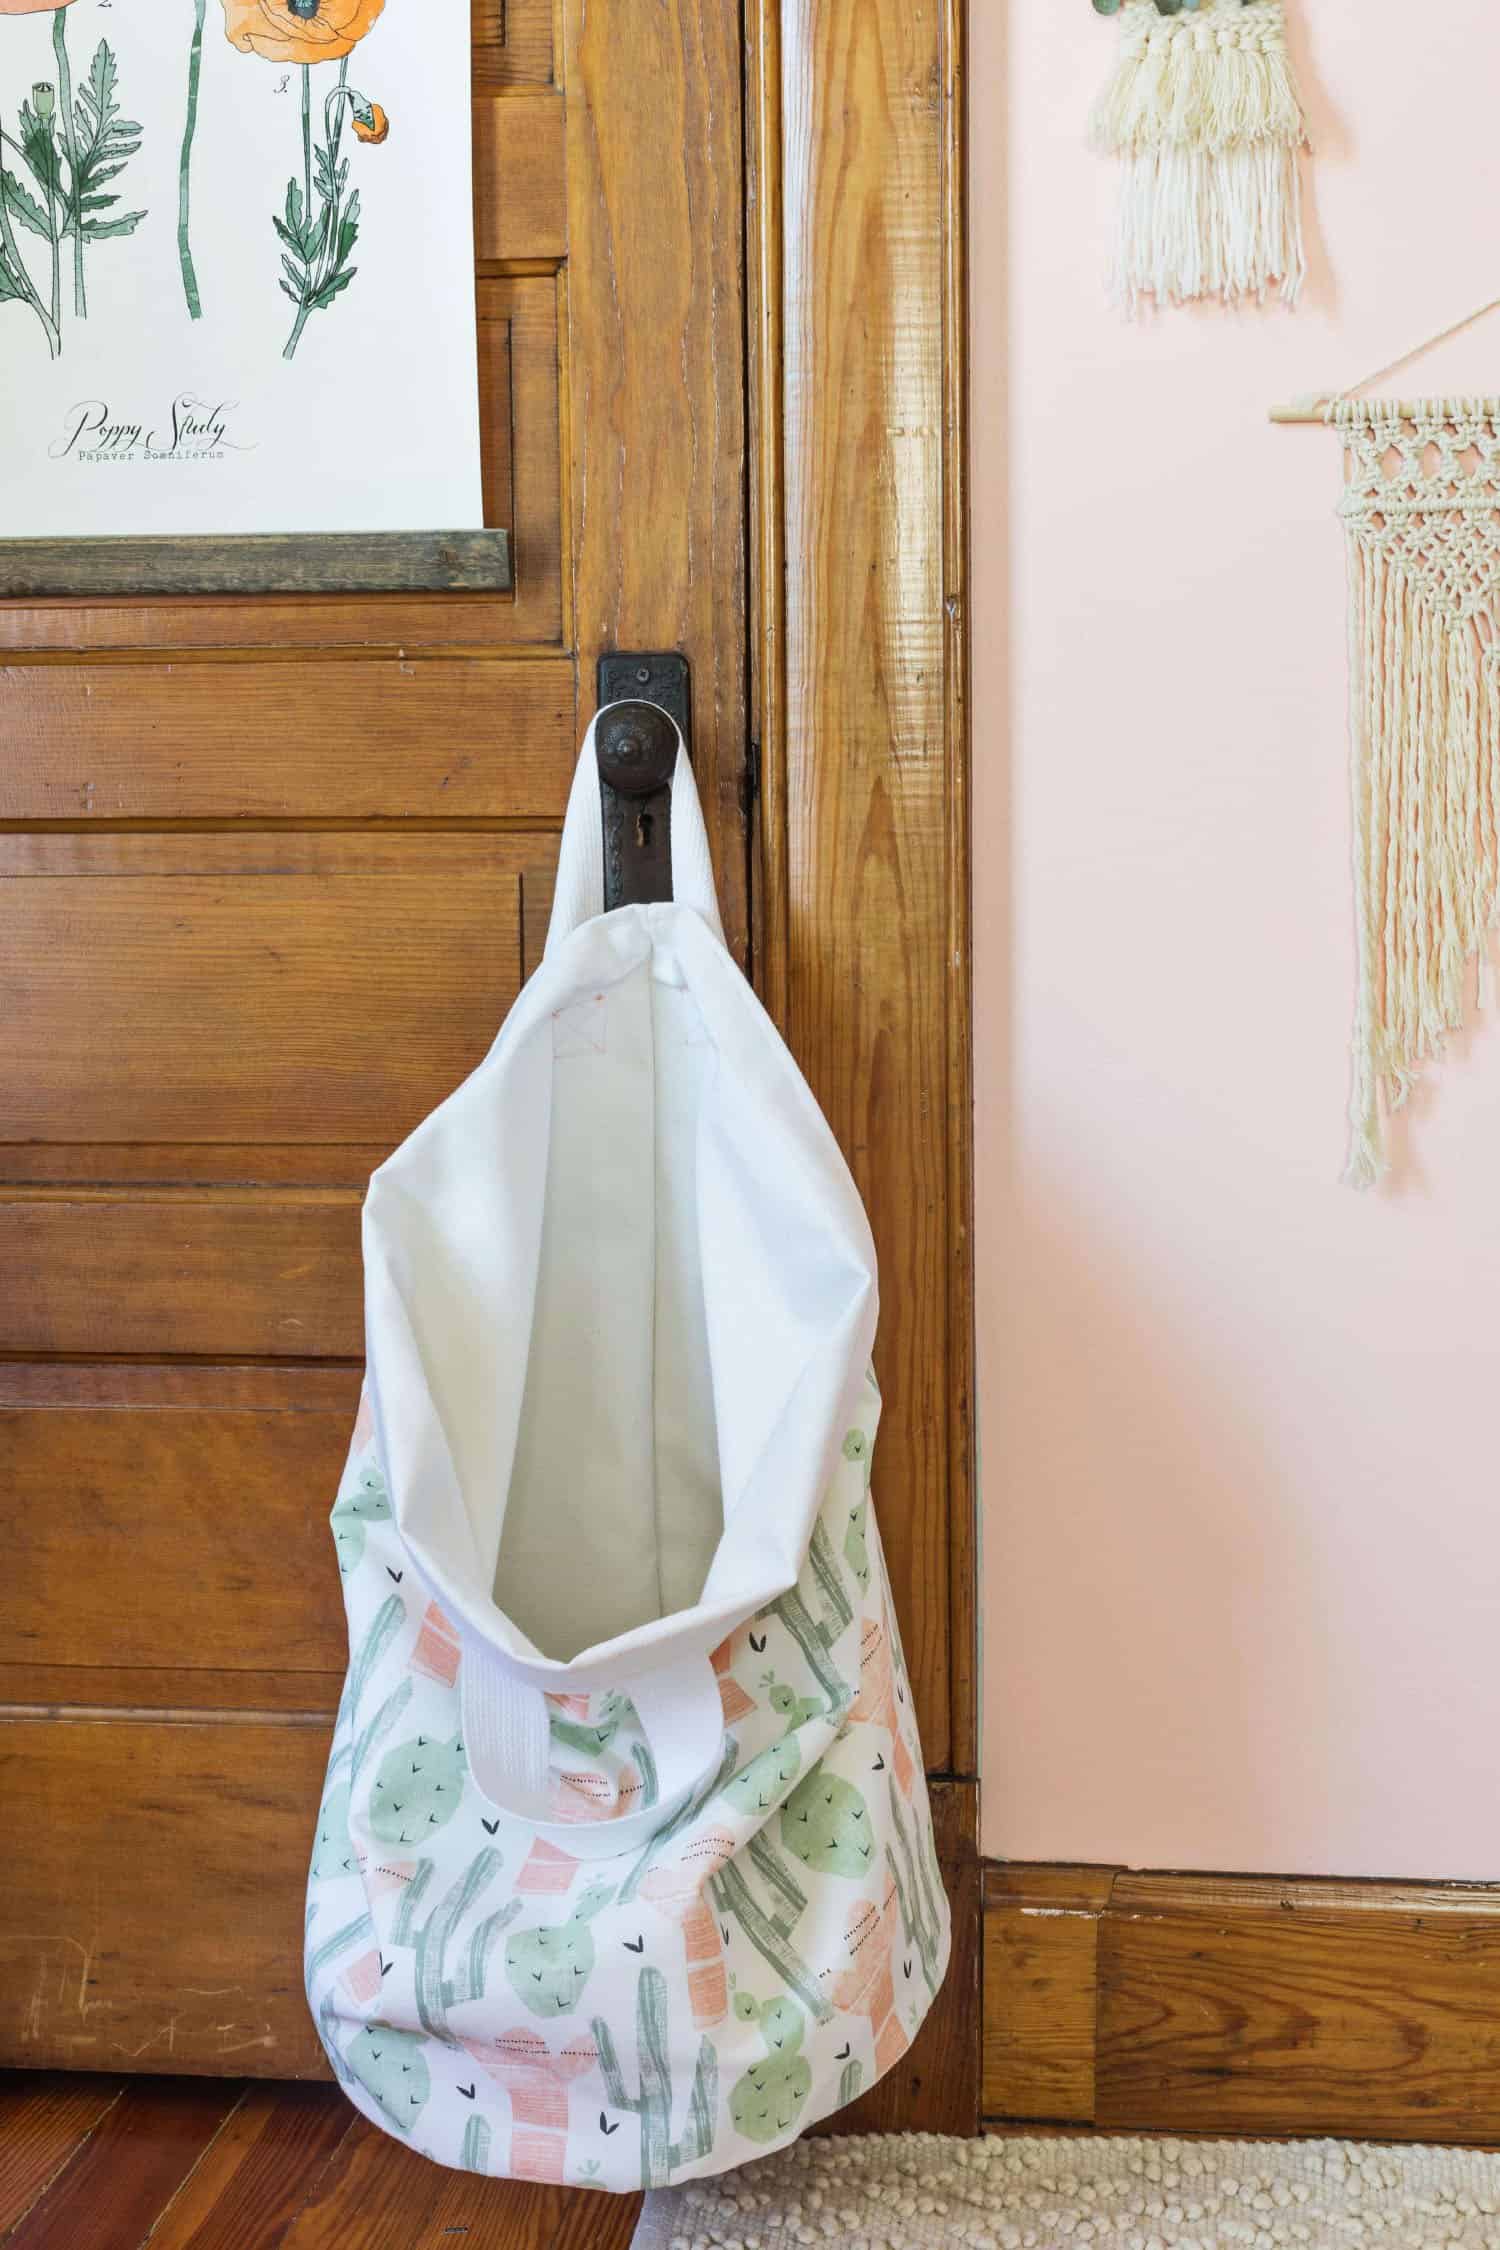
 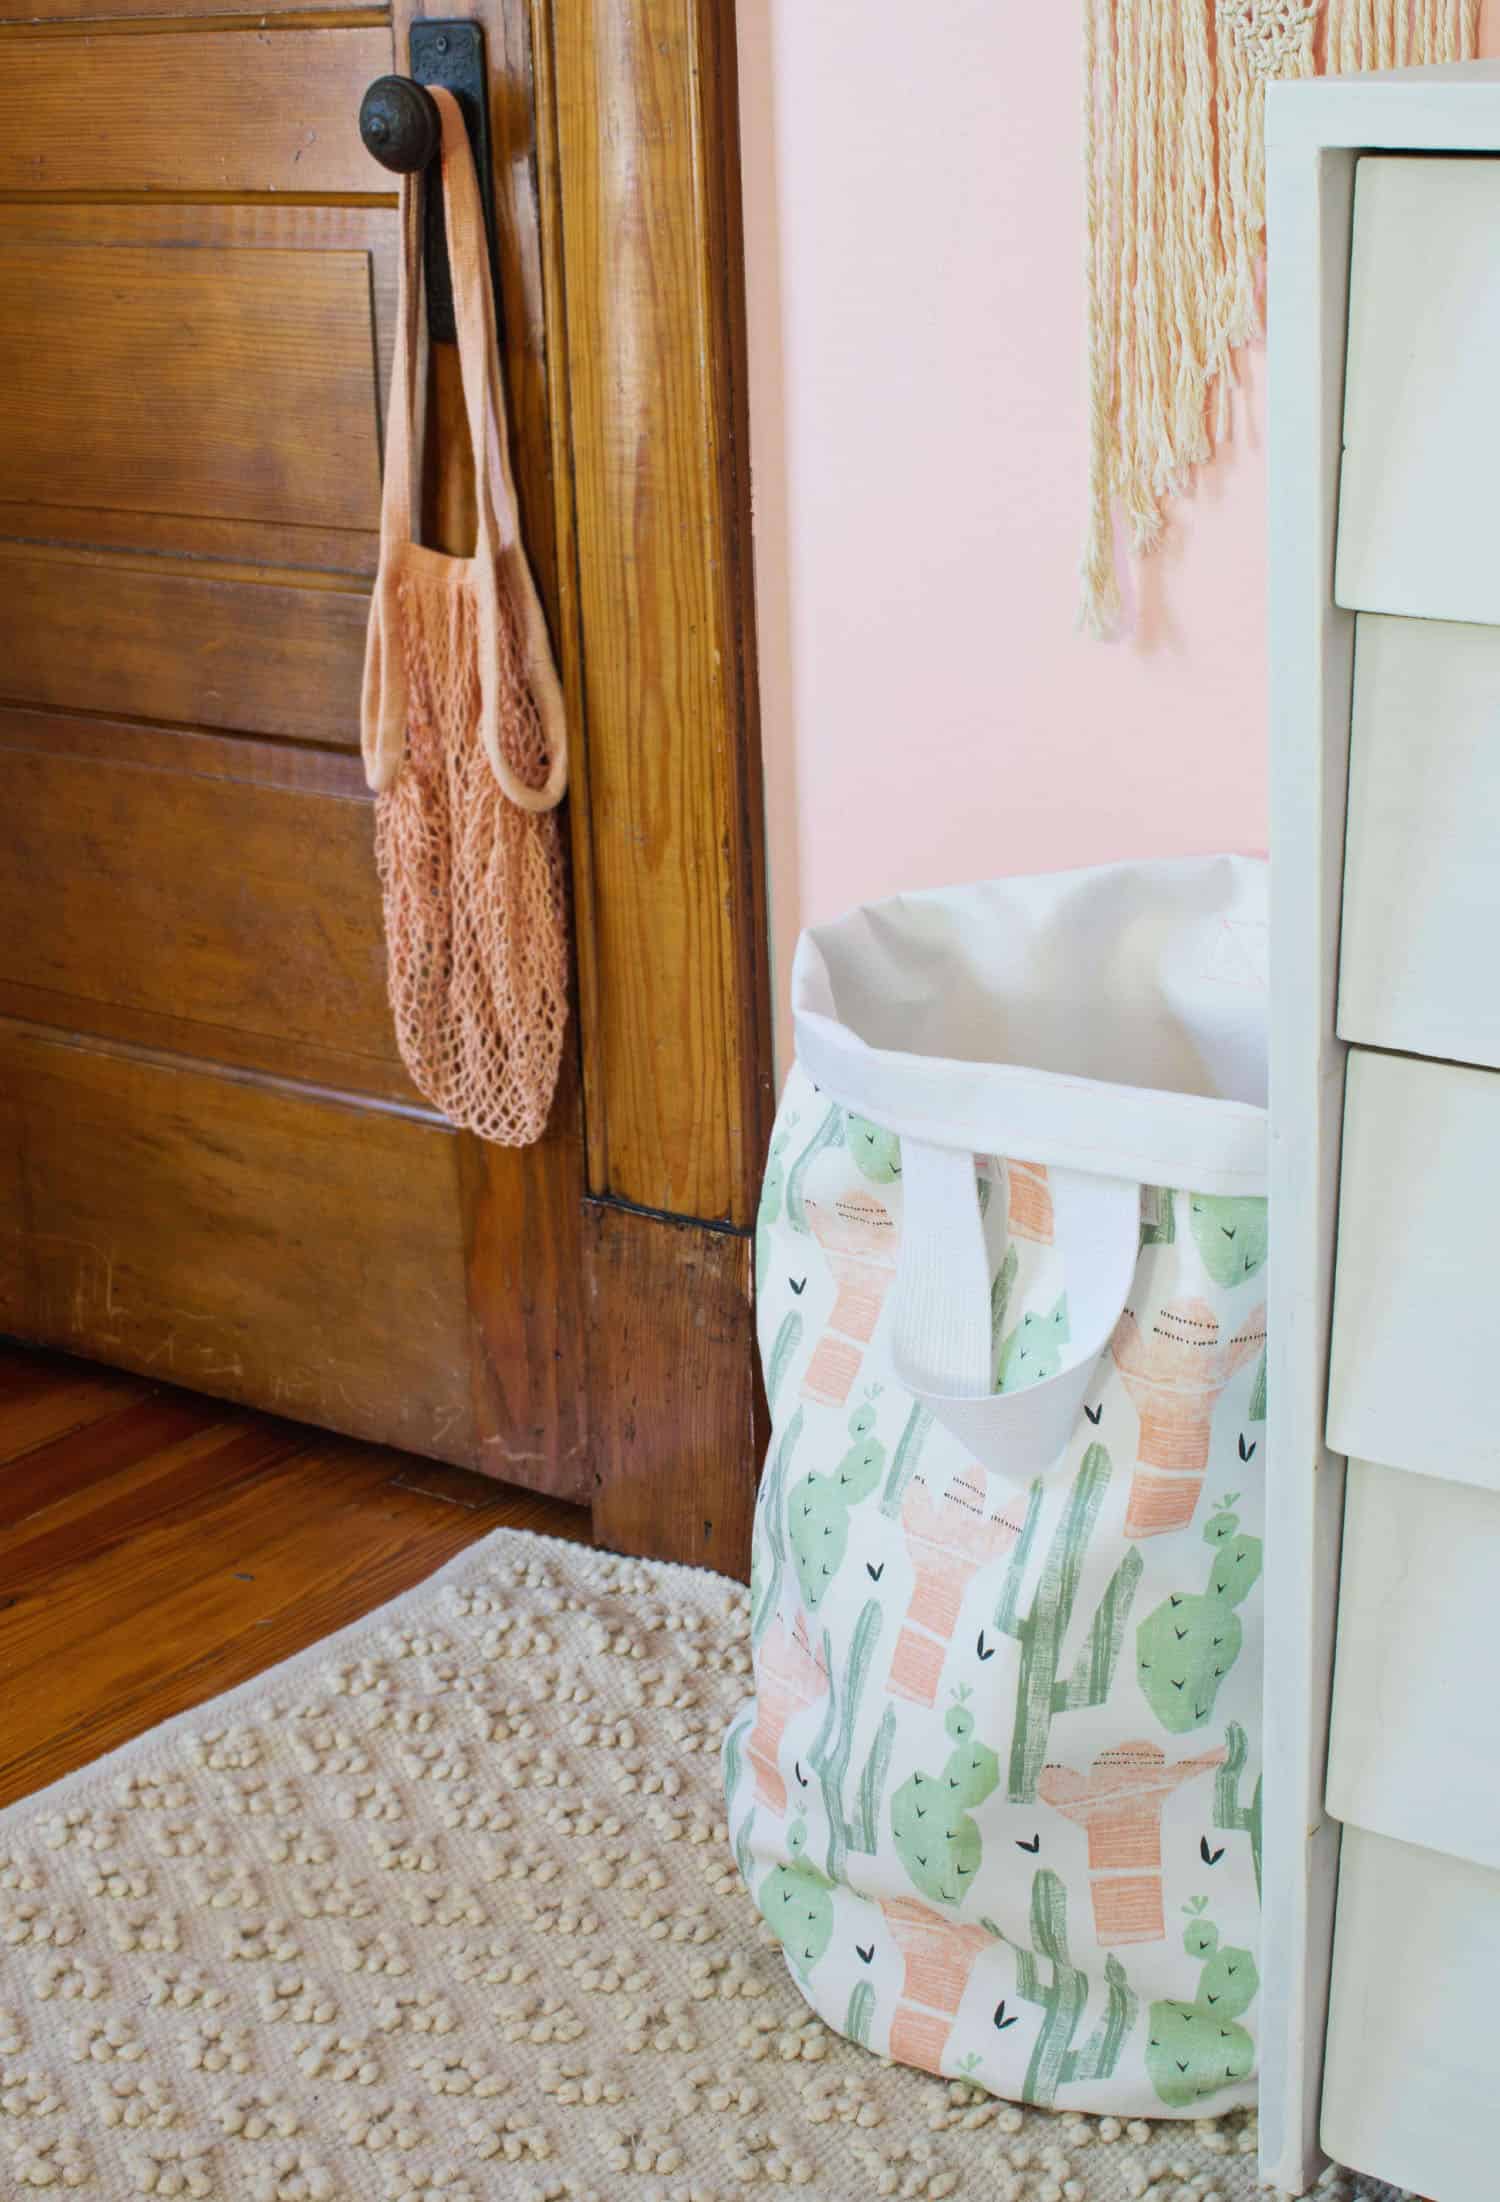 Fold the top edge of your basket over and find the perfect spot for it! I find hanging it from a doorknob works for those who enjoy a challenge when shooting their dirty socks through the air.
 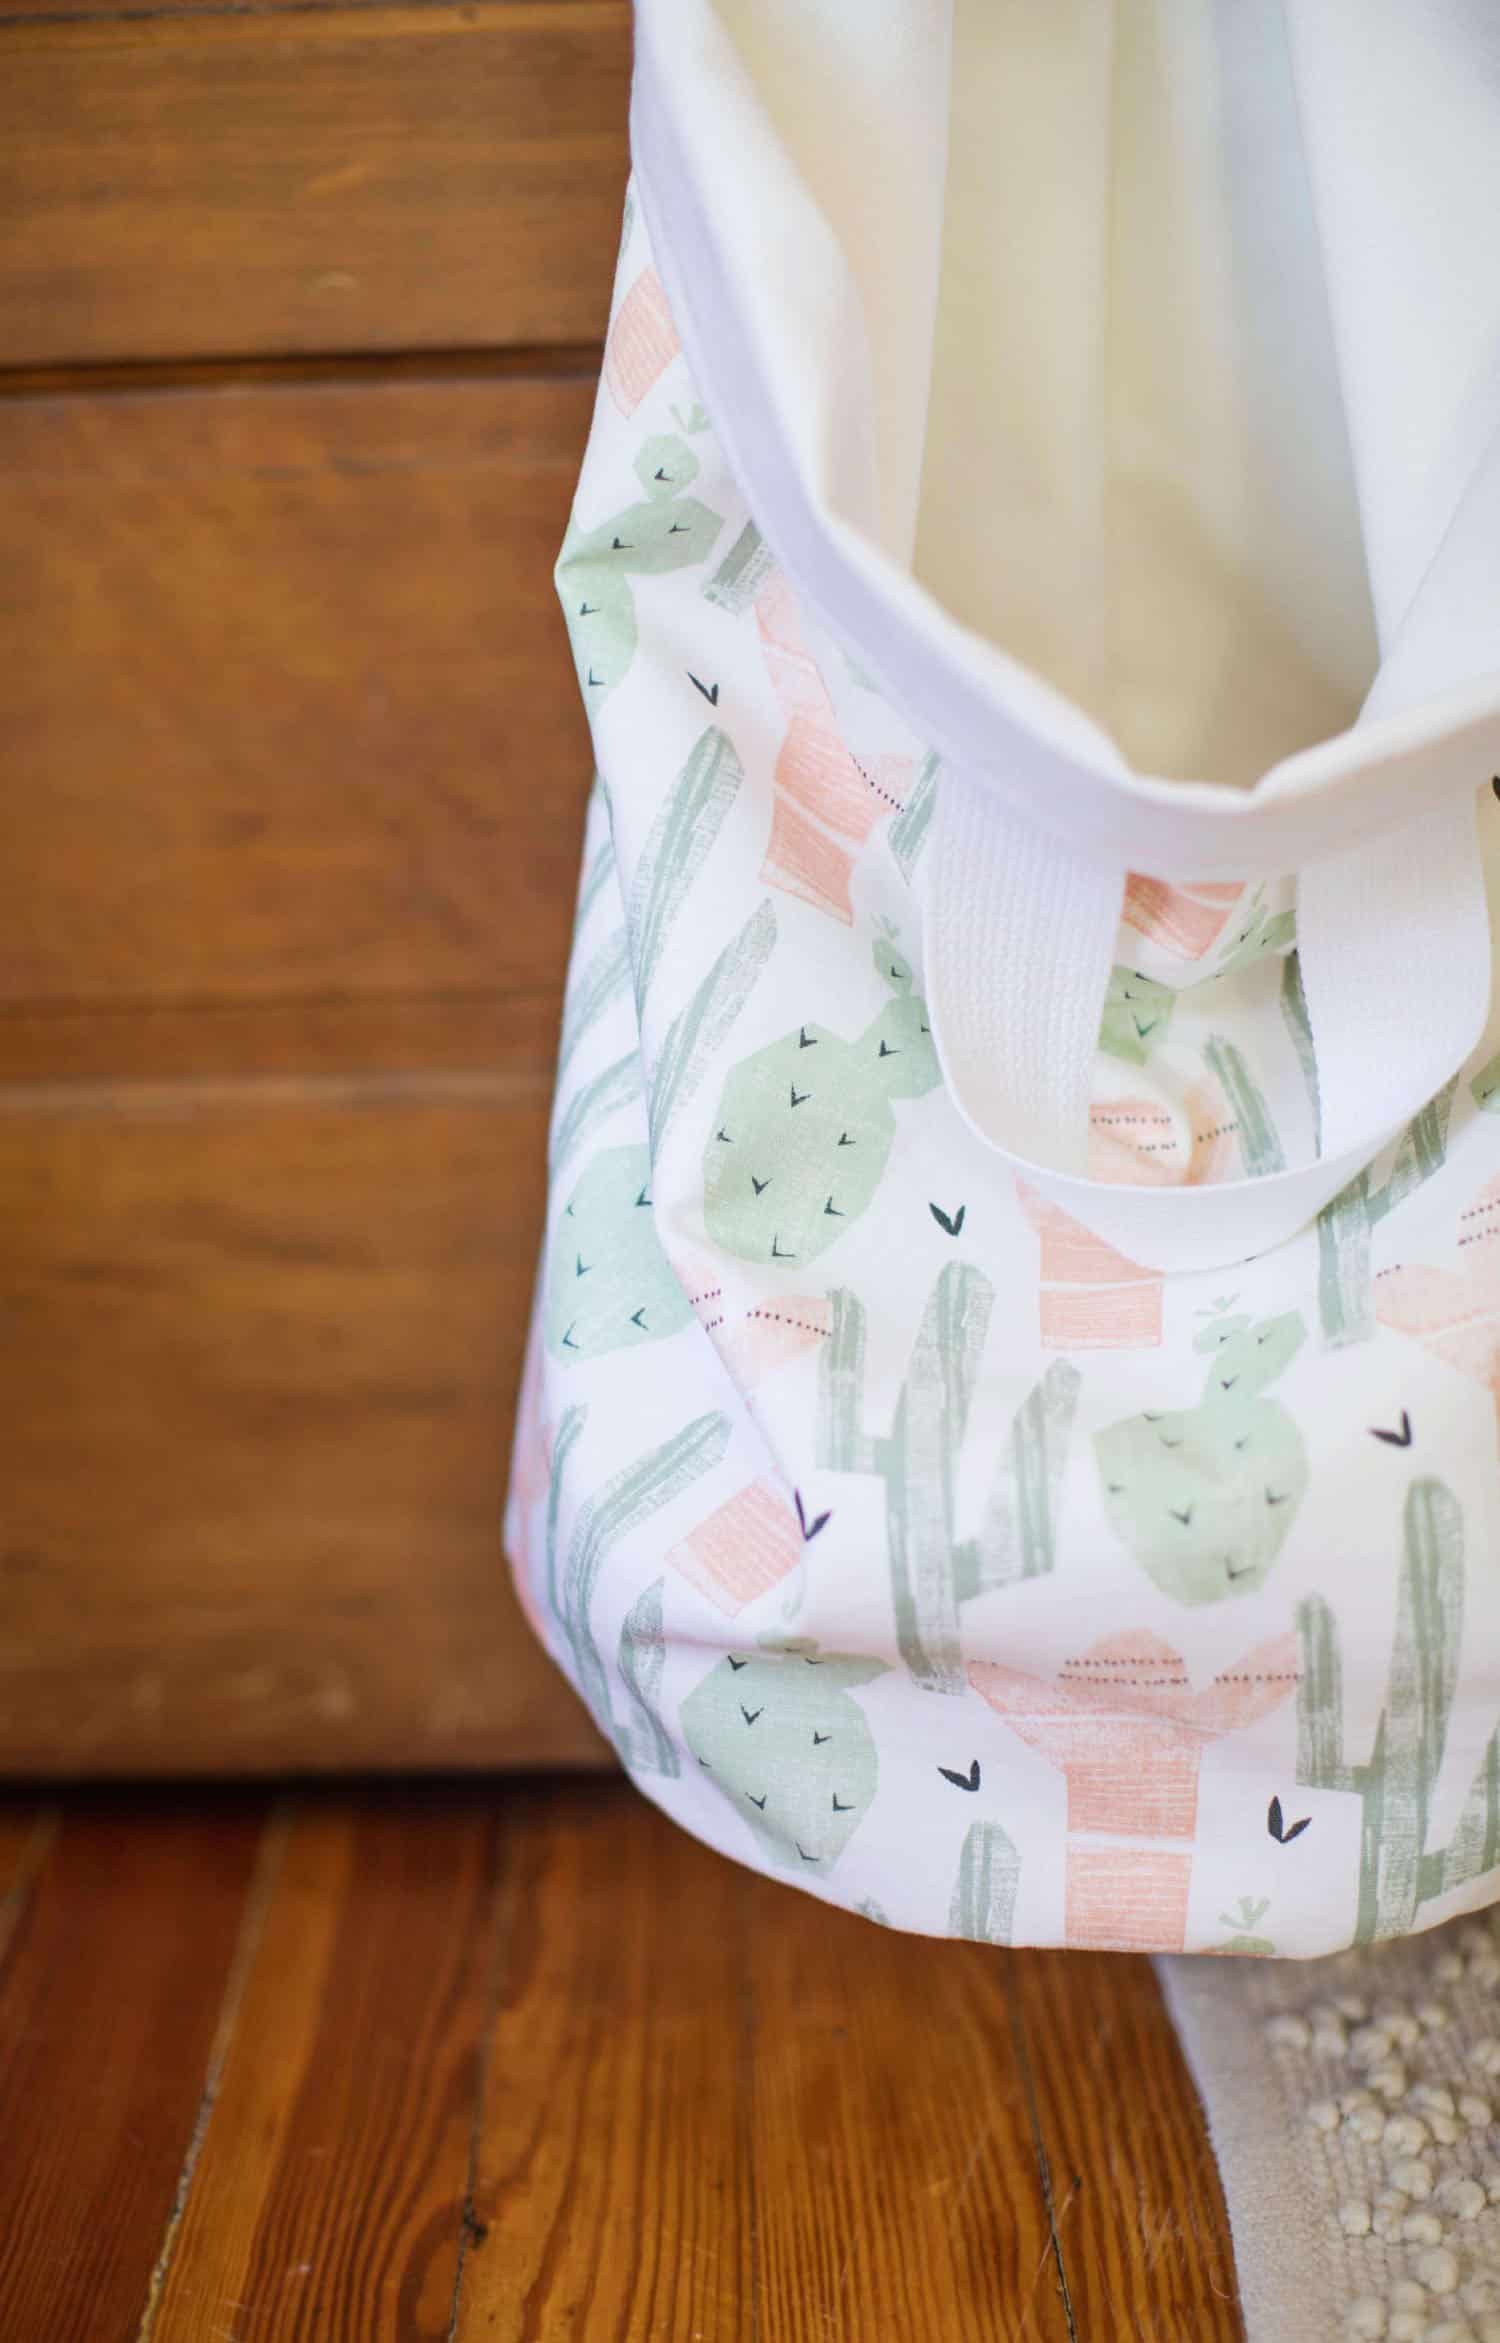 This cute fabric is linked in the supplies and it also comes in a blue/gray cactus color. If you’re into minimalist design, go with solid colors or match your fabrics and your handle.
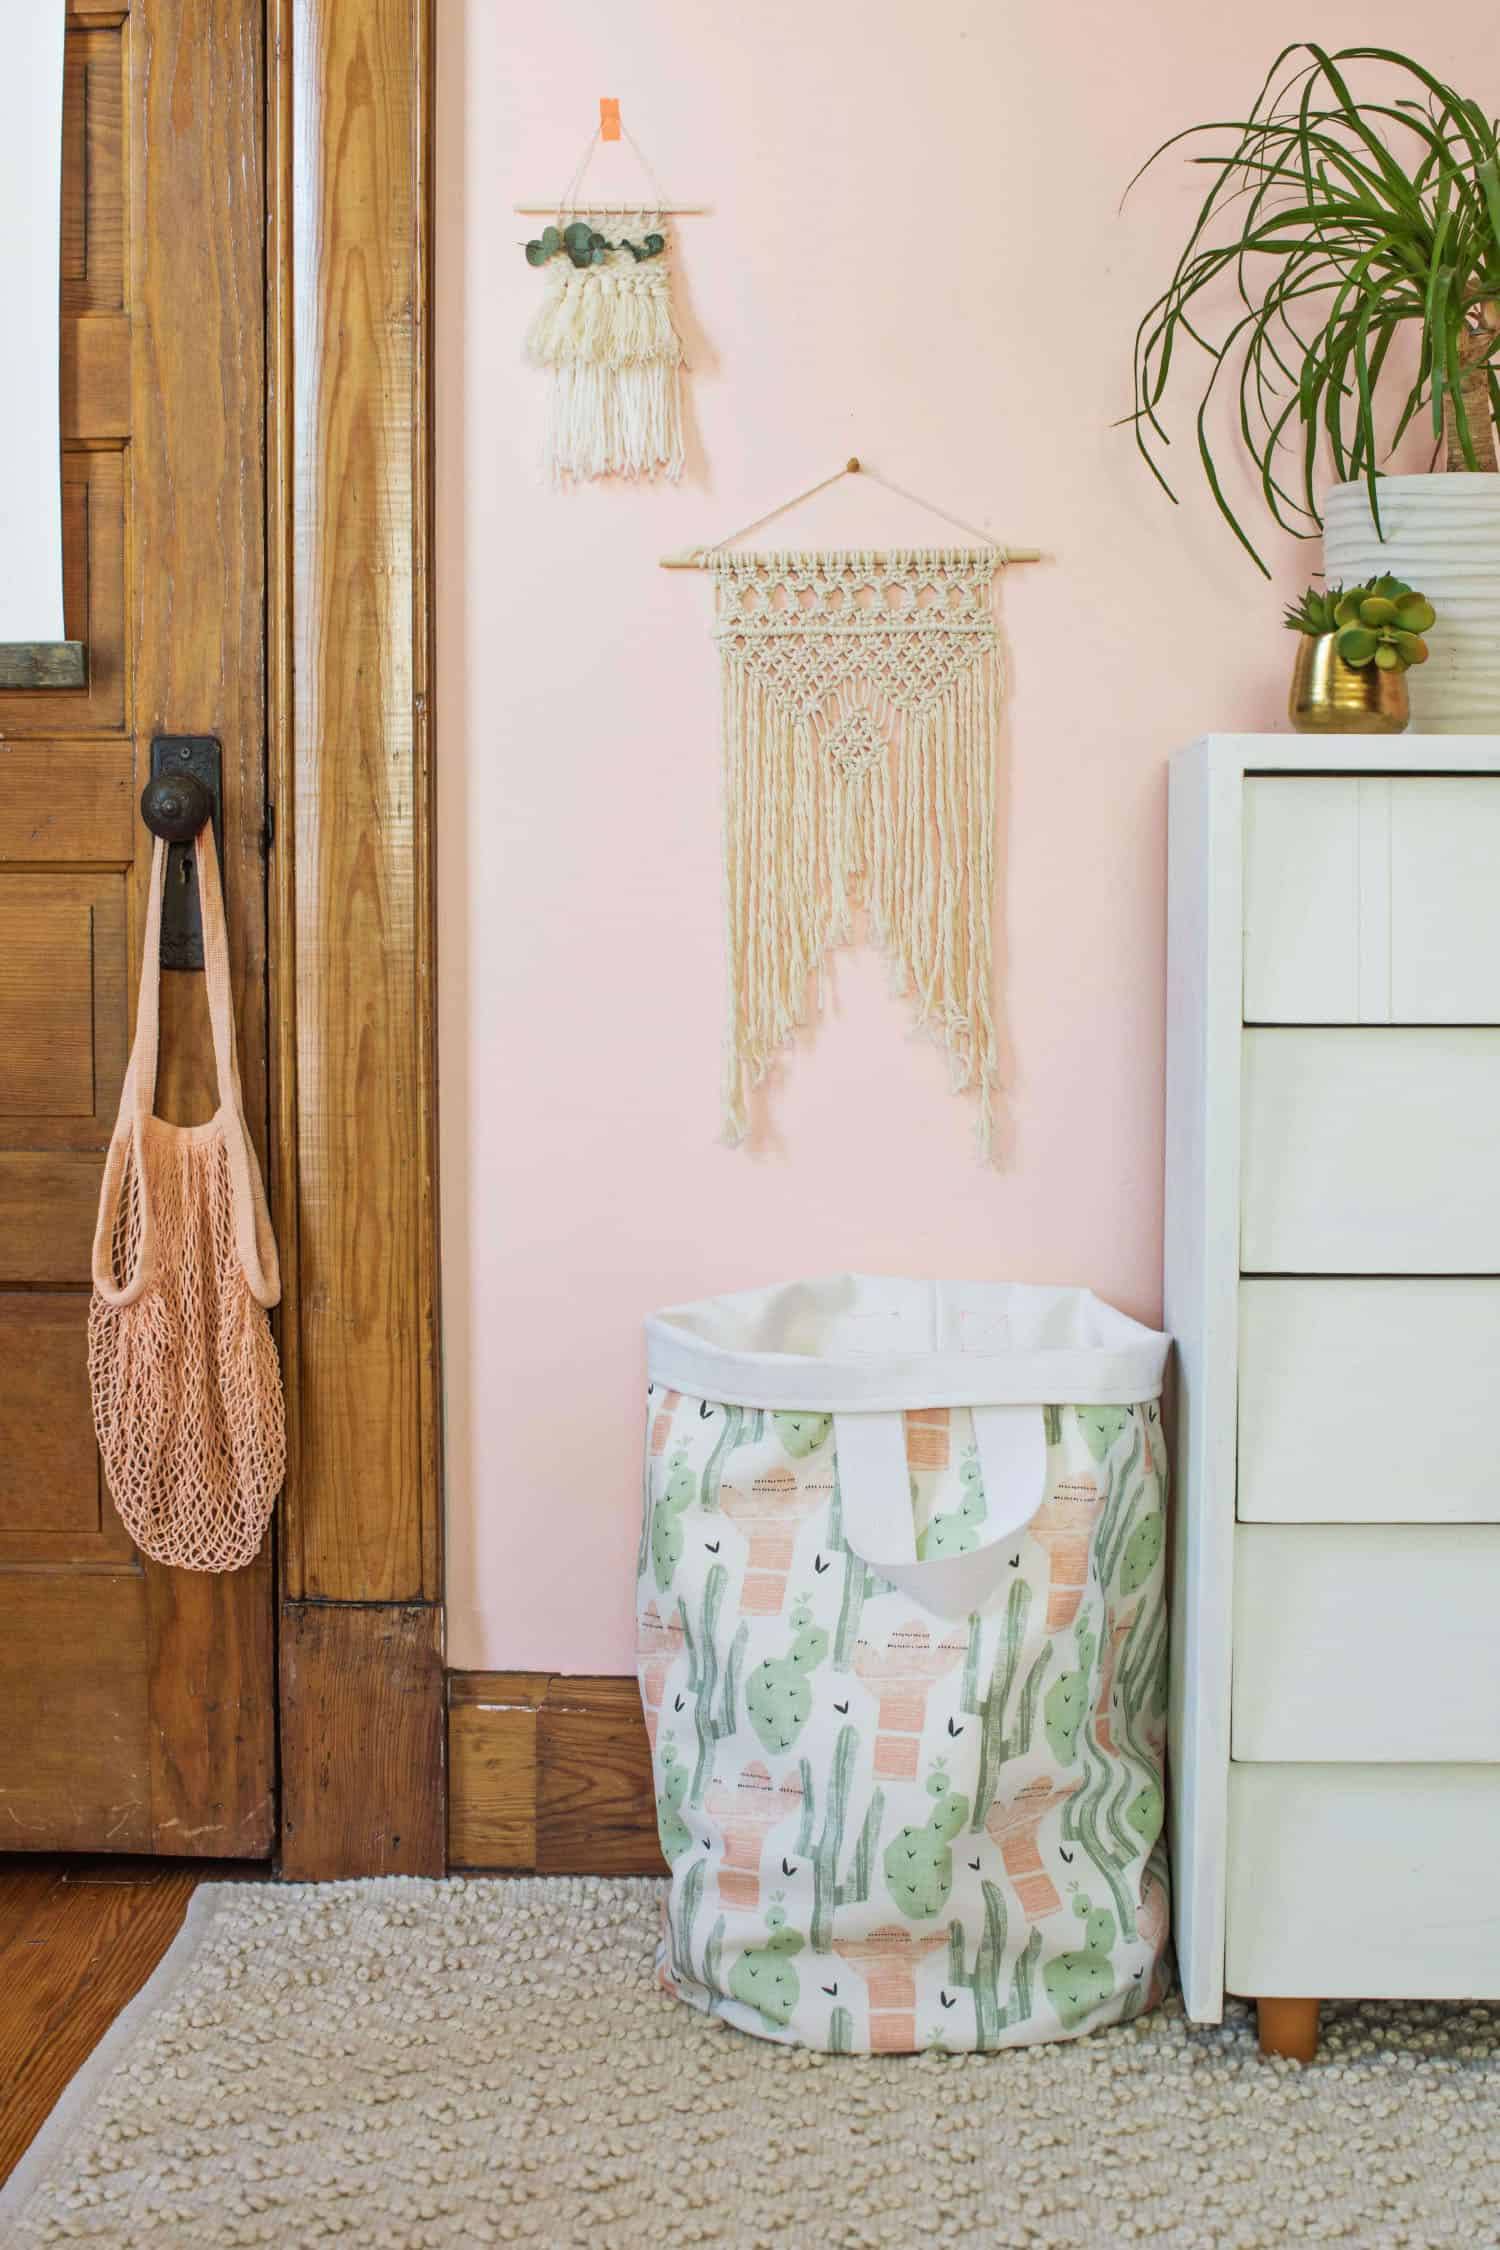 The handles make it easy to tote your laundry basket to the closest laundromat or bring it home to mom’s for the weekend if you’re not yet a proud owner of your own washer and dryer. Ha! The best part is that you can toss this laundry basket in the wash any time those stinky socks sit at the bottom a few days too many and it’ll be good as new. – Rachel
24 Comments
Sharing with my mother. She makes and sews a lot of things, bags, clothes, you know name it. We’ve had the same laundry basket since I was a baby and it needs to be changed pronto! Making this would be such a great project for my mother. It’s cute, too. 😀
Charmaine Ng | Architecture & Lifestyle Blog
http://charmainenyw.com
Cute basket! Would you mind sharing where you got the peach colored crochet bag hanging on the door knob?
Awesome pattern, great instructions. How can I save this for future use?
Love this! Feels so fresh for spring.
THANK you for this beautiful laundry basket. Something I’ve thought about doing many times. Now you’ve given me the know how, and tomorrow I’m going to JoAnn Fabric.I really am excited to get it done.just what I needed… THANK again. Christine S…VA.bch. VA.
This is so cute! I totally need to make these for my kid’s bedrooms!
Paige
http://thehappyflammily.com
This is perfect! My laundry basket is always hidden in a corner, but this way you can use it as a more or less stylish accessory!
https://www.makeandmess.com/
The pattern makes it look rather adorable.
Wow, looks like I have found my new project! As I accumalate more and more clothes my laundry basket seems to be getting smaller and smaller so having one this size would be amazing! Love your choice of fabric, think I am going to go for a memphis style pattern. Thanks for sharing!
Holly from The Art of Being Holly xo
Omgoodness I love this! How awesome is this xo Def sharing YOUR craft on my socials!
Sharing my friends this page. Really amazing. Thanks
Editor Newyork post and Whereismap.net
I’m confused about the dimensions. Doesn’t the rectangle need to be much larger than 34 inches long? Doesn’t it need to be long enough to fit the circumference of a 17 inch circle? I think the rectangle is supposed to be a bit over 54 inches long. Maybe I’m missing something, but I tried using the dimensions as they are described and ruined my fabric for this project.
Holly,
You are totally right, I wrote the wrong length. It should be 54″ instead of 34″. I’ve gone back and edited that and I am terribly sorry about your fabric being ruined. Please e-mail me at Racheldenbow (at) gmail (dot) com so we can discuss getting you some new fabric.
Sincerely,
Rachel
I initially was a wee bit irritated that I had so much canvas fabric left after cutting 24″ x 34″. It looked like the bag was going to be too small to be of much use as a laundry basket but I decided to “carry on”. Well obviously the sides and the bottom did not match up I went back to my printed directions and confirmed it said 34″ (yes I printed it … old school). Came back her to original site to see what may have gone wrong1
Yep, the measurements are wrong. After curing fabric to make 4 bags, I can’t even come up with a way to make 2 bags with what I had cut before I realized the mistake. Unless I want to make them incredibly narrow and, in my opinion, useless.
I also had problems with the dimensions. I see you corrected the size to be 54″, but that’s 1.5 yards long. Your list at the top only calls for 1.25 yards.
I was just going to make the bag a slight bit narrower, but I ran into a second, self-inflicted snag. I got directional fabric and wasn’t initially careful with how I cut it. I could have figured that out if I thought about what I was doing more, but it may be worth a call out in the instructions for impulsive cutters like me!
I love the idea and hope I get this working next time. I pieced in a solid stripe with my son’s name embroidered on it for the front… Should be very cute!
I’m dying to know where that rug is from!
Hi. Do you have any tutorials for making the wall hanger deco in the background?
Great tutorial ???? I’m gonna try it for sure I need exactly one like this. I love your makrame decoration on the wall.
if possible can you please tell me where you purchase all of the supplies? ty
Hi! I saw macrame wall hanger in your photos 🙂
I found great macrame tutorial for easy wall hanging here: https://youtu.be/q3rzQXg8FfI
Thanks!
This is a cute idea that should be something fairly simple for my youngest daughter’s first sewing project on her new Janome machine and something very functional to match her newly remodeled room. Fun idea!
This is perfect. Does this stand up on its ow? It looks like it has some body. I was going to use some leftover drop cloth fabric for the lining, what do you think—would it give it enough support? Thanks for sharing.
I made mine with a canvas interior and exterior; it does not stand on its own. Definitely need a door knob / hook to keep it upright in between loads!