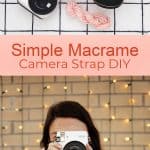
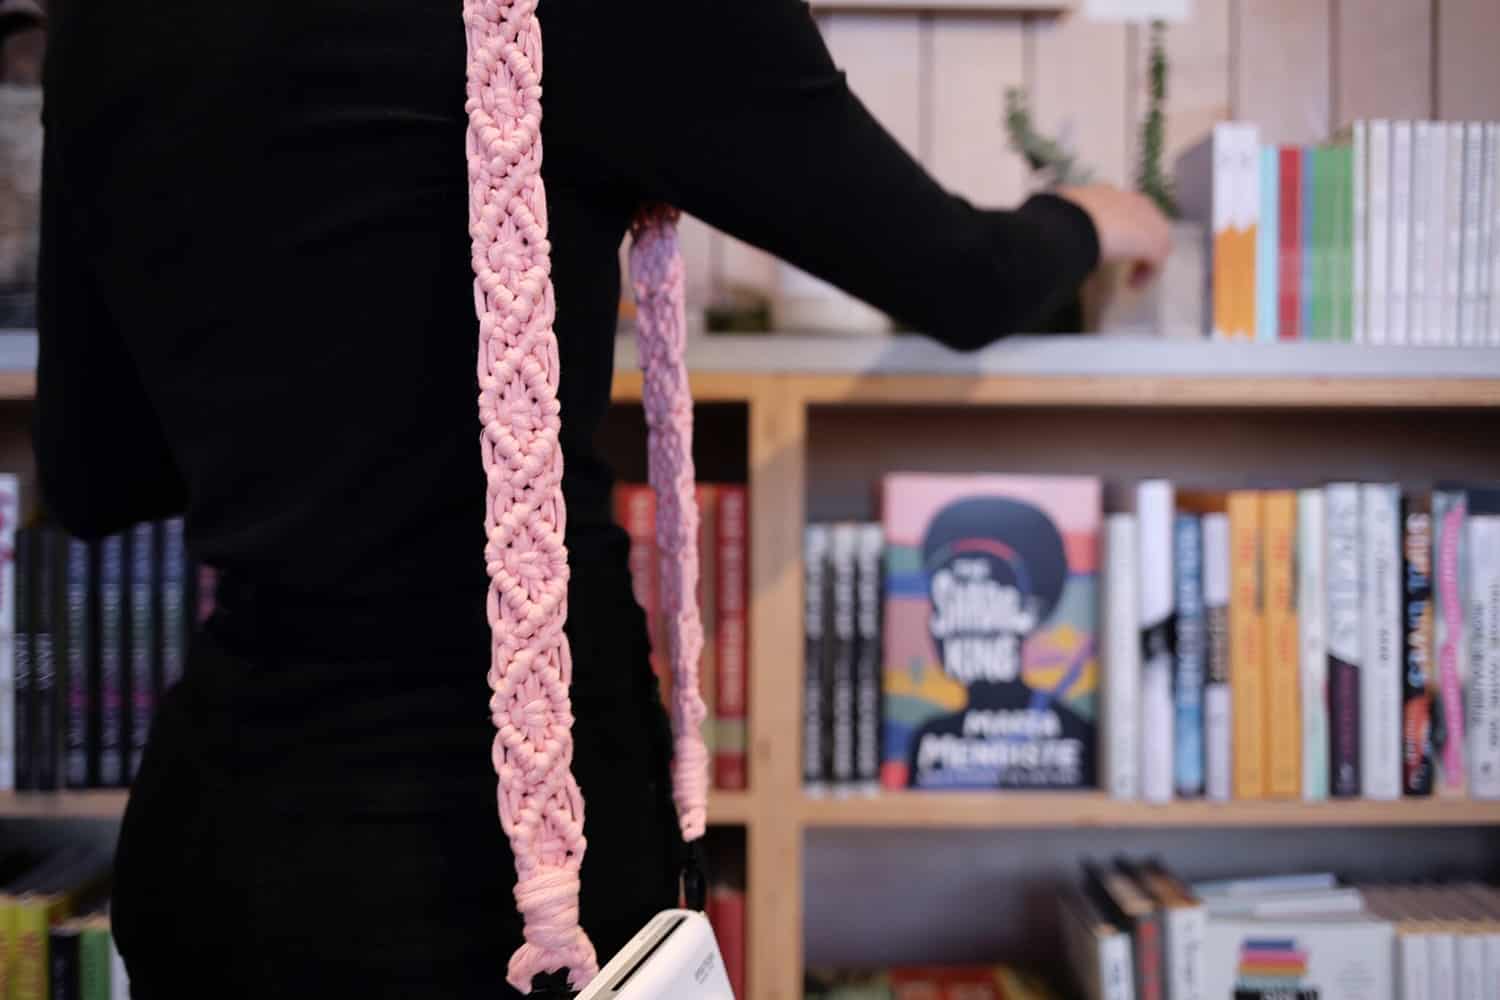
 For those of us that still enjoy lugging around our trusty DSLR or Instax instant cameras, there’s a need for cute camera straps. Gone are the days of settling for factory grade black nylon straps. This simple macrame camera strap tutorial will not only work as an accessory to anything in your capsule wardrobe, it’ll ensure you’re able to explore your own city hands free.
Don’t need a standard length camera strap? I’m also sharing a wristlet camera strap for those who like to travel light! There are so many great cotton yarns on the market, so it’s easier than ever to pick your favorite color. You can also stick with natural cotton if you prefer something really neutral. The best part is that if these get dirty, you can just throw them in the washing machine on a gentle cycle and it’ll be as good as new.

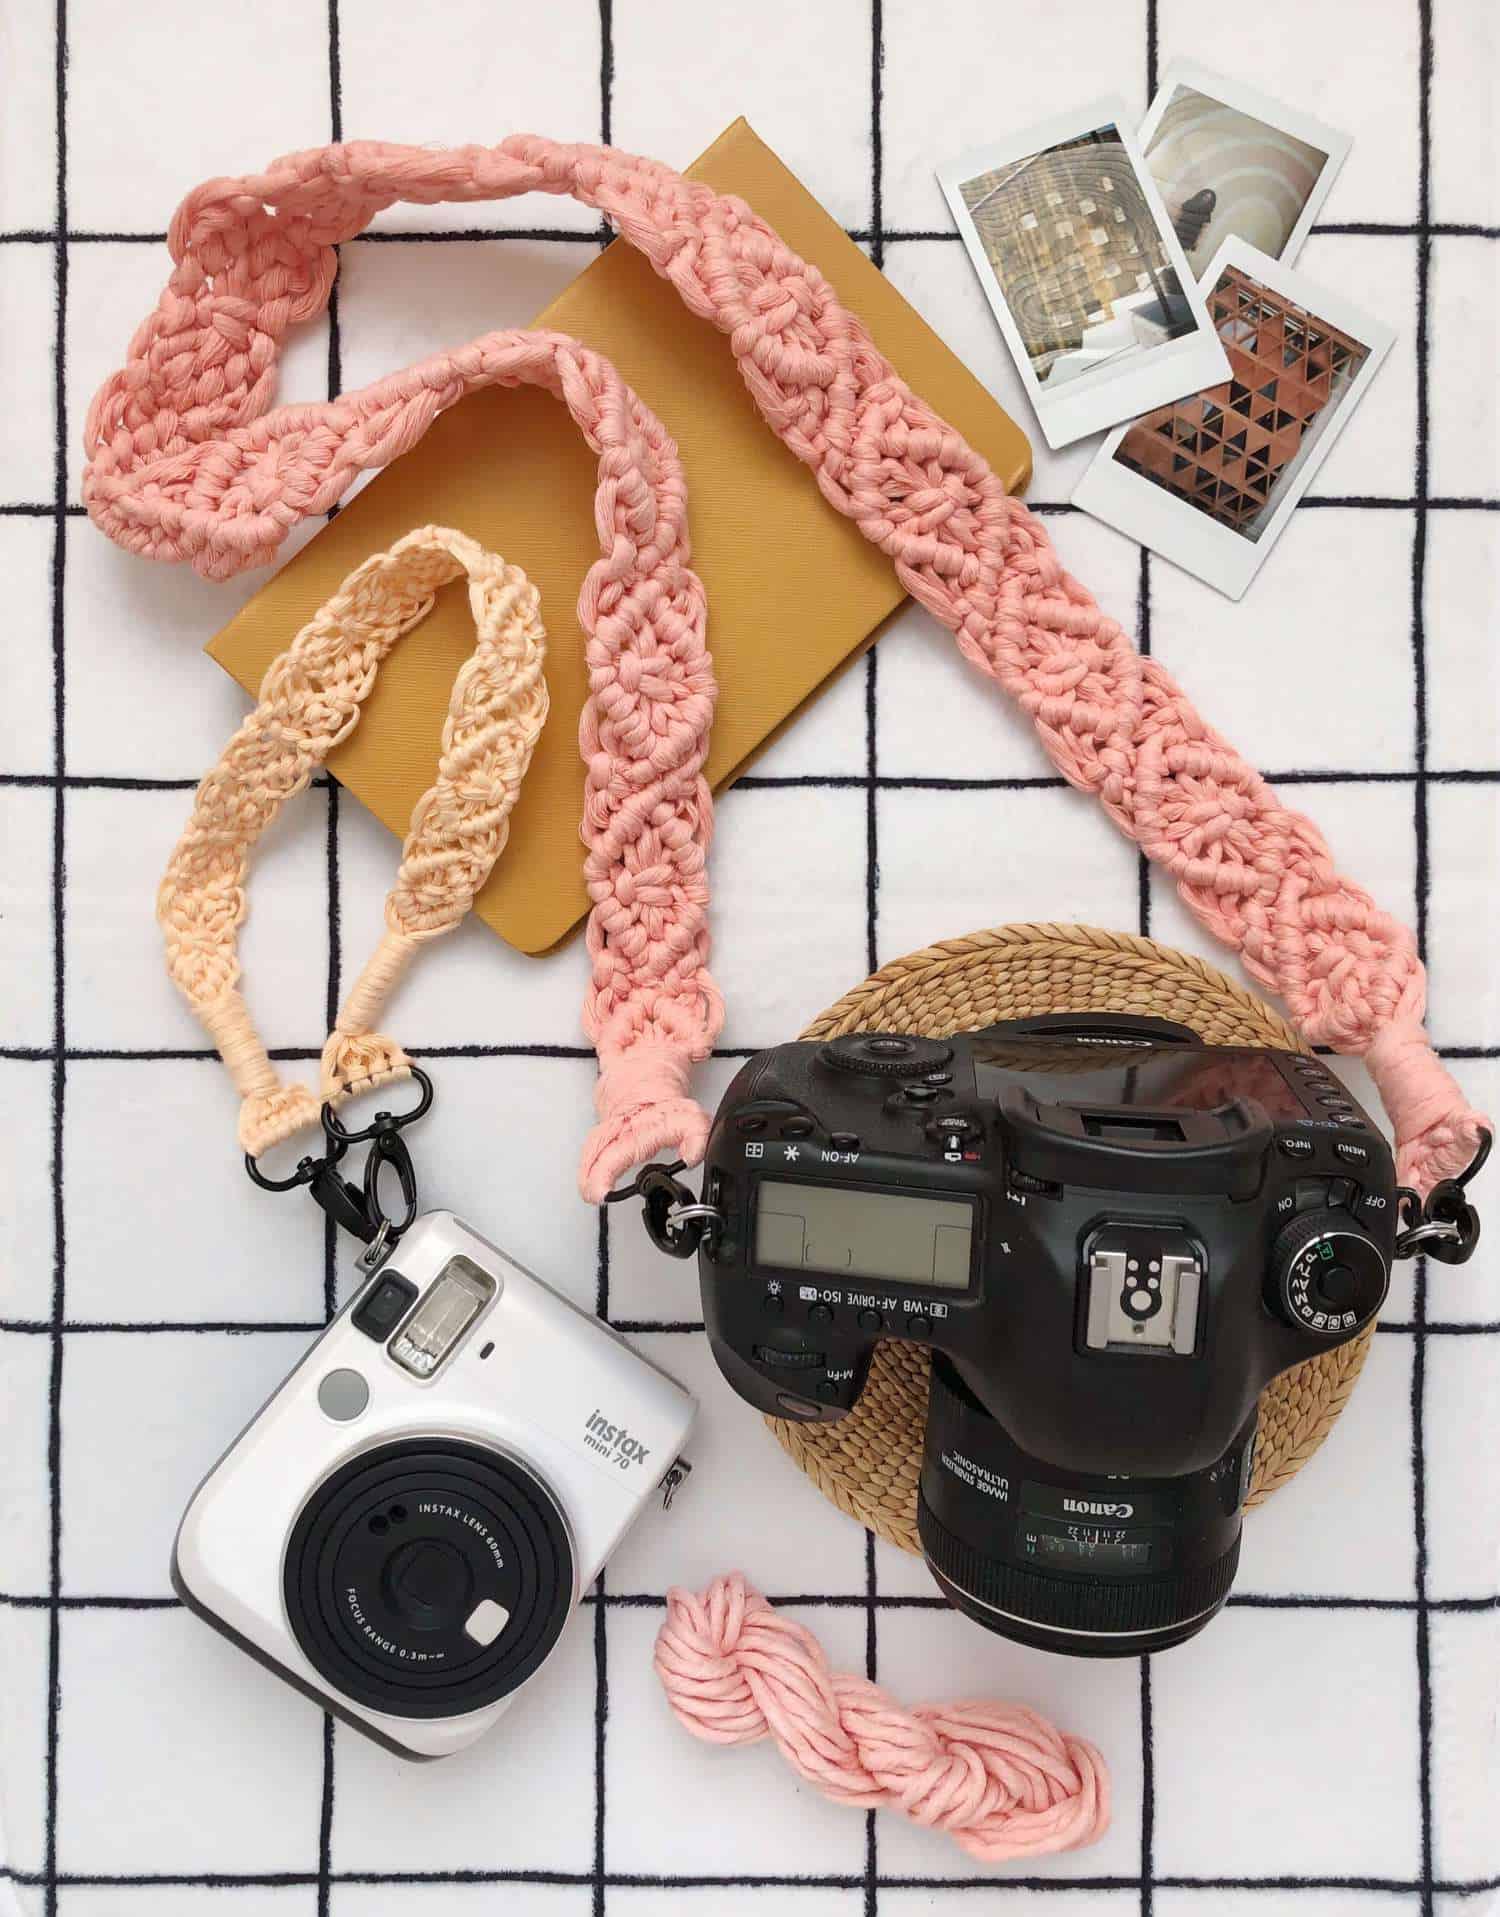
 Supplies
–two 1″ black swivel lobster claw clasps per strap
-102′ of 3mm soft cotton cord for a roughly 40″ camera strap (shown in photo)
-116′ of 3mm soft cotton cord for a roughly 48″ camera strap
-40′ of 2mm combed cotton cord for a wristlet strap (shown in photo)
-scissors
-over the door hook to anchor the clasp to while tying knots
NOTE: I used an over the door clothes hook and metal hoop that I hooked my clasp to for maximum comfort. You can also use an S-hook. The instructions below teach how to construct any of the three different camera strap lengths even though I am only showing how to construct the wristlet. Note that 2mm cord and 3mm cord will give you different outcomes in both width and length, so be sure to use the correct cord weight shared in the links above.
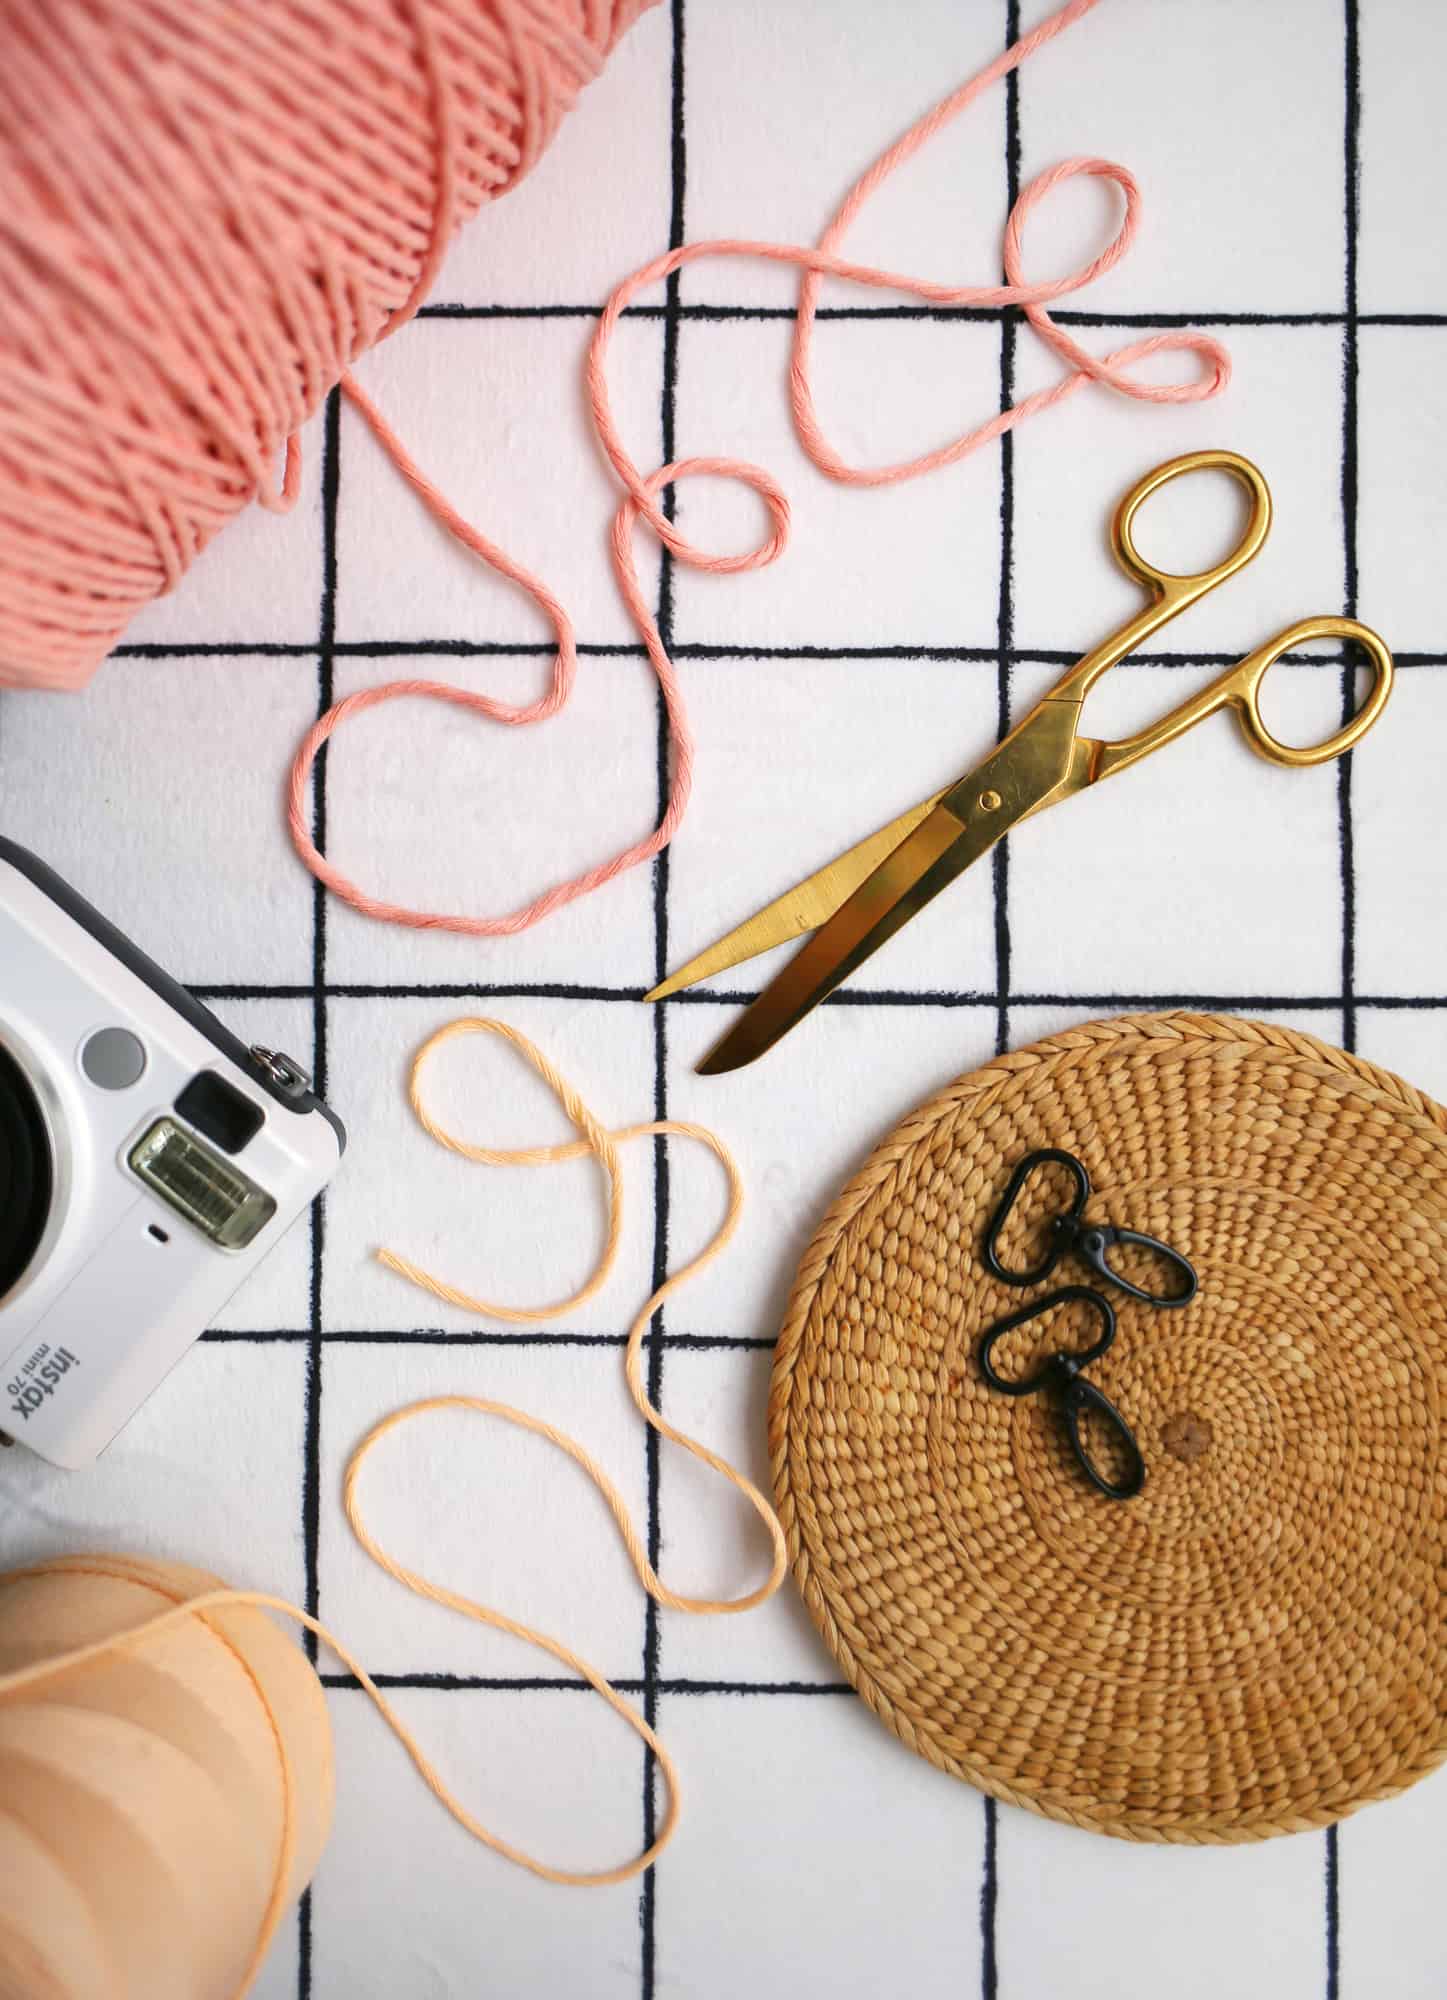
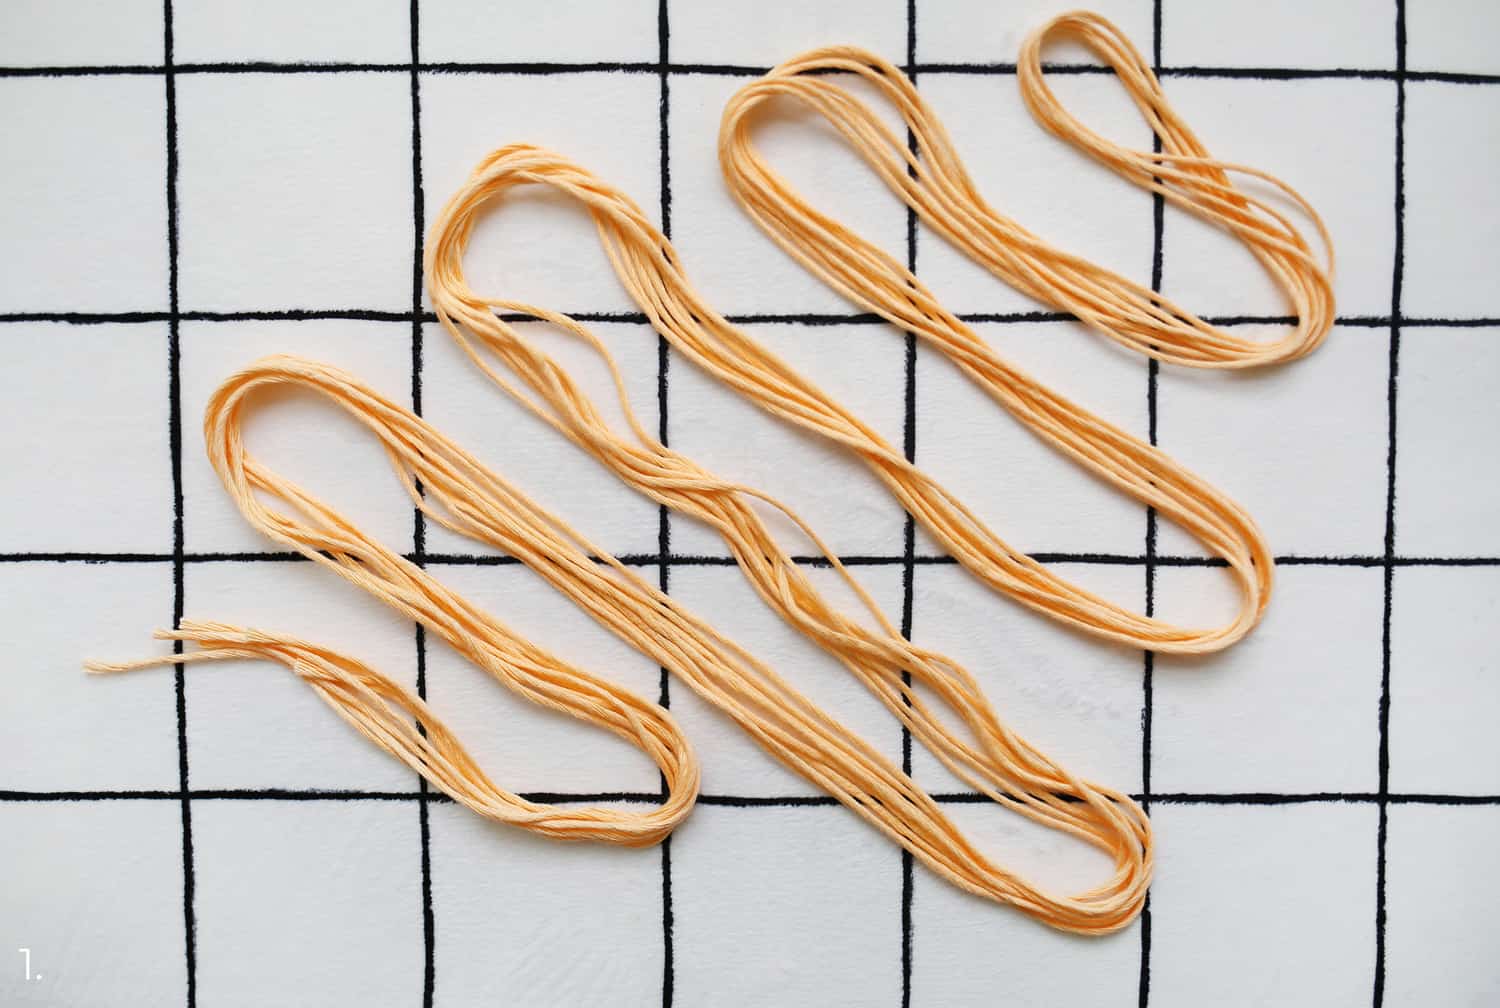 Step One: If you’re making the roughly 40″ camera strap, cut four 25′ strands of 3mm cotton cord and set the rest aside.
If you’re making the roughly 48″ camera strap, cut four 28.5″ strands of 3mm cotton cord and set the rest aside.
If you’re making the wristlet camera strap, cut four 9′ lengths of 2 mm cotton and set the rest aside.
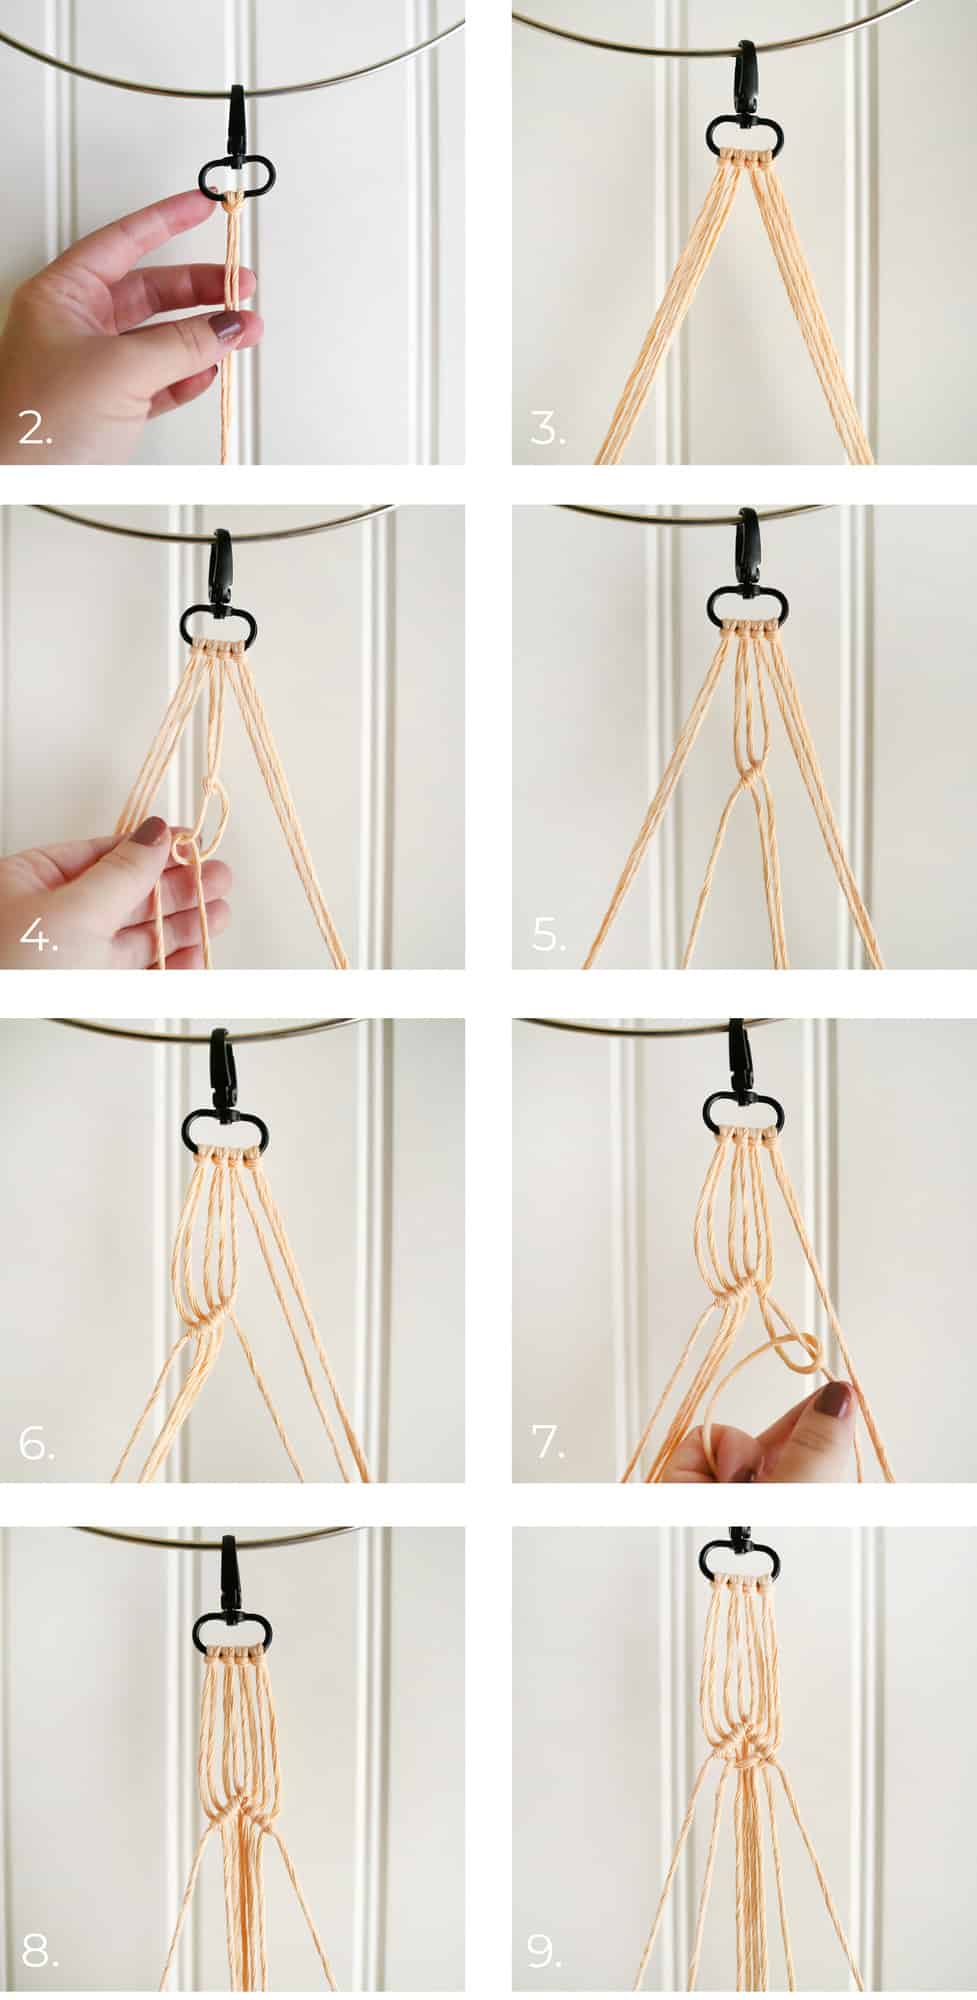 Step Two: Hook your black lobster clasp to a hook, hoop, or S-ring. Fold one of your four strands in half so that you find the center. Loop the center over the bar of the clasp and then slide the ends through the loop to create a lark’s head knot.
Step Three: Repeat with the next three strands. Then split them apart so that four strands are on one side and four strands are on the other. I will refer to these as strands 1-8 from left to right. Even if they move around, I’ll still refer to them in the order that they rest in each step. For example, if strand two finds itself on the opposite side after a knot, if will no longer be strand two but strand seven.
Step Four: Use strand four to tie two half hitches around strand five so that they rest about 2.5″ from the clasp.
Step Five: Use strand three to tie two half hitches as well.
Step Six: Repeat with strands two and then one. Now split the strands in half again so that the first four on left are the new strands 1-4 and the four on the right are strands 5-8.
Step Seven: Use strand six to tie two half hitches around strand five.
Step Eight: Repeat with strands seven and then eight. This makes the top half of your diamond pattern.
Step Nine: Use strands and seven to tie a half knot over the middle strands (3-6). Don’t pull it too tightly.
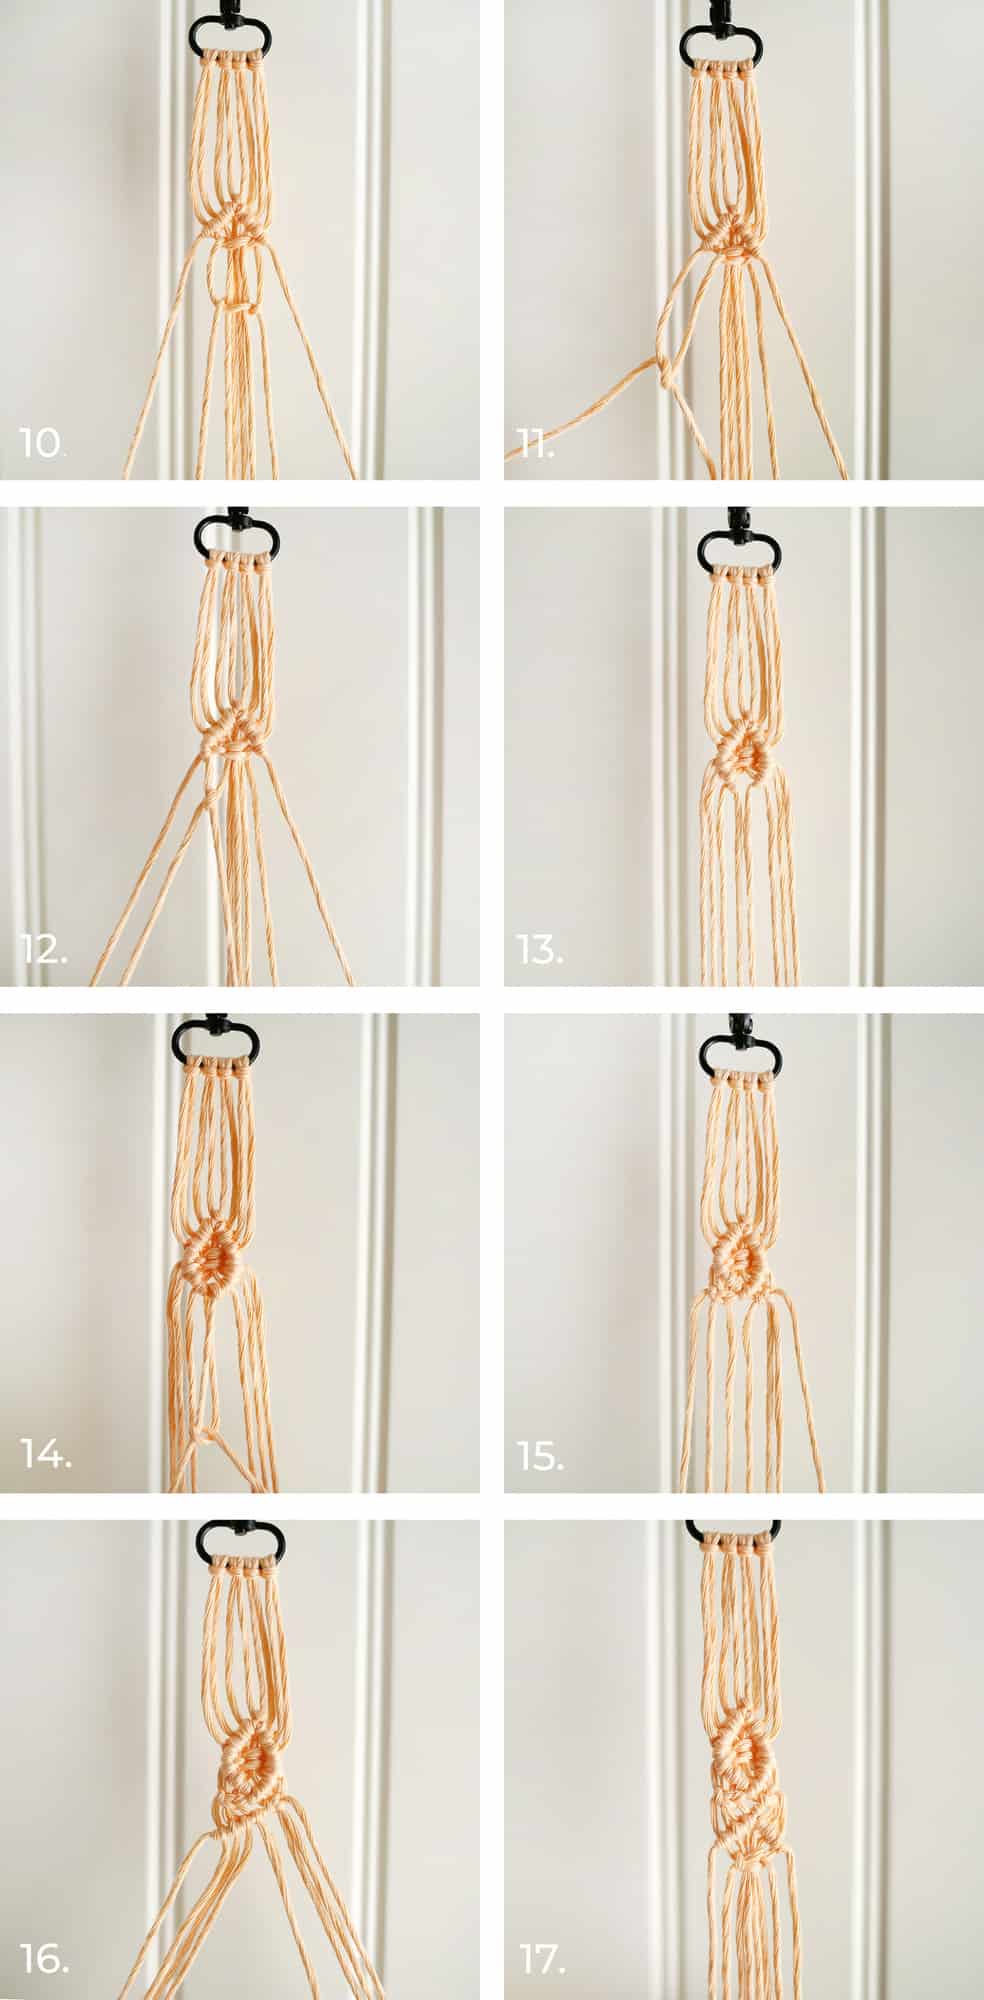 Step Ten: Take the new second strand and the new seventh strand and tie another half knot over strands three through six to form a square knot.
Step Eleven: Use the new strand two to tie two half hitches around strand one. This will start the bottom part of your diamond.
Step Twelve: Use strand three to tie two half hitch knots and then strand four.
Step Thirteen: Use strand seven to tie two half hitch knots around strand eight and then follow them using strands six and five.
Step Fourteen: Use the new strand four to tie two half hitch knots over strand five to close the bottom of your diamond.
Step Fifteen: Use strands one and four to tie two half knots to form a square knot over strands two and three. Repeat with strands five and eight over strands six and seven.
Step Sixteen: Start on your next diamond by using strand four to tie two half hitch knots over strand five, then repeat with strands three, two and one.
Step Seventeen: Finish the other top half of your diamond and then use the new strands two and seven to tie a square knot around strands three through six. Then finish up the bottom of your diamond, add square knots on either side of your diamond, and start a new diamond. Repeat until you are about three inches short of your desired length.
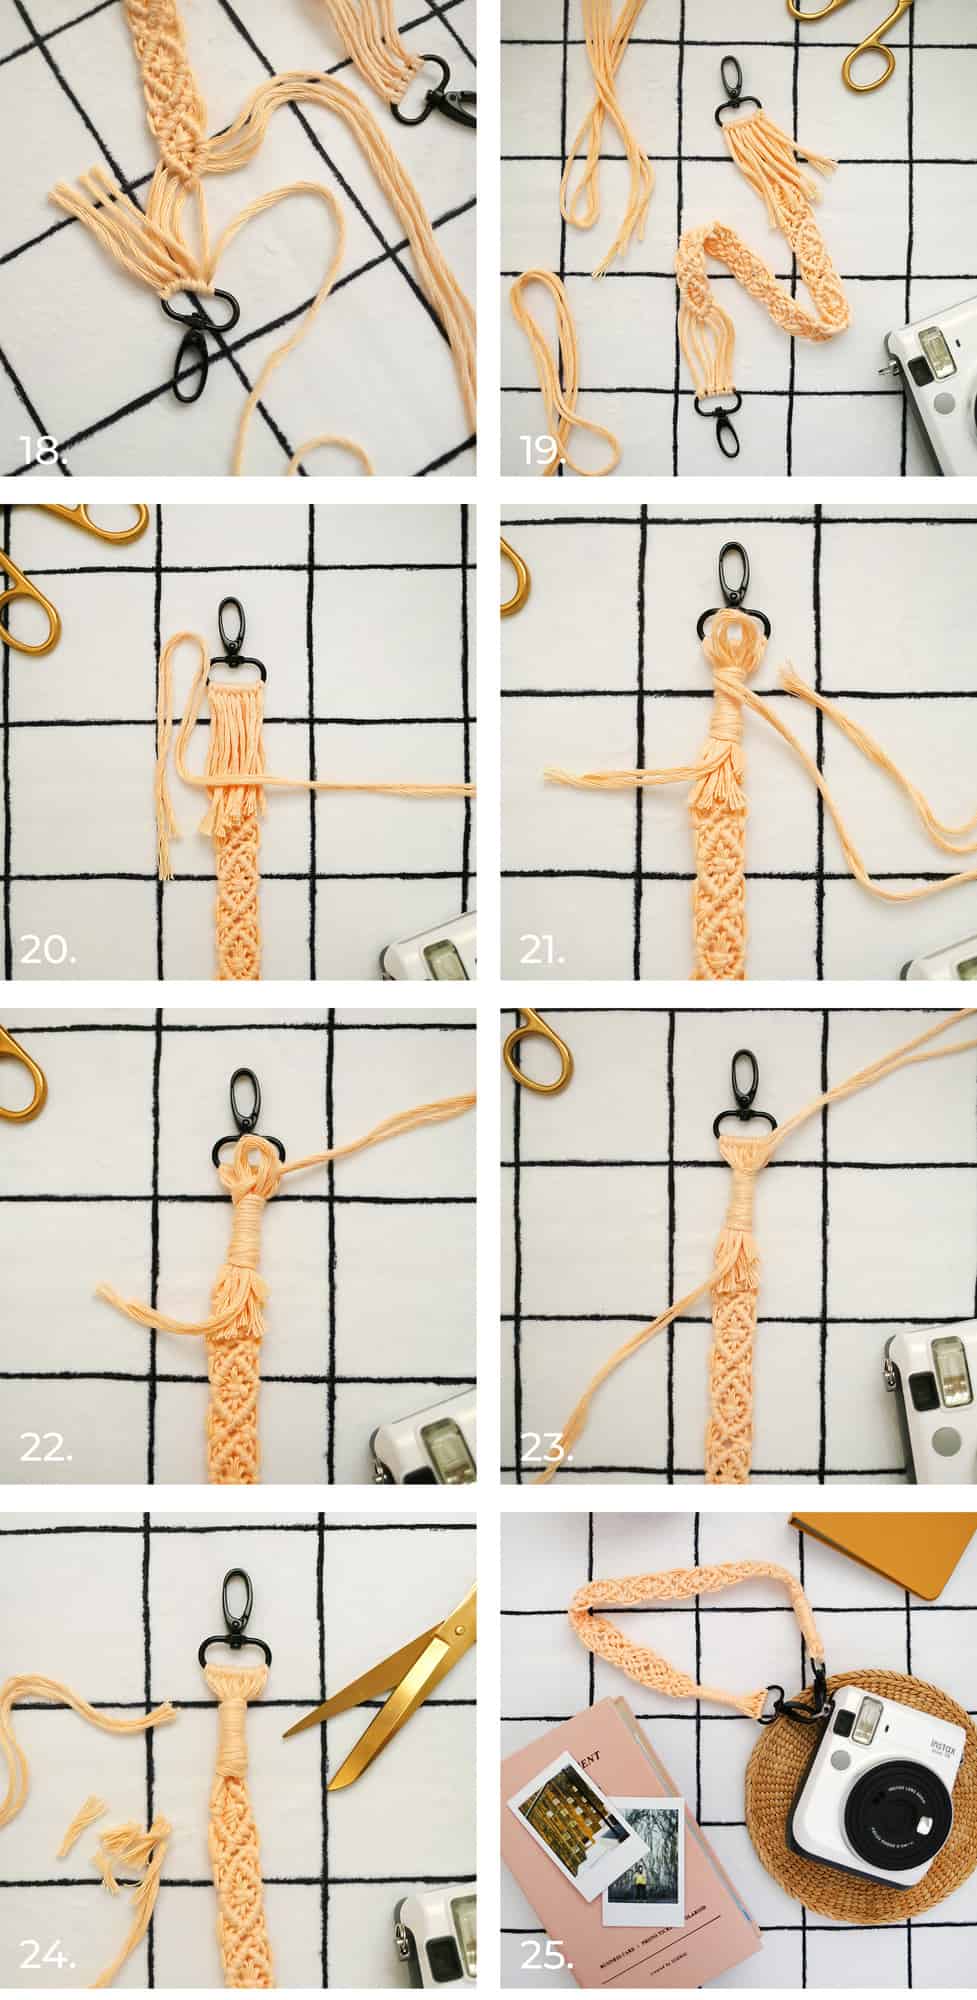 Step Eighteen: Trim your strands so that they are all about 6.5″ long. Tie each strand to the second lobster clasp with a lark’s head knot (also called a cow hitch). Only this time, you’ll have to tie it using only one strand. See details here. Be sure that the knot is about 3″ down from the last diamond and has about 3″ of a tail.
Step Nineteen: You’ll be doubling the amount of lark’s head knots on this lobster clasp, so squeeze them together tightly.
Step Twenty: Use the cord that you set aside at the beginning and cut two 2′ strands. Make an upside down U-shape with one end of the two strands so that the U is slightly above the lark’s head knots. Then fold the strands again near the tails of the lark’s head knots so that they reach over the strap.
Step Twenty-One: Use the long end of those two straps to trap the U-shape on top of the strap and continue wrapping around all of them to create a wrapped knot.
Step Twenty-Two: Once you’re almost to the lark’s head knots, place the long end of your wrapped knot strands through your loop.
Step Twenty-Three: Pull down on the other end of the loop so that the U shape, along with the long end, disappear under the wraps.
Step Twenty-Four: Trim off both ends of the wrapped knot and then gently trim off the excess from the tail ends. Spread your wrapped knot down to cover the cut ends.
Step Twenty-Five: Add another wrapped knot to the other end of your strap. It won’t be quite as thick because there are half as many strands to wrap around, but it won’t be too noticeable. Attach both lobster clasps to the same ring hook on your camera for the wristlet version.
If you’re making the 40″ or 48″ version, you’ll follow all of the same directions above but will attach one lobster clasp to each side of your camera.
NOTE: These camera straps are sturdy if made according to the directions. Always test out your camera strap holding your camera over your bed before taking it out. Always check that your lobster clasps are securely attached to your camera before picking it up.
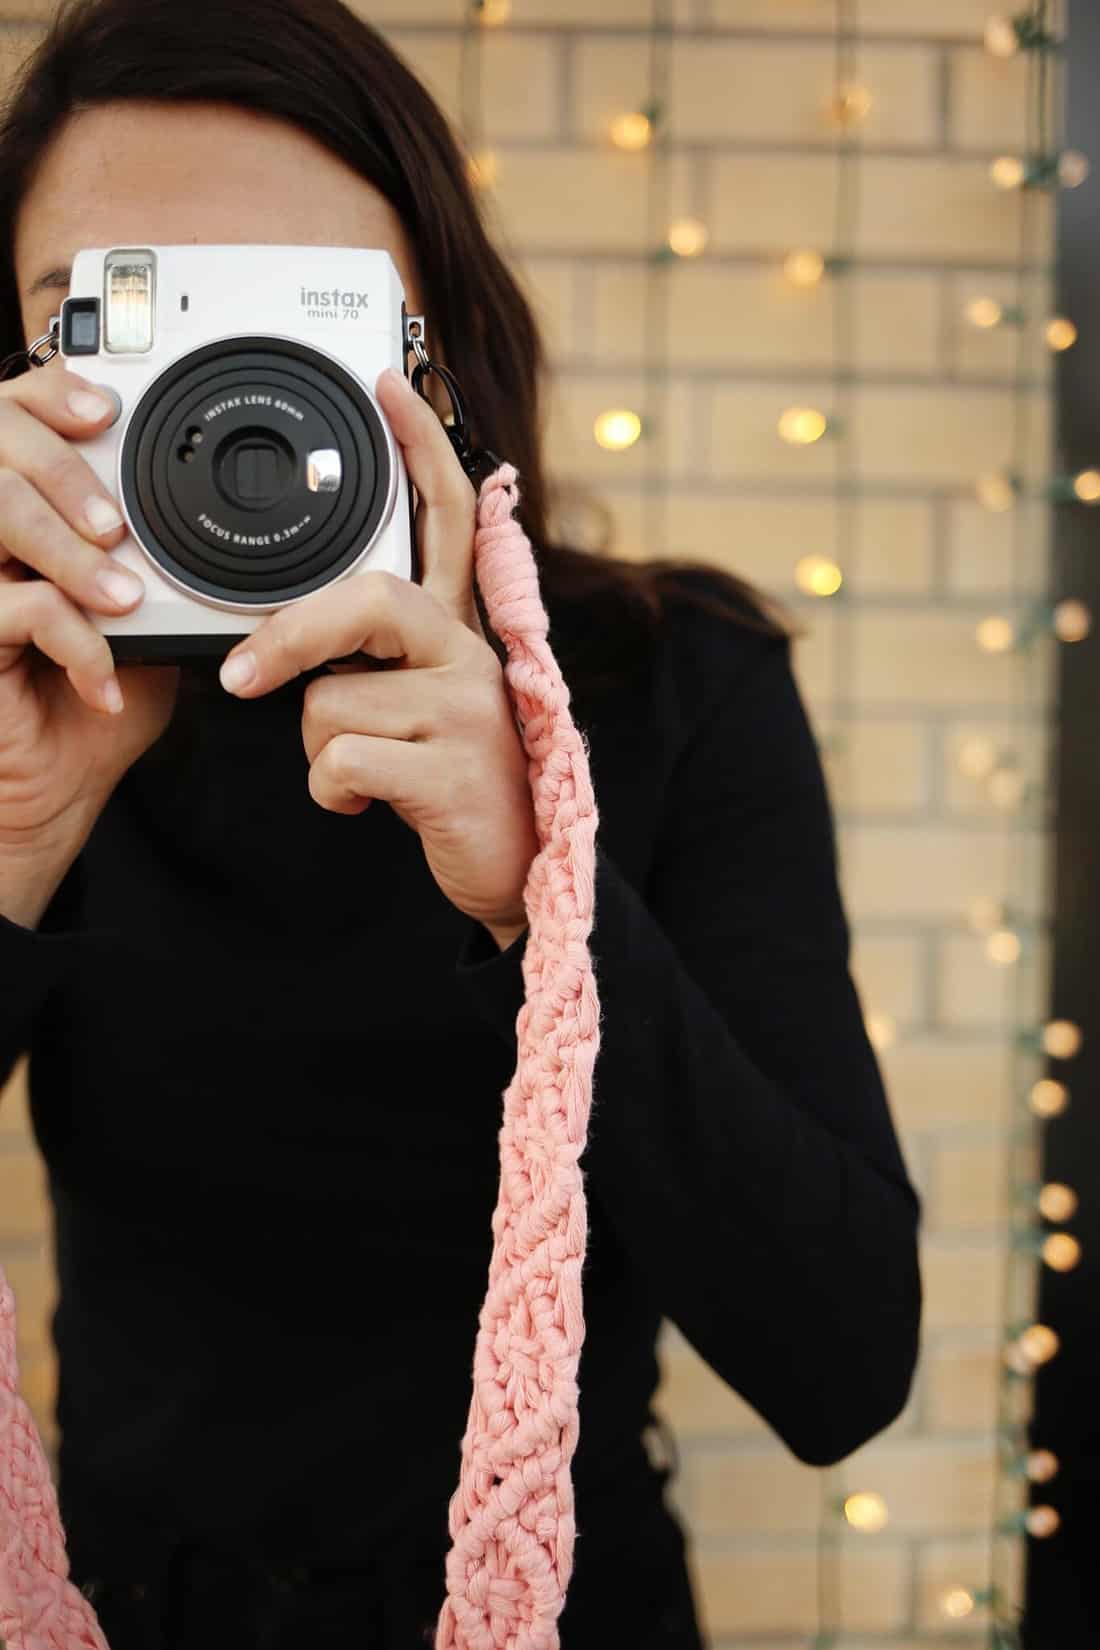
I recommend the wristlet for smaller cameras, such as an Instax or Instax Mini. If you’re using a large DSLR with a heavy lens, it’s probably better to go with the larger strap for the sake of comfort. However, the larger strap also looks REAL cute when attached to a smaller camera.
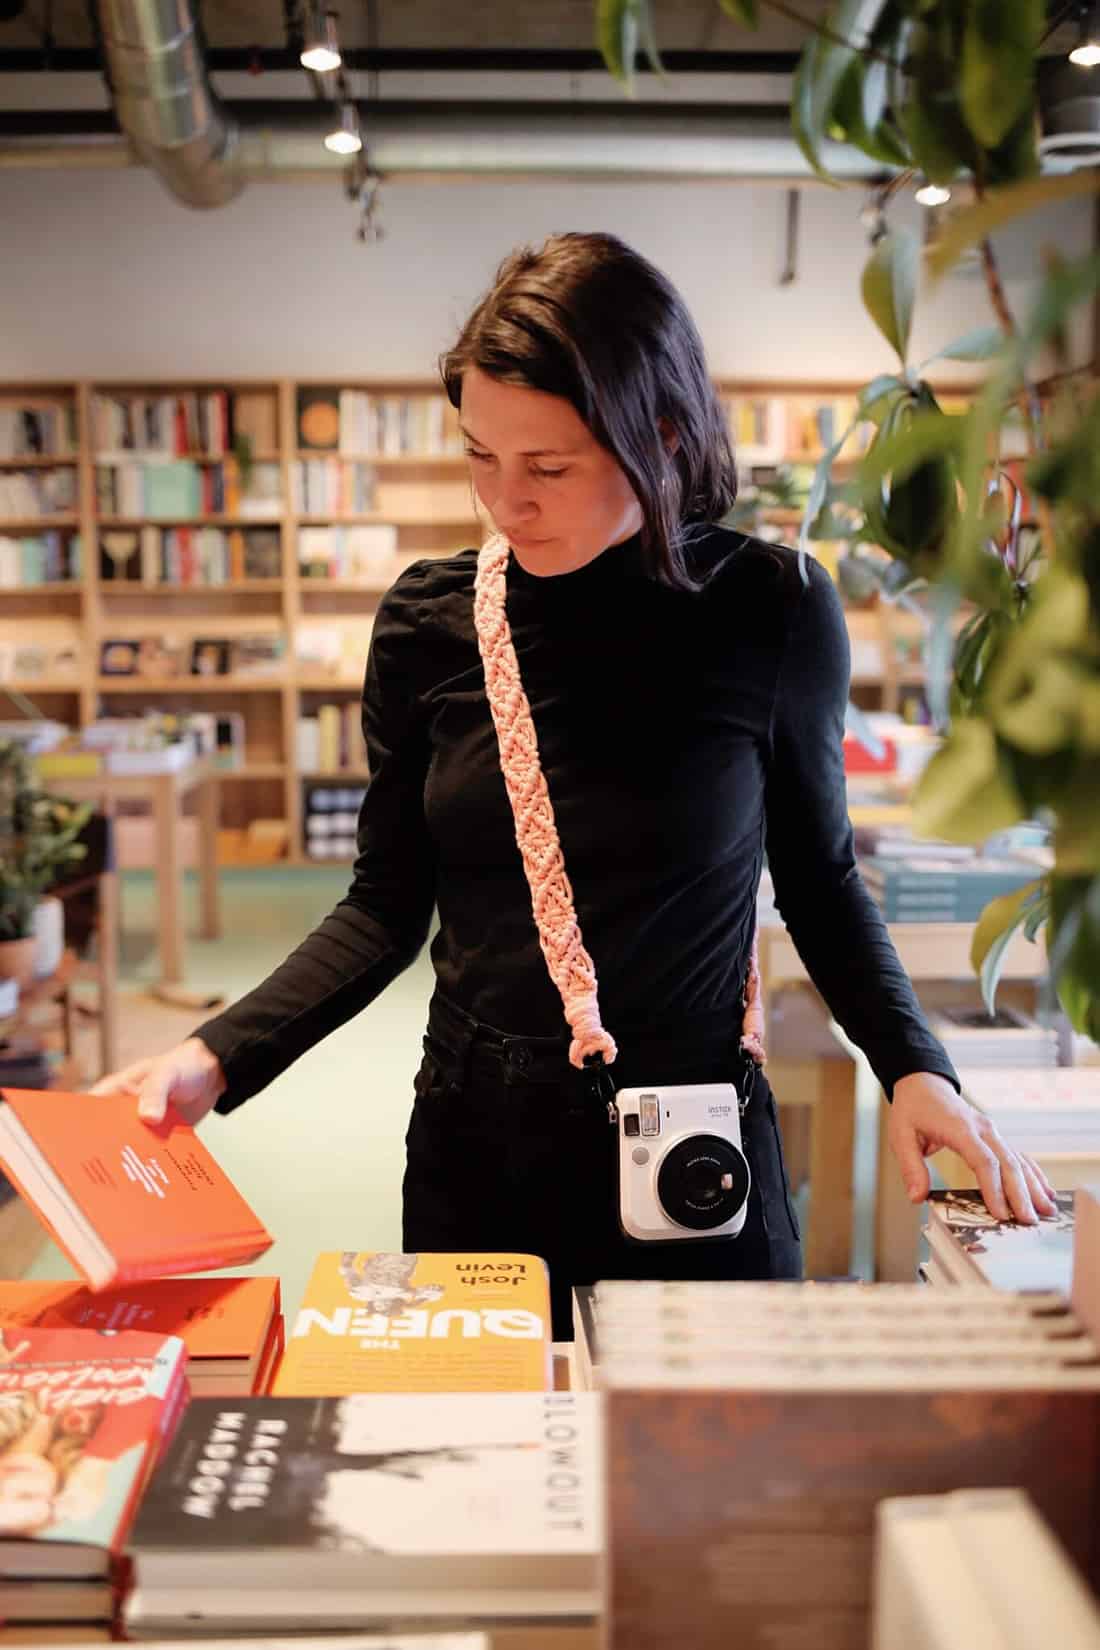
 This project only took me a few hours to make after I figured out the details. It’s inspiring me to grab my DSLR instead of always relying on my smartphone for photos! If you’re already pretty familiar with macrame, there are SO many knot patterns you can create to customize your strap even further. Enjoy! –Rachel
Interested in more simple macrame projects? Check out our macrame table runner, macrame room divider, macrame handbag, macrame Christmas stocking, and macrame bracelet.
13 Comments
So great! I need to make one for my Instax! 🙂
Charmaine Ng | Architecture & Lifestyle Blog
http://charmainenyw.com
Yes! You should definitely make one!
Although after reading the post, you did indeed make this look easy, I have to admit that I chuckled a bit when I read “simple” because it just seems so beyond my wheelhouse. With that said, I am so impressed with all of the DIY directions on ABM. They make me feel like I can accomplish any project you post. These are adorable! Thank you for the hard work you and all of ABM put into all of your posts.
Hehe, yes, I suppose simple is kind of relative! Thanks for your sweet words!
-Rachel
This is beautiful! I totally need to make one of these for my camera!
Paige
http://thehapyflammily.com
Yes, you should! It’s really a quicker project than it looks!
These look so nice, I love them!
Love from Anita / https://dinewinelove.com/
I’m so happy to see another one of your posts, Rachel! Your DIYs are always inspiring. While I don’t have a fancy camera at the moment, I think this would give new life to some of my old crossbody purses. <3 I have a big spool of macrame cord ready to go.
I love these! I hope I can get brave enough to try to make one.
Oh, that makes me so happy! Thank you! I love sharing projects over here!
Those are wonderful!!
Oh, thank you! So glad you like them.
I love how this looks. I think I would like to try making one out of paracord for my kayak. Do you think this would work?