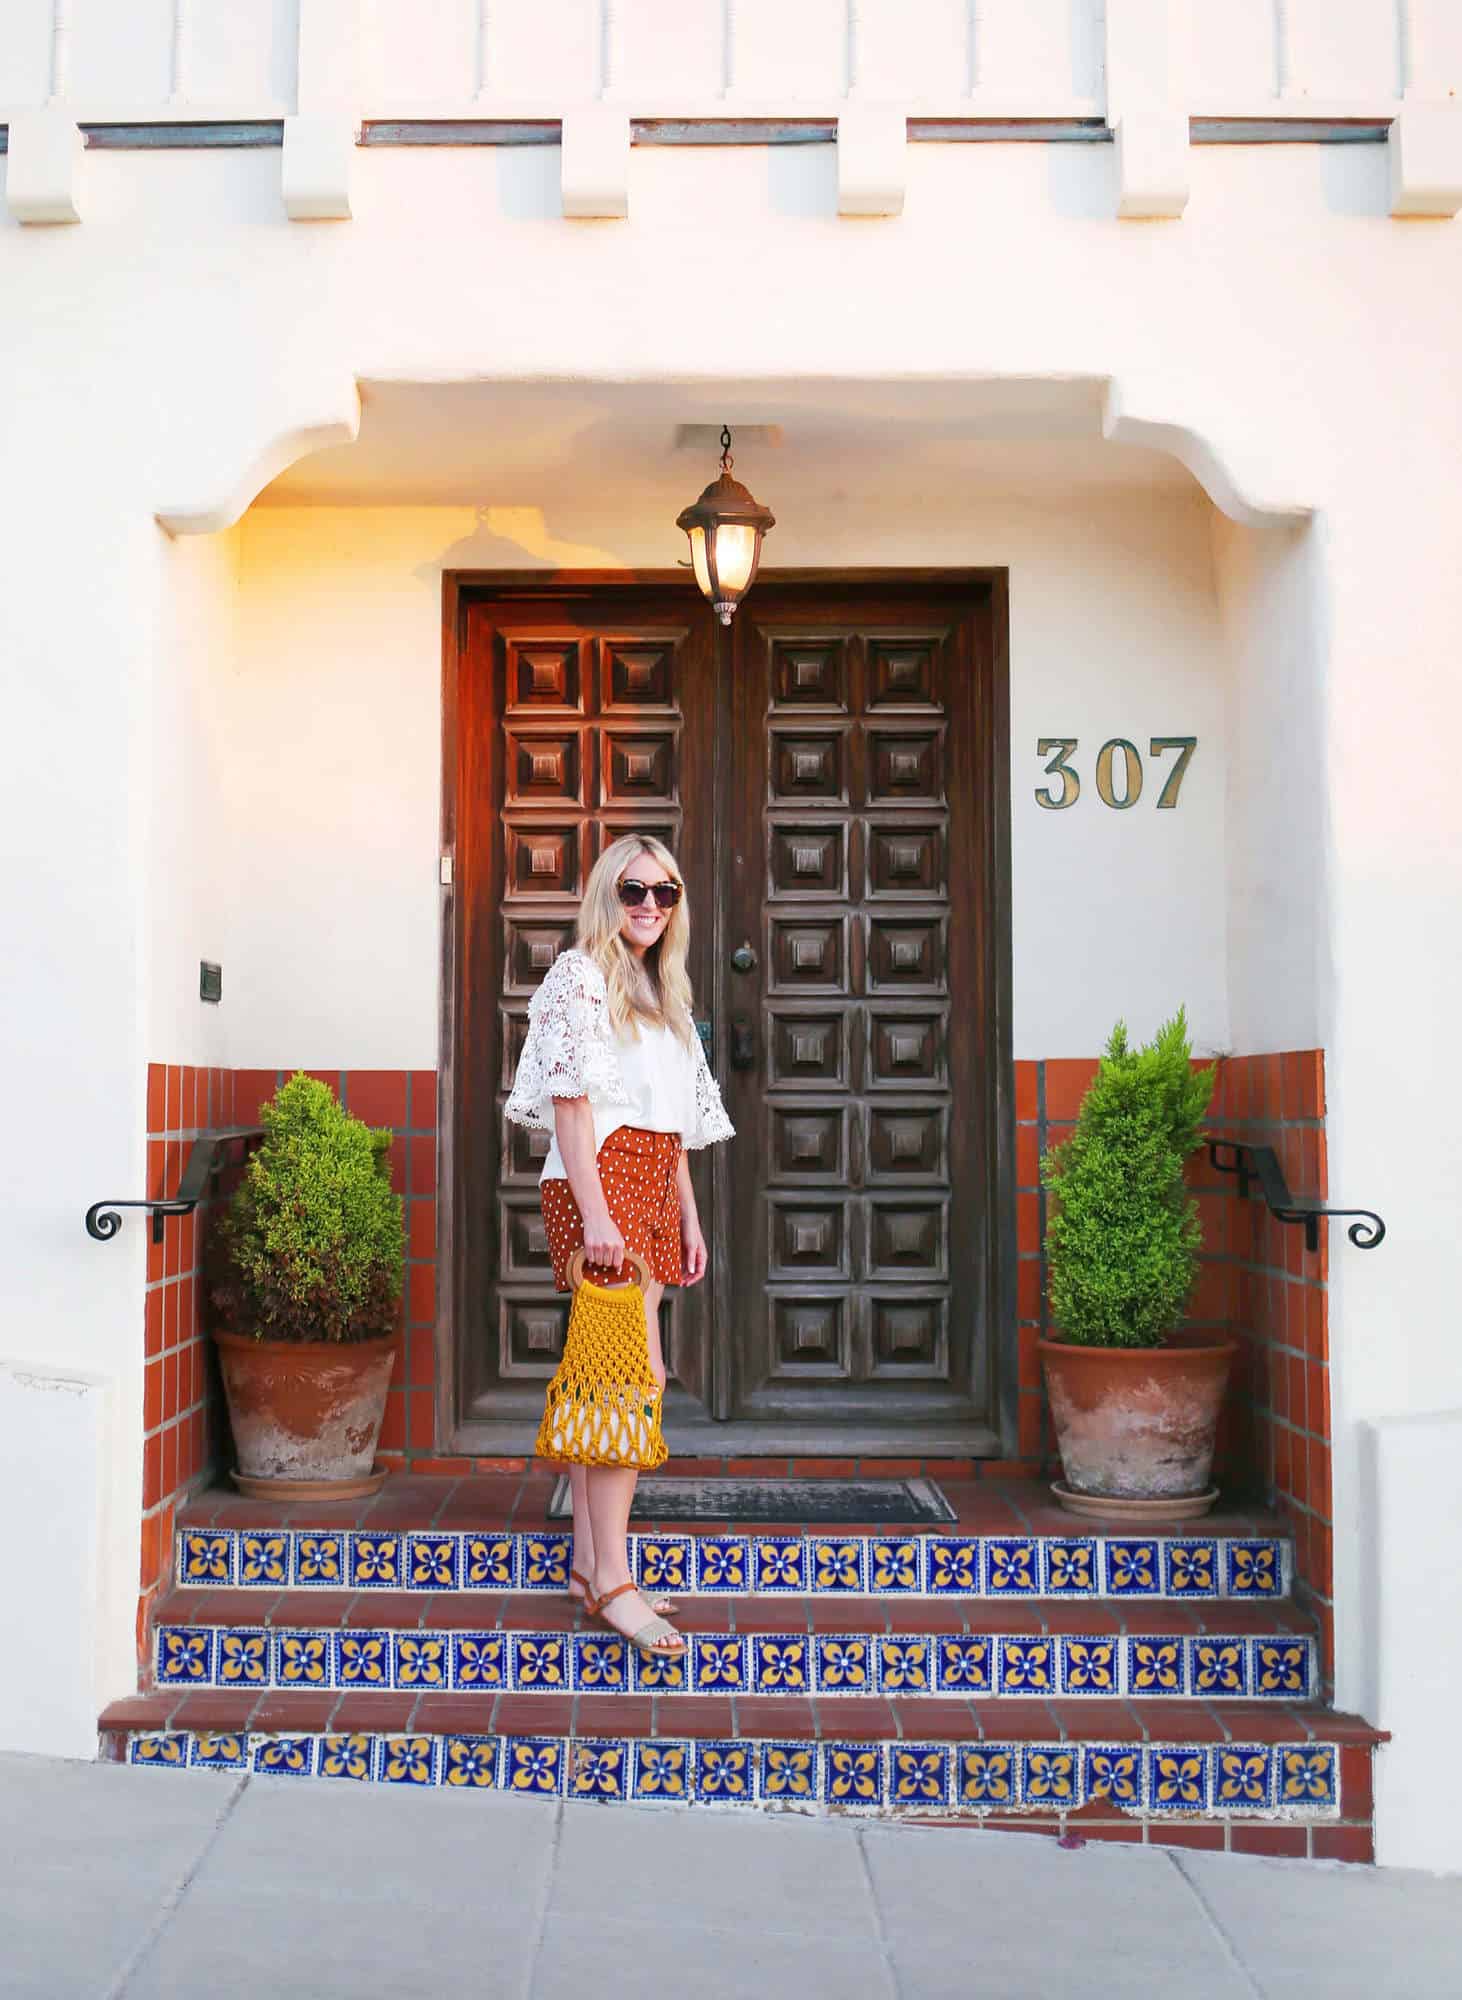
 Sometimes you just want a new handbag. Sometimes you also know a little bit about macrame. Sometimes you realize you can make your own handbag using macrame and suddenly you’re strolling around looking real cute!
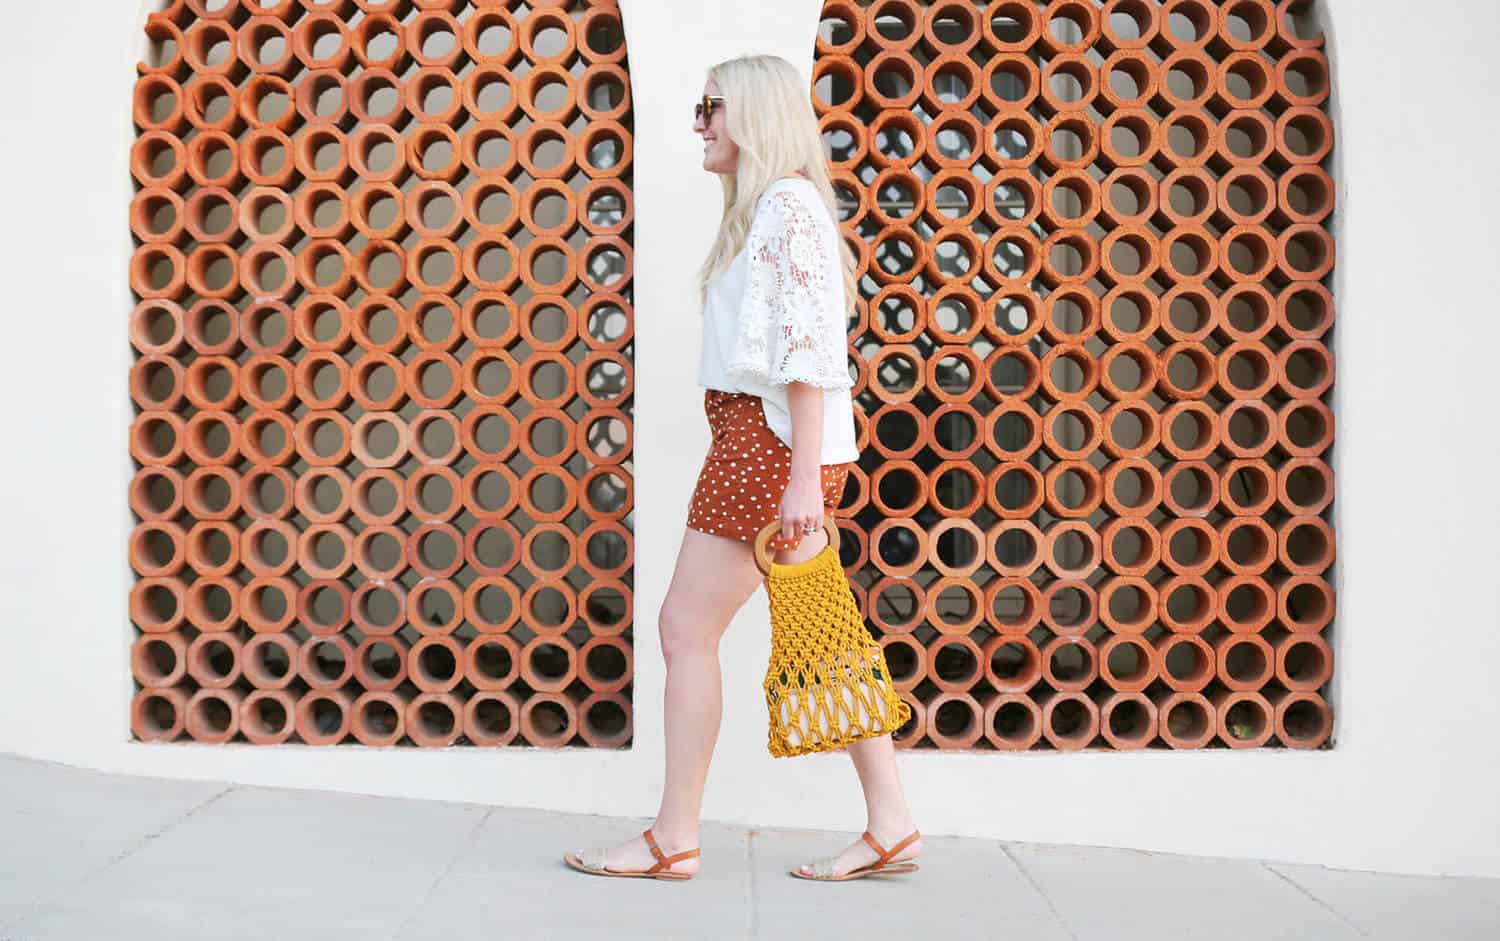
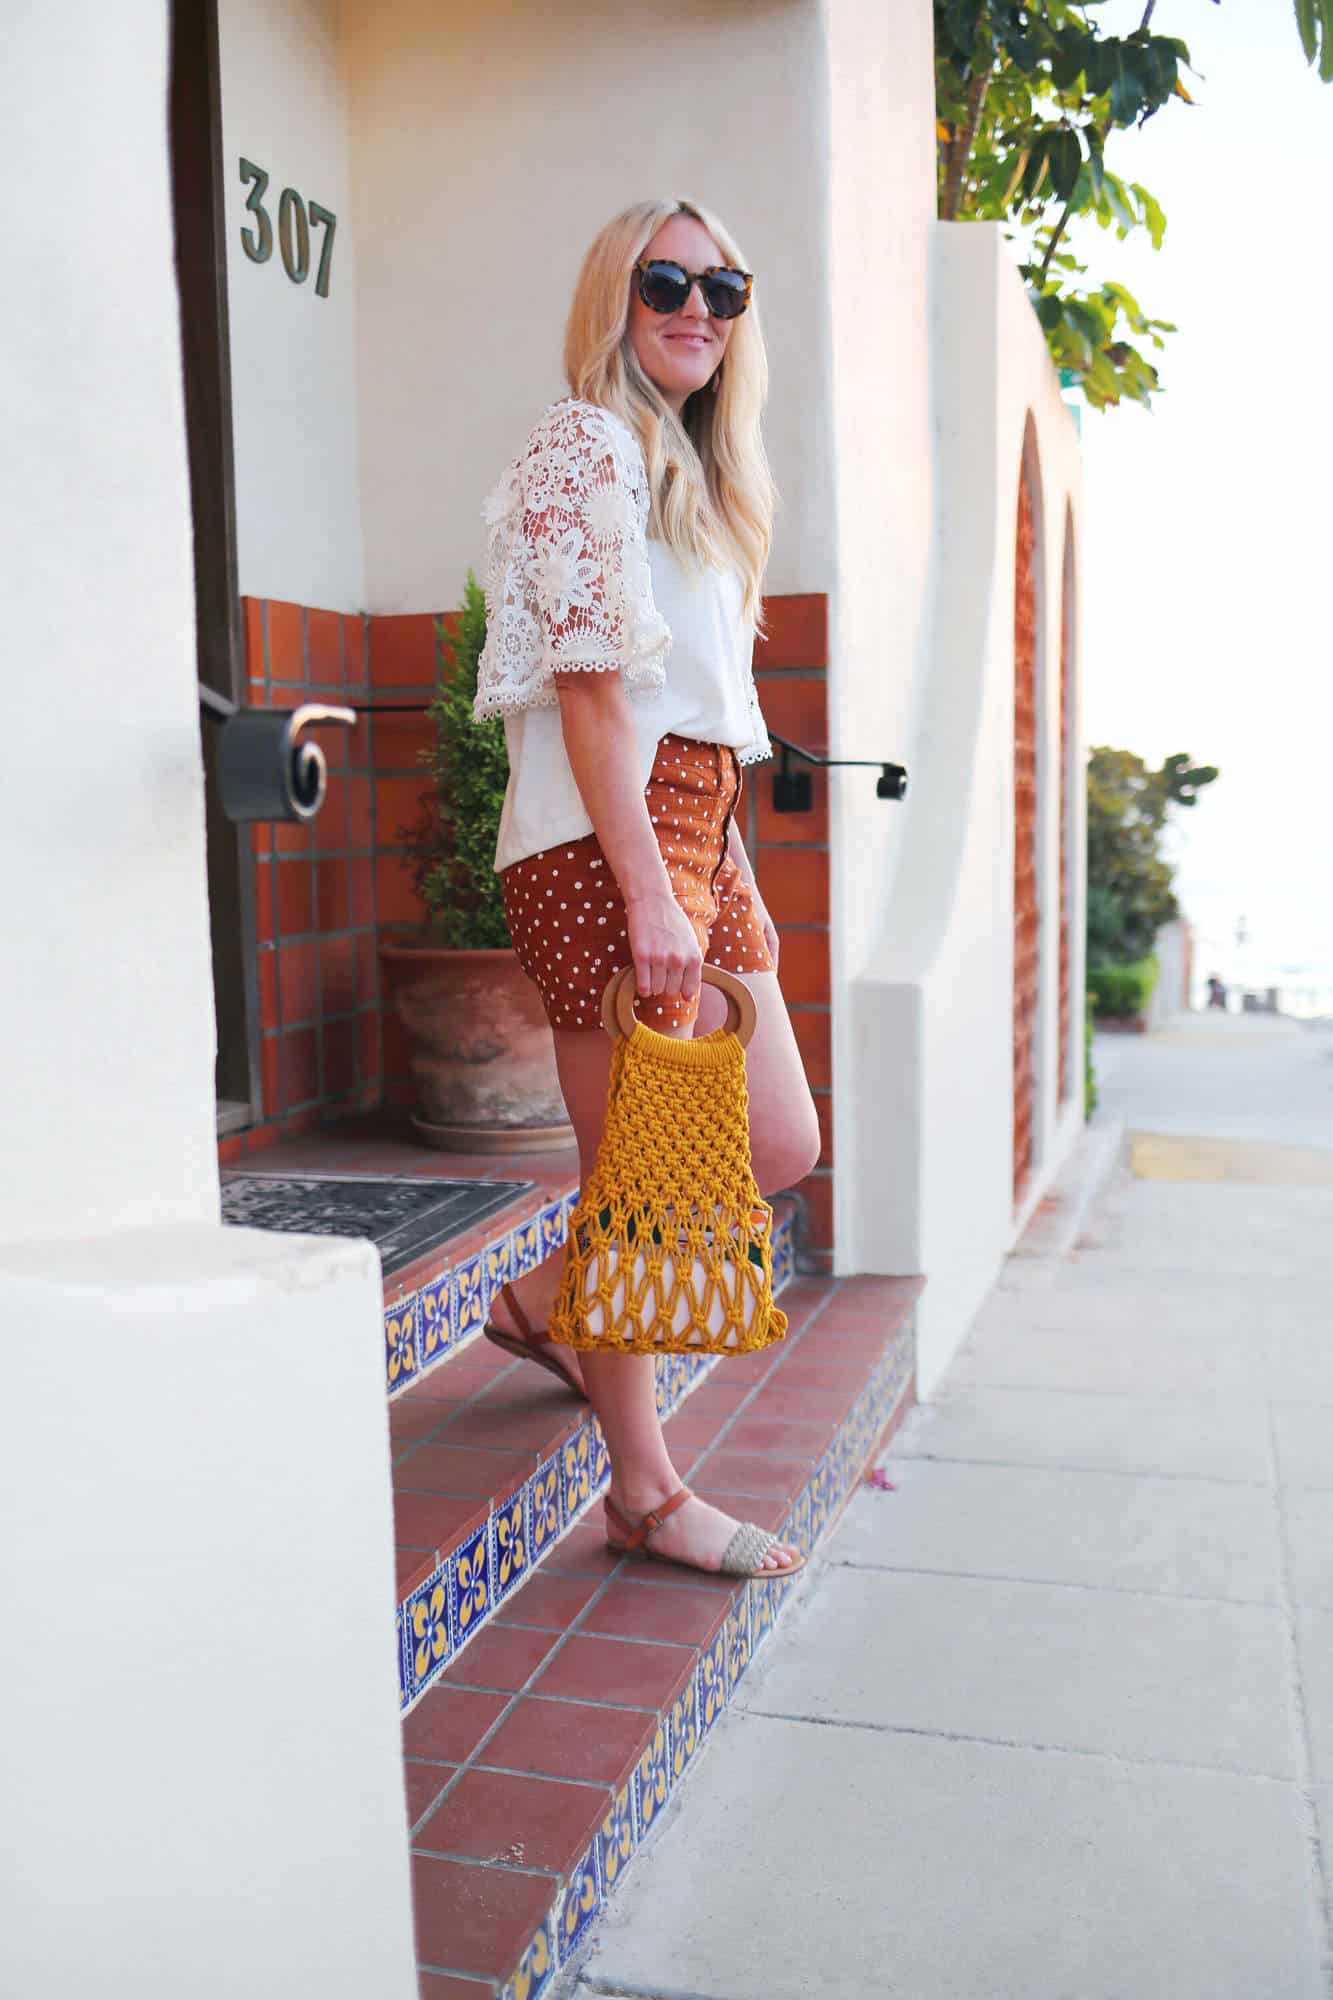
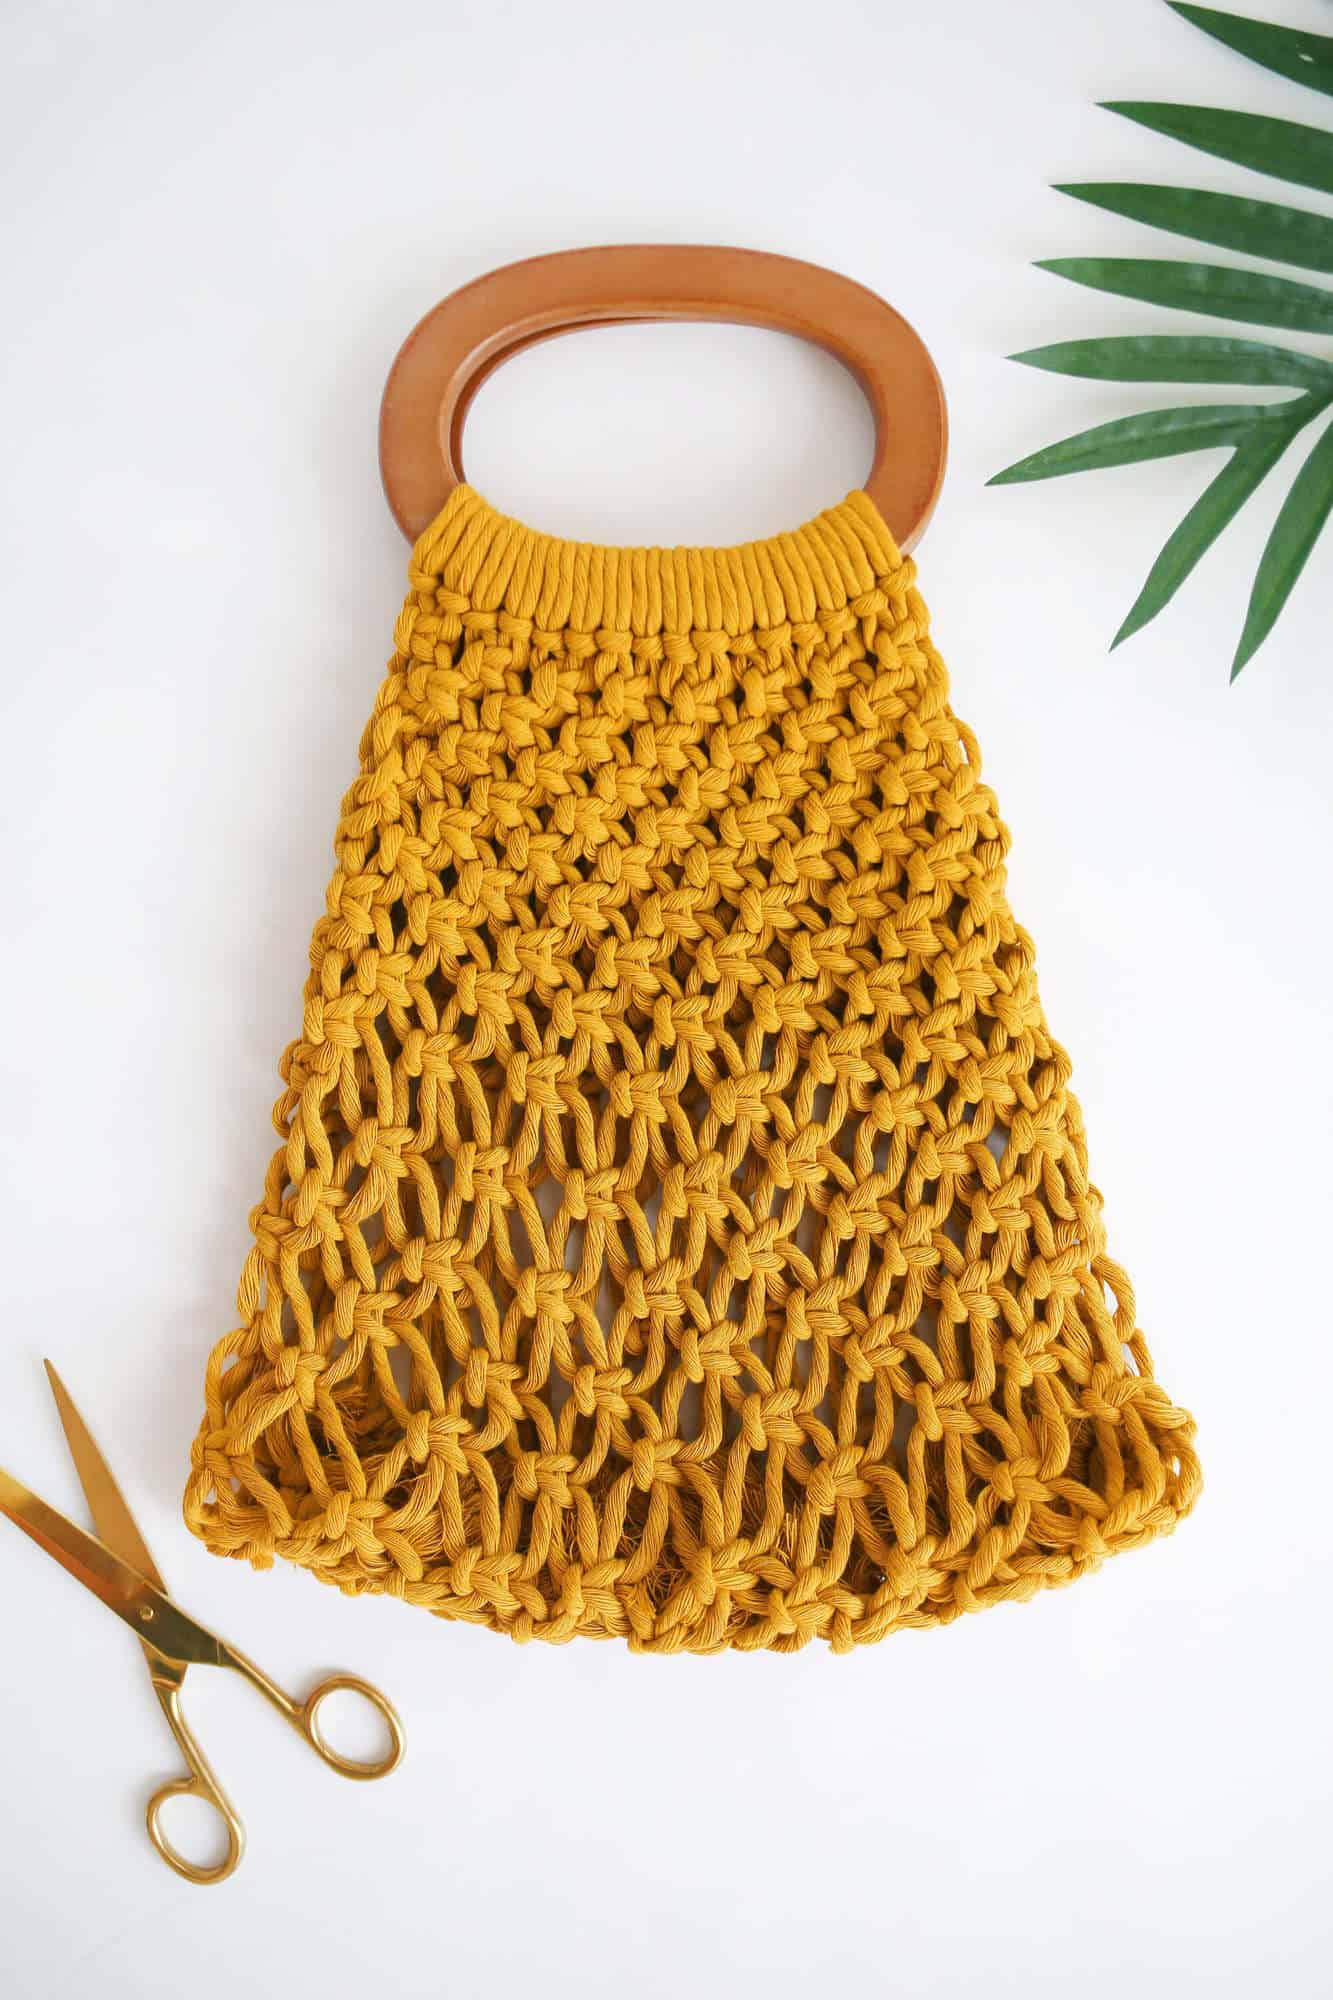
With the resurgence of macrame in recent years, there is an exciting range of dyed, cotton rope to be had. I found this beautiful mustard color and a coordinating set of stained wooden handles and realized I could use the most basic macrame knots to make a cute accessory that would hold the basics: my wallet, notebook (with pen attached inside the spiral binding b/c, duh), and phone. The best part is, this highly textured handbag can follow you from summer to fall in this beautiful golden tone.
 Supplies:
–one pair of wooden round shaped handles
–mustard 3mm cotton cord
-scissors
-yardstick or measuring tape
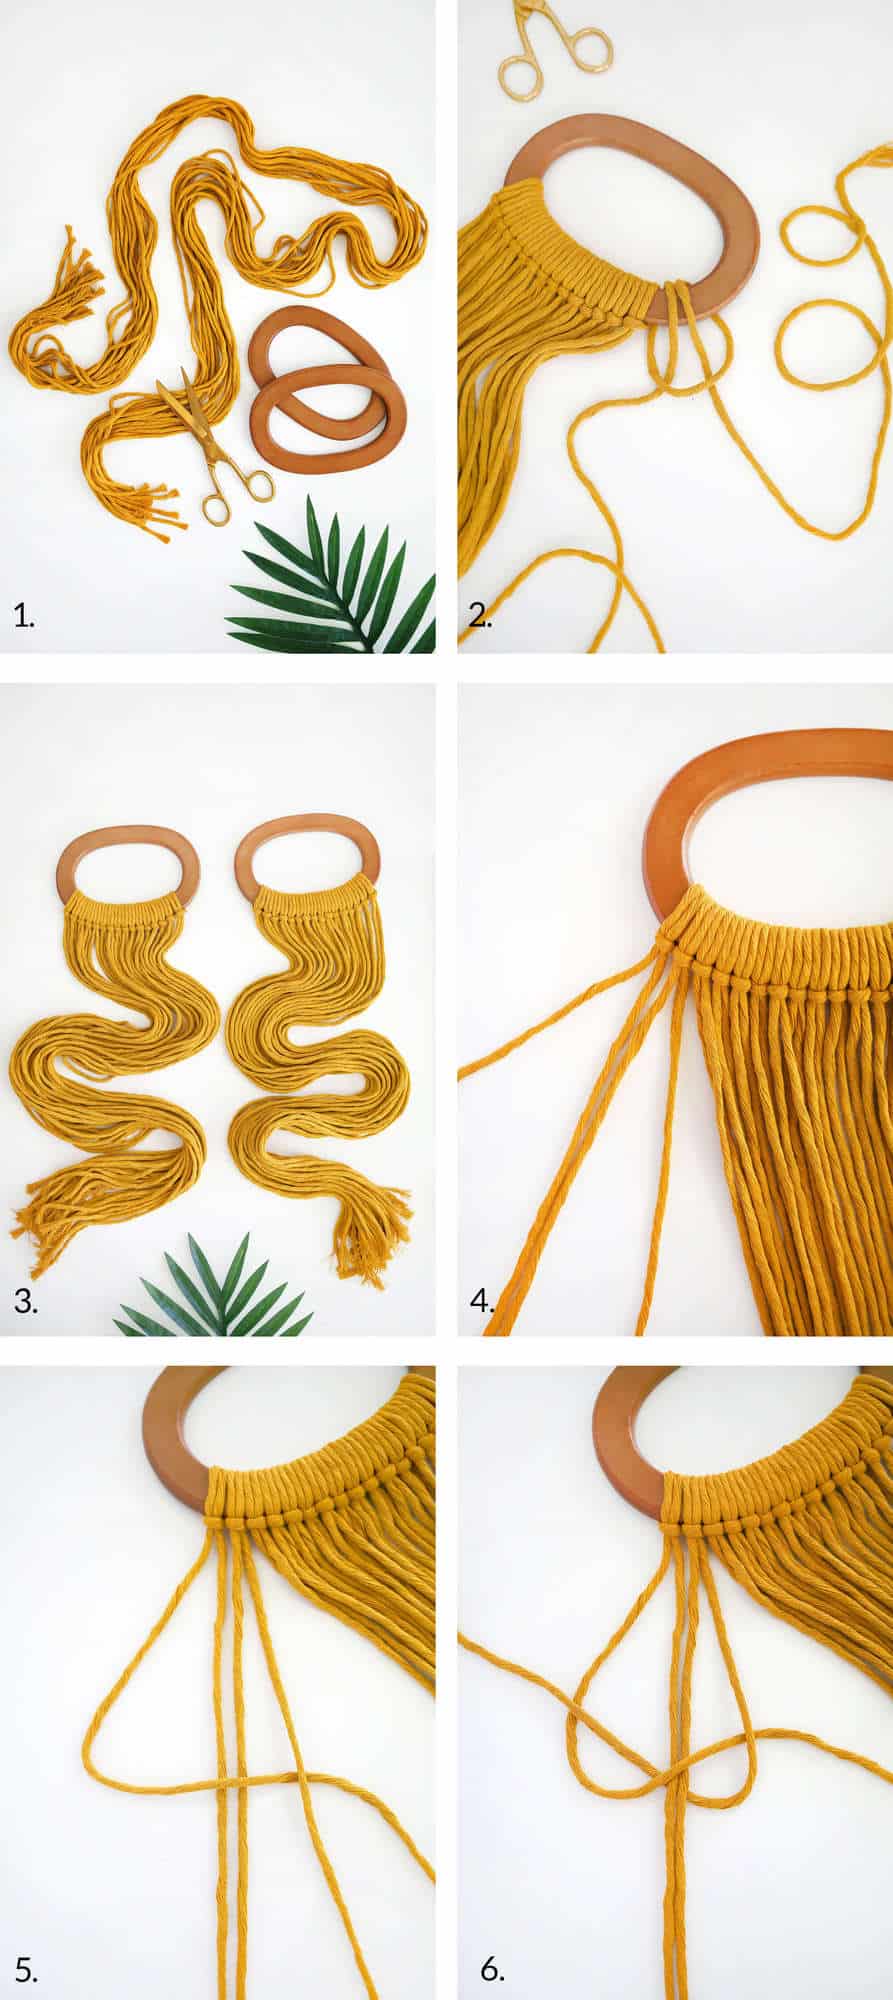 Step One: Cut thirty-two lengths of cotton cord that measure 11′ each.
Step Two: Tie sixteen strands to each handle using a lark’s head knot. To achieve a lark’s head knot, fold your strand in half and fold the center from the outer rounded part of one handle to the back of the handle. Then pull the two loose ends through the folded center as shown. This creates a lark’s knot.
Step Three: Repeat until you have tied sixteen strands per handle. Pay special attention that all of your knots are on the same side of your handle or else it will disrupt the visual pattern.
Step Four: Start your first row of square knots by using the first four strands of rope on the left side of one handle. You can move the rest of the strands off to the side to make this easier.
Step Five: Fold the first strand over the second and third strand and under the fourth strand to create a ‘4’ shape.
Step Six: Then fold the fourth strand under the second and third strands and up and over the bend in the first strand as shown. It almost looks like an upside down heart. Pull the outer two strands until they are snug. This is a half-knot.
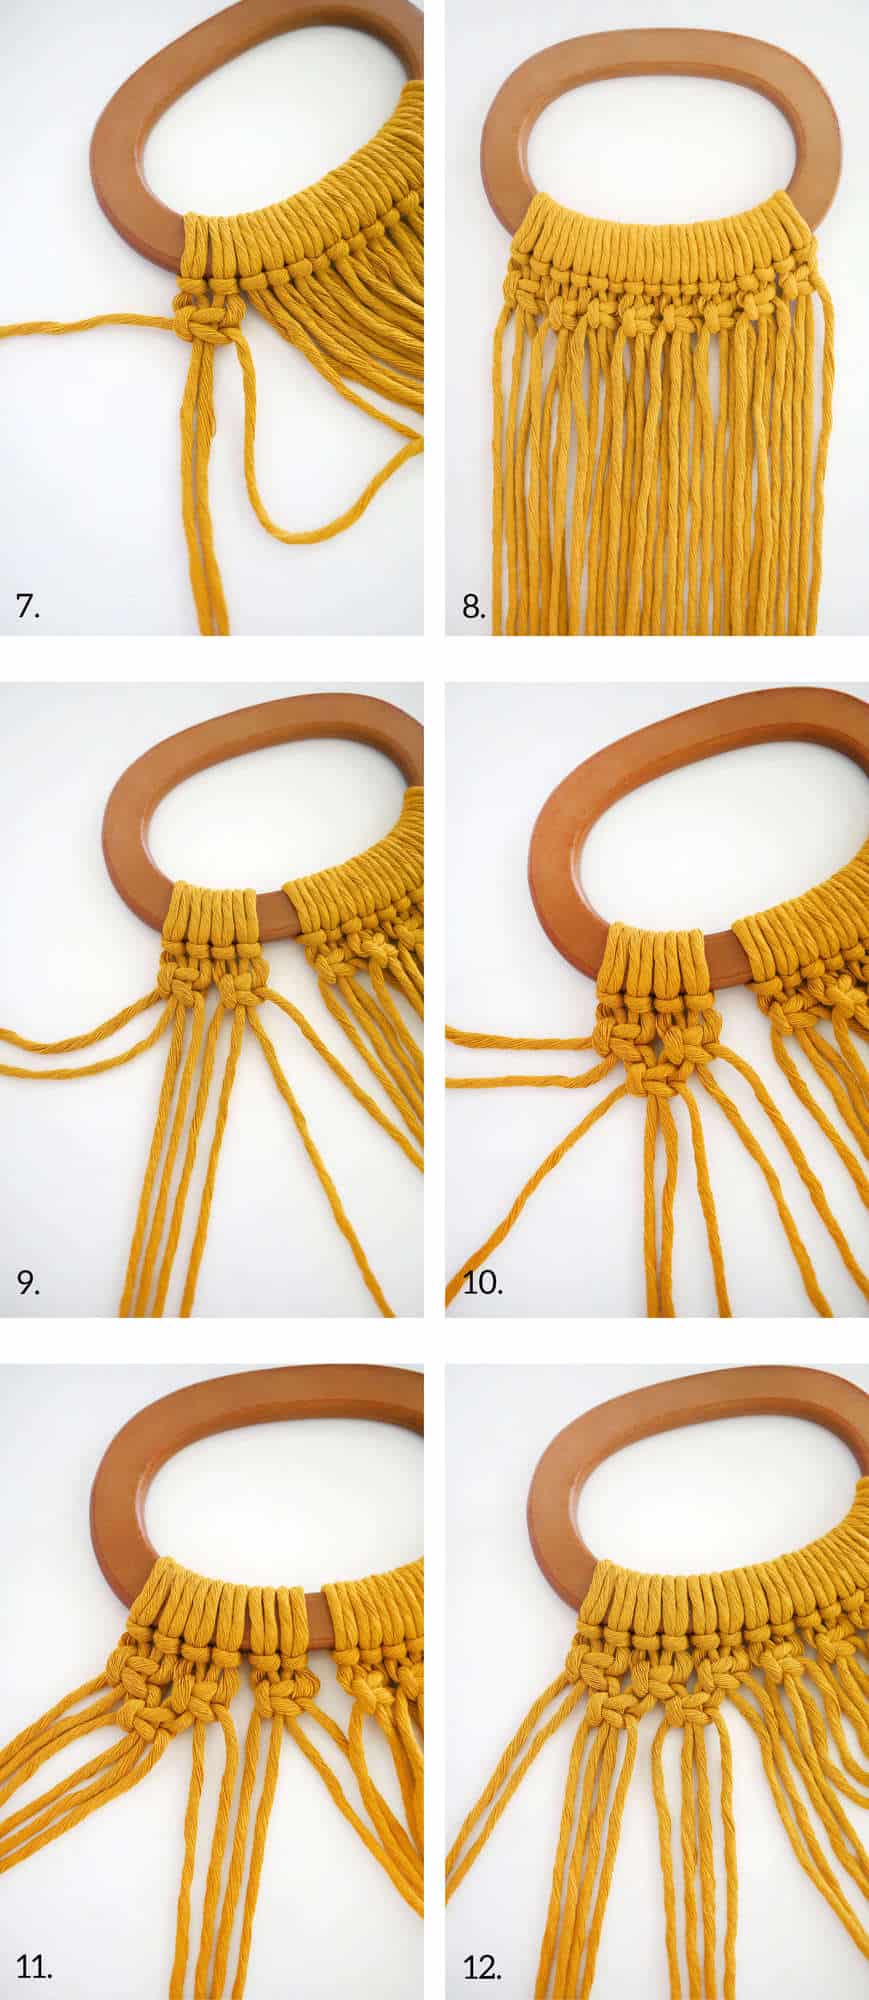 Step Seven: Then you’ll create another similar half knot but reverse the overlap order of the outer ropes. The outer rope on the right side will go over the center two ropes but under the outer rope on the left side. Then the outer rope on the left side will go behind the center two ropes and come out over the bend in the outer right rope. Check out steps two through four in this macrame stocking tutorial for further visual breakdown. This is a square knot.
Step Eight: Use the next four strands to create another square knot and keep adding square knots all the way across.
Step Nine: We’re going to create alternating square knots for the second row of knots. Use the first eight strands on the left side. Skip the first two strands on the left side and the last two strands on the right side so that you’re only working with the four strands in the middle.
Step Ten: Use those four strands to create a square knot.
Step Eleven: Use the two leftover strands on the right side and next two strands for your next square knot as shown.
Step Twelve: This is how it should look. Continue this second row of knots. Follow up with a third row of square knots, a fourth row of alternating knots, a fifth row of square knots, and a sixth row of alternating knots.
Note: In my pattern, I only tied five rows of knots but later realized a sixth row would create a smoother pattern before joining the two sides together.
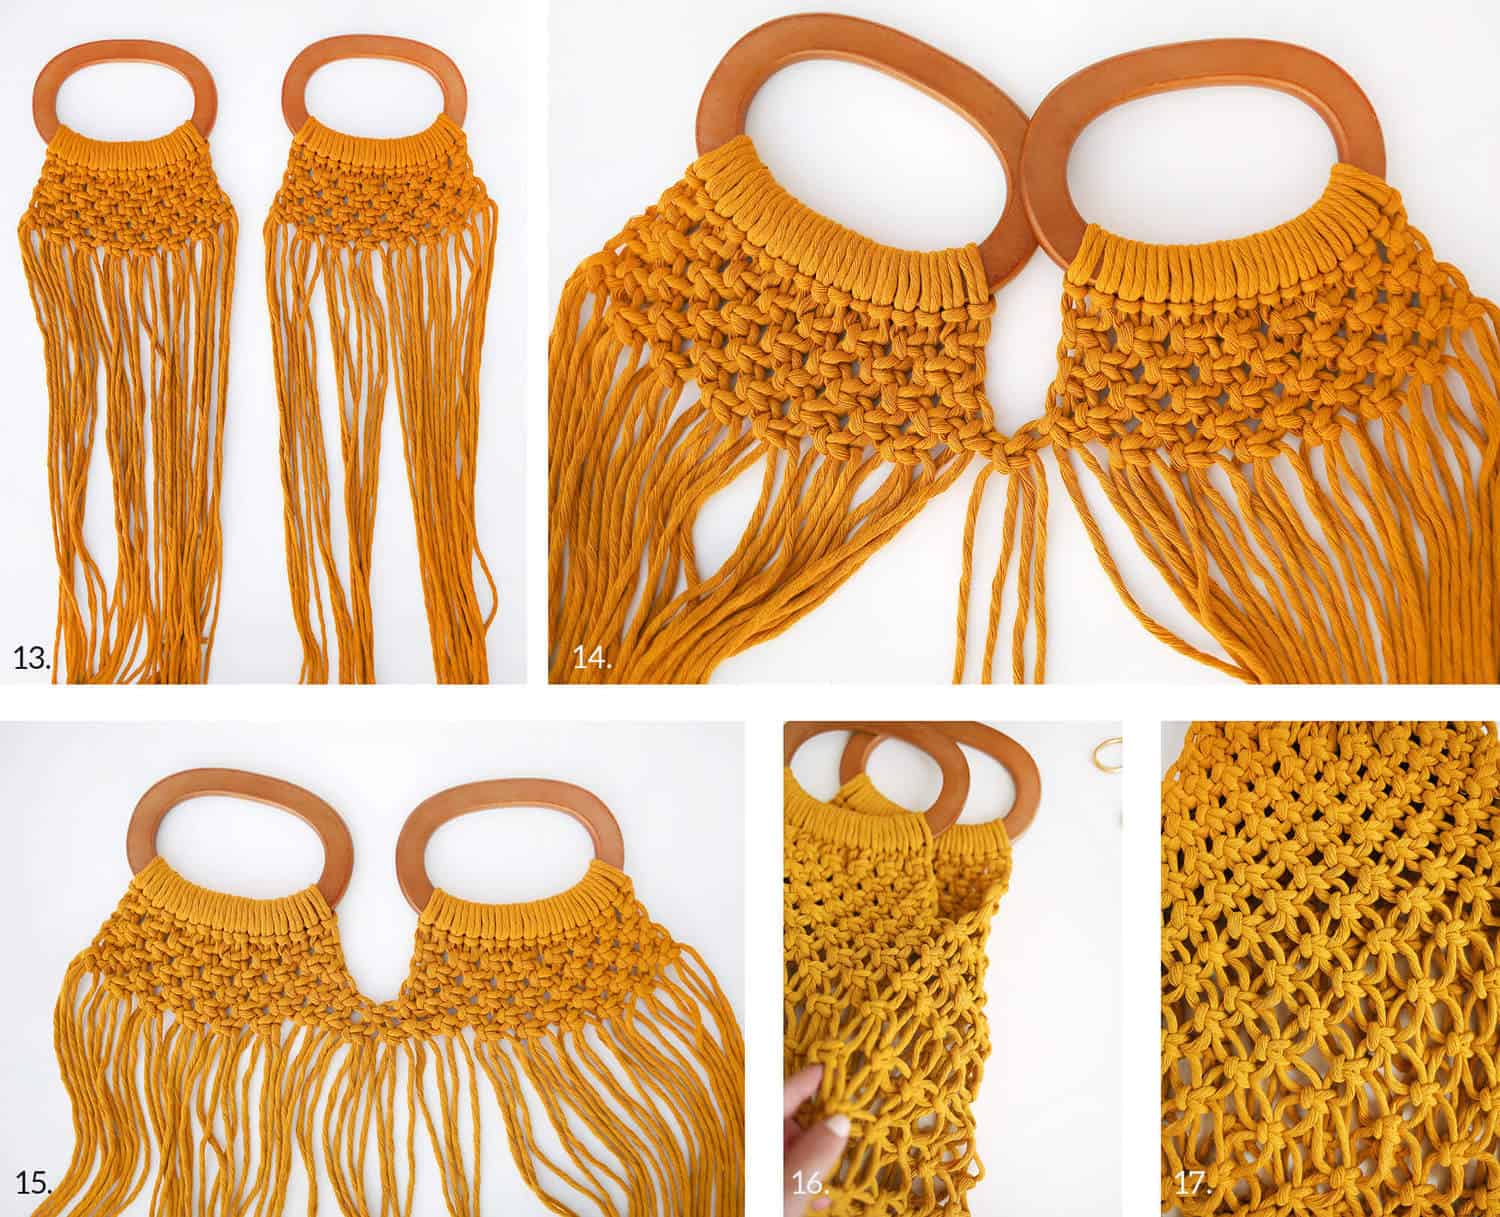 Step Thirteen: Repeat steps four through twelve on your second handle.
Step Fourteen: Place the two handles next to each other. My handles have a right side and a wrong side, so be sure your handles are both facing right side up. Create an alternating square knot between two strands from one side and two strands from the other side.
Step Fifteen: Continue tying square knots from the center to each edge to finish out that row, except for the last two or four strands on each end. Once you get to the tenth row, start leaving some space between rows. This will give your bag more roominess and stretch in the bottom half.
Step Sixteen: Once you’ve finished fifteen rows, fold your bag in half so that the wrong sides of the handles are facing each other. Attach the open sides of the bag by tying up the rest of the knots to finish off the rows.
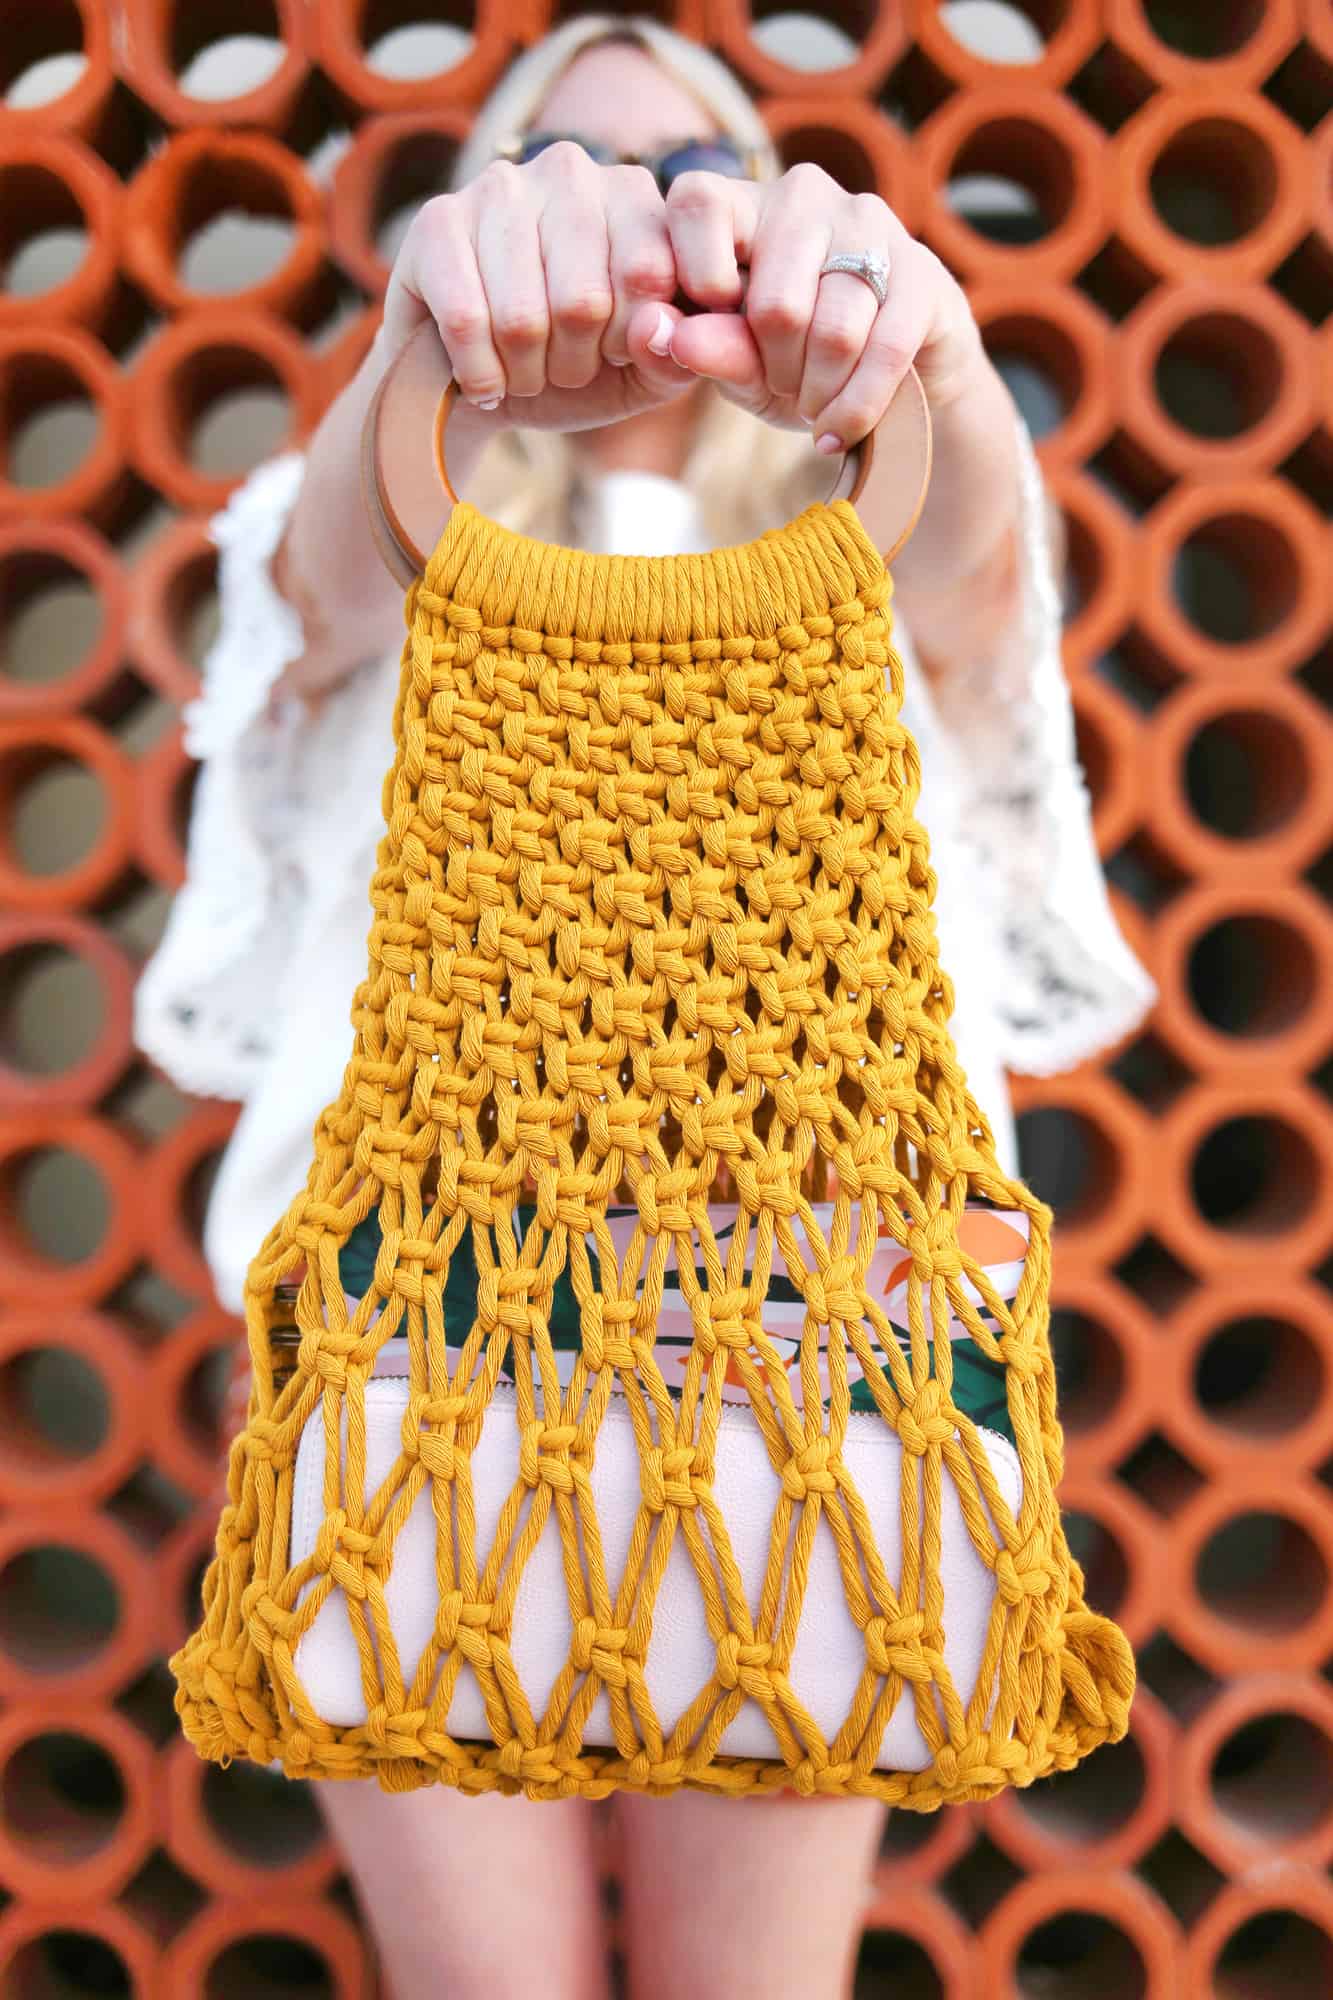
Step Seventeen: You can see how the knots are closer together at the top and further from each other at the bottom.
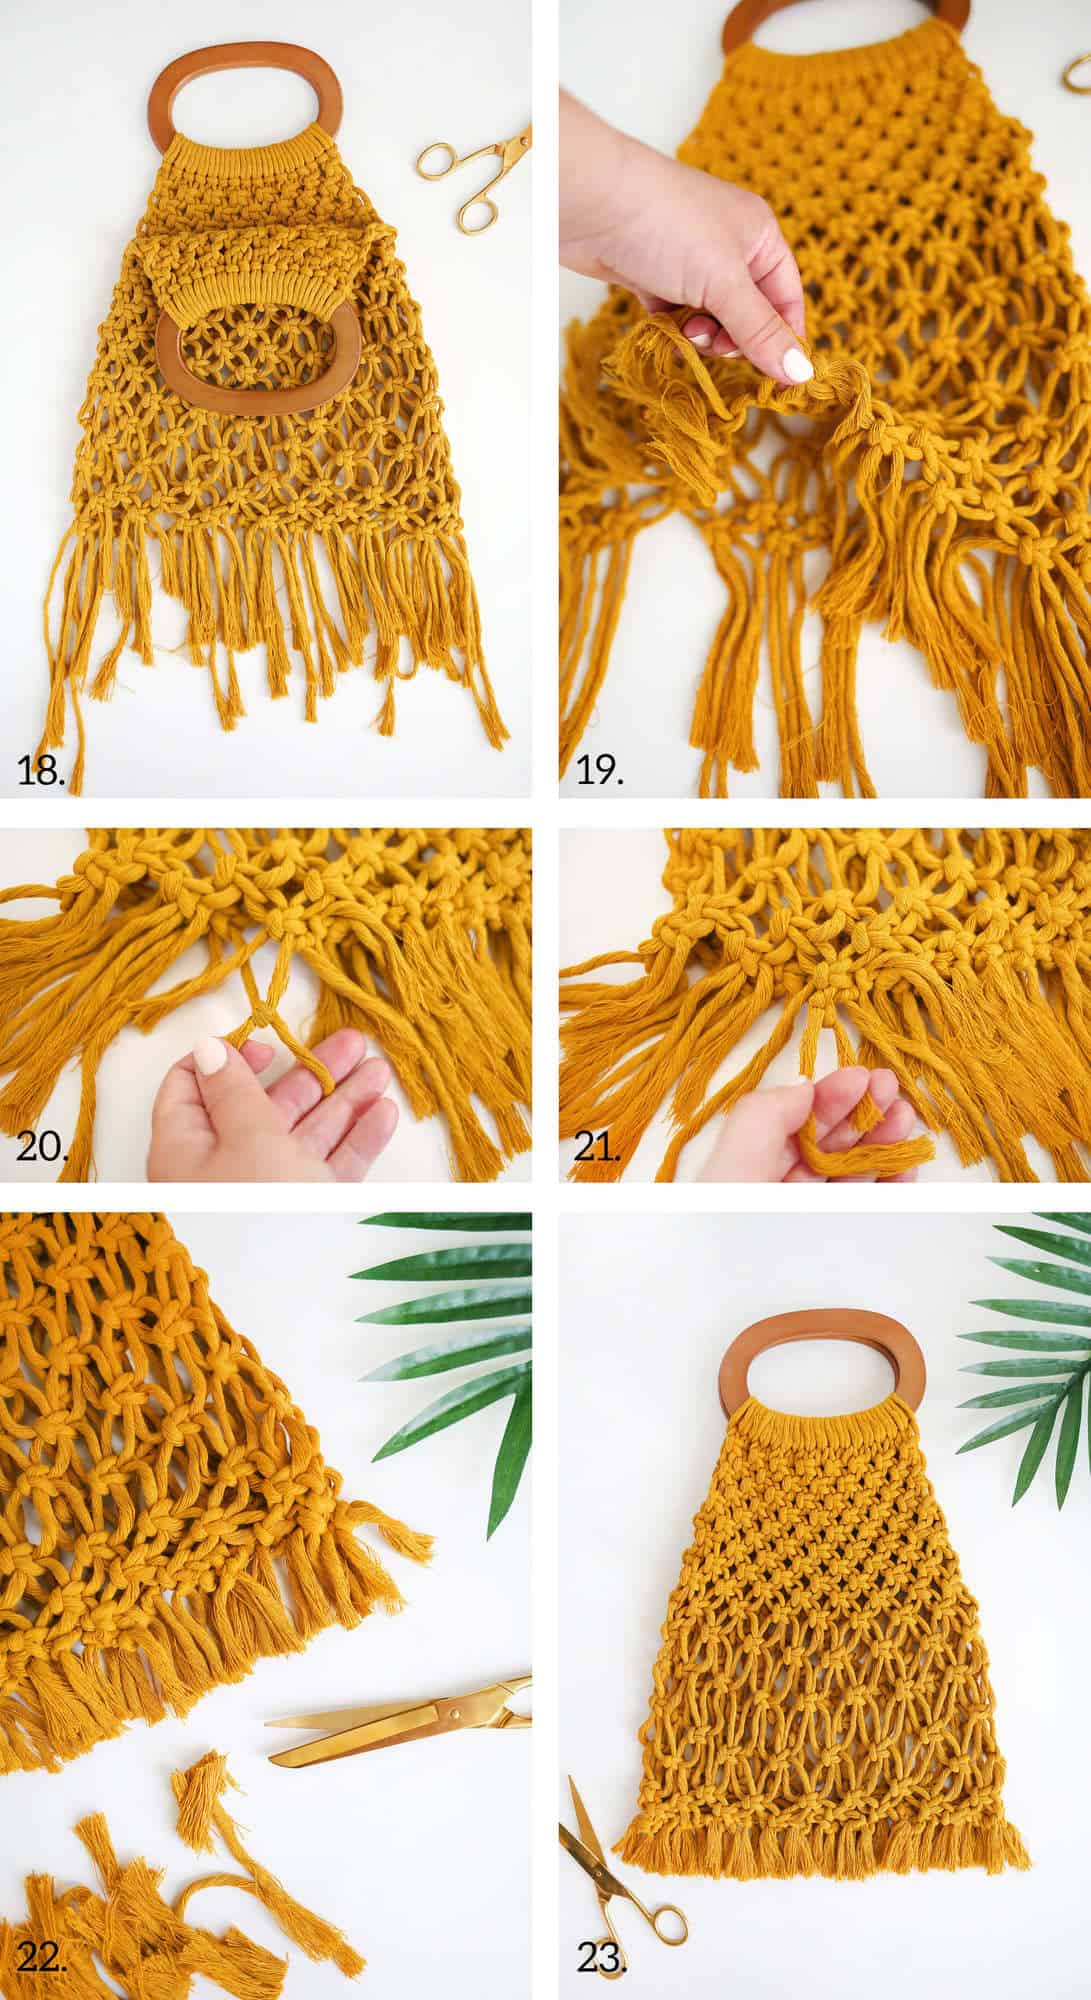 Step Eighteen: Now, this bag can be made with fringe on the bottom or tucked inside. If you want it tucked inside, like mine, this is the point where you turn your bag inside out with the right sides of the handles facing each other.
Step Nineteen: We’re going to tie the knots from the front side of the bag at the bottom, to the back side of the bag at the bottom.
Step Twenty: Take individual strands from one knot on the front side and an individual strand from a nearby knot on the back side and knot together once so that they are snug.
Step Twenty-One: Then tie a double knot. Follow along until all strands have been double-knotted to a strand on the opposite side.
Step Twenty-Two: Trim your strands so that they are even.
Step Twenty-Three: Brush your strands out so that they are full if you are going to keep them on the outside of your bag.
 Or trim them down a bit further and turn your bag right side out as shown. I trimmed mine down even further after this photo once I decided I liked mine better without fringe after all. Ha! Decisions, decisions.
 Worried about the random stash of lipsticks and pens that are usually pooling at the bottom of your most used bags? Toss in a cute zipper bag to carry smaller items and you’re golden! Enjoy. – Rachel
18 Comments
Love the colour of the handbag! It’s so perfect, not just for summer but for fall too! 🙂
Charmaine Ng | Architecture & Lifestyle Blog
http://charmainenyw.com
Thank you so much, Charmaine!!! Yes, very versatile! -Rachel
This is very cute 🙂 I have a vintage macrame handbag from the 1970s that I’m always getting compliments on, so I love this idea so much.
~ Laurali Star
https://www.everydaylauralistar.com/
Yes, the vintage ones are SOOO good! I used to see them everywhere ten years ago but they’ve been getting snatched up since then! -Rachel
That bag is beautiful! I love the step-by-step guide!
https://thegirlfromconnecticut.com
Hi can I ask if yhere is an angel policy for yhe items you show on your blog please? I love yhe bag and am looking for something new to try and if I can do it then try to sell. Thanks alot.
That’s totally fine to do– thanks for asking! 🙂
oh my goodness – i love this! the color is so fall. essentials definitely include a pen + notebook. more here: https://tps-steph.blogspot.com/2019/06/0039-simplifying.html
What a fun project! I’ve never done macrame before, but now I want to try it!
Laura
http://www.laurelandfern.com
How long did this take to make? 🙂
I’d say between 4-5 hours but I stopped a lot to take photos and arrange things.
Is the length of the strands I have to cut correct? 11 Inches seems very short…
Any idea of the correct measurements???
Each strand should be 11′ (eleven feet long) as shown in the photo and mentioned in the instructions.
Do the strands measure 11′? This seems to be not enough and they do look like much longer strands, don’t they?
The bag is super cute and I definitely will try to do one on my own:)
Each strand is 11 feet long as mentioned in the instructions.
So disappointed!
I bought every needed supply online and started the project; I then realized the string measurements were too short, so I doubled them and cut the sections…only to find out they had to be folded in 2 again!
Impossible to make anything come out of such short segments..
What are the right measurements please?
Boohoo
:'(
Em
Em,
The strands need to be eleven feet long each. You need 32 of them. Did you cut them 11″ long or did you cut them 11 feet long? I’ve had a few other people think it was inches, too, and I can’t figure out why since the directions say 11′.
I’m sorry for your frustration, though. I don’t enjoy cutting up good supplies and then not being able to use them for the intended project either.