
 Nothing is more magical than unicorns, right? When Elsie asked if I could make a unicorn plush, my mind went straight to the magic of it. Then I laid out my materials and felt a little overwhelmed by the task since I have never made a plush animal before—and especially haven’t made a downloadable pattern for one. After making my first mockup, I realized I was worried for nothing. This project does takes a while to create, but it’s not as difficult as it looks. I pinky promise.
 Supplies:
– Downloadable pattern pieces to be taped together: pattern 1, pattern 2
– White fabric
– Pink yarn
– Metallic rick rack
– Embroidery floss
– Floral wire
– Stuffing
– Hot glue gun and glue
– Fabric scissors or a rotary cutter
 Start by printing your pattern out full-size and taping it together. Use it to cut out all of your pieces as instructed. Embroider on your eye however you want. If you want to add a design to its hind quarters, embroider that on now, too. I used a disappearing marker to make the design before sewing it on.


 The embroidery is where you can add personality to make the unicorn more cartoon-like or keep it simple for more sophistication. Also, keep in mind if you want to give this to a small child to not include any 3D decorations like buttons that they could bite off and choke on.

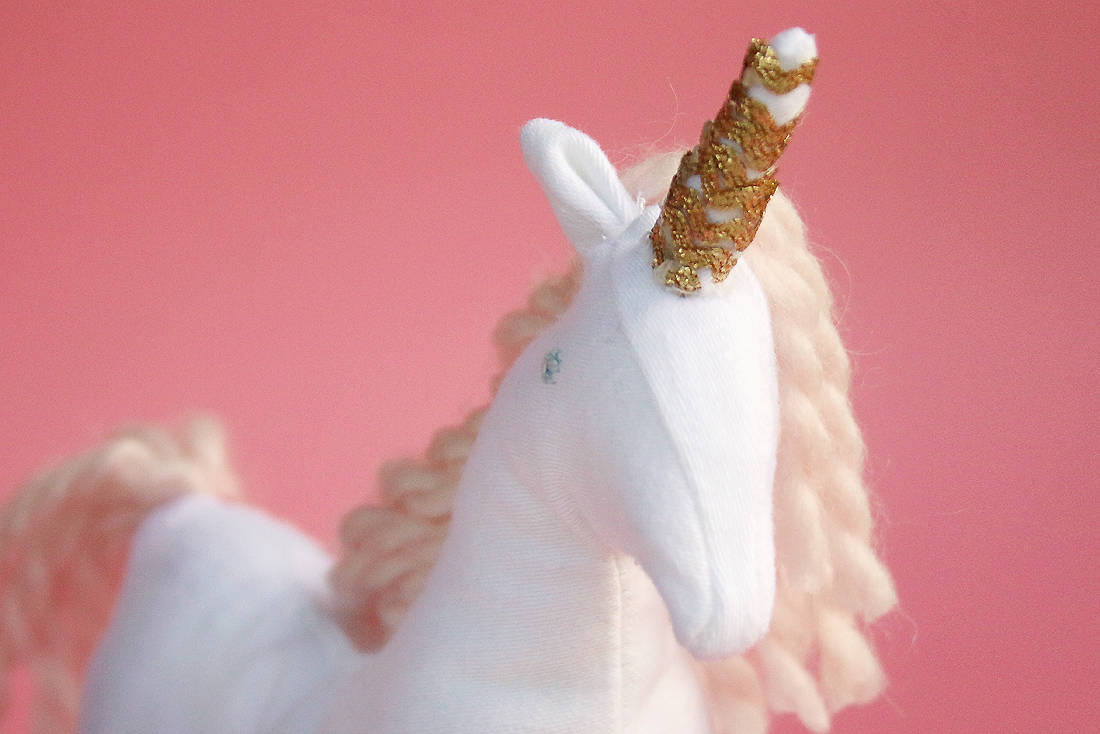
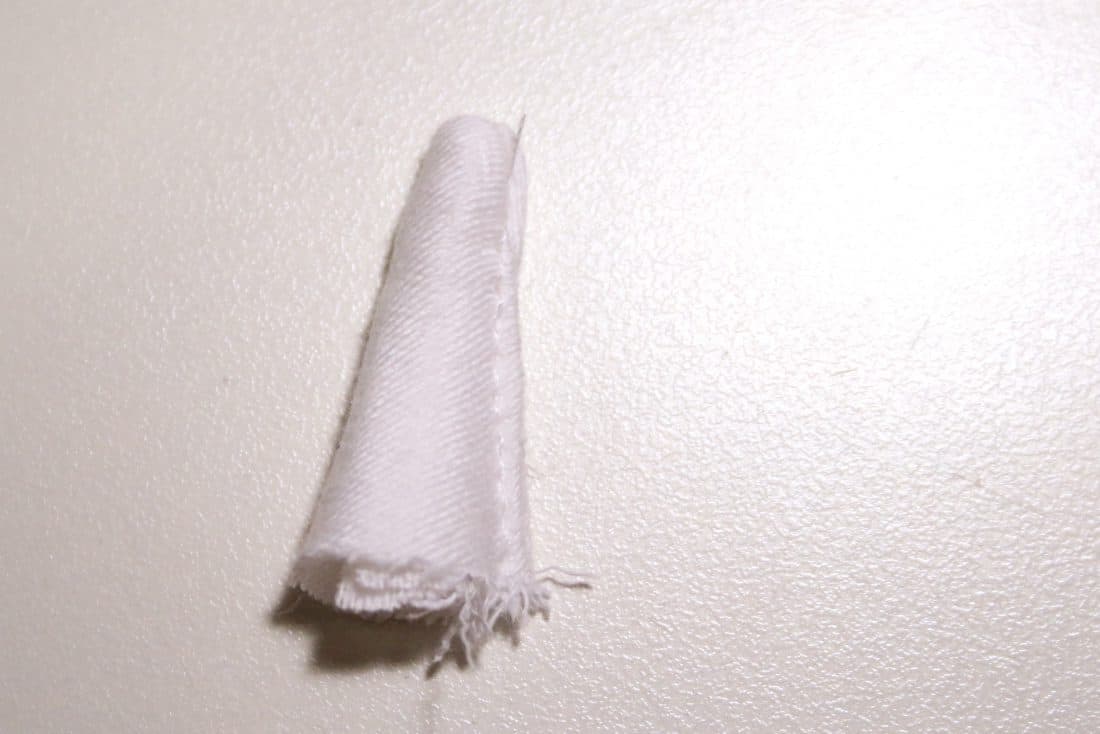 Next, fold the horn in half (like you are making a party hat) then sew down the side with 1/4″ seam allowance. Turn it right-side out. To add stability, fold some of the seamed side inward and topstitch on this line.
 Fill the tip of the horn with some hot glue for even more stability. Using your hot glue gun again, attach the metallic rick rack in a spiral pattern around the horn.

 To create your ears, sew two of the pieces together with the good sides facing each other. Trim the excess seam allowance off the point, then flip them right-side out. Fold the bottom of the ear in half and stitch along the edge to make that cute little inner ear fold.

 To make the tail, loop yarn around your hands a few times then tie the ends together, securing all of the loops. Cut the bottom of the loops and tie the ends from your earlier knot around the top all together to create a tassel for the tail.
 You will start the mane the same way by looping the yarn around your hand several times. Cut through the loops at one point to create multiple uniform size pieces. Sew them together with a small stitch length right down the center. I sewed over it twice to make sure it was strong. Fold the mane in half and stitch along the folded edge so all the mane pieces face the same direction.
 Match the bottom of the body up with one side of the body. Sew them together with a 1/4″ seam allowance from the center of the back to the center of the front. The stitching should go from pin to pin in the photo above.
 Once the bottom is attached to one side, sew it to the other side in the same way. This will create four legs, but leave the top of the body open.

 Sew the head piece around the head from the bottom to the center of the top to one side of the body. Make sure to include the ear in the seam with the inside of the ear fold facing forward.
  Pin the tail into place with the knot on the outside with the tail laid inside. Sew from the top of the back legs where the bottom is attached on. Sew to the point where the top pin is in the photo above. Then sew the front in the same way from the top of the front leg stitching to the top of the head piece, treating the headpiece as part of the side it is already attached to. Remember to insert the second ear. Stop sewing at the top of the headpiece.

 Flip the body right-side out. Use a chopstick to help to turn the legs all the way. Hand-sew the horn onto the top of the headpiece in front of the ears.
 Create a wire frame to go inside the legs and body if you want the unicorn to stand and be poseable. Hot glue all of the connections and over the sharp ends. Slide it into the legs and body. Fill with stuffing using the chopstick to get stuffing into the legs.


 Sew the mane onto one side of the body. Push the seam allowance into the body and pin the two sides together. Carefully top-stitch the seam to close up the rest of the unicorn opening.
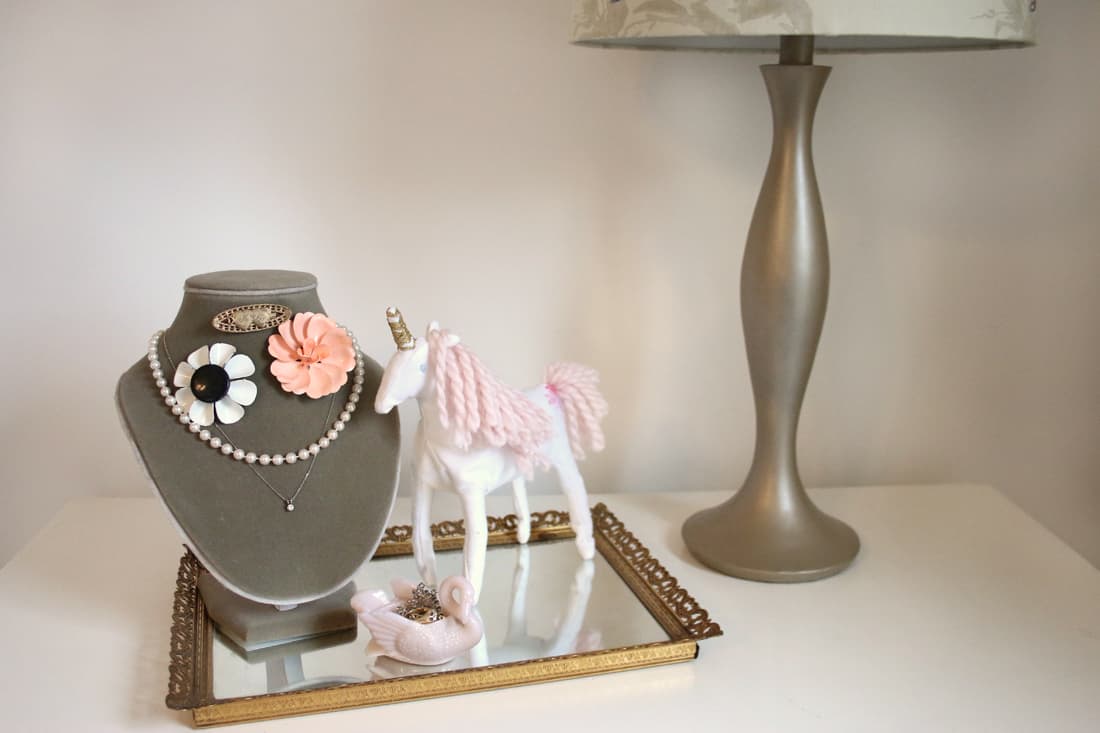
 These may take a while to make, but the outcome is SO pretty! The (big) little kids in your life will be thrilled to receive this magical beauty, or you can put one on display just to stare at. xo, Mallory
16 Comments
When I was in primary school, everyone called me “Unicorn girl” because well, I love unicorns! I remember I even made a website about unicorns (remember those Geocities days?). So seriously, this is perfect!
Charmaine Ng | Architecture & Lifestyle Blog
http://charmainenyw.com
I feel like I should be too old for that… But I am totally not.
This is such a great idea! I’d love to make this unicorn just to put it on display like you did in the photo. Great post. Xx
I think this would be the perfect thing to pose next to my cotton ball and q-tip jars in my bathroom! Hope the s.o. loves it as much as I do hehe.
Oh my goodness that’s just the cutest. I love making stuffed animals for my niece and nephews. Thanks for the inspiration and for the tutorial!
Elly
curiousdisposition.com
First I thought this was a crazy idea, but it looks so cute and magical! Perfect for kids and everyone who’s crazy about unicorns!
https://www.makeandmess.com/
I’ve never been a horse or unicorn person. While this project doesn’t appeal to me, I think it would make my niece very happy!
lovely!
Daniela
New post:https://blondepow.blogspot.com
Love it. Reminds me of Deadpool.
This is so cute
I’m always on the lookout for ways to use our ikat fabric scraps. This is really cute and would look adorable in a pattern.
Amanda
rayaexchange.com
wow this is adorable! you’ve really nailed the details ! I love the floral embroidery on the bum
I just wrote a post about floral prints 🙂
so adorable! And it looks that it is not as difficult as I initially thought! x
My daughter loves unicorns! This is perfect for us to sew together on her new kids sewing machine! Thanks for posting!
This is so adorable! I’m going to try this one <3
I to use our ikat fabric scraps. This is really cute, i love the floral embroidery on the bum
see more: https://httpflowers.top/hoa-tuoi/hoa-tang-le/