 I have to confess that as a mom, I struggle a bit with having messy fun and letting go of control over trying to keep things relatively clean at times. It’s not that our house is perfectly clean (it’s like really, really far from that usually!), but I still try and keep messy crafts to the outdoors for easier cleanup when possible. That’s all fine and good if I can just move an activity outside and we still get to paint cardboard boxes or have a mini car wash (or dinosaur wash—Lola’s favorite!), but there’s a good six months out of the year here where that’s not really possible, so we have to bring the crafts indoors!
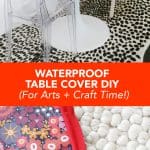
I’ve been wanting to make a simple waterproof cover for our breakfast nook table for a while now so we could paint/craft in that space with less worrying about mess and I finally made one! I even added some large piping to the edge of the table cover as a lip to keep paintbrushes and markers from rolling off the table constantly, which keeps me from having to fetch a crayon or marker every 20 seconds as they just naturally seem to want to roll onto the floor (and keeps the floor cleaner as well!). While it is a large item to sew, it’s still a pretty easy thing to make—I’ll show you how to make one, whatever shape table you have!
 Supplies:
-waterproof fabric* (I used this as I was looking for a more natural waterproof fabric)
-sewing machine
-straight pins
-large piping (I bought 4 yards of this piping)
-fabric scissors
*The yardage you’ll need will depend on how big your table is! My table is 42″ round and I did a 6″ tall side and had plenty with the two yards I ordered, but not all fabric is the same width so make sure you think about that too.
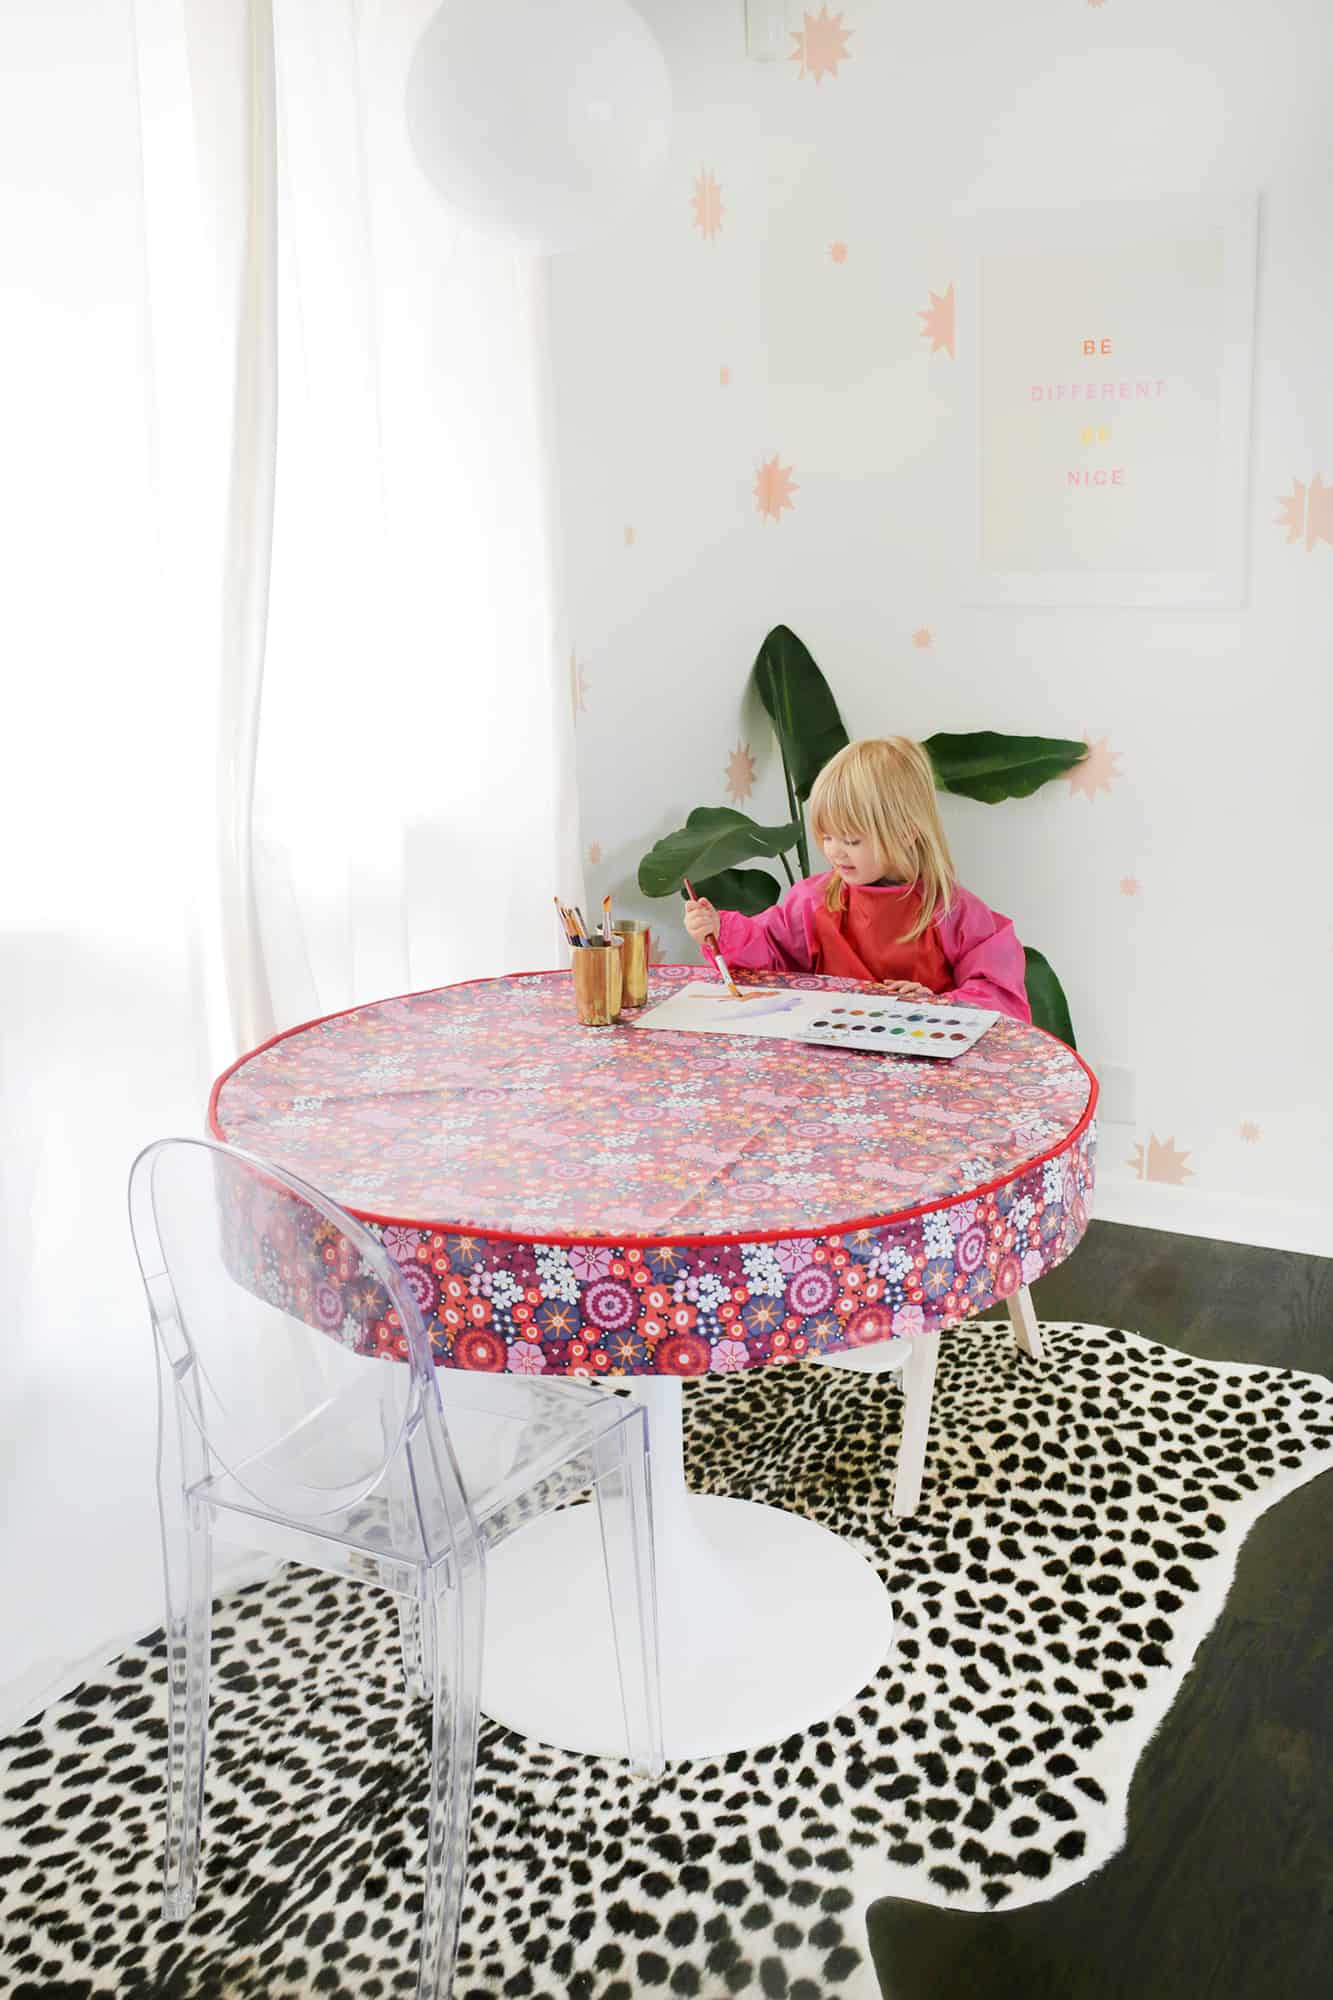
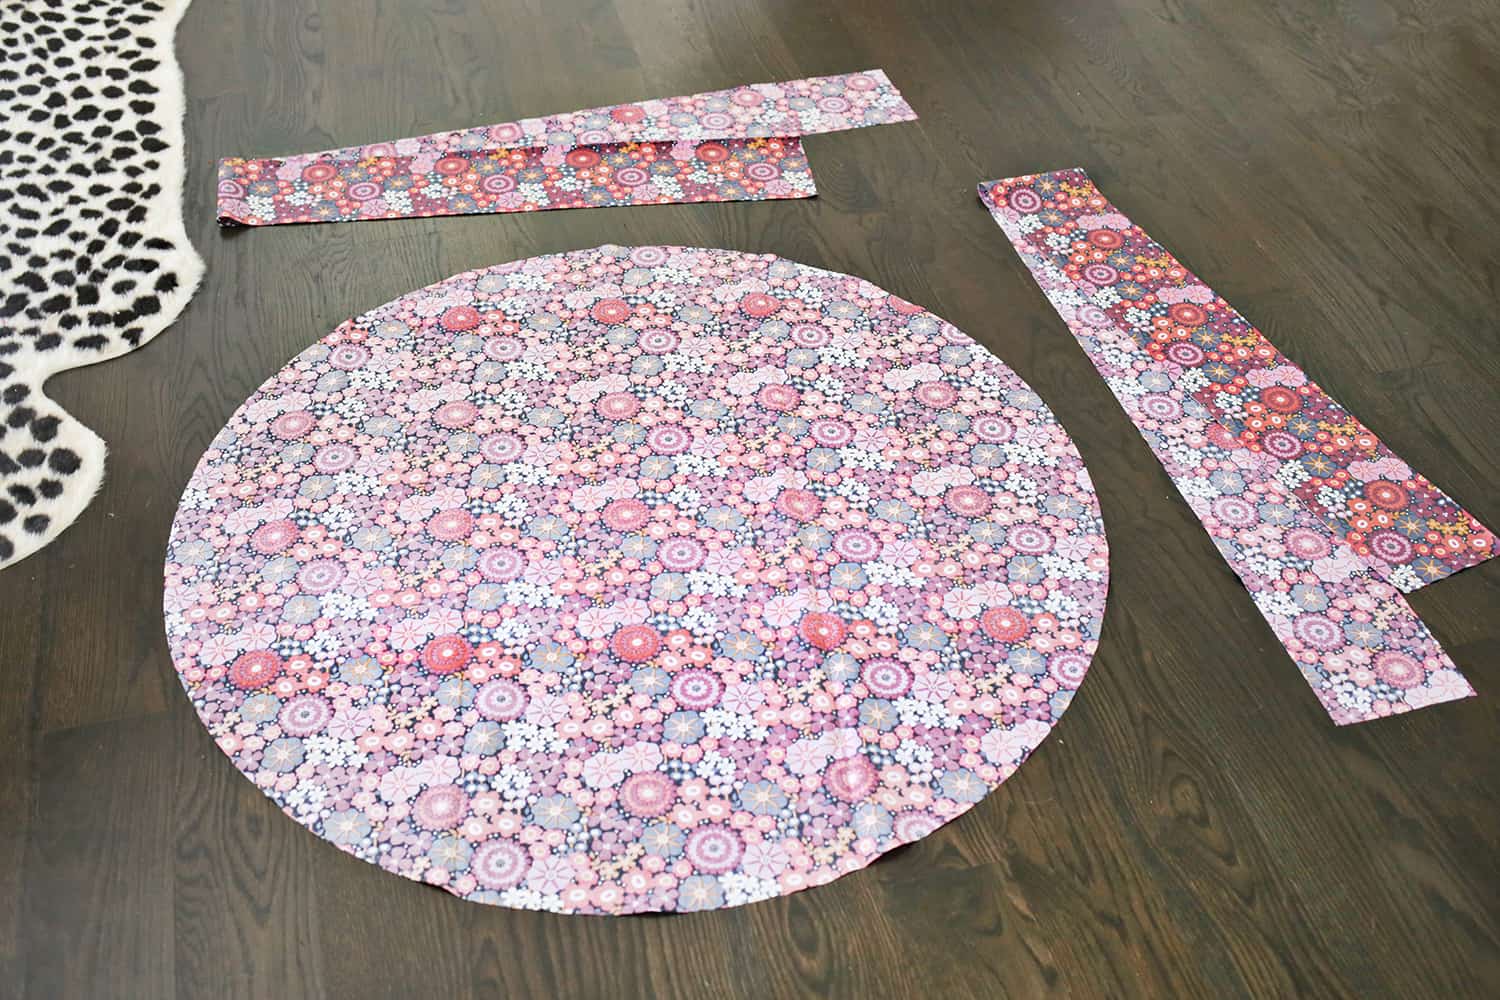
 First, you’ll want to measure the table you’ll be covering and add a 1/2″ to each side so you have a 1/2″ seam allowance all around. I added a tiny bit more to my top panel measurement just to make sure it wouldn’t be too small for the table, so I would suggest doing that as well. Cut out a piece of cloth those dimensions. My table is relatively small so I just turned it upside down and placed it on top to trace and add 1/2″ around—haha! Then, cut two long strips of fabric to make the side panel that were 7″ wide. You can get a good idea of how long you need your side strip to be by adding up all four side measurements of your square or rectangle table (with that 1/2″ seam allowance included). For a circular table like mine, you can measure the diameter of the table (add 1″ for the 1/2″ seam allowance on both sides) and then multiply that number by 3.14 to find the circumference. Remember that from math class!? I would add 2-3″ to that number to have a little extra and that’s how long your side strip will need to be.
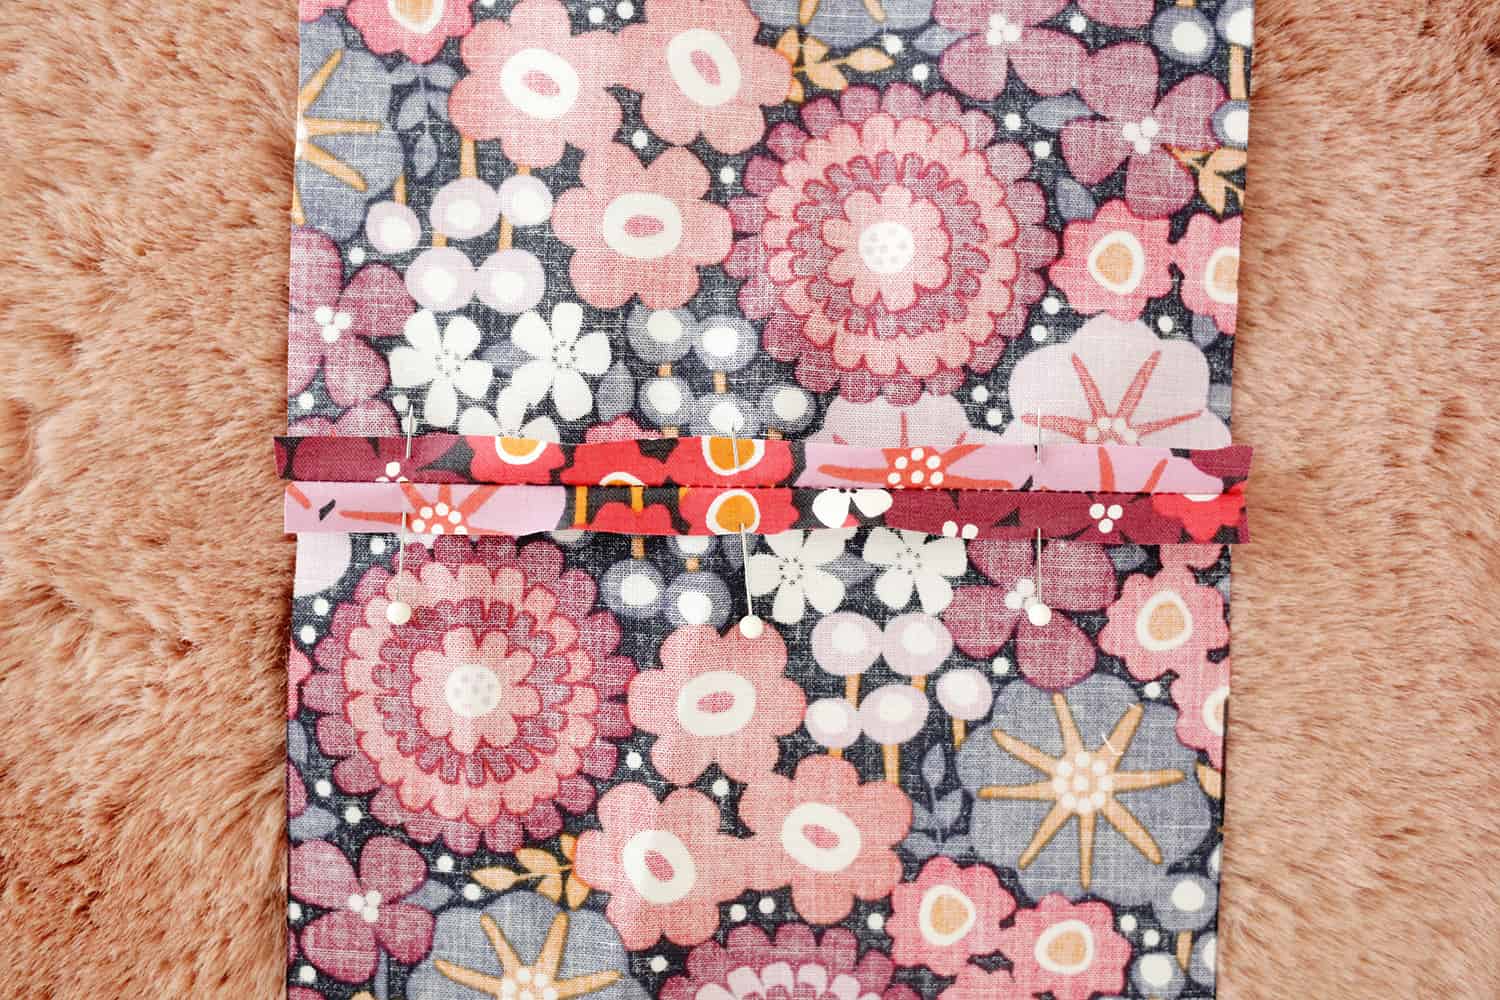
 Since it’s a long strip, you’ll probably have to join more than one strip together to get your total length. So just face the right sides together of two strip ends, sew them together with 1/2″ seam allowance, and flatten the seam allowance and top stitch the flaps down for a more finished look.
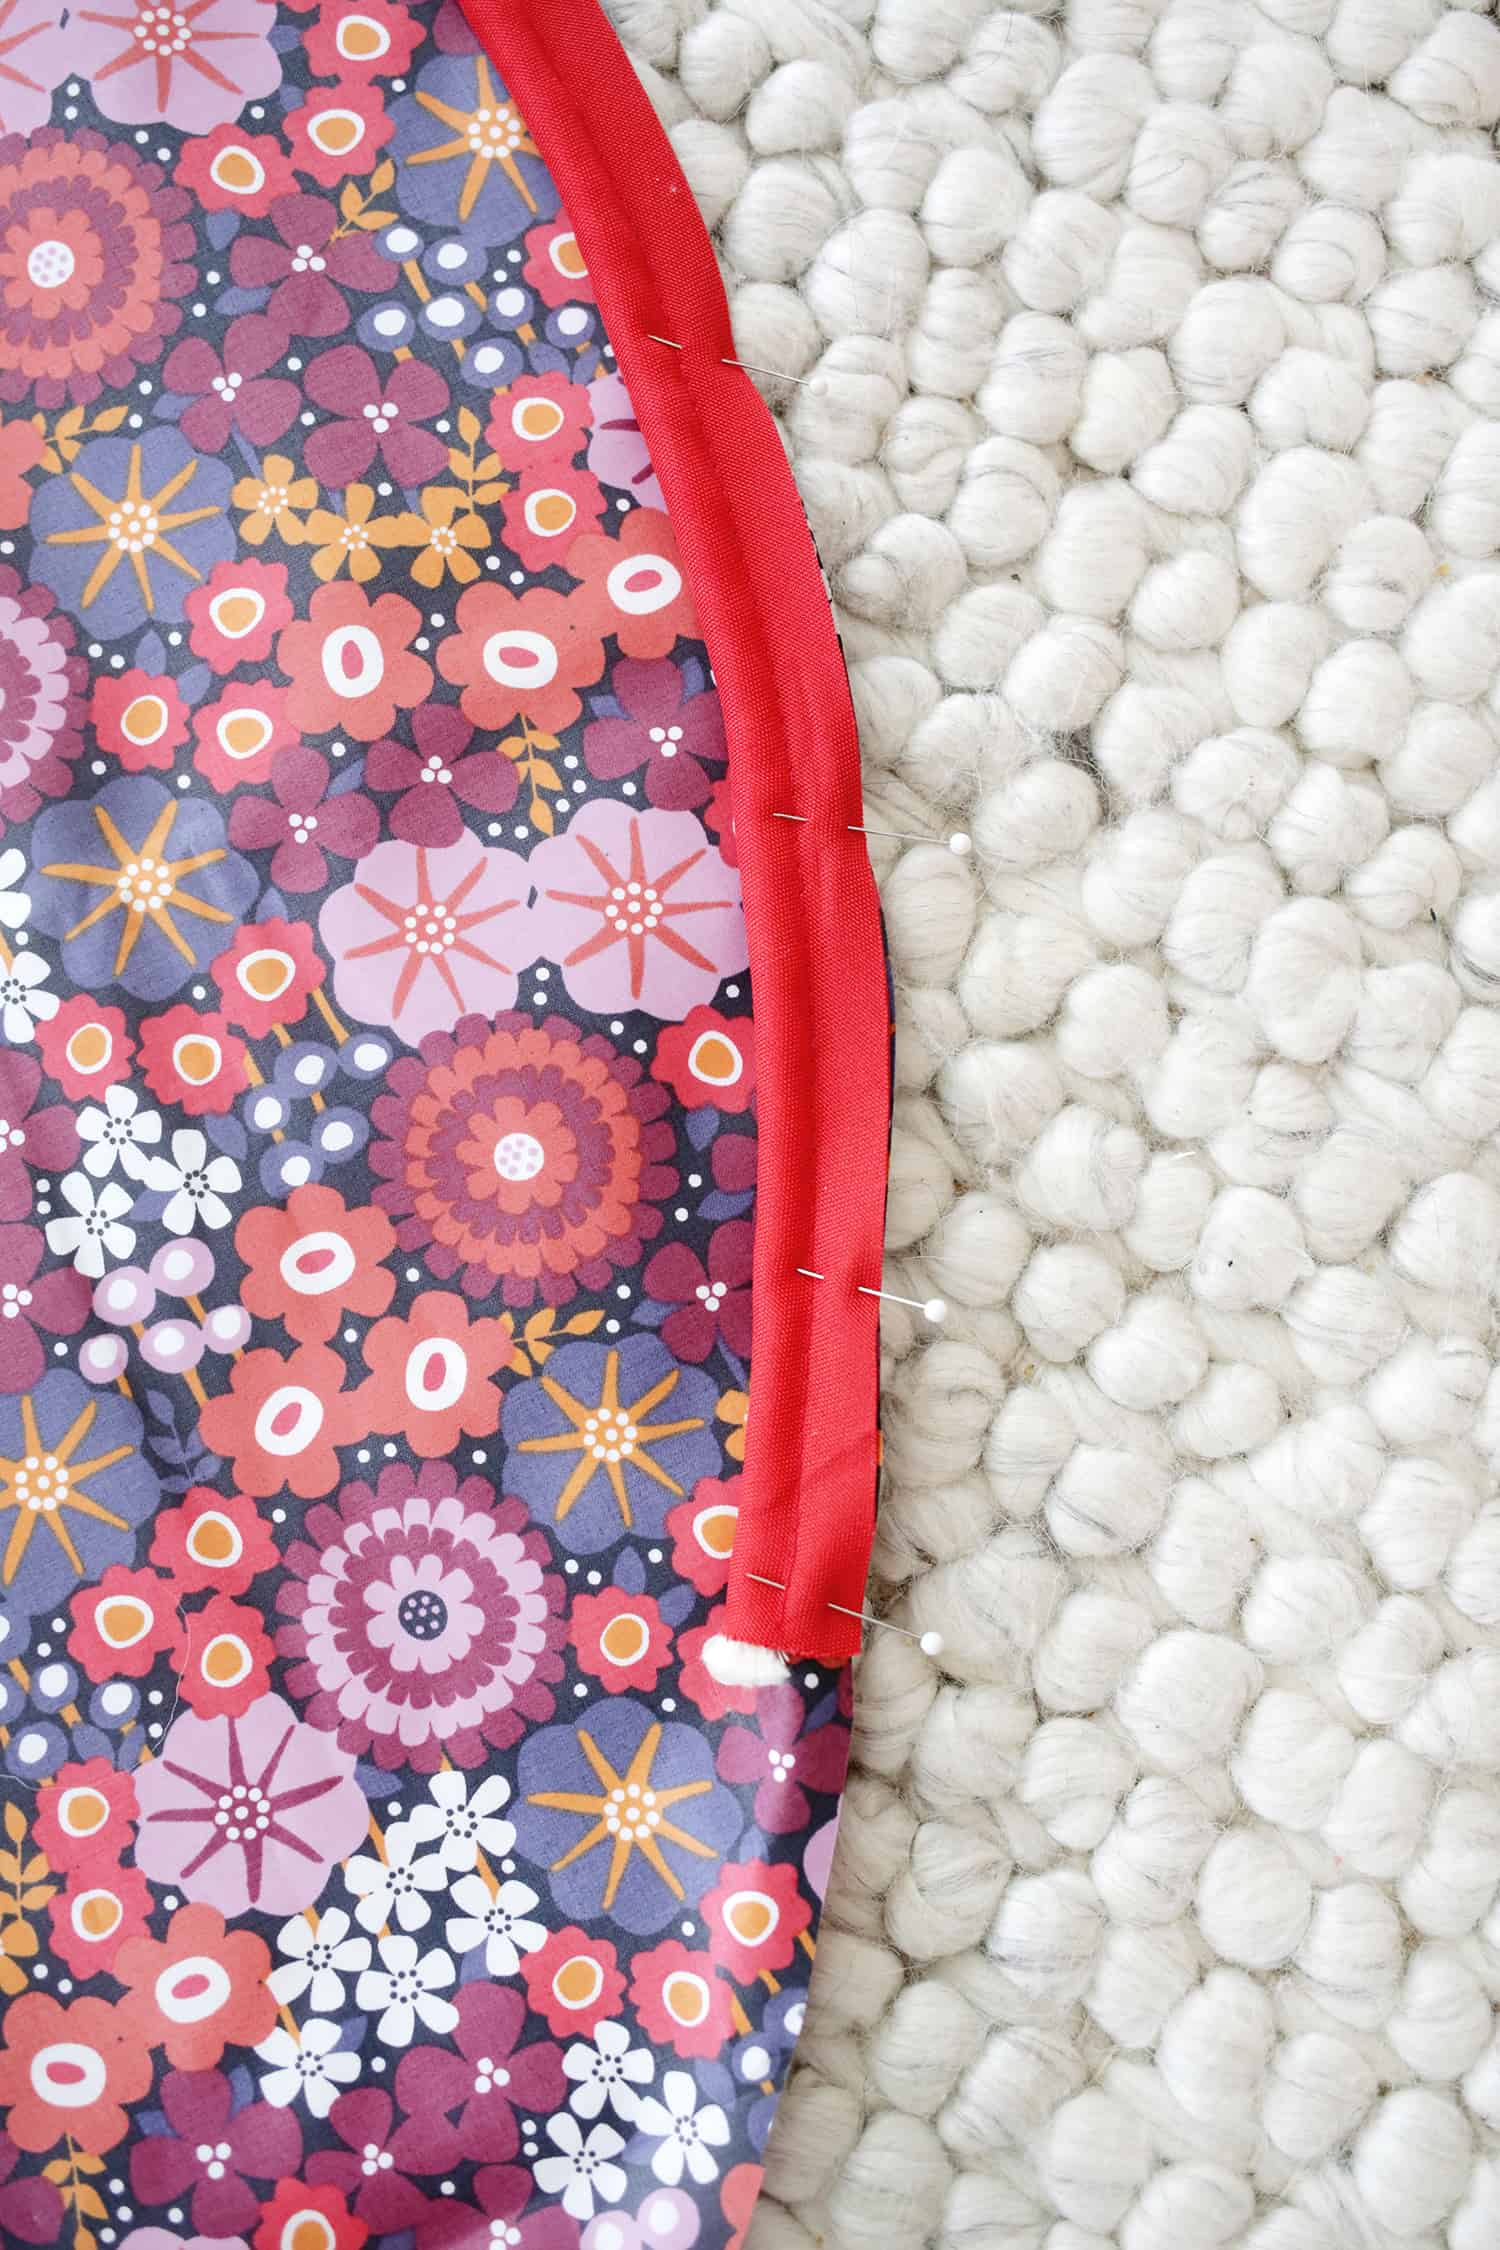
 Once your top is cut and your side piece is long enough, take your top piece and pin your piping 1/2″ in from the edge all along the top of the fabric (so you want the rope part of the piping to hang over that 1/2″ mark … my piping had a 1/2″ fabric allowance on the other side of the rope so I could just line it up with the edge exactly). To finish your trim when you get back to where you started, just cross over the ends and you’ll just sew over the hump of where they cross.
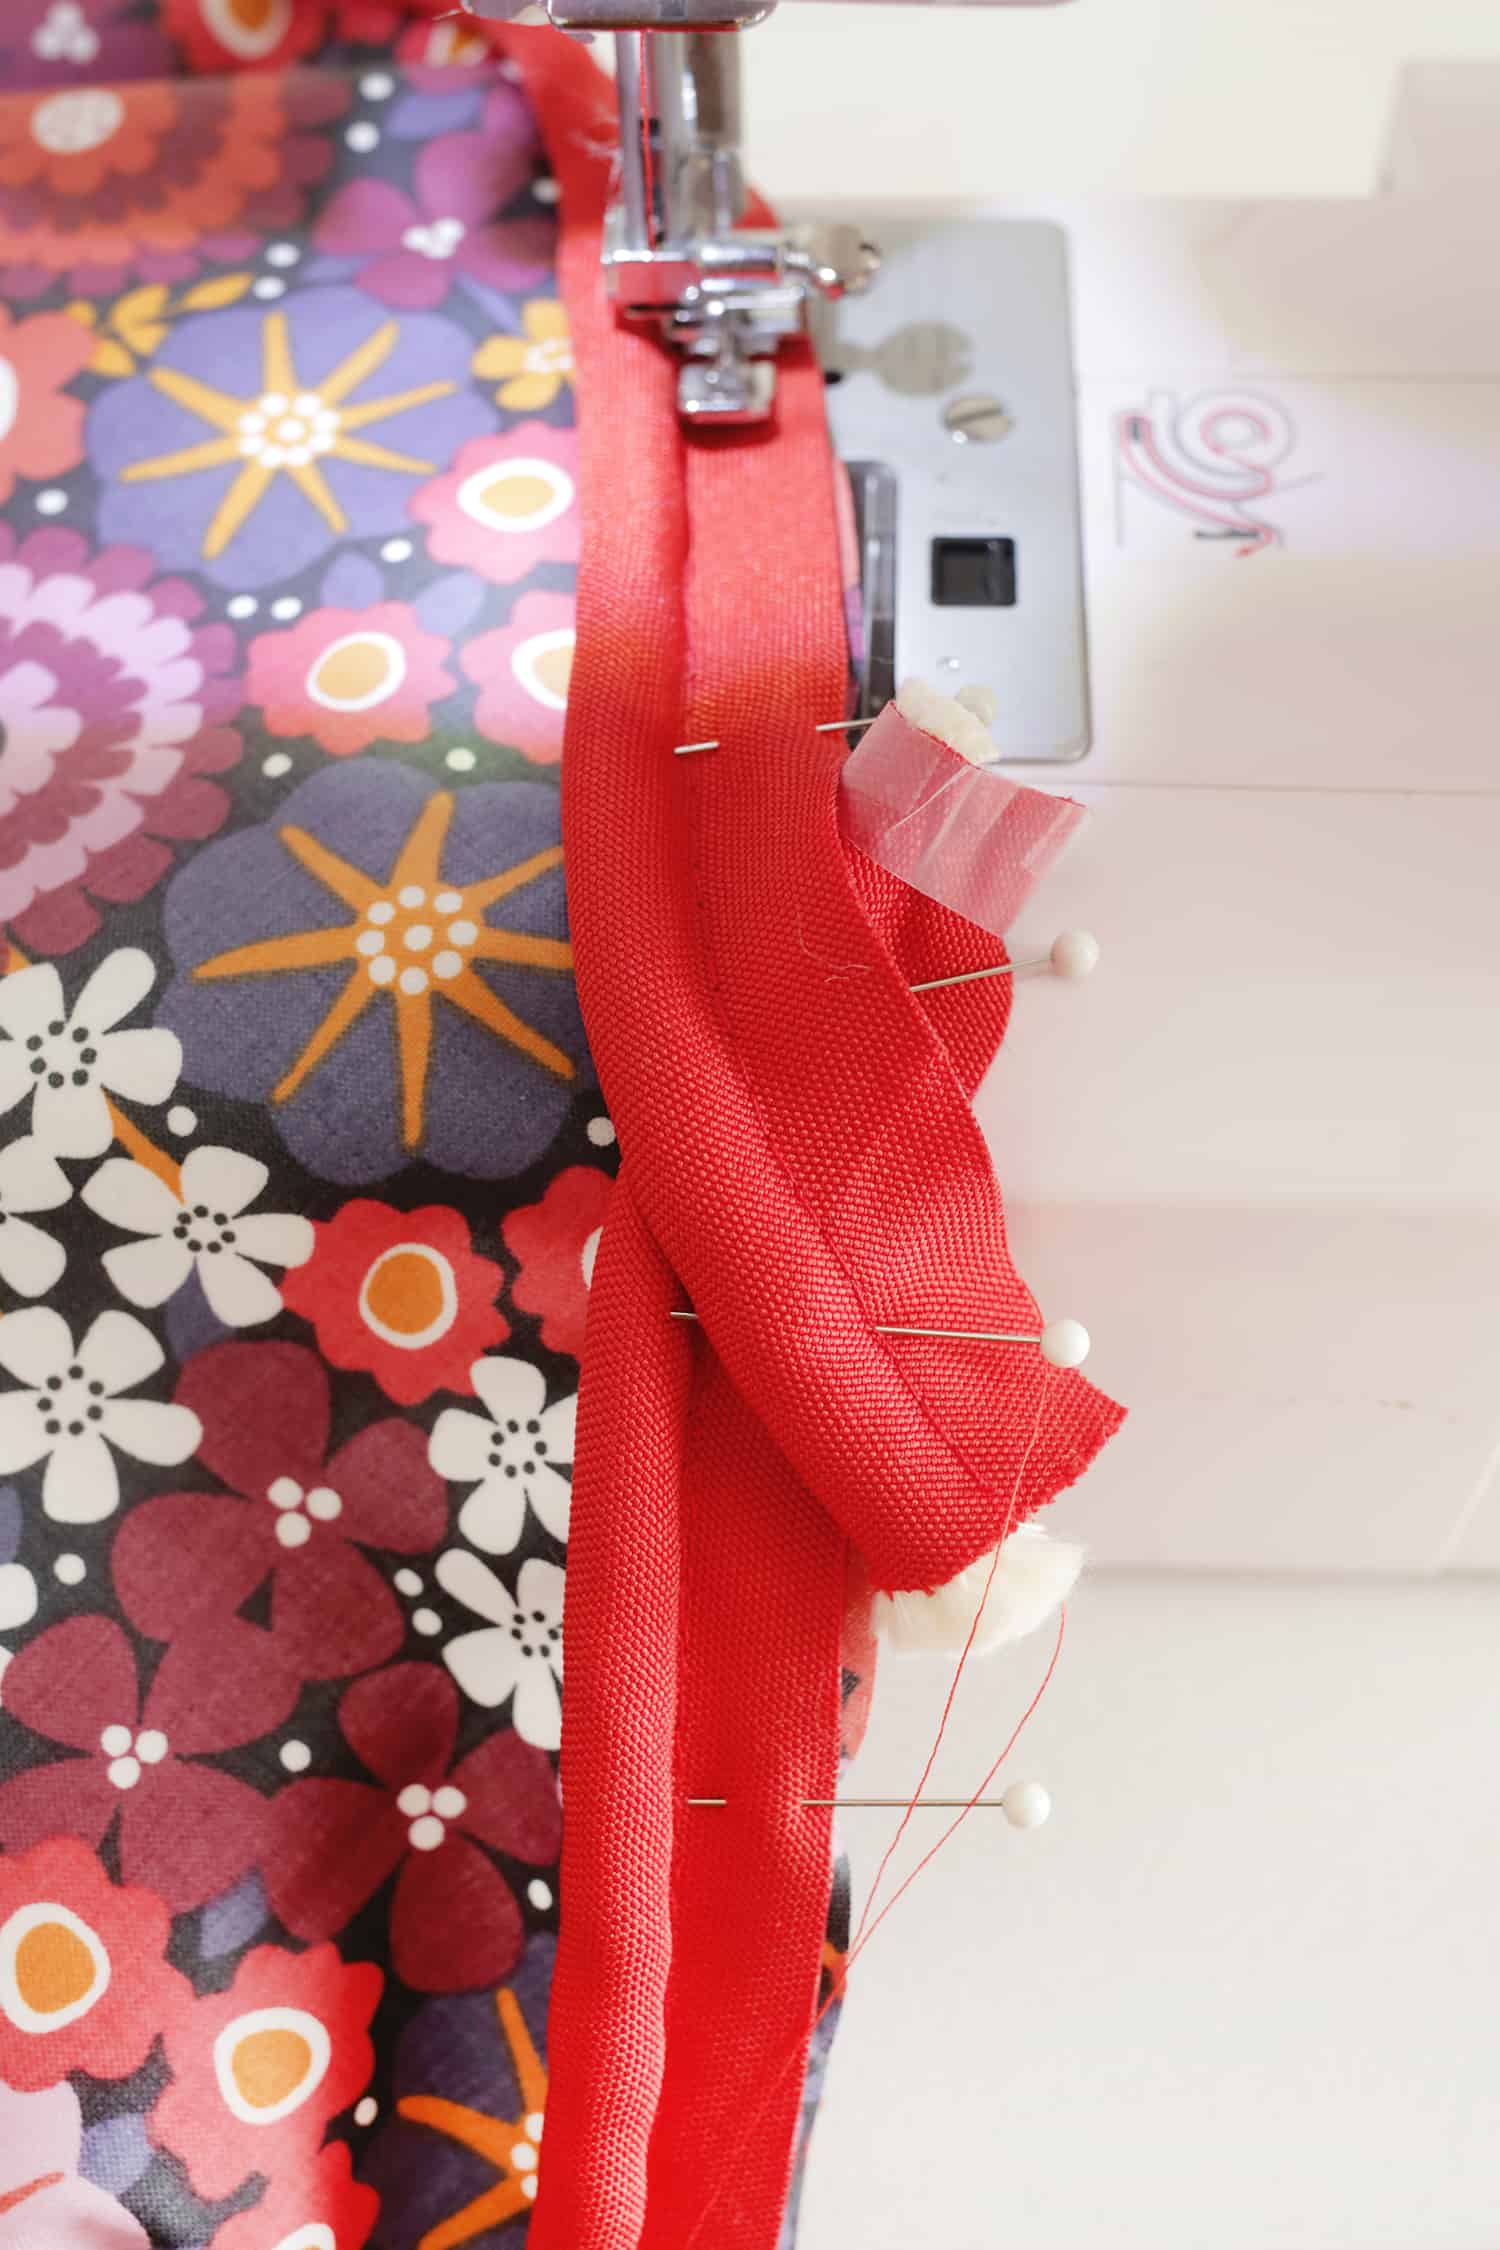
 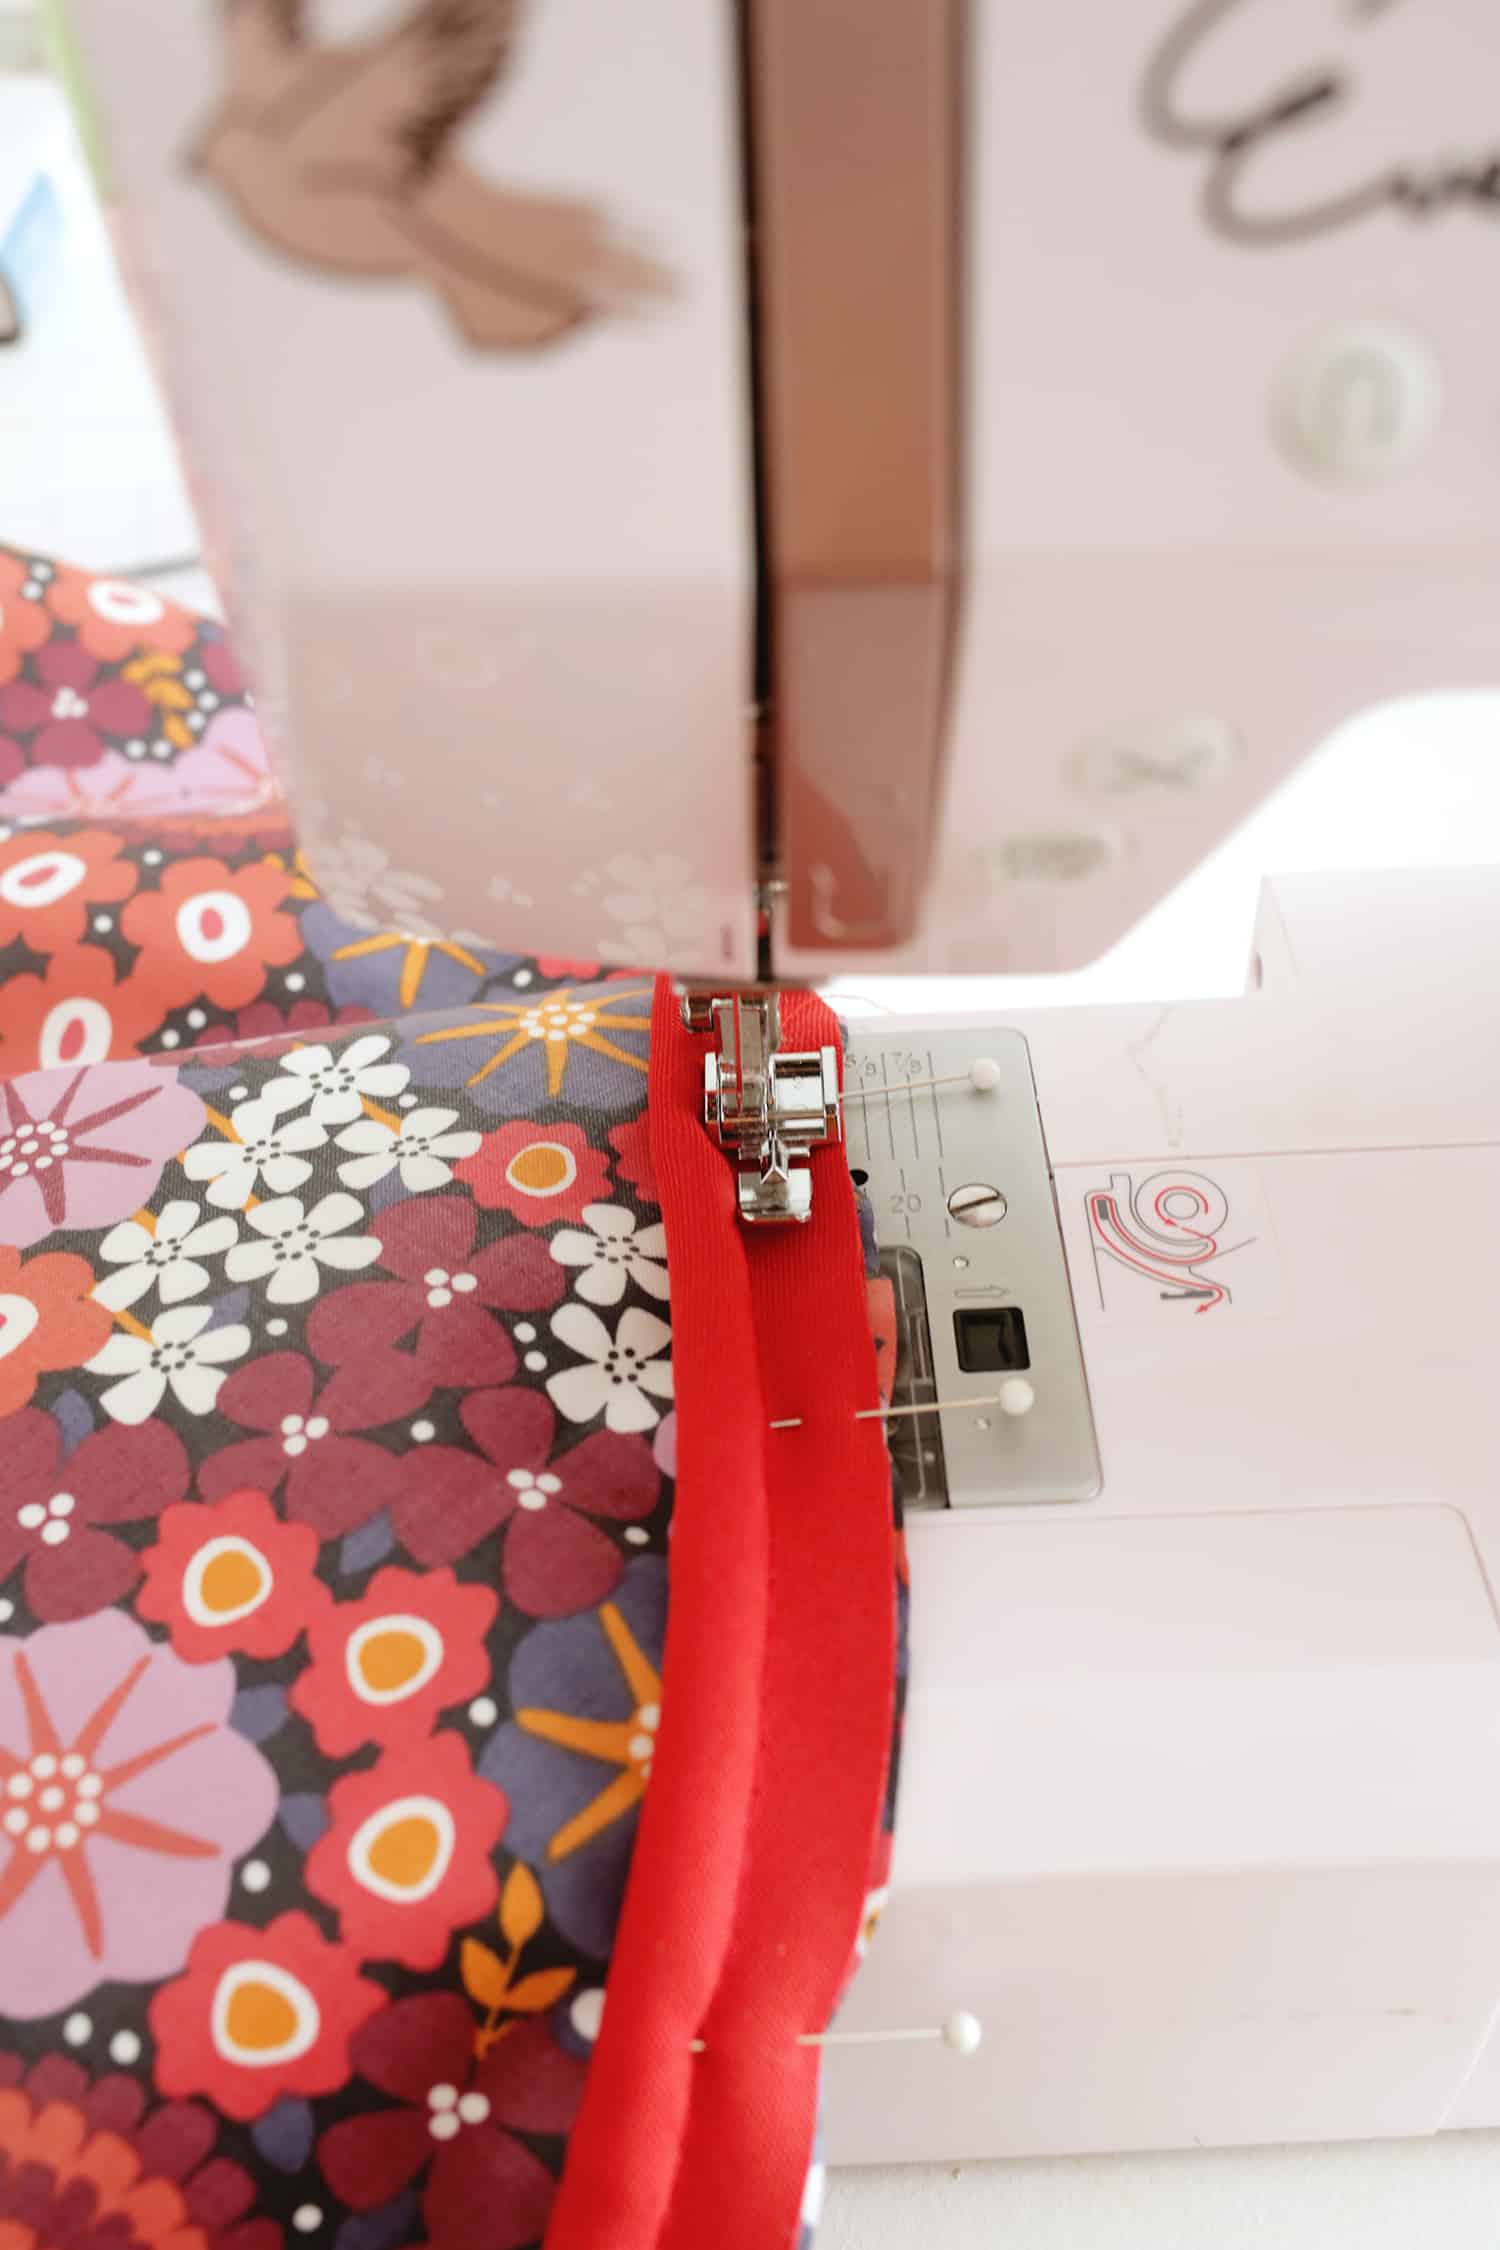 You can buy a special piping foot for your sewing machine (just look into which fits your make and model of machine if you want to get one), but I usually just use a zipper foot as that’s what already comes with most machines and it works well enough. Load your zipper foot onto your machine and position your needle so you are sewing just on the outside of the rope part of the piping and sew all the way around (you’ll have to help it a little as it goes over the crossed ends hump at the end).
 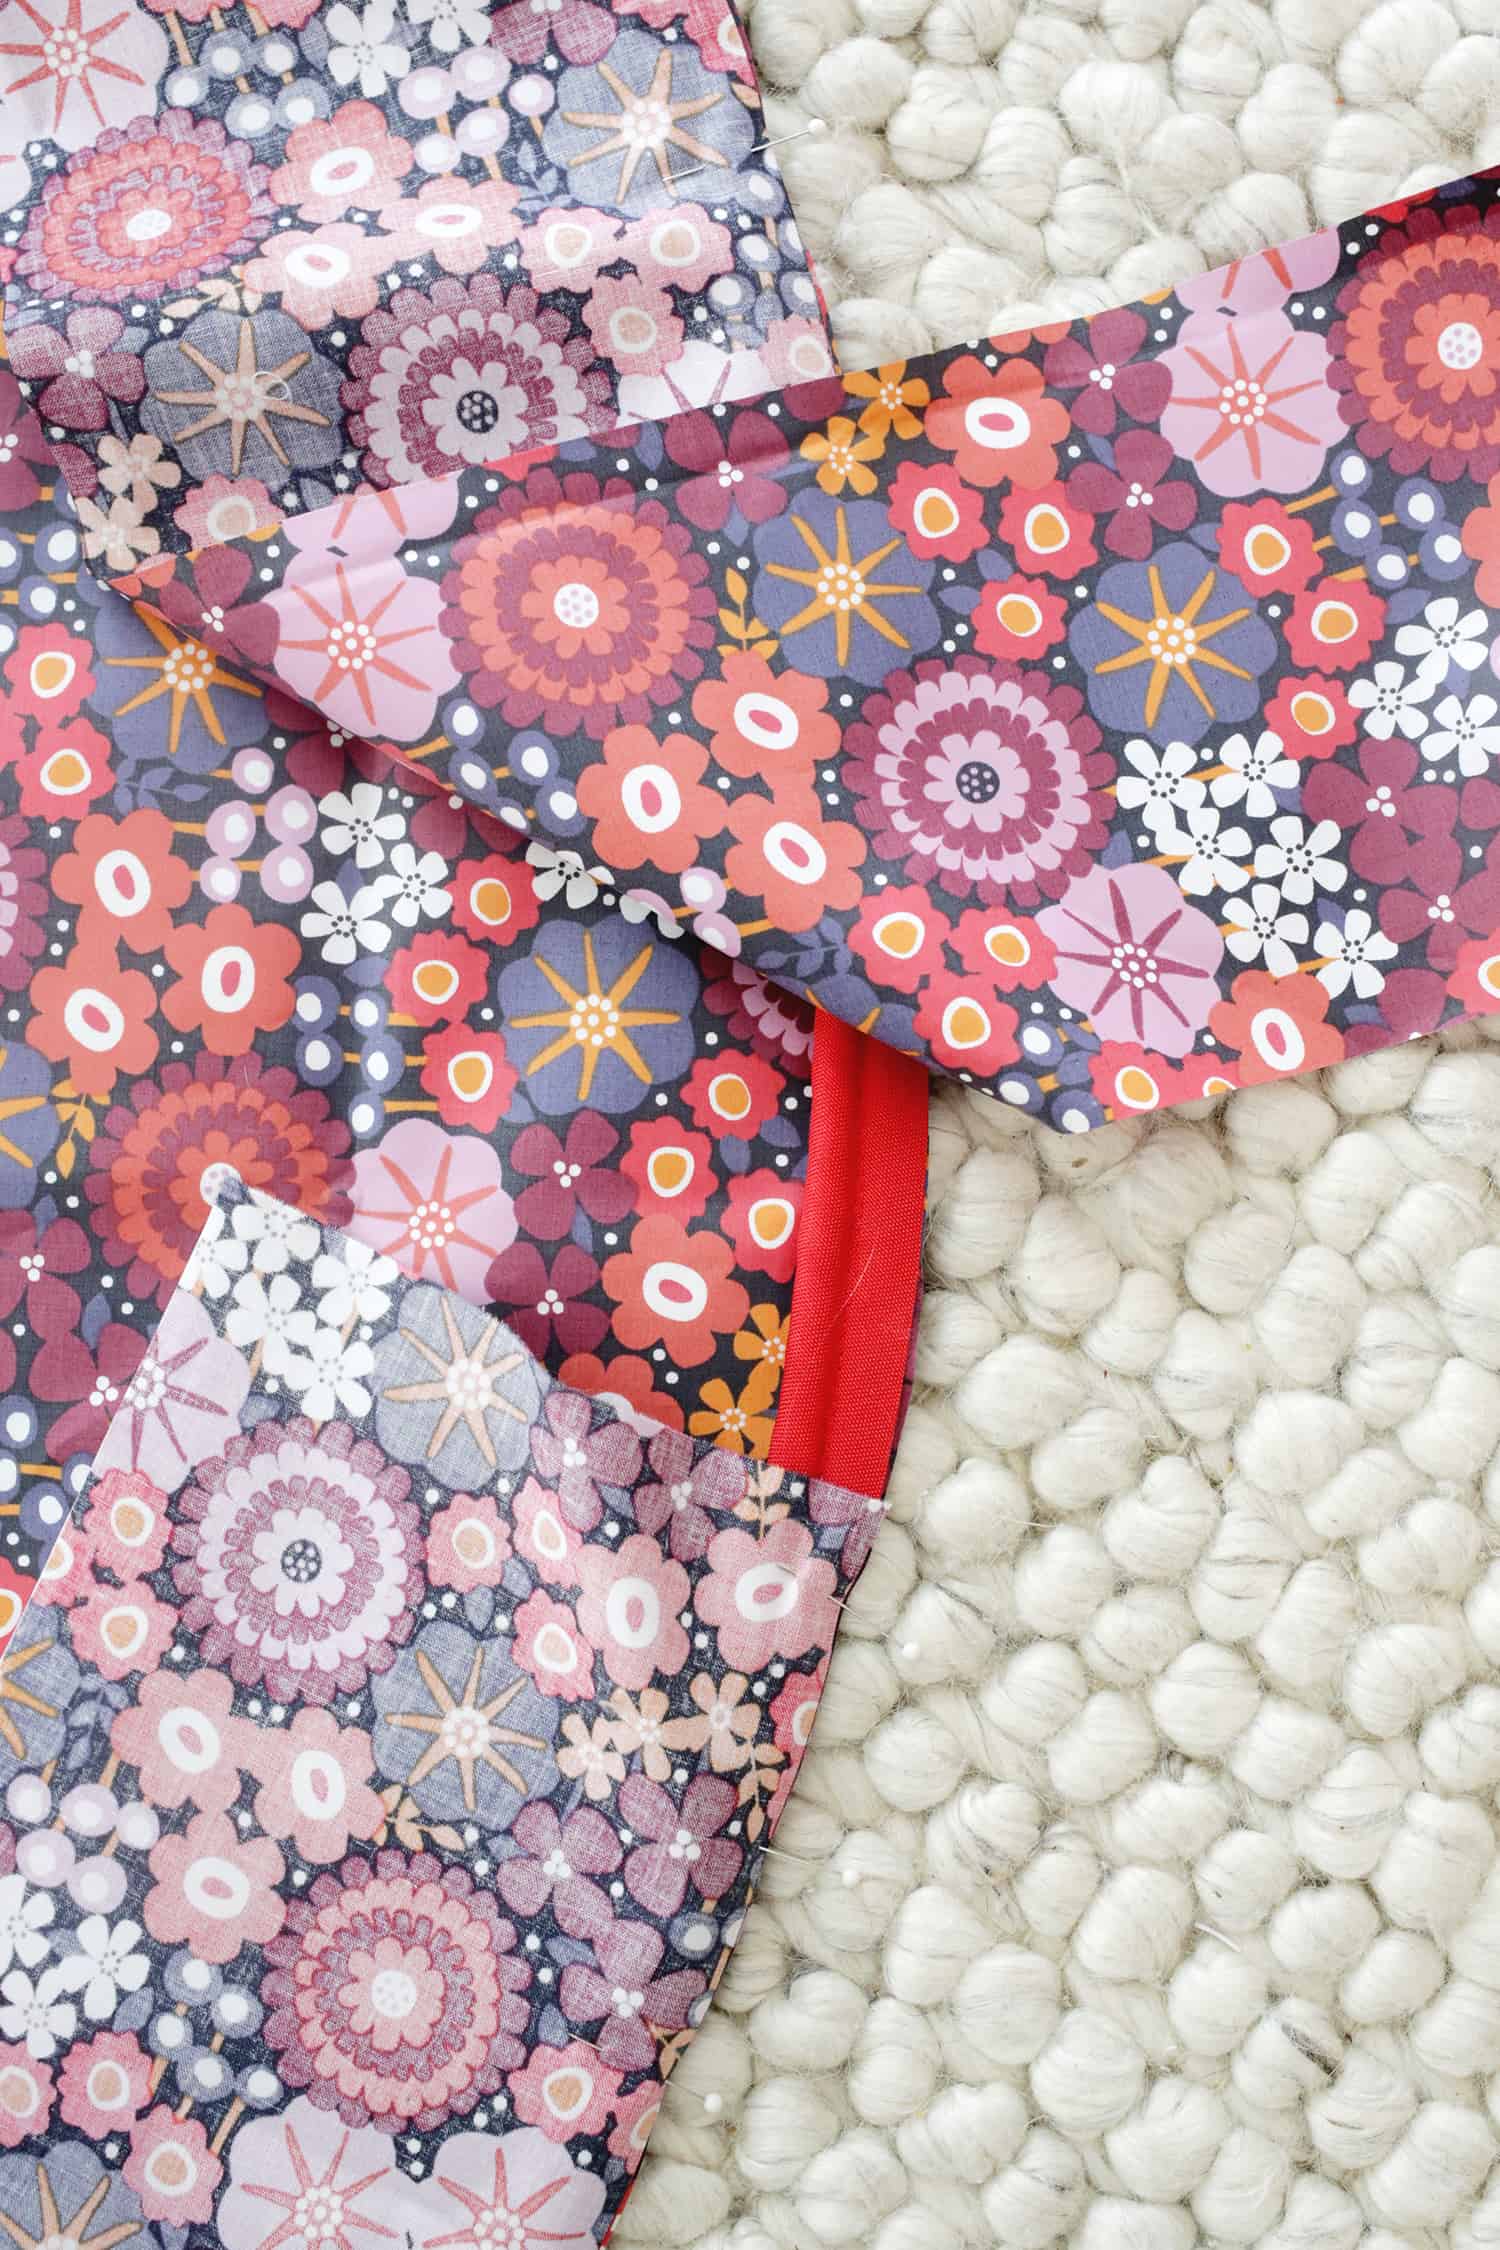 Once the piping is in place, pin your side panel to your top panel, right sides together with the piping in the middle. To find the exact length your side panel should be to go all the way around perfectly, pin it all the way around and when you get back to the beginning again, pin the panel together where it should close so you can sew it together with a 1/2″ seam allowance on both ends and trim any excess fabric. Then sew the two ends together (with that 1/2″ seam allowance), push the seams flat and topstitch them down to have one long connected side panel. You can unpin a few inches of the side panel from the top piece if you need a little slack to sew the panels together, just re-pin it back on when the two panels are attached. Sew all the way around with your zipper foot taking care to sew just on the outside of the piping rope sandwiched between your fabric (you should be able to feel where it is with your fingers pretty easily). Once finished, you can trim your 1/2″ seam allowance to a 1/4″ one if you would like for a little less bulk.
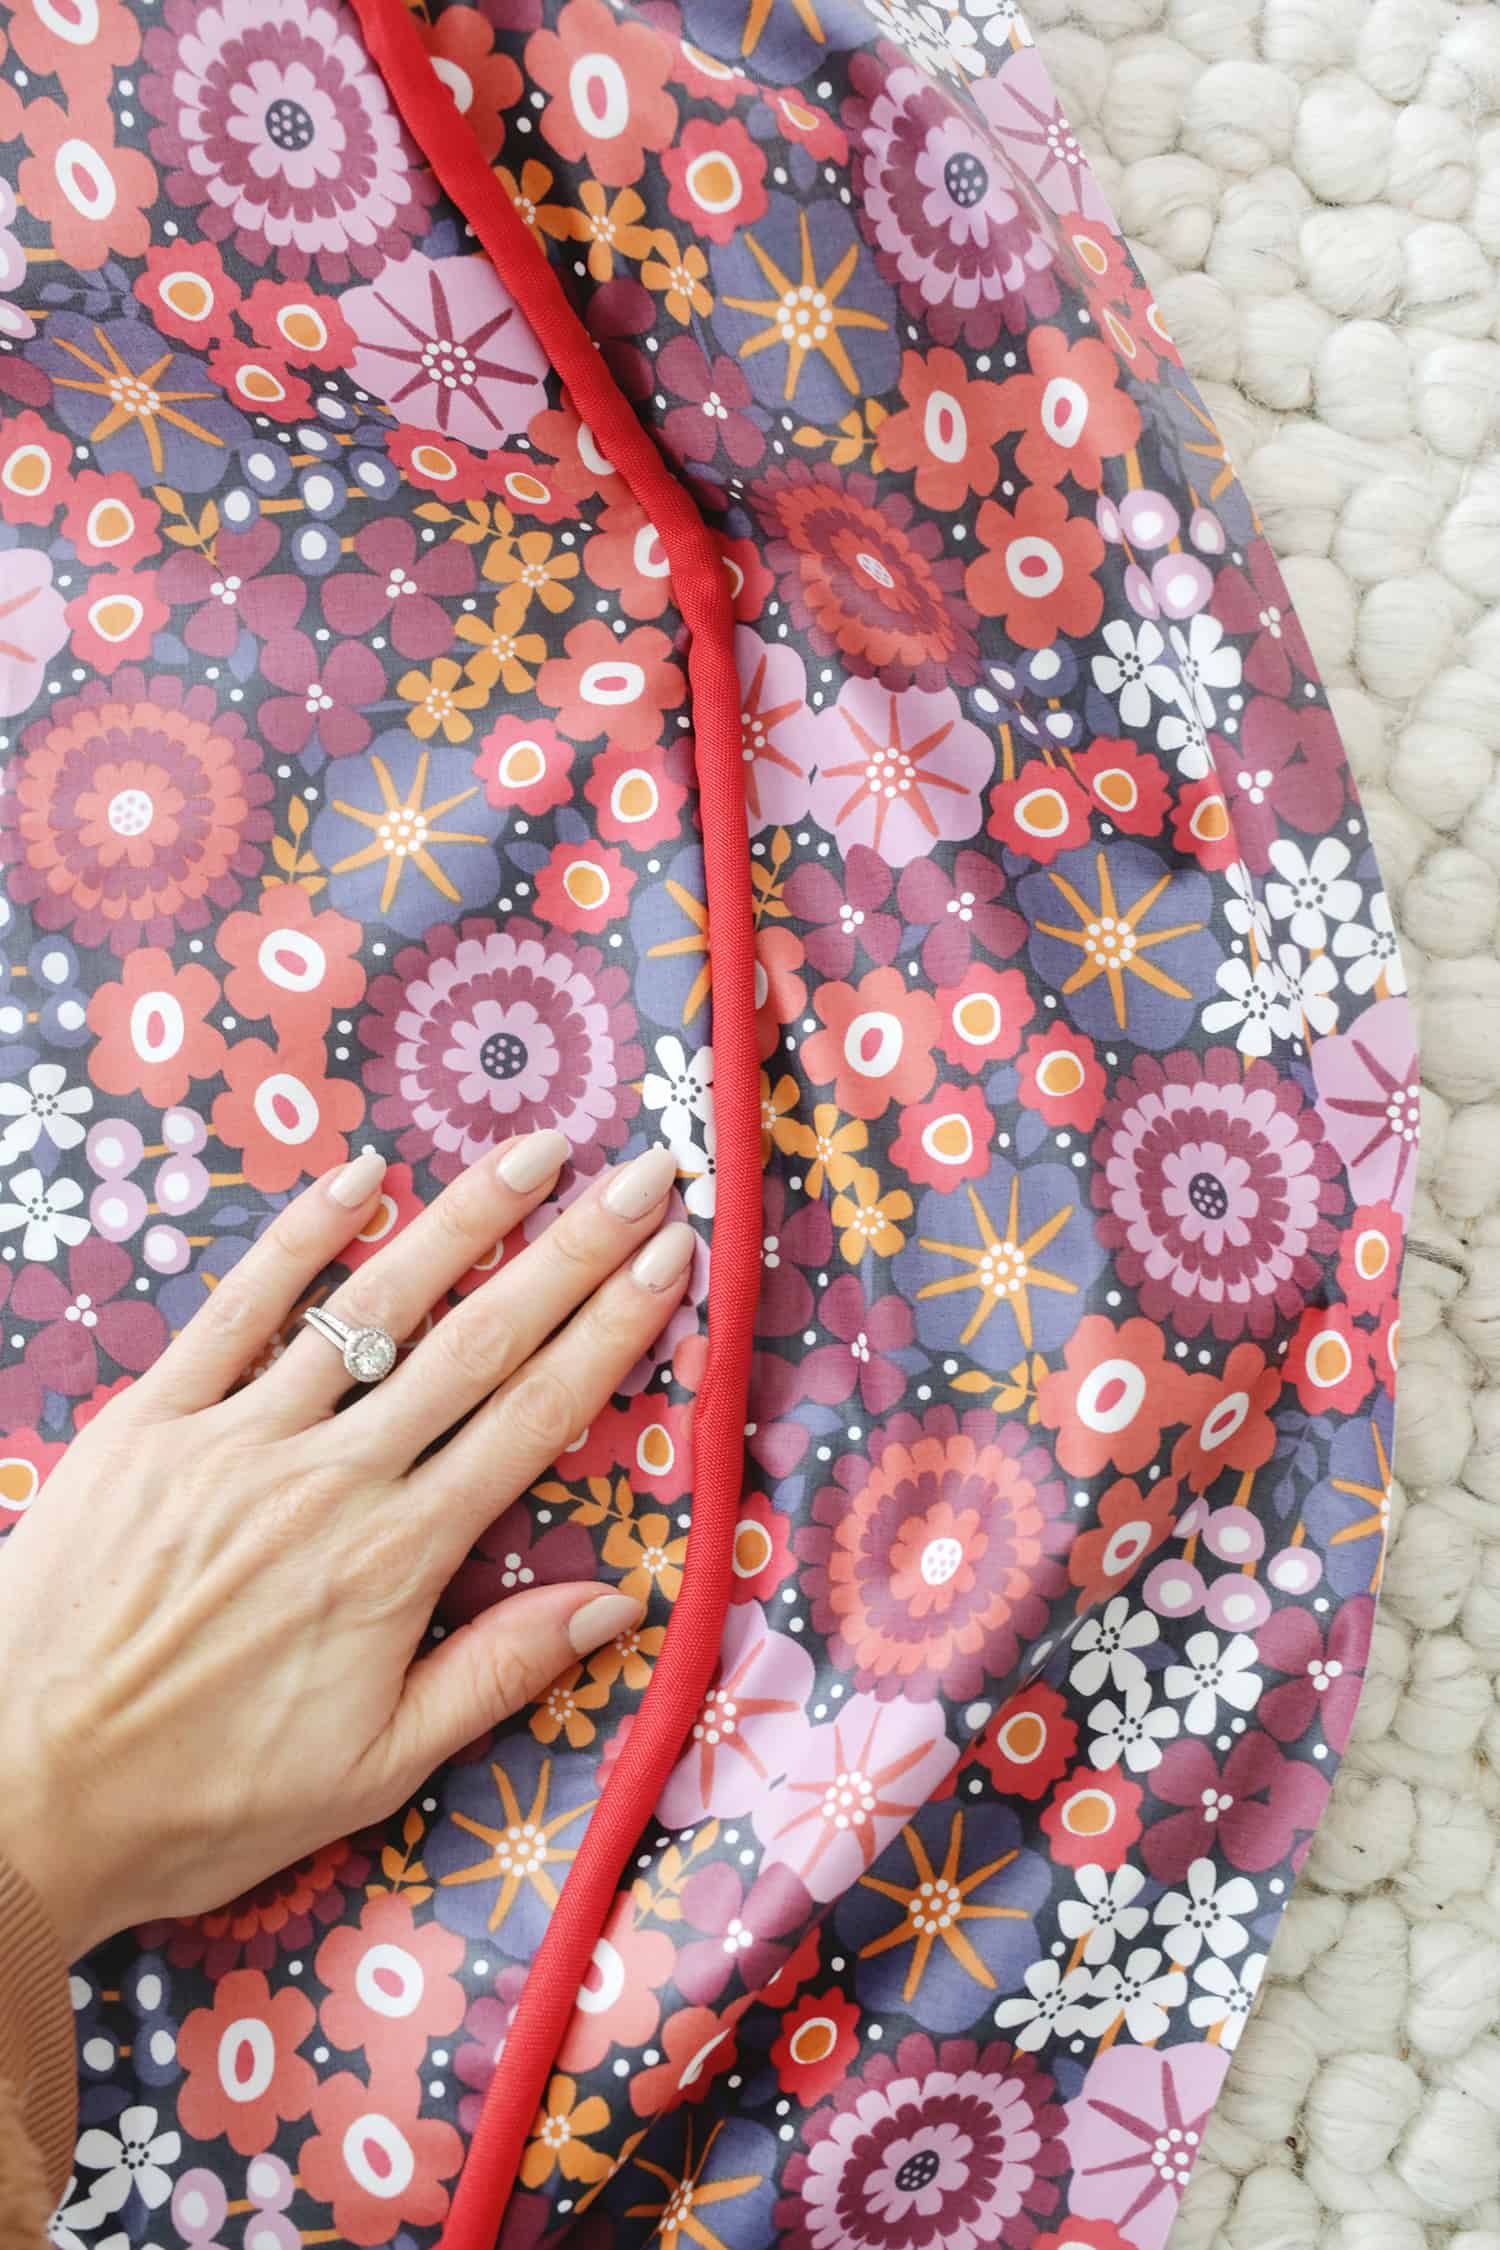
And now you have your piping at the connecting point for your top and side panels!
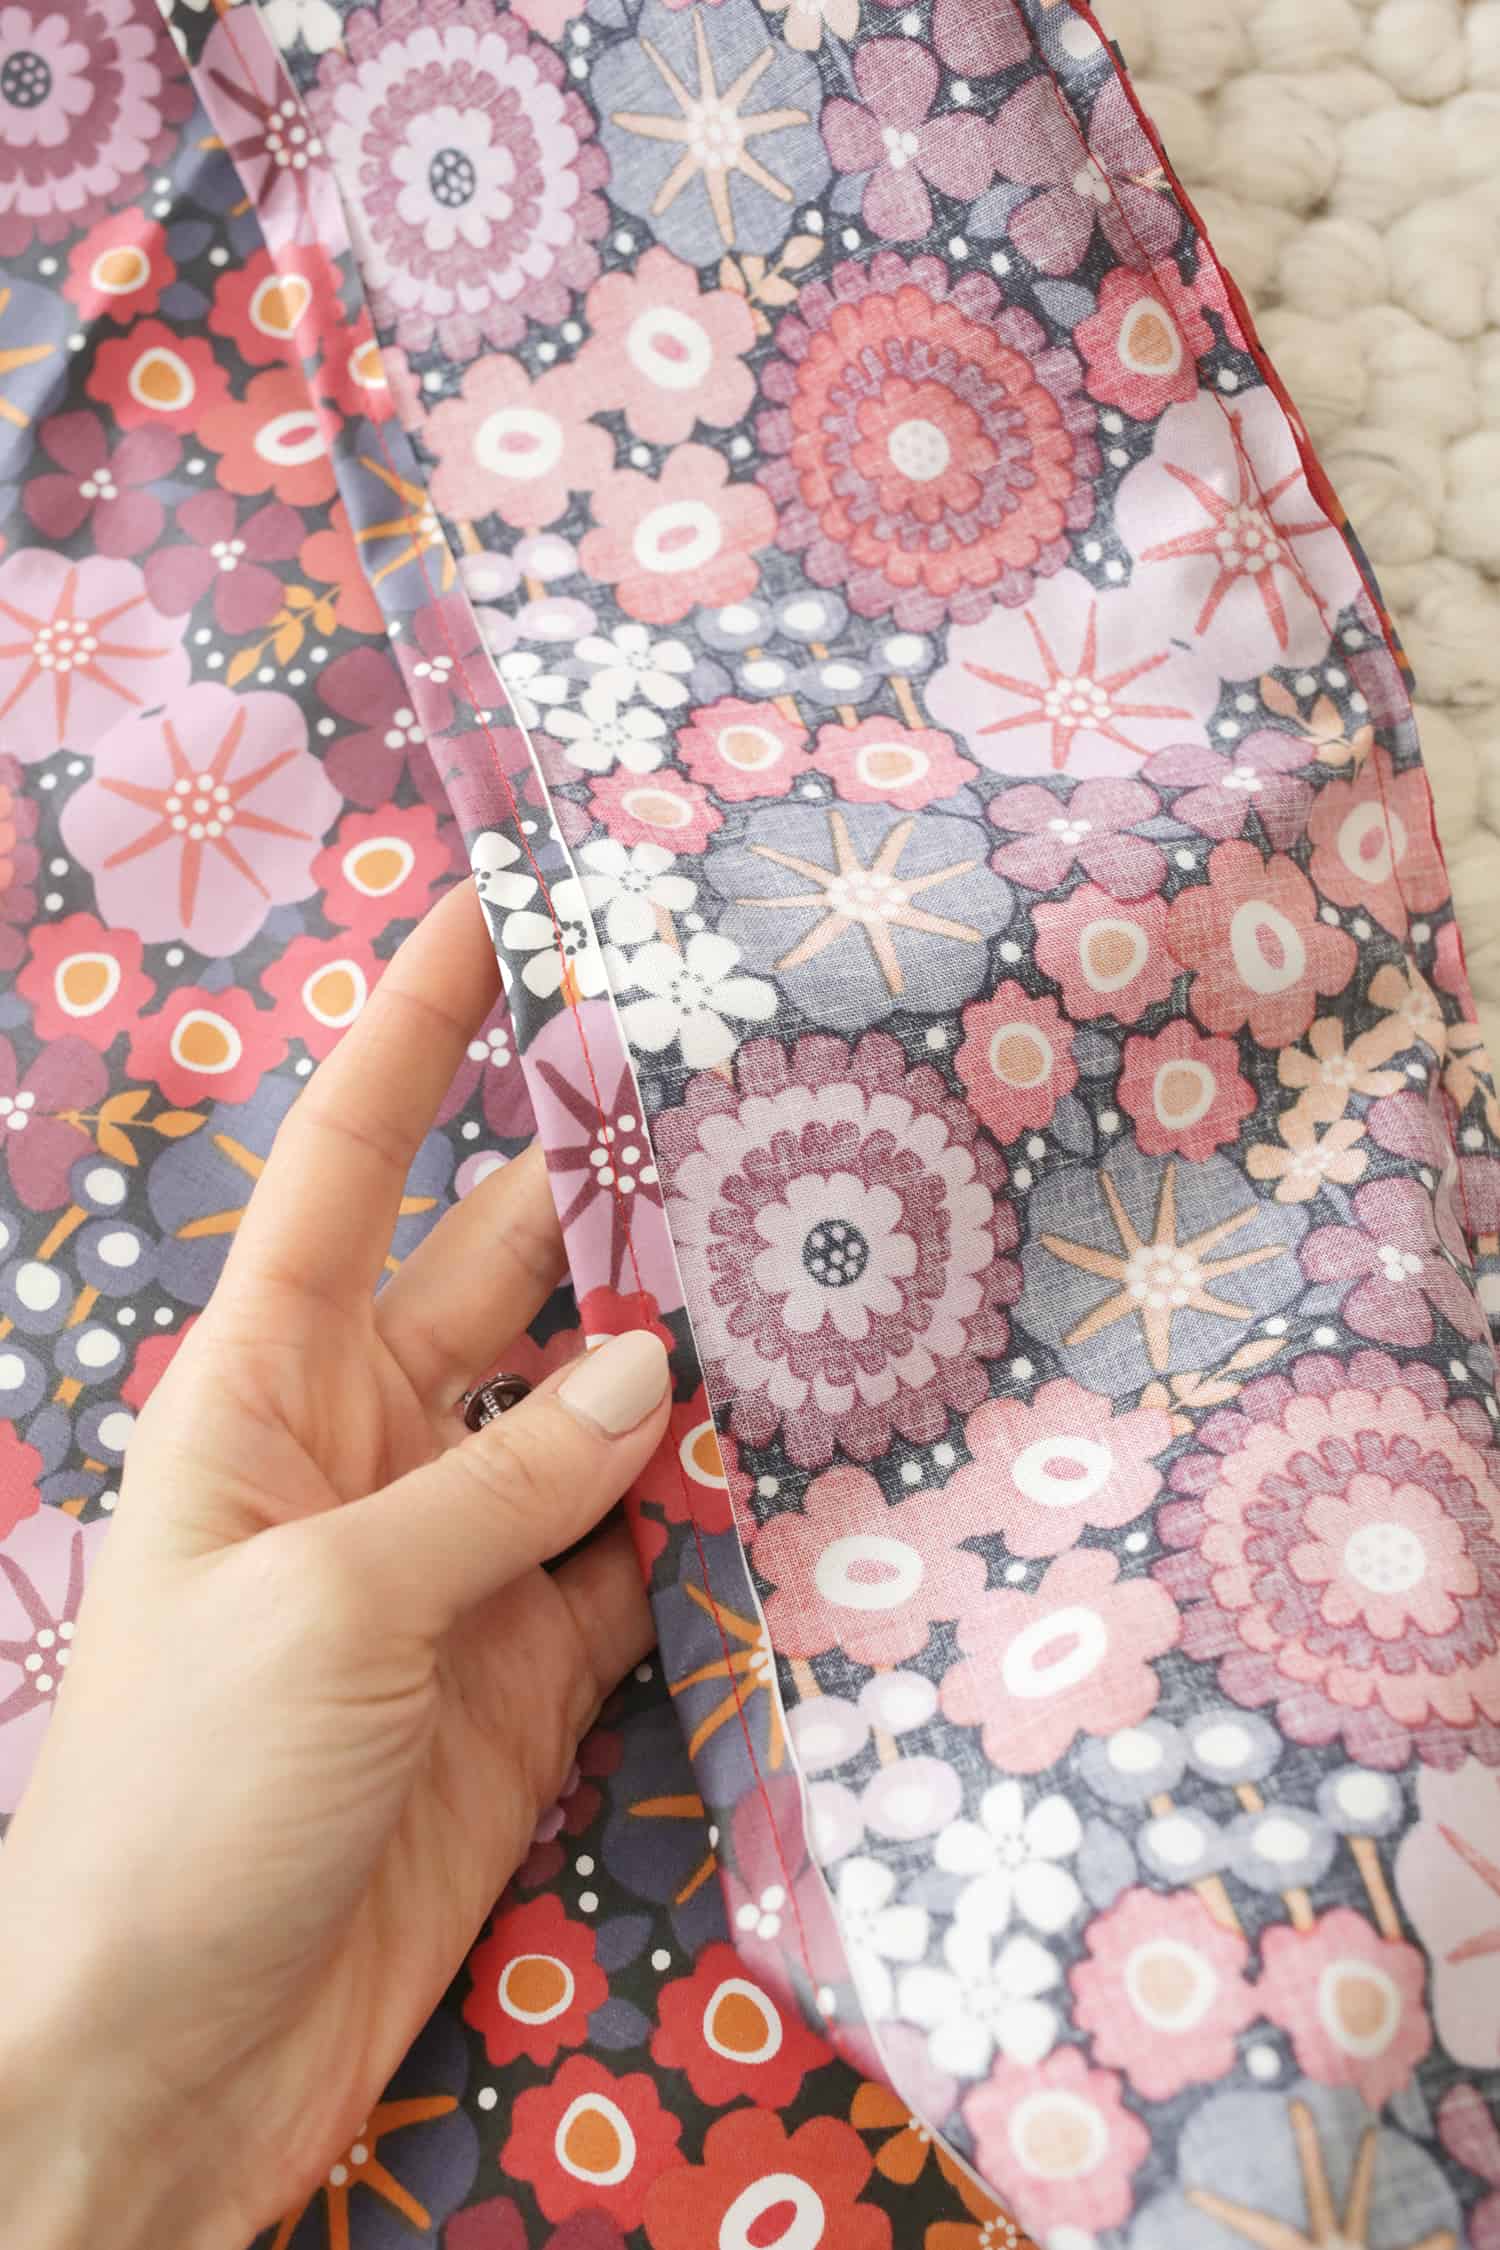 To finish your cover, fold under the bottom 1/2″ of your side panel and sew the folded edge all the way around. That’s all! Now your table cover is ready to use!
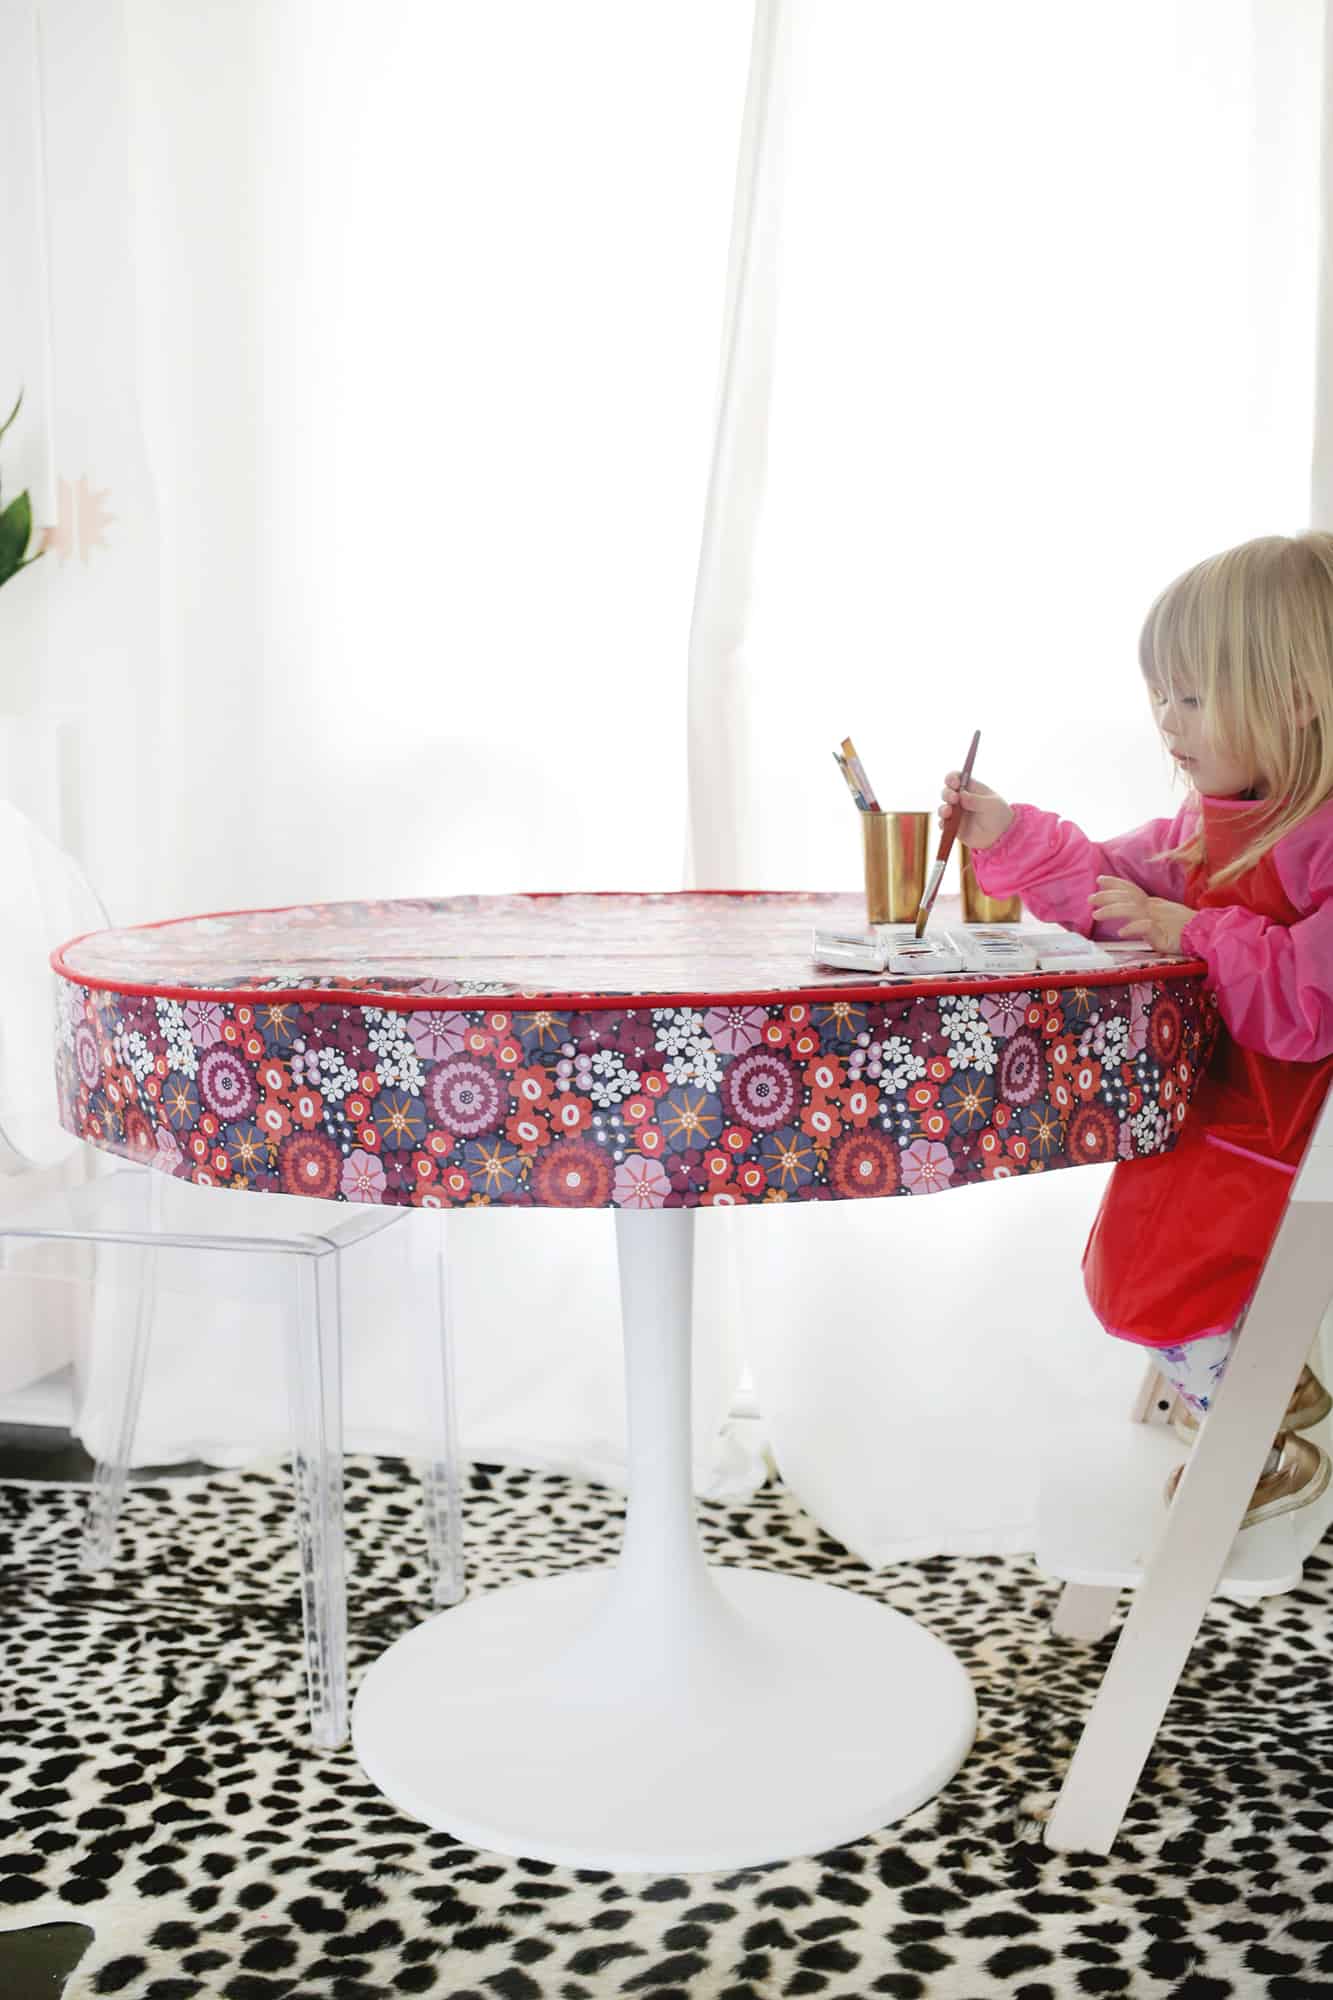
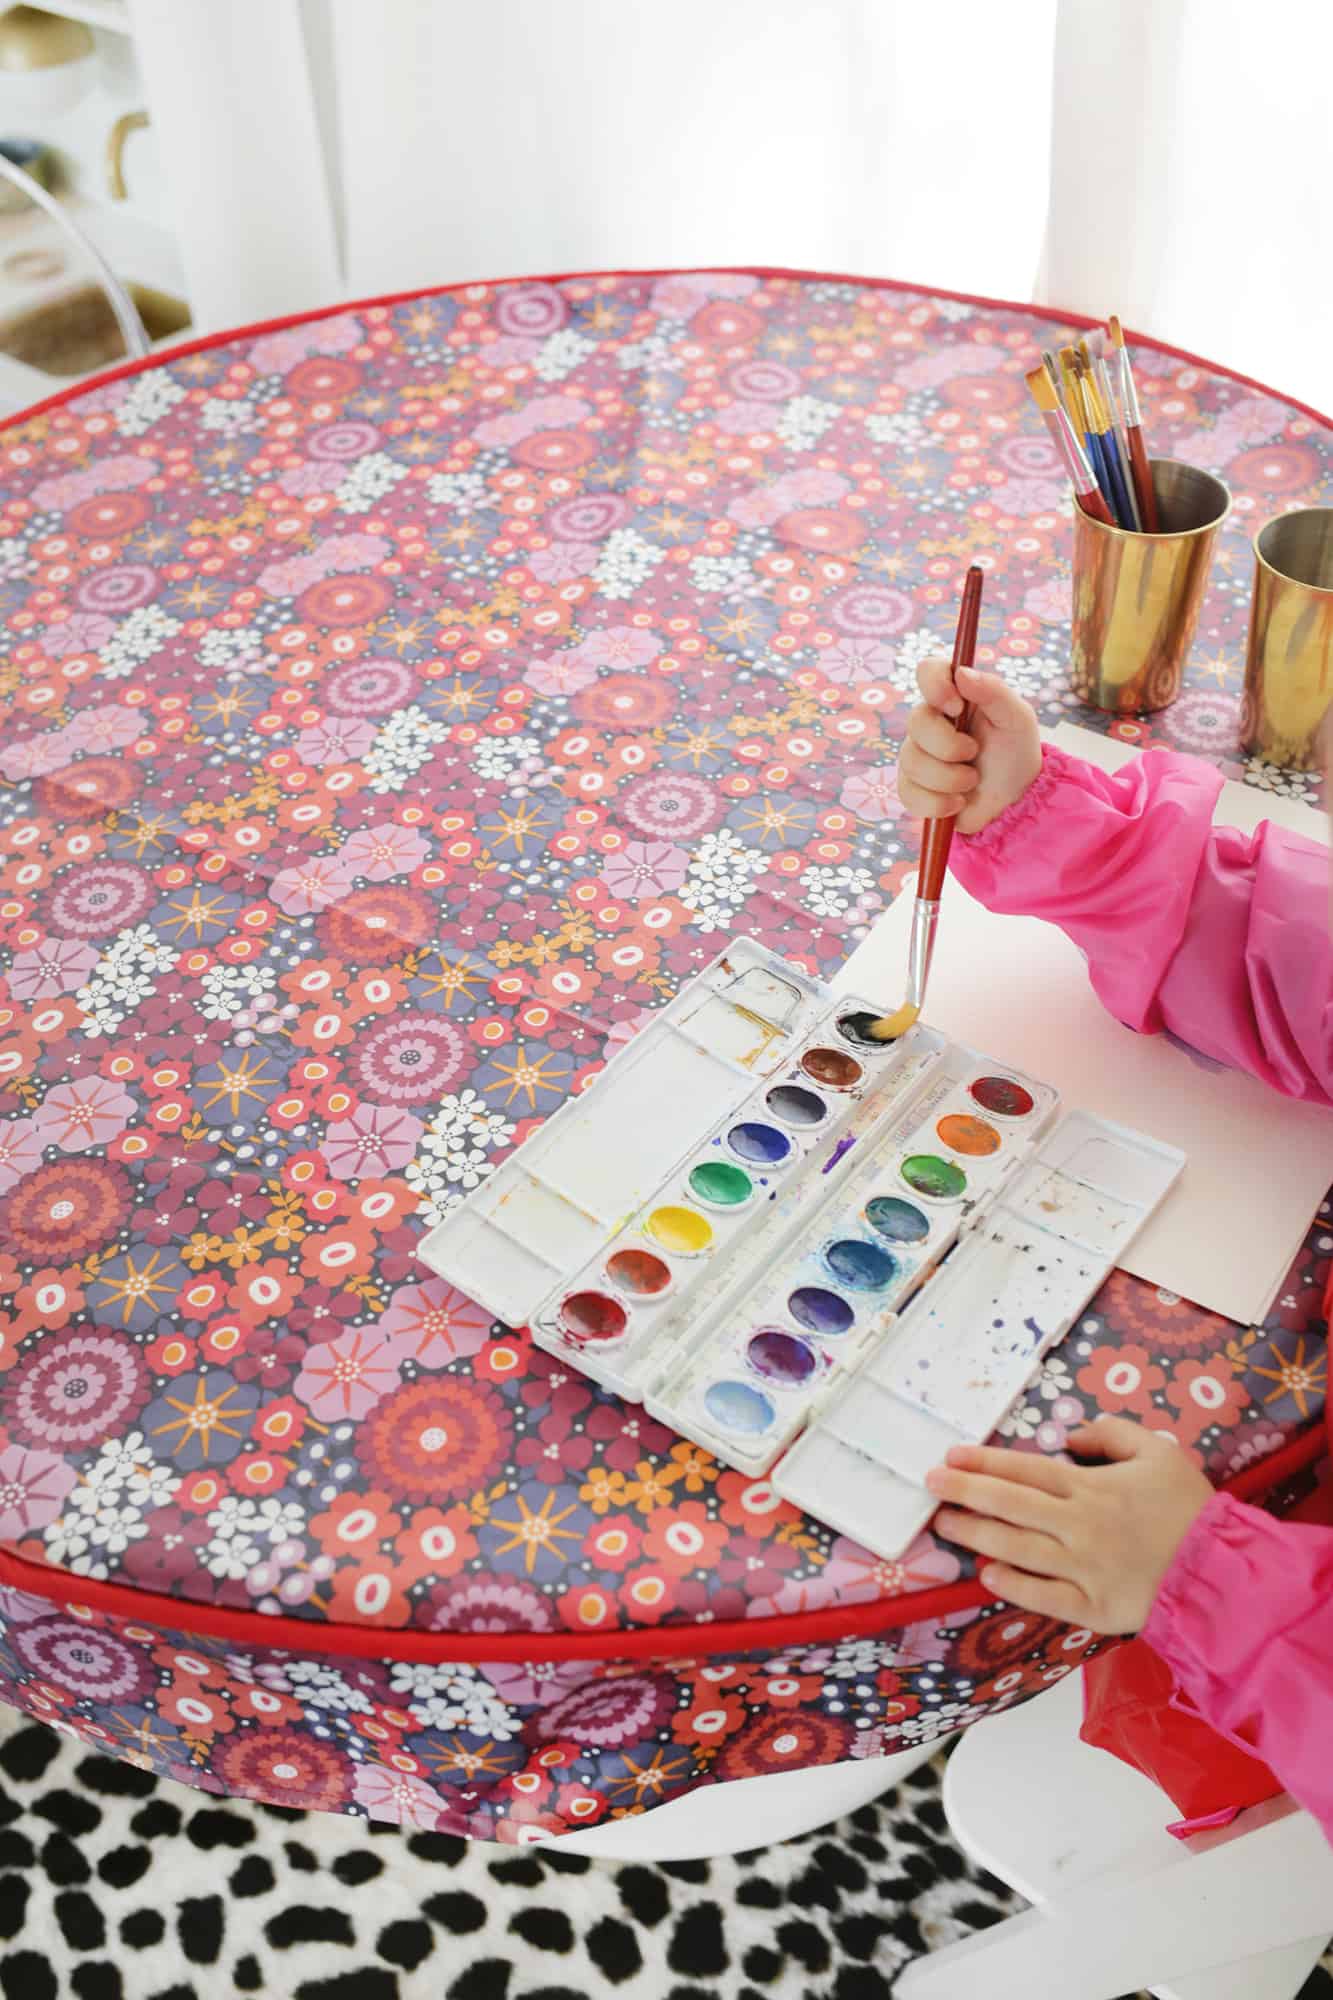

 How legit does that look? I love that I can throw something on the table that won’t slide around (like when I just try to put a piece of cardboard under projects), it’s waterproof, wipeable, and the piping lip is great for catching items before they roll to the ground. If you wanted to make piping out of your waterproof fabric so it was all waterproof/wipeable you could do that too! I think it’s great for kids to be able to get messy and do lots of creative projects, but I also like easy cleanup and less chores on my long to-do list, so this is a win for everyone (and waterproof smocks like this one help save laundry too!). So far this has been a huge hit for watercolor painting and wipes off really easily when we’re done—let’s get messy! xo. Laura
12 Comments
I love your work!
I love the pattern of the cover! Very cute! 🙂
Charmaine Ng | Architecture & Lifestyle Blog
http://charmainenyw.com
This is so great! That piping lip is brilliant. My daughter is 19 months old, and we haven’t done much painting yet, but those crayons ARE constantly rolling off the table. I may have to make one of these soon. BTW, I’ve made a number of your baby/toddler related projects, most recently that little wooden stroller. You have such great ideas!! Thanks for sharing!
Aw, yay! So glad you’ve liked making them too!!
Laura 🙂
You’re a genius. I’m definitely making one of these bad boys.
Can you tell me what kind of chair your daughter is in? I need one like that!
It’s this one!
Laura
https://www.stokke.com/USA/en-us/highchairs/stokke-steps/ST01.html
Thank you!
Such a smart idea. Hope peeps can get the supplies they need to create.
Thanks for all your fun projects,
keeps one sane!
Dale
Practical and pretty! I could see this being a great at a little kid’s birthday party too to protect the table from spills.
Could this be done for a rectangular table? Any tips?