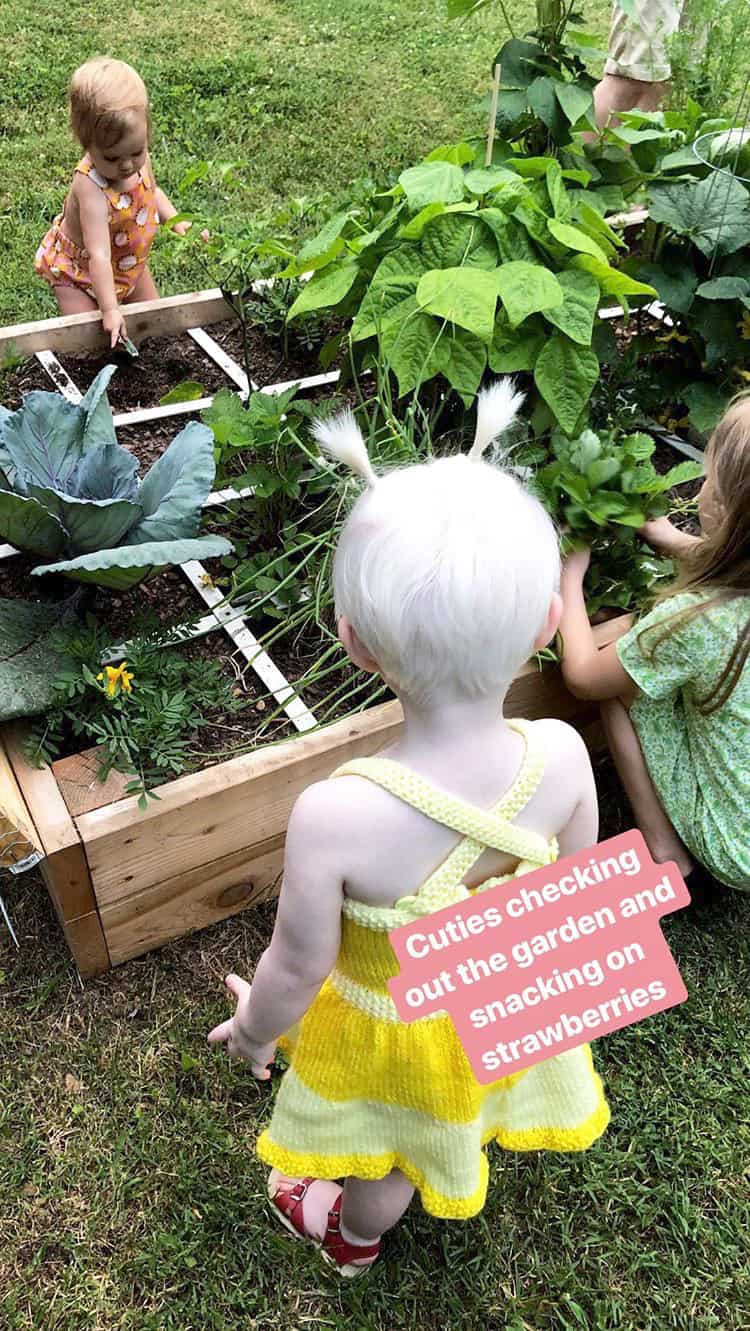
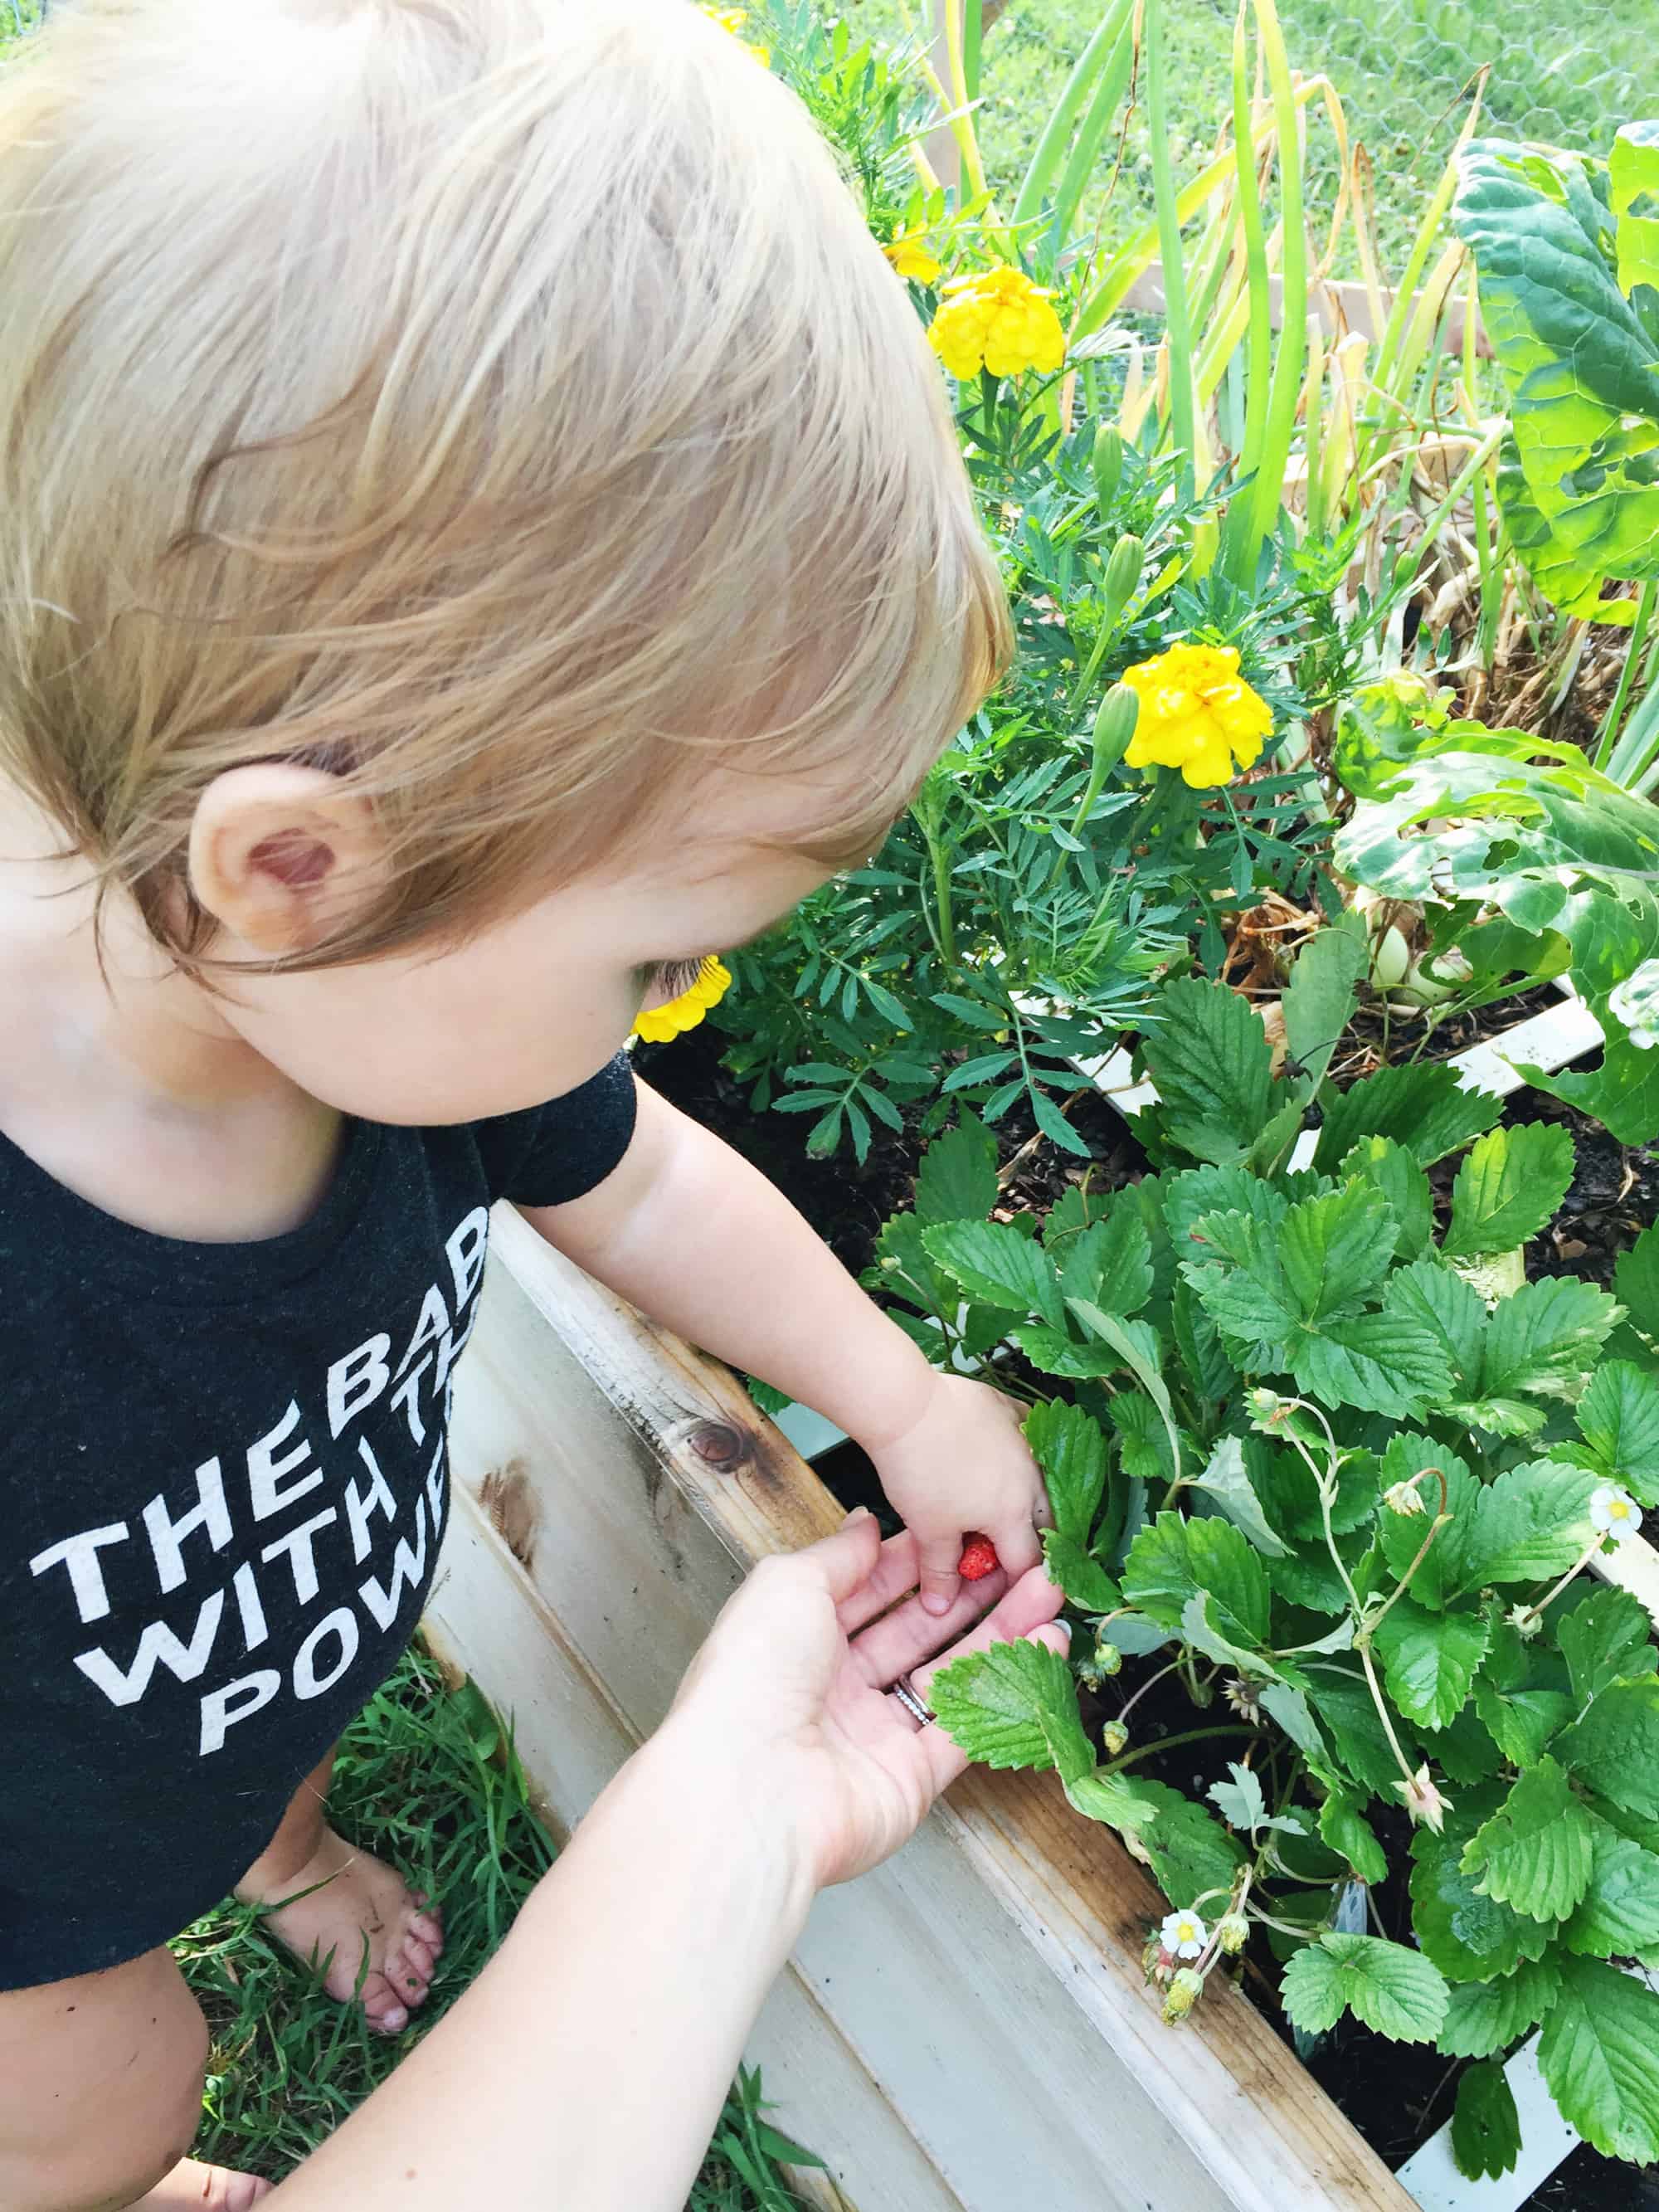
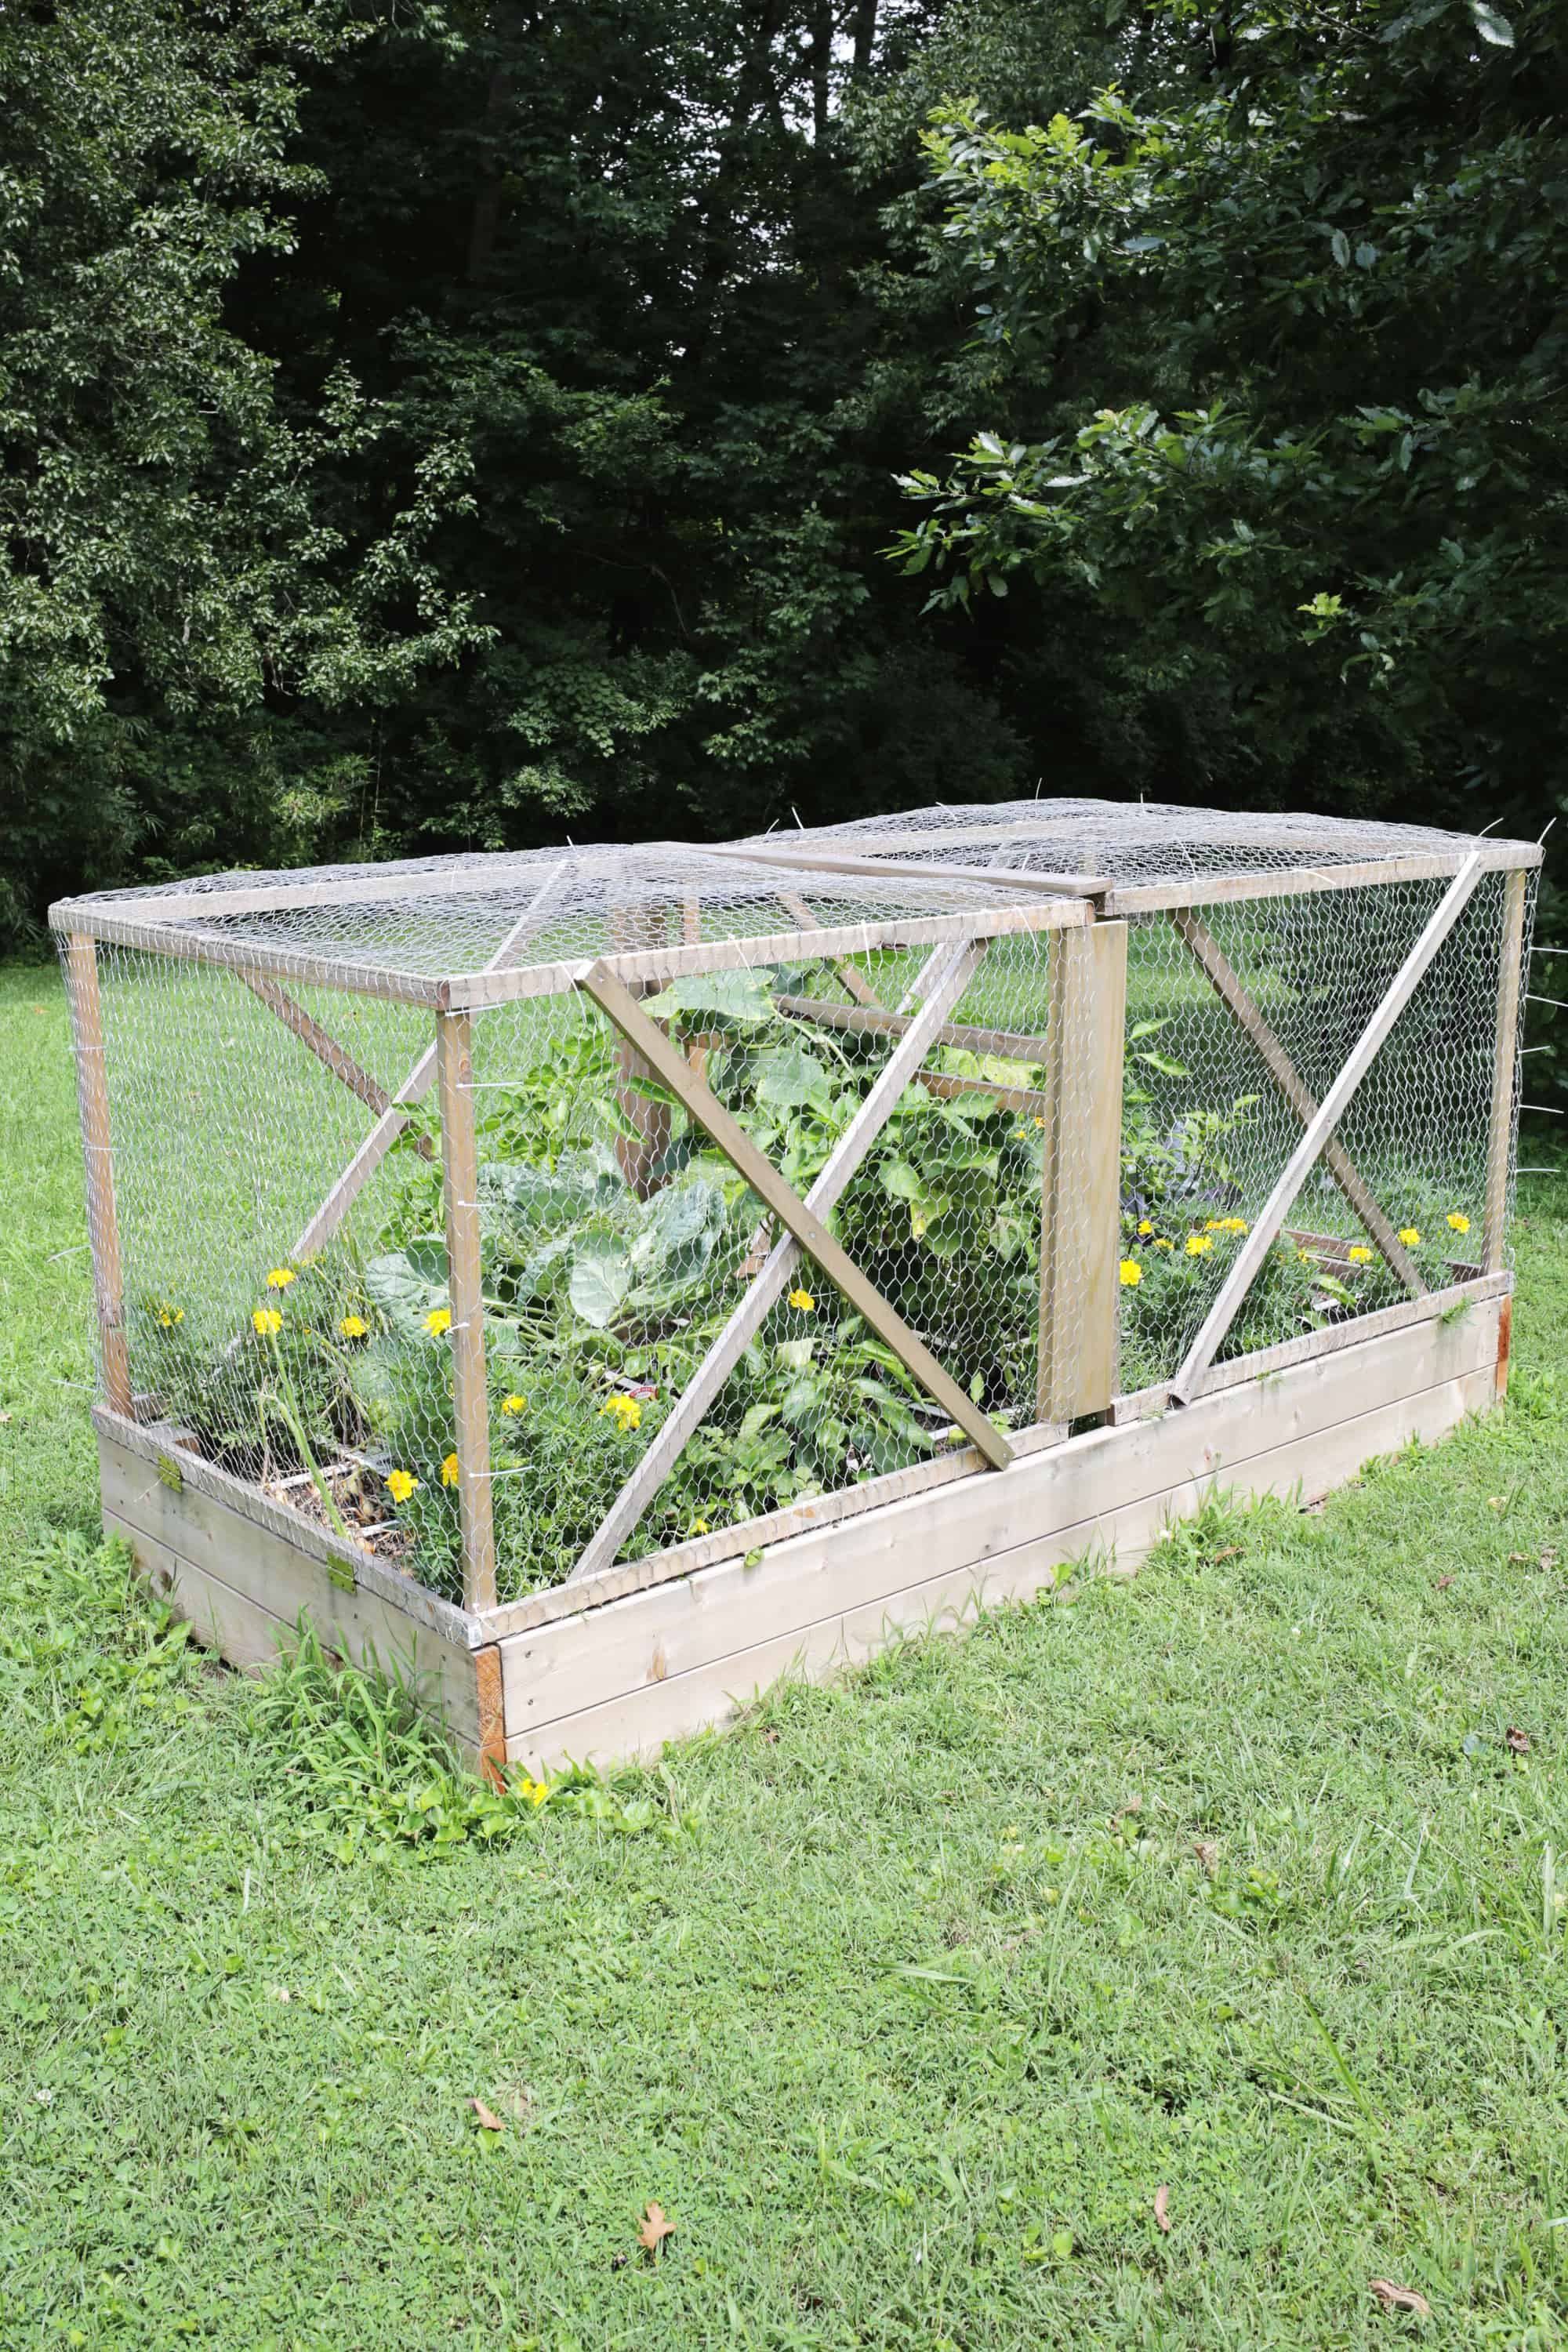
 If you saw this post about how I built an easy raised garden bed this year, then you know I’m a gardening newbie that’s been working on my first crop this year. If you’ve seen any of my Instagram Stories since then, then you’ve probably also seen how huge the garden has gotten and how we’ve had a lot of fun checking out our daily harvests, making pickles from our cucumbers (using this recipe—SO GOOD), and letting our little guests share our strawberry yield. So far our raised bed is working out wonderfully and the cage I built around it has kept all the animals out as well. You can read more about why I have a grid on my garden in the raised bed DIY post, but I’ve been using this method to grow as much as I can in the small space and it’s working out well so far!
 Even though I’m only halfway through my first garden season, I still feel like I learned a lot in a short amount of time, so here are my top tips for garden beginners:
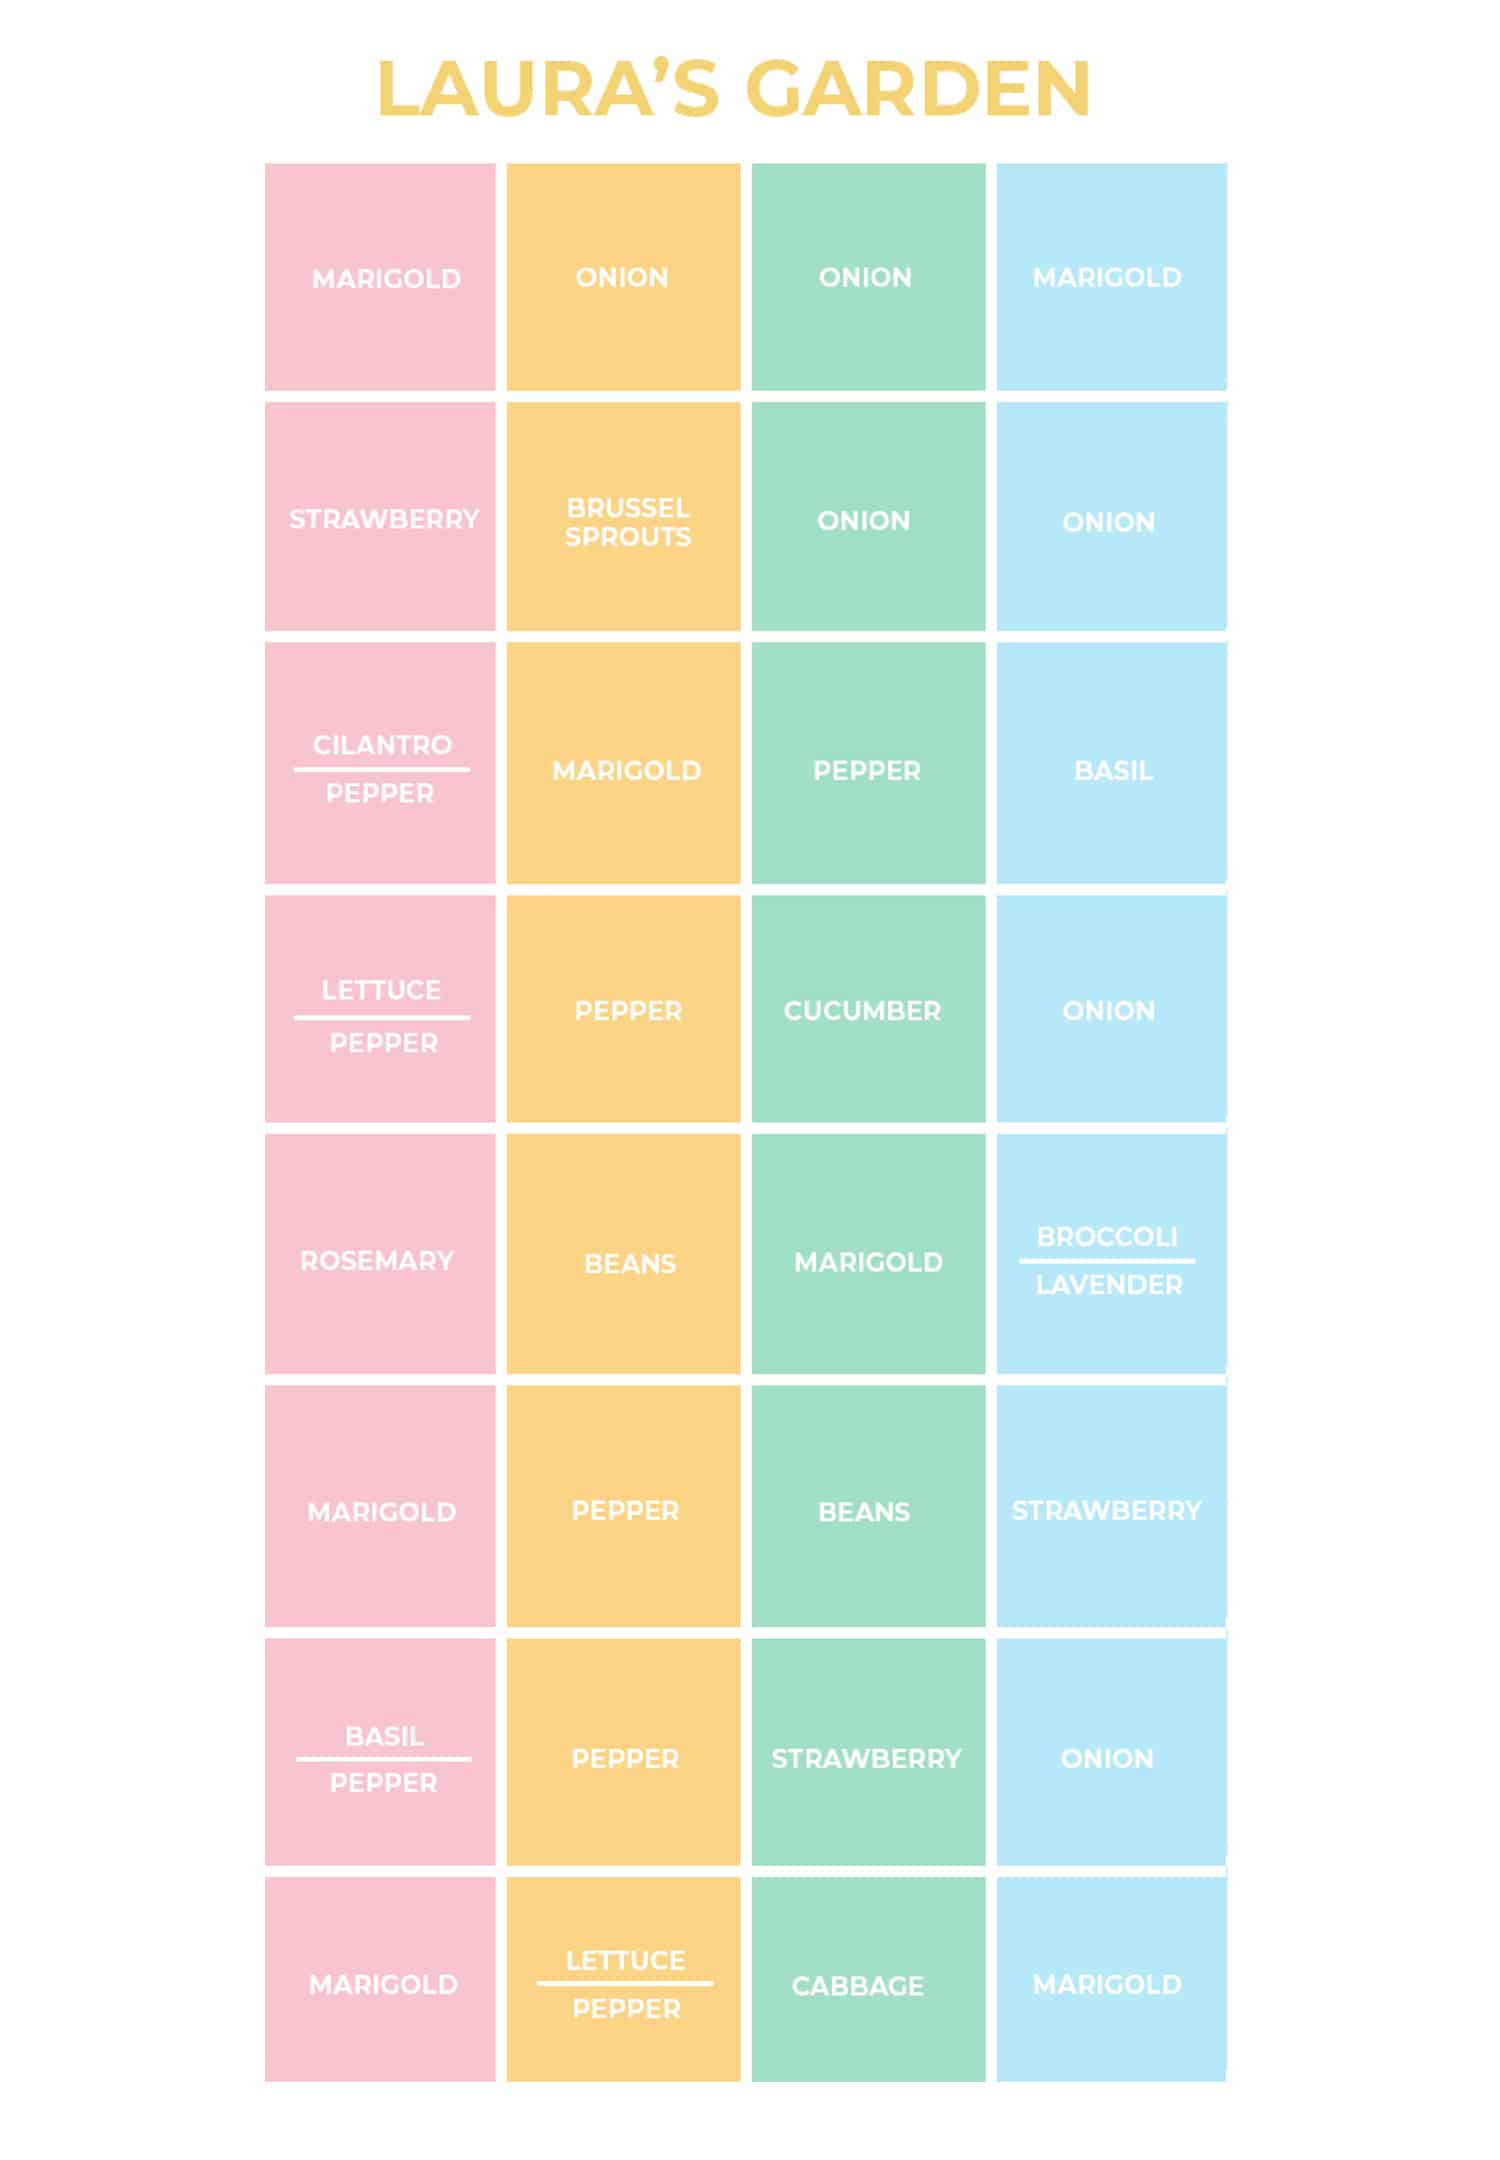
Make a chart/labels: It’s a good idea to label what plants you planted either with a chart or by putting those identification markers that usually come with a plant in the soil next to the plant (and they have really helpful instructions and info on the backs of those you may want to refer back to later). I would suggest doing both though because those little markers are handy, but they can also blow away (or be carried off by a toddler) so it’s good to have a backup chart so you know what you’re growing where. Here’s what my garden looks like as far as what we planted this season (if there’s two things in a square that means I replaced the first spring item with the summer one when that spring plant was finished for the season).
Rotate your crops: I’m trying to learn more about “crop rotation” right now so I can get the best crop yield and reduce pests. Crop rotation is basically moving your crops around in your garden to different spaces each time you plant for the season because certain types of plants will take specific nutrients from the soil and create an environment that certain bugs/insects like, so by moving the crops to different locations next time you plant, you allow other nutrients in that spot to be used based on what the new plant needs and it gives the first nutrients time to be replenished. It also helps to break the life cycle of the pests in that area, so it helps cut down on bug infestations as well. It’s best to wait a minimum of three years before planting the same crop (actually an item from the same family of crops) in that spot again. As you can imagine, it would be way too confusing to remember exactly where you put everything from year to year, so it’s another reason to make some sort of chart like I did to compare one year to another for planting purposes (and they even have computer software or apps to help plan, but I haven’t used one that I can recommend).
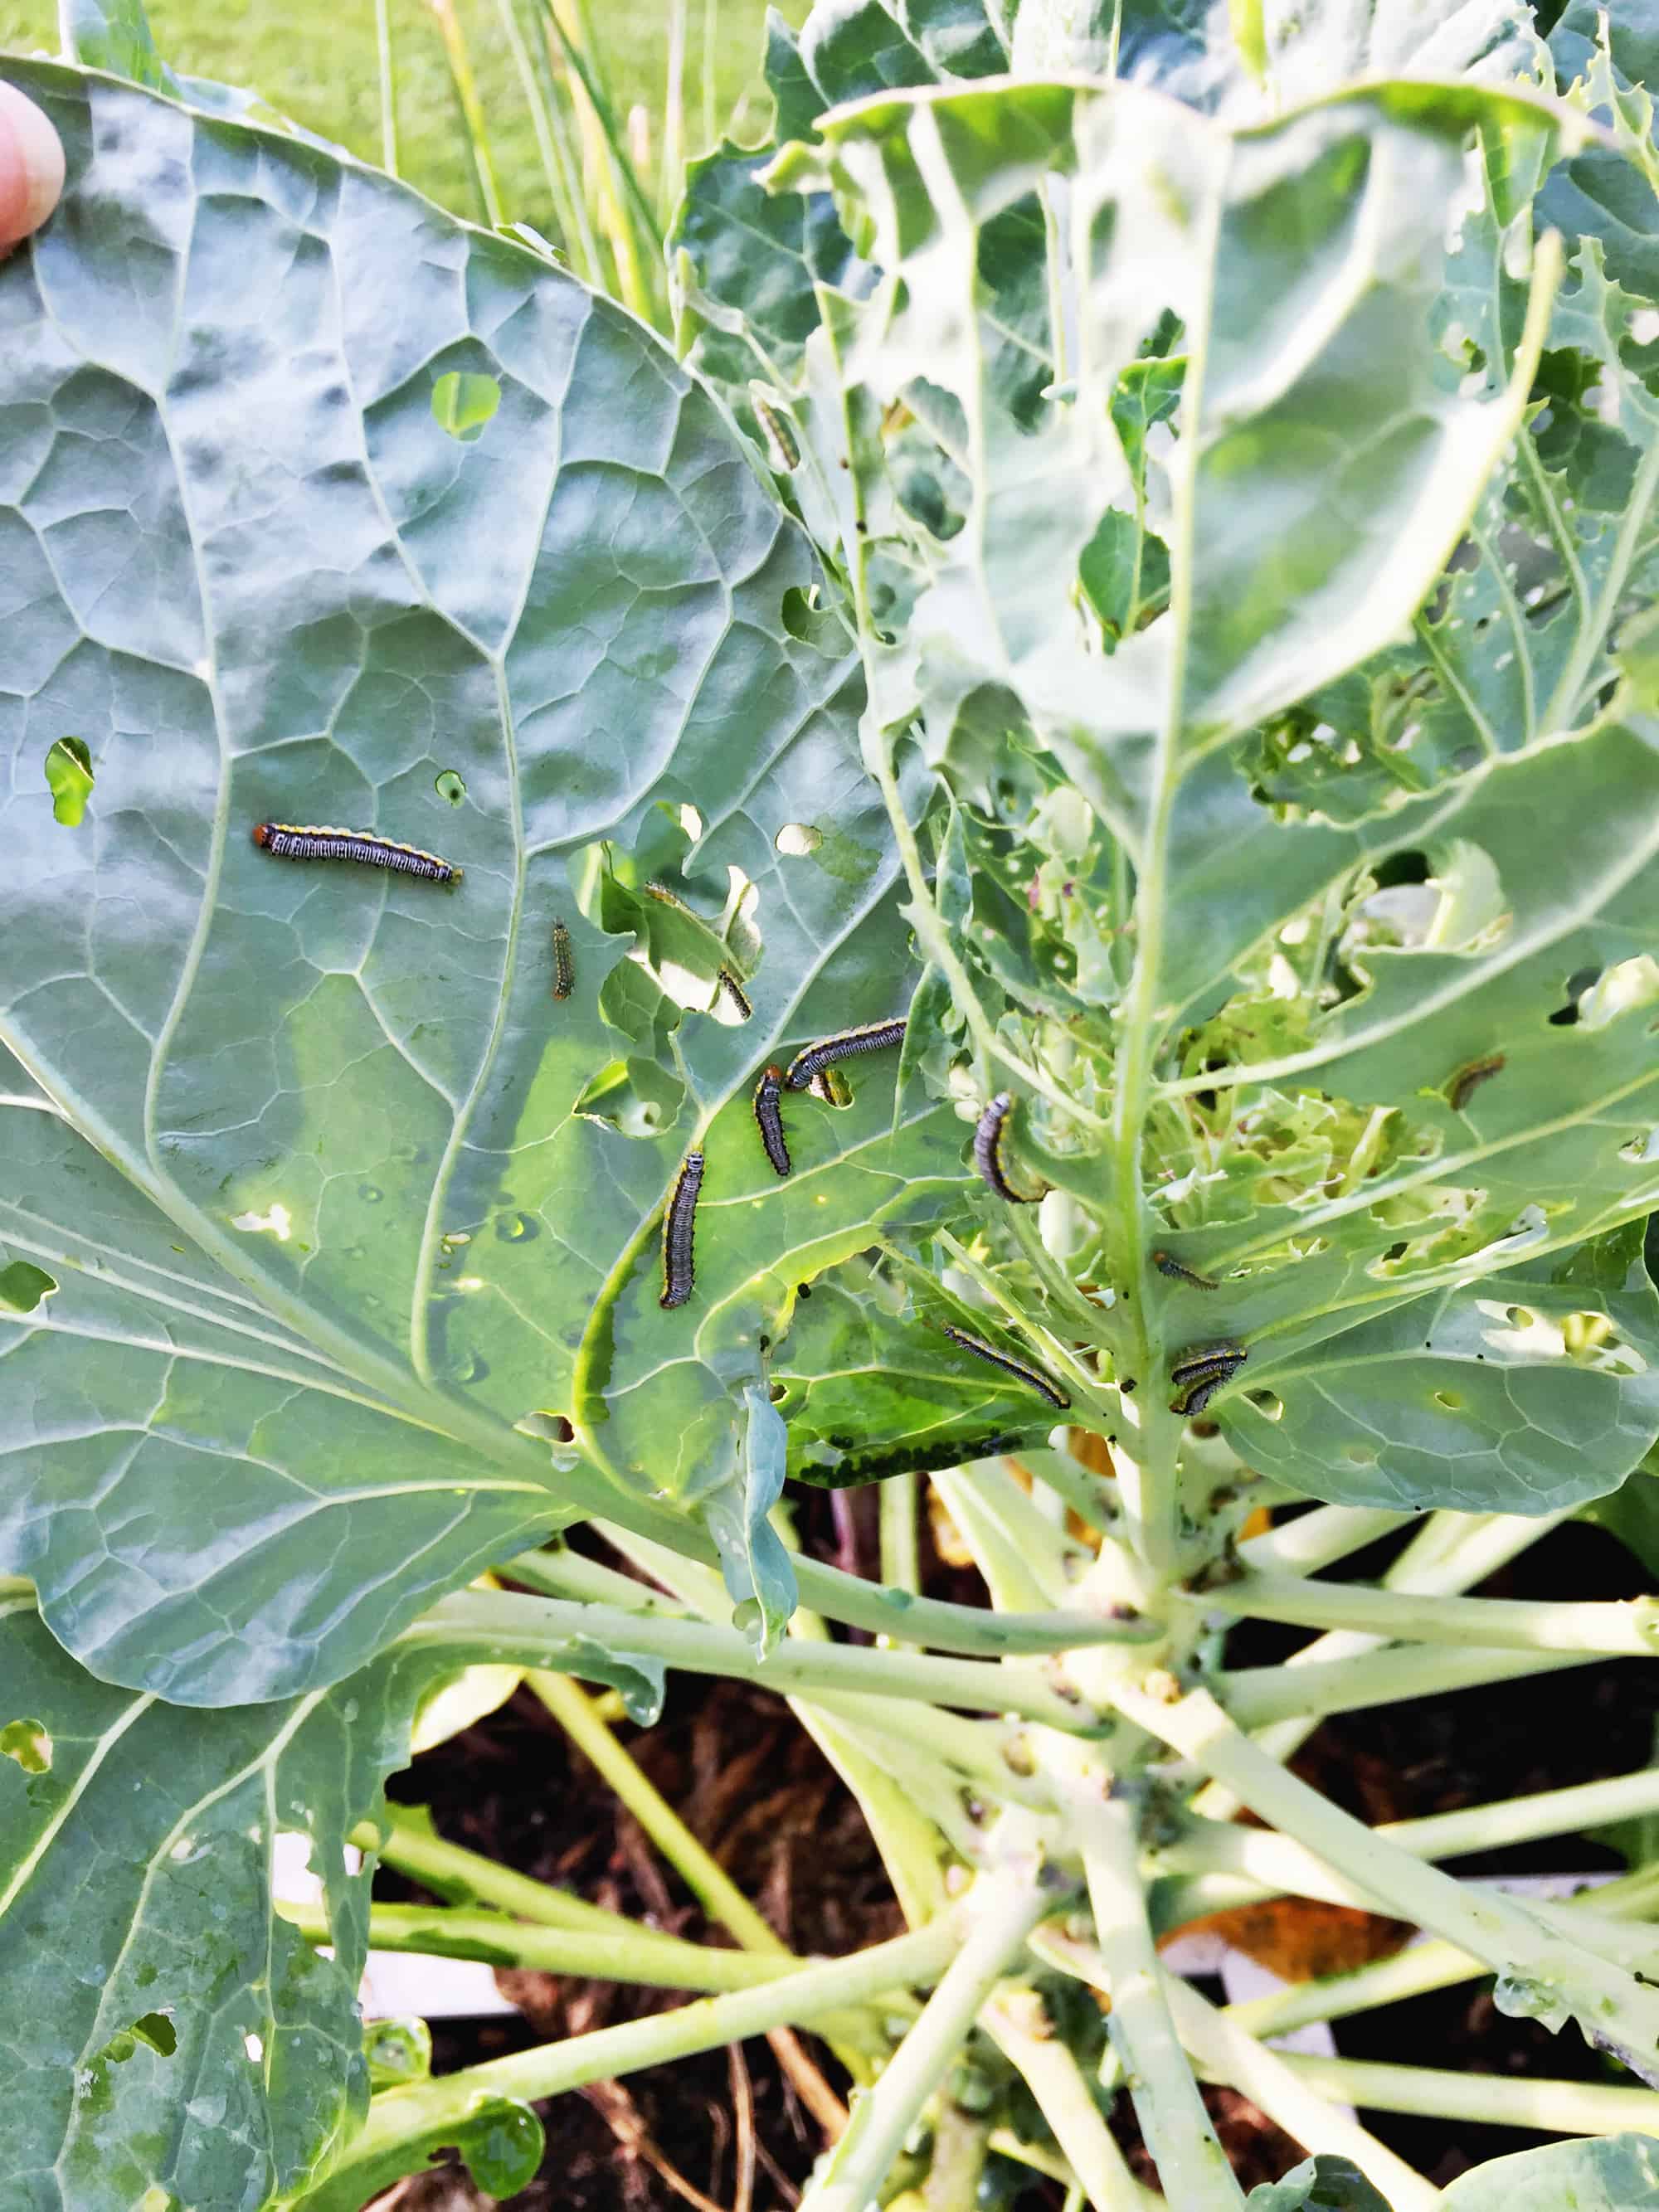
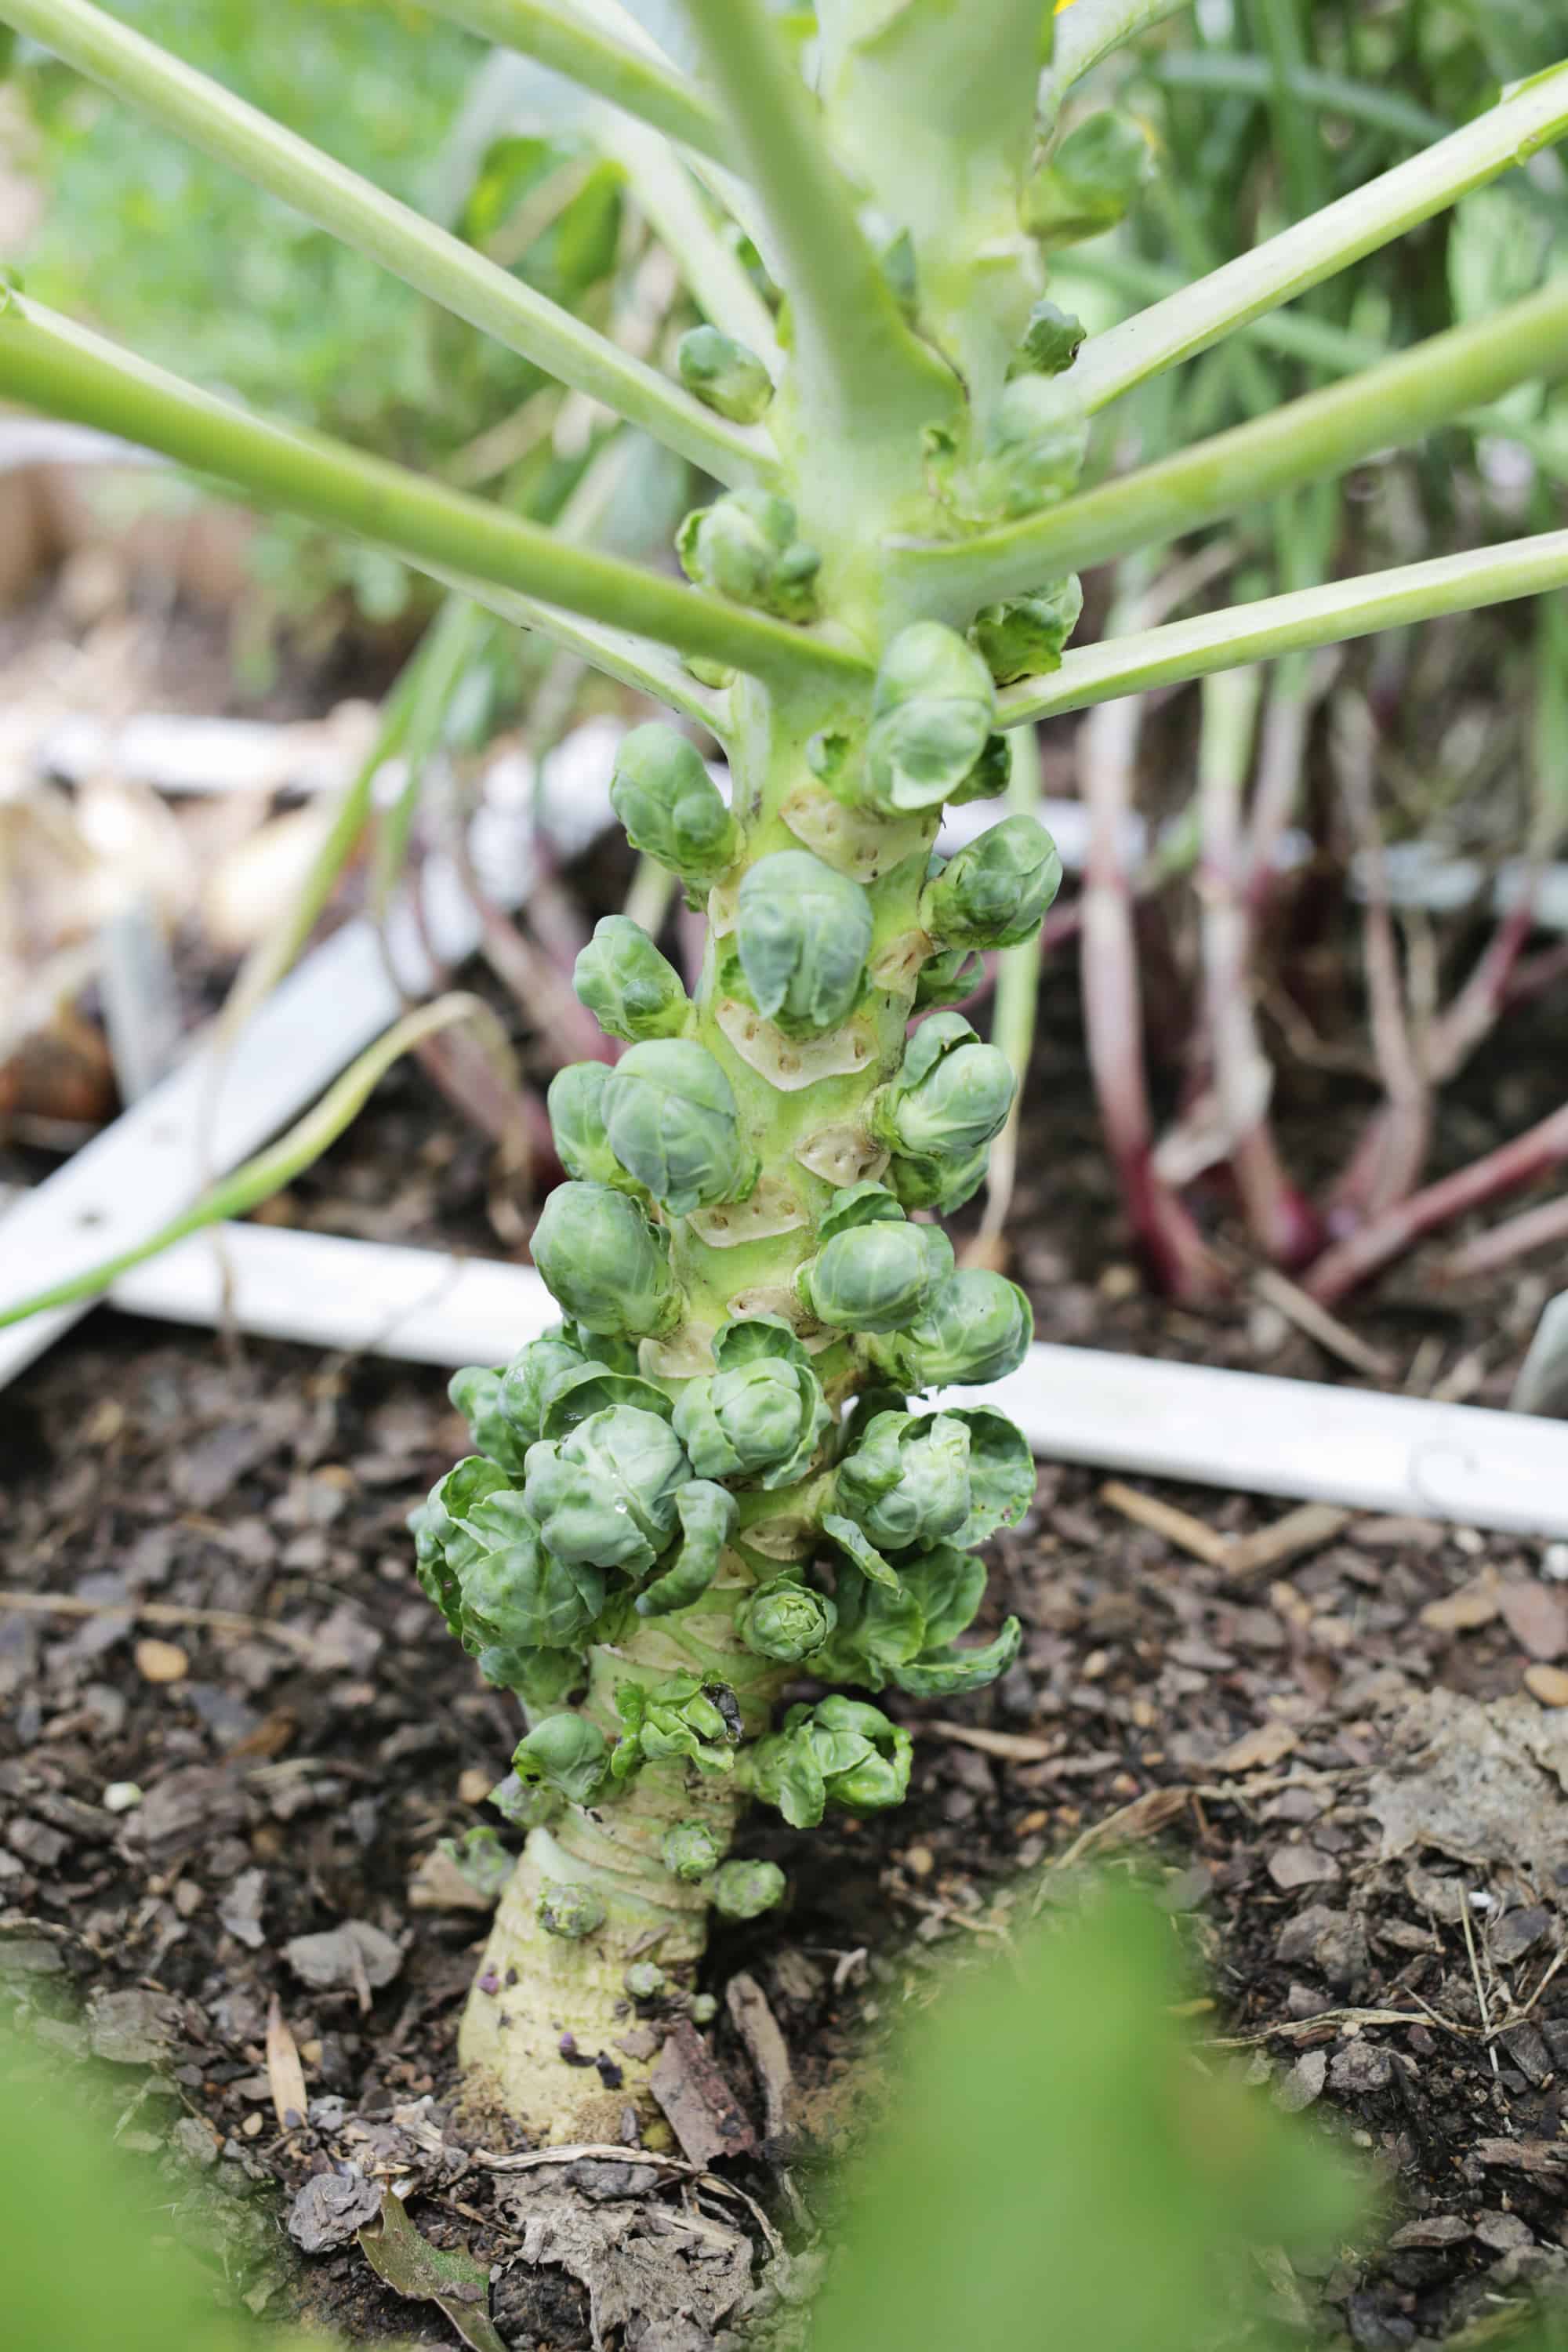
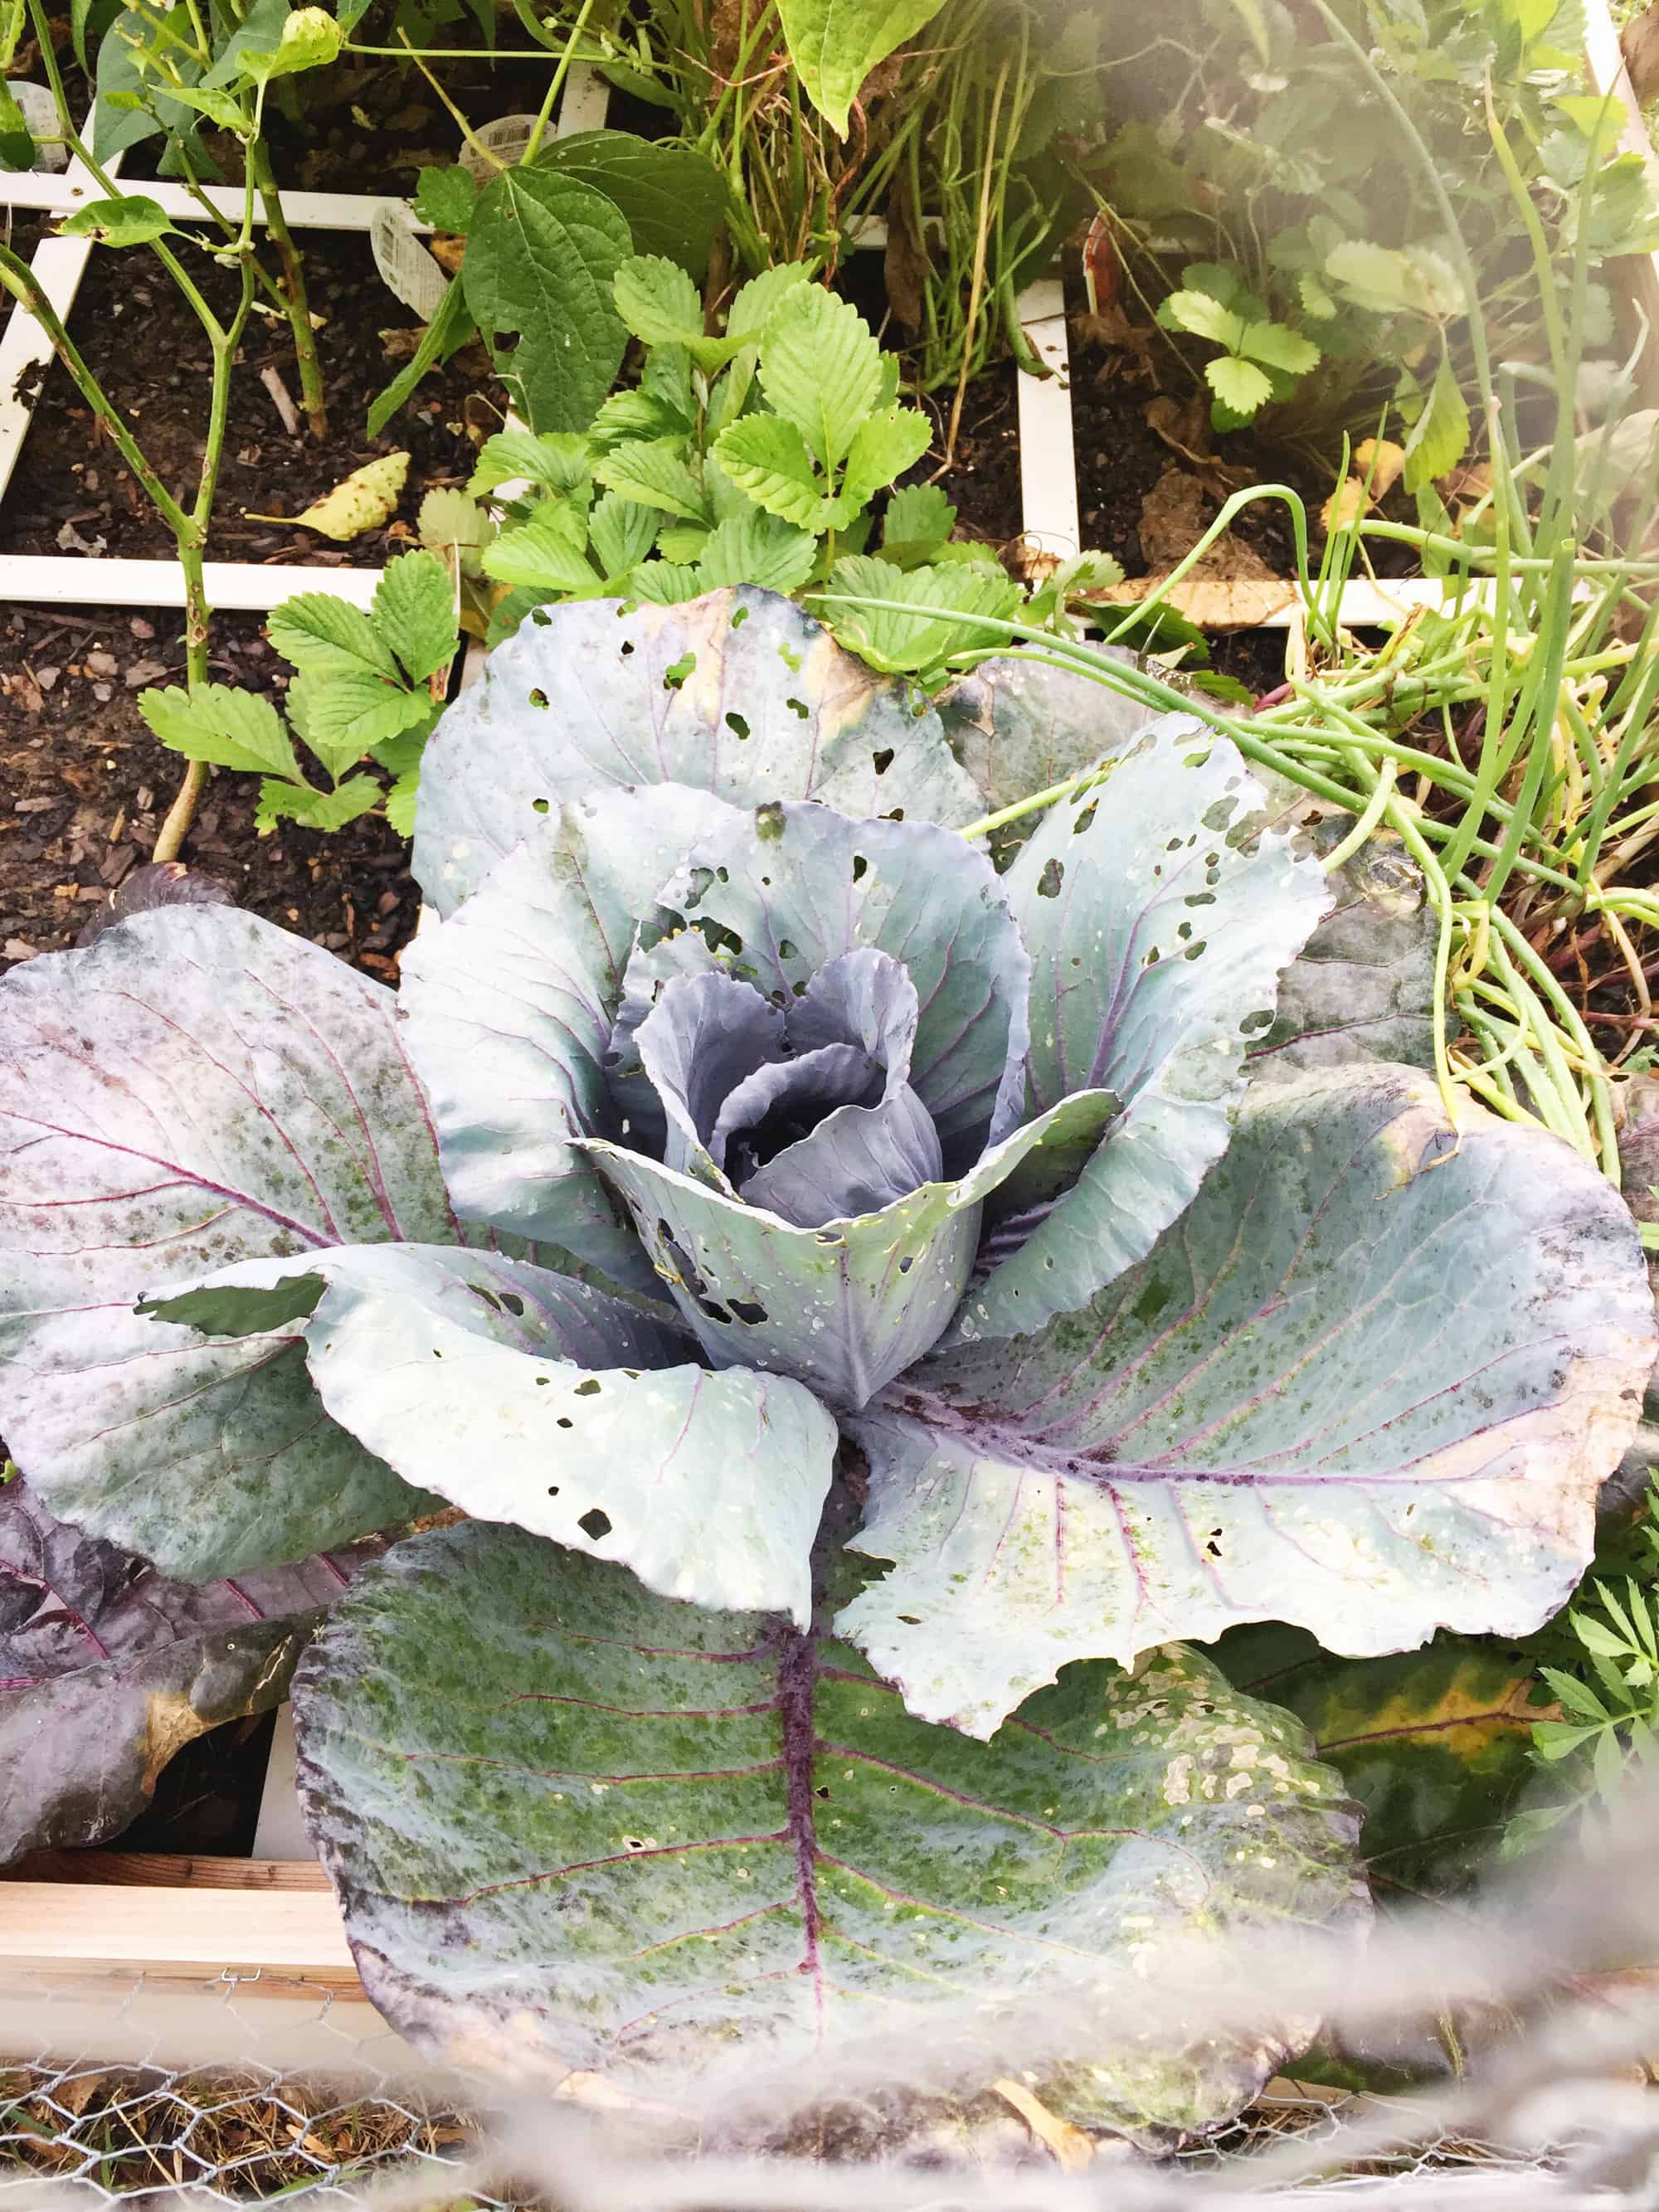 Take bugs in stride: It’s really easy to see a bug/worm/insect and think your whole garden is ruined, but don’t freak out! Some bugs are totally harmless while others are not, so you can either try to identify the bug online, send a picture of it to a local nursery/gardening store for identification, or if you just see one of something, you can also take the laid-back approach and just not worry about it too much unless you see a lot more of them pop up or damage to your plant. At that point, you’d definitely want to identify it to see what to do next. It’s also a good idea to make a note near your garden chart of which pest issues you had where or maybe include a photo of the bug so you can quickly identify them when you see one next year. So far we’ve had cabbage worms chow down on our cabbage and brussel sprout leaves, but I used a hose to spray them (and all their eggs) off the leaves, and then used this to keep them from coming back. I’ll probably reapply a bit of that from time to time, but so far I’ve only used it once and haven’t seen a cabbage worm since (this is another good product to have around in case you need it and this is really handy as well depending on your pest/disease need). Another reason to be calm when you see bugs is that even if they are eating your plant, that doesn’t mean your harvest is ruined either. My brussel sprout leaves look like swiss cheese now, but the sprouts that are growing are totally fine, so they didn’t do any damage to the actual goods.
Just a side note though, we were eating items right out of the garden before using any bug sprays since a little dirt didn’t bother me, but if I’ve treated a plant with even natural products, I’ll wash those (and nearby items) before eating them now.
 Learn when to harvest: When you are a newbie gardener, it can be really hard to know when a plant is ready to harvest. This takes a little bit of practical experience to know how an item should look or feel before it’s ready, but keep an eye on your plants and look for signs that each crop is ready. When you have a plant that gives you lots of harvest, you can sometimes learn what it should look like by letting a few of the first fruits go too long, since you know you’ll have a lot more chances after that. And that can let you know how big they got or what color they were before they started to go bad. Those little identification tags can also be helpful because if they say a pepper should be 4″ long and you have a 2″ pepper, well, it’s probably not ready yet if you planted it at the beginning of the season when you should have. The biggest mistake I made so far is missing our broccoli being ripe because I kept thinking it was too small to harvest, but since I planted it rather late in the season, it just wasn’t going to get as big as it would have if I had planted it earlier. So it “went to seed” (i.e. went bad) before we got to eat any of it—bummer, but a lesson learned for next time!
Find some help: Being a beginner at anything means that you don’t know what you are doing yet so it’s not only fine to ask for help, it’s really smart! And asking for local help is even better. Our next door neighbor has a garden as well (much bigger than mine), so I can learn from her what grows well in our area and what plants the animals will leave alone, but I also call/email the local garden center where I bought my plants relatively often to ask why something is happening. I thought several times that the garden had some sort of fungal disease or rot, but since they were experiencing the same weather I was at my house they explained that it had been so hot (or so rainy) lately that they just needed to adjust to the heat (or dry out) and they’d be fine—they were right! They also told me to email them photos of issues to help diagnose (a lot of local plant places will do that for you) problems and that’s been super helpful as well. I also thought my plants were diseased at times but they told me the plant was just done for the season, and I could take them out and start something else there instead.
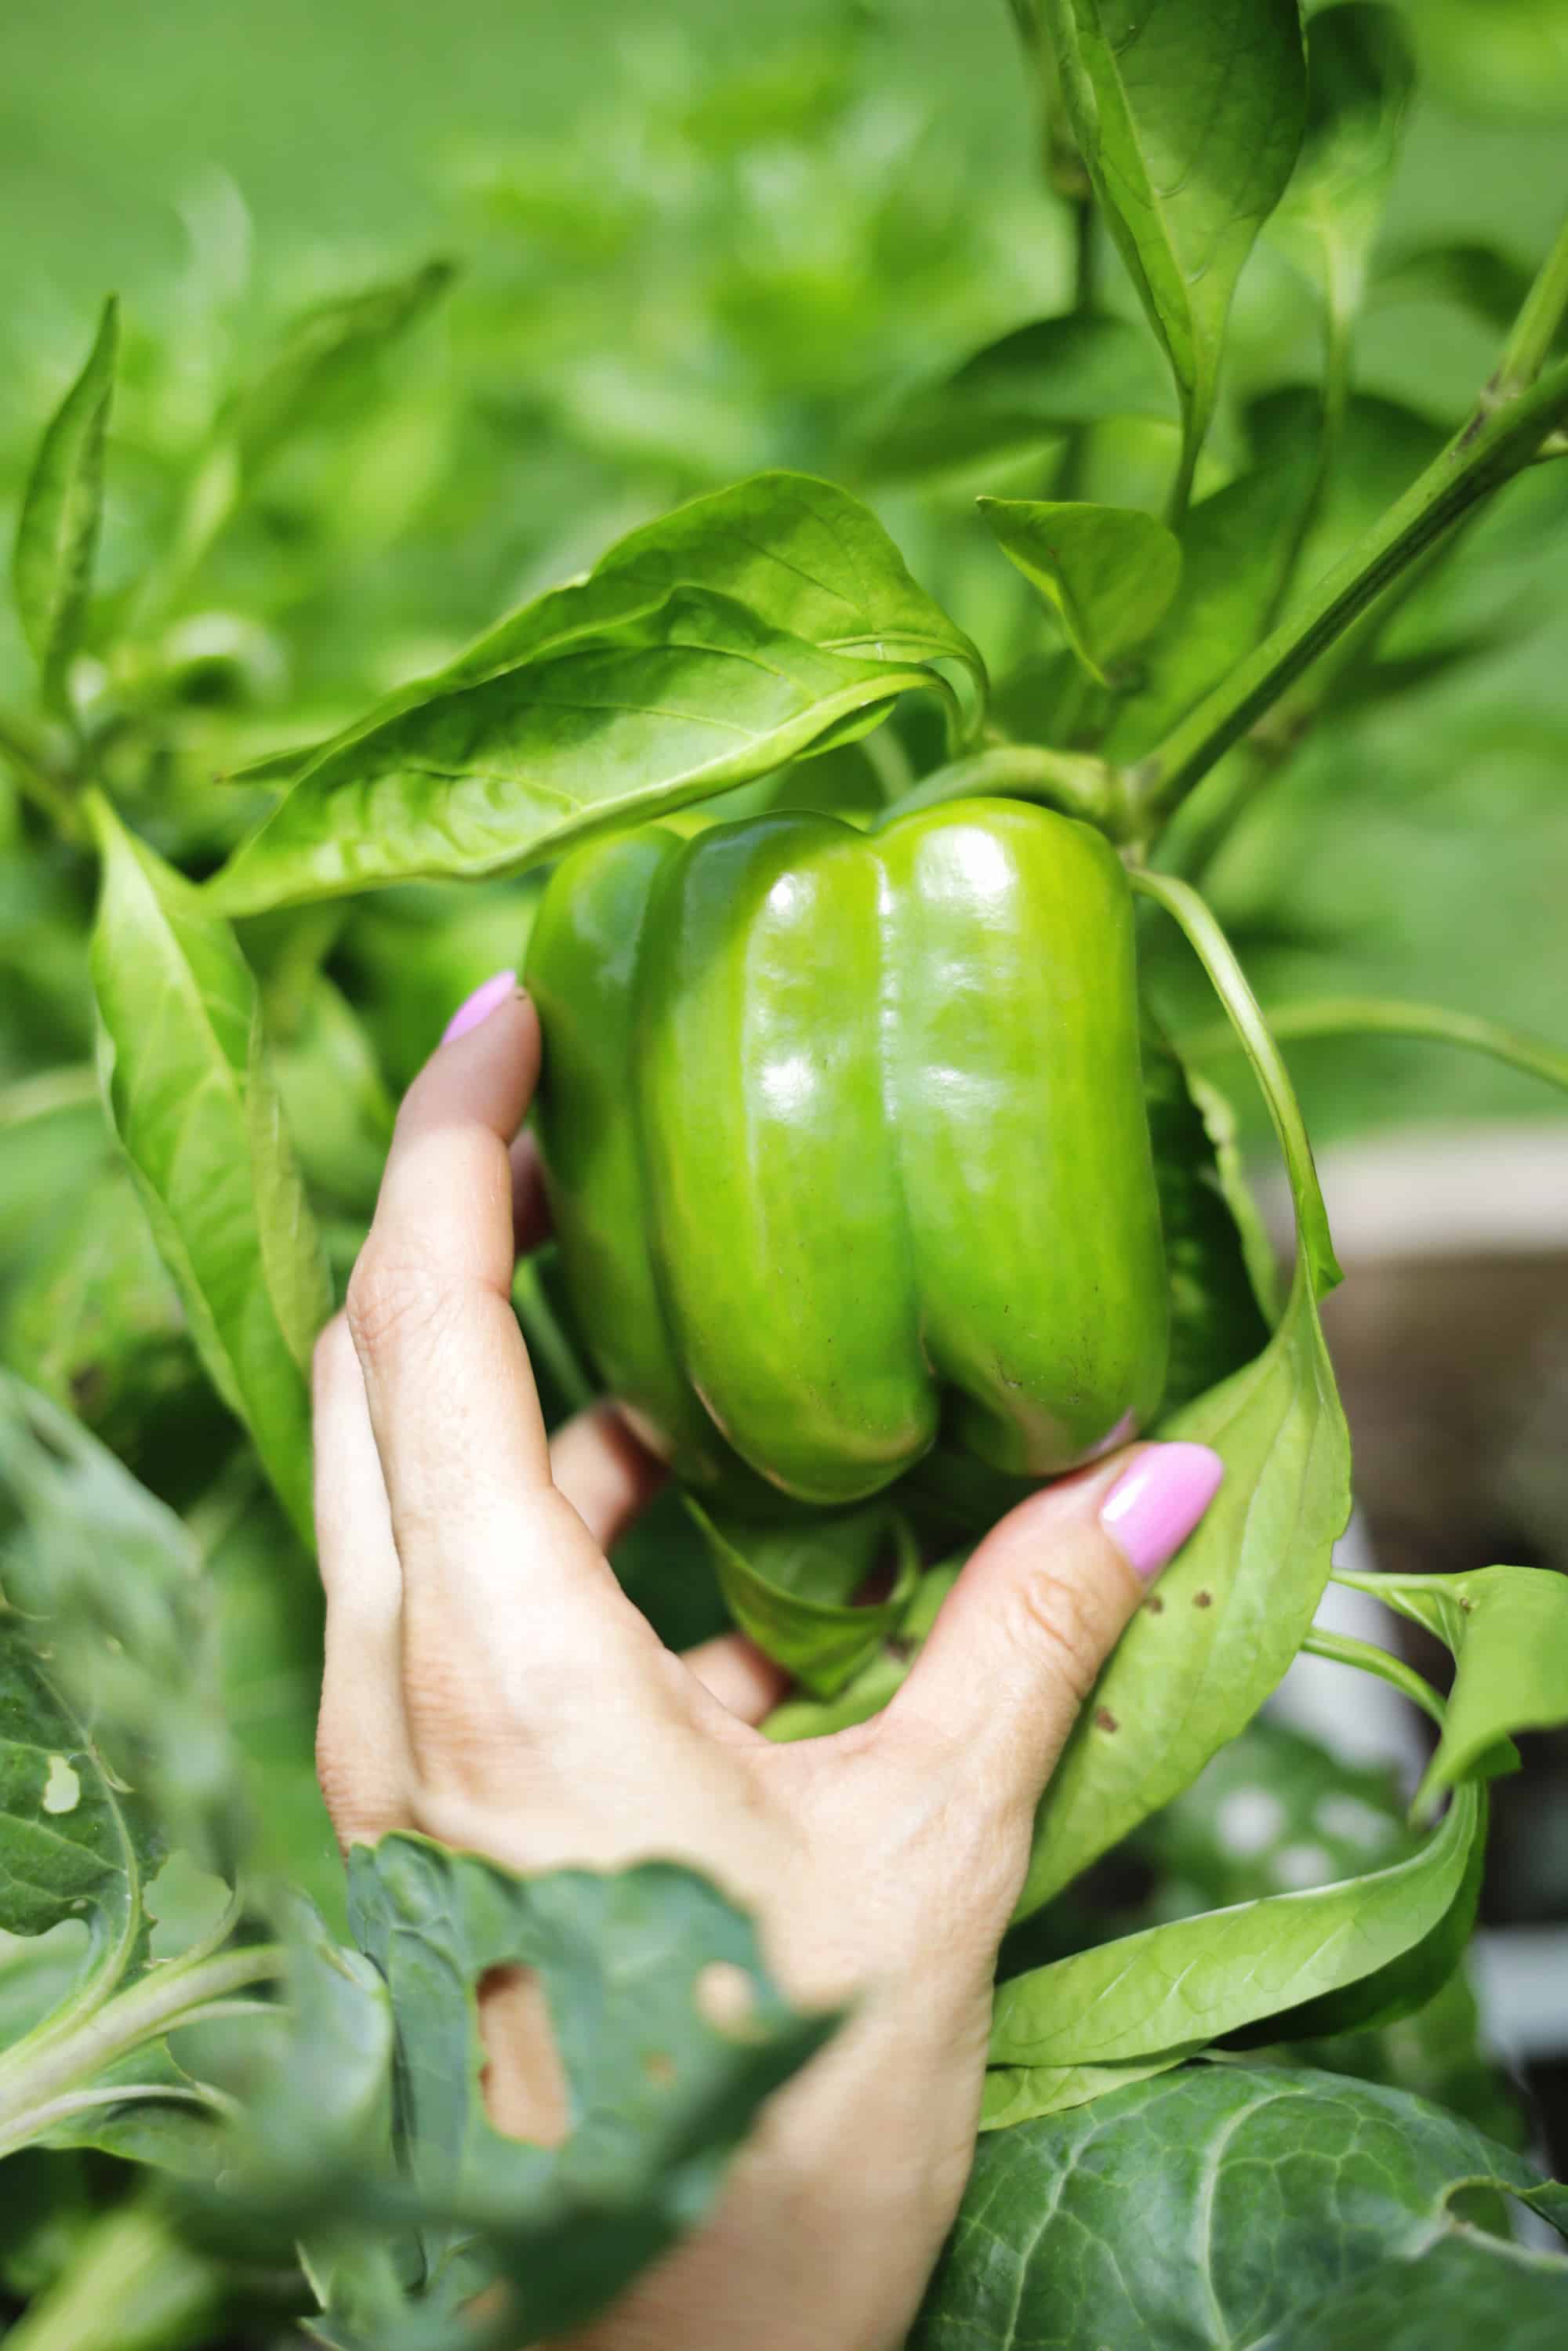
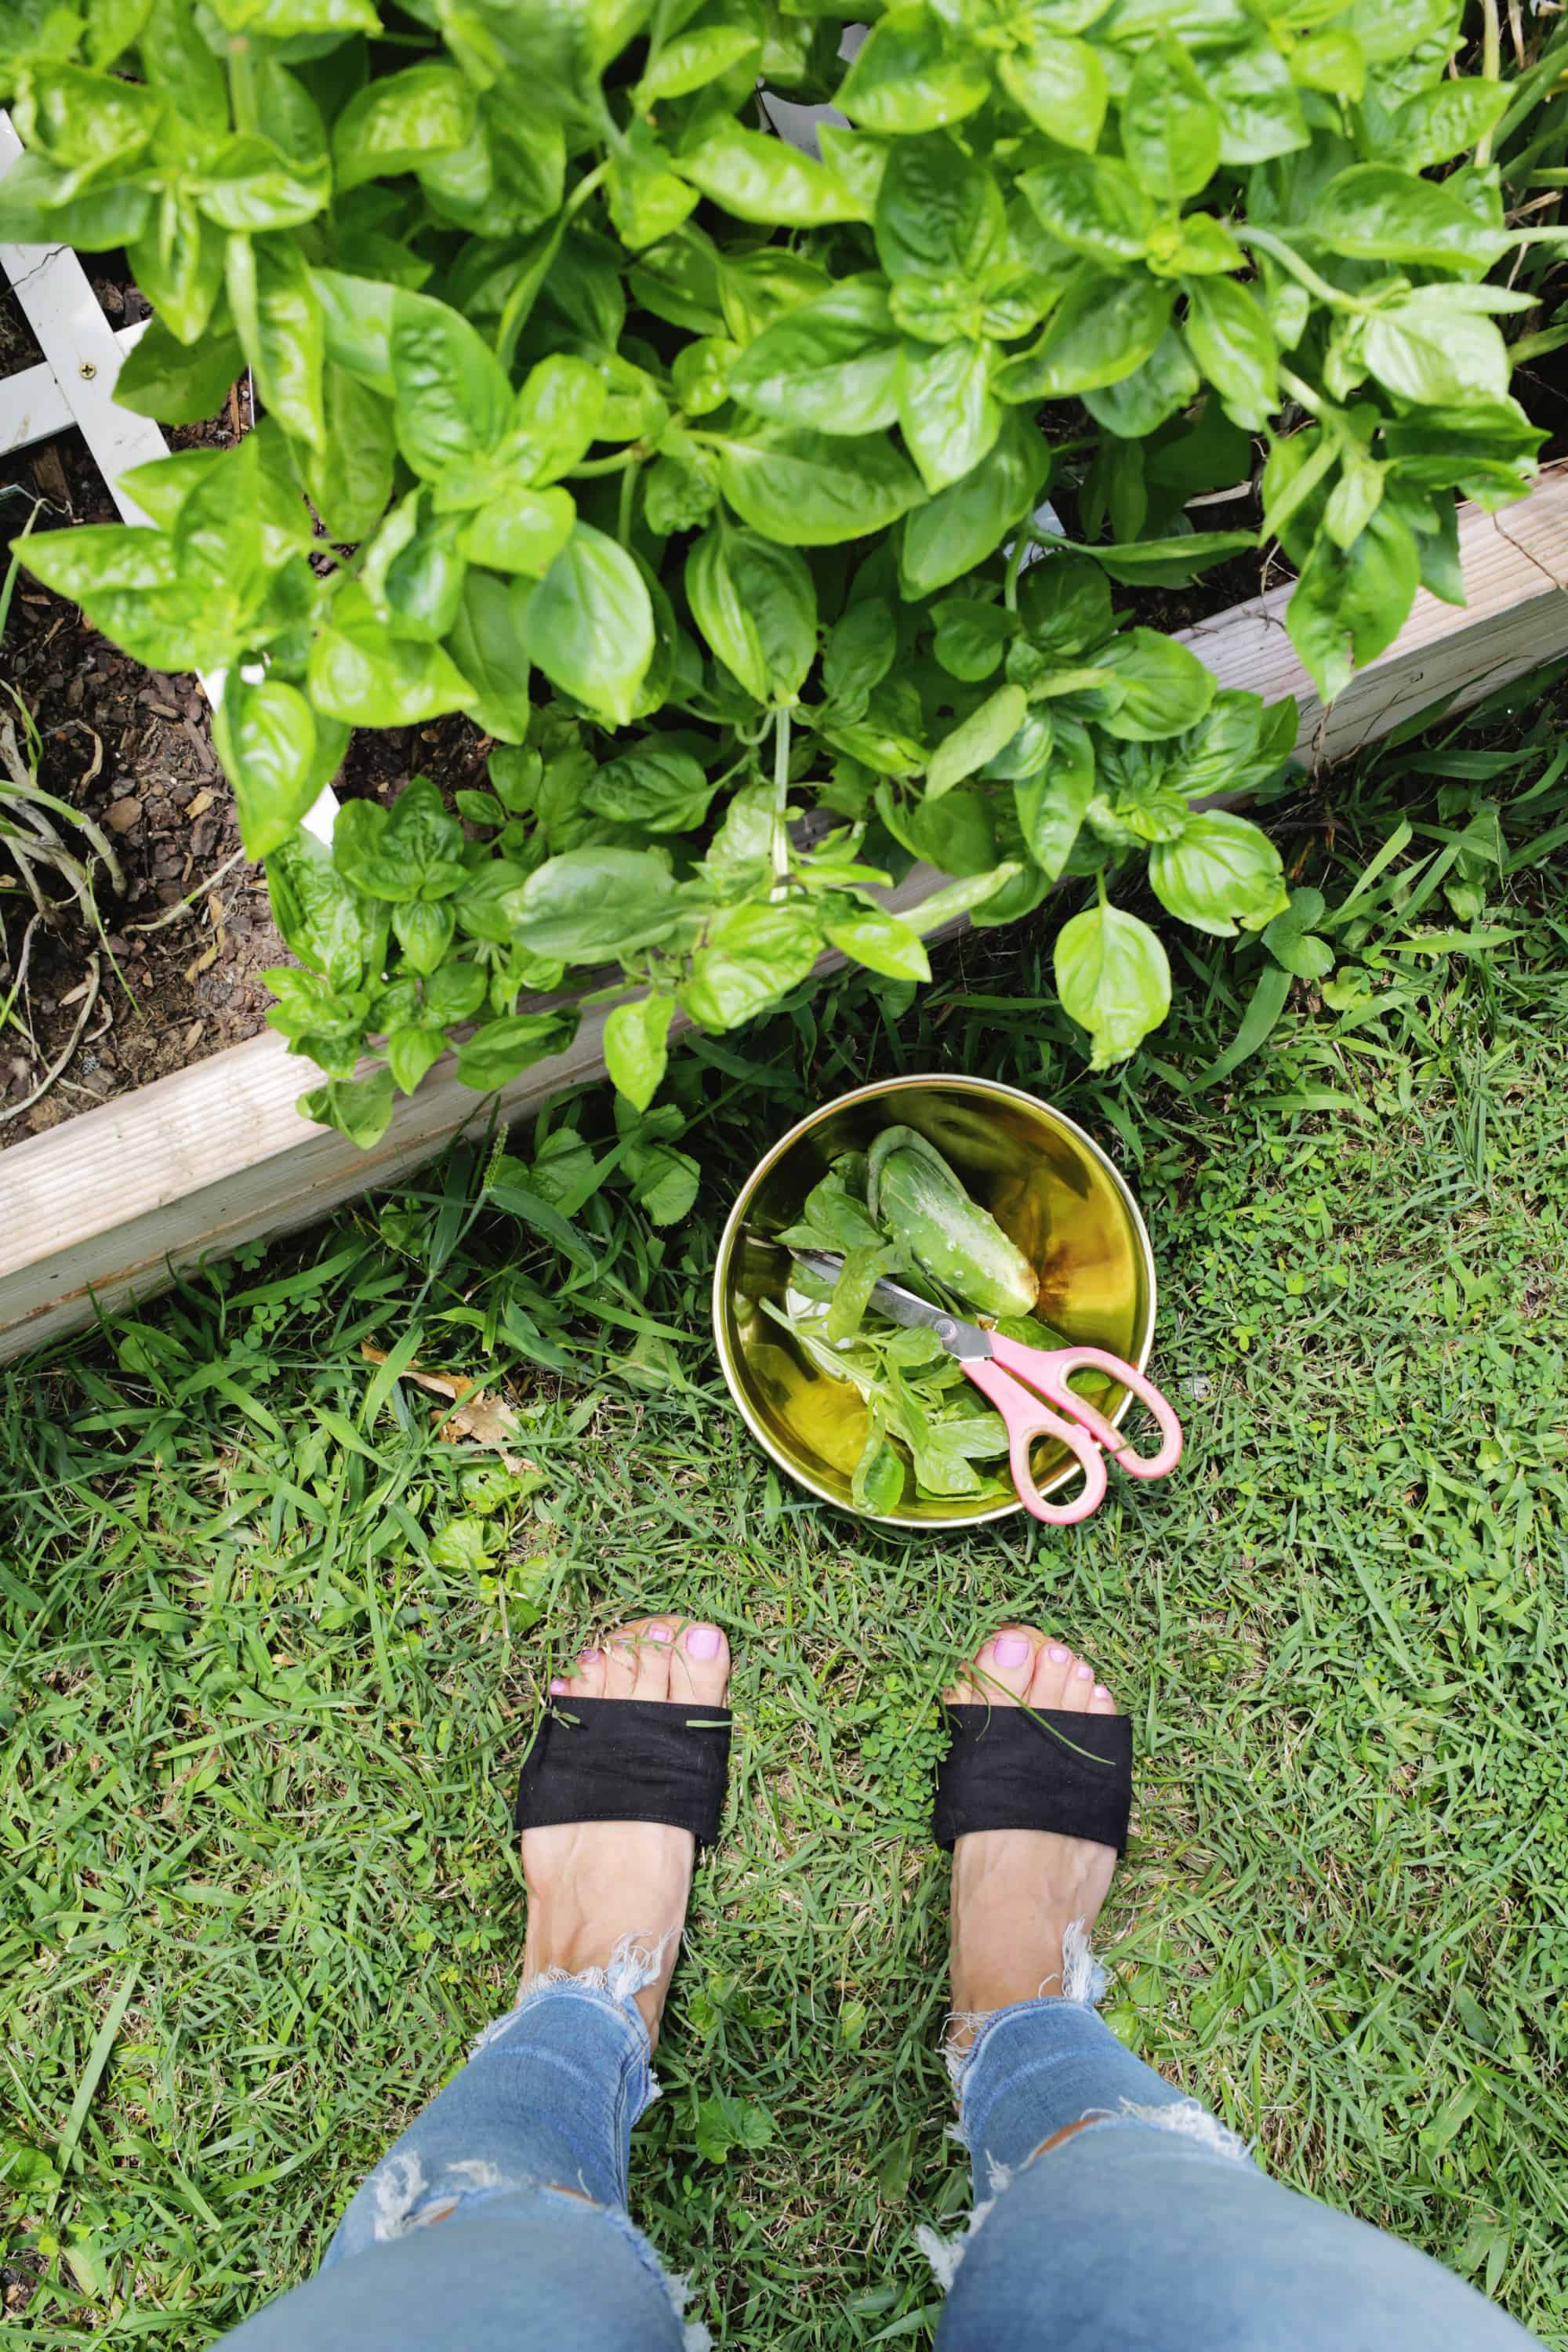
 Those are the main points I have learned so far in the last few months, but as a side note, I find it best to water in morning at the base of the plant rather then spray the whole area with a hose spray setting. That way, the leaves stay dry (which helps keep fungus from forming) and you use less water as well. And I keep an eye on the weather too, so I won’t water if it’s about to rain and skip a day or two depending on how much rain has fallen lately. If you have no idea when to water or how much to water, a good rule of “finger” is to stick your finger down in the soil about 2-3″ deep and water when it feels slightly damp or dry—leave it alone if it still feels wet. Keep an eye on your plants and notice if some look droopy compared to the others as they may need more water (especially when it’s hot). And also, sometimes you may do everything right, but still get a plant that just doesn’t produce no matter what you do. I have two pepper plants that look healthy but just aren’t growing anything even though all the other ones are and I can’t figure out why—even the nice folks at the garden center told me that sometimes you just get a dud! Lastly, if you like pickles, I suggest growing a variety of cucumber that’s made for pickling—you get a ton from one cucumber plant and they’ll be way crunchier!
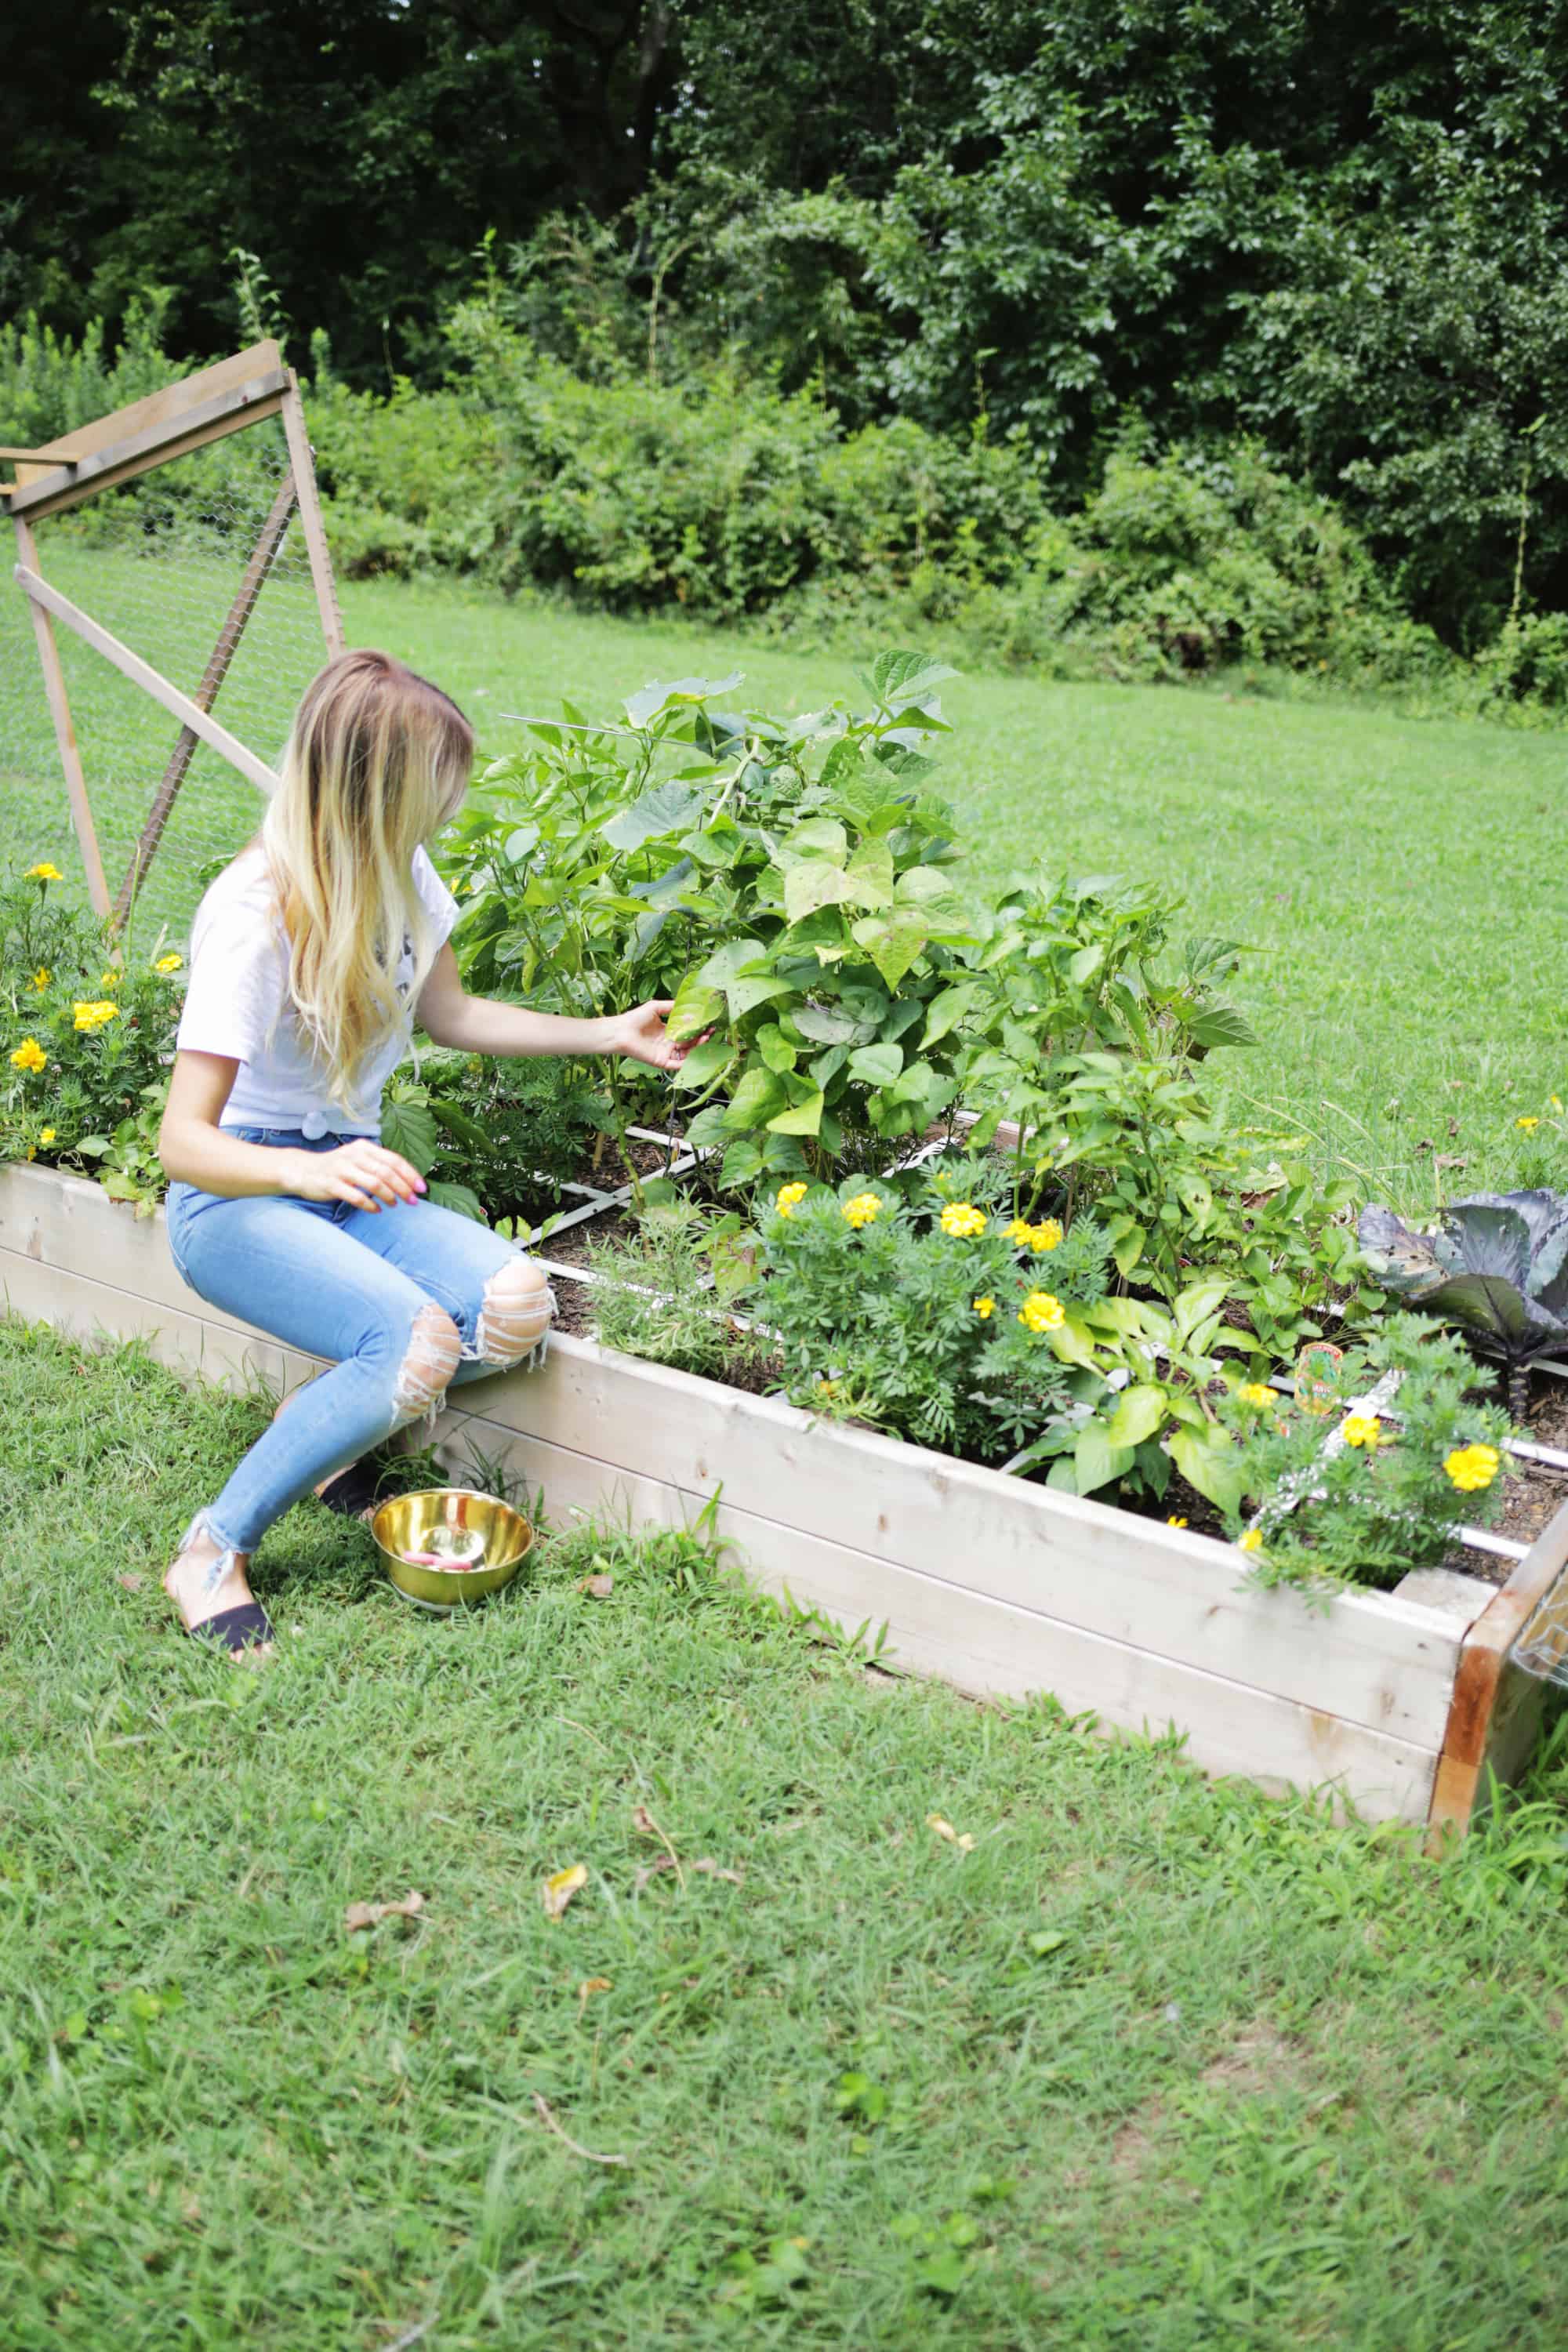
Gardening is SO subjective as well based on what you are growing, where you are growing it, and how you are growing it. So there are lots of ways you can do things and still have good results, so don’t feel like you have to do everything perfectly to start. You can spend hours and hours on a large garden if you want to, or just a few minutes a day (and some days no minutes at all) on a smaller low-maintenance setup, but I would definitely suggest starting small for beginners.
You could start a patio garden in all pots for your first year, make a vertical garden, an indoor herb garden, an herb coffee table, or maybe make a 4’x4′ square instead of an 8’x4′ area like I did and add more squares as you want more. I think my raised bed (along with a few pots on our porch) is all I can handle for now, but I would love to add another one that size at some point in the future as I get better at it. And I think it’s great for even big babies and toddlers to “help” with gardening (although sometimes they may pull out more than they plant!), but you can also make one of these to teach them to love gardening inside (or in the winter) as well. Hope you get to experience some gardening of your own! xo. Laura
25 Comments
I enjoyed this post so much! I live in a 300 sq ft apartment, so there’s no possibility of me gardening, but I felt like I was living through your words! 🙂
Charmaine Ng | Architecture & Lifestyle Blog
http://charmainenyw.com
While it’s not quite the same you could grow some alfalfa in a jar. It takes hardly any room and only takes 5-6 days until it’s ready to eat. You don’t even need soil – just a jar, a small piece of cloth, some water, and the seeds.
Yes, I keep saying I want to do some spouts!!
Laura
Having a garden is so fun!
Paige
http://thehappyflammily.com
Wish I could have a garden! Living in an apartment right now, but someday. PS Marigold is spelled wrong
Haha, well that just shows it’s my first time buying them for sure!
Laura
I’ll tell you one thing I’ve learned from gardening. When you plant zucchinis, and they look ready size wise, don’t tell yourself you’ll give them another day or two……because they will double/triple in size overnight!!! And then you’ll be left with 6 zucchinis the size of a newborn baby and will have no idea what to do with them!
Haha!! Good to know!
Laura
They also taste bad when they get too big so they become useless! Always pick zucchini before they reach their Max size for better taste.
And for the ones that hide and get too big, grate them up and make zucchini bread/cookies/muffins!
haha! That’s great tip!
Laura
http://www.laurelandfern.com
Thank you for sharing this! I want to start planting some things in my garden next year as well, so I will definitely keep this in mind!
https://www.makeandmess.com/
I love your garden. Nice job! My favorite part is when you said you have to take bugs in stride. , lol. I grow my vegetables in pots so I haven’t really had to deal with that yet. In Florida, it’s the bunnies we have to worry about, believe it or not. They look cute but they will eat your garden to shreds if not careful 😉
~Laurali Star
https://www.girlynaturelovers.com/
So glad to see more gardening posts, I love gardening!
Neat post! Do you eat the Marigolds or are those just decorative?
They add some color but they are great pest deterrents! They are super bitter when animals try and eat them as well
Laura
Suggestion for bugs: open up the top of your wire cage to give birds access, so they can eat some of those lil pests, especially now that your crops are established and you don’t have to worry about them pulling out your seedlings for nesting material.
Good idea!
Laura
I love seeing your garden! I’m struggling with mine in Phoenix right now, so it’s great to see yours doing well! That video of Lola eating the pickle is so sweet!
Laura
http://www.laurelandfern.com
She’s the cutest!
Laura 🙂
Many years ago, I read a book that changed my view on gardening, and life in general. You might enjoy it.
12 Lessons on Life I Learned from My Garden: Spiritual Guidance from the Vegetable Patch Hardcover – March 15, 1997
by Vivian Elisabeth Glyck (Author)
Thanks for the tip!
Laura
I have just kicked off gardening as my part-time hobby. I was finding some tips online and I stumble upon your blog and I must say It will really help me. Thanks Laura!
wow – these are extremely helpful tips! you’ve learned a ton already! i always say i want to start a garden, but it seems so overwhelming to me. this post is really helpful.
This is so helpful! I’m thinking about doing this in my garden as we’ve just moved in and there’s some dead bushes I hope to remove. Hopefully my soil is ok!