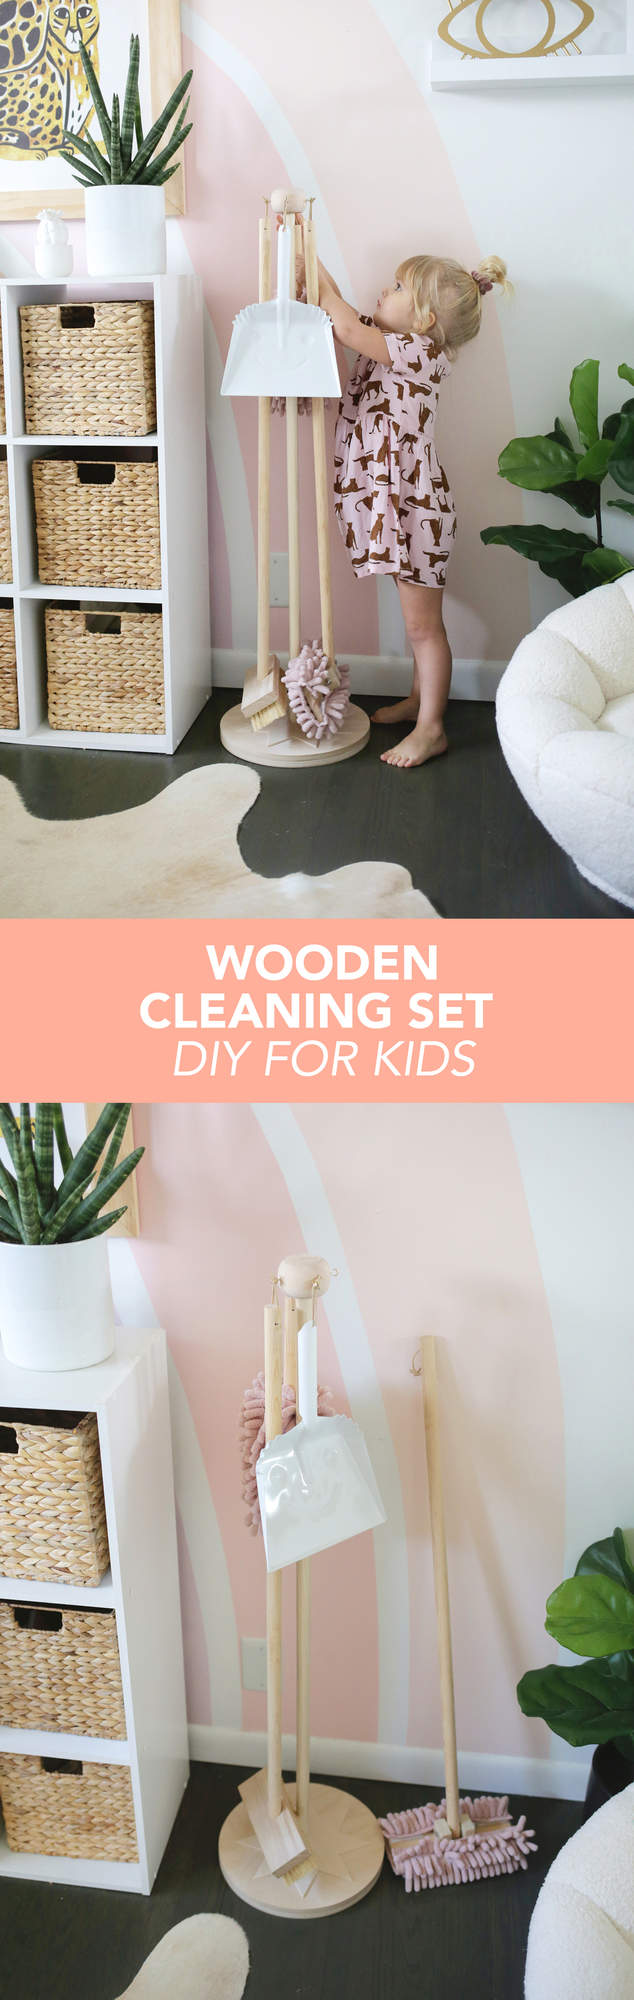
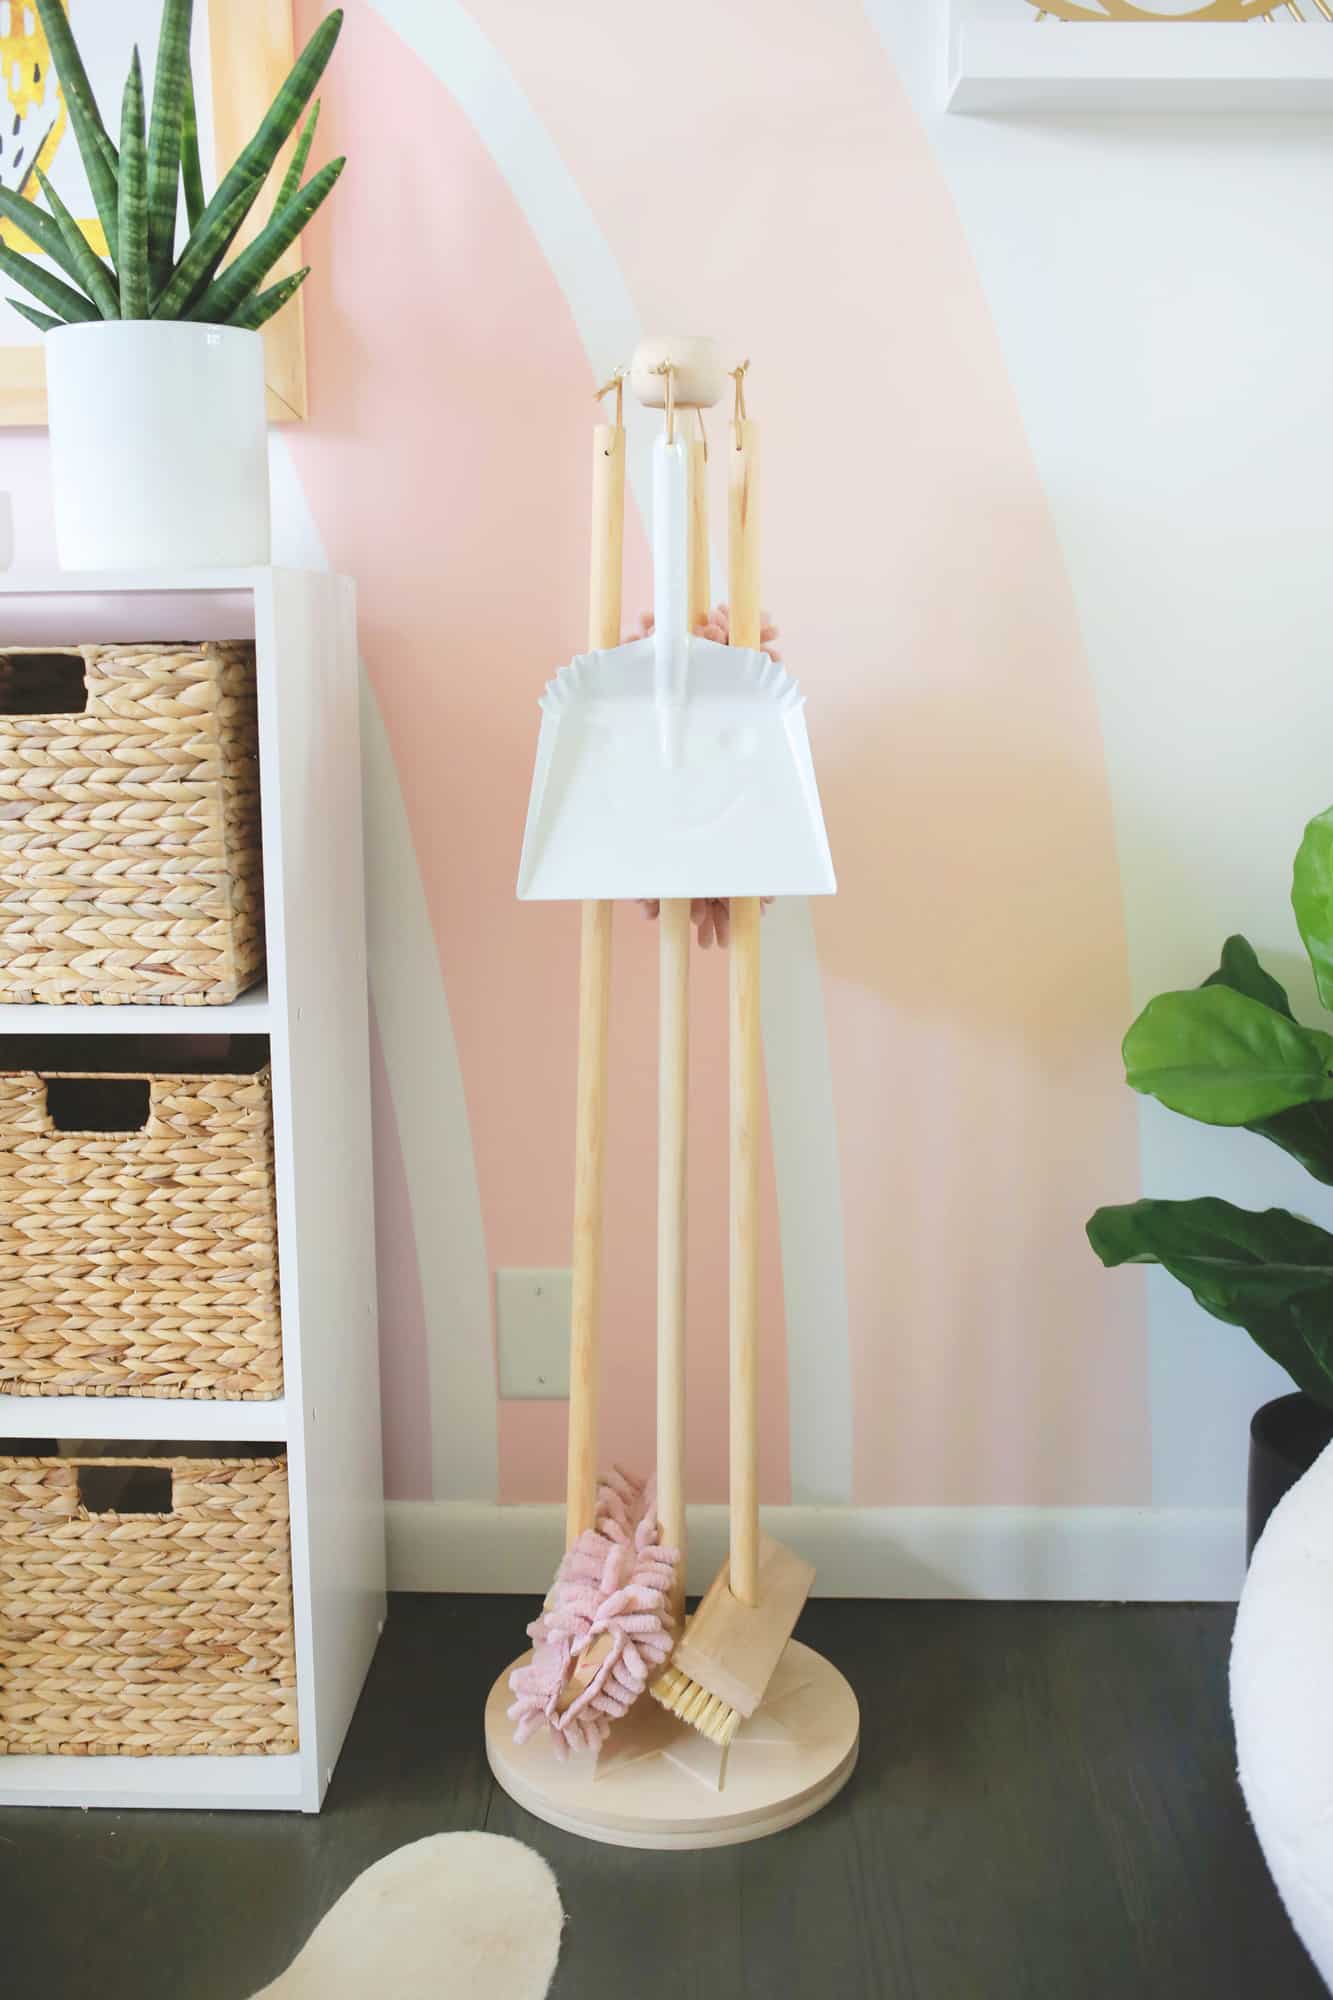
 I love, love, love wooden toys for kids that are mini versions of grownup things (like this wooden princess phone I made for Lola last year). My toddler is super into wanting to help clean and wipe things down when we clean up around the house (she loves to vacuum with our mini dustbuster!) and when she saw a kid’s size cleaning set at a friend’s house she swept their kitchen for about 15 minutes. Kids just want to do what they see adults doing, so I thought it would be a really fun challenge to make her own cleaning set that was super duper cute but also totally functional. I even made removable dusting pads so I can throw them in the wash as needed, so she can really dust and clean just like the grownups do! I also love the little cleaning kits that have a stand, so I made a little coat rack-type stand to hang them all from as well and it fits perfectly in her playroom. Let’s get started!
For stand:
-1″ wooden handle wood leaf rake handle cut to 41″ long (keep the tapered end as one of your ends)
-12″ wooden circles (I stacked two circles that were 1/2″ thick)
-12″ wooden circle for star cutout (optional)
–wooden knob foot with screw base
-4 small cup hooks
For broom:
-1″ wooden handle wood leaf rake handle cut to 37″ long (keep the tapered end as one of your ends)
–brush head
For hand duster:
-1″ wooden pole (or leftover remnant from the wood leaf rake) cut to 13″ long
-6.5″ section of 2 1/2″ wide pool noodle (if the center hole is different from 1″ wide then get a wooden pole that matches the size for the handle)
-shaggy material for duster (I used this rug)
For floor duster:
-1″ wooden handle wood leaf rake handle cut to 35″ long (keep the tapered end as one of your ends)
-3/4″ x 1 1/5″ board cut to 1 1/2″ long pieces (you need two of these)
-1/2″ x 3 1/2″ board cut to 9″ long
-shaggy material for duster ( I used this rug)
–velcro for attaching cloth to hard surfaces
–3″ course thread hex bolt
–1/4″ nut for bolt
–washers for bolt (you need 2)
–locking washer for bolt
General supplies:
-drill and drill bits
–1″ hole saw for drill
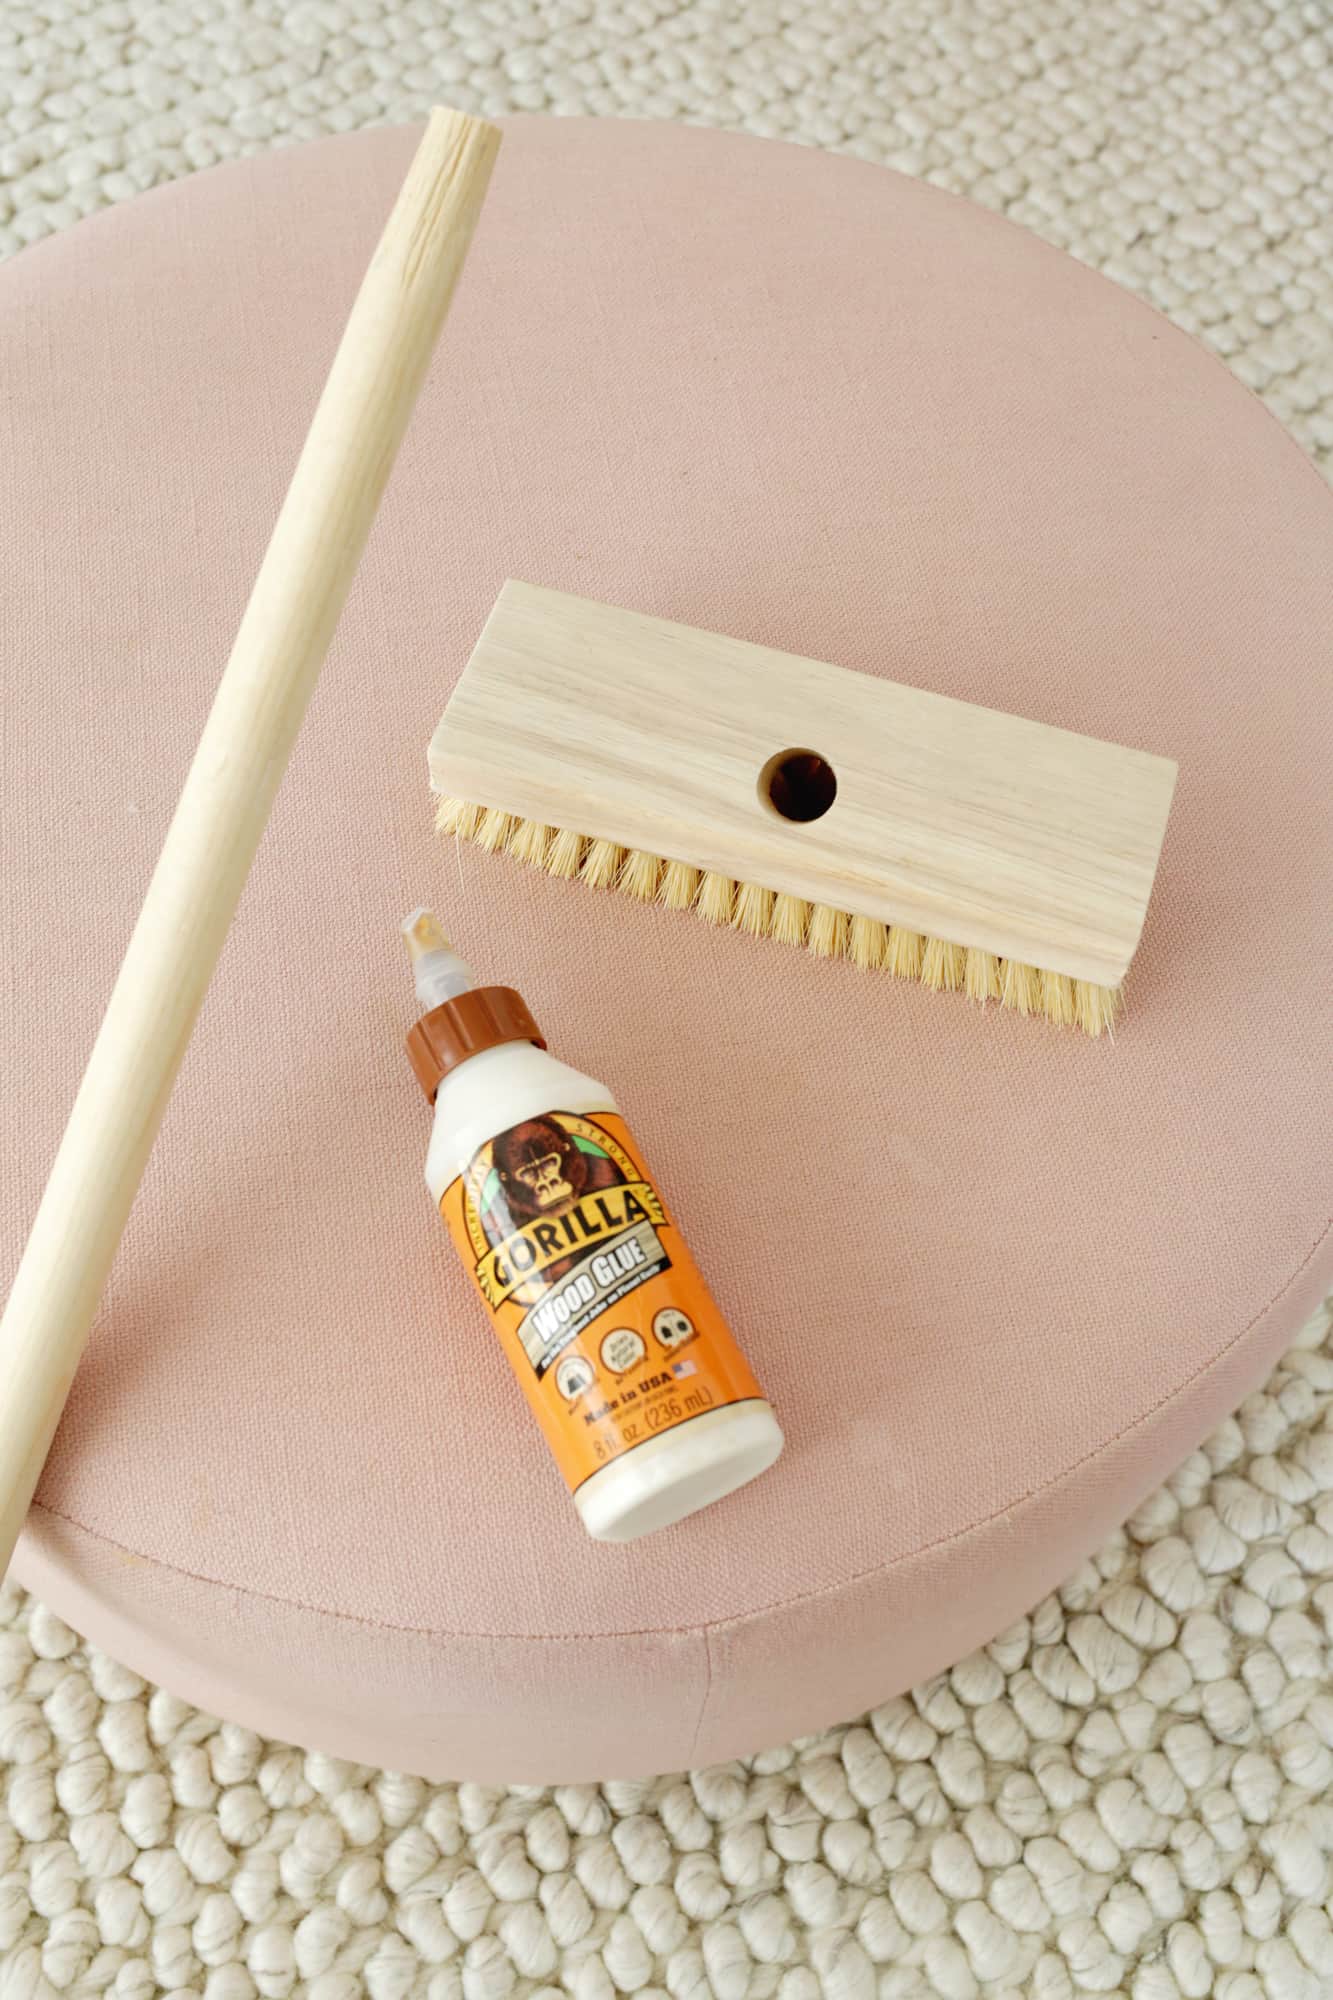
-wood glue
-sandpaper
-hand saw, jigsaw or mitersaw
-hot glue gun
-thin leather cord for hanging items
–snaps and snap setter
–template for star shape (optional)
NOTE: I cut the lengths of these brooms and stand, which were made for an almost 3-year-old, so you can make them a little taller if you want for an older child.
OK! Let’s start with an easy one—the broom! Basically, you are going to take your cut tapered handle, put some wood glue on the tapered end, and insert it into the brush head. Once it’s dry, you can drill a small hole through the top of the handle (about 1 1/2″ from the top) and thread a leather cord through for hanging.
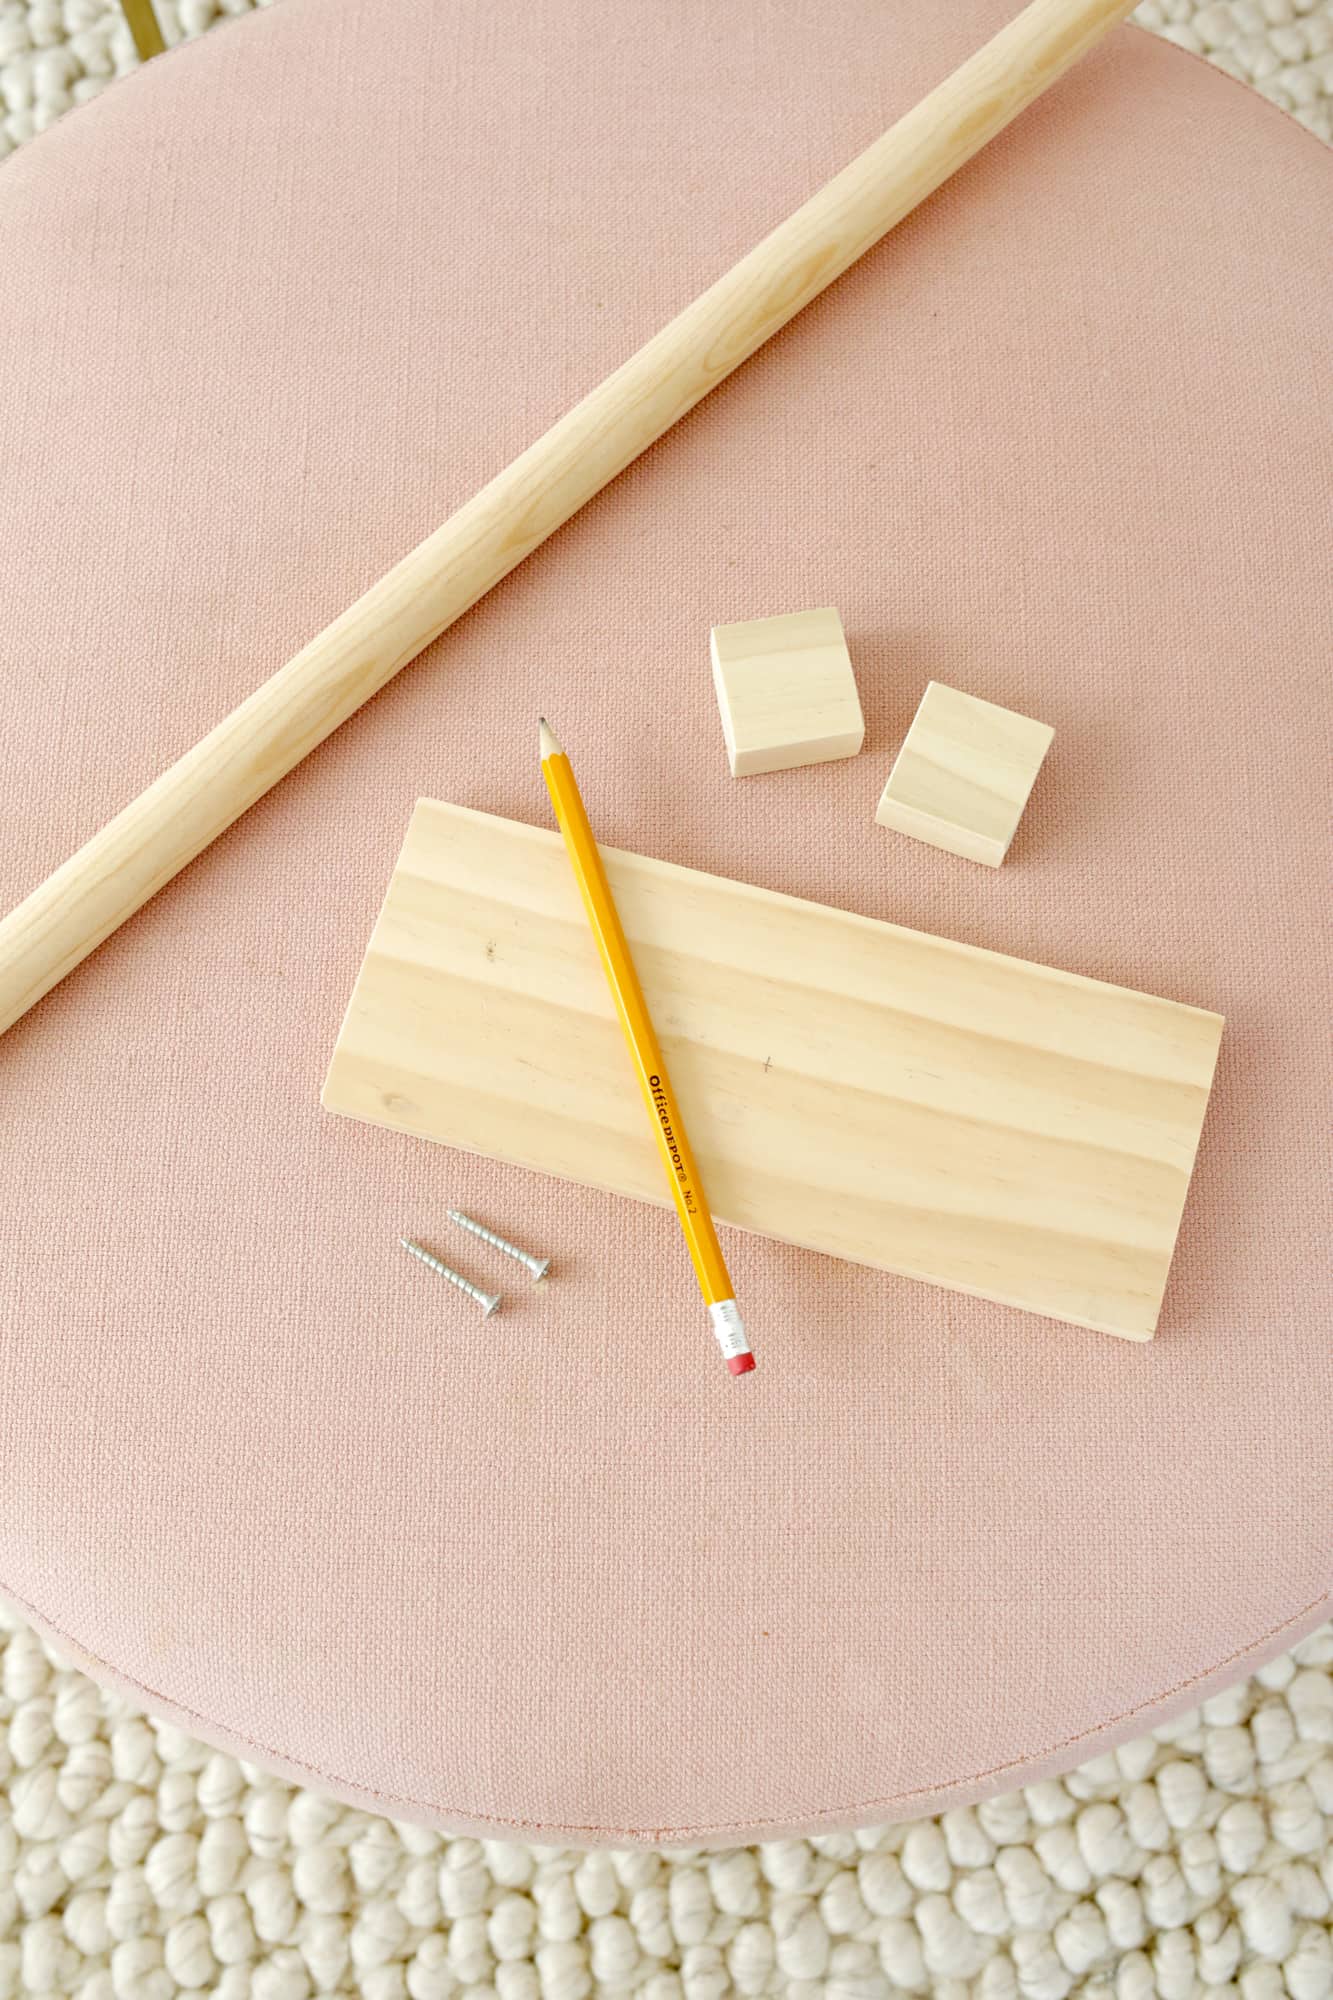
Next up is the floor duster! Take your rectangle of wood and mark where the center is with a pencil.
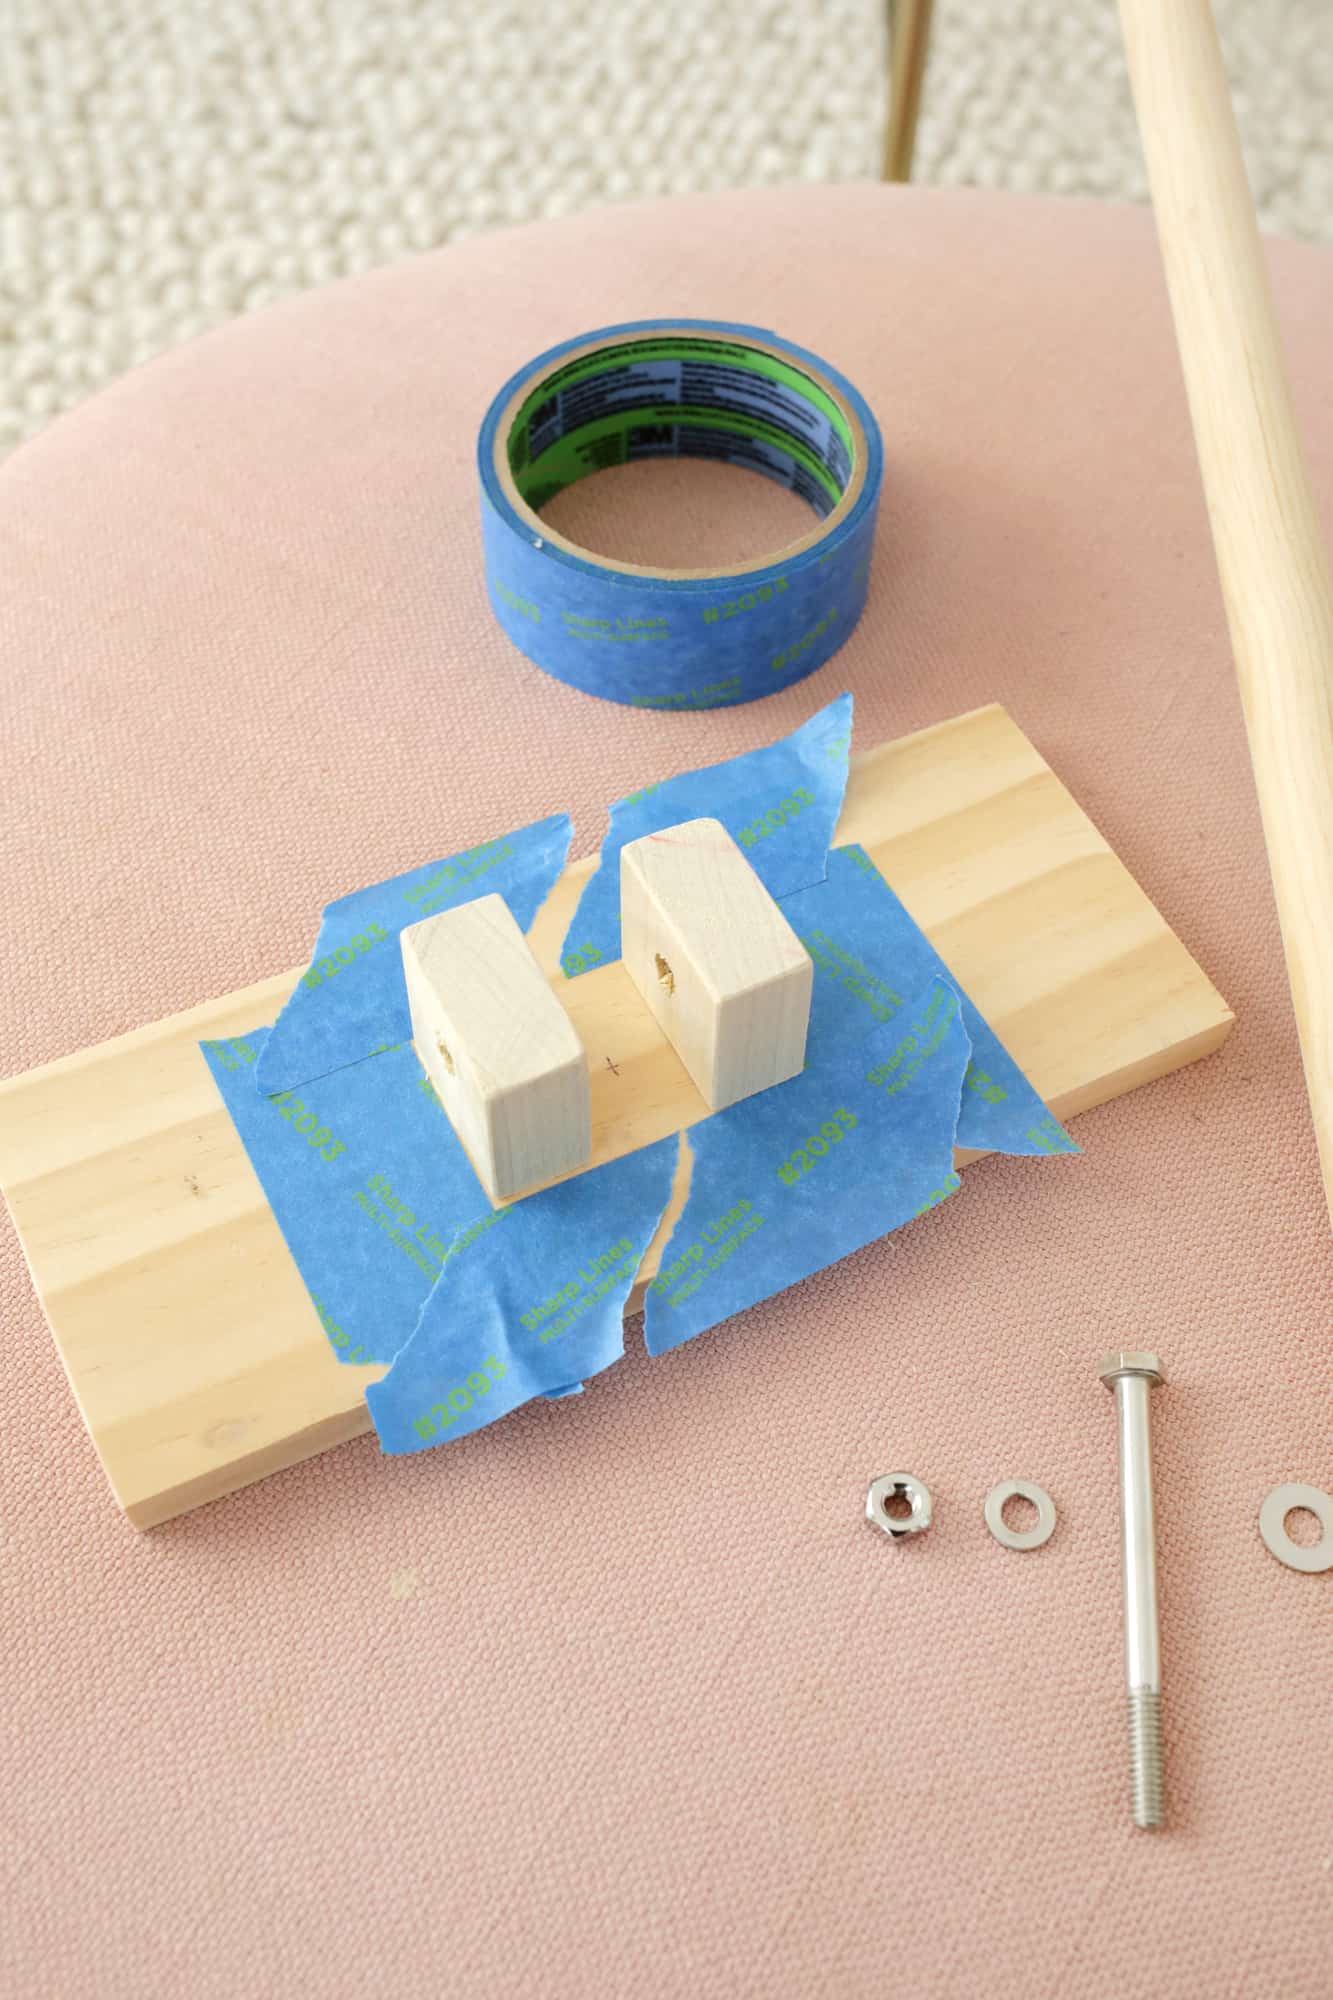
Your rake handle will be centered between your two small blocks and will pivot between them so space the blocks so there is enough room for your 1″ handle and two washers to fit between the blocks. Mark the desired location of the two blocks with tape or light pencil lines and then drill a hole with a 5/16″ drill bit centered through each block almost 1″ up from the bottom of the block. This will give your bolt a hole to go through to keep your rake handle in place. Glue your blocks in place on the wood surface. The wood glue felt super strong on mine but you can also run a screw up into each block from the bottom if you think your duster will encounter some rough play.
Place the tapered end of your rake handle between the two blocks and mark where the hole needs to be to keep the rake handle hovering over the wood so it can pivot freely (should be about 3/4″ from the bottom of the tapered pole). Drill your hole with your 5/16th drill bit and start with smaller drill bits to work your way up to that size so you don’t split the wood.

This is basically the order of the hardware when putting your setup together once your glue is set—you’ll put your bolt through the block on the left, then through a washer, through the rake, through another washer, through the next block, through a locking washer, and then through the nut on the end.
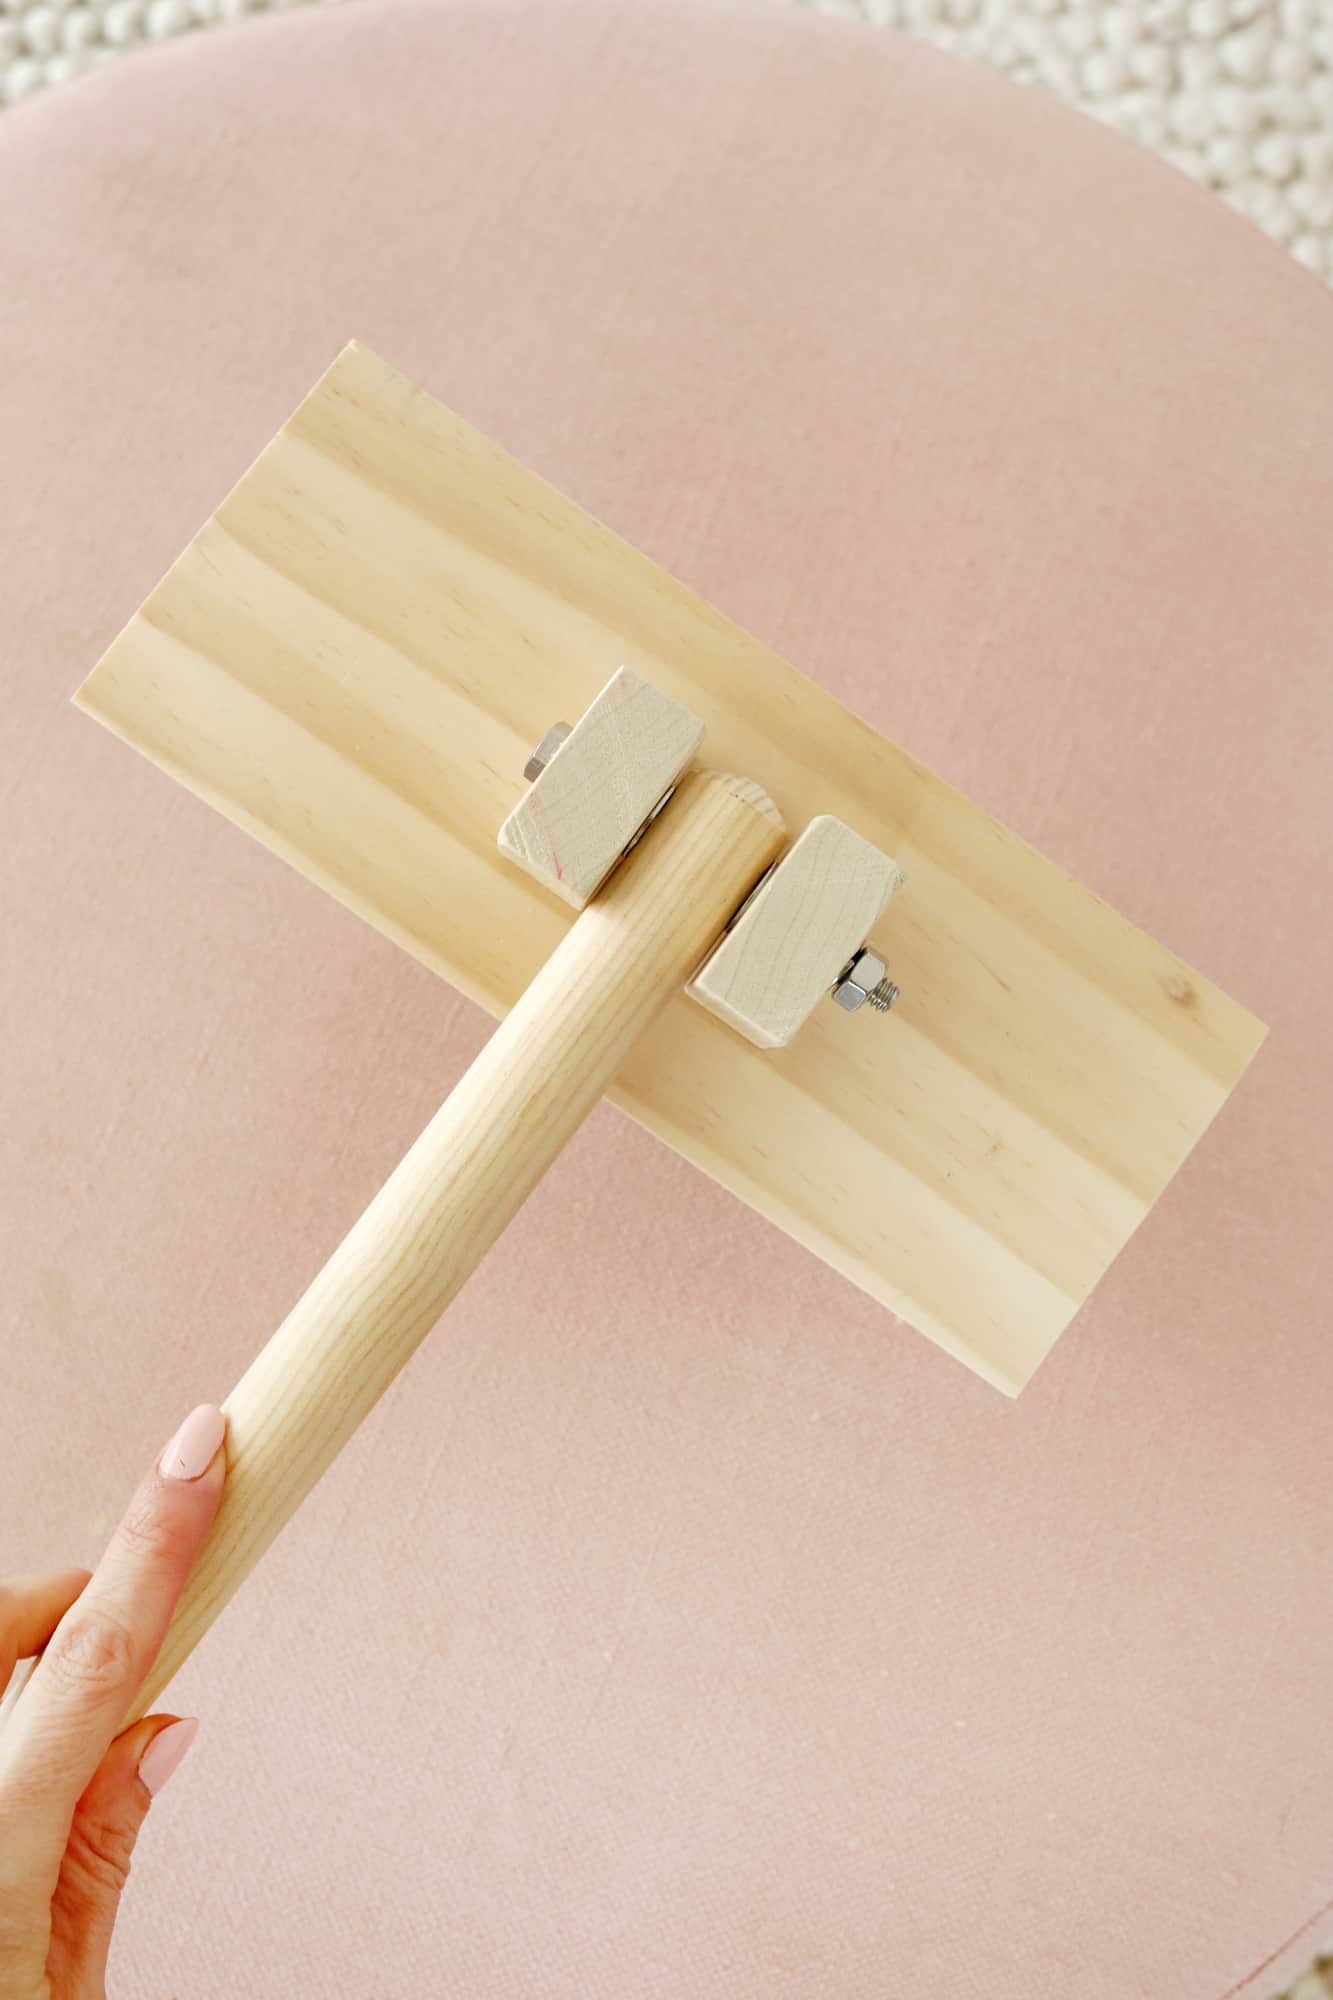
See? All together! Drill a small hole through the top of the handle (about 1 1/2″ from the top) and thread a leather cord through for hanging. We’ll make the fluffy cover for this in a few steps from now.

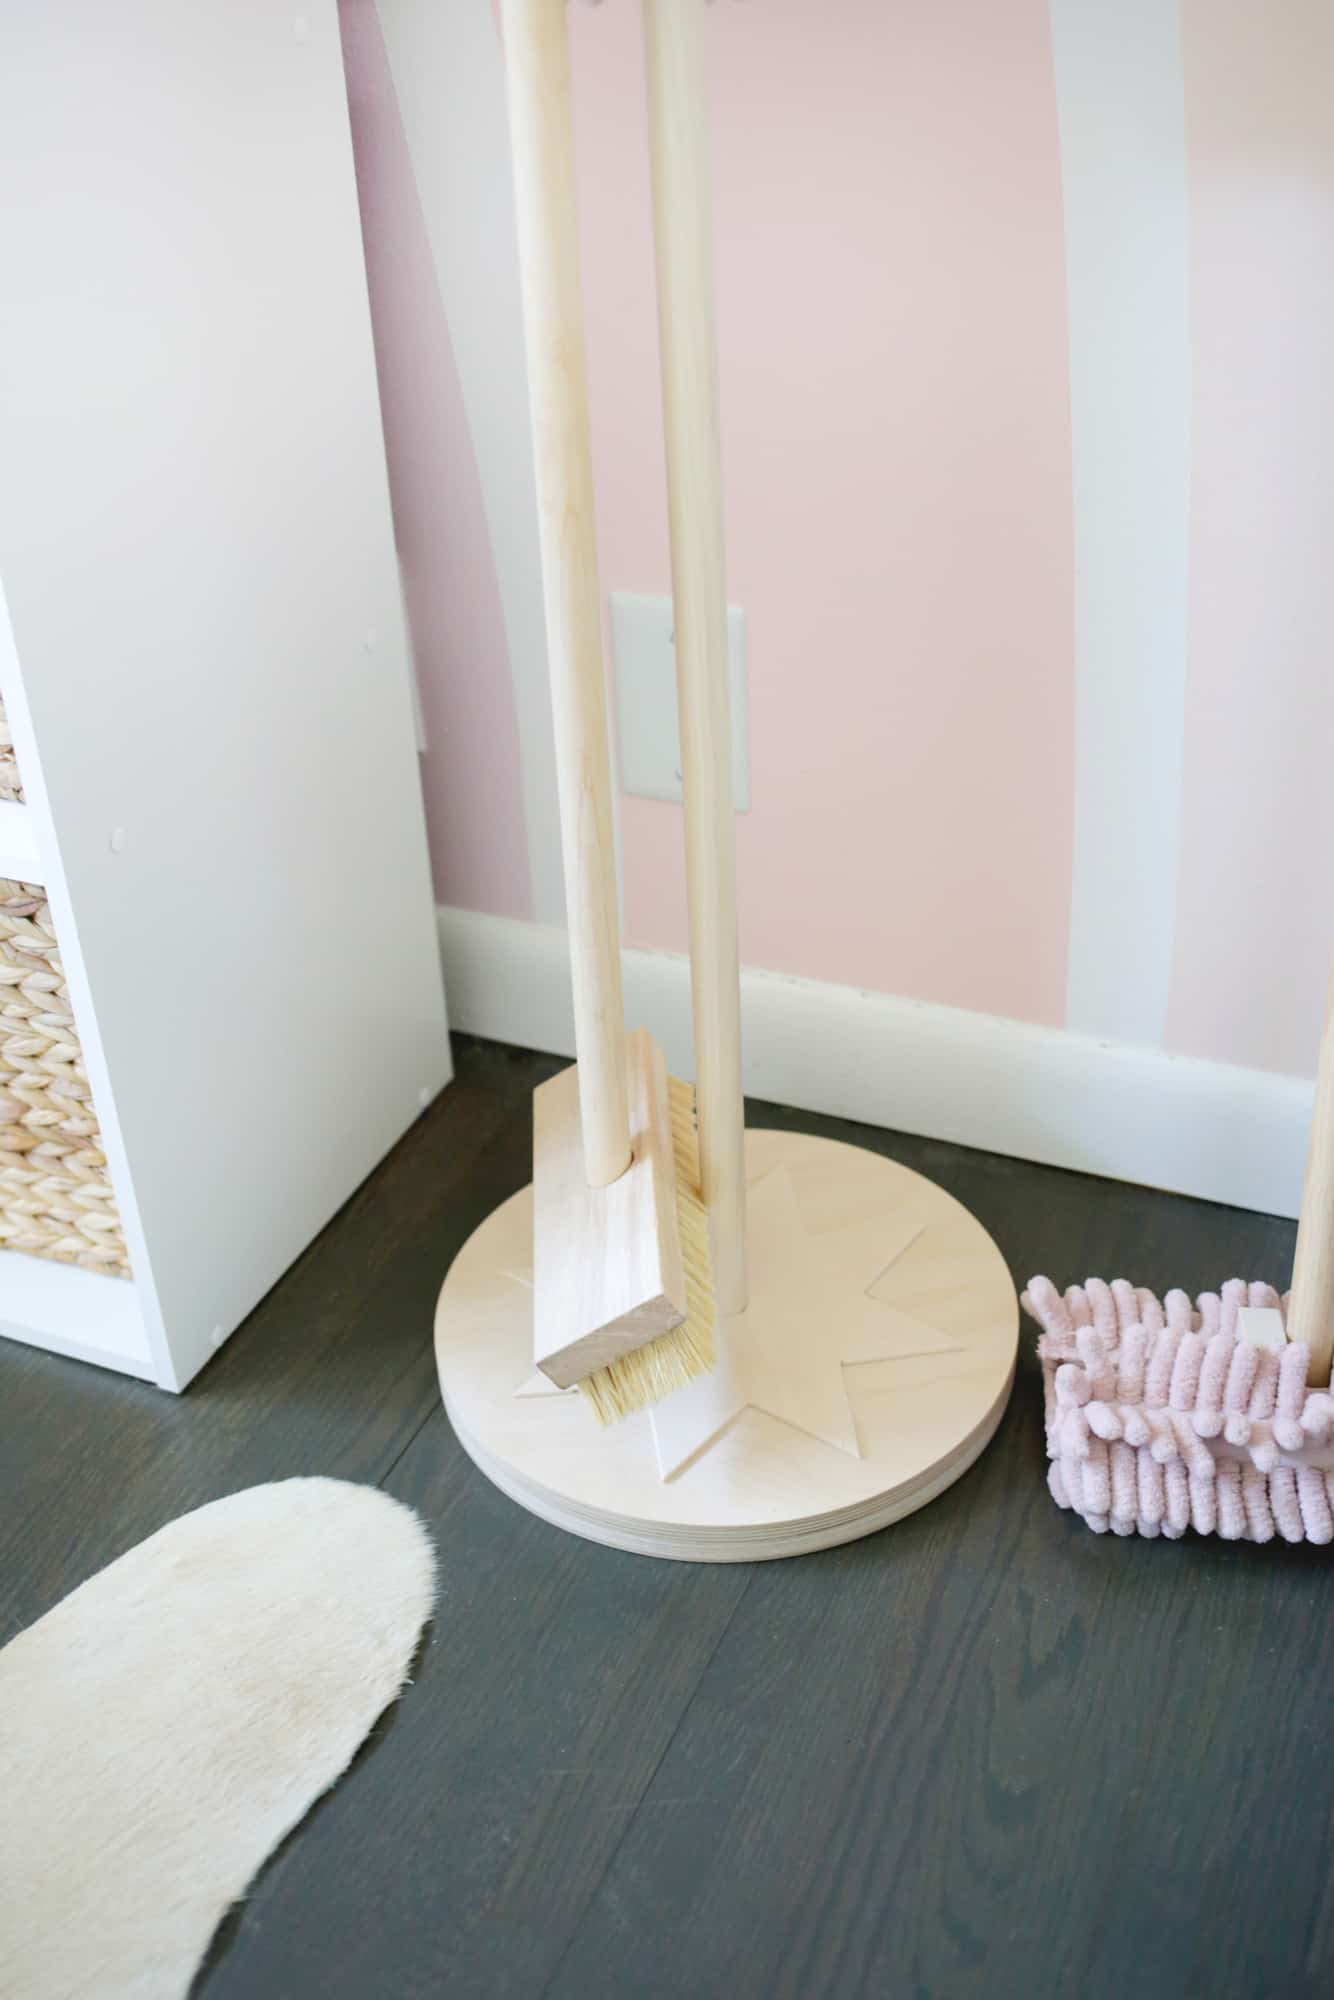
For the stand, you are going to glue your two circles together with wood glue and then use a 1″ hole saw to drill a hole in the center of the circle.
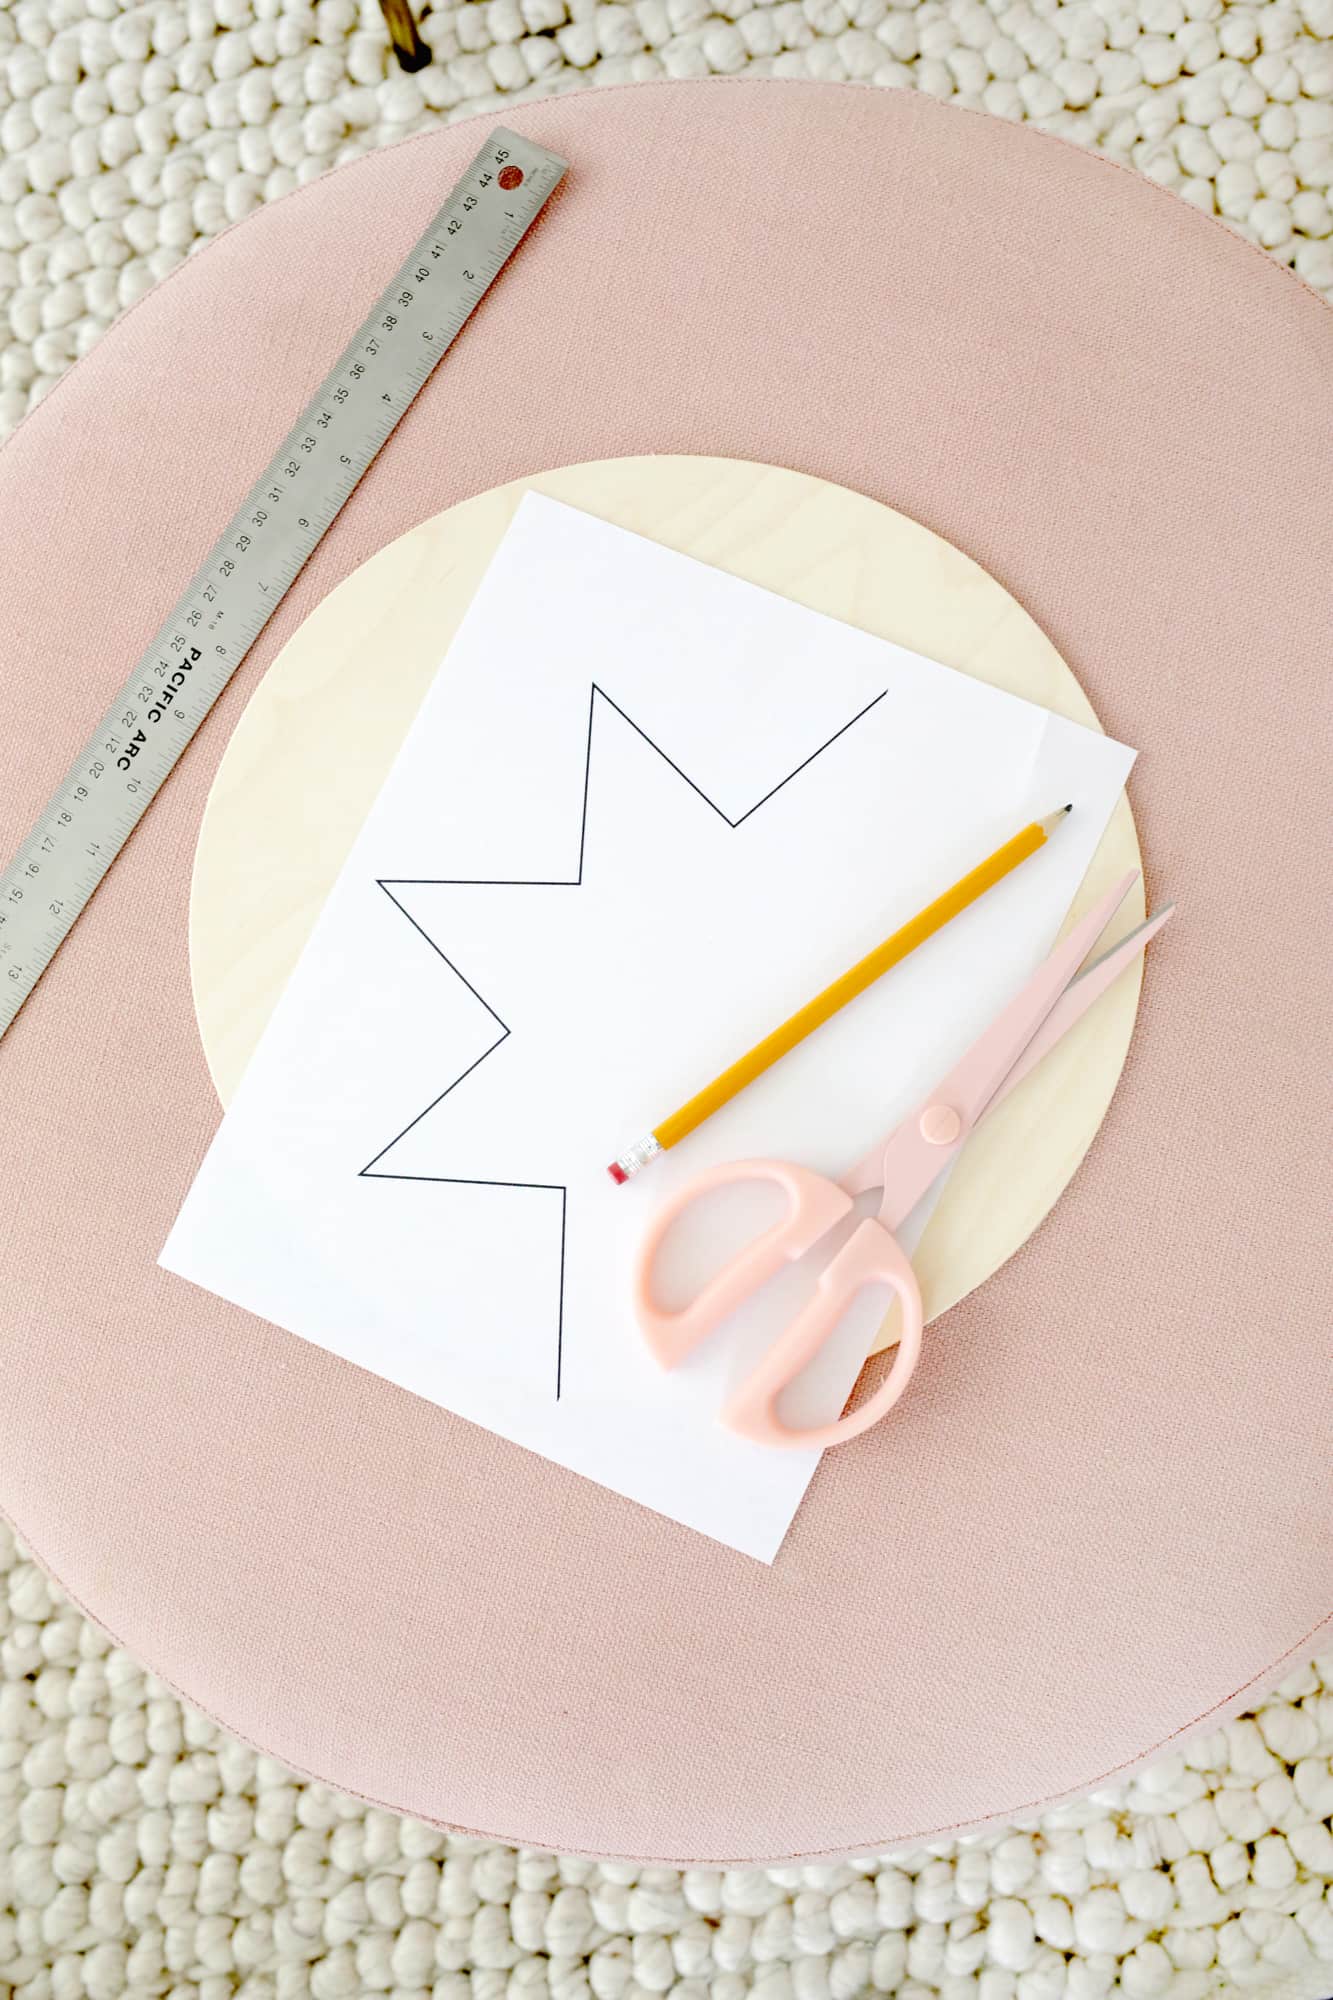
 If you want to add a decorative element you can print out the star shape and trace it onto another piece of wood (only half fits on a page so just flip it to trace the other half) and cut it out with a jigsaw. Drill a hole in the middle with the hole saw and glue it to your base. Optional but it makes it extra cute.
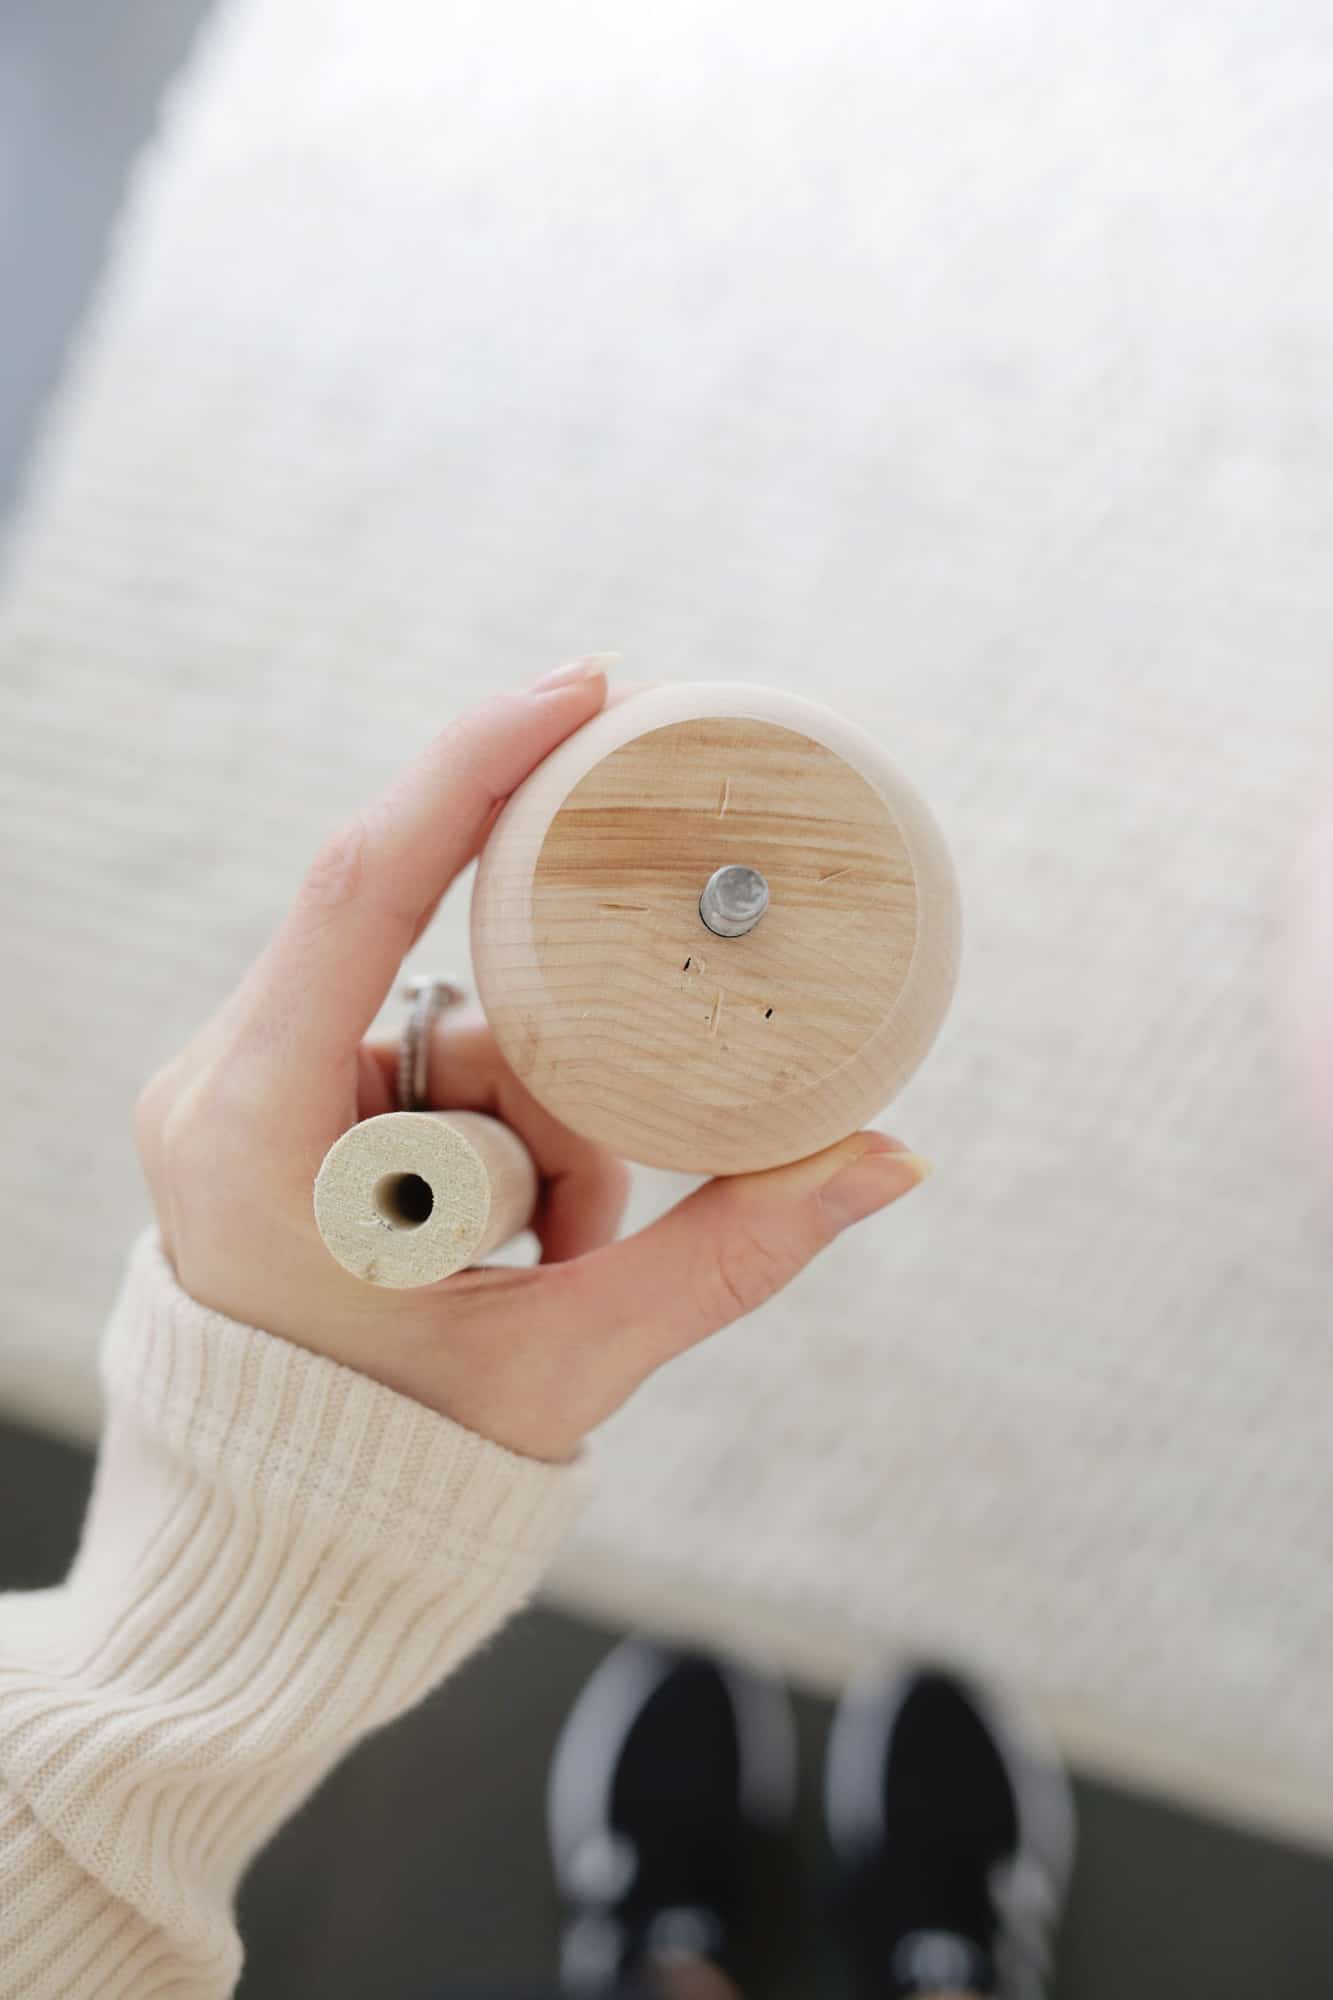
Check how big the screw is on your knob foot and drill a hole into the top of your cut rake handle (the flat side not the tapered side) so that you can screw in the knob onto the top of the handle (I think I ended up using a 5/16″ bit, but I did two smaller bits first to work up to that size so I wouldn’t split the wood).
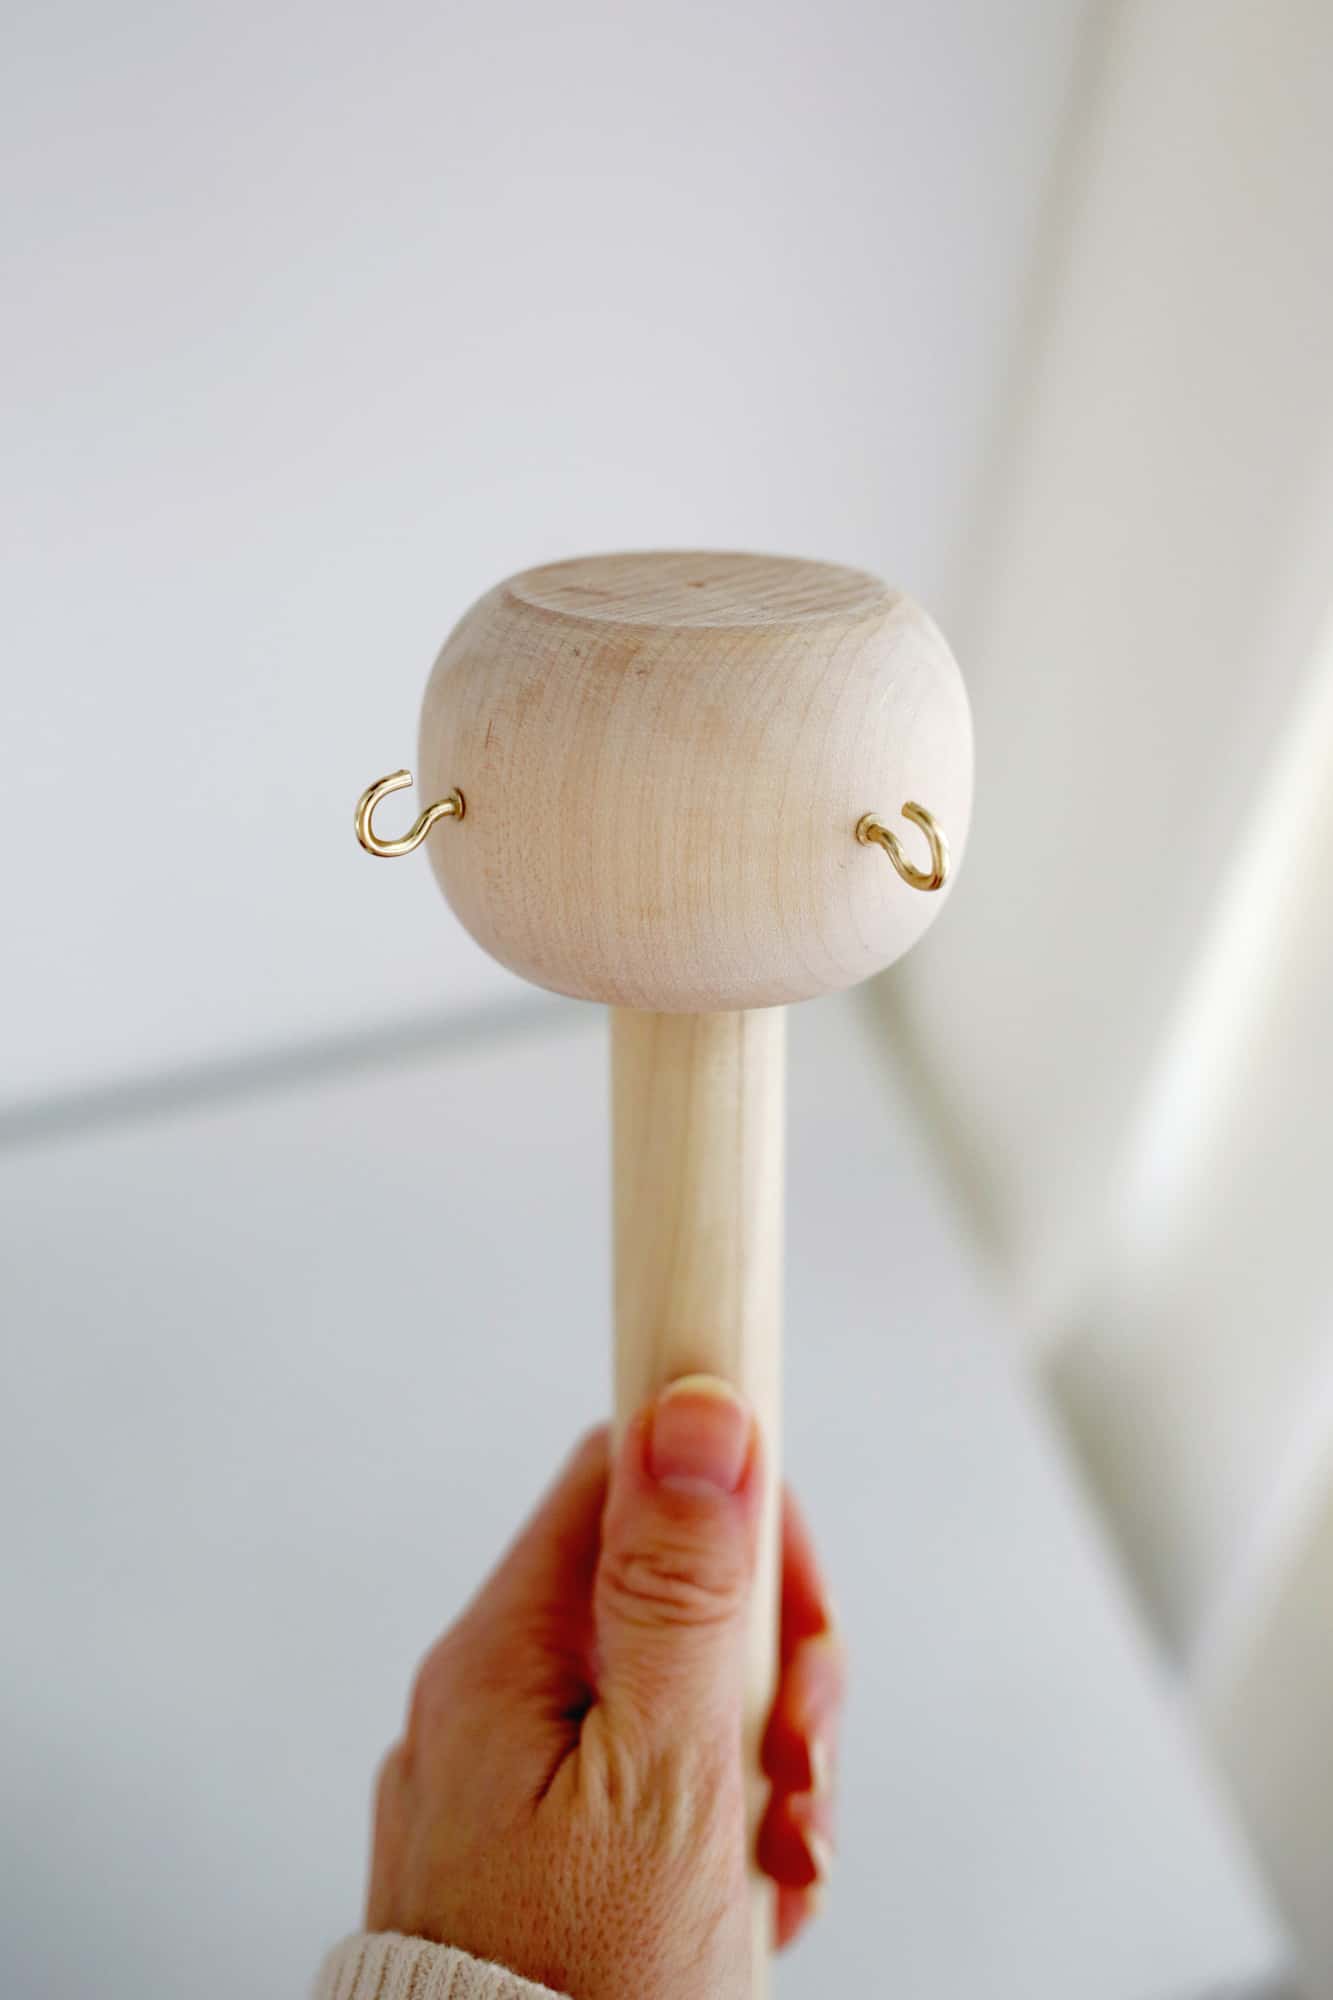
Once your knob is attached, use a small drill bit to pre-drill 4 evenly spaced holes on the knob and screw in your cup hooks.
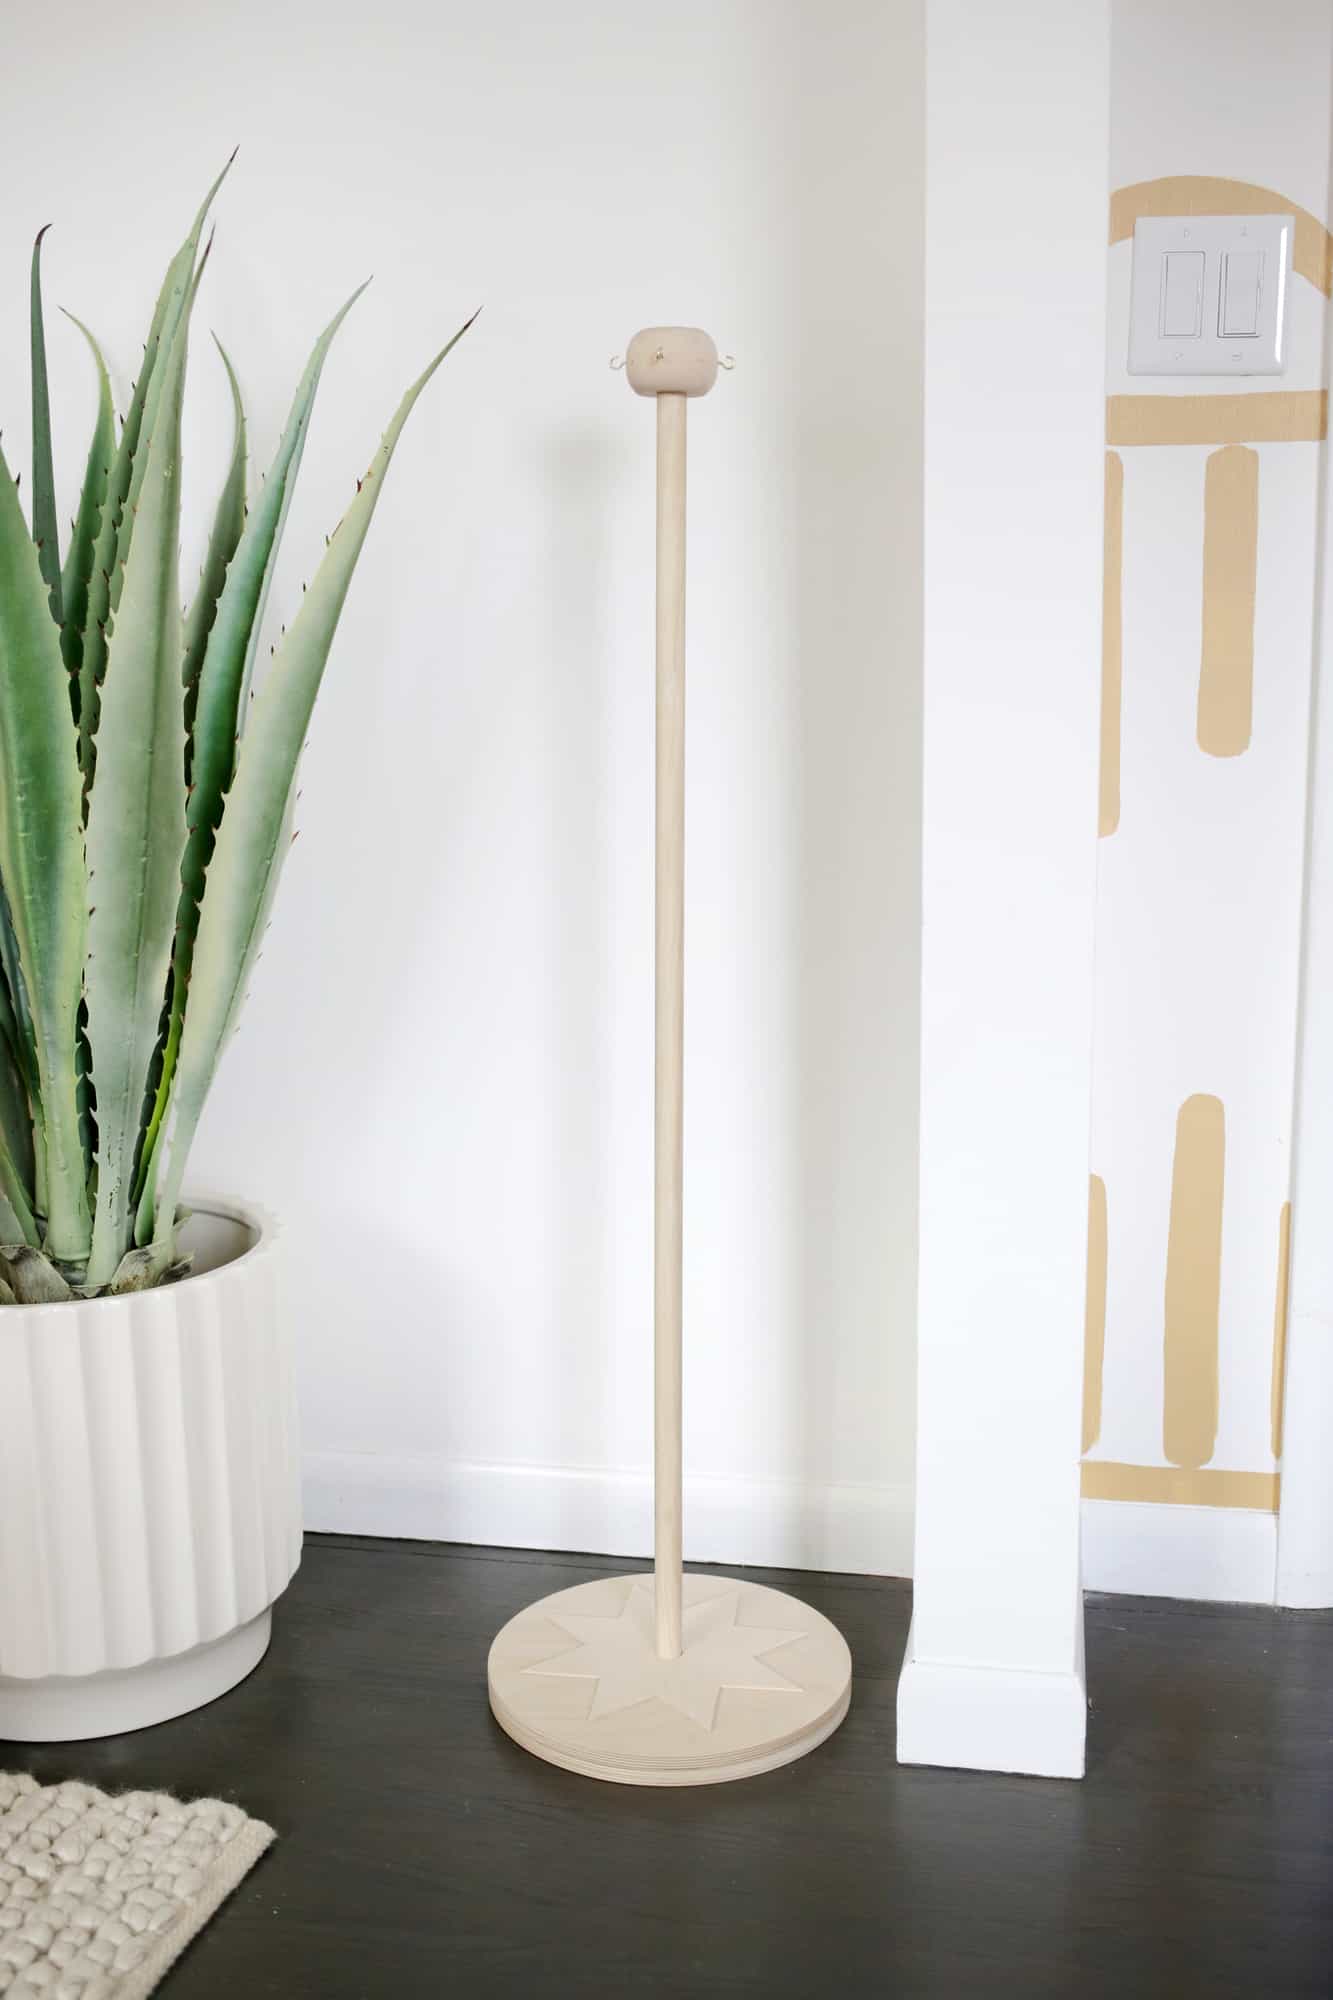
Double check the tapered end of your stick to see if it will stick out too far past the bottom of your stand once pounded in (and just cut a little off if you need to). Add some wood glue to the tapered end of your stick and use a rubber mallet or a hammer with a folded washcloth on top of the knob and gently hit the pole into the bottom of the stand. It’s helpful to use a level or square to make sure your pole isn’t crooked before letting the glue set. Now your stand is ready for action!
 Now for the hand duster! Glue your wooden dowel into your pool noodle with some hot glue and let it set.
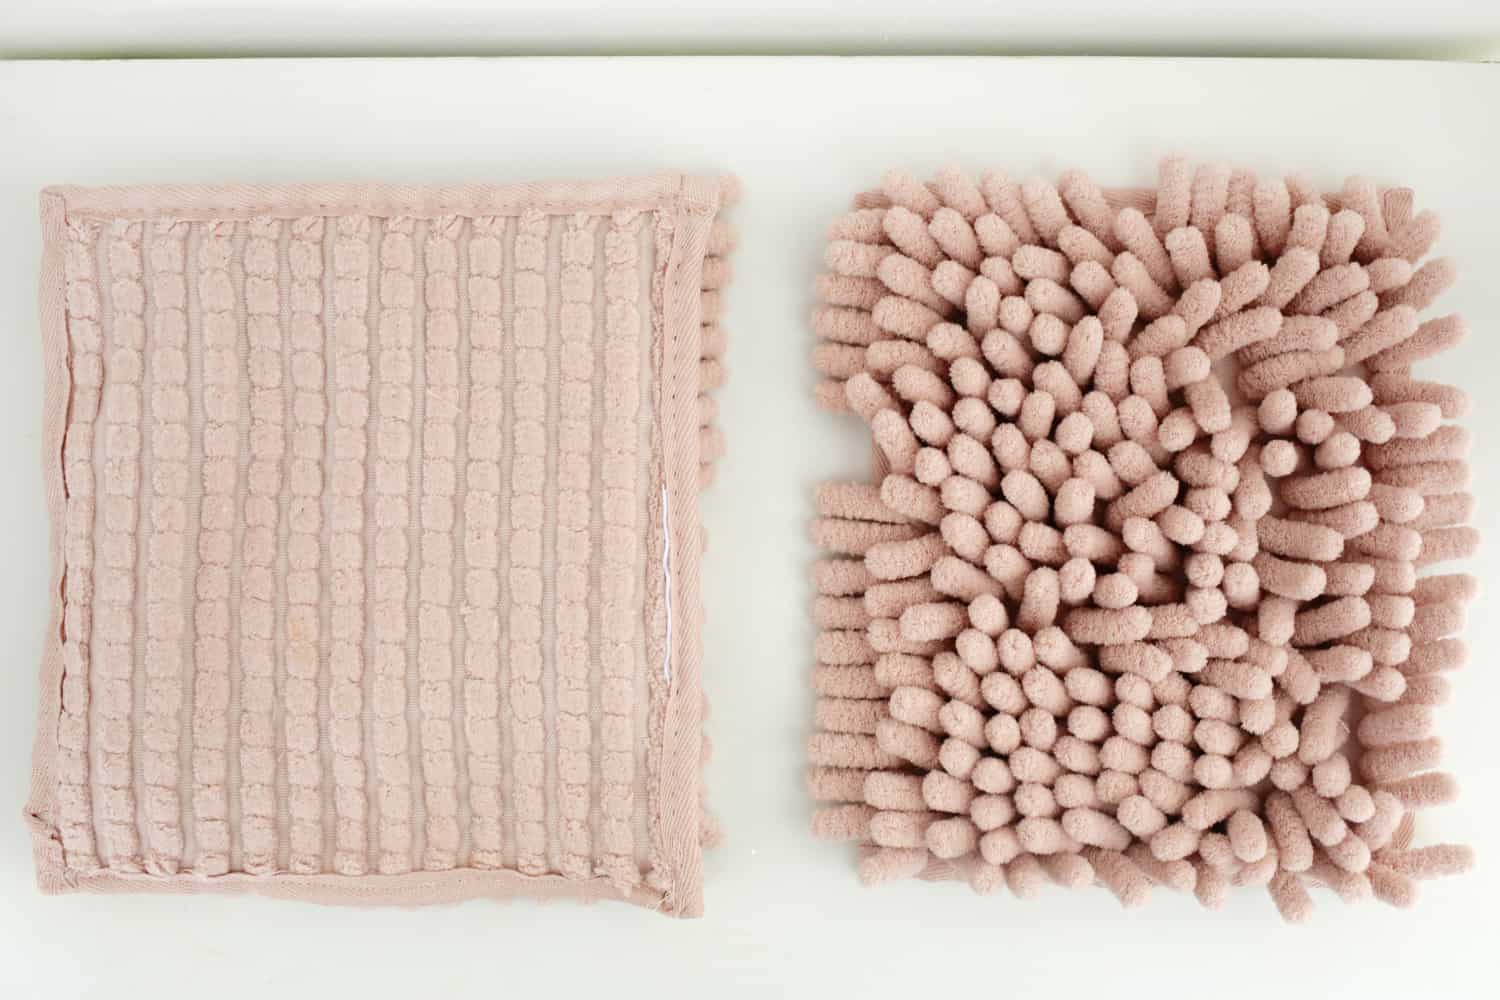
To make the cloth for our hand duster and floor duster, get two sections of fluffy or shaggy fabric and cut them to be 7.5″ x 9.5″ for your floor duster and 9.5″ x 9″ for the hand duster. I really liked the color and look of the bath mat I bought for mine, but I did have to do a binding all the way around the edges so it wouldn’t fall apart (I just took off and reused the binding from the mat). If you get one that’s woven differently or has that full rubber backing like some rugs and bath mats do, you may not need to do that step to keep it from unraveling.
For the hand duster, I folded over the fabric with the fluffy part inside (with the 9″ sides meeting up) and sewed up that side and along the top to make a pocket leaving the bottom open. Depending on how thick your fabric is this may be hard on a machine, so hand-sew if needed.
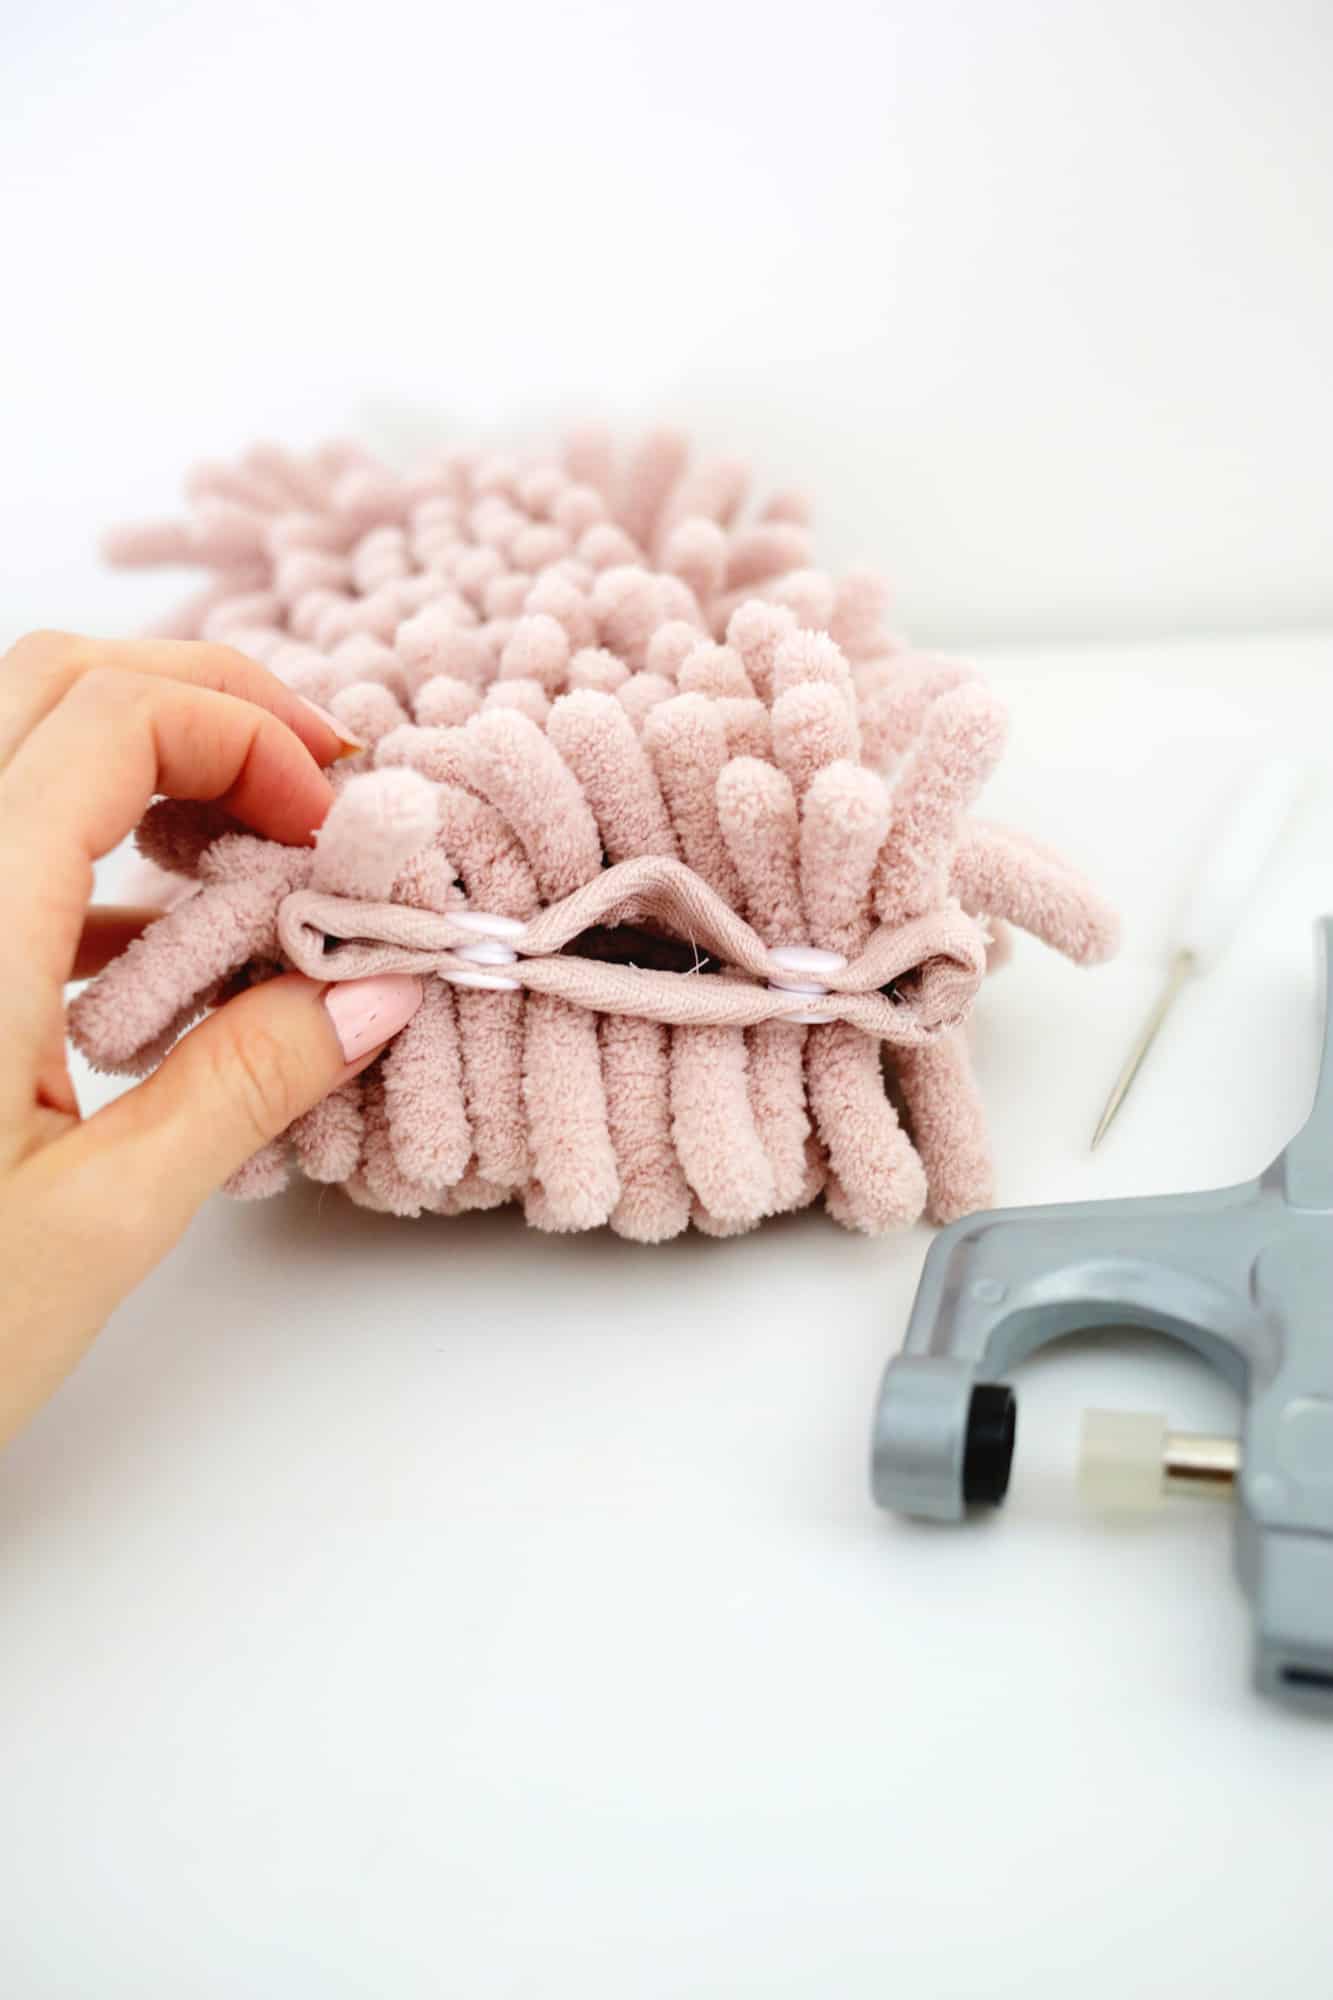
Then, I turned the fabric right side out and added two sets of snaps so I could pinch the opening closed around the handle once I added the noodle end in so it would stay in place when she’s using it. But I could unsnap them to remove it for washing. 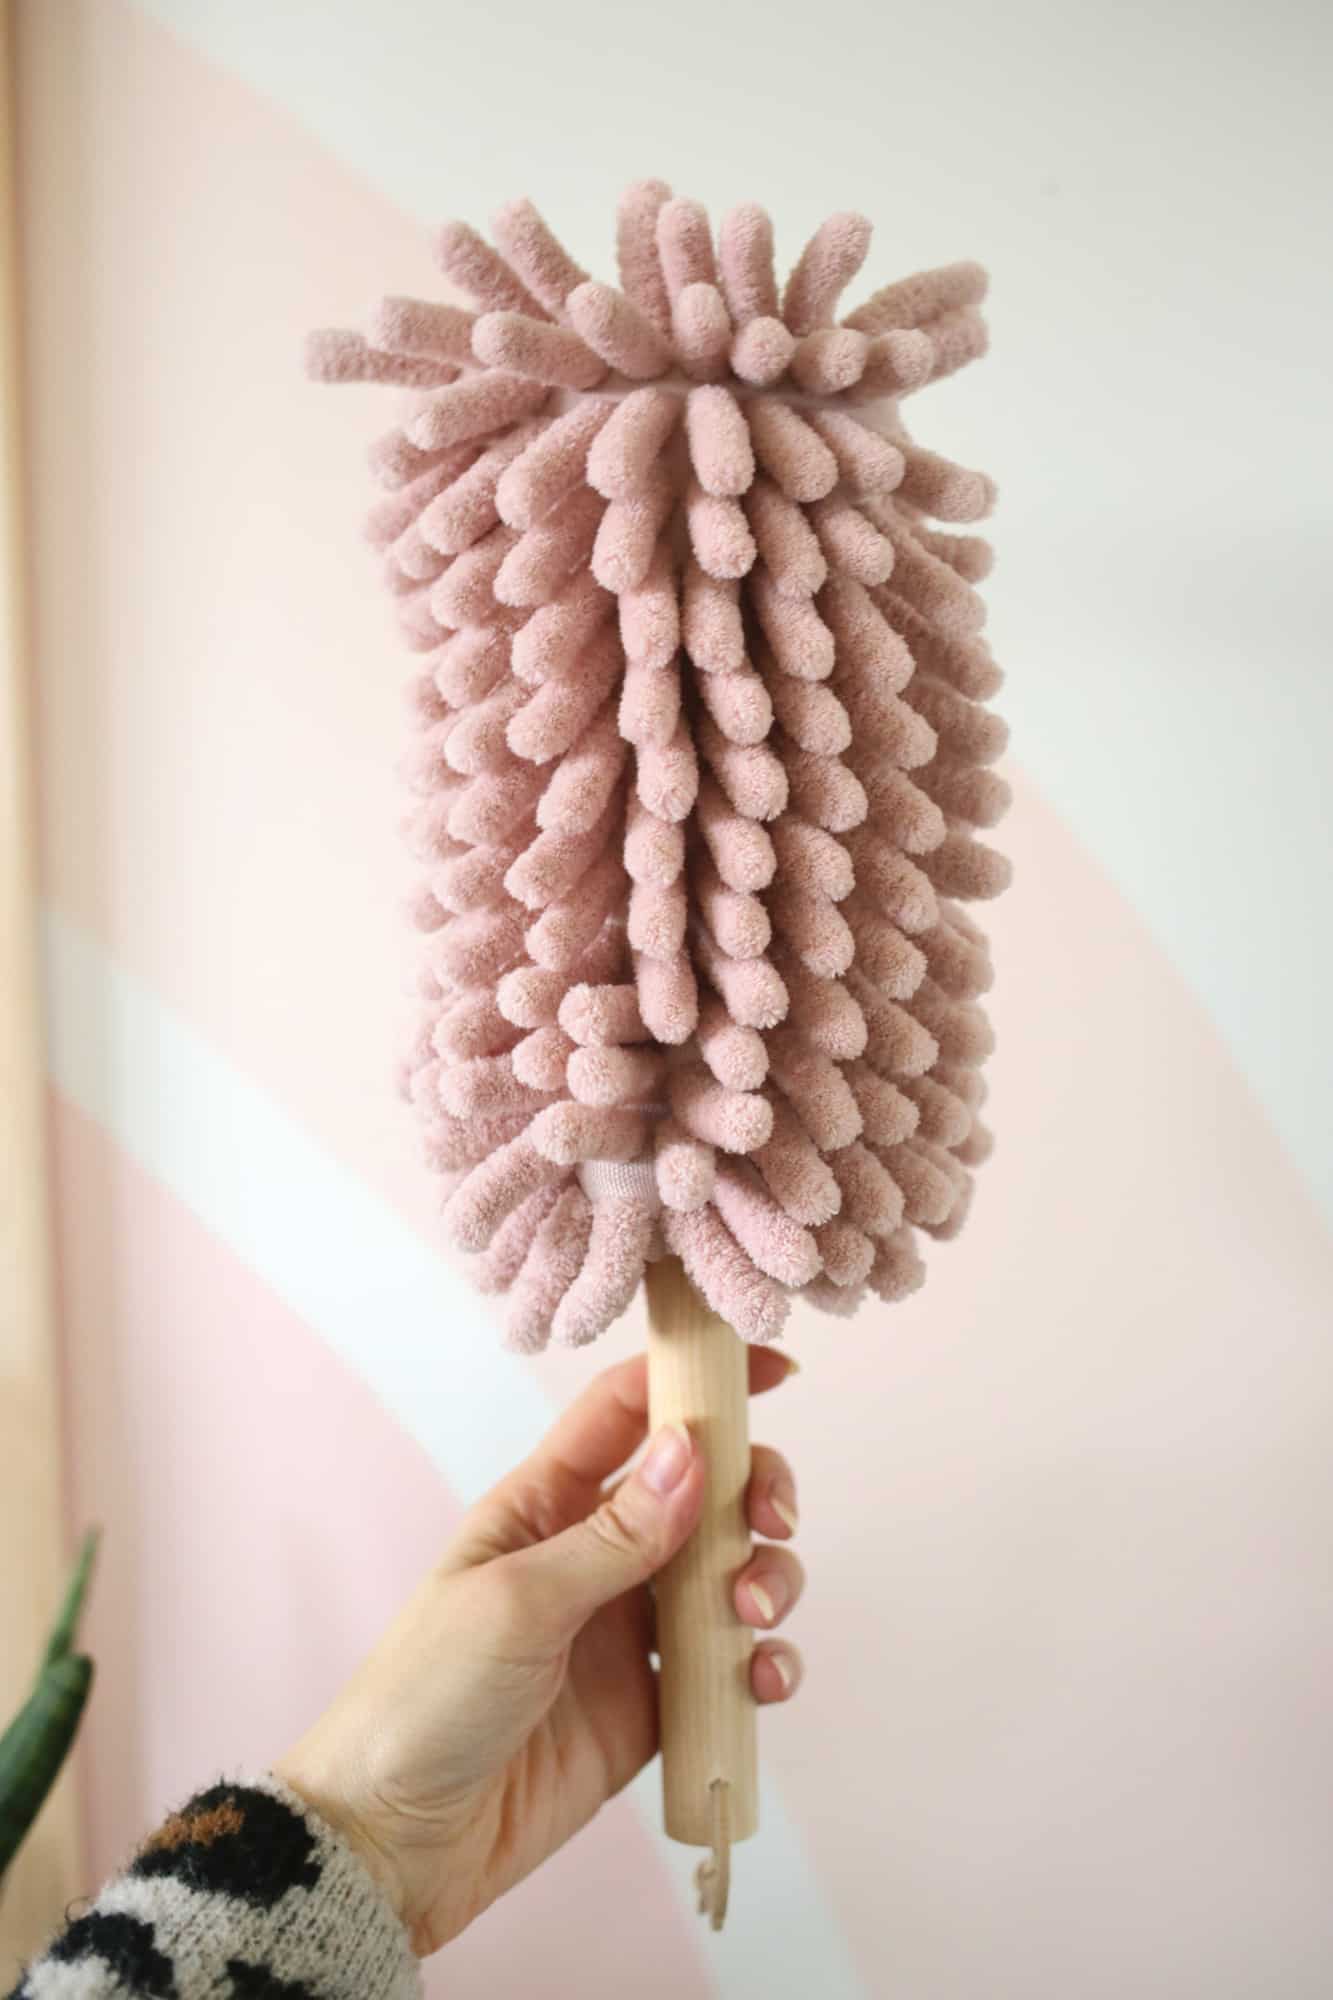
Add your cover over the noodle, snap your snaps, and drill a small hole through the top of the handle (about 1 1/2″ from the top) and thread a leather cord through for hanging. How cute is that!?
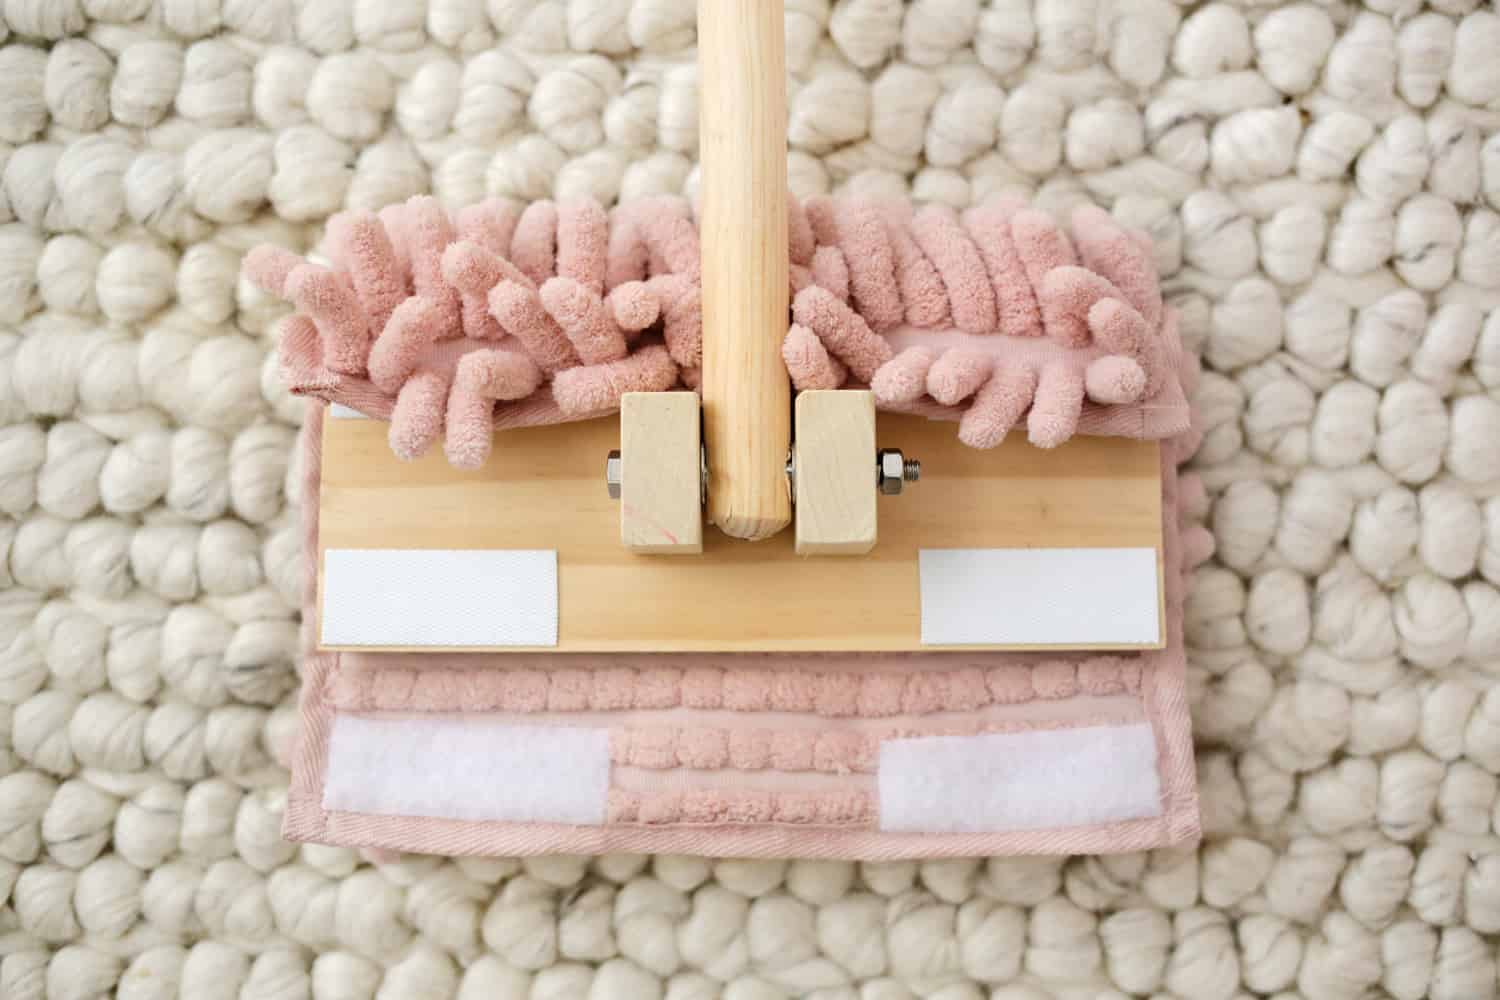
To complete your floor duster, sew four looped velcro strips (about 3″ long each) to the fabric side (two on each end) and stick four of the hooked sides onto the wood so it will stay in place for play but come off for washing as needed. Now your set is done and ready to hang!


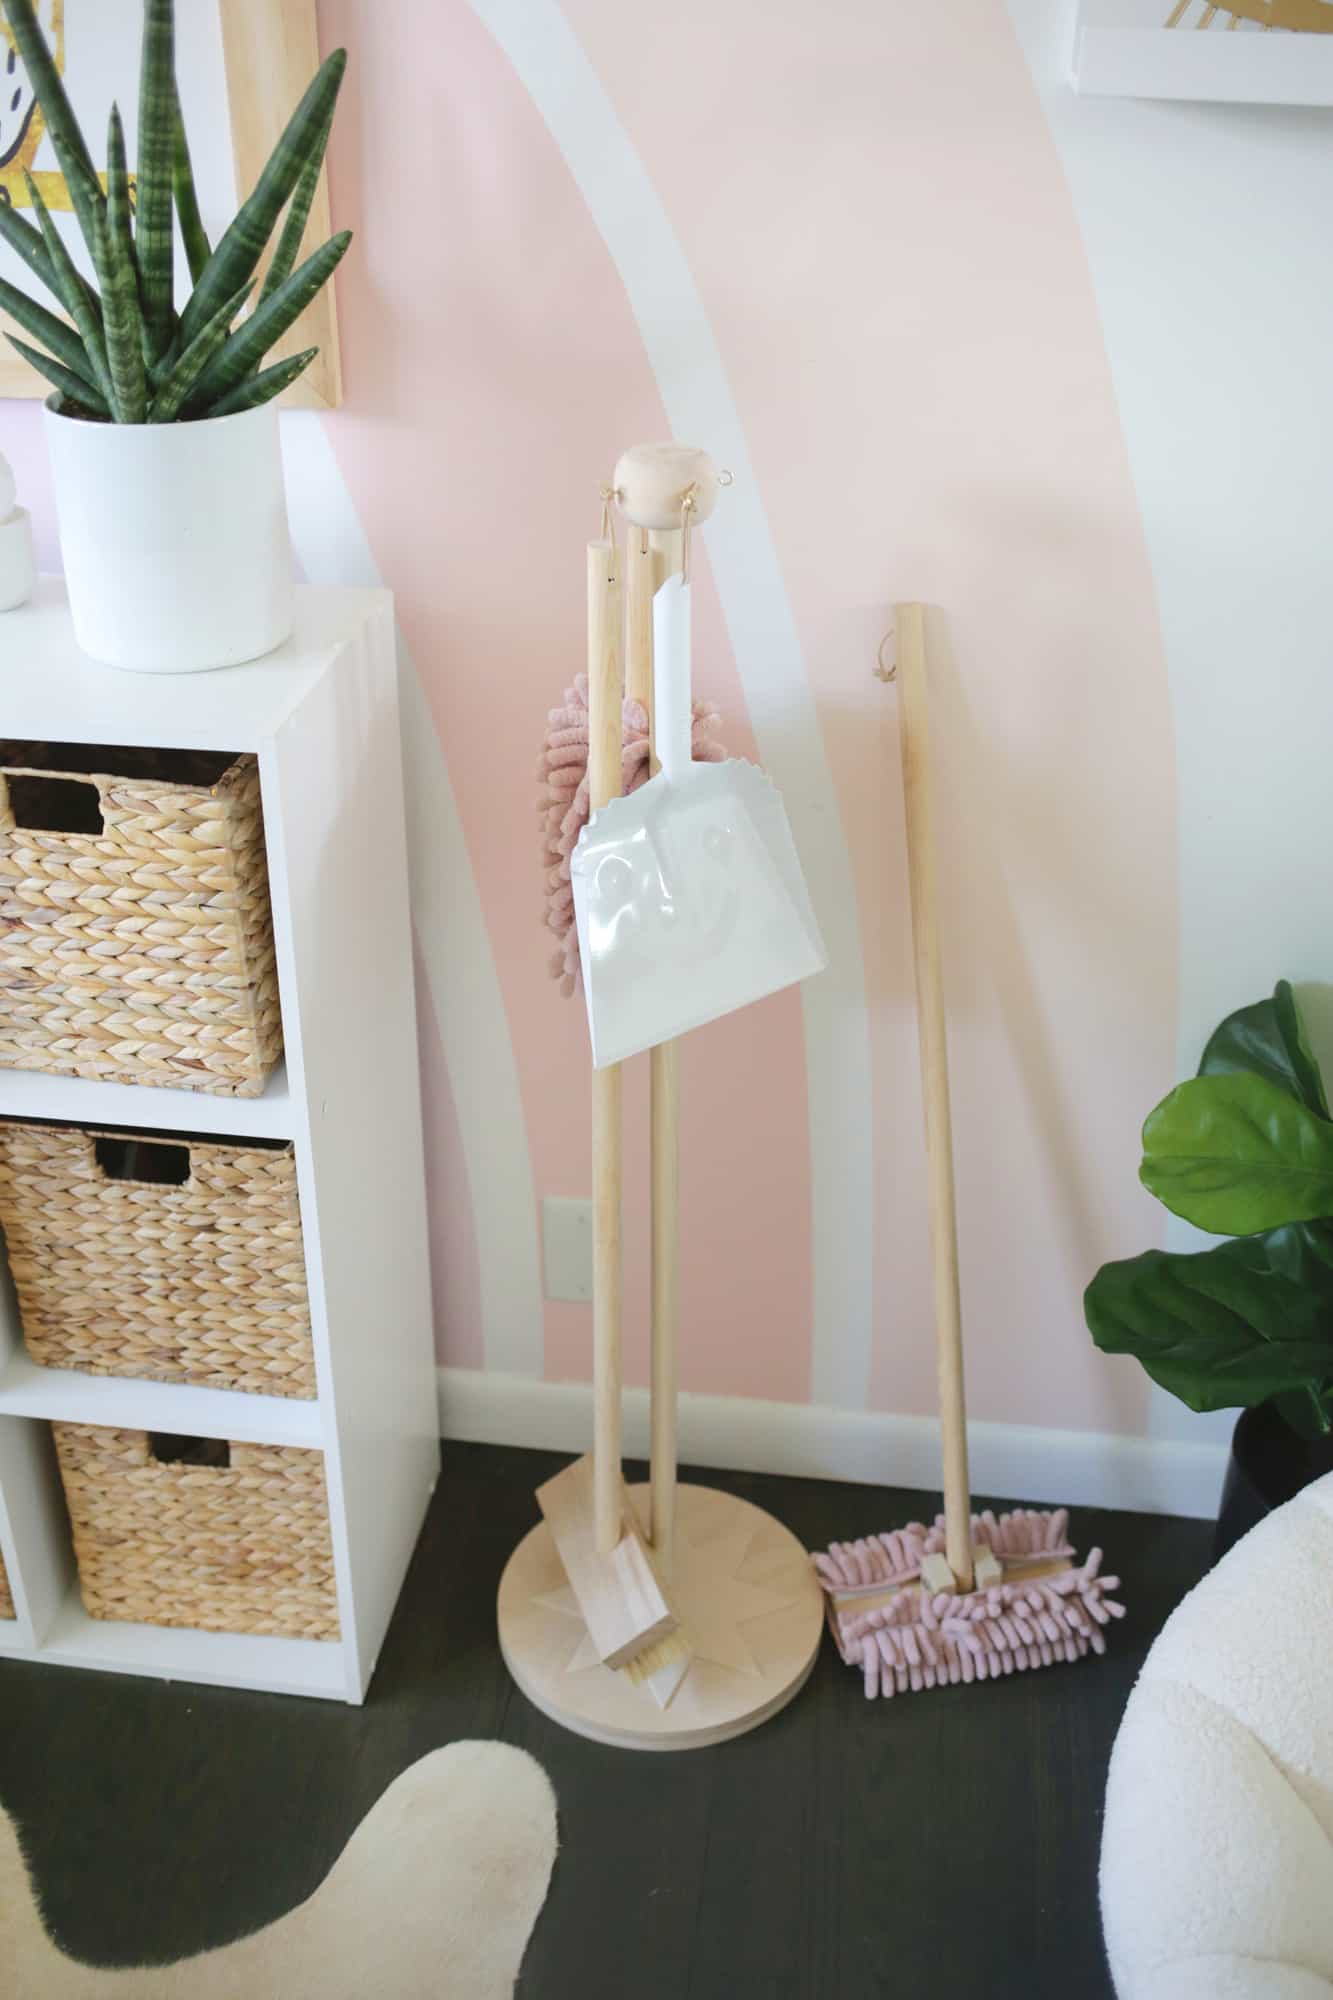

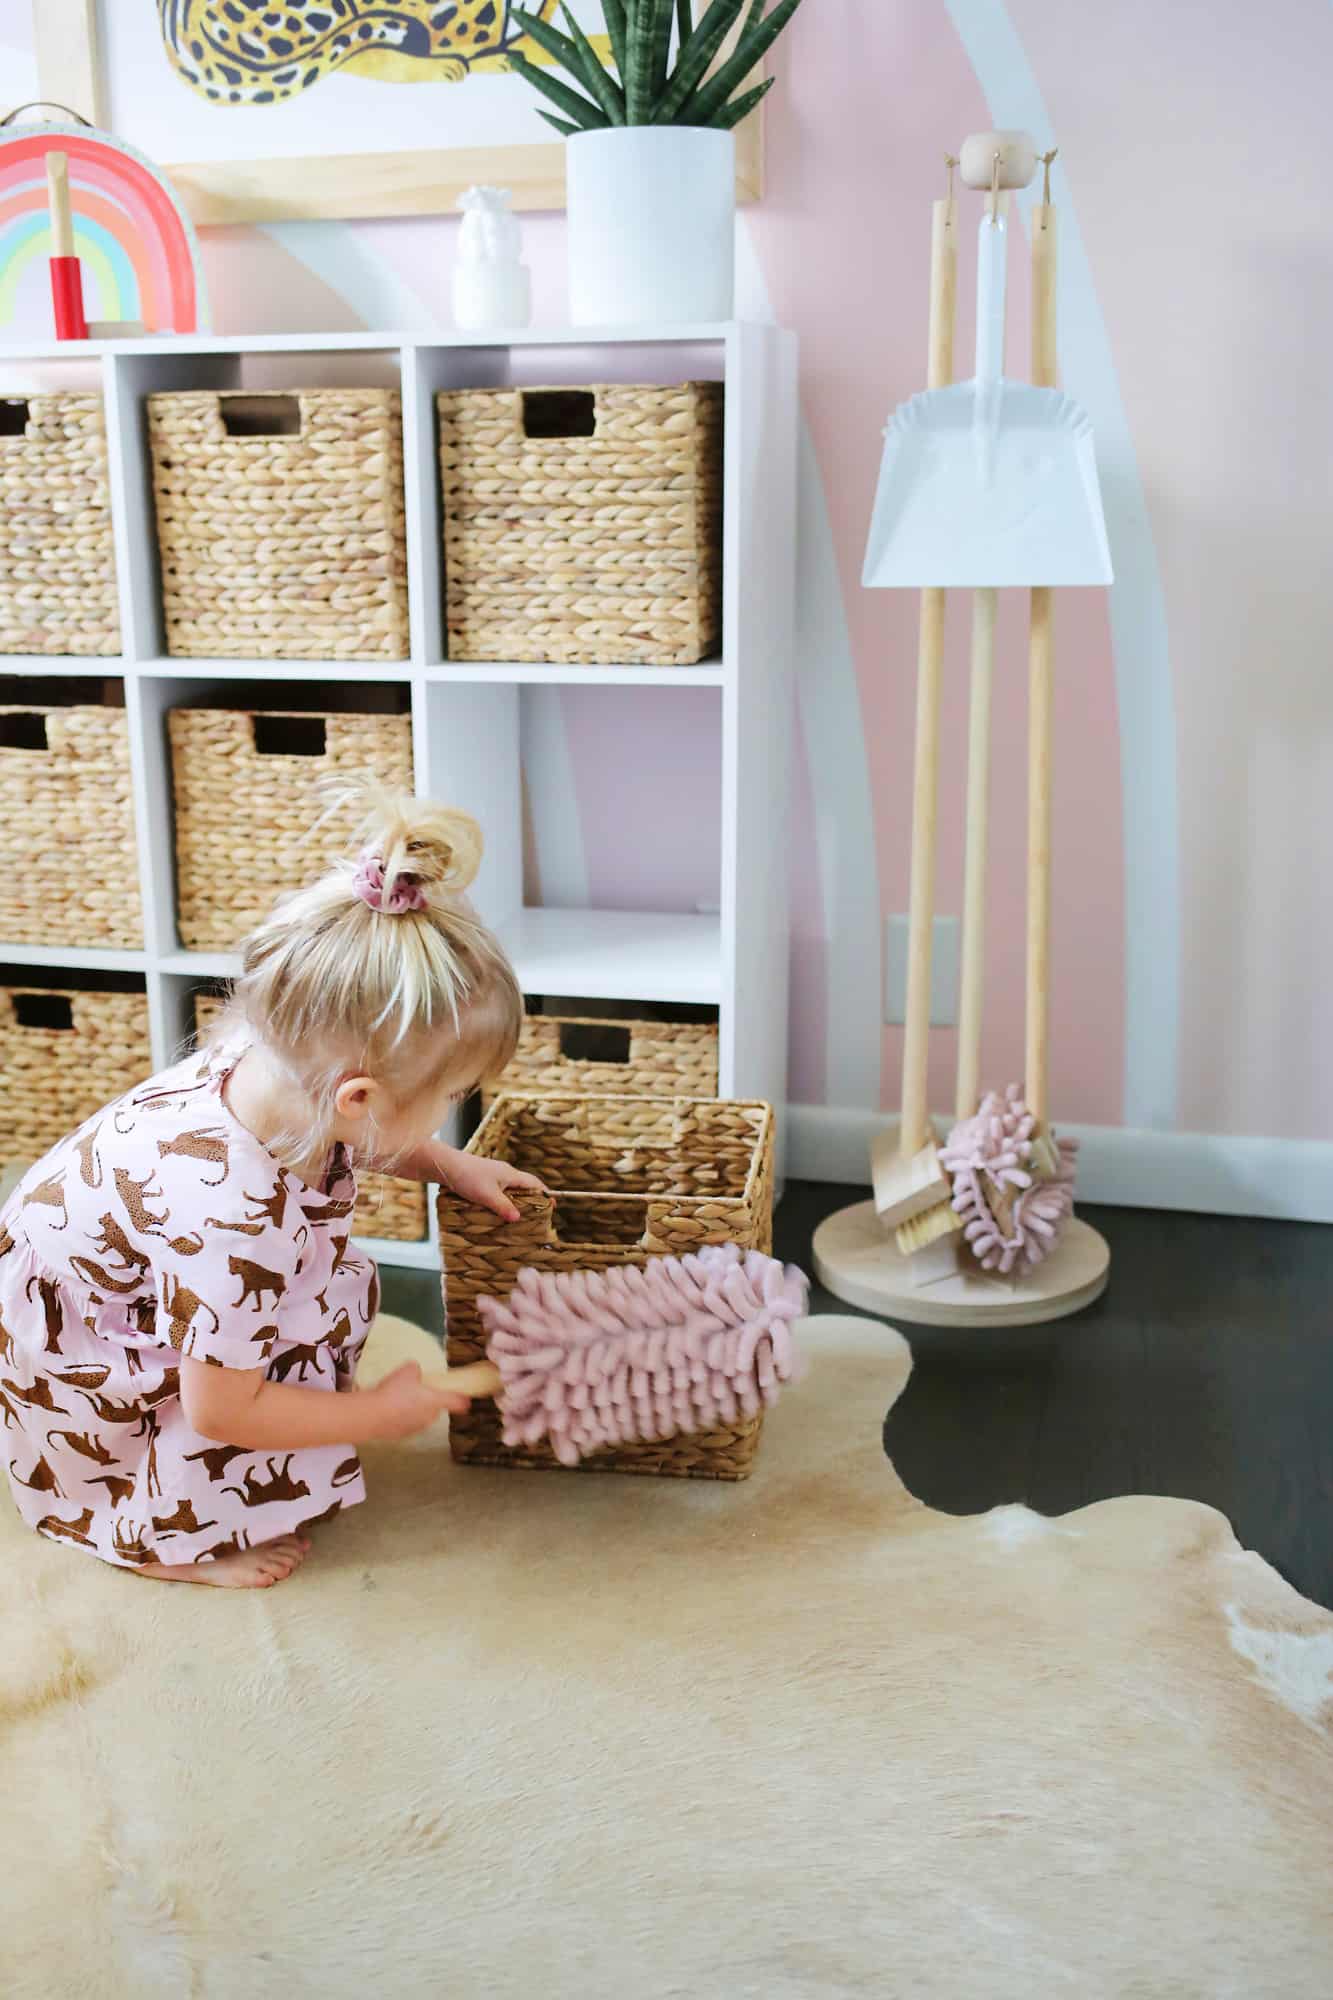
It’s juuuuust too cute to watch her clean with this! I toyed around with the idea of making a wooden dust pan too, but then I saw this smiley face one and it was just too perfect for the set to pass up (and it saved me a little work as well, haha!). Overall, I love that she gets to participate in grownup chores now, but with tools that are just her size so she can help more easily (watching her with the full-size broom looks like a comedy routine). Do you have any mini helpers that would love to use this to help you clean too? xo. Laura
12 Comments
This is really cute! If I were a little better with DIYing I would make this too! 😀
Charmaine Ng | Architecture & Lifestyle Blog
http://charmainenyw.com
Well this is just adorable. Loving the little star detail. Such a simple addition that makes it look really special!
xo Jessica
My Style Vita
This is really great! You didn’t say where the dustpan came from? I’m going to try my hand at the DIY
Thank you for sharing your ideas!
What was your approx materials cost for this project? It’s so cute!
So smart and cute !
How cute. Lola is adorable. 🙂
Love this – Can I buy this from you?
You are a genius, Laura!! PS – I just watched that show Making It (NBC, Hulu) and if they have any more seasons YOU MUST ENTER. You’d crush it.
OMG I might make this for myself!
Forget the kids! I want a cleaning set like this for myself! That duster actually looks really handy. That was such a clever way to use the snaps.
So wonderful! I have little helpers, 5 and 3 🙂 and we have “tidy Tuesday’s” We have the Melissa and Doug (aka not the most aesthetically pleasing) version of what you made and they also just use grown up things too. Yours is so beautiful! I kind of wish that Lola was just a few months older than my oldest, so that I could get all of your glorious ideas just in time for my kids haha!
Great work and adorable helper!
I’m going to have to make a few of these for some friends. Thanks for the great idea.