 I love that we are starting to get into the world of “pretending” here at our house. Our toddler, Lola, is 18 months now and adores the play kitchen that we modified for her, and I thought that some play food items would be a perfect addition to her new play world. I figured that painting some wooden shapes and adding labels would be an easy and cute way to create some food items for her, and I love how they turned out!
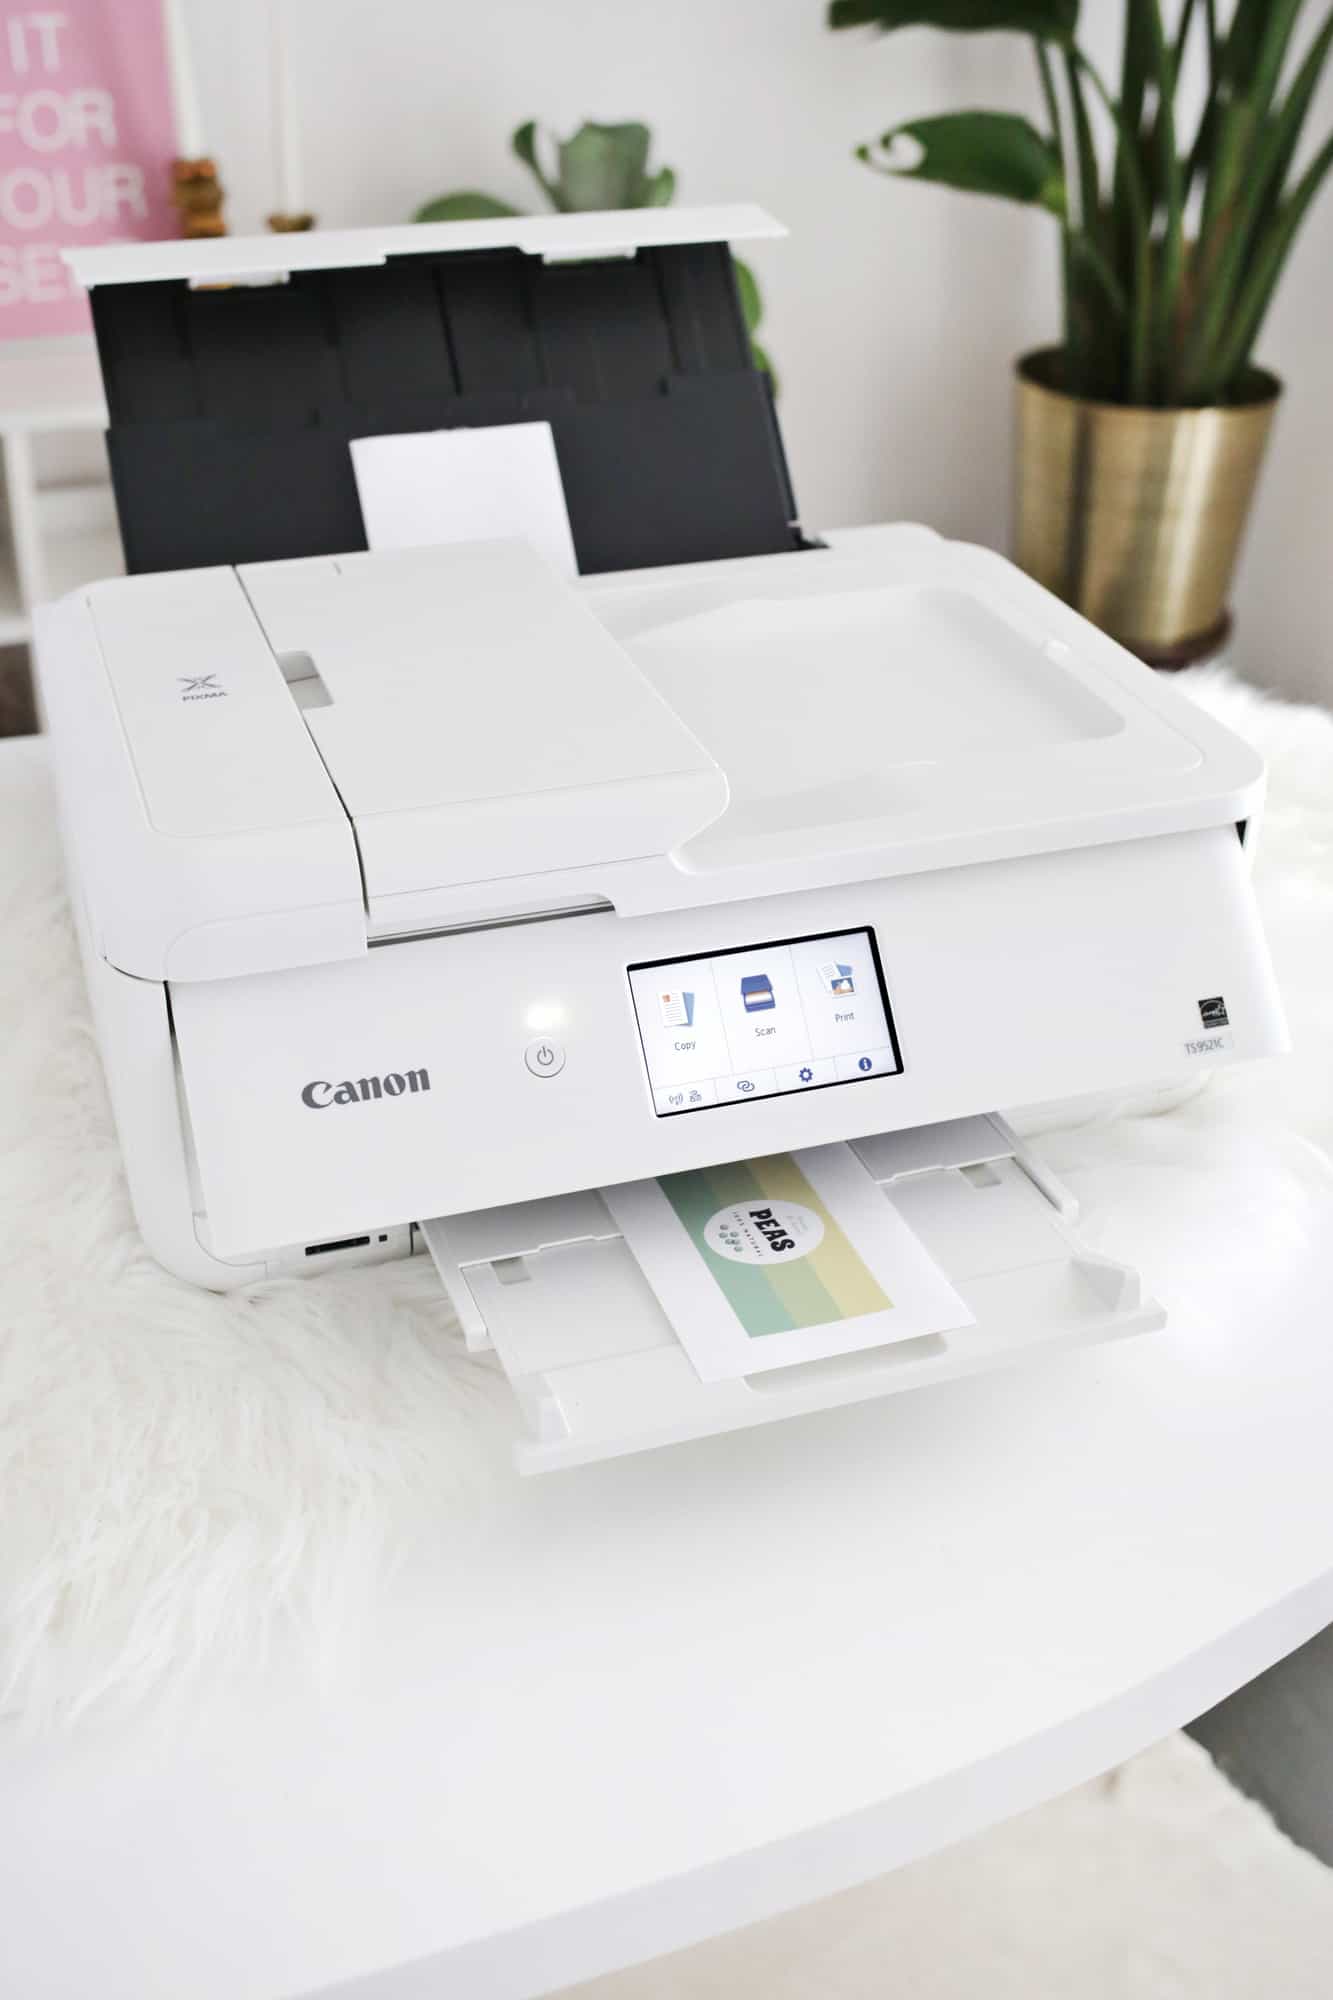 For this post, we partnered with Canon USA. We used the PIXMA TS9521C printer and love how multi-functional it is! It can handle up to 12×12 prints or be used for smaller projects like this one. We also used Canon’s new Re-stick Matte Photo Paper—it was a fun way to finish the toys!
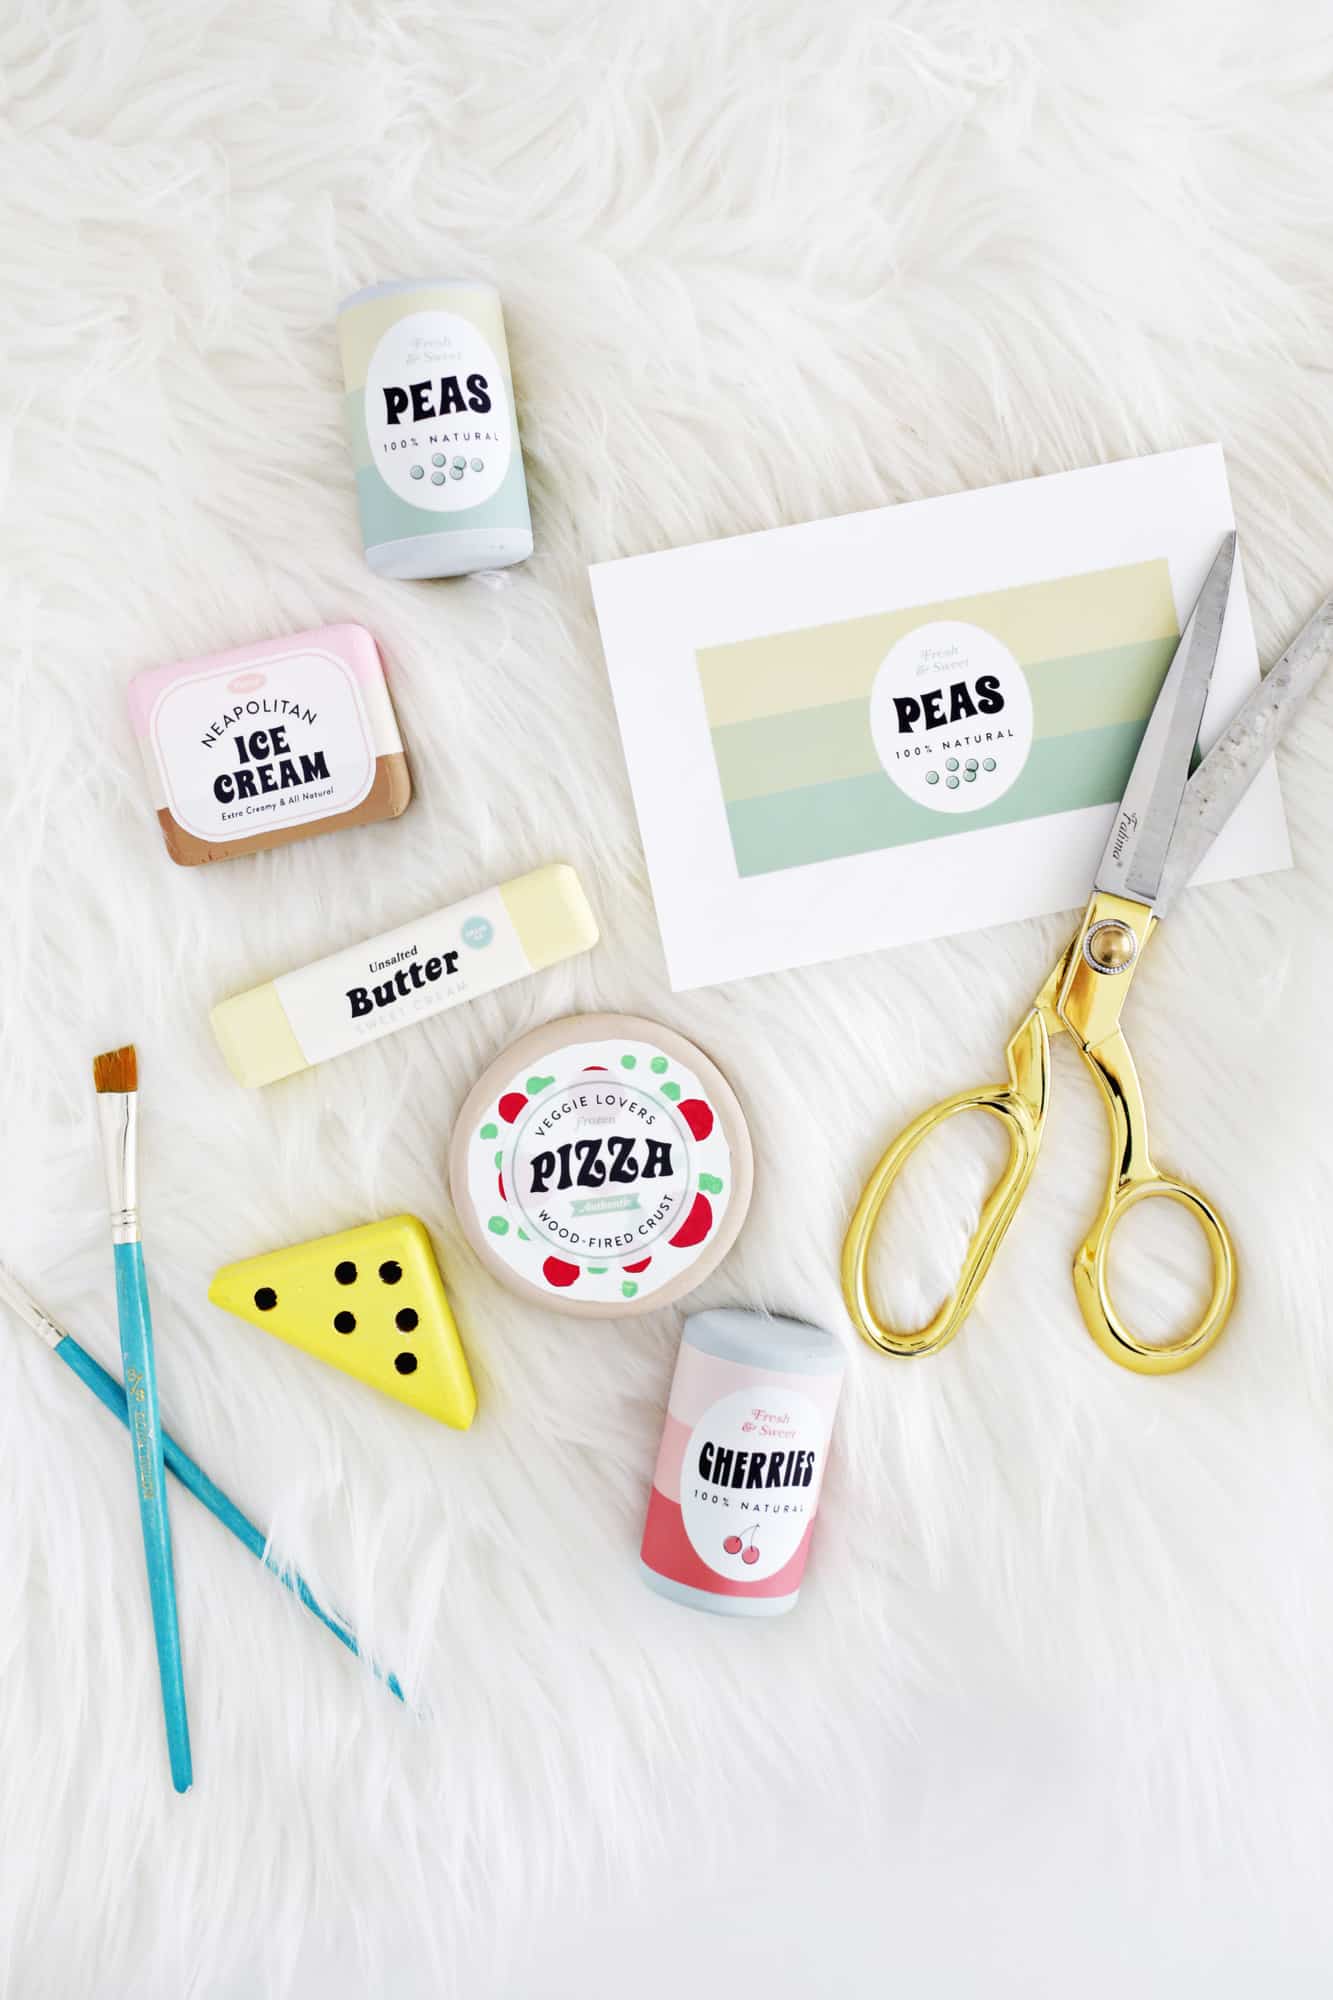
Supply List:
-unfinished wooden block shapes (I got this variety pack and just asked them to send them unfinished)
-non-toxic craft paint (should say “non-toxic” on the label)
-paintbrushes
–Canon PIXMA TS9521C printer
–Canon Matte Re-stickable Photo Paper
-Additional sticker paper (depending on what size you’re wanting to make)
-scissors
-food label download (use these for 4×6″ sticker paper and these for 8.5 x 11″ paper)
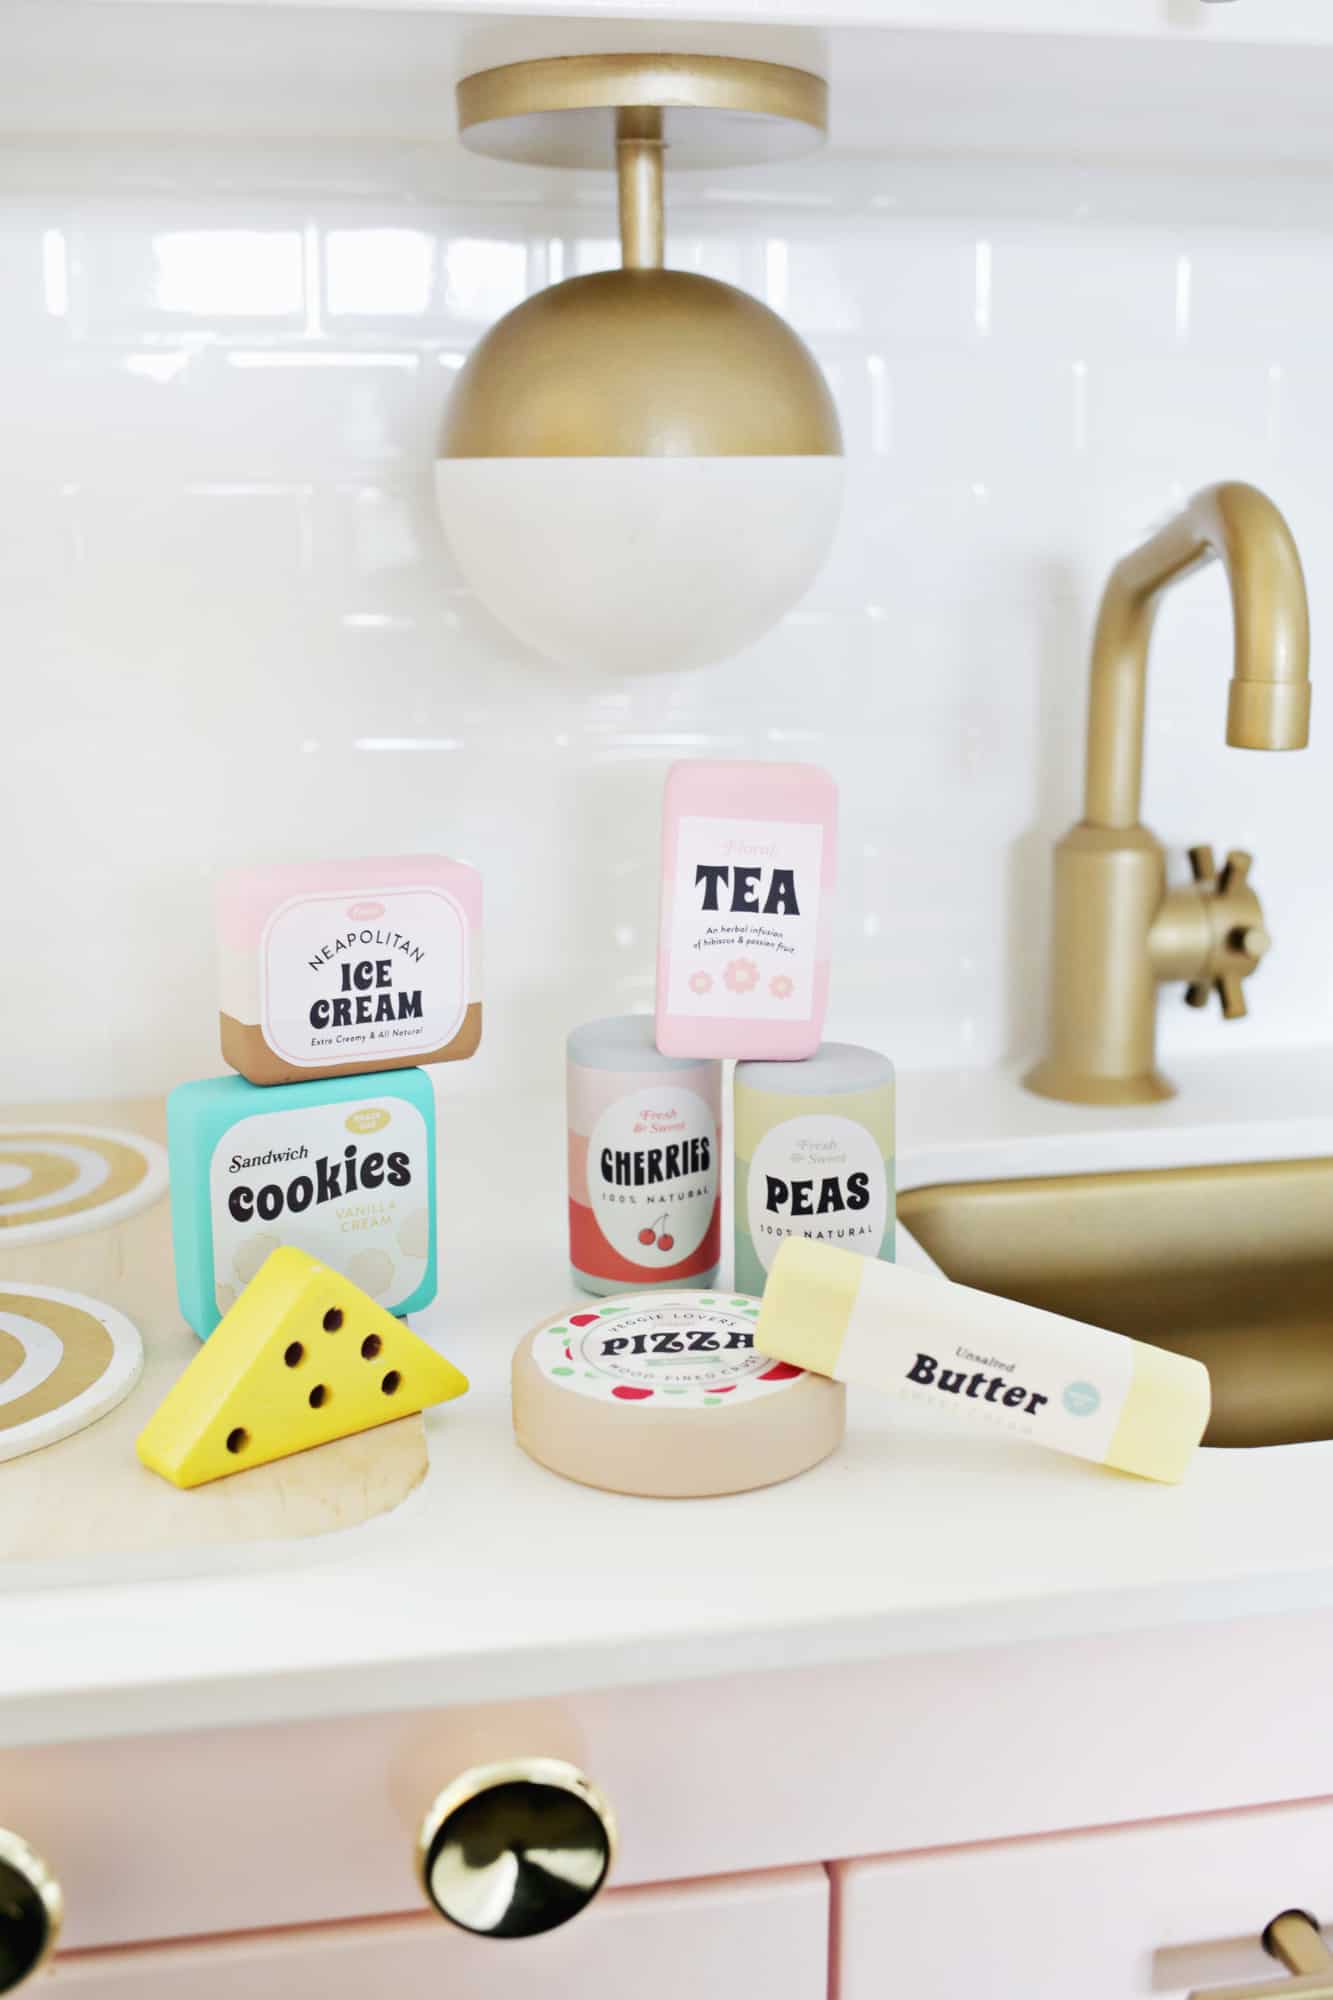
 OMG, TOO CUTE!! You can see that some shapes are painted solid colors, which is pretty easy to do for all the labels, but if you want to be a little more adventurous, you can do stripes on the Neapolitan ice cream like I did, or paint some pizza toppings onto the pizza circle or whatever else you like. And the cheese doesn’t have a label, but I just took a wooden triangle, drilled a few holes into it, gave it a coat of paint and voilà—Swiss cheese! Sometimes you never know if kids are going to play with things you give/make them, but Lola immediately honed in on these and started moving them all over her play kitchen and putting them in her little shopping cart too—so adorable!!
As an important side note, I would definitely say this DIY is for kids who are past wanting to put everything in their mouth. I chose non-toxic paint from the craft store to paint the blocks with, but it is still not something that’s meant to go in the mouth so keep that in mind when deciding if it’s age-appropriate for a child.
With the holidays coming up, these would be an amazing DIY gift to give a kiddo in your life or for a birthday as well, and if you have wooden shapes that you want to use that are slightly different sizes, then I would just print the decals a little bigger or smaller as needed to fit. Let’s play! xo. Laura
Credits// Author and Photography: Laura Gummerman. Video: Jeremy Larson. Graphic Design: Mara Dockery. Photos edited with A Color Story Desktop.

7 Comments
Laura, I already told you many times but you’re such a wonderful creative girl !!! Your ideas always blow my mind !!!
This is an adorable idea! I really love using wood toys too. The possibilities are endless with this! I’m currently putting together our own diy ikea kitchen too. It’s going to make a great Christmas gift. Thank you for sharing
These are just adorable!
Thanks for sharing!
Debs @ https://tiger-mint.com
This is soooo cute, I love the retro design! I really want to make something like this when I have children!
https://www.makeandmess.com/
These look so good! They’re the kind of minimalist vibe I like. And they’re much better for the environment too. Thank you for sharing this. 🙂
Charmaine Ng | Architecture & Lifestyle Blog
http://charmainenyw.com
Simply darling play food! The cutest I’ve seen yet!! Thank you! Video was fun as well! Keep up the great work!!
These are so cute! Much better than the cheesy plastic kind!