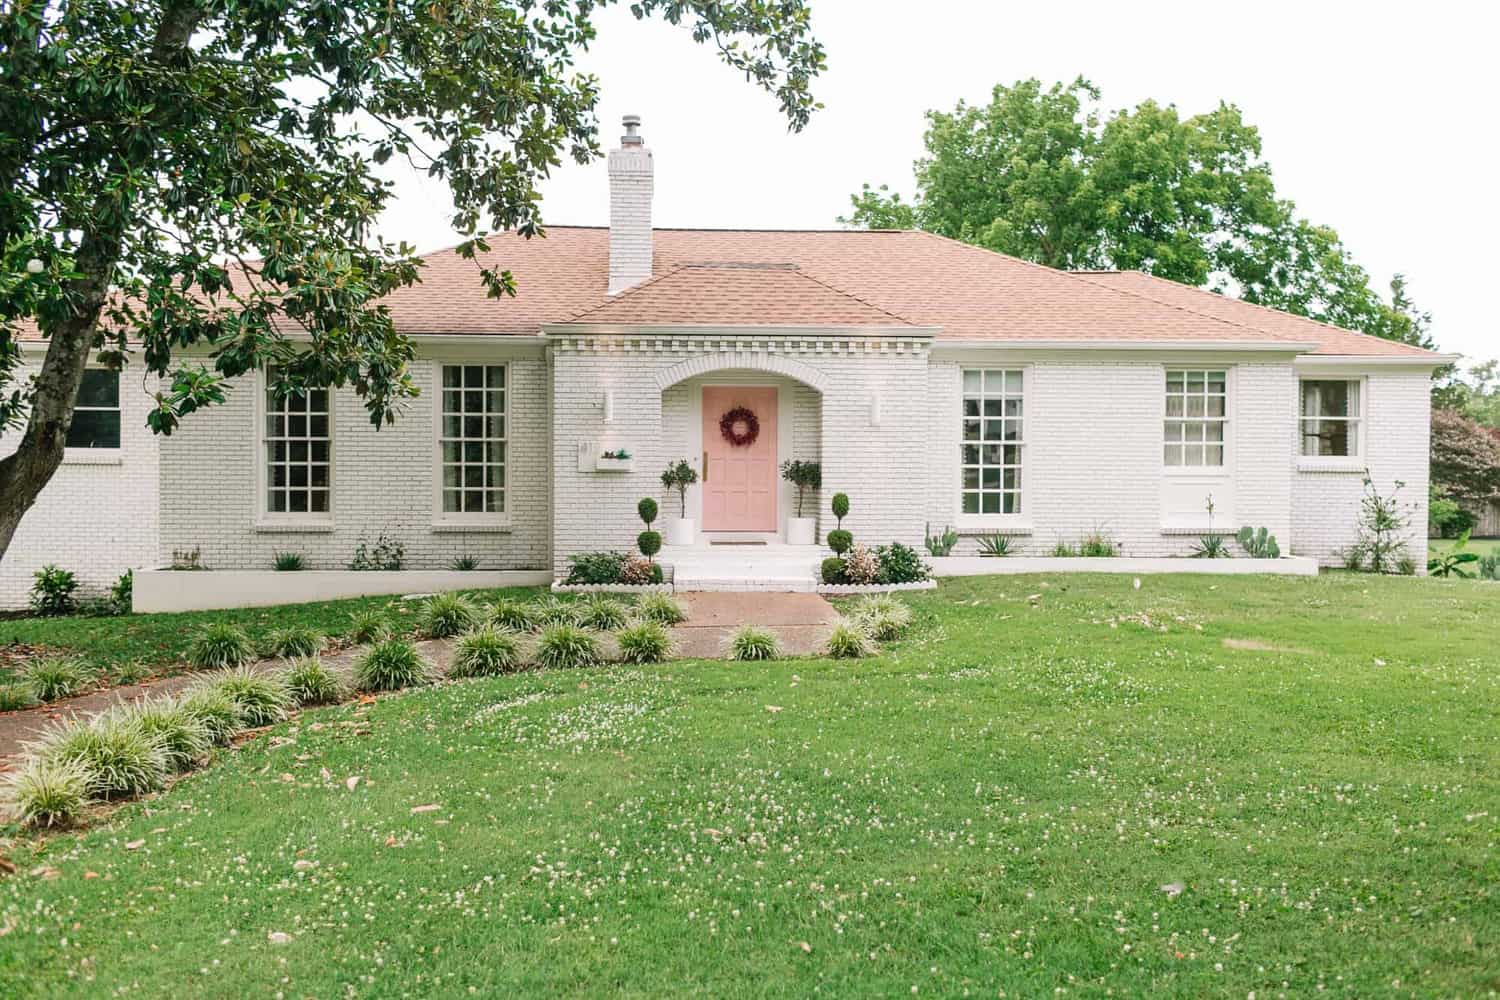
 Wooo! We FINALLY experienced the incredible feeling of selling a home quickly, above asking price, with multiple offers! I still can’t believe it!!! And I don’t say this to brag, because in the past, we’ve had homes sit on the market for six months or more and had to lower the price several times. We were SUPER nervous. However, this time we did a LOT of extra steps and it really paid off. So I want to share all about that today!
This was also the first time that I didn’t post our listing on social media or anything—and no, a blog reader did not buy the home. All the offers we received were from local Nashville families. I understand why a lot of people assume we’d sell it to a blog reader, but in my experience that has never happened and I doubt it ever will.
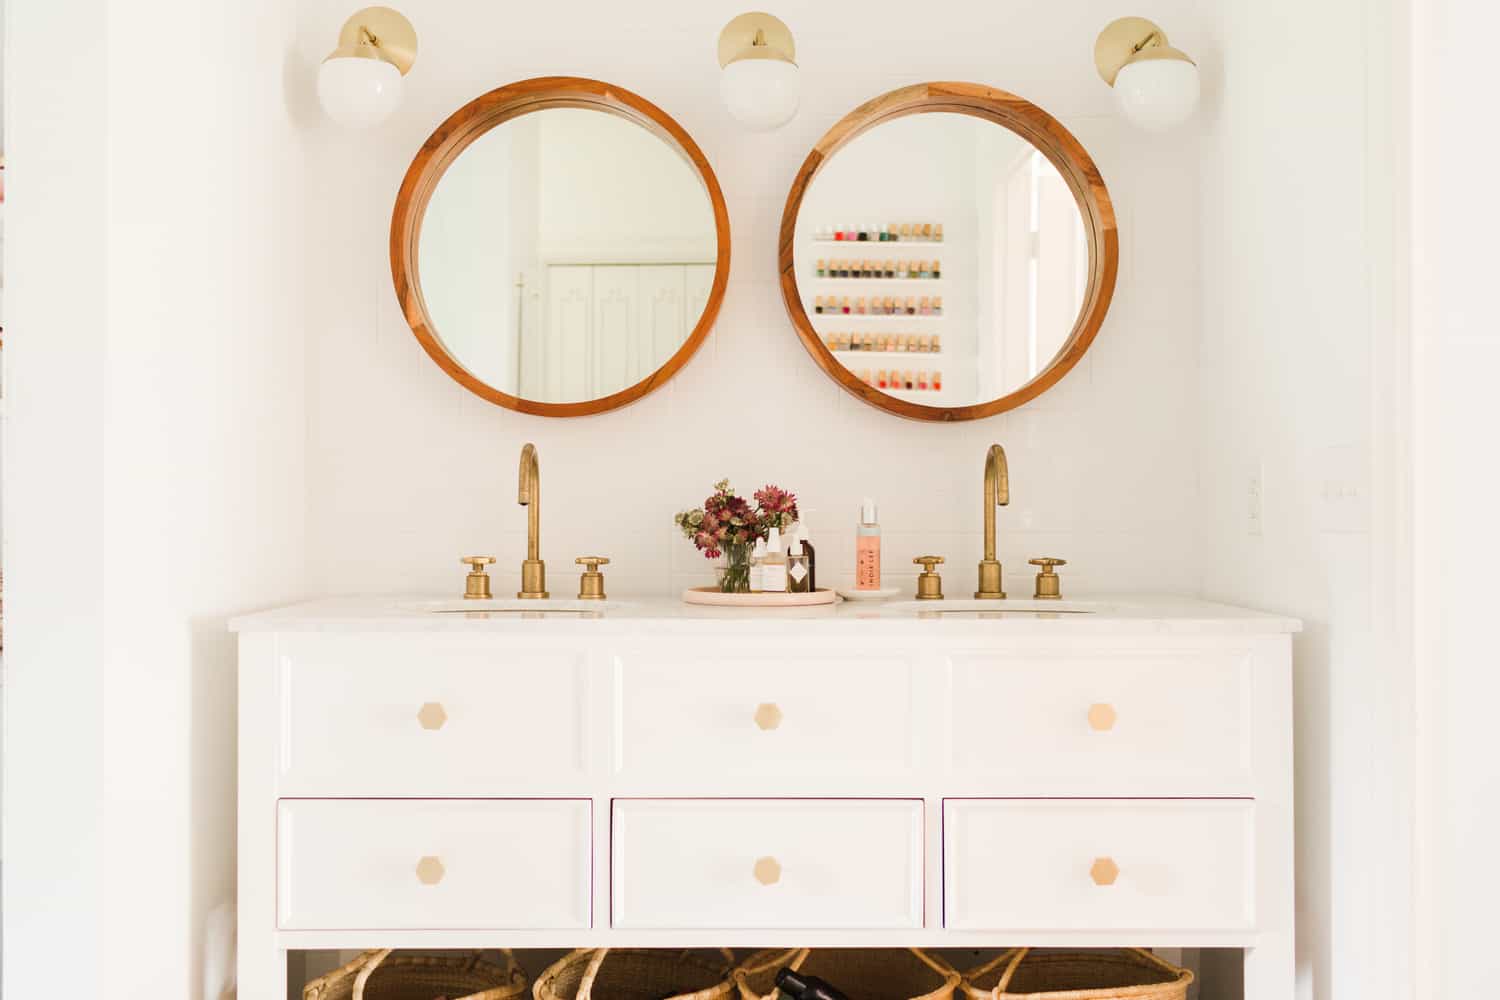
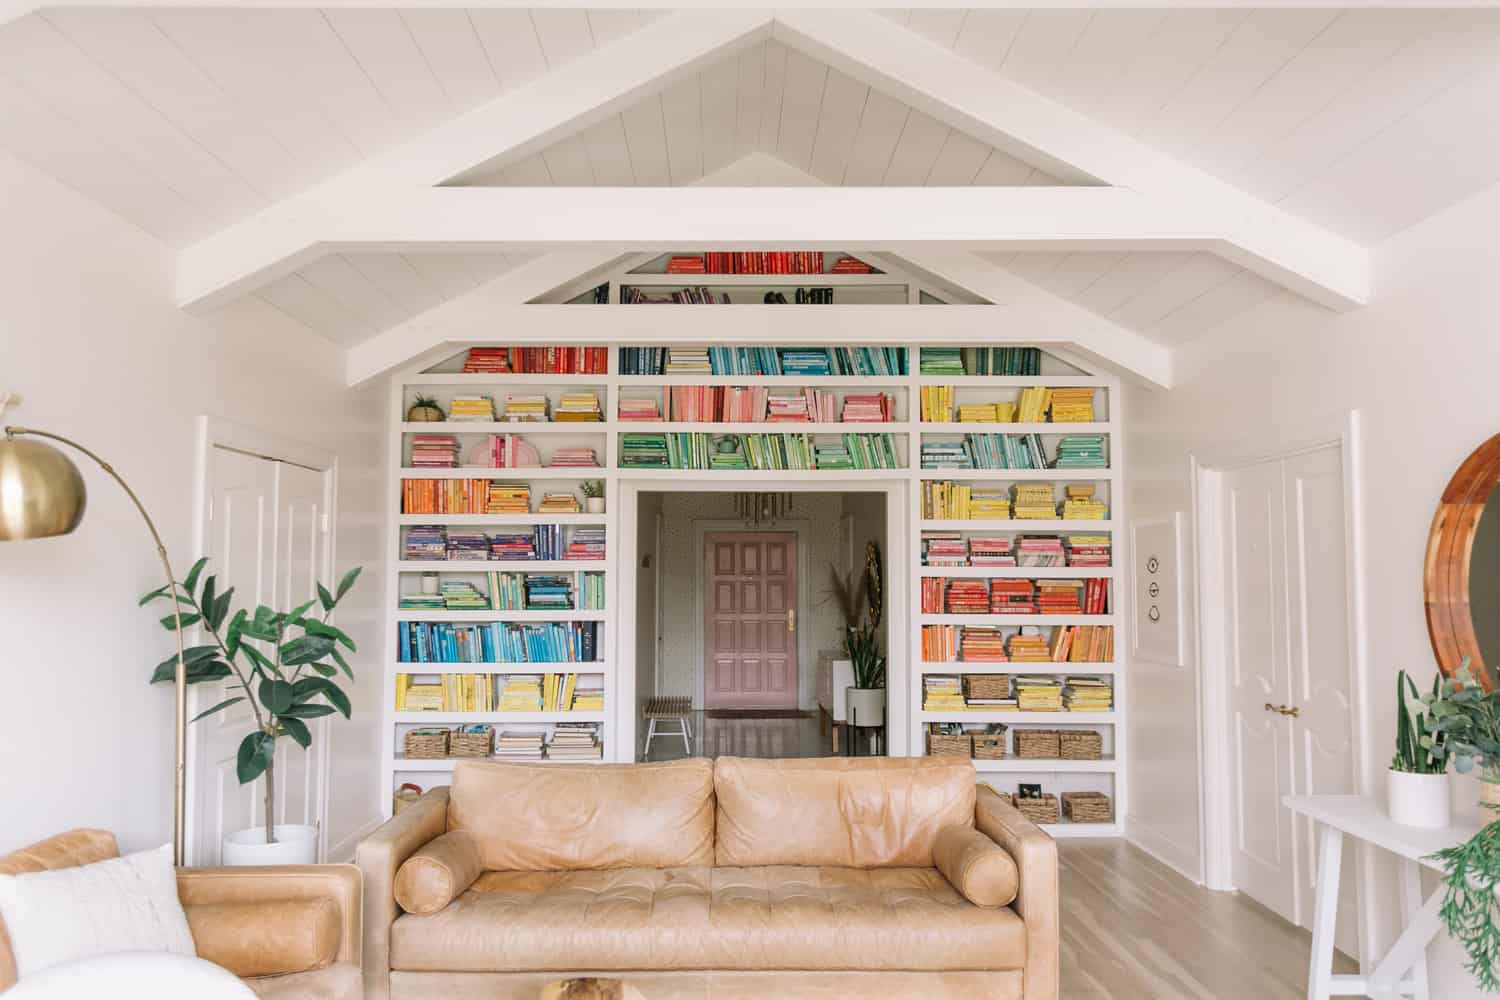 Here are some things we did before listing our home.
3 months to 1 year before listing (or once you decide you are listing your home in the near future)
-Remove any bold/statement features that you don’t think would appeal to buyers. Obviously, our home had a lot of unique choices and we kept many of them. What we removed was our turquoise floor and our yellow wallpaper in the guest bedroom. I get a lot of angry messages about this basically saying, “You’re removing all the personality” or “I would want the yellow” etc. … I get it! It’s a tough choice.
Here’s how I made my choice. I kept the statements that I felt added personality to the home that many different styles could appreciate and I removed the color statements that were very specific to my taste.
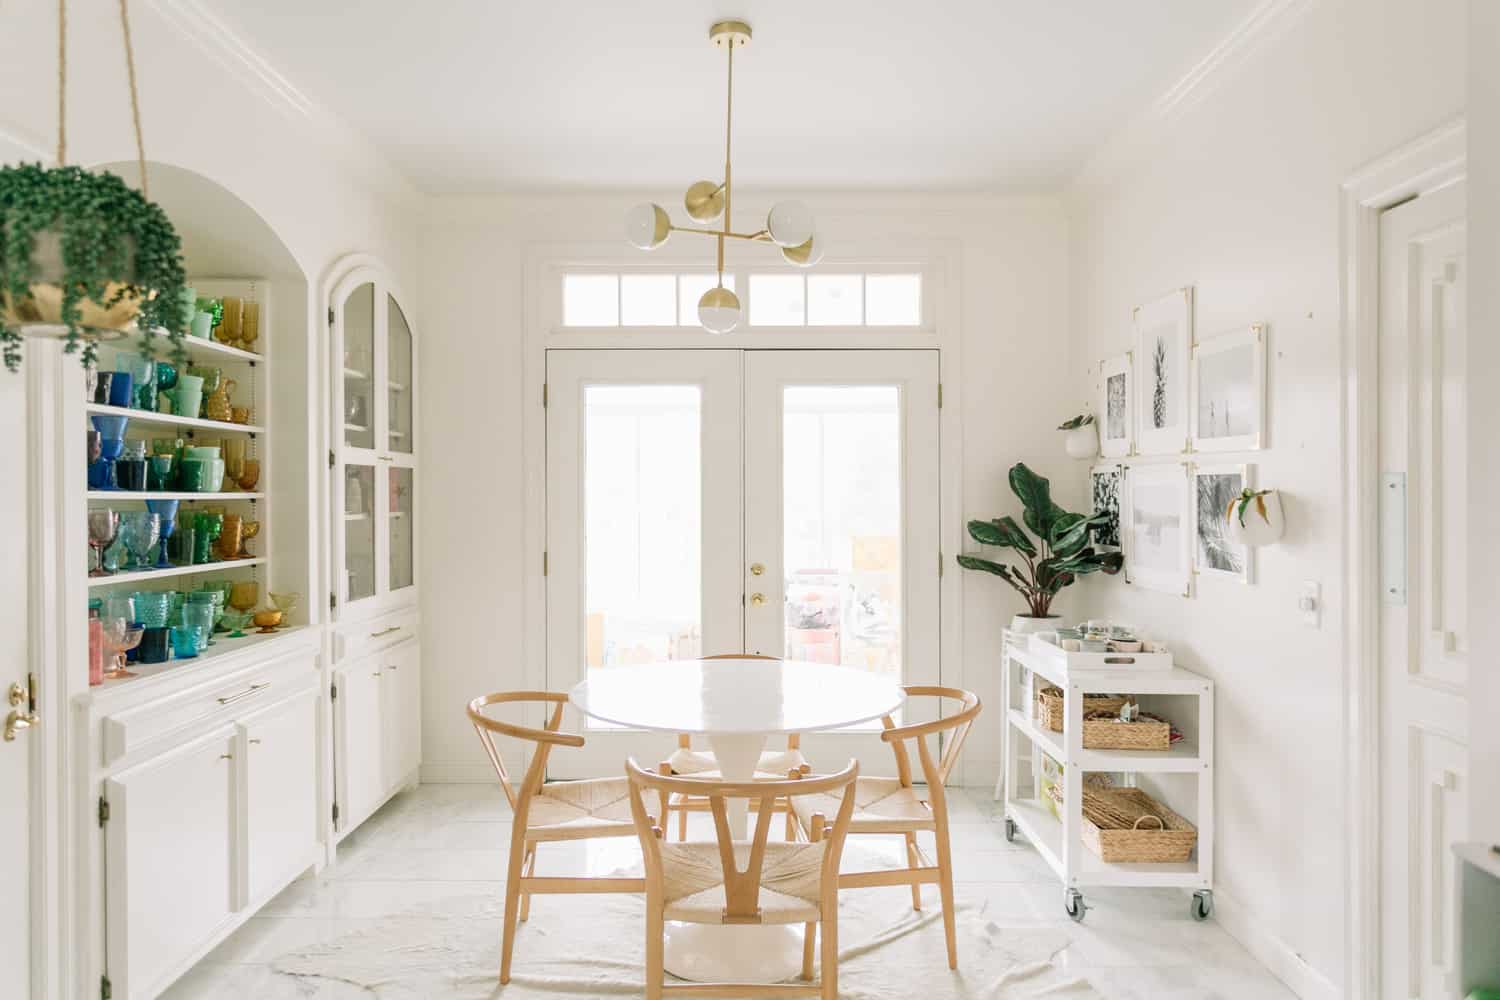
Having just shopped houses for about a year, it was easy for me to put myself in the shoes of a buyer and I think that bold color is something I always want to choose and add myself—not keep a choice that our home “came with.” That’s my opinion (feel free to disagree!). As you can see from our listing photos, there is still a lot of color, but it’s all easy to change like painting a vanity or a door or peeling the vinyl off our fridge if you don’t like it. It’s also styled with color like the books and glassware that don’t necessarily come with the home.
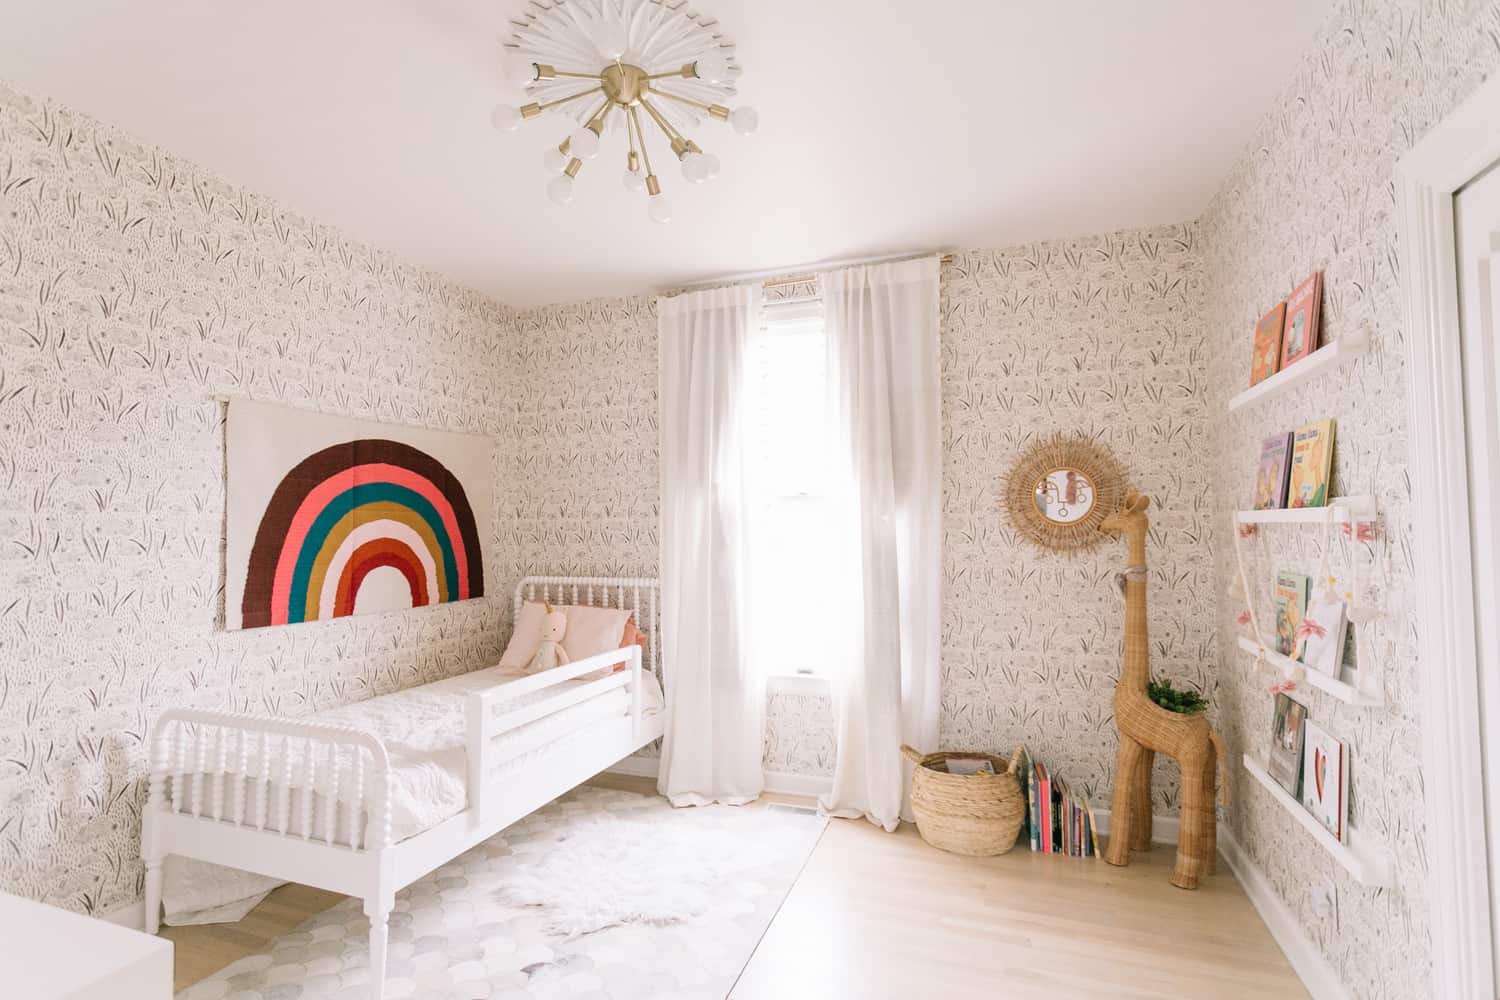
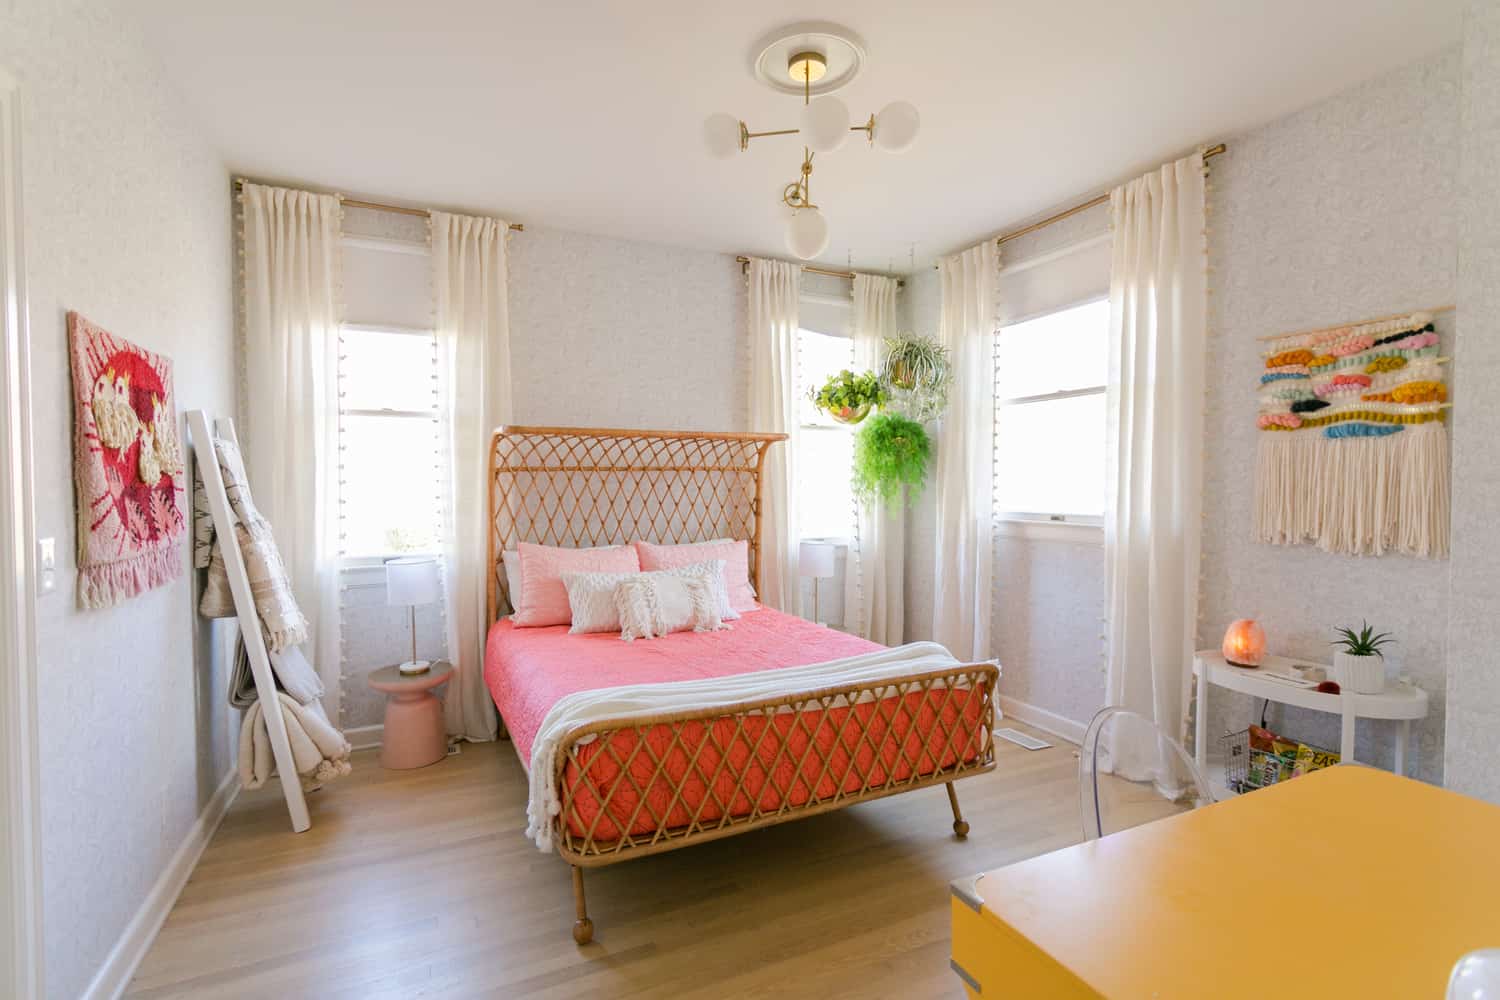 Here’s how we ended up updating the guest room with neutral wallpaper from Chasing Paper. I love it both ways, by the way! The yellow was more photogenic, but the neutral was so calming and nice in person.
-Repairs. If there are any repairs you know your home needs, get them done as early as possible. You never know, there might be a PANDEMIC the month you are selling your home and you’ll be glad you did it earlier. I’m joking … but really, that is what happened to us and you never really know … assume something unexpected could make your life really busy or different the month you are moving and work ahead.
It’s always good to plan ahead and best to get your home in the top condition you can before listing. We did a bunch of small repairs on wood spots that weren’t perfect and some small repairs and improvements we thought would make it show better.
-Sell or donate anything that is clutter or you know you won’t take with you in the move. Unless it is valuable for staging, if you don’t want it let it go.
-Complete any unfinished areas or projects in your home. Just walk around your rooms and exterior with a critical eye and write down anything that would be easy to improve.
 1 month before listing
-Schedule a moving day or a pod to pack away any clutter, excess furniture, super personal items, and any storage areas that are overstuffed. We ended up moving an entire small moving truck FULL of items we loved and used, but that made our rooms, closet and shelves a bit too full. The feeling after moving all that stuff out was fresh and lighter—I loved it!!! It also made our home photograph better because you could focus on the rooms, not the “stuff.”
-Caulk and paint. We did a TON of this. I cannot emphasize this enough. We did magic erasing, touch up painting, washing doors and windows, caulking (every. little. thing!) and repainted quite a few baseboards. Jeremy also did grout refresh on our entire kitchen floor.
This is one of the most important things that helps every room feel new. It took a lot of time (several full days), but it was SO worth it.
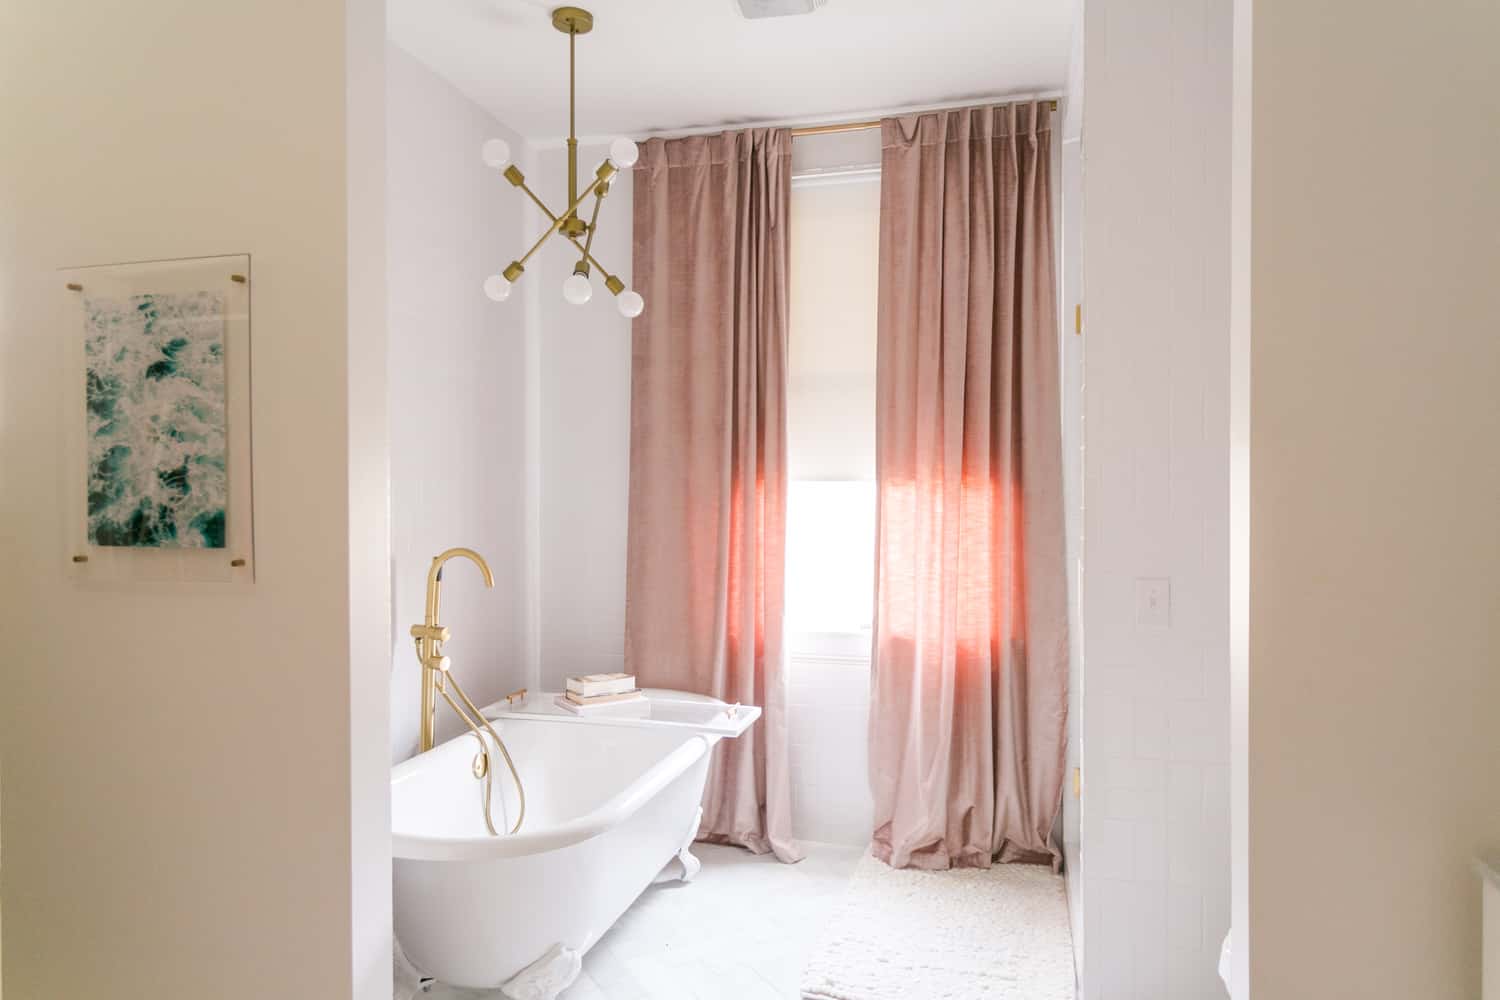
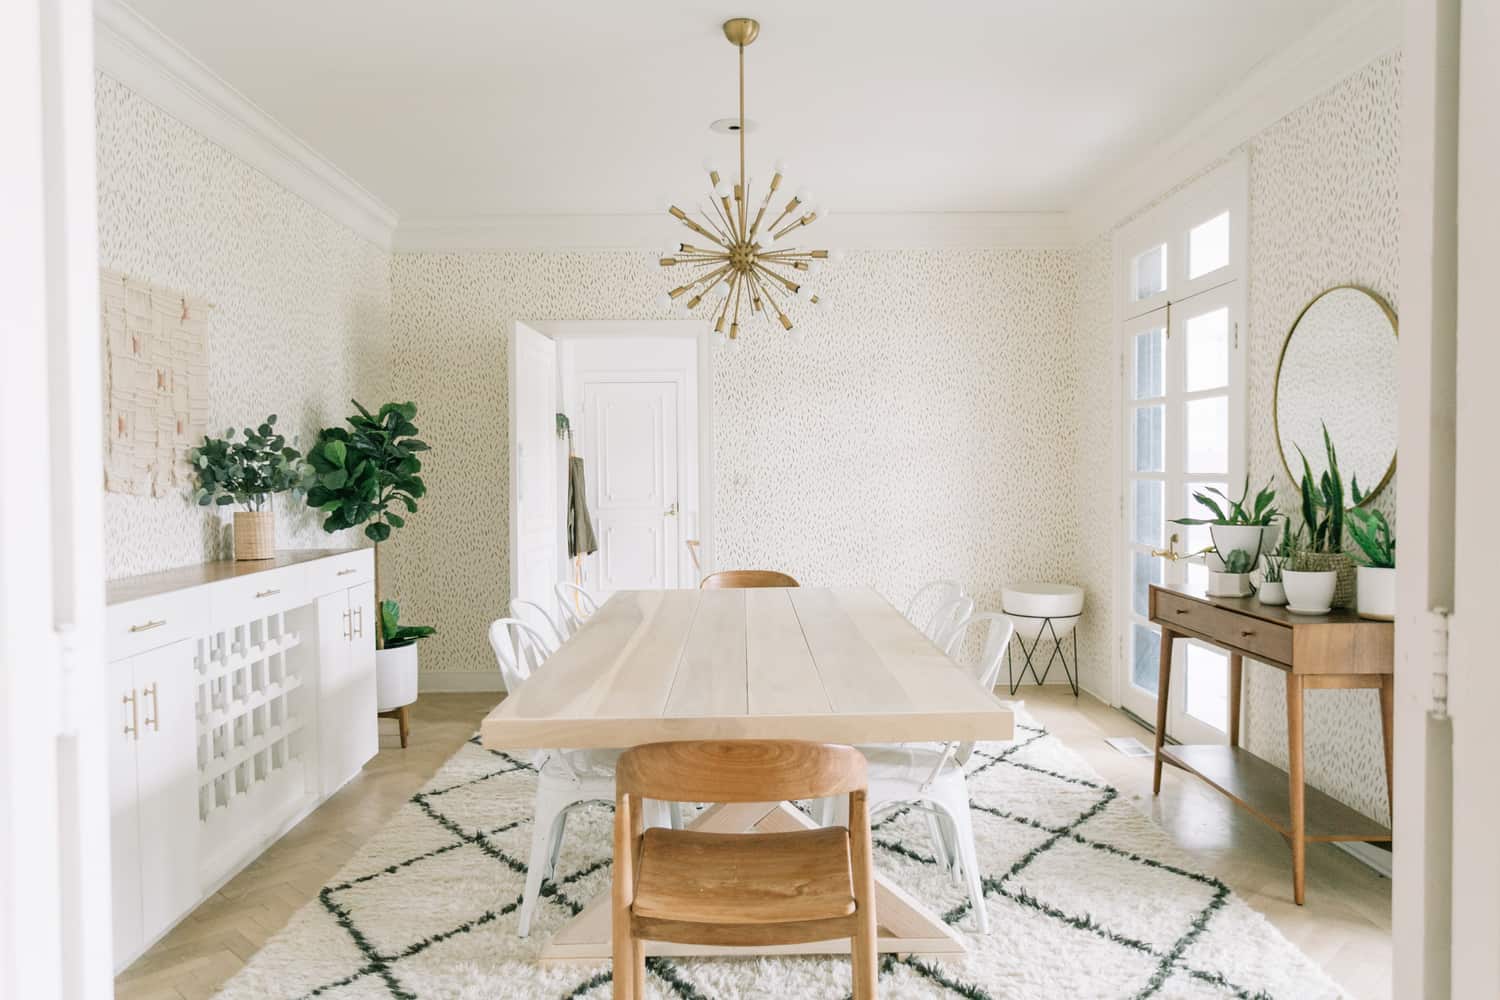
-If you want to keep any light fixture or curtains or mirror, you should probably replace them. We kept four light fixtures that were either super expensive or not available anymore. We replaced them with some similar style fixtures and I doubt you ever would have noticed if I didn’t just tell you.
Here are two we replaced. We just kept them similar style and the same scale.
 1 week before listing
-Do a deep clean. Make a checklist of extra items you might not clean weekly like vents, your fridge, under and inside the stove. Clean the kitchen and bathroom(s) EXTRA well. We went over and over and over the house finding more and more little smudges and spots to dust. It’s worth it!
-Landscaping touch-ups. Since it was off-season, our regular lawn guy wouldn’t come over, but we found someone who mowed and trimmed bushes for a reasonable price—so it just looked fresh! We added two new trees to each side of the doorway. The whole thing was just a couple hundred dollars and made a big difference in the curb appeal.
-We power washed the entire exterior.
-Make little “notes” for special features in your home and hang them before your showings. We saw this in one of the homes we viewed and really liked it, so we did it. We basically just printed out notes that explained or pointed out features or noted when wallpaper was removable or anything original from the ’70s that was cool. You don’t have to do this, but if you have expensive or cool features that are invisible, like a water filter system or custom storage, etc. … it might be worth it.
-Staging (!!!!!) This is so important.
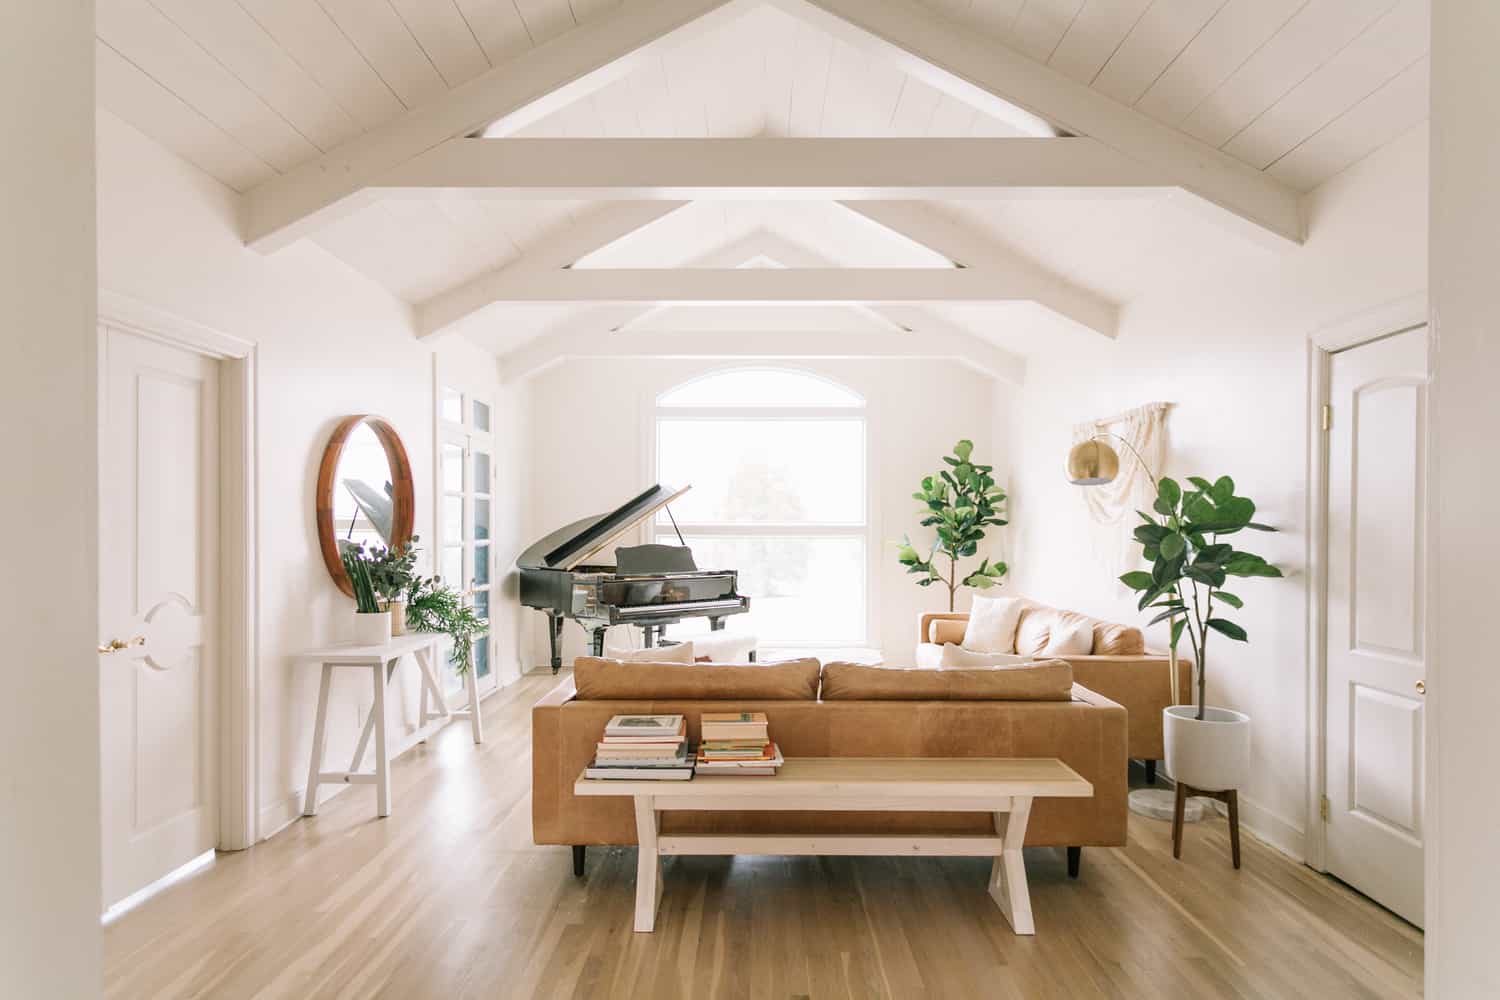
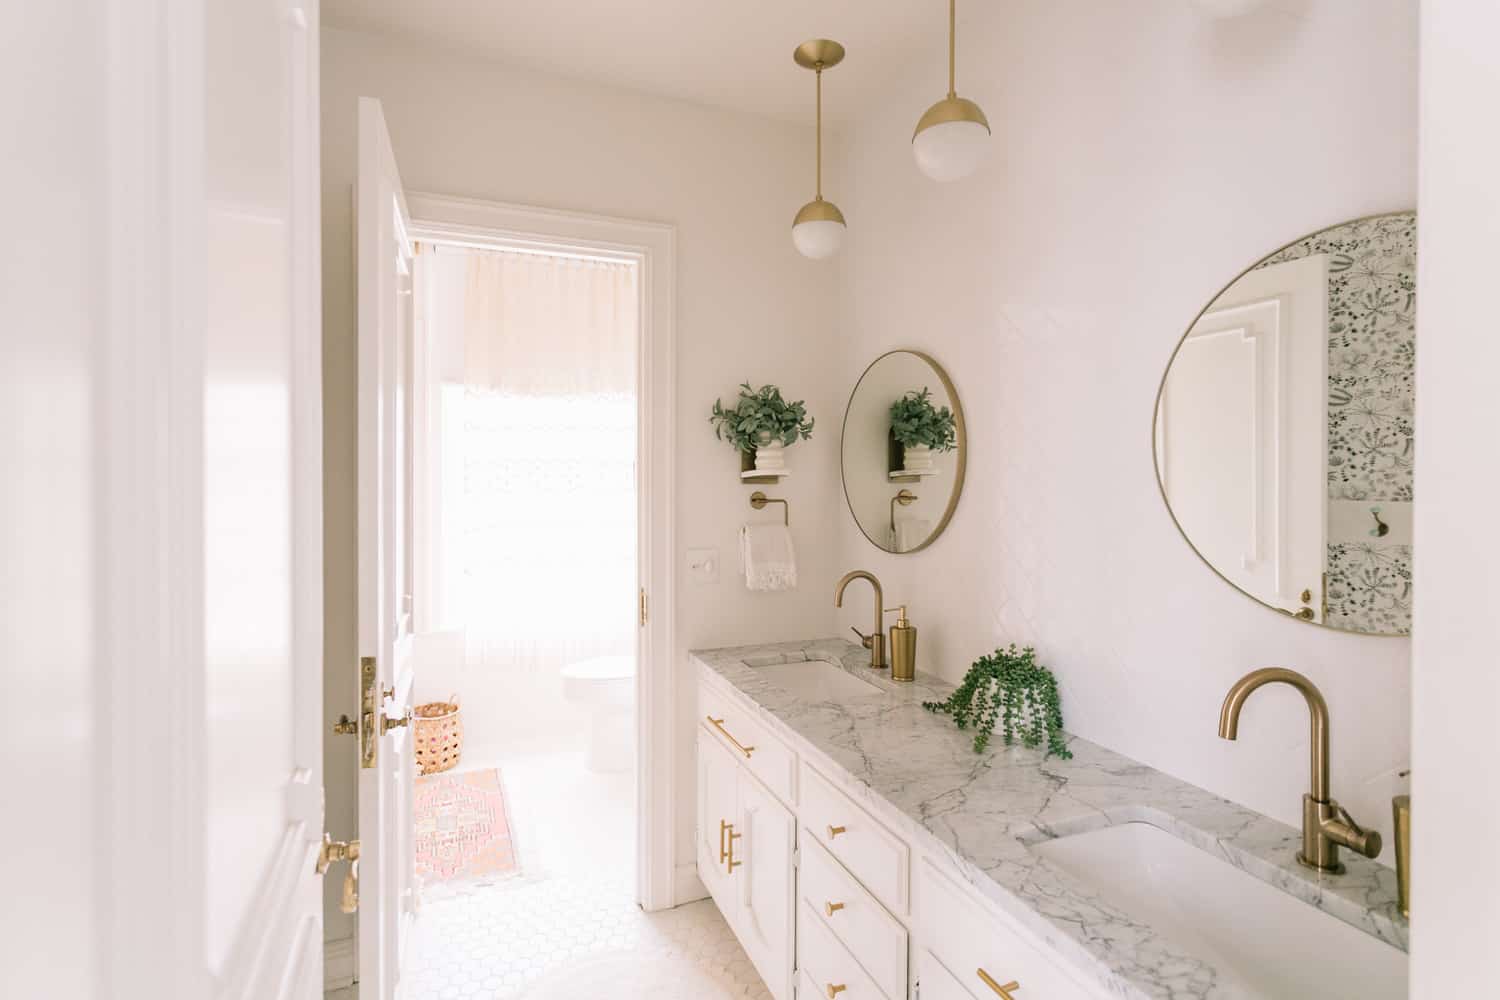
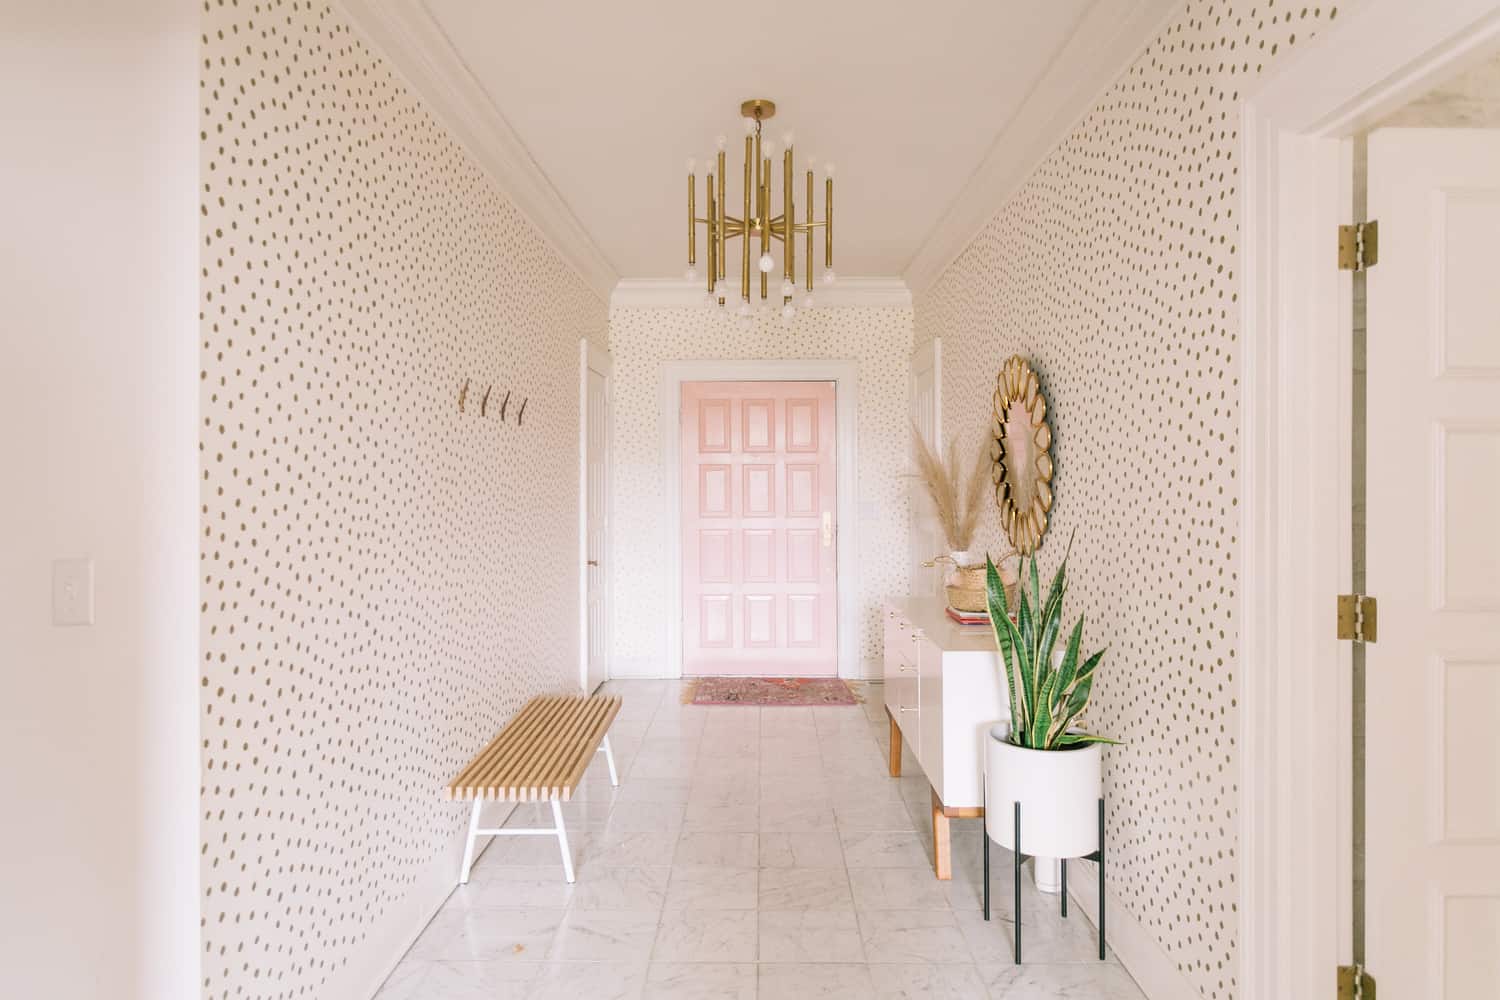
We made the choice to leave our home staged for viewings and I believe it was one of the reasons we got so many high offers. We also hoped that whoever bought the home would buy some of the furniture because it makes practical sense. We bought all that furniture specifically for those rooms and it looks good in there, fits perfectly, etc. We loved our furniture and wanted to keep a lot of it, but it never translates 100% to a new space, so we also were open to selling a good bit of it. Our buyer did end up purchasing a pretty big amount of furniture and we were happy because some of it was not going to fit or work in our new home anyway.
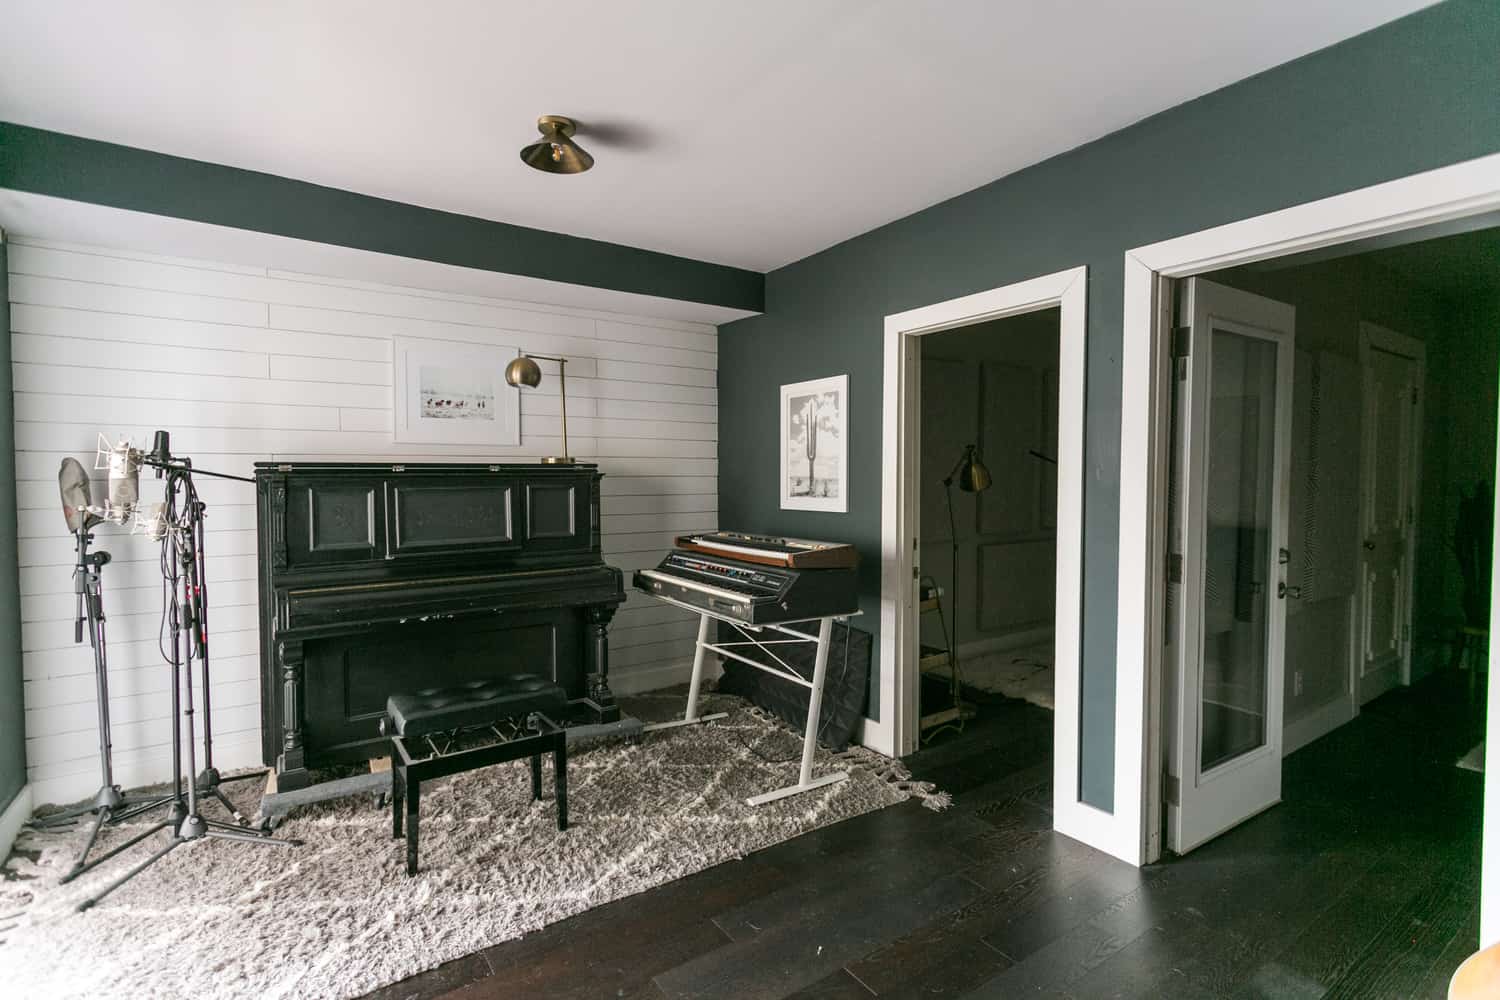
Anyway, back to staging. Here are more of our listing photos and then some tips!
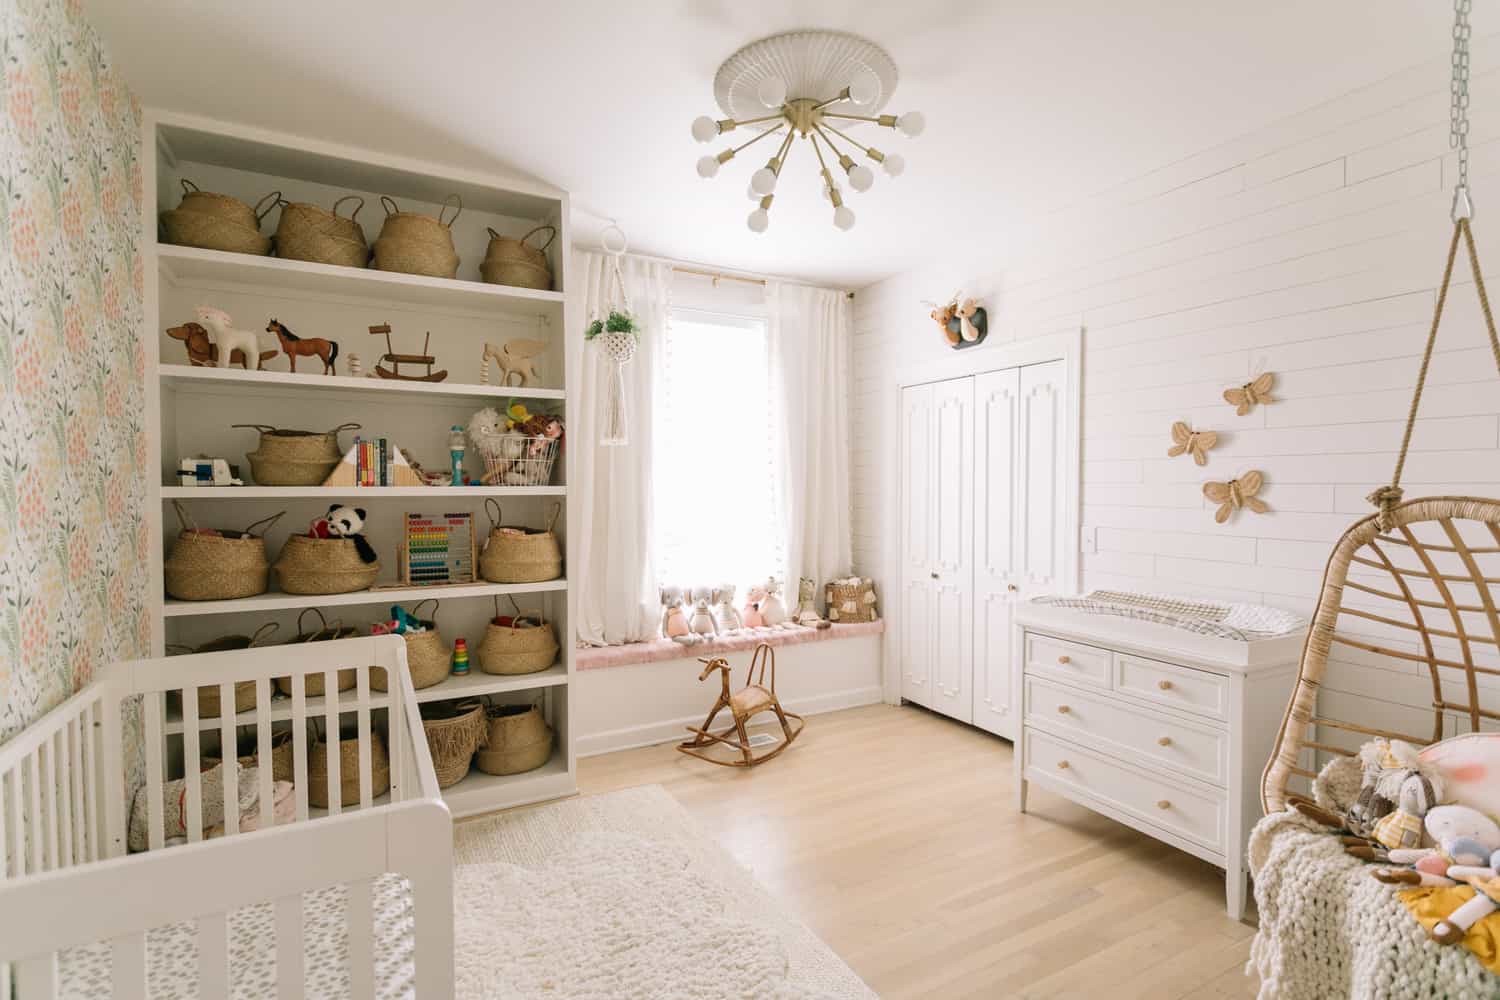 -Remove clutter. Look at every space individually whether it’s a closet, a shelf or a counter. Take everything off/out that you possibly can and leave it super minimal. A lot of times we are blind to how cluttered our spaces have become. I know I was. This will make every space feel bigger. Make sure you can see SPACE in your closets, on your counters and on your floors. Minimize every possible corner and leave just enough stuff for it to have a personality.
If you look at our nursery above, half her toys are gone, her stuff is all put away, we moved some larger toys out, and left just a few items so it felt lived in (but barely!). In our everyday life, it feels the same, but is actually a LOT more cluttered.
-Open blinds and shades to let in maximum light. Check for any burned out light bulbs and replace them in the entire home. Make sure your home looks its best in daylight and at night with all the lights turned on.
-Style each room with a few details of how you live in them. For example, we left all Jeremy’s instruments in his studio, we left towels in the bathrooms, we left dishes on our open kitchen shelves … there was just a lot less of everything than normal. No knickknacks, no small photo frames, no stacks of papers, no phone chargers, etc.
-Take photos with your phone to check your staging. This is the BEST test. A lot of times a room photographs differently than how it feels in person. Try to make it look big, open and clean in a photo—not just in real life!
-Leave your home staged until you have an offer under contract (and a backup offer as well, if you can).
This was by far the most difficult thing we did, and we almost didn’t do it. Because we wanted to move out before listing (we didn’t feel we could handle potentially weeks or months of leaving our home constantly for viewings as we both work at home and our children go to bed fairly early, plus we have two dogs … the list goes on!), this meant we chose to move out without ANY of our furniture. Initially, we were going to take our bedrooms only, but a week before Daniel, our realtor, convinced us to leave everything—even our children’s bed and crib. So we moved into our new home with air mattresses, a pack and play and zero sofas (we sat on only lawn chairs, haha). It was not ideal or cozy. I’m not going to sugarcoat it—we were regretting it the first week in our home. But as soon as our home was under contract (which was the following week—YAY), we were able to begin moving over our beds and essential furniture. In the end, it was SO WORTH IT because we had higher offers and we sold a bunch of furniture that we weren’t planning to keep. I know it’s not always possible, but if you have a well designed home, leave it staged if possible.
Other things we did
-We waited for “selling season” (which in our area begins in March). We could have listed earlier (like in December when we closed on our new home) but we timed it to match with the season when more buyers are shopping and ready to move. This meant we had to pay double mortgages for several months, but it also resulted in a higher, more competitive offer we probably wouldn’t have received in December.
-We took our realtor’s advice (shout out to Daniel, our realtor) on things to change/repair and pre-sale strategies. For example, we did a broker open house two weeks before our home was listed and it resulted in several offers and us realizing we could raise the price a bit for the official listing. If we would have followed our own instincts instead of our realtor’s advice, we would have left a lot of money on the table. In our experience, he more than earned his commission and helped us make more in the end than we expected.
I will say, doing all the stuff he wanted to do was a LOT of work, and highly inconvenient with two children. But I’m so glad we did it now that it’s all over. And honestly, moving with two little kids is probably never going to be “perfect.” I’m glad we stuck to the plan and took our realtor’s advice.
-The weekend our home went up for sale, our realtor scheduled two open houses, both Saturday and Sunday. This was much more efficient because less-serious shoppers didn’t take an hour-long time spot from a serious shopper (this is also the main reason I didn’t post on social media, if you were curious). Our realtor let shoppers know that we already had offers coming in and that the deadline to submit an offer was Monday evening. When we were house shopping, we saw a lot of homes do this and then clearly NOT get an offer, so I was a bit hesitant. But since the only downside is being a bit embarrassed (but also, who cares!), we decided that this method was a good fit. We liked it because everyone had a fair chance to make an offer, but there was a time limit clearly communicated so we felt we got all the serious offers we were going to get more quickly. If we hadn’t done this method, we might have had serious people who didn’t schedule a viewing until later in the week and if offers started coming in immediately it would have felt complicated/unfair. This felt very efficient.
Those are all the tips I have. These past few months felt like A LOT, but now that our house has officially sold it feels more than worth all the extra steps. If you had any tips that worked for you that I didn’t list here, we’d all love to hear them in the comments! And I’d just generally love to hear your experiences selling homes—real estate is SUCH an interesting subject to me. Thanks for reading! xx- Elsie
Credits//Author: Elsie Larson. Photography: Amber Ulmer. Photos edited with A Color Story Desktop.
14 Comments | leave a comment
 Here’s something you should know about me: I am lemon obsessed. Truly! I drink a cup of ginger tea with turmeric and lemon every morning, followed up with a HUGE glass of water that I squeeze the rest of that tea lemon into. So it’s probably no surprise that as I’ve been in the mood to experiment in the kitchen, I baked these lemon burst crinkle cookies. Simple, sweet, and absolutely bursting with flavor.
 I always know when I have a winner when my husband tries a new cookie recipe and gives me a thumbs up. Ha. These lemon burst crinkle cookies are thumbs up-from-the-husband approved. 🙂
 You make the dough and then chill it for an hour (up to overnight), so these are fun to make ahead if you already know you’ll be in the mood for cookies tomorrow.
 I also love the process of dividing up the dough, rolling into balls, and then rolling in a small bowl of powdered sugar. It’s like a fun little Play-Doh project before baking a batch of cookies. So this could be a fun one to do with kiddos too.
 These are soft on the inside with a little crinkle crunch on the outside. If you like lemon even half as much as me, give these a try! Happy baking, Emma


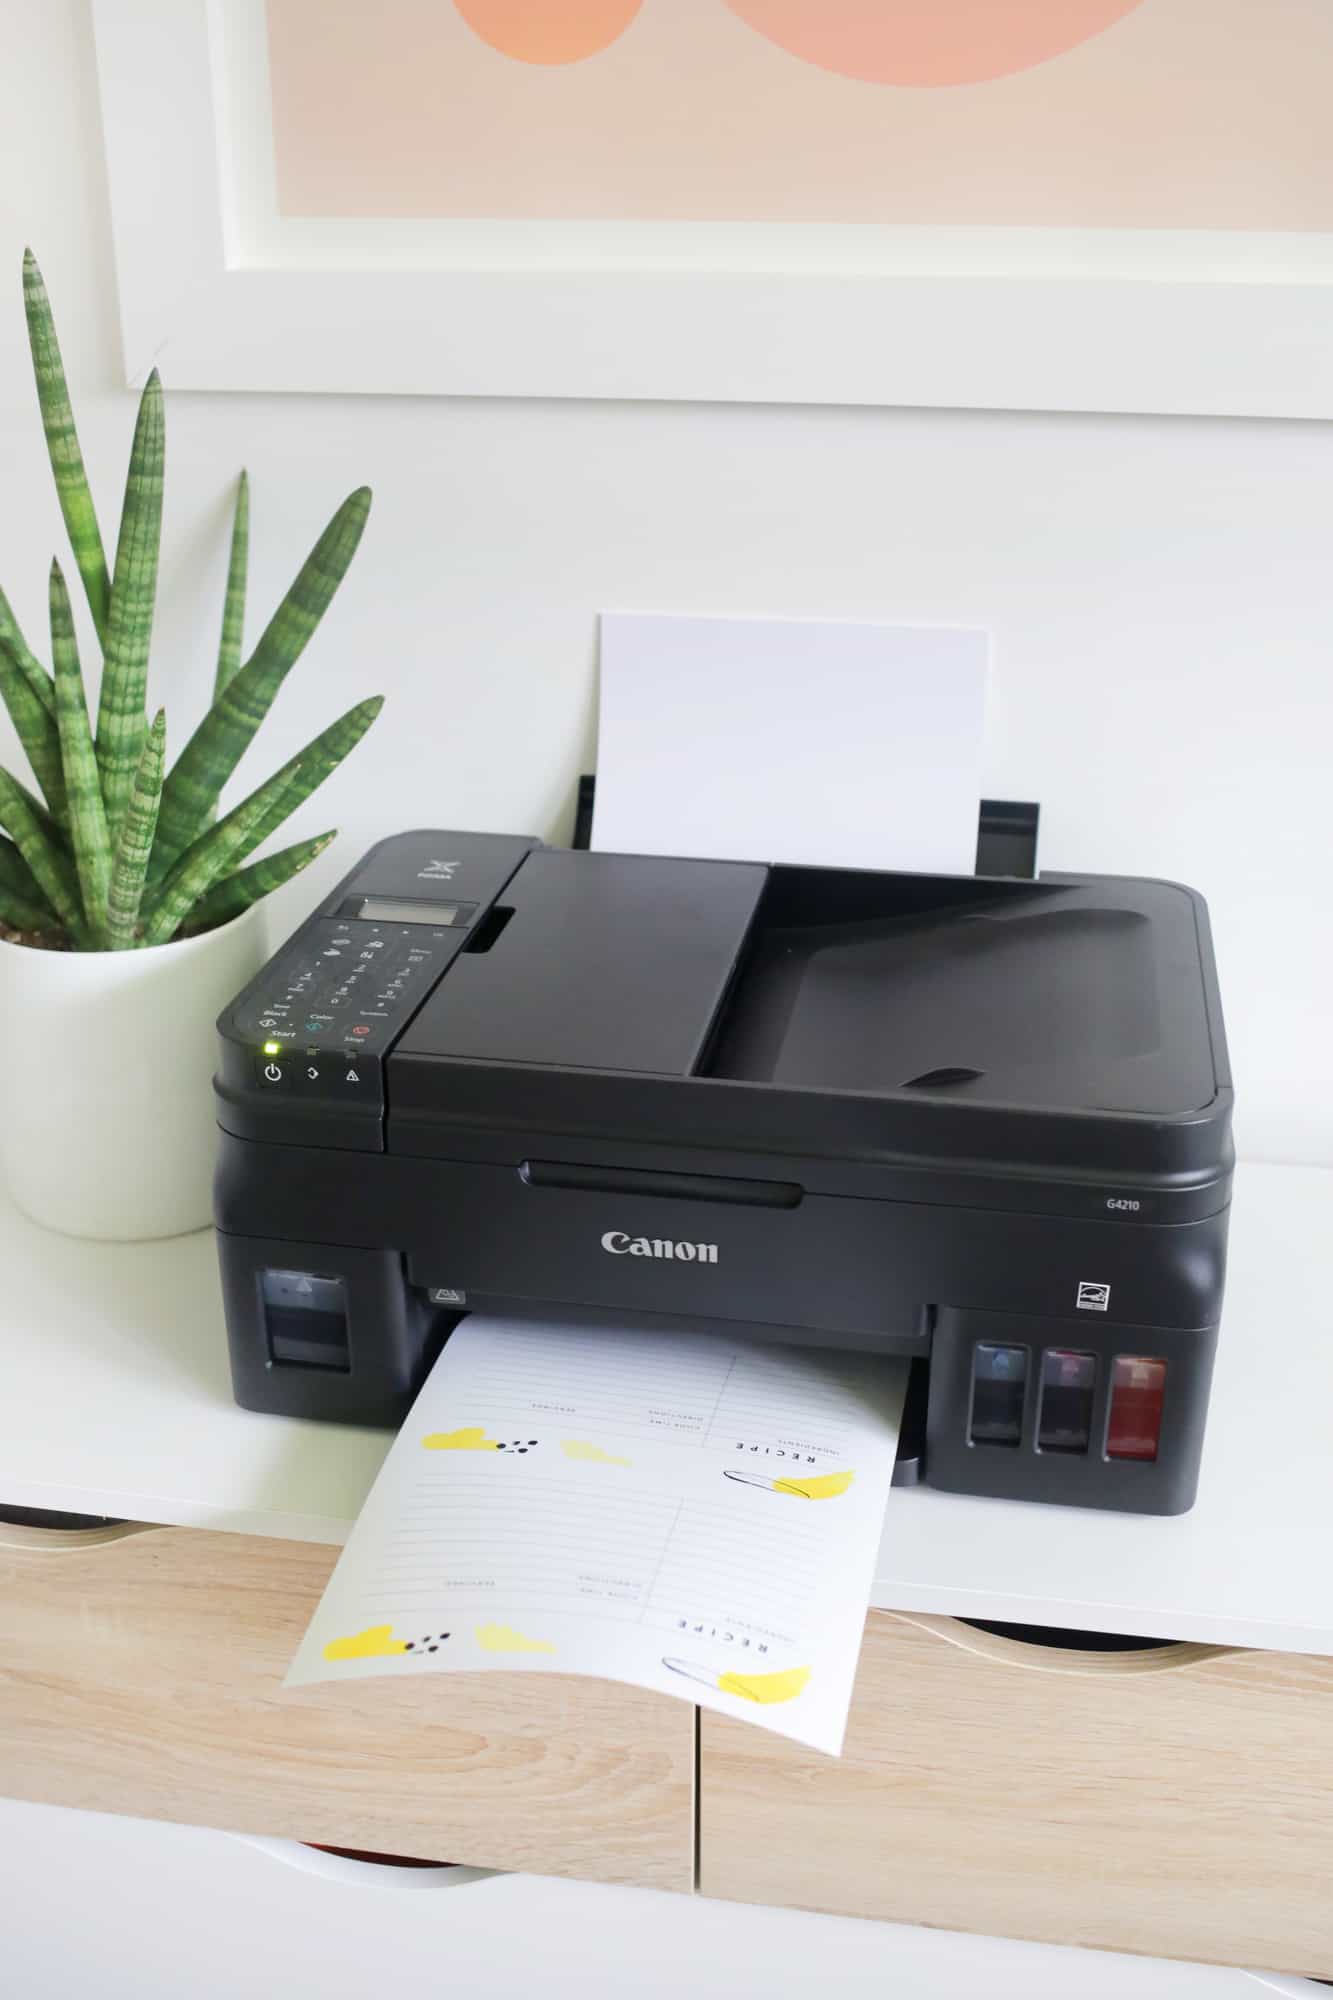
 I love to cook and bake. That statement probably doesn’t surprise any of you. Yes, I have my go-to recipes I make again and again, as well as old family recipes I love. But I am also one of those people who constantly experiments and loves to try new recipes. Of course I own (way too many) cookbooks filled with sticky notes on recipe pages I want to try, but I also find myself printing a lot of recipes off the internet. I often prefer to print (as oppose to just looking at the recipe on my phone or computer screen) so I can add notes to the page and save the paper recipe if I end up loving it.
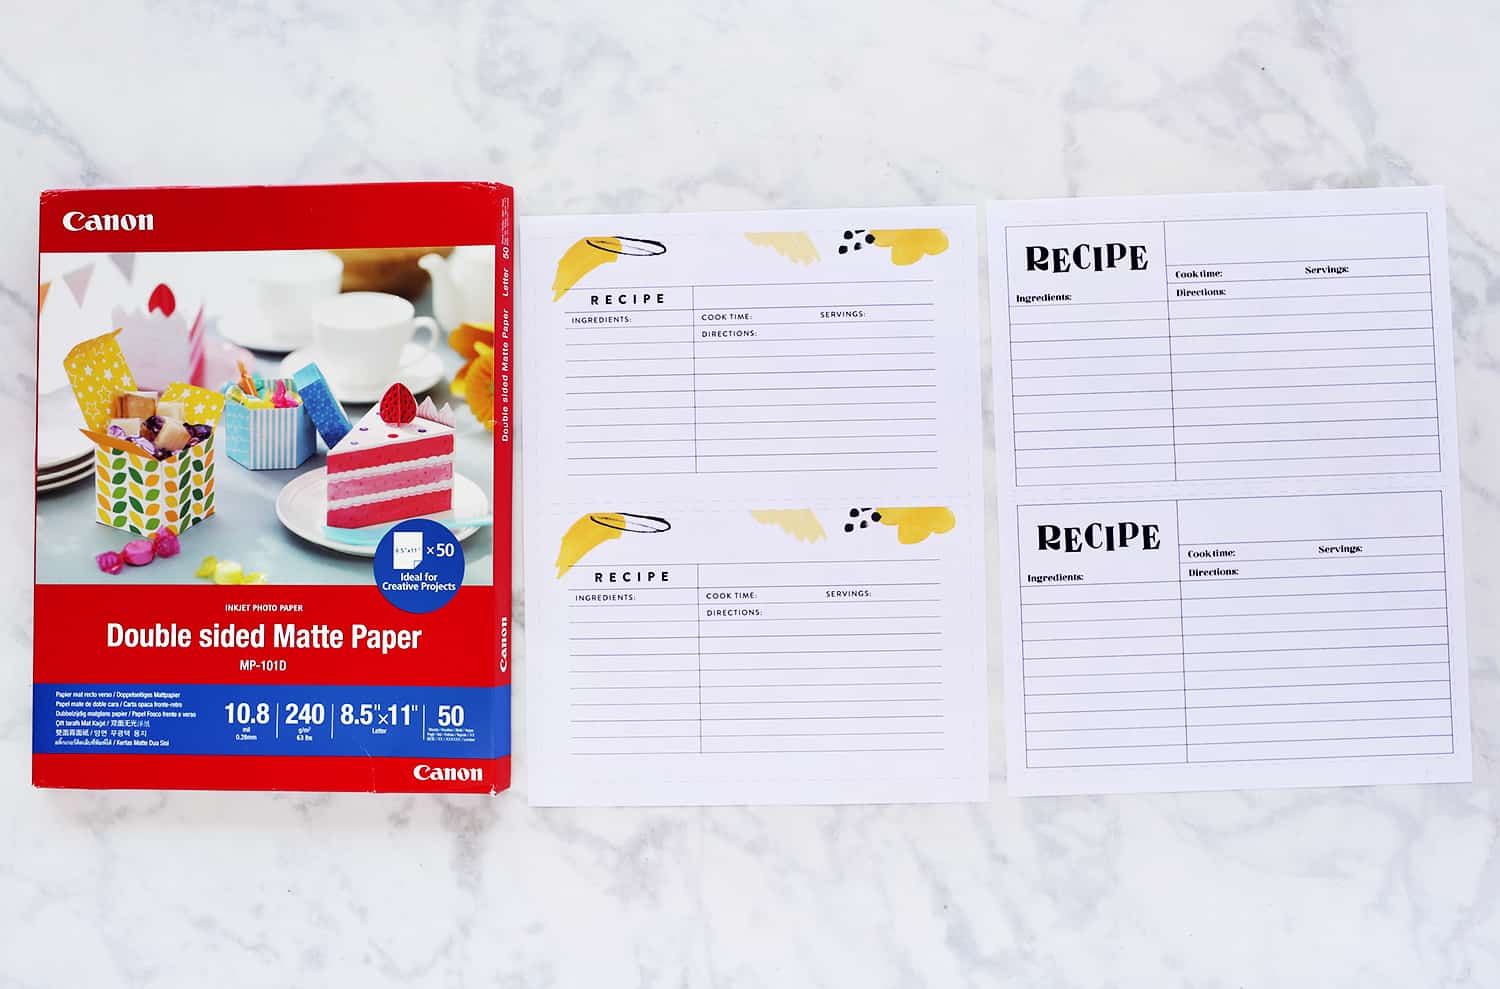 I also wanted to highlight
 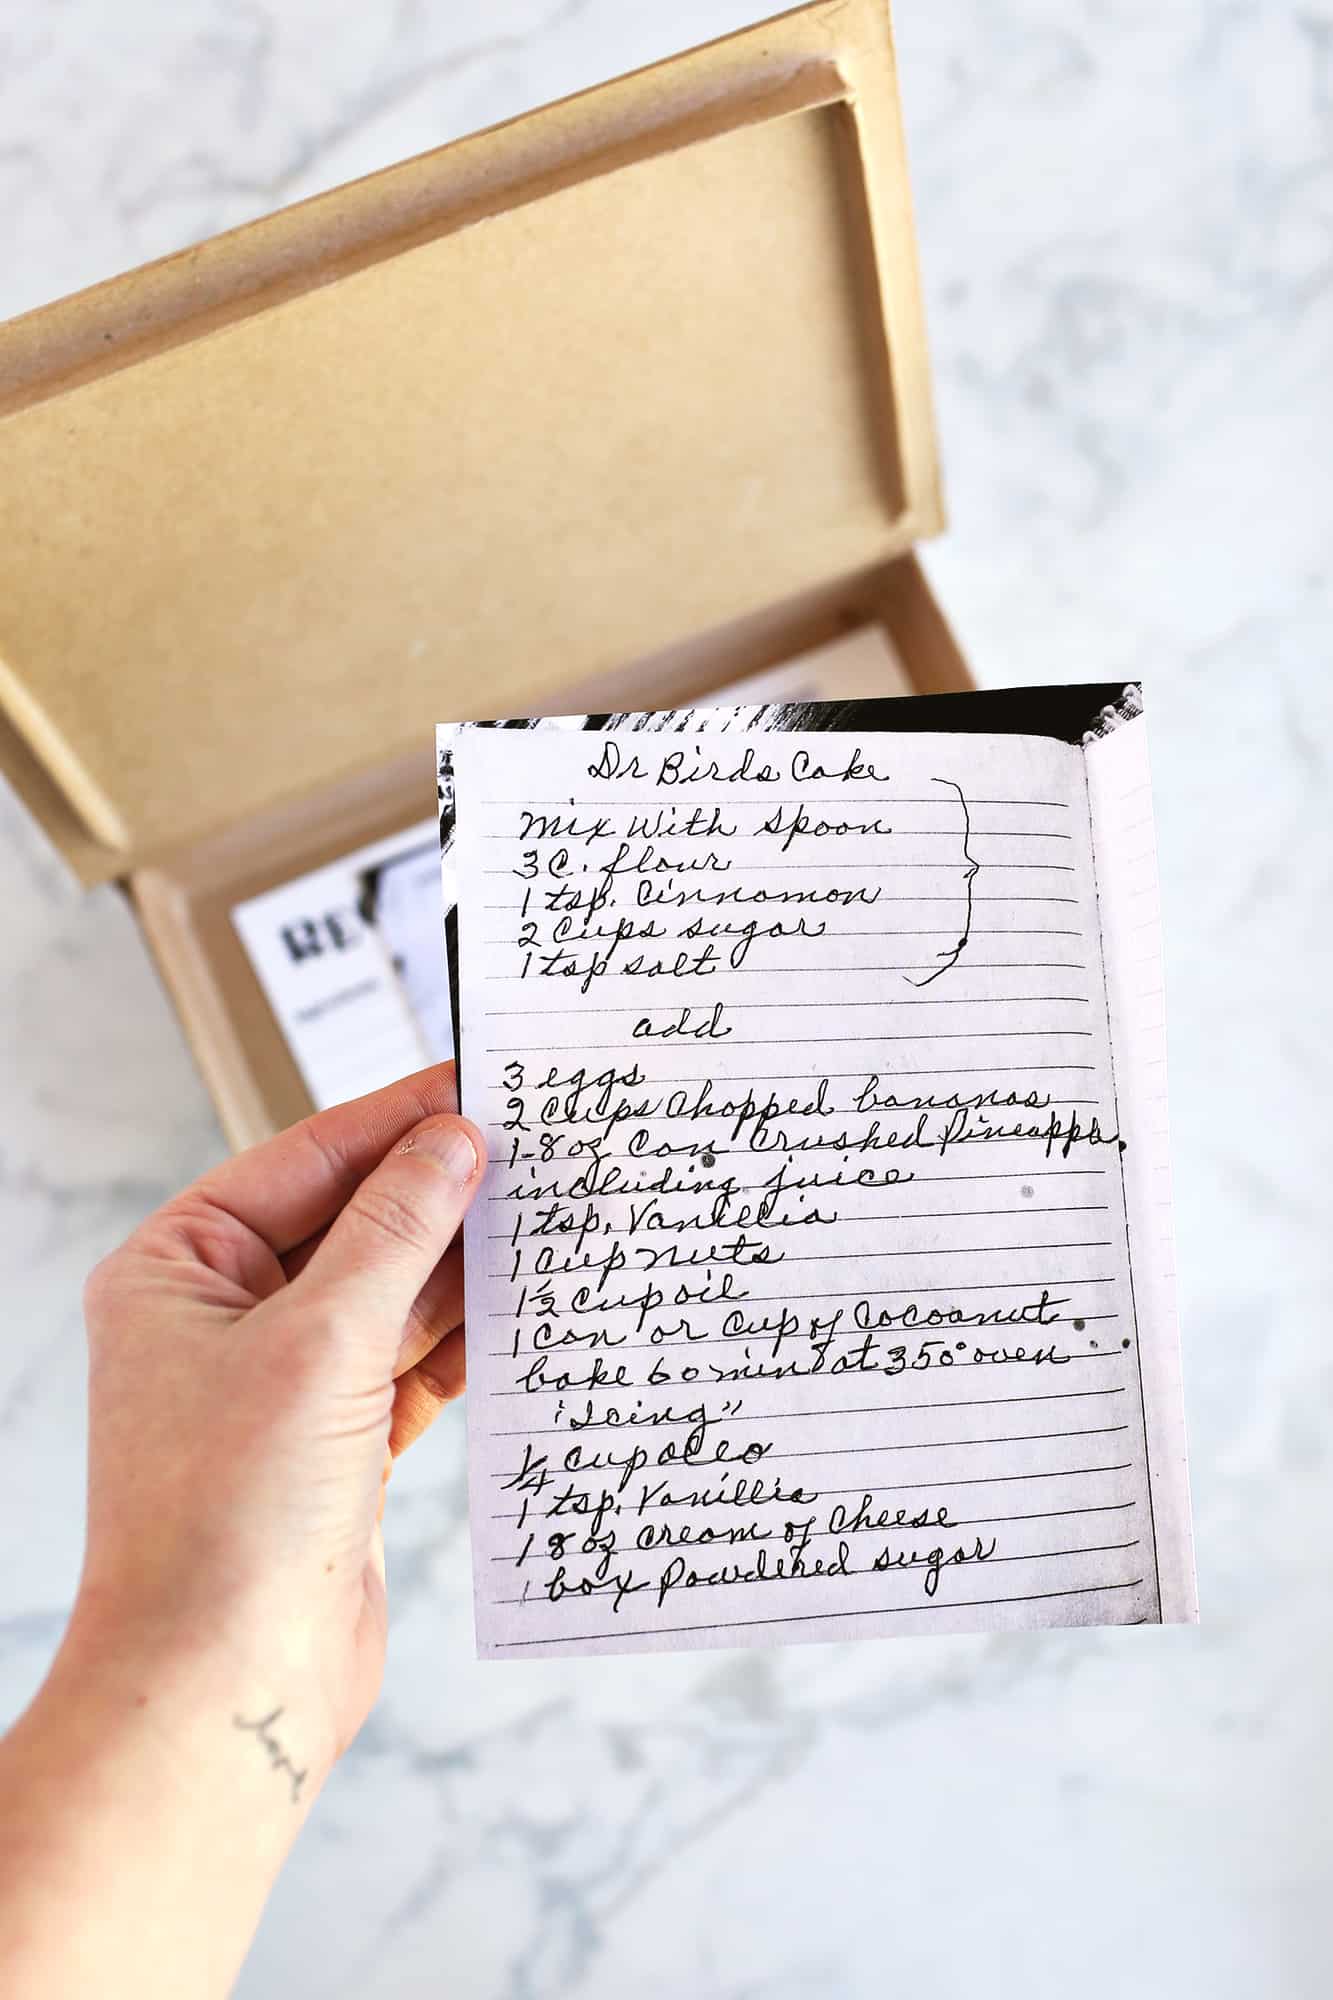 Another option is using your printer to scan and/or print family recipes. This is a recipe from my late great-grandmother, Lula. She was known for her kitchen skills and her love of good food. My mother has the original copy of this handwritten recipe, but she texted me a picture of it and I printed it with my home printer to save in my recipe card box. If you want all your recipe cards to be uniform, then you could add something like this to the templates we’ve provided. But, I personally like having a memento of my great-grandmother’s handwriting, so I don’t mind if my cards don’t all match. Once they’re inside the DIY recipe card box you can’t see them anyway, so it’s a great way to tuck away papers that may not perfectly match.
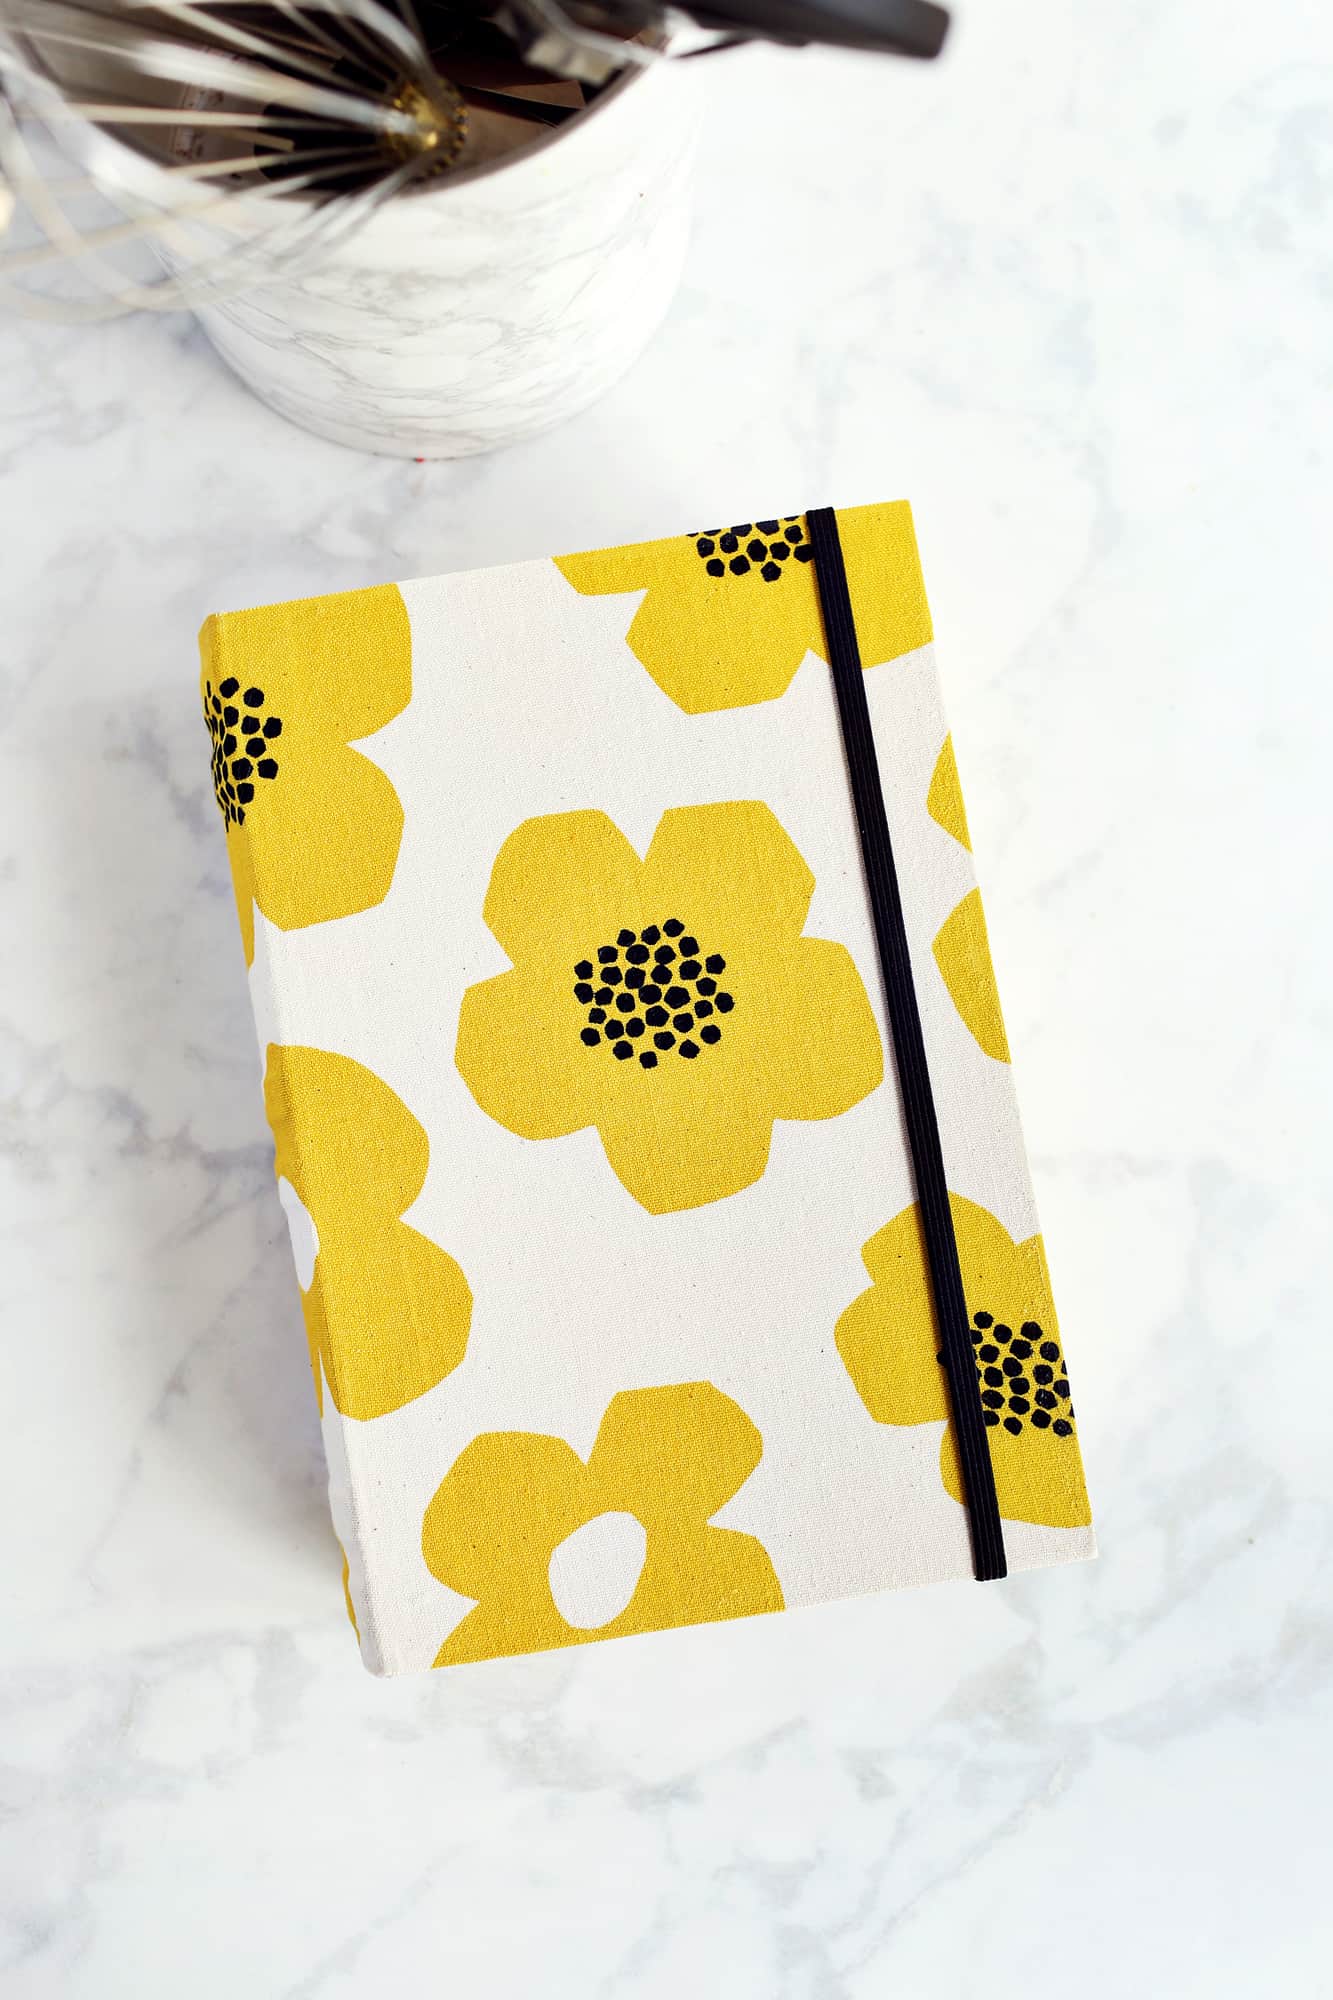
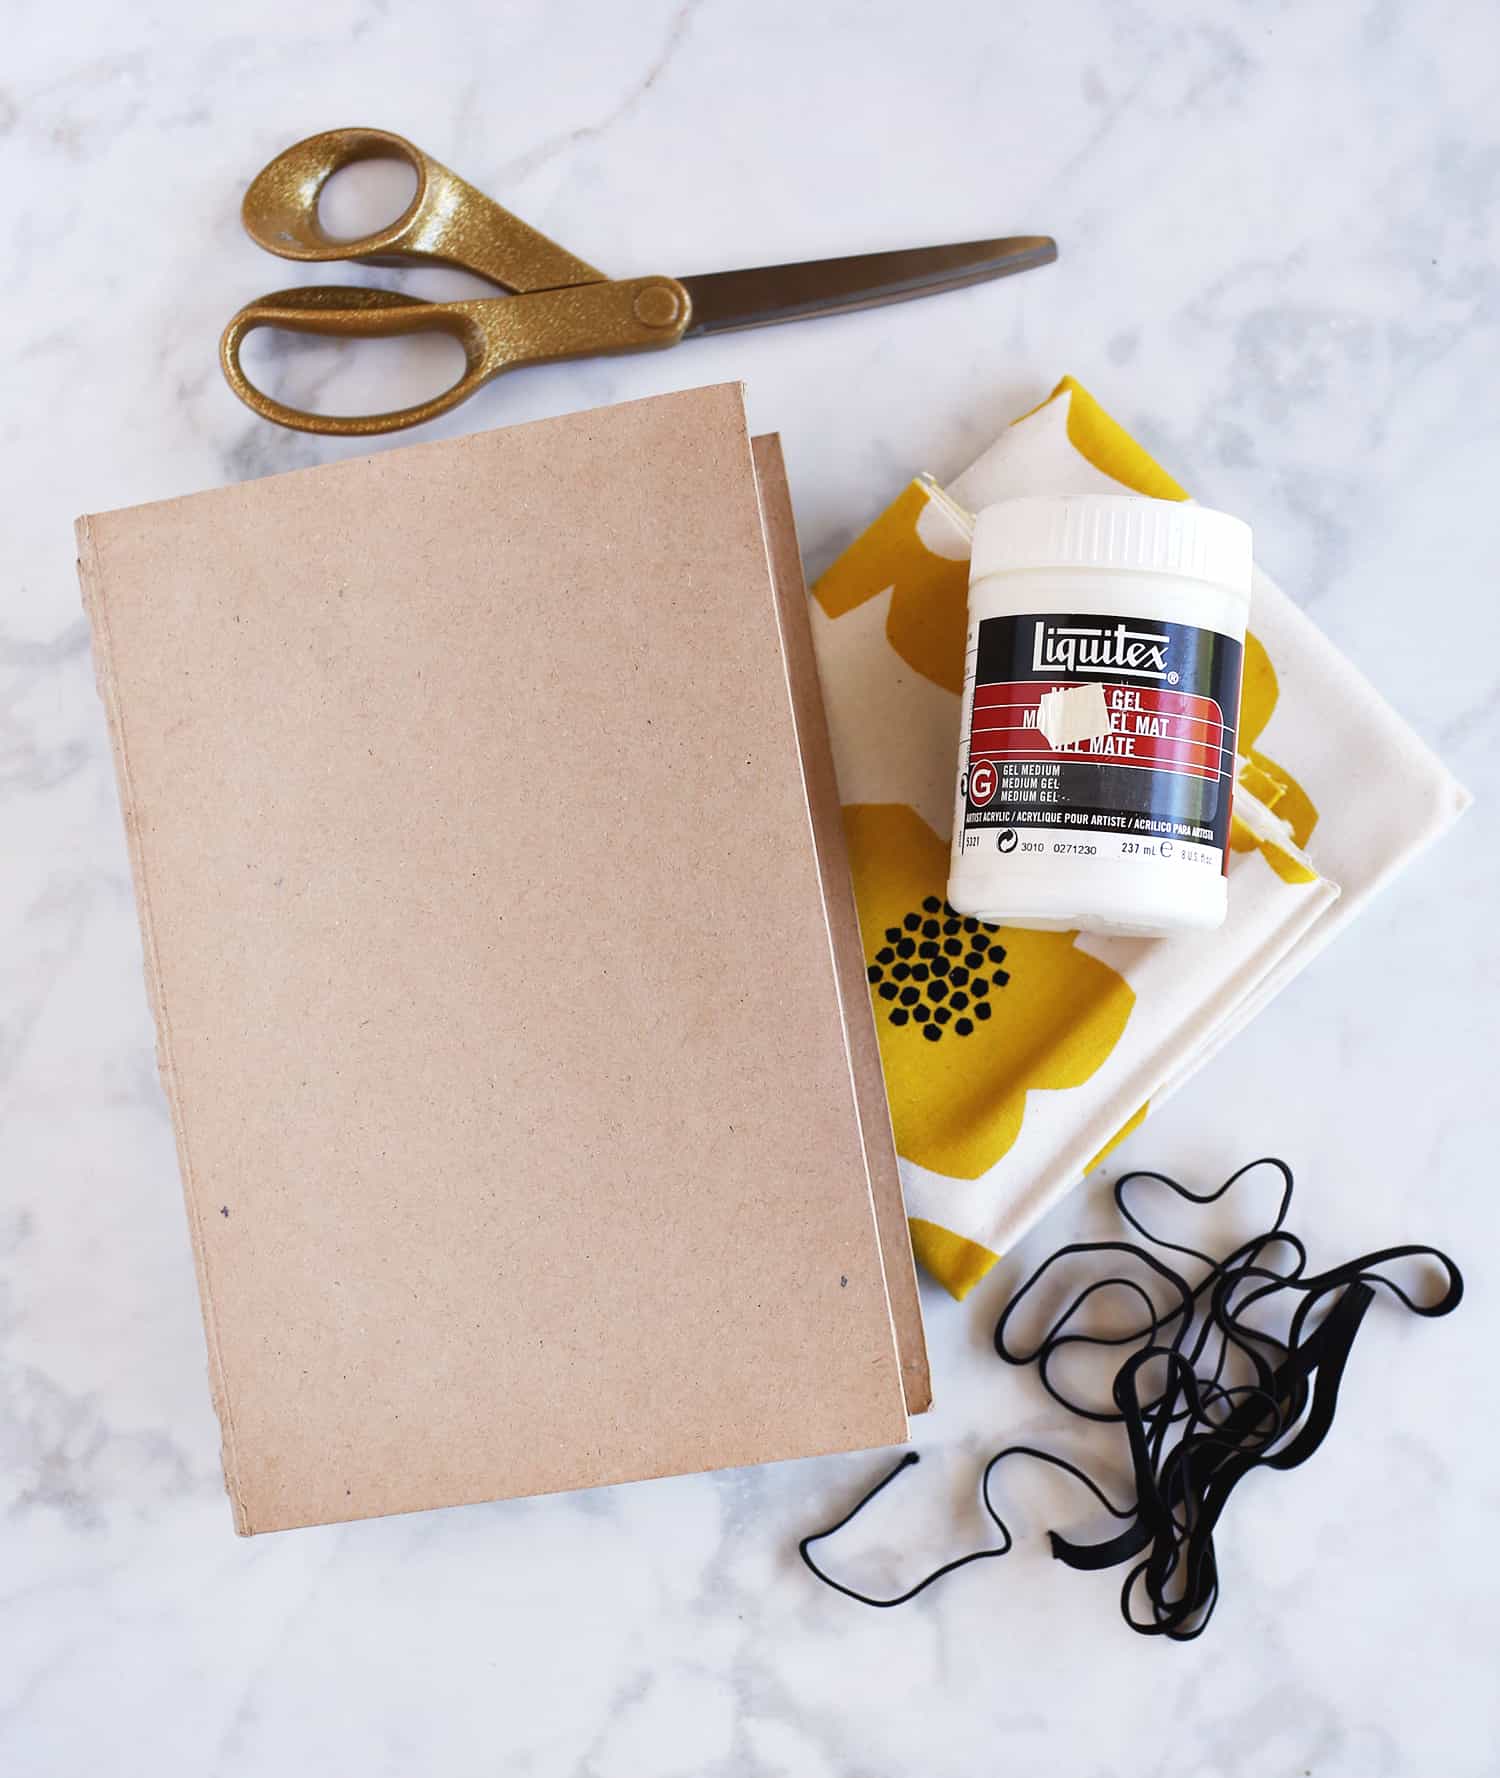 As you can see, this DIY recipe card box looks like a fabric covered book. I love this, as I have it sitting on a shelf that contains many of my cookbooks so it just fits right in. Here’s how I made it.
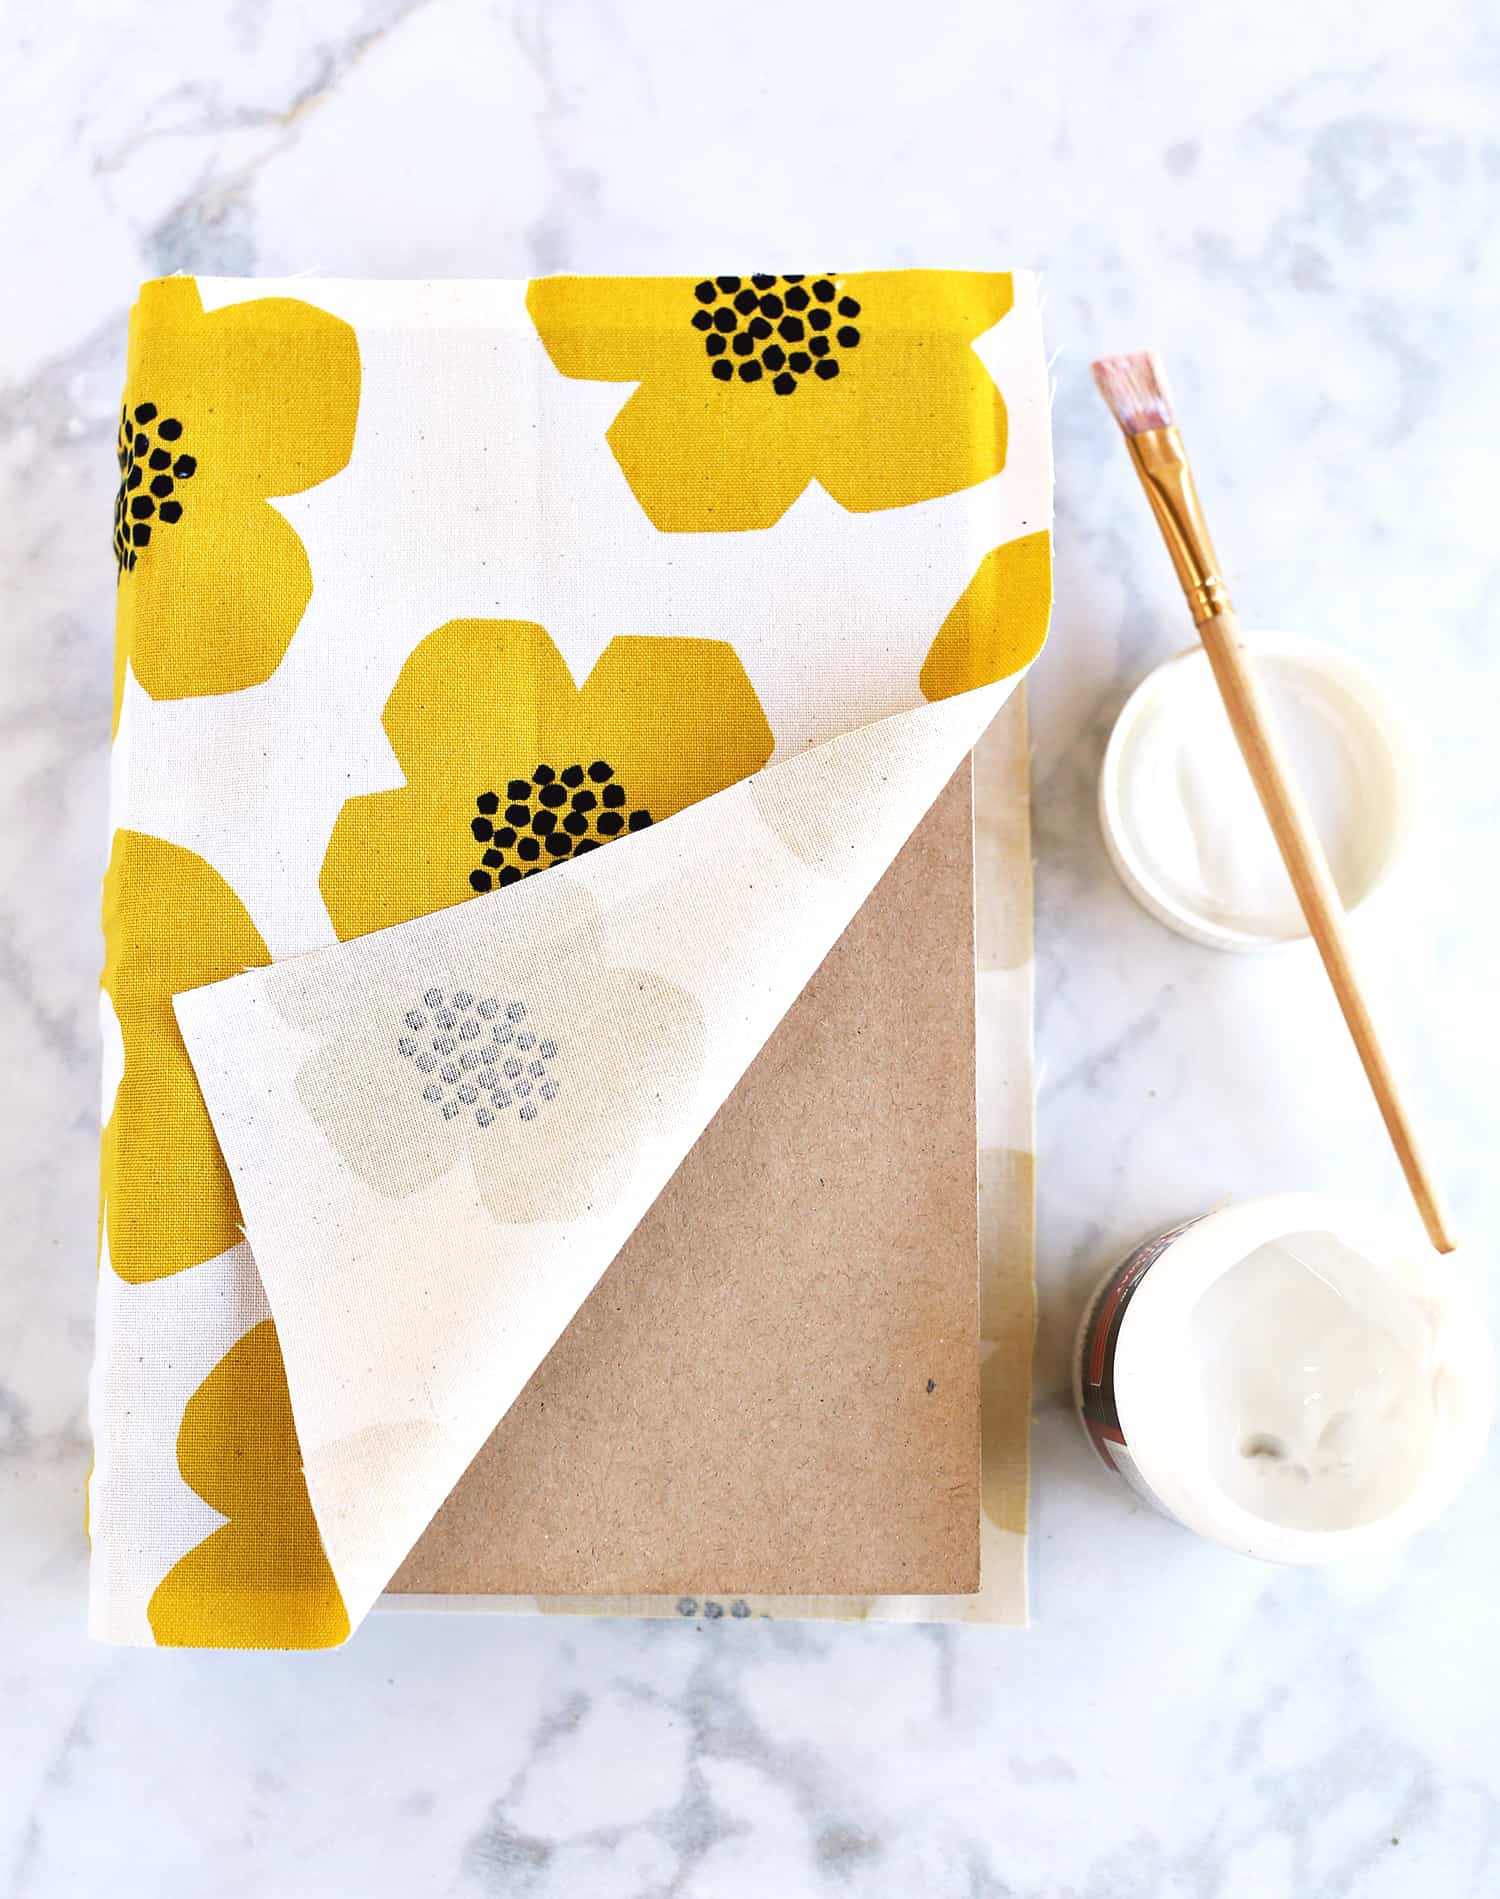 Step One: Add the fabric to the book cover. I did this by first cutting down my fabric to about an inch larger on all sides than the book’s cover. Then, starting at the spine, I used a paint brush to add the glue in a thin layer. I carefully stuck the fabric on the spine down first, then did the front and back covers.
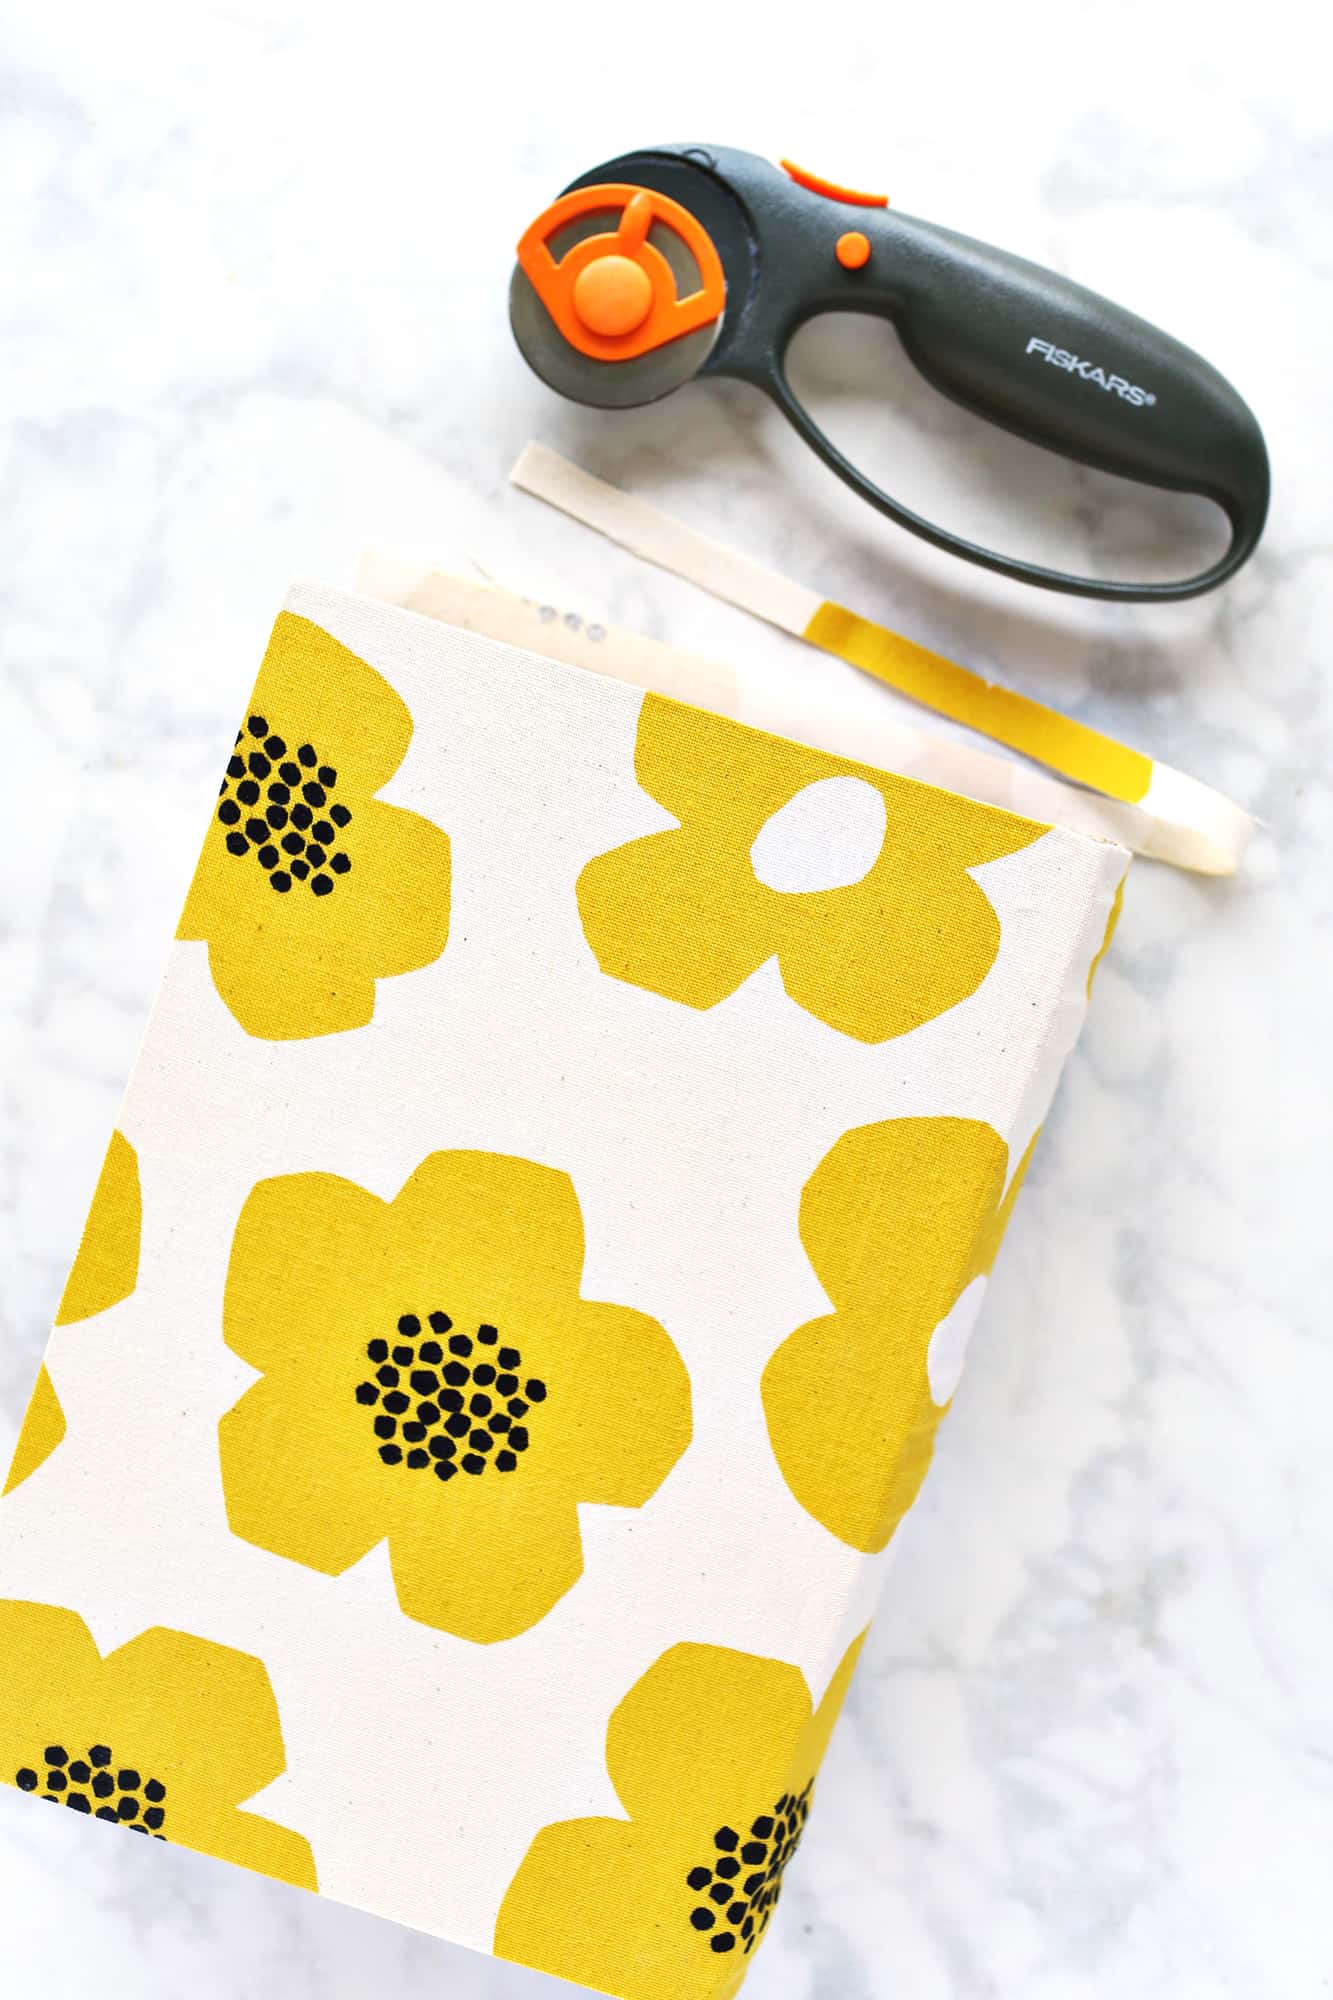 Step Two: Once the glue has completely dried, trim off the excess fabric. Take care so you don’t have any fraying edges on the fabric. Then, I used the glue and brush again to lightly coat the edges, to make sure they don’t fray in the future. If you wanted to you could give the entire book a thin layer of glue on the outside at this point too, just to project it more. Just an option!
 Step Three: Paint the edges of book, where the “pages” would be. I did this in a neutral antique white to go with the fabric I choose but you could paint it to look like pages or a bold color instead. Up to you!
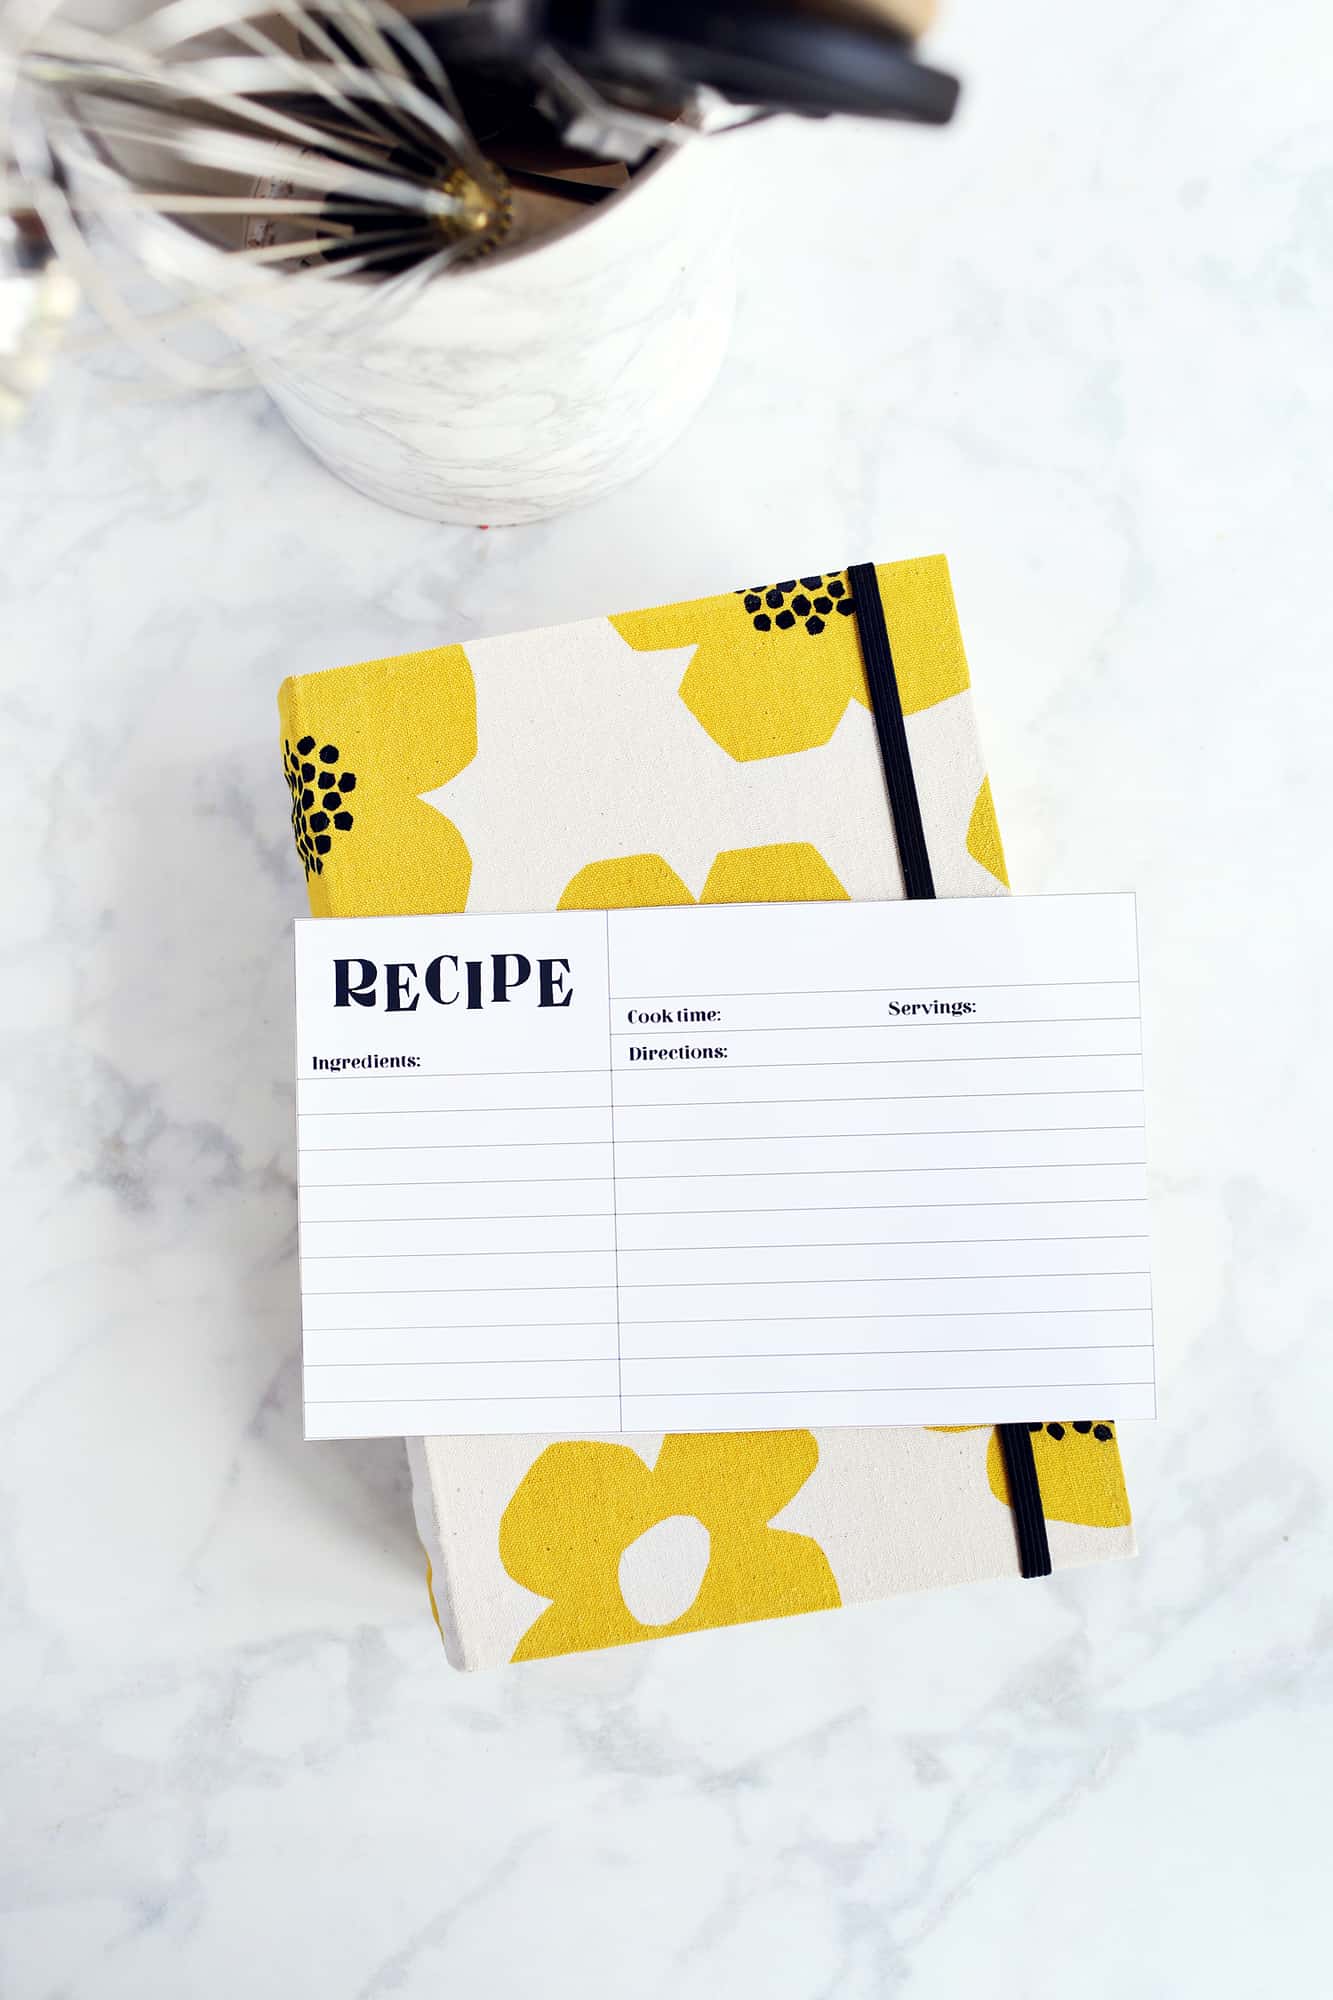
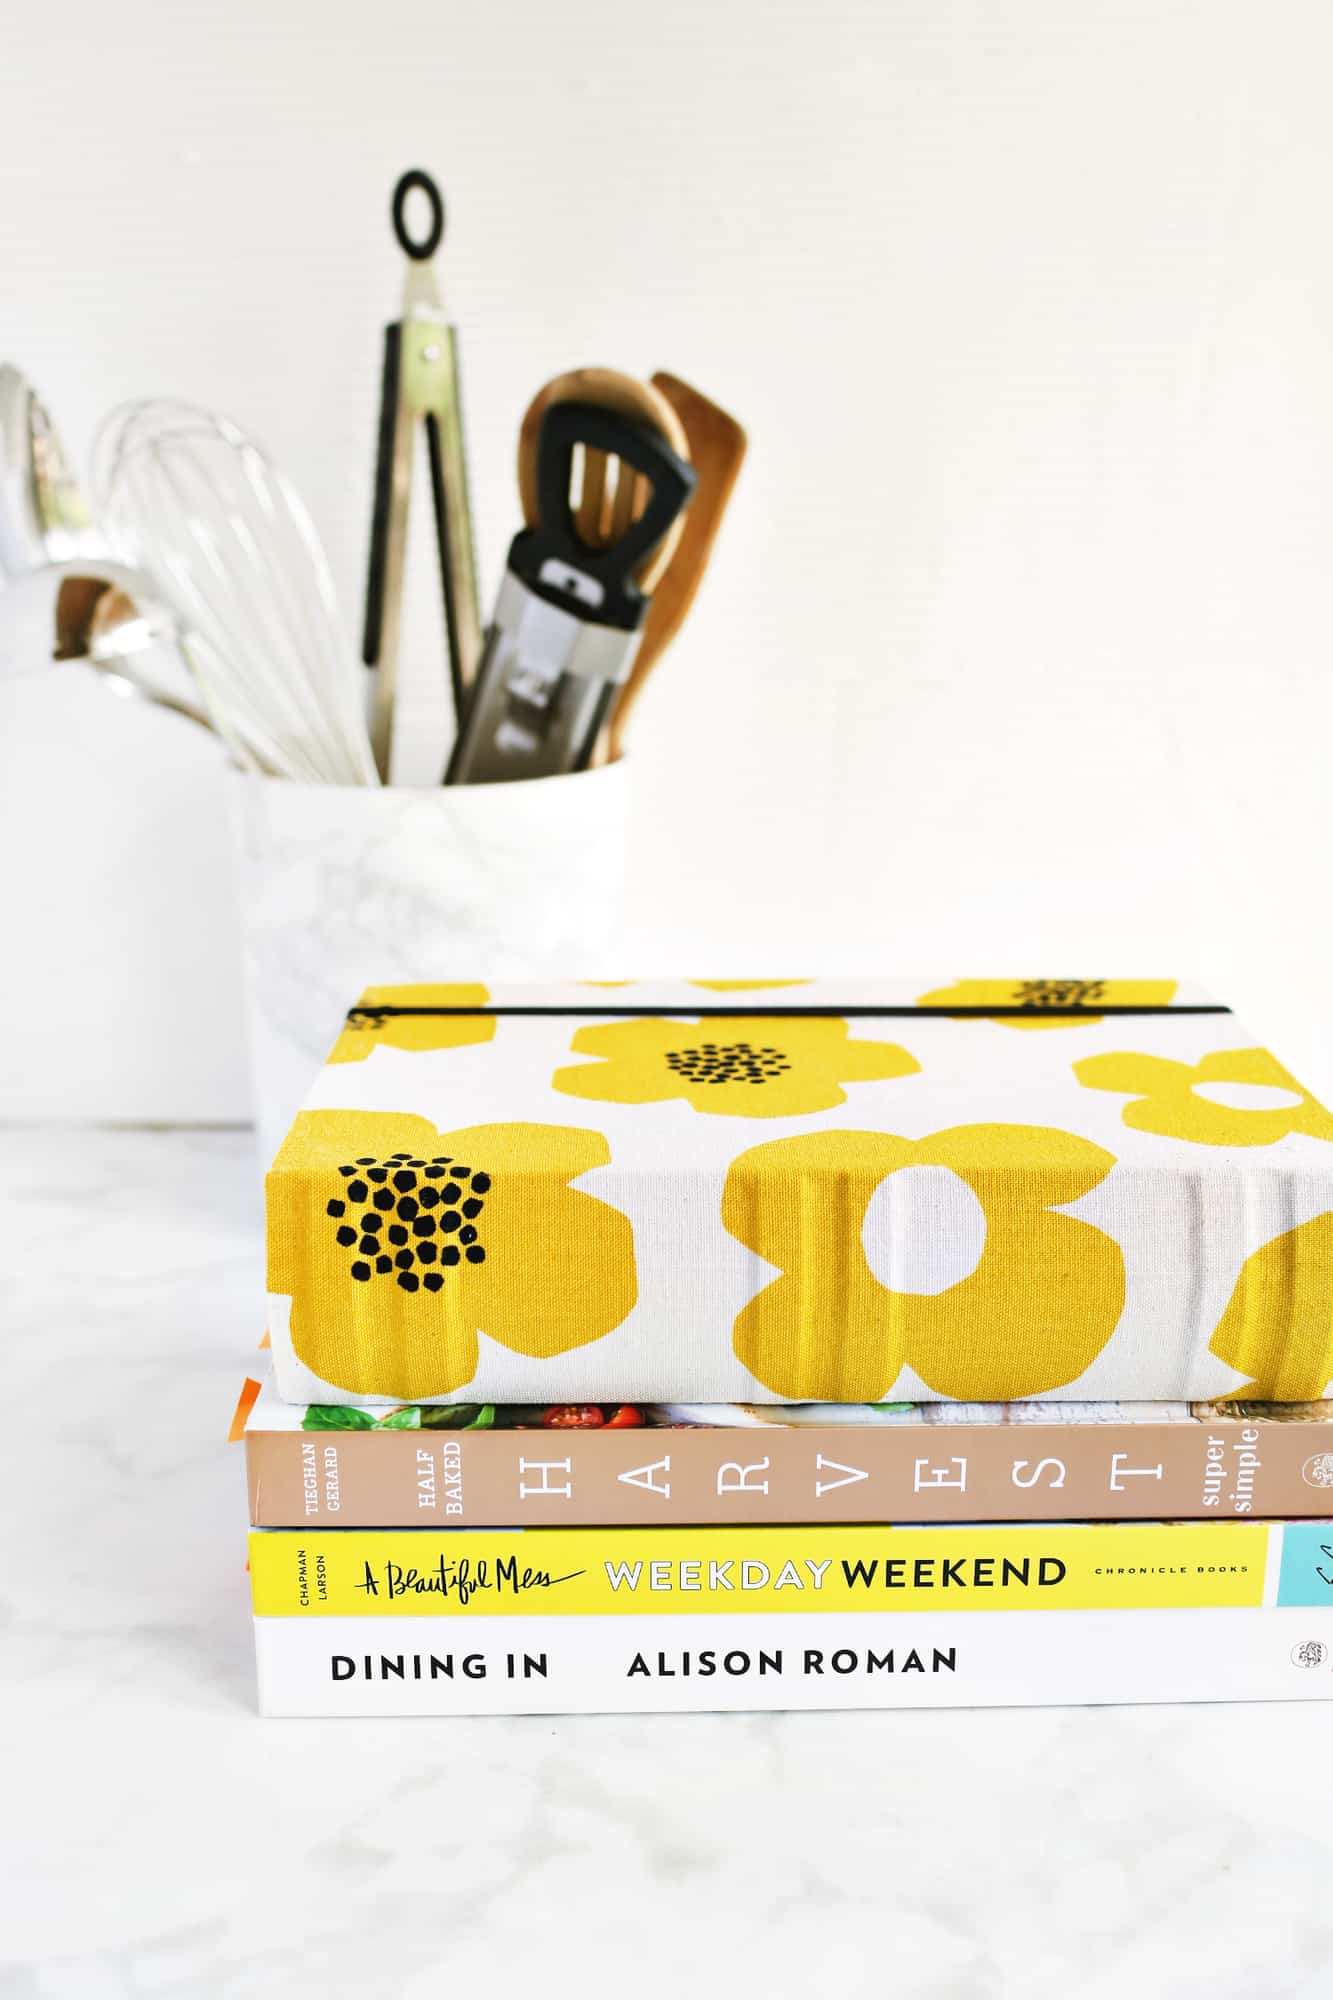 That’s it! A super simple project but a great way to organize your loose recipes. And here’s my DIY recipe card box sitting on my cookbook shelf.
  Depending what fabric you use, this project could look SO many different ways and fit different styles. This would make a really cute gift for a friend or family member who loves to cook or wants to get into it. Thanks for letting me share! xo. Emma
 Wooo! We FINALLY experienced the incredible feeling of selling a home quickly, above asking price, with multiple offers! I still can’t believe it!!! And I don’t say this to brag, because in the past, we’ve had homes sit on the market for six months or more and had to lower the price several times. We were SUPER nervous. However, this time we did a LOT of extra steps and it really paid off. So I want to share all about that today!
 Here are some things we did before listing our home.
 Here’s how we ended up updating the guest room with neutral wallpaper from
  1 month before listing
 1 week before listing


 -Remove clutter. Look at every space individually whether it’s a closet, a shelf or a counter. Take everything off/out that you possibly can and leave it super minimal. A lot of times we are blind to how cluttered our spaces have become. I know I was. This will make every space feel bigger. Make sure you can see SPACE in your closets, on your counters and on your floors. Minimize every possible corner and leave just enough stuff for it to have a personality.
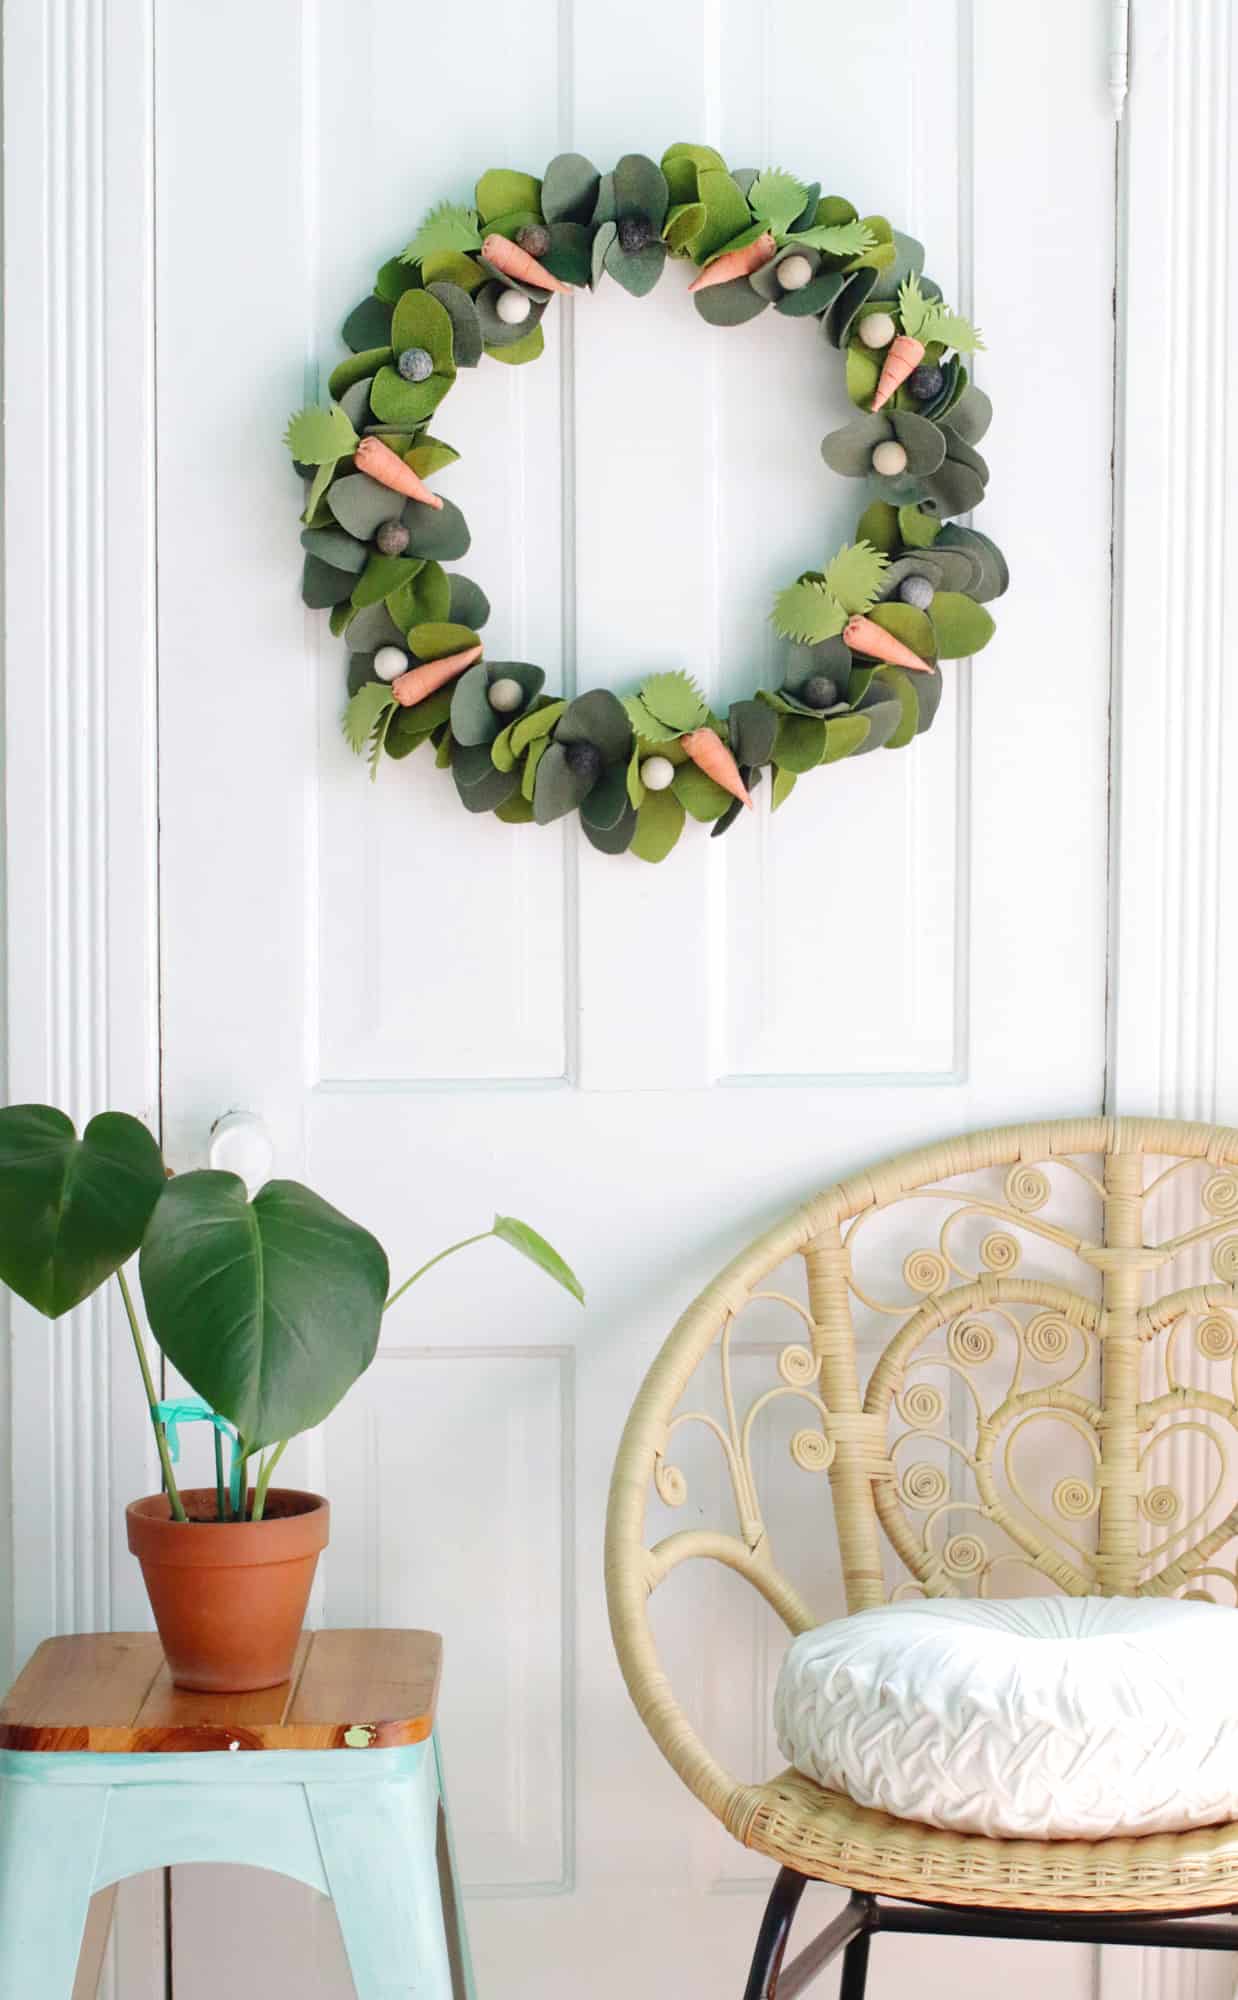 Since we’ve been staying home 24/7, I have found myself with a lot more crafting time on my hands. I’ve also been cooking so much more, my house is cleaner than ever, and I have rediscovered my love for creating things with a few supplies and a lot of imagination! I made this wreath last week and I love how cheery and springy it is.
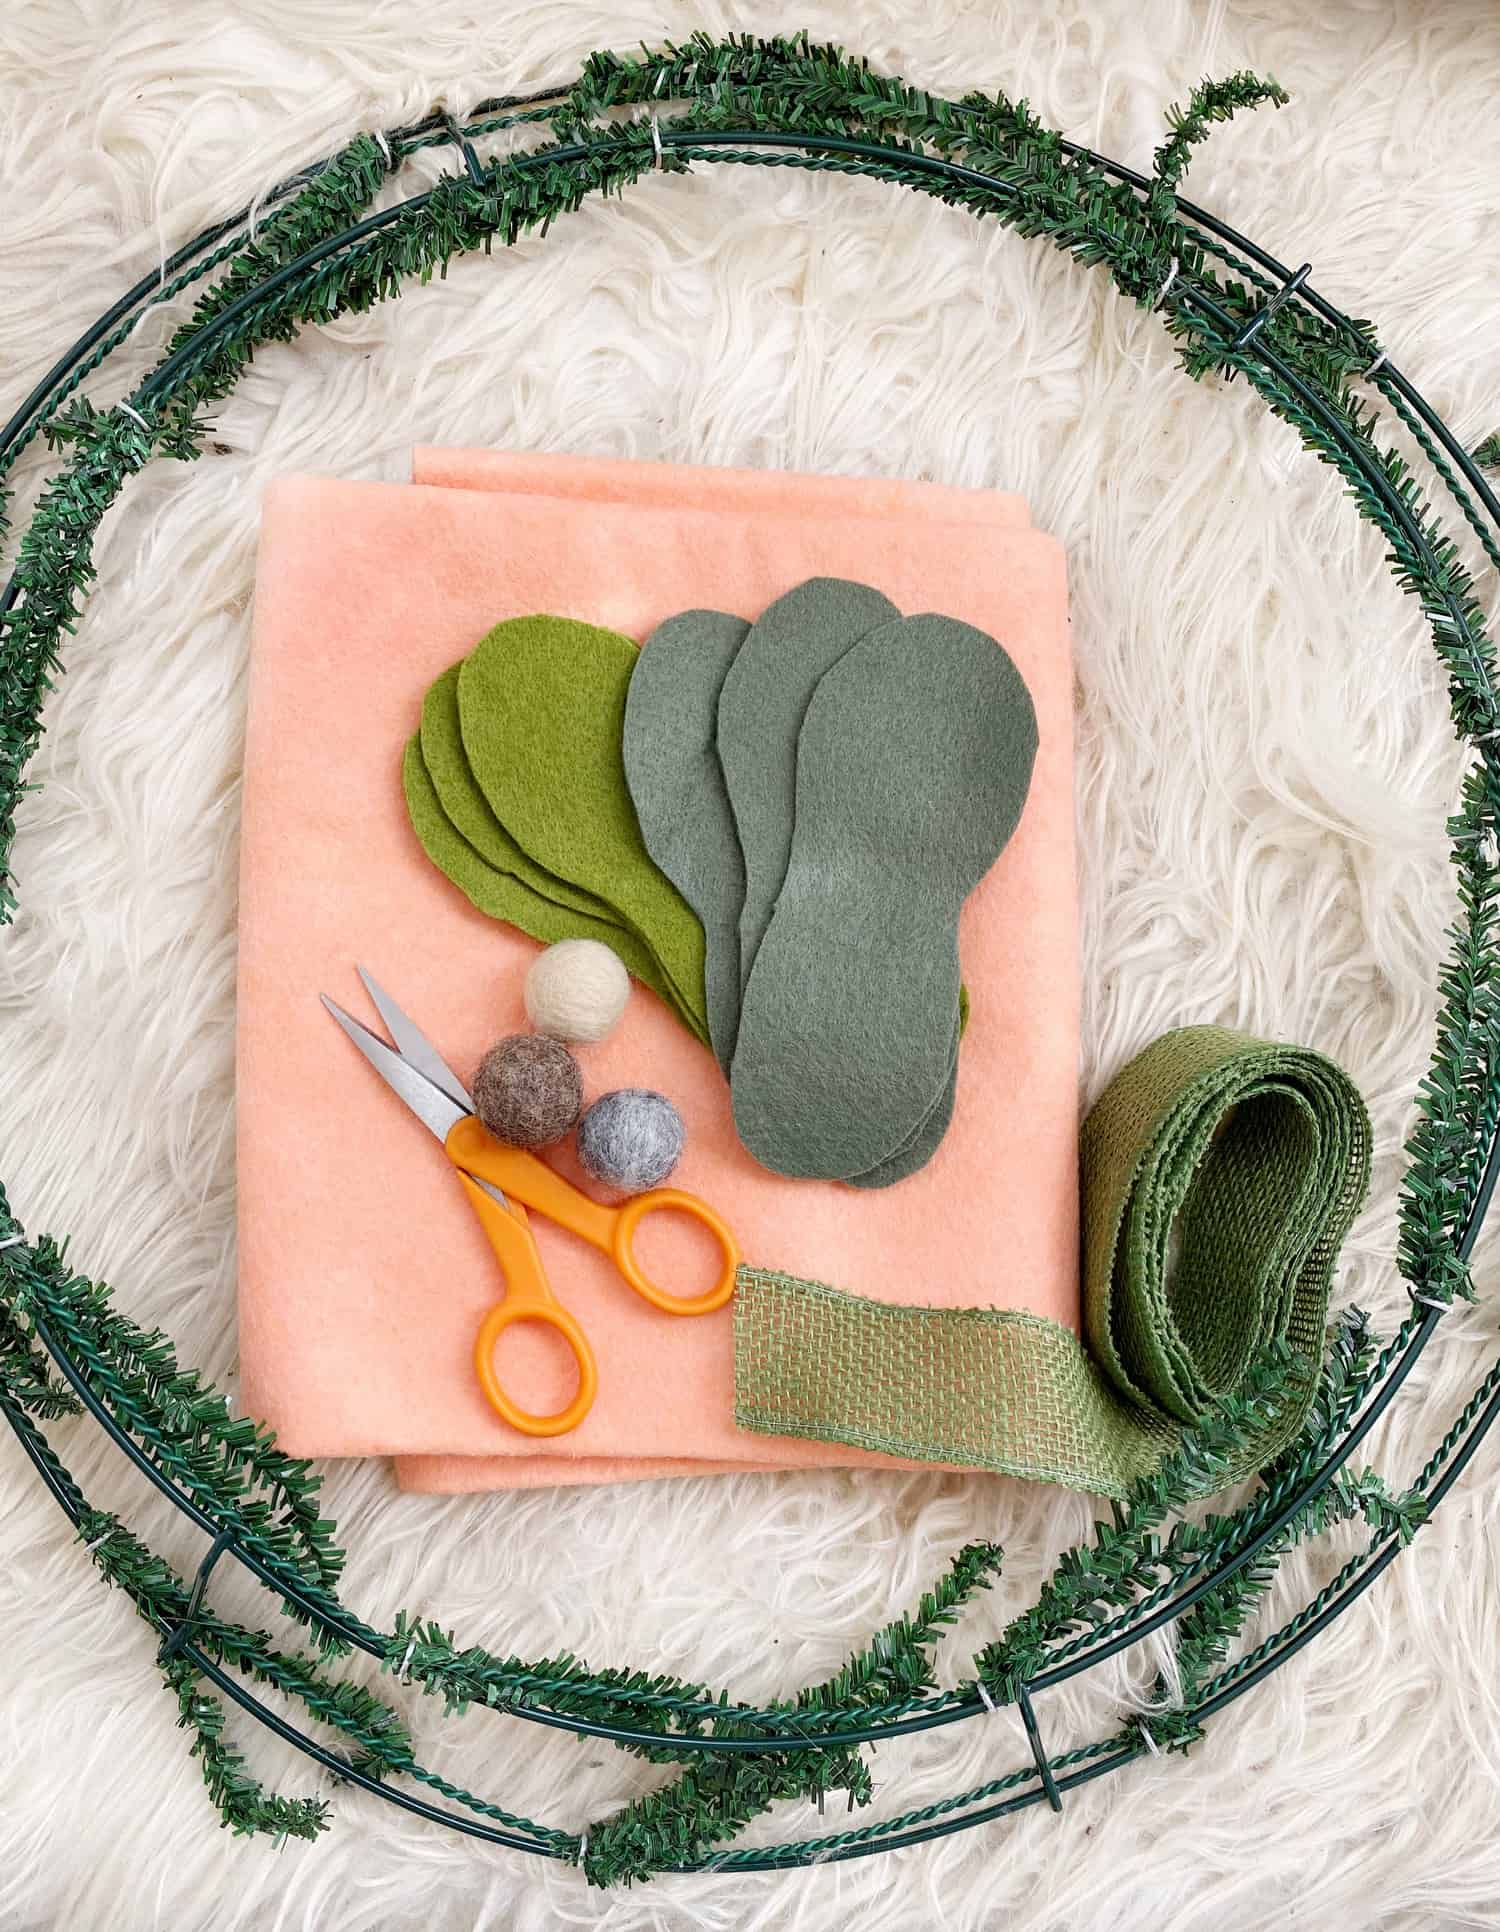 Supplies:
 To begin, print out the
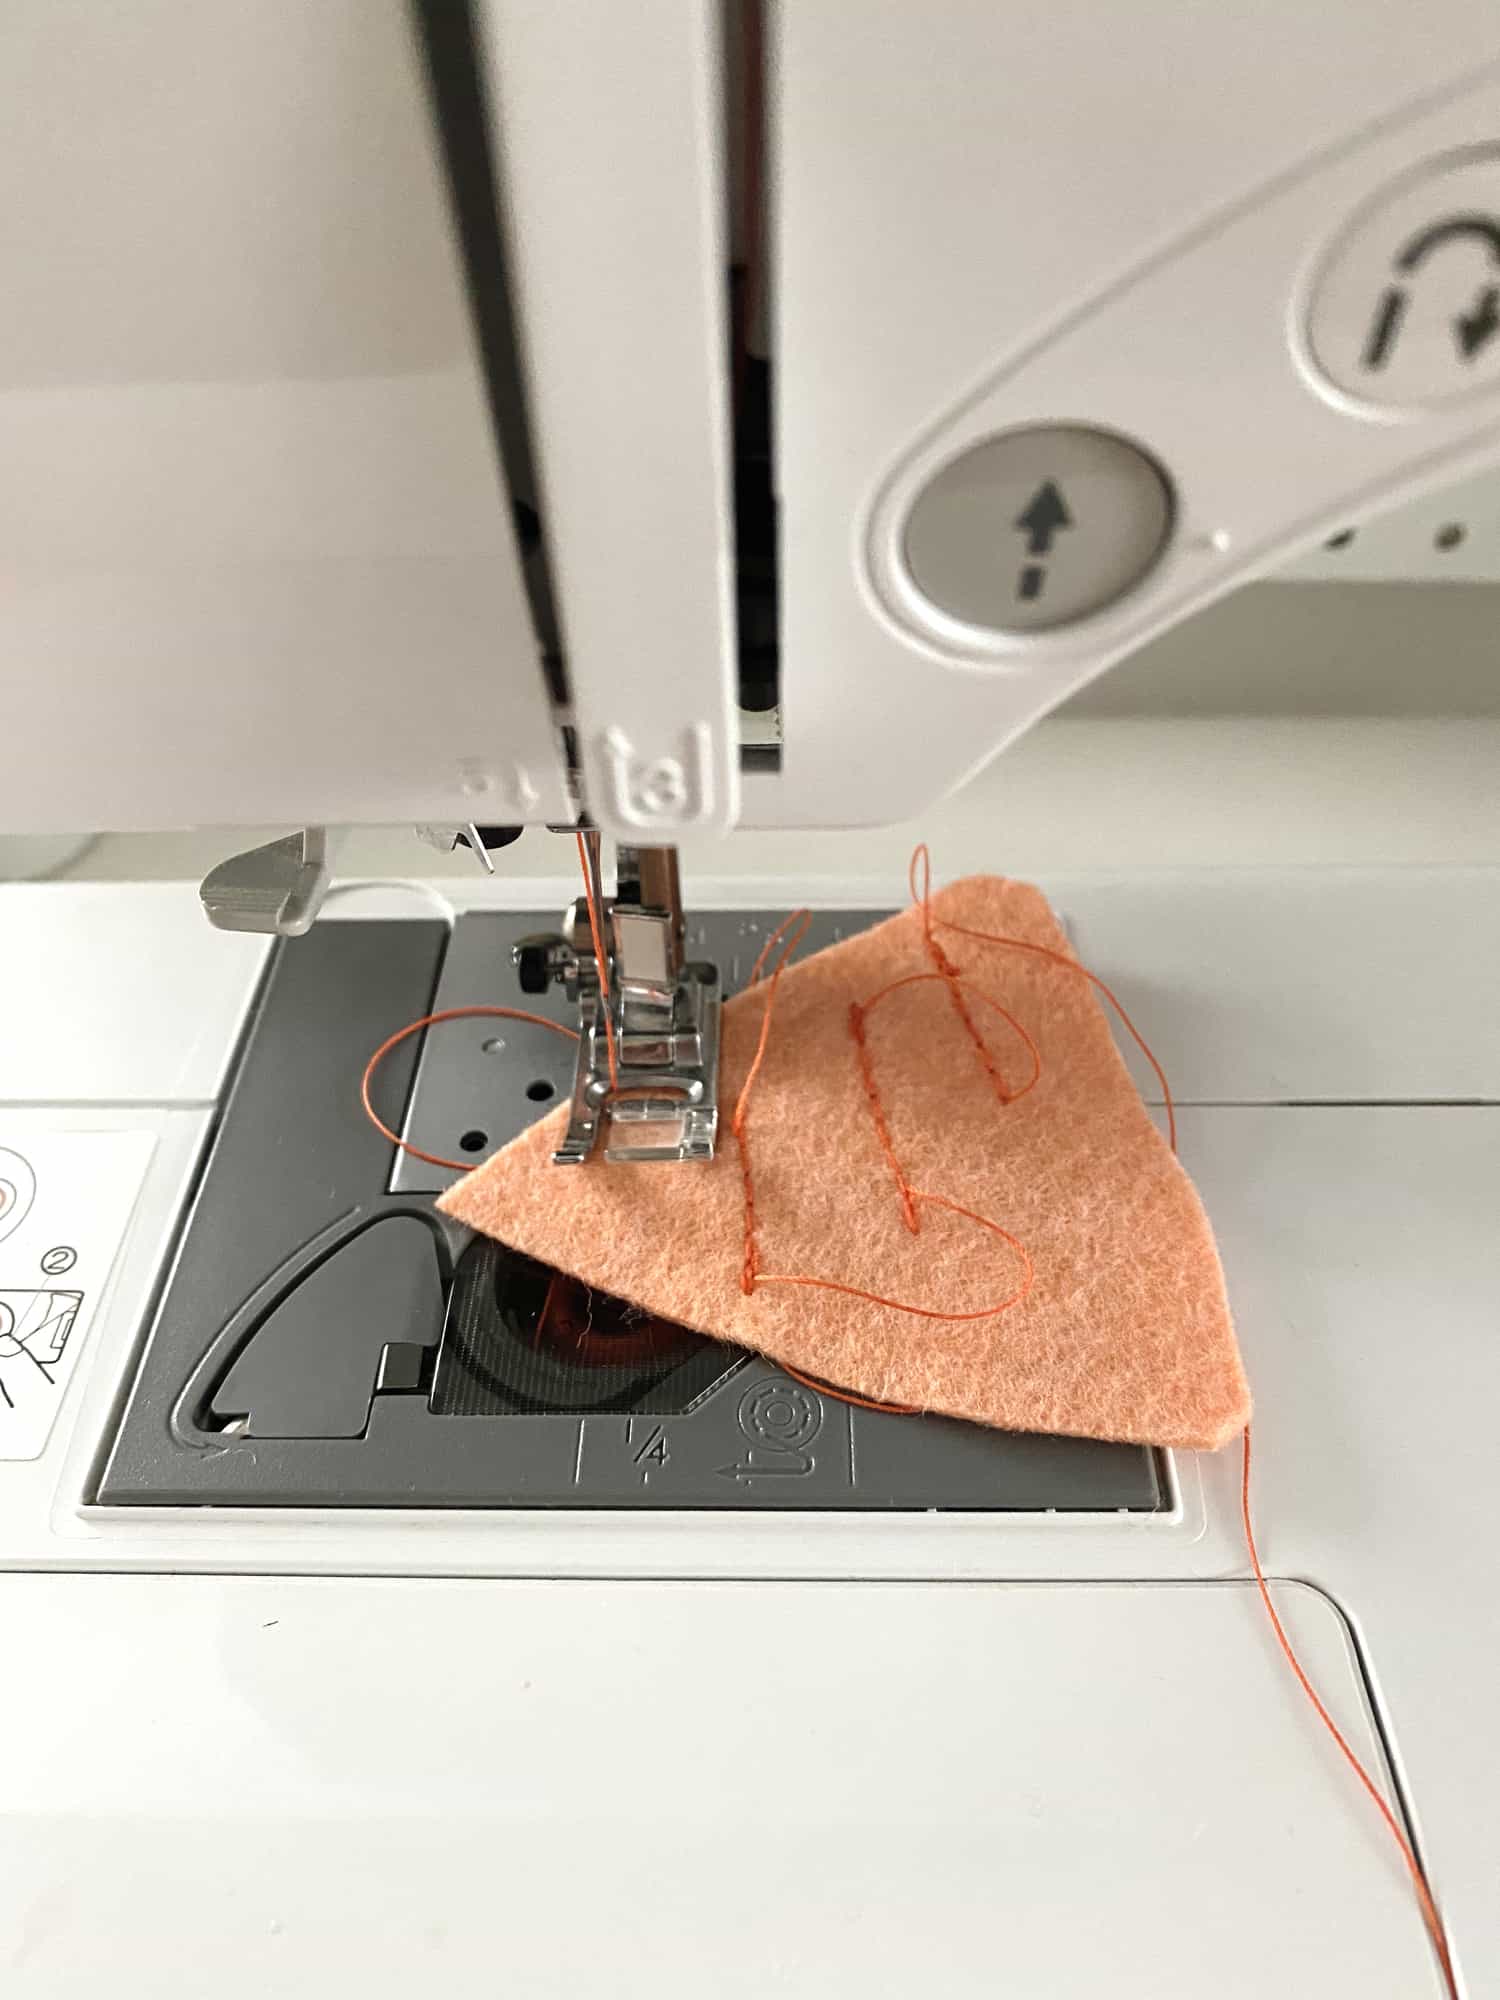
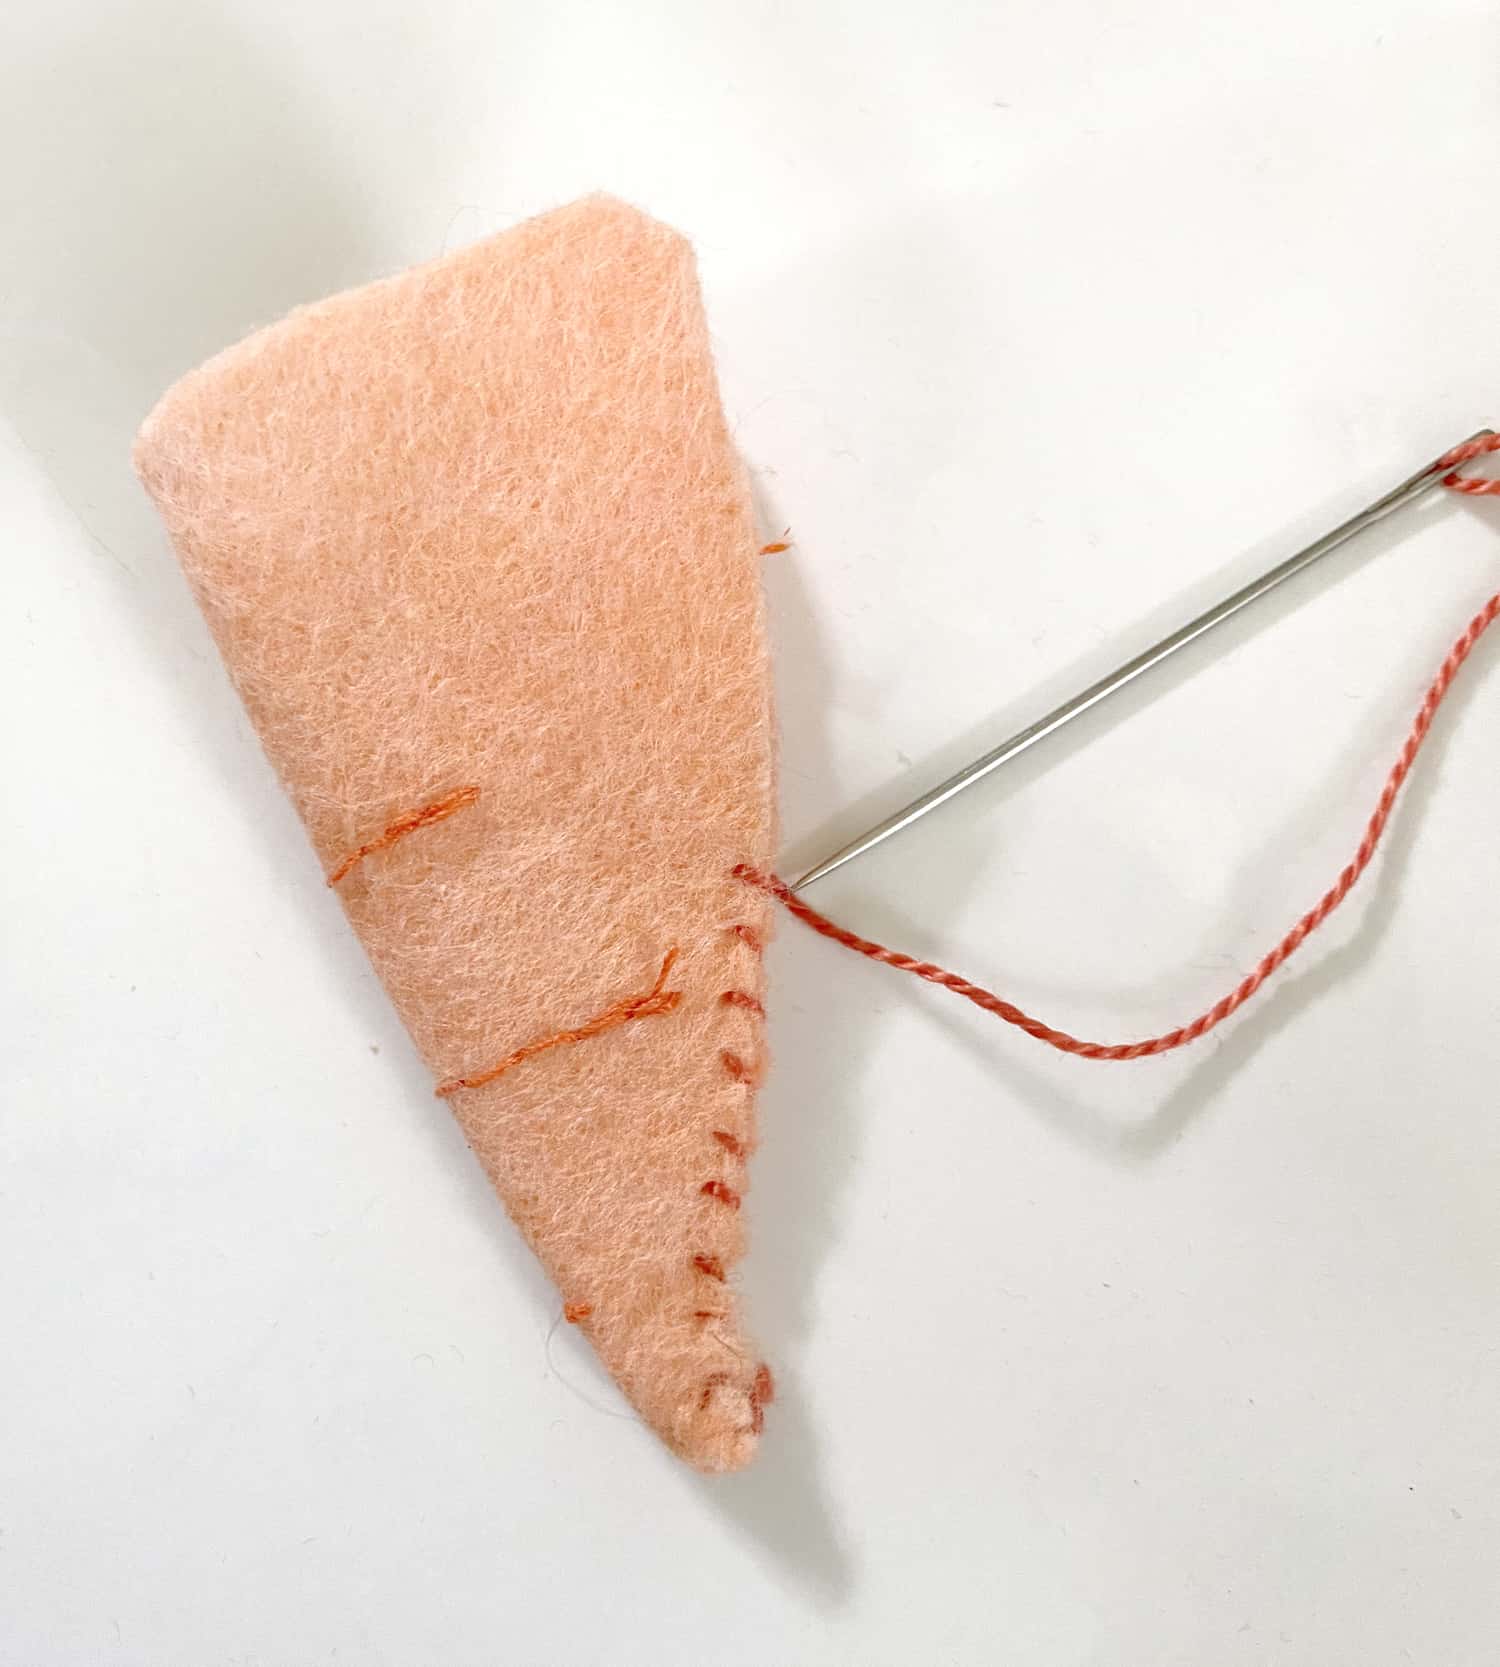
 Add contrasting lines to your cut carrot piece, either by hand stitching or machine stitching. Fold in half lengthwise and sew up the back using a whipstitch. Stuff with fiberfill and close the top by using a running stitch and pulling your thread tight. Stuff your carrot top pieces into the small remaining opening with a chopstick.
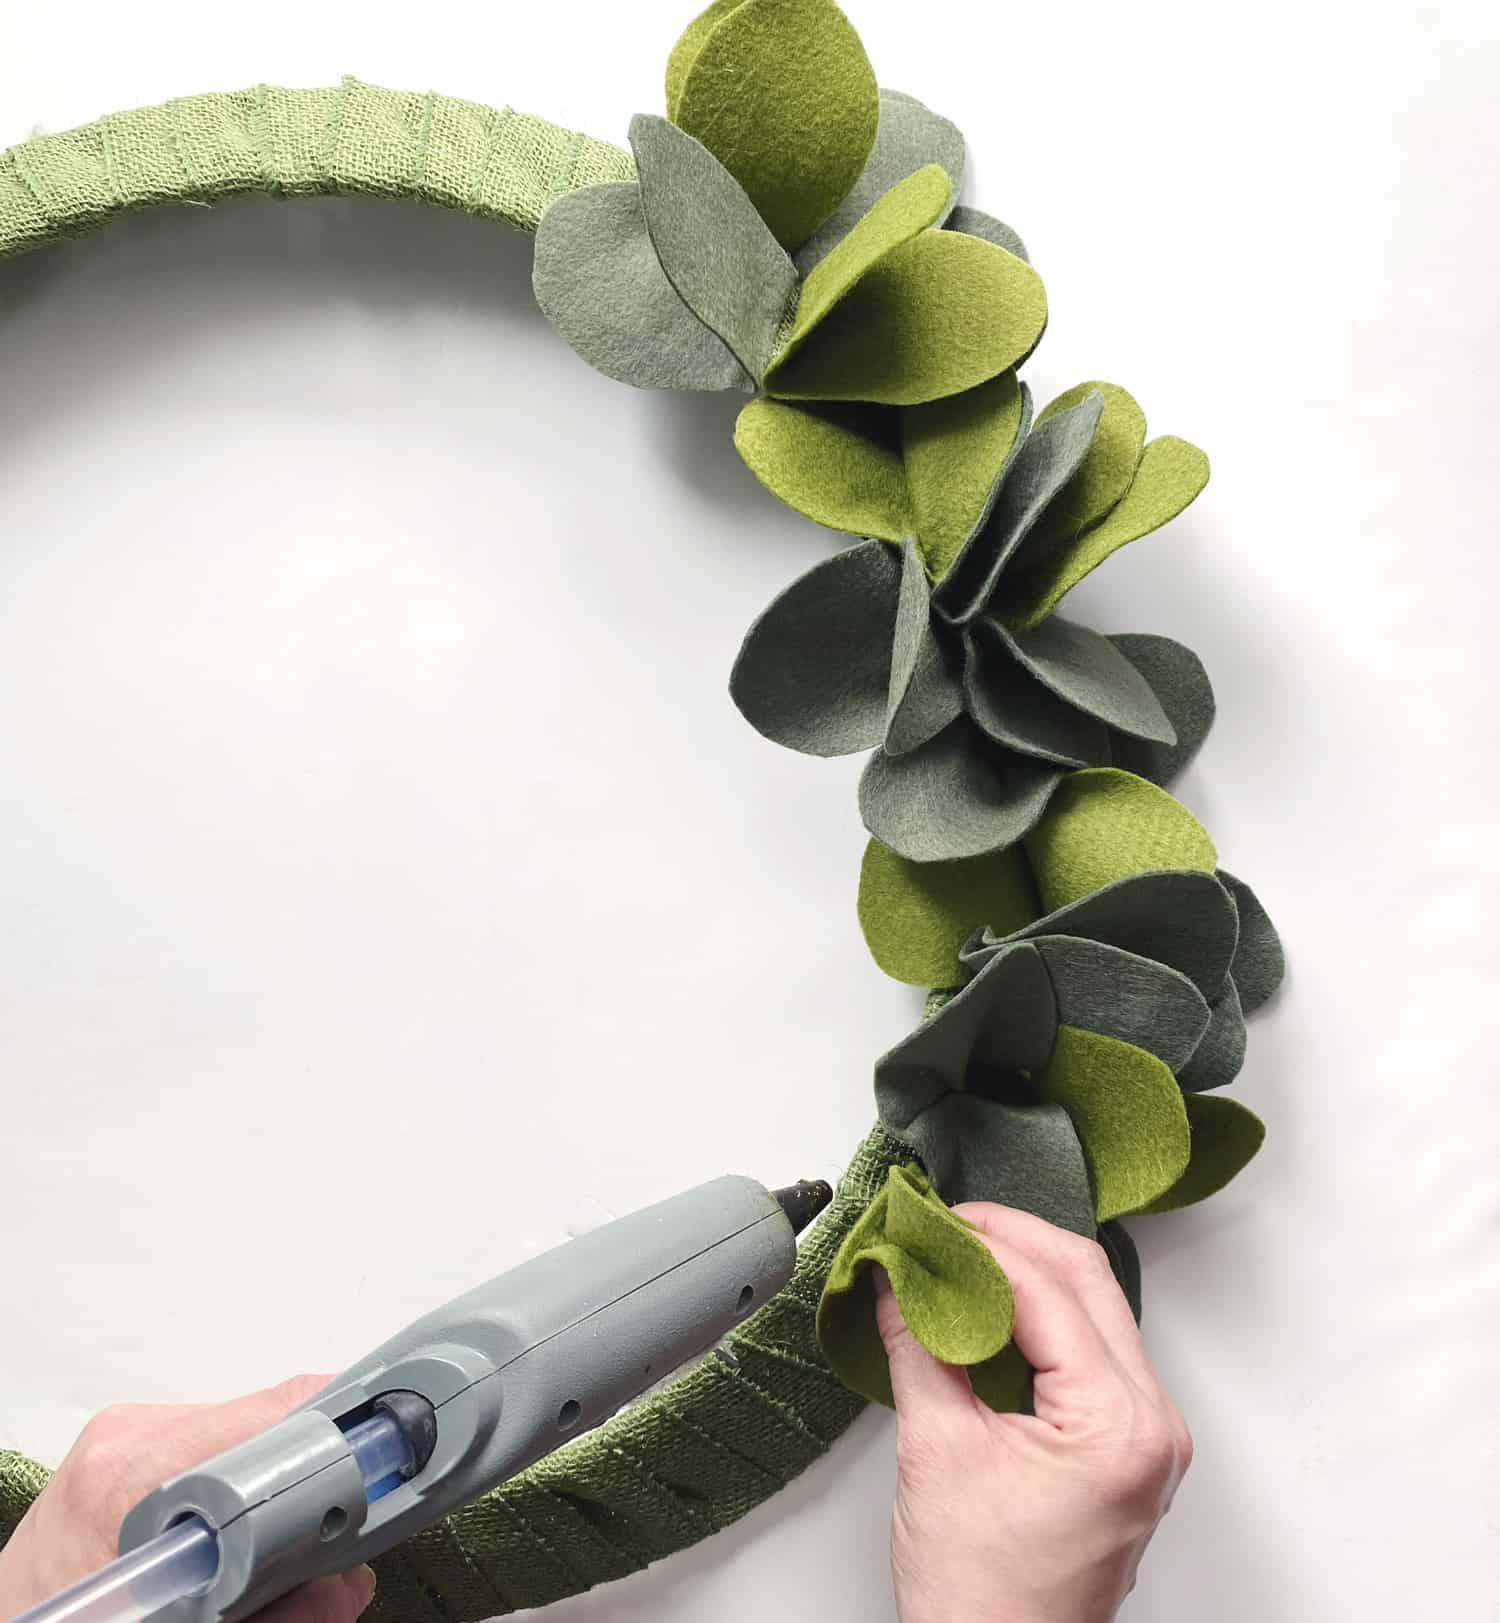
 Hot glue the carrots and felt balls to your wreath and then you’re all done! Hang anywhere in your house or on your front door for a healthy dose of cheery spring delight!
 Hi friends! This week’s MINI episode is our TOP 10 favorite movies of all time.

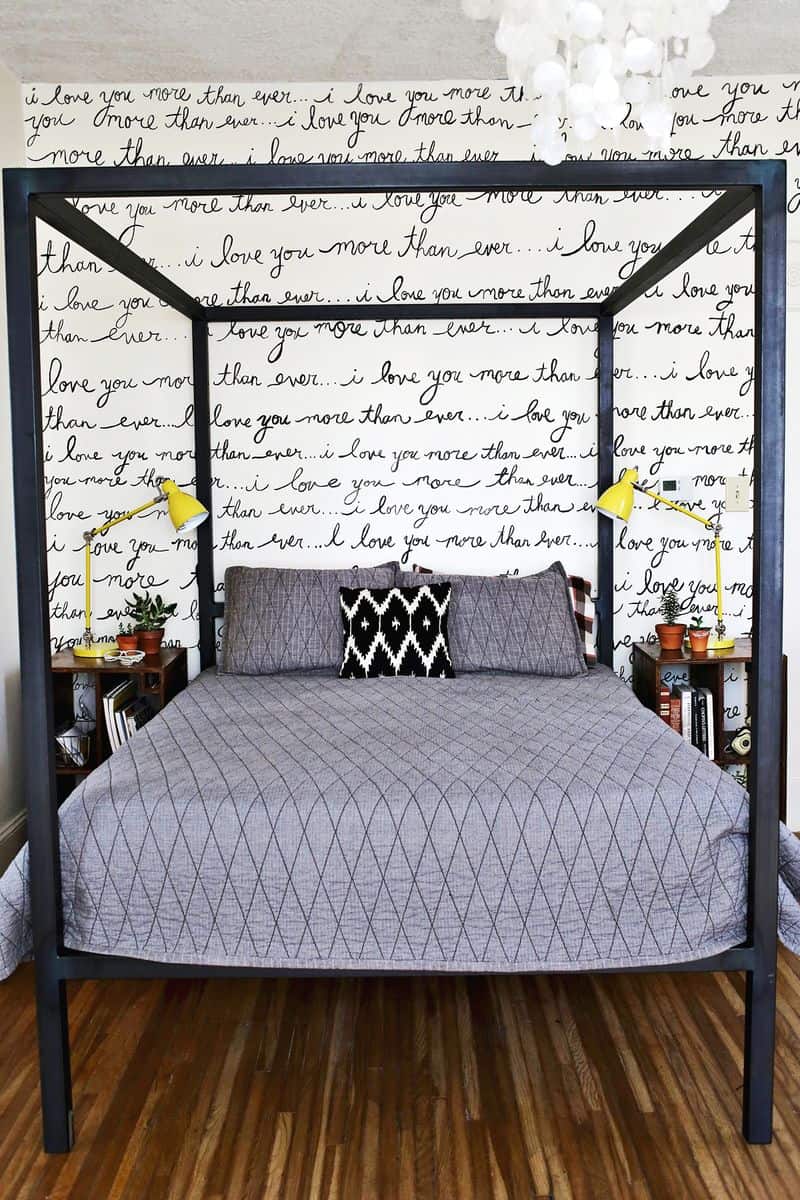
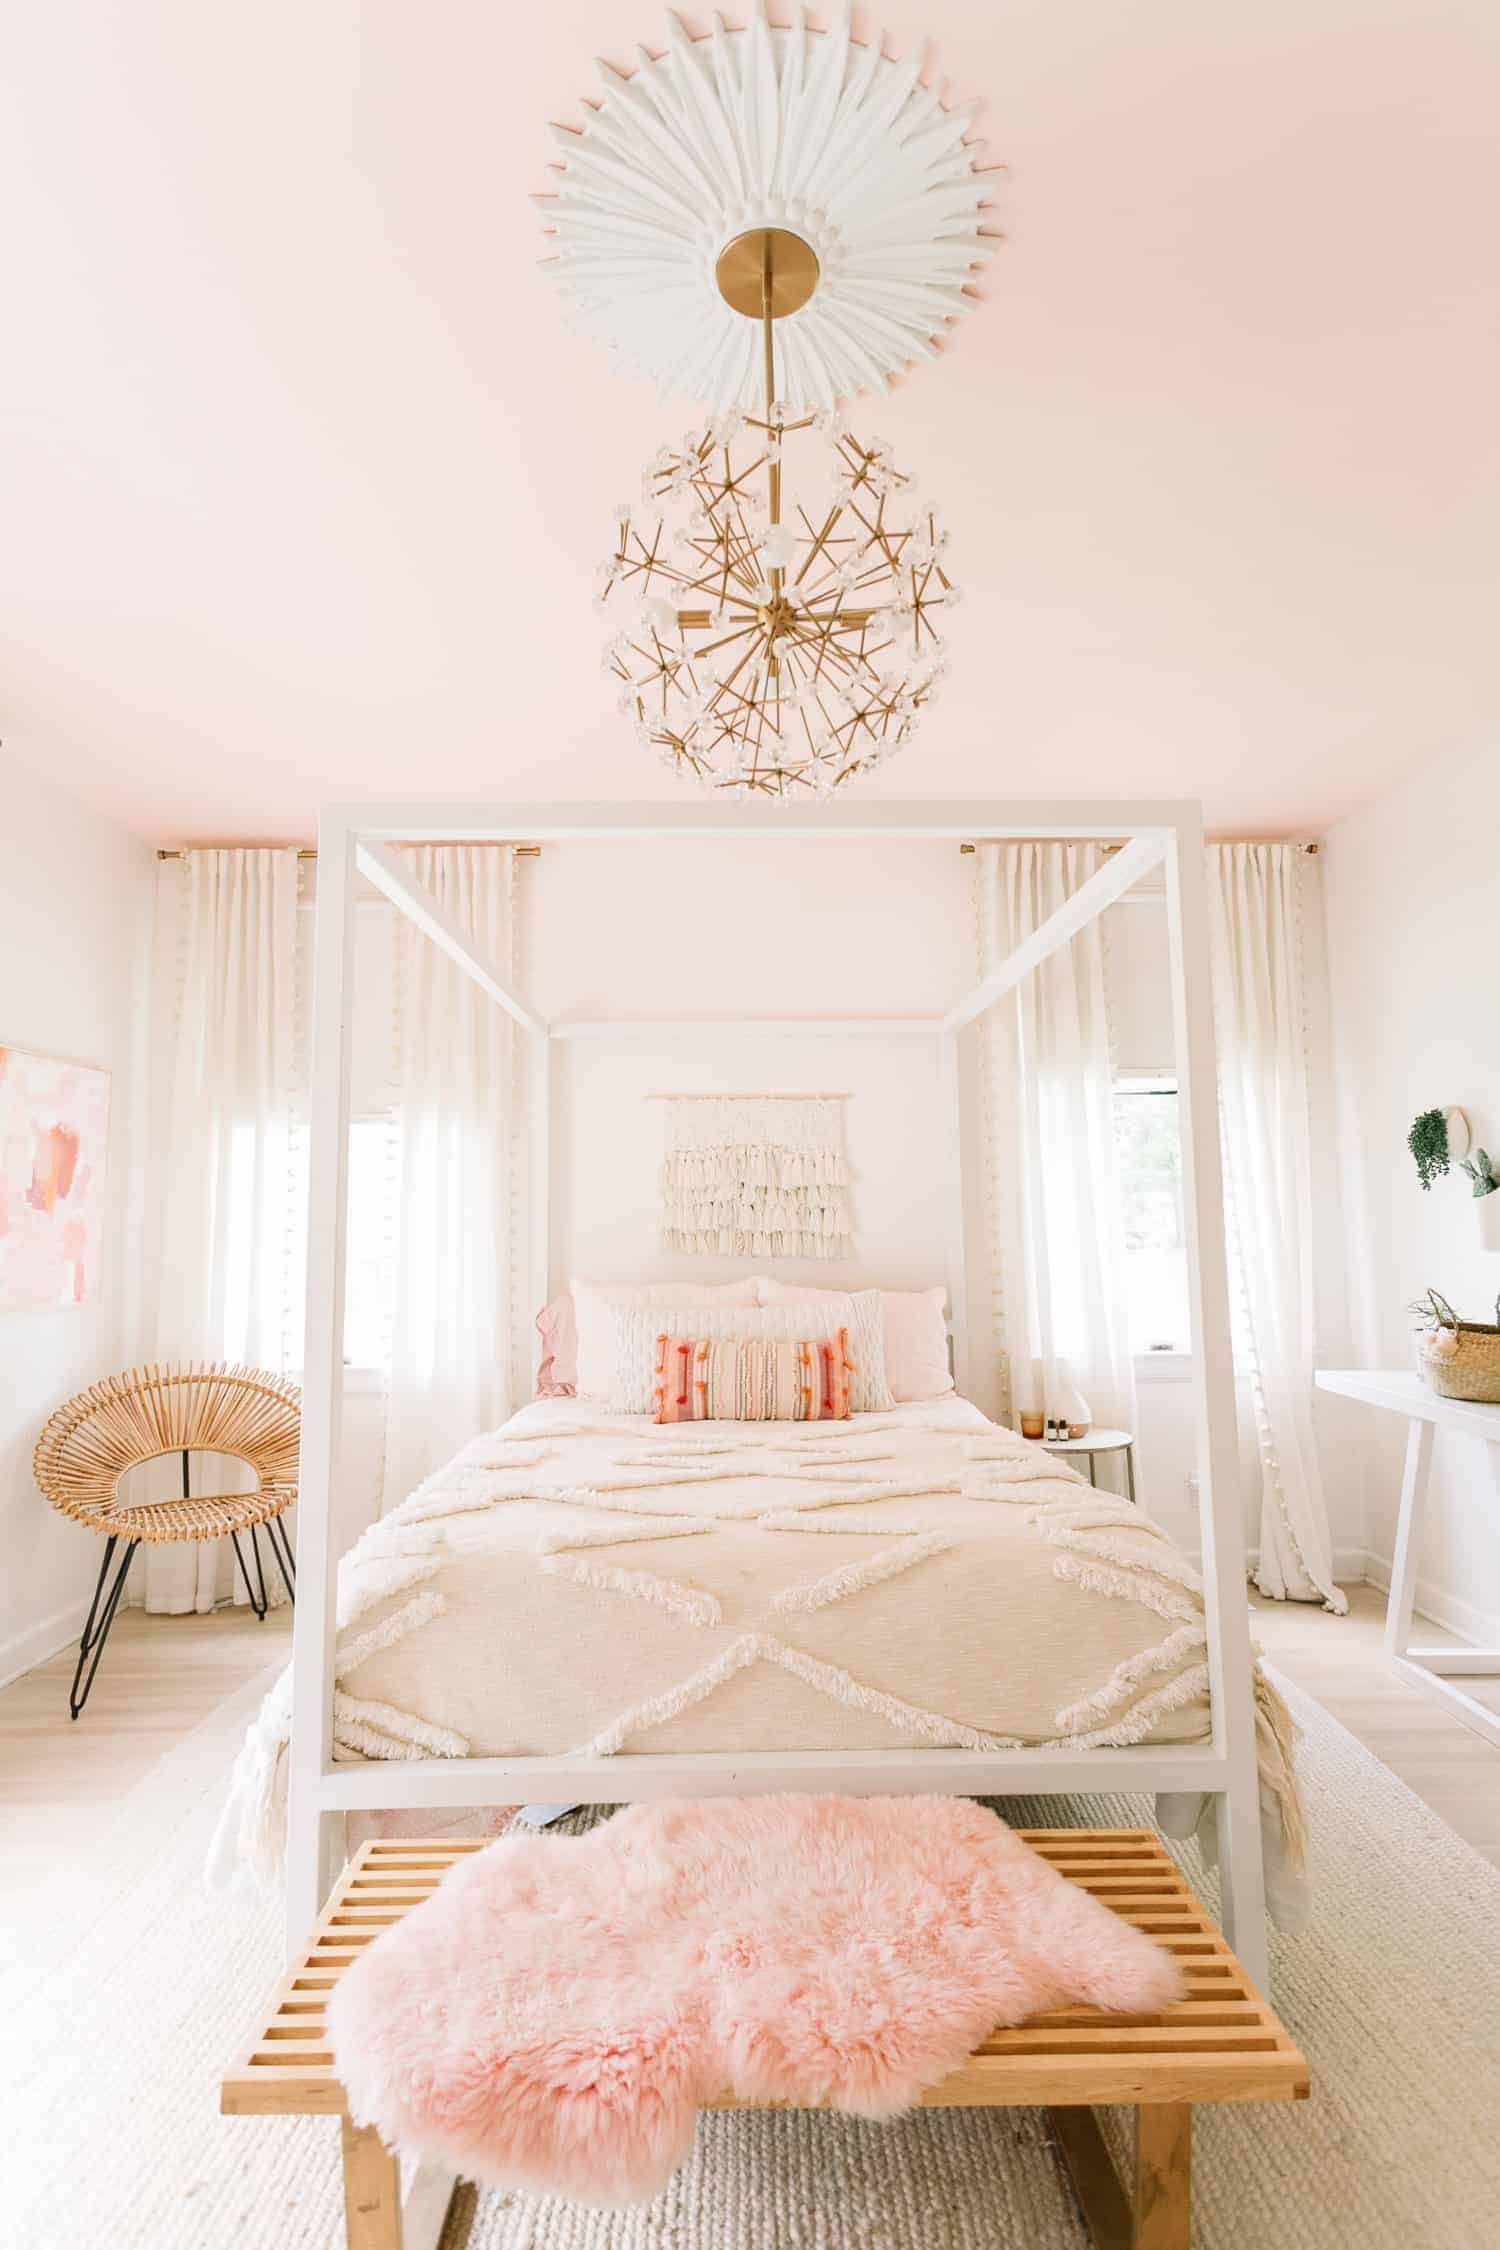
 This week’s episode is all about decor inspiration for renters! About half of the ABM audience rents, so if you’re a long-term renter, this one’s for you!!!
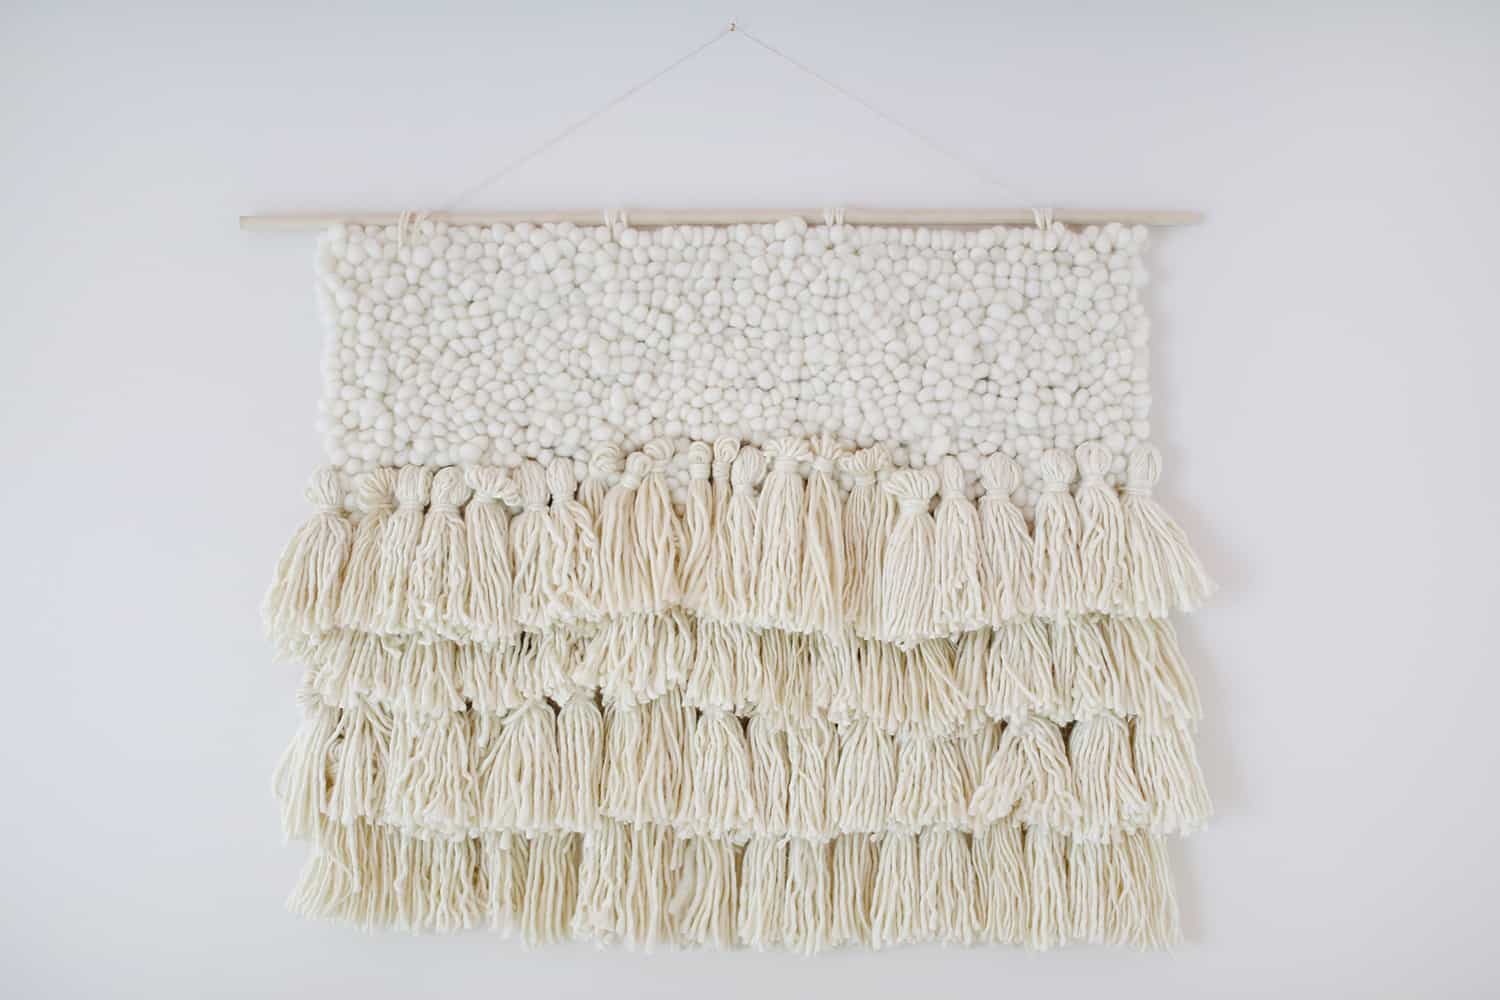 Elsie 1- Make your own art. Here’s the
 Here’s
  Here’s a photo from 10 years ago (ish?) that shows my home decorated with all things I thrifted (and my outfit too).

